• Modelers Alliance has updated the forum software on our website. We have migrated all post, content and user accounts but we could not migrate the passwords.
    This requires that you manually reset your password.
    Please click here, http://modelersalliance.org/forums/login to go to logon page and use the "Forgot your Password" option.

Groundwork Class with Anthony Reeves

Bob

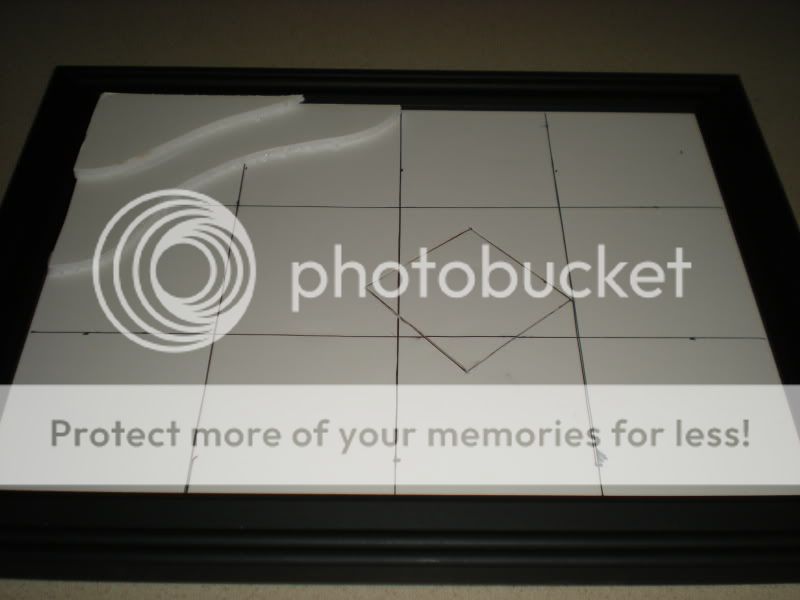
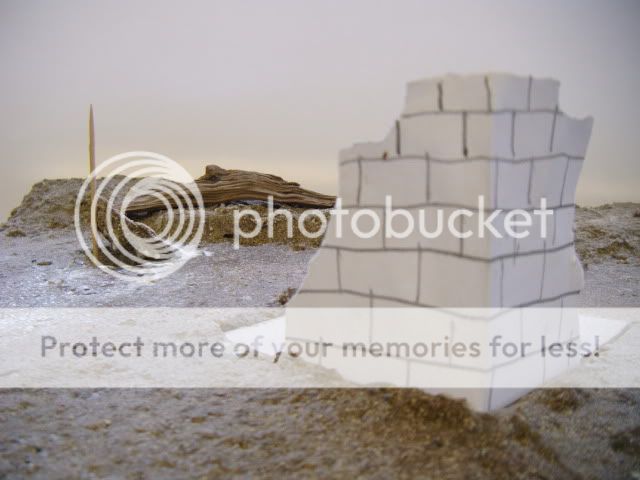
The lines themselves are not really that important, They just help when positioning certain features. If you are happy with where the stonework is placed then that is what counts.


The next step will be to add some texture to the surface before covering the whole thing with earth powder etc from the scenic kit.
 
Here is my first layer of the groundwork. It just takes the flatness of the base away. For this I used pva glue with some crushed up celing tile, you could use plaster or a slurry of cement and pva just to give some surface detail. When this has dried we can add further details from the materials we have.

2010_0328lakevrnwy0020.jpg


2010_0328lakevrnwy0022.jpg


I'm going to add a bit of height to the rear of my base before covering it with Earth powder. This is to give some of the undergrowth that will be growing a bit of extra height and to allow us to have a play around with some differing tecniques. Is that a pile of overgrown rubble inside/behind the walls? If not I am thinking of adding one anyway just to make it more interesting. I also think a tree which has half blown over in the wind would add to the scene too. We could model its rootball half out of the ground. Any thoughts on that?
 
I'm with you guys! My base is ready for this step and grass has been painted. Won't be able to get it going till tomorrow....


Tom
 
OK Professor, I used dry wall mud on my base. I misunderstood the purpose of the cut out and don't have any heavy card stock. I went ahead and filled in the hole some and will use it to help sink some of the foundation stones.

We have not had a chance for the weekend Megastore shop-o-rama so I haven't been able to get the green paint for the grass. hopefully this weekend we'll have an excuse to go and I can get some more supplies.
 
Bob don't worry too much about the heavy card, I made mine removable so I could work on the stonework away from the dio. Then I'll drop it back in place when it's ready to add the ivy etc.

My base is now at a stage where I can add the first "proper" layer of groundwork. I have raised the rear of the ground so as to add a little bit of height but most of this will be covered with bushes etc so won't look as obvious as we proceed. Note the whole surface has been given a rough texture.

2010_0501lakevrnwy0136.jpg


2010_0501lakevrnwy0142.jpg


The circular cut out will be the rootball of a fallen tree, with lots of roots sticking out of it (The cocktail stick will be removed when the glue dries) I added an interesting piece of wood which will be painted and given a growth of moss on it. I added the above two features to give the dio more interest, from now on I will try to be more faithful to the original photos.

2010_0501lakevrnwy0141.jpg


Ant
 
TREEMENDUS wrote:
Next we will prepare our "Grass/weeds". For this dio I suggest you use between 1/3 - 1/2 of your Raw Grass sheet.

Ant, I went back and reread this section. I think I can do this with the paint I have. I do have one of those water color pallets so that should give me enough colors to work with. I'll have pictures up no later than this weekend and will catch up with the home work.

I like the uprooted tree look but I don't think I will tackle this just yet. But the moss covered timbers are a must!
 
Bob

On the photos we are working from is the moss covered timber a beam from the original structure? If so I need to add one of these as well.

DSCF00701.jpg


Ant
 
Yes, they are beams from the original building. corners are clearly defined and even opening for doorway. You see the stones in this picture you posted, those look to be demark for the doorway.
 
Ok Bob,Tom

I have added some beams to the groundwork (although they are not in the same positions as the photo, is this how they would have been placed in relation to the corner of the house?)Daft question of the day but were they used as a foundation for the stonework? :blush: 
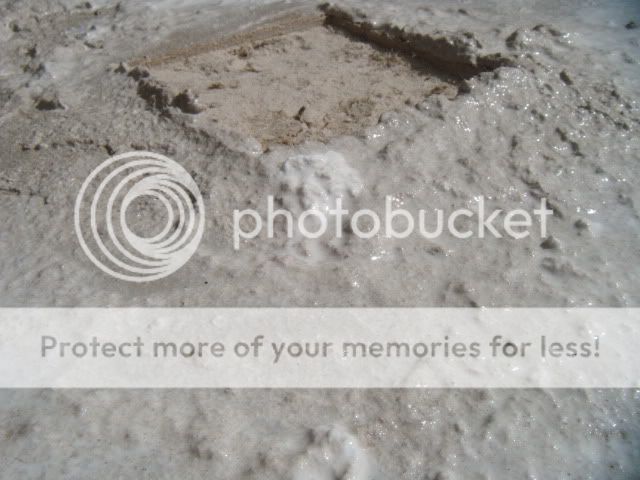
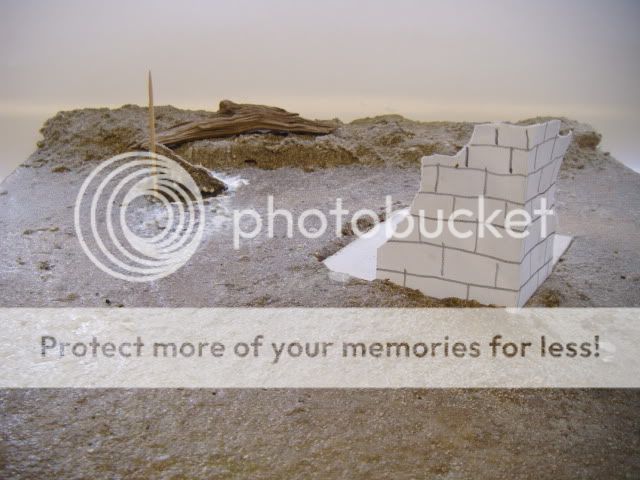
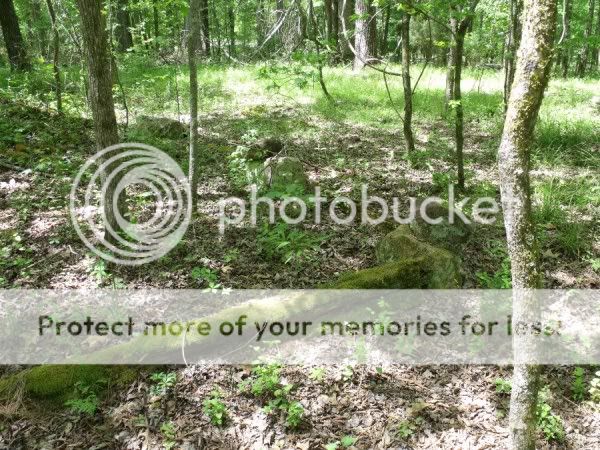
I have also added a "pile" inside the corner of the wall as a foundation for what I think is a huge pile of stones/bricks that is now overgrown? - it's a little hard to tell from the photo.
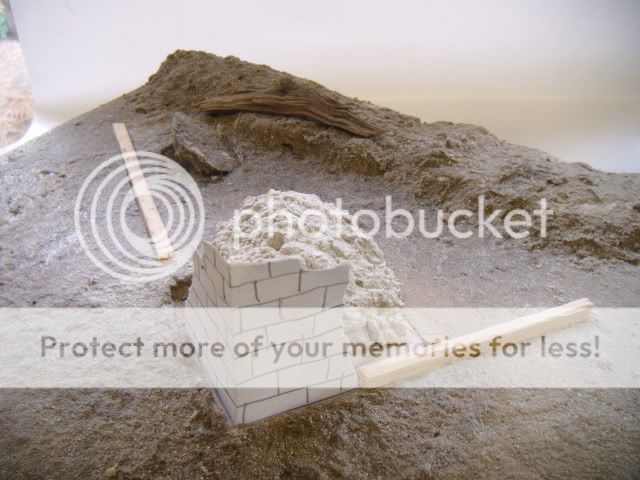
If you ok this Bob then I really am ready to add the Earth powder etc

2010_0501lakevrnwy0145.jpg


Cheers

Ant
 
I'll try and make a little diagram of the lay of the land later today or this evening. I have seen rock edgings lost to sediment buildup over my lifetime so there could well be more rocks under the beams. That would explain why they had not rotted way over as they are not laying flat on the ground.
 
Good idea Bob that would help, also if you were to mock up the layout of the corner stones/beams etc using pencils and card or similar that would help too.
 
OK, I'm not photoshop expert but here's a simple overview of the landscape
layout_20100812_2066665370.jpg

Not exact but we're not going for an exact duplicate so this should work for us.
 
Whoa!! I'm still here but I'm running behind, life is getting in the way! I'll catch up so don't slow down on my account :)


Tom
 
Well, this is what I have so far, I'm using 1/4 inch foamboard. If needed I can remove this from the frame.


Skyraider005.jpg


It's a start!!
Tom
 
OK Ant and Tom, I've had a chance to look over our progress. I need to color the grass and find something to work as the beams. I'll have this done this weekend.

Let's see those earth powders boss!
 
Well my coloring of the grass was not as graceful looking as the professor's

lather
ant001_20100815_1087667495.jpg

Rinse
ant002_20100815_1231069887.jpg

Repeat

I'm hoping the water color was the right way to go with this. seems when I wrung it out some the color just washed out. We'll see what it looks like tomorrow.

BTW, here's the base
ant003_20100815_1399086910.jpg


I'm also working a flat base for aircraft tarmac or something. we'll see where that leads.

And I didn't share what all I got in the order from TREEMENDUS
ant004_20100815_1426987476.jpg

More stuff than I know what to do with. That's going to change soon though I"m sure.
 
Tom

It is a start. If you are going to build the base in the frame i'd suggest putting some masking tape over the frame just to keep it clean. You can always build it out of the frame and drop it in later. I haven't put any kind of frame around mine yet.


Bob

I'd say you used too much water with your green paint. When it dries try combing it so the fibers stand upright, if it doesn't look right to you wash the whole thing in water and apply the paint again with less water. Don't forget to add some variation to the colour as this give us more options when planting.


More soon.

Ant
 
Your Eye is good. yes, way too much water. I can wring it out and it looses all color. I am trying to locate some proper paint. But as you said this is not required at this point. I'll post the correction when I get the paint.
 
Bob........ if you take a look at my little demo on colouring the grass, you'll see I don't really use any water other than the what is in the pre mixed poster paint. I do use a tiny bit of water on the water colour tablets just to get a bit of colour on my fingers which is then rubbed into the fibers. The fabric takes the paint better if it is not soaked though.
 
Back
Top