
Hey Tom! you done your homework yet???
Quoting this so we can have this on the next page.
I know I have not. Holiday season is fast approaching and I'll have some time off work. My apologies to Ant for leaving thing hanging for so long. I'll get busy with this this weekend.
Quoting this so we can have this on the next page.
Time for an update!
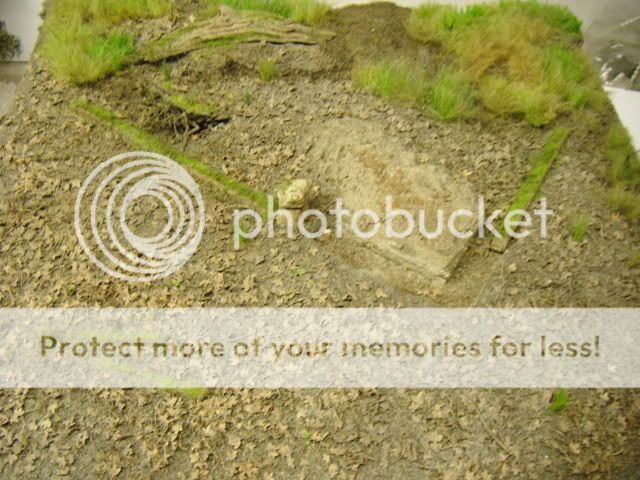
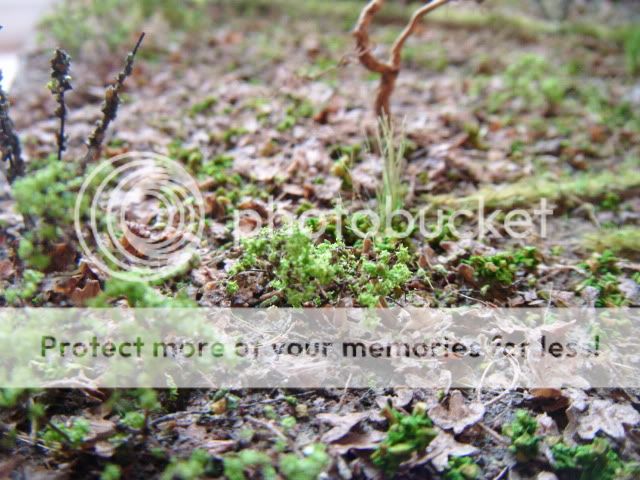
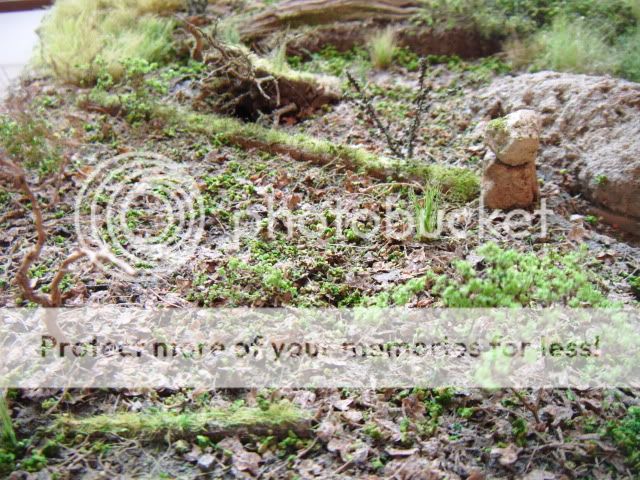
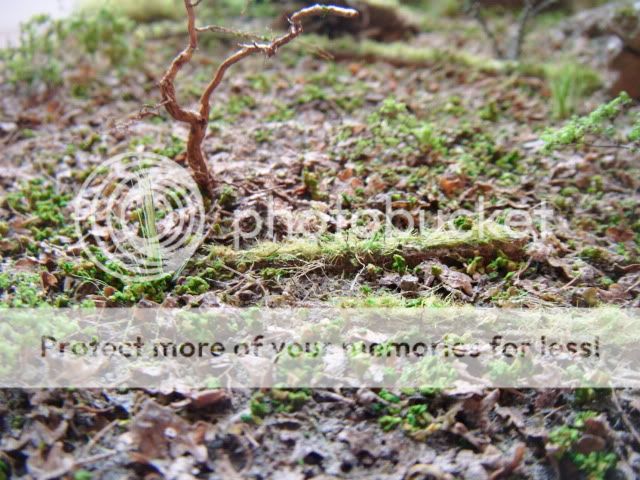
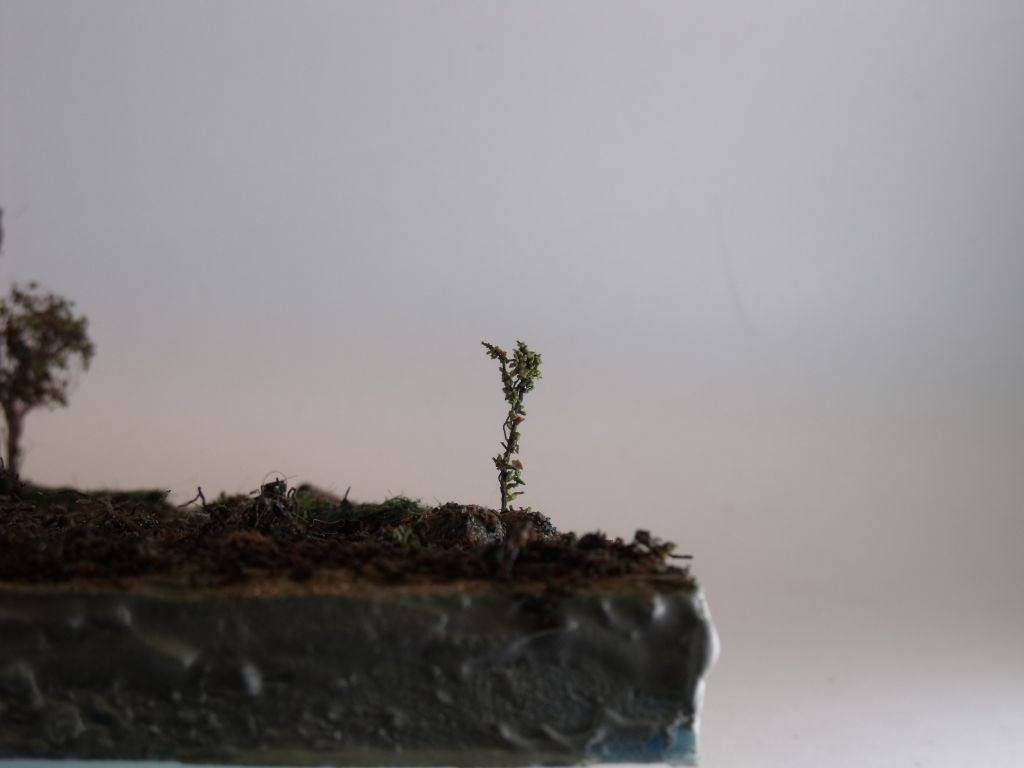
Here is where the groundwork was left at the last update. The basic leaf litter etc is down so now is the time to add some weeds, new growth, more tufts and saplings.
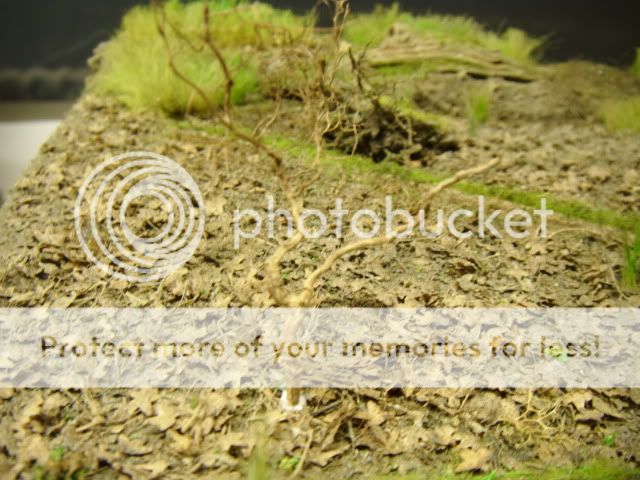
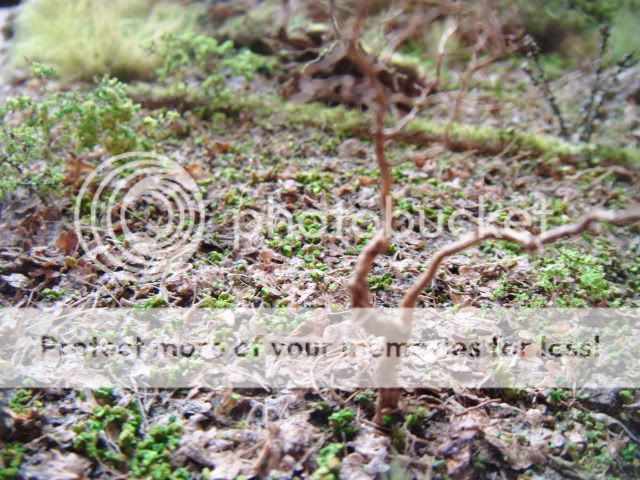
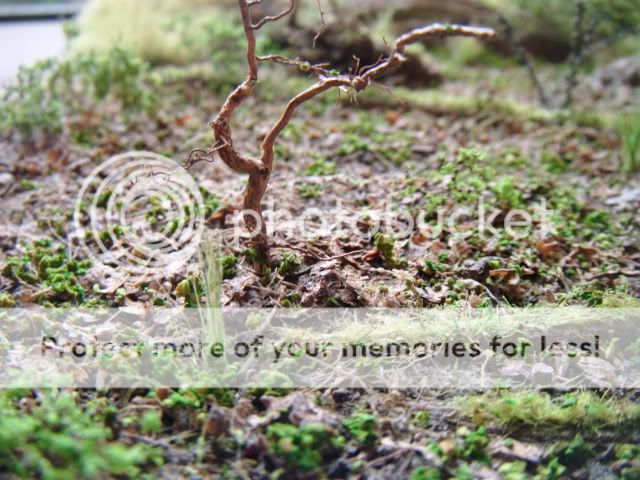
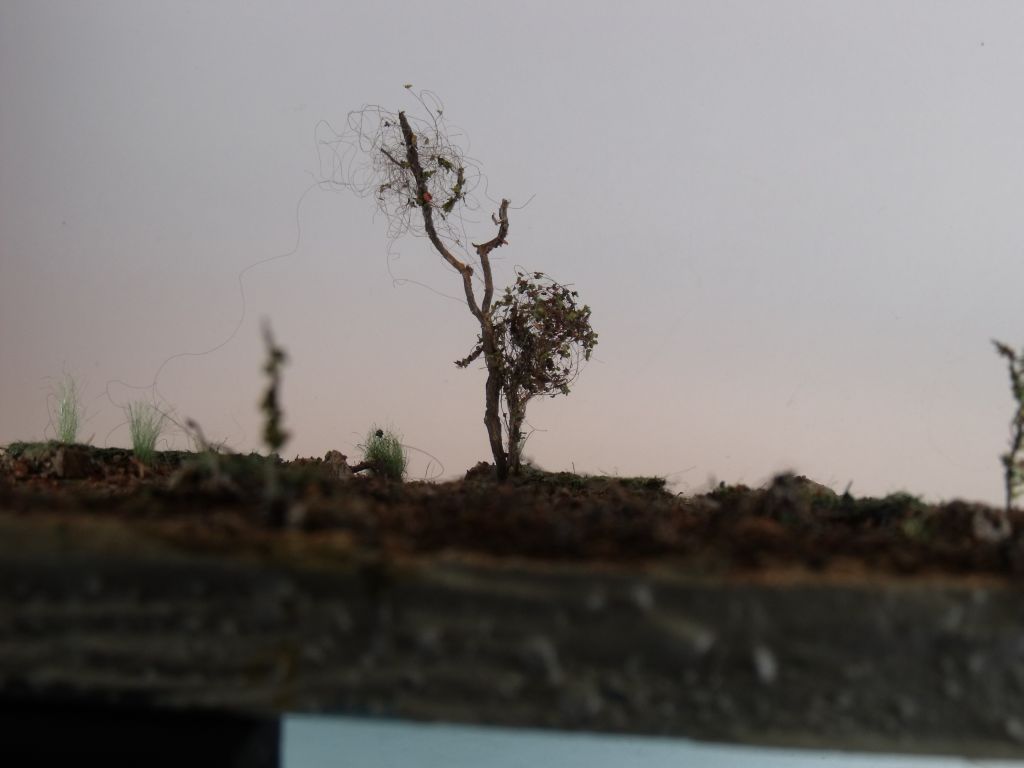
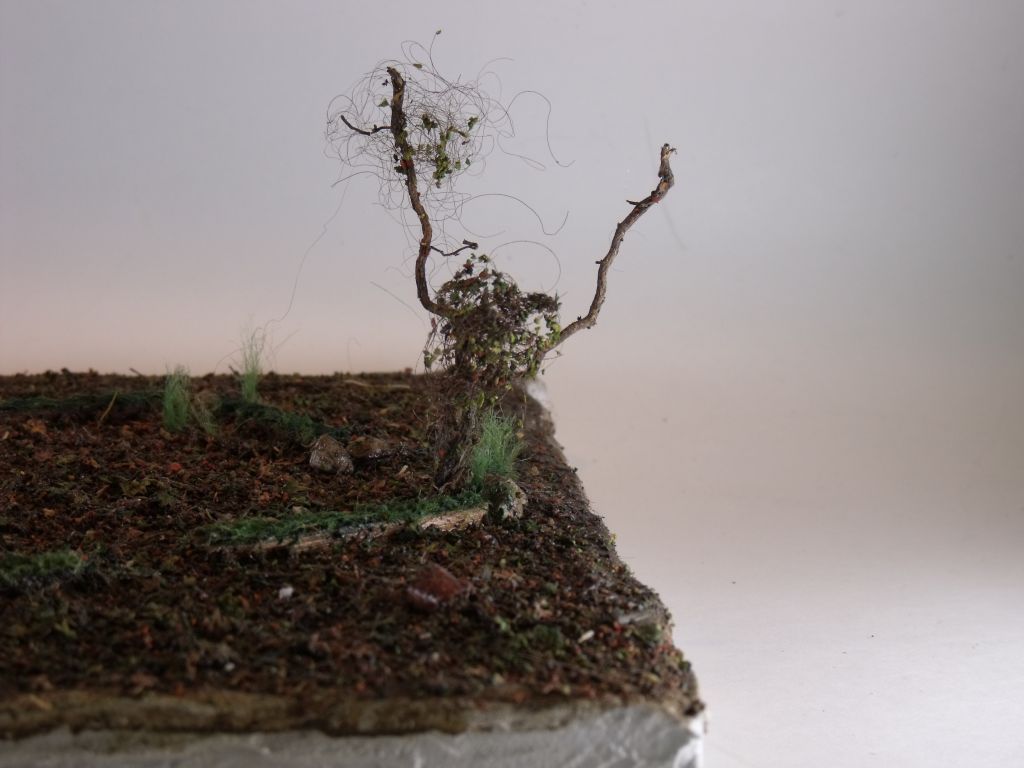
We will make a few saplings using some of the roots, not too many just a suggestion of a few growing below the main forest canopy. The first thing to do is make a small hole in the base where you want the sapling to go. Take a piece of root dip it in PVA and insert into the hole. You could add the "leaves" first using the Ivy leaves but I am going to stick mine on the branches later.
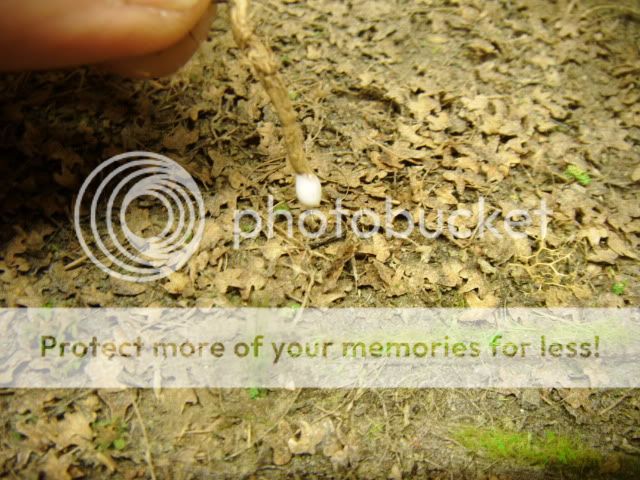
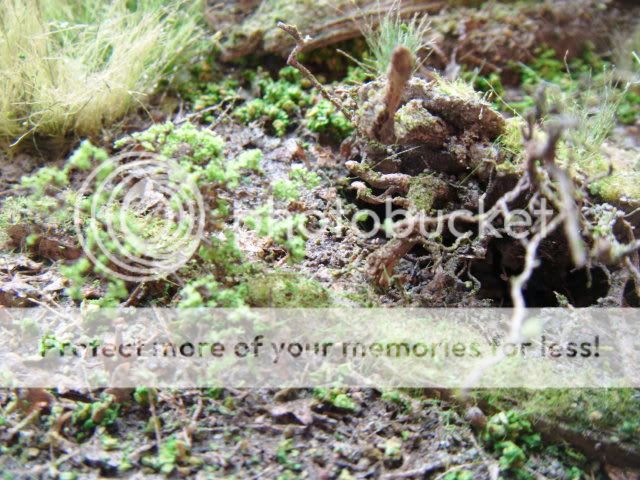
I also want to put some nettles into the ground, I'm not sure if there are any in the photos but whilst we are dealing with weeds etc it seems like a good time to do some. For this you will need some stiff bristles from a decorating brush. Nettle stems are almost black so if you use a black bristled brush these are perfect. You will also need neat PVA glue and a suitable coloured scatter. (These photos are a bit dark) You can use whichever scatter you want and it may be worth you making two or three different coloured weeds to add some variety - use a pale bristle with the lighter scatter for even more subtle differences.

Take a single bristle and drag it through the PVA, roll it on a sheet of paper to remove most of the glue then roll it in your chosen scatter. Some nettle stalks are covered in leaves and some stalks have very few leaves, try to make a variety.
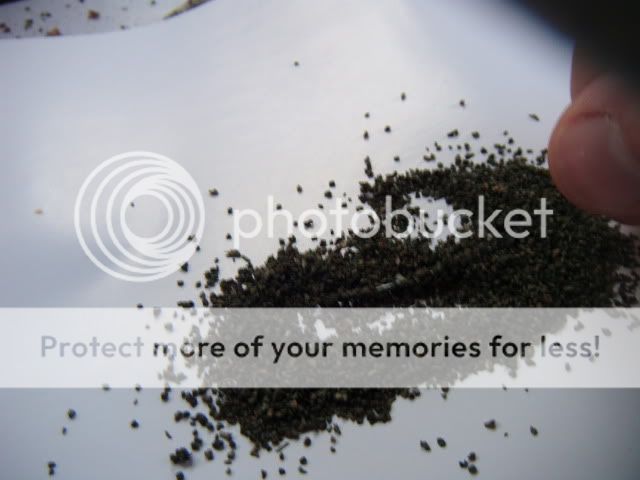


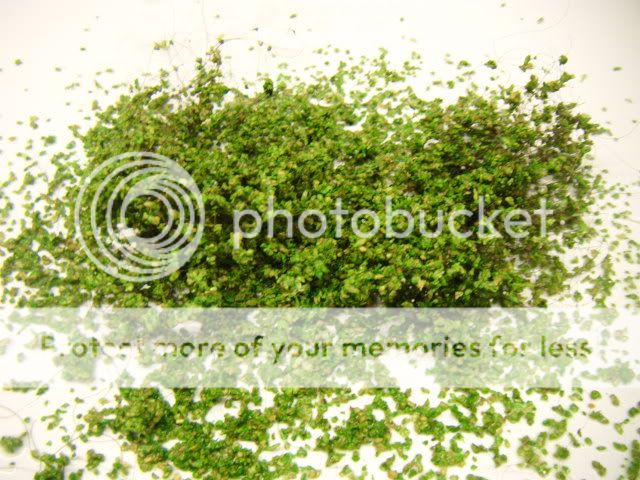
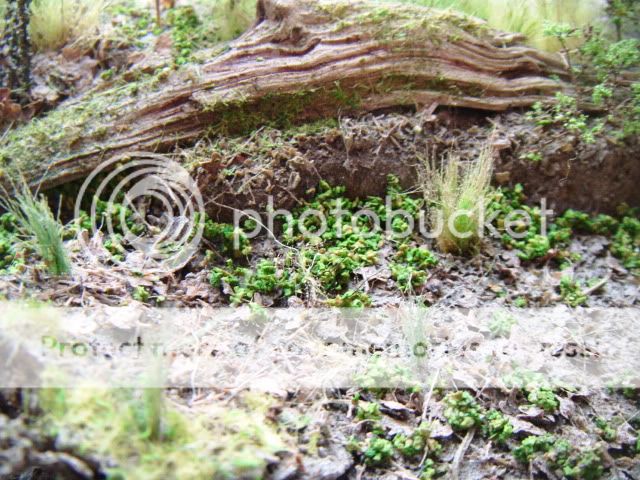
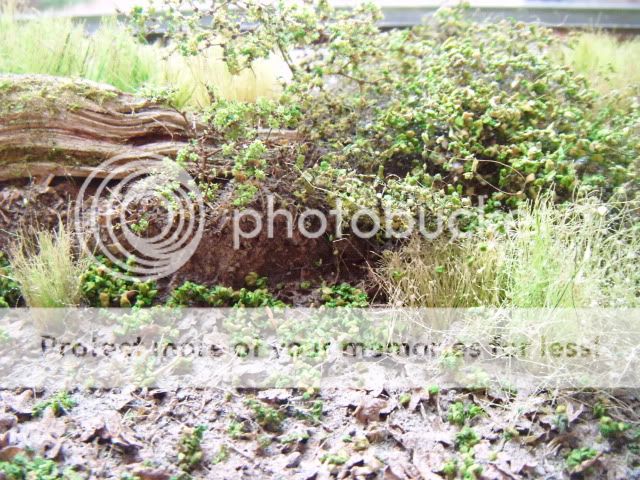
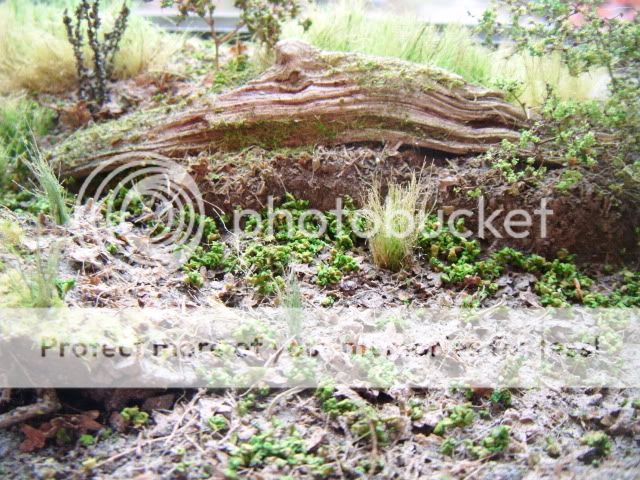
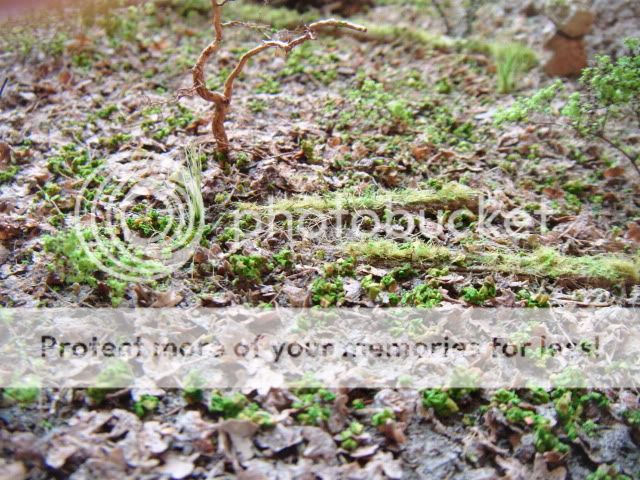
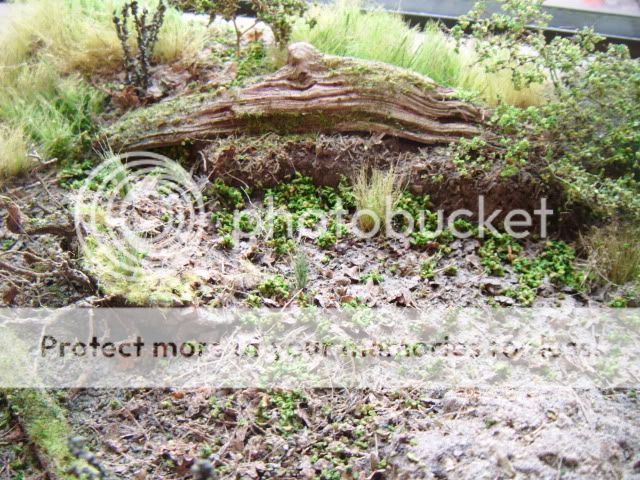
For the smaller weeds in the photos we will simply use some of the lighter scatter from the kit to represent all the tiny leaves on the floor I also want to put some bushier plants of the same colour growing to the rear of my base so......... take a pinch or two of the "canopy", tease it into an open structure, spray it with hairspray and add the scatter. Put the atomiser onto the glue bottle and give the whole thing a good spray. Put some of the scatter onto a piece of paper and spray it with the glue and let it soak up the glue. This can be used straight away on the base as all the little leaves. I just randomly sprinkled the wet scatter over the whole area then using a small paintbrush worked some of it into the ground below as if it were growing from underneath the leaf litter. A blast of hairspray and a light misting of scenic glue should hold it all in place

More coming very soon
Ant
I know I have not. Holiday season is fast approaching and I'll have some time off work. My apologies to Ant for leaving thing hanging for so long. I'll get busy with this this weekend.


")
 Must get a$$ in gear!