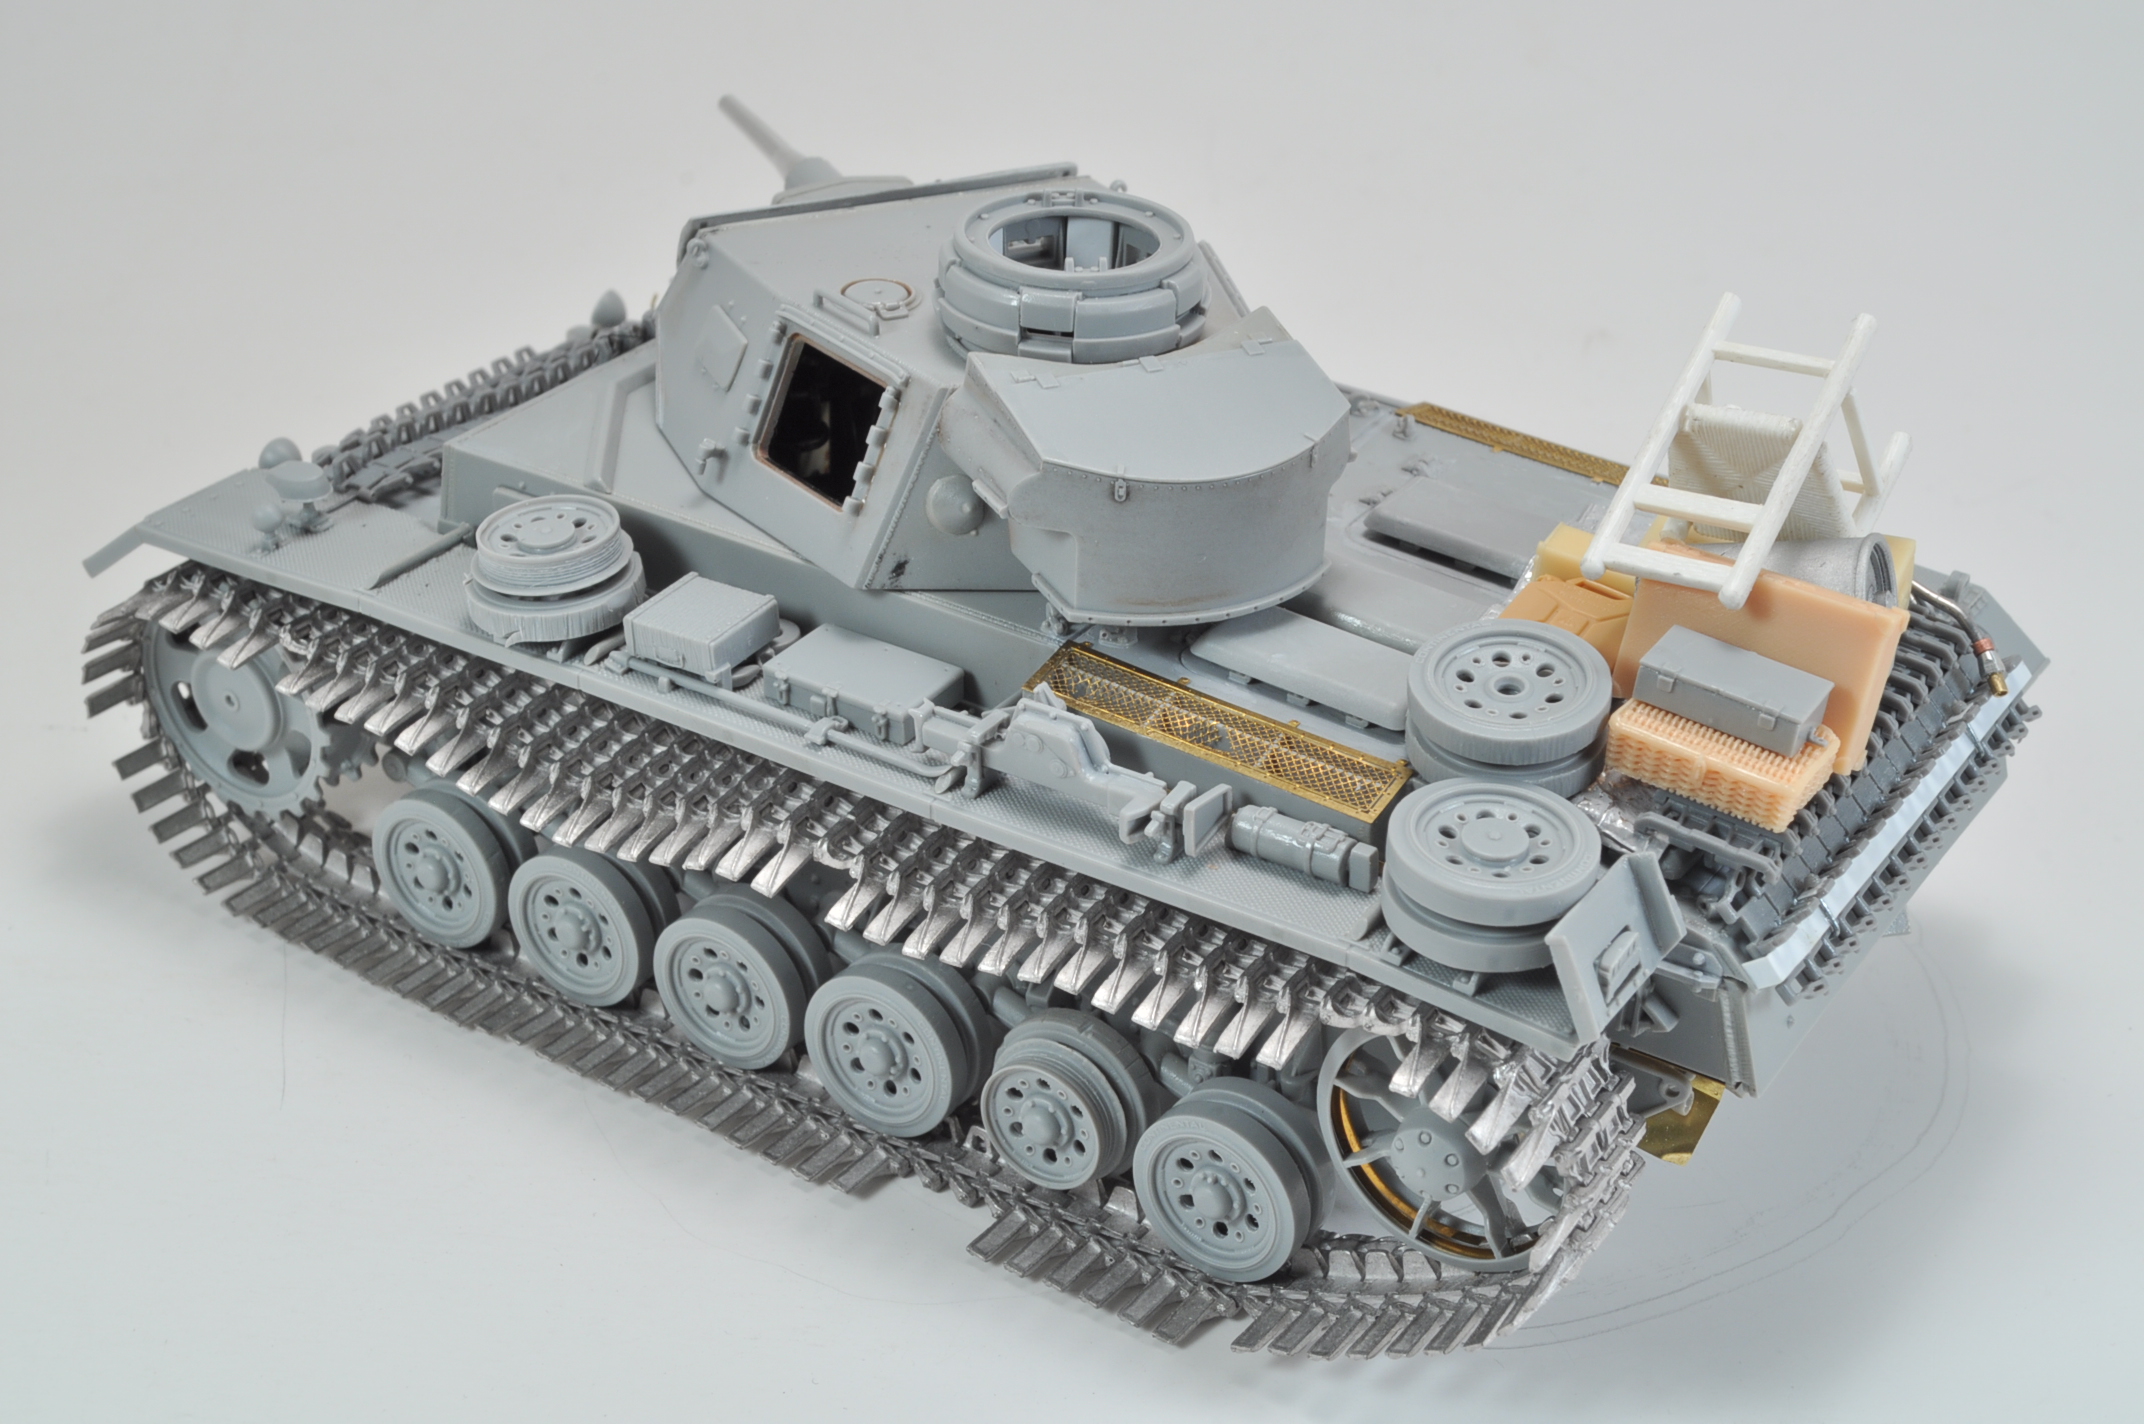
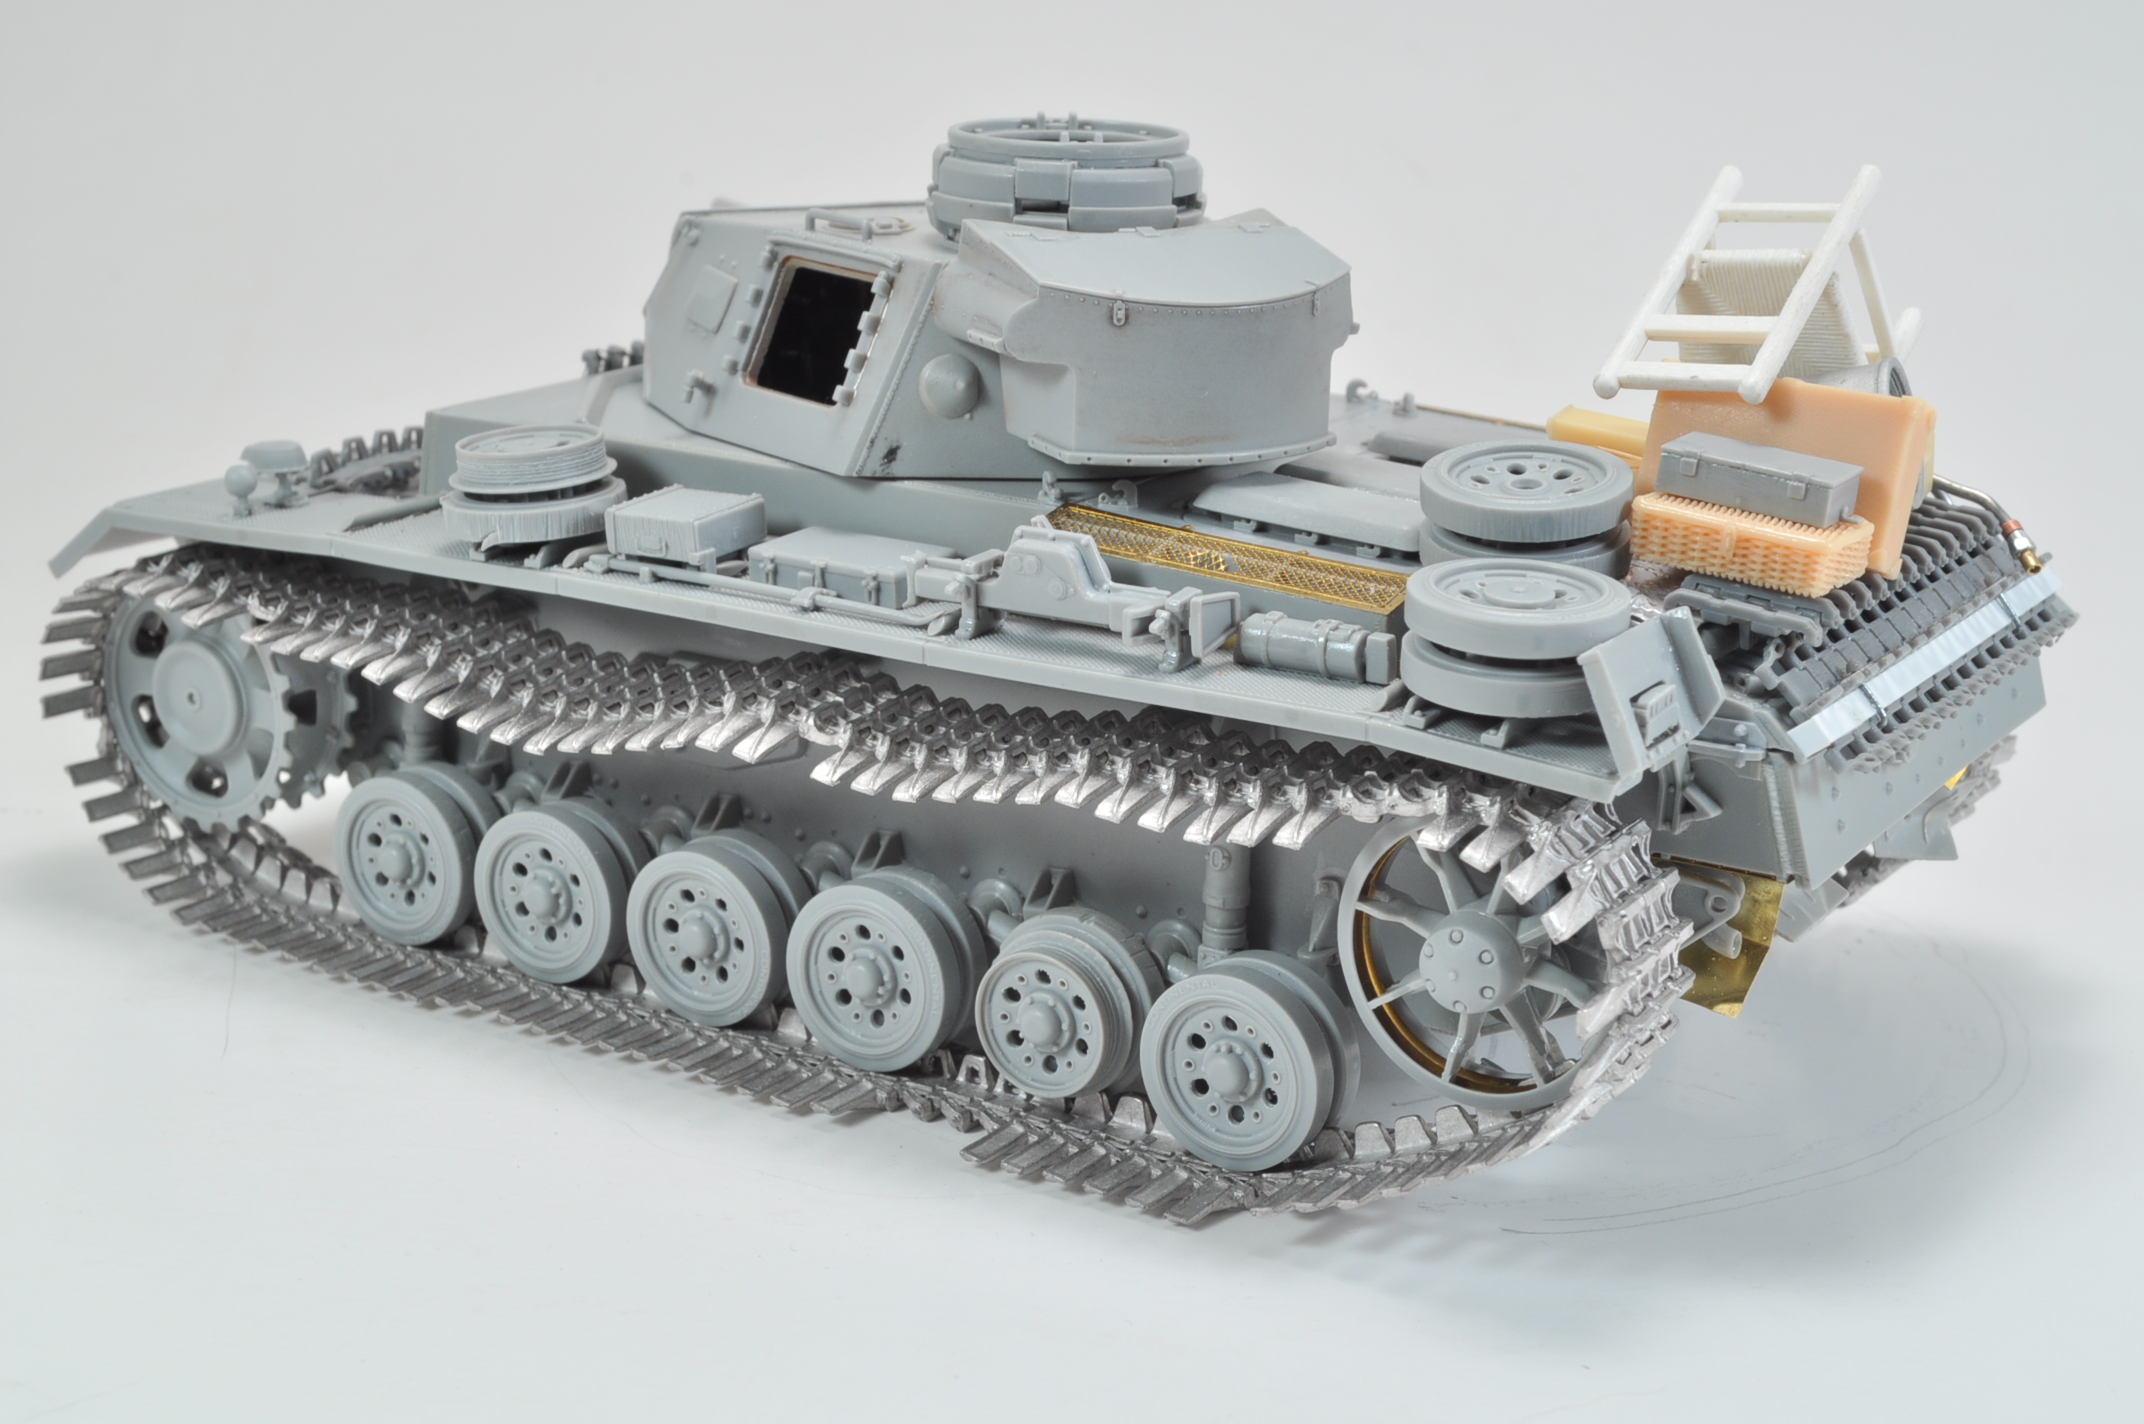
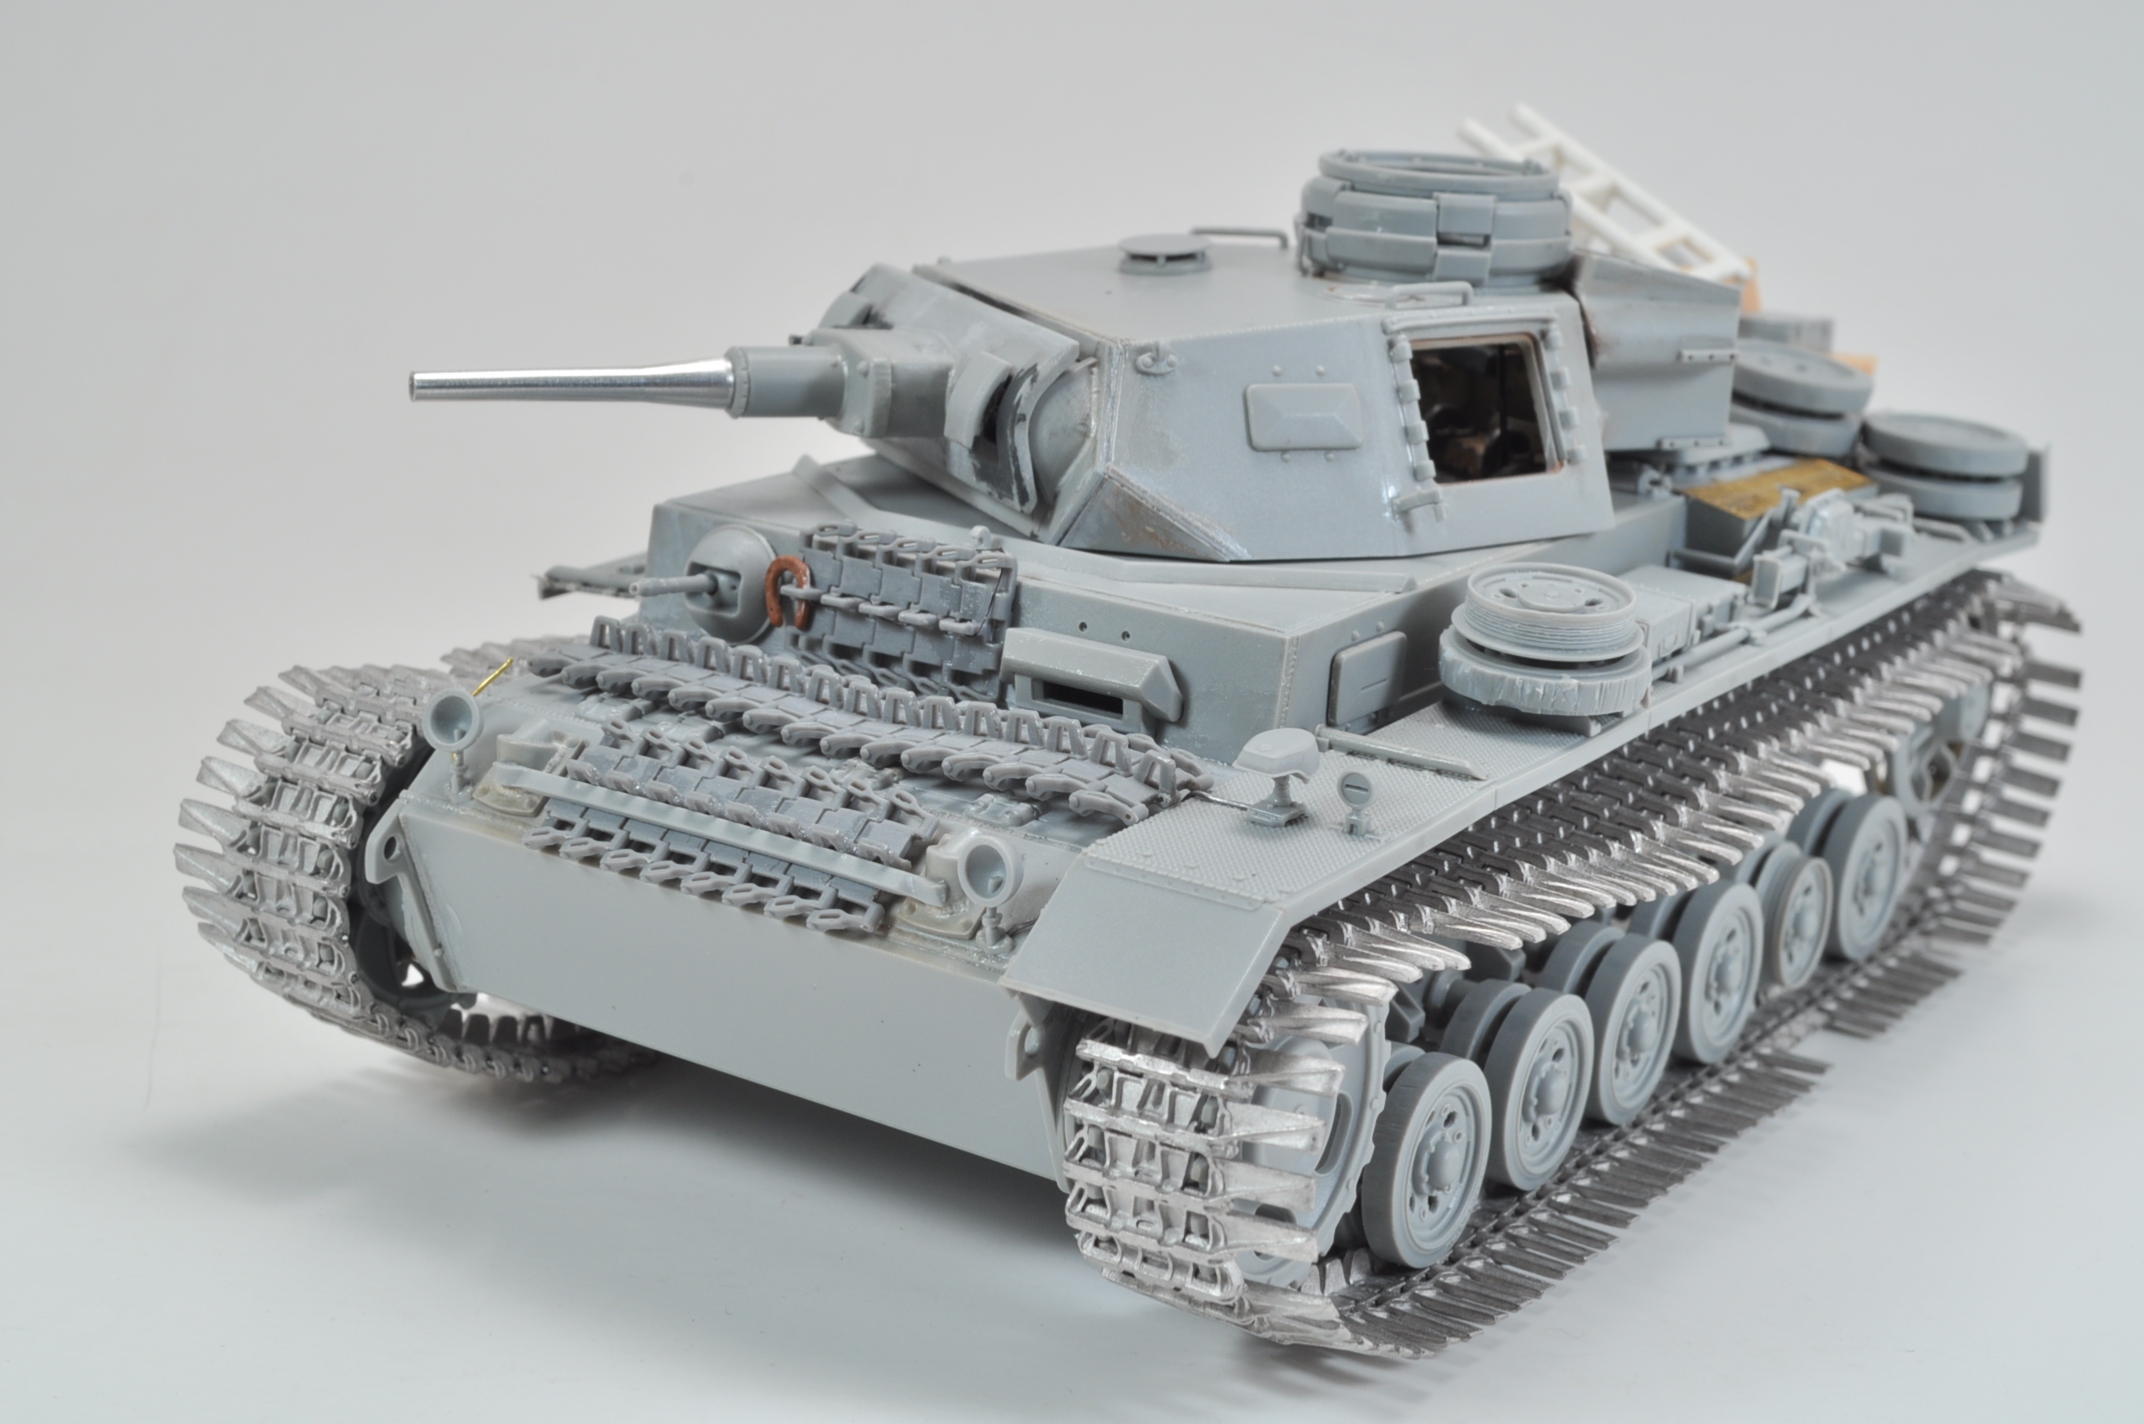
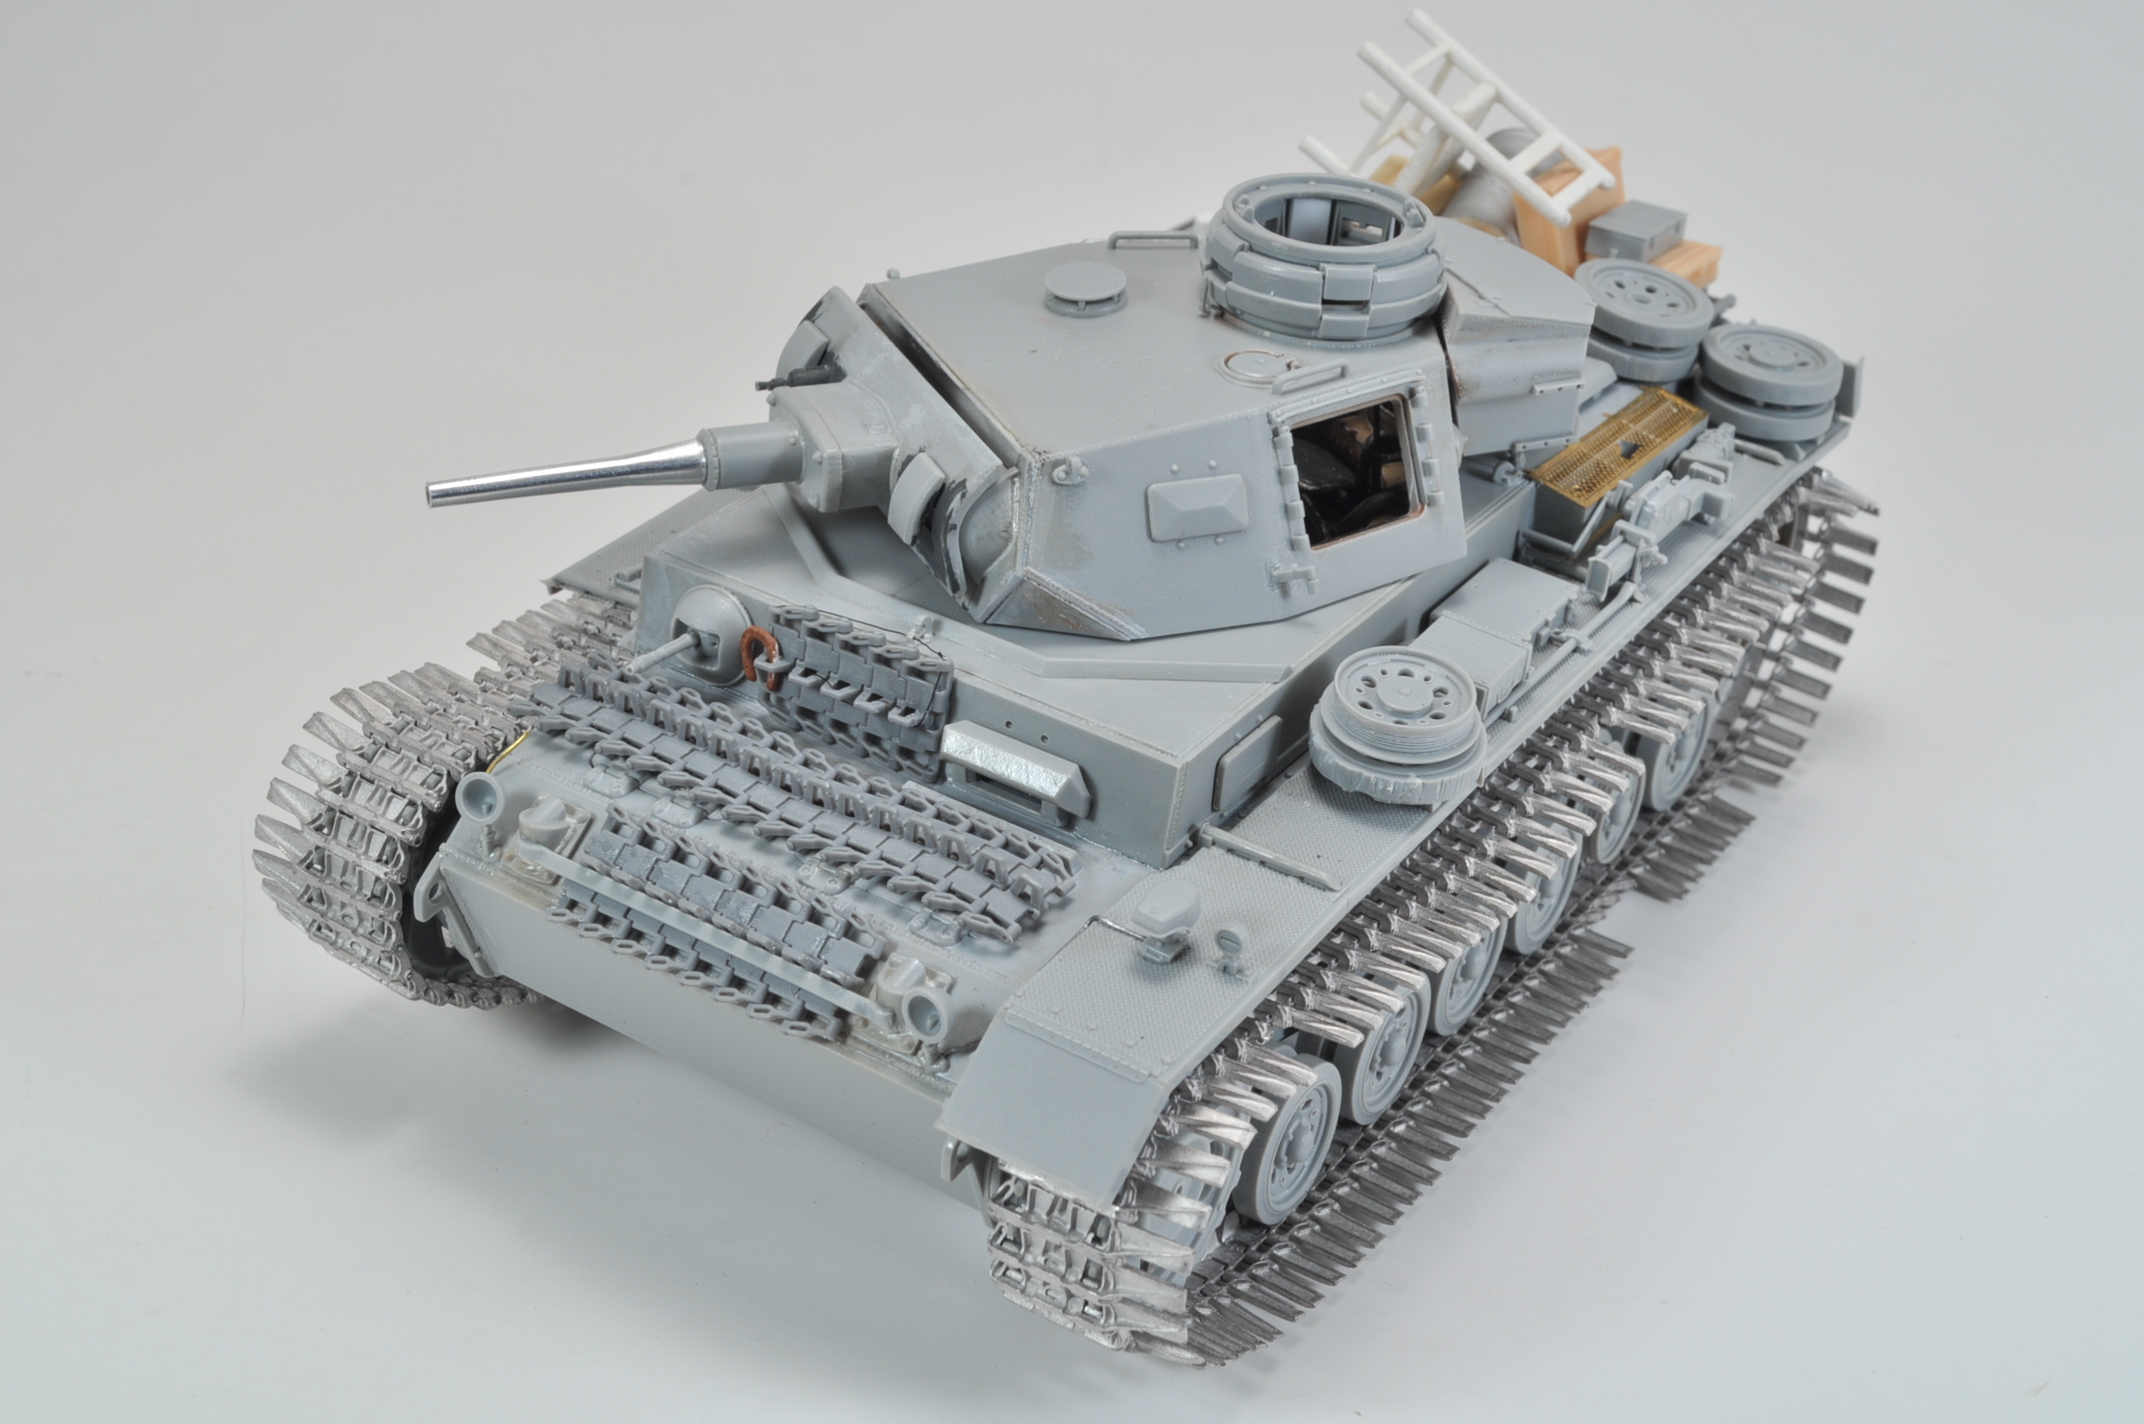
Just beautiful work John!
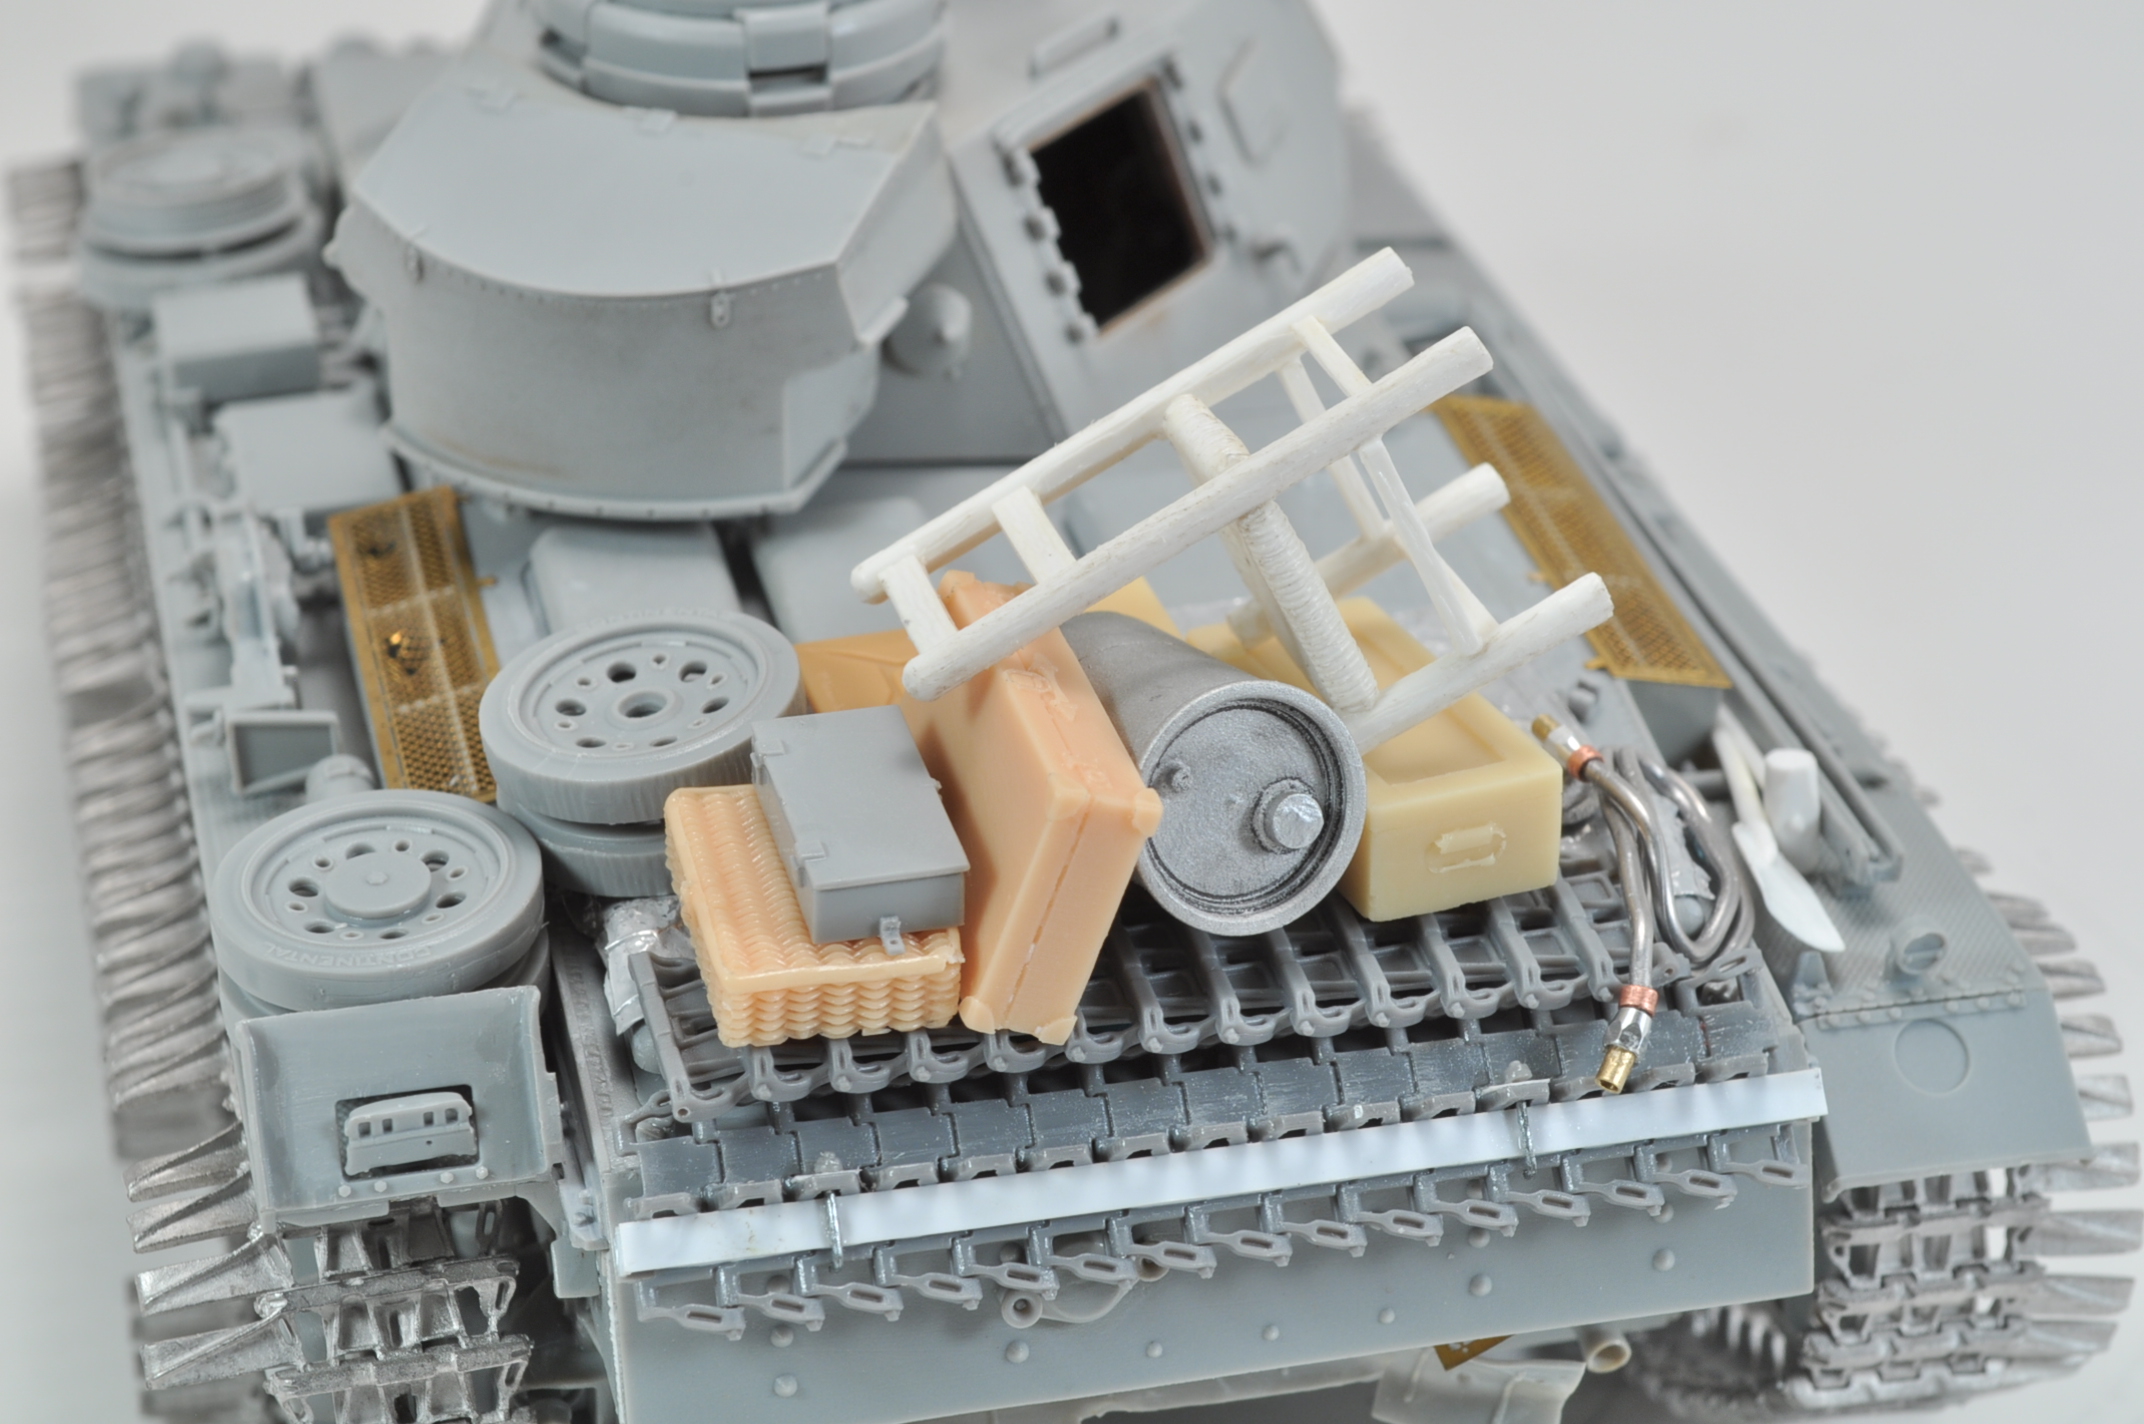
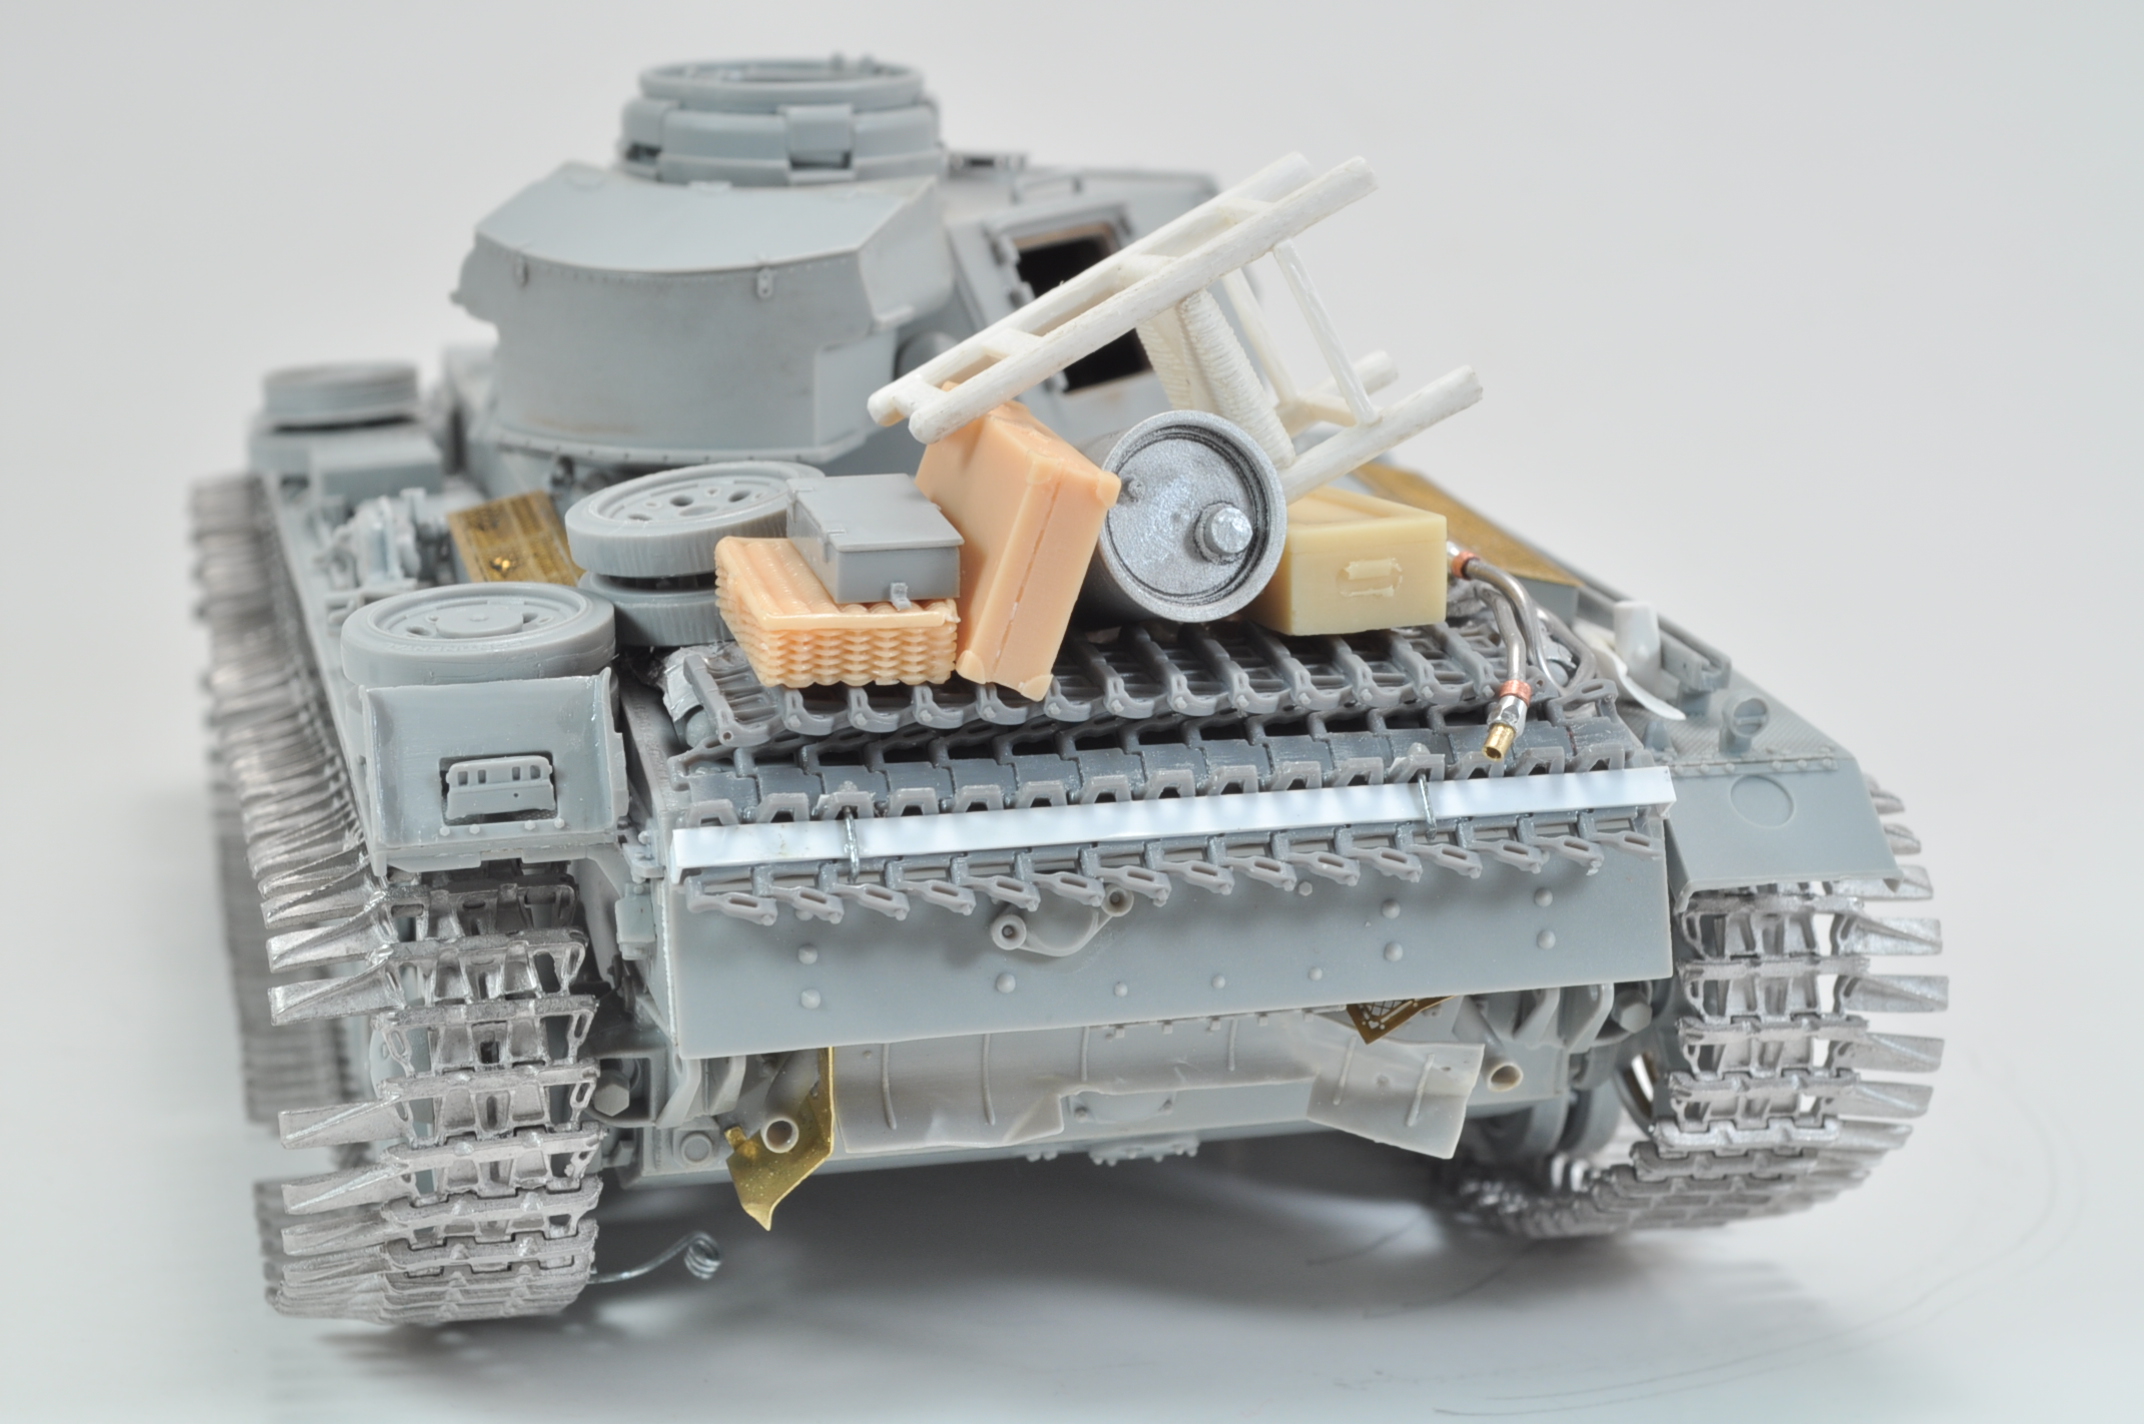
Love all the detailing!
")
Bob
Love all the detailing!
Bob

Modelers Alliance has updated the forum software on our website. We have migrated all post, content and user accounts but we could not migrate the passwords.
This requires that you manually reset your password.
Please click here, http://modelersalliance.org/forums/login to go to logon page and use the "Forgot your Password" option.

 It could have been even better with some paint description for the rest of us want to be.
 Wow John , very impressive
Watching with great interest
Cheers, Christian B)
Wow John , very impressive
Watching with great interest
Cheers, Christian B)
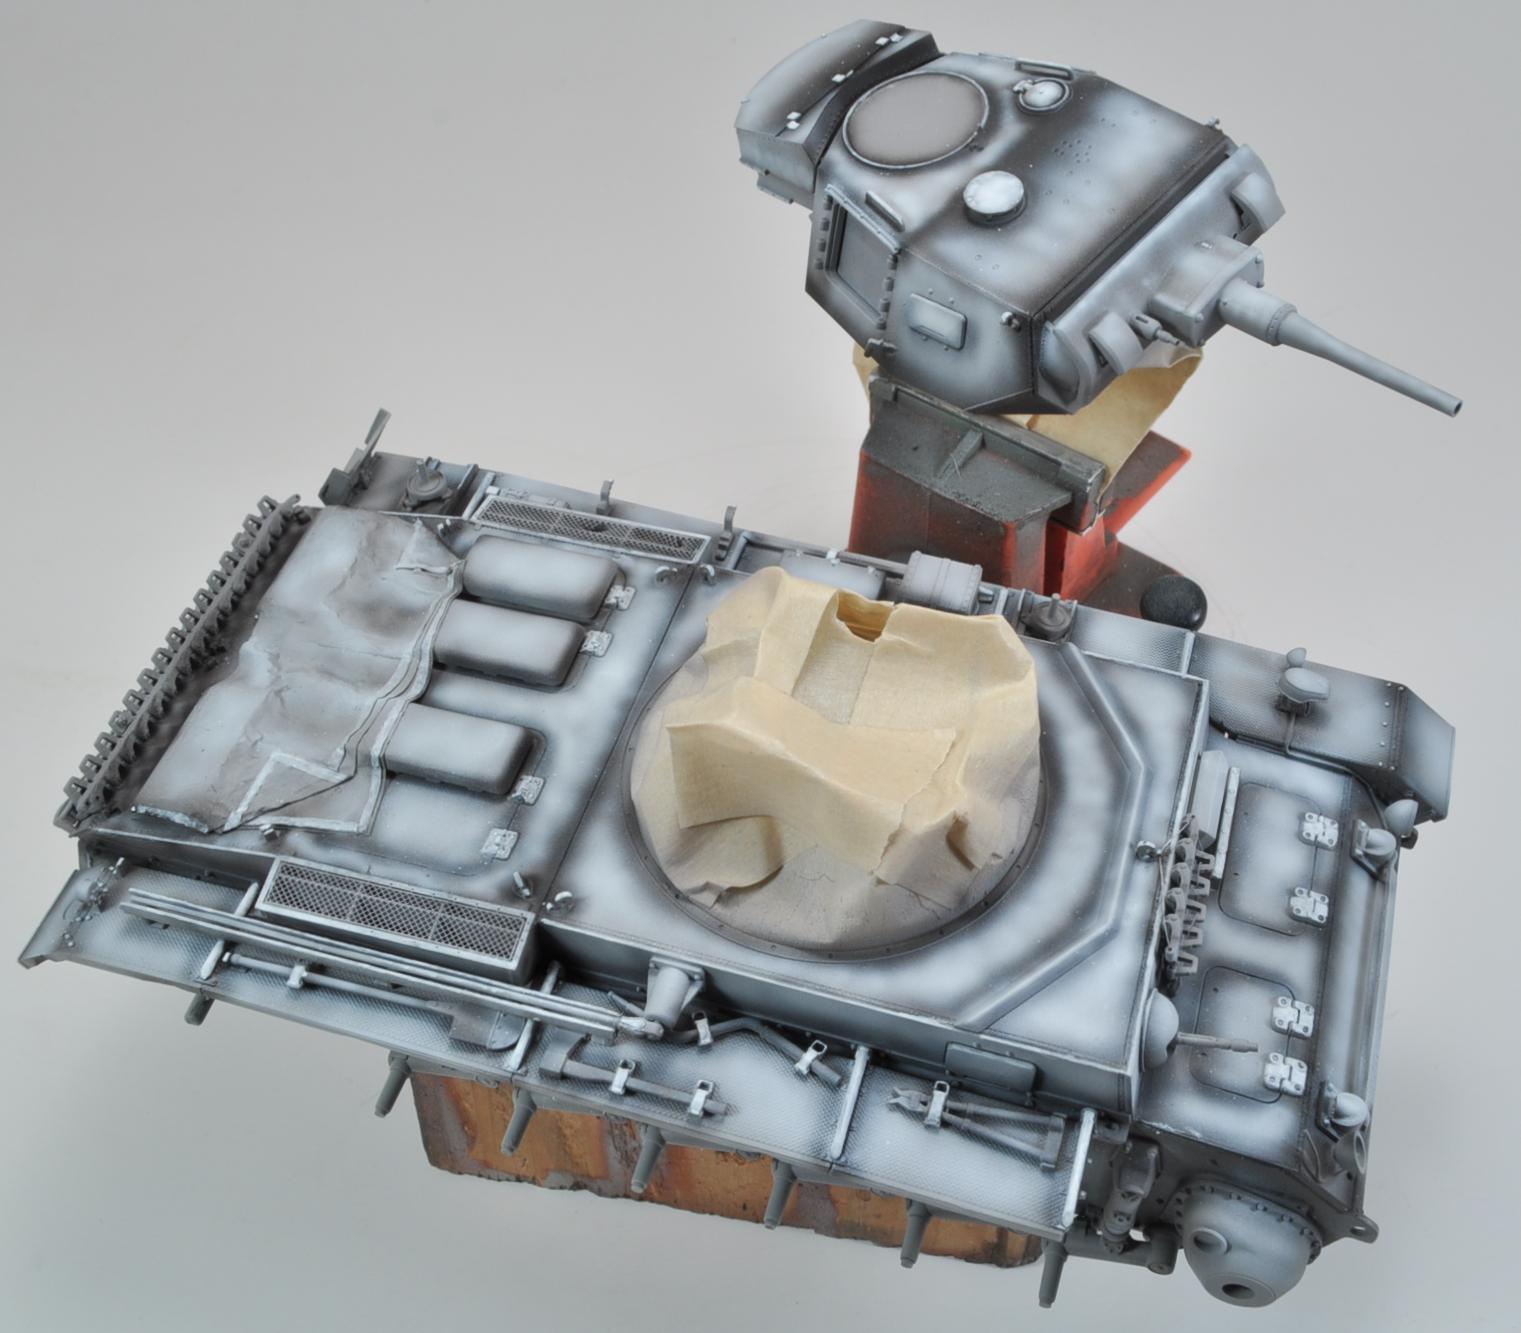
Thanks for the comments guys. Phantom I didn't want to sound like an walking advertisement. The kit was primed with MIG (Ammo) grey primer, then the flat black (also Mig ) was applied. This was followed by flat white (again Mig). Both the black and white where thinned with Mig acrylic thinner 1:1, and also received a drop of retarder. The white also had a transparator added. The white, thinned with water, was also brush painted on raised detail. Hope this answers your questions.
Wow John , very impressive
Watching with great interest
Cheers, Christian B)
Thanks for the comments guys. Phantom I didn't want to sound like an walking advertisement. The kit was primed with MIG (Ammo) grey primer, then the flat black (also Mig ) was applied. This was followed by flat white (again Mig). Both the black and white where thinned with Mig acrylic thinner 1:1, and also received a drop of retarder. The white also had a transparator added. The white, thinned with water, was also brush painted on raised detail. Hope this answers your questions.
I've just started using Ammo paints to, and I love them. What pressure are you spraying at?
Thanks
mike