• Modelers Alliance has updated the forum software on our website. We have migrated all post, content and user accounts but we could not migrate the passwords.
    This requires that you manually reset your password.
    Please click here, http://modelersalliance.org/forums/login to go to logon page and use the "Forgot your Password" option.

AFV Club M113 ACAV

Thanks guys. I did some work on putting on some of the parts of the exterior. There are lots of small parts to this kit. I will post pics tomorrow.

Cheers,
James
 
Awesome work James .....but you'd think those guys would straighten up their area now and then.

Cheers, Christian B)
 
Awesome work James .....but you'd think those guys would straighten up their area now and then.

Cheers, Christian B)

What do you mean, Christian? The stowage in my model is neater than what the real track interiors usually looked like...except when they were on stand down and had to take all of the stuff out and repack. :)

Yeah, some of those tracks look pretty messy. :)

Cheers,
James
 
Here is my progress from Sunday. I didn't really follow the instructions in any order. I just added parts as I pleased. Most of the models I had built up to this point have not had as many small parts as this one does, so it is something new for me.

100_9997.JPG


100_9998.JPG


100_9999.JPG


101_0001.JPG


101_0002.JPG


101_0003.JPG


Not sure what I will get done today as I have a bunch of chores on the to do list today.

Thanks for looking.

Cheers,
James
 
You know James,

This build keeps reminding me of when I was coming up with the new list of Master's members, your name popped into my head!

Great stuff man!

(y) (y) (y) (y) (y) (y) (y)

Bob
 
You know James,

This build keeps reminding me of when I was coming up with the new list of Master's members, your name popped into my head!

Great stuff man!

(y) (y) (y) (y) (y) (y) (y)

Bob

Thanks, Bob. I appreciate that. It means a lot.

I still have a way to go in making my vehicle models look like some of the ones I see in magazines and on the internet, but I am trying... :)

Cheers,
James
 
It's been a couple of weeks since I posted any progress on this model. I have been working on a few pieces here and there now that it is mainly down to the tiny pieces. Cleanup of the small parts and the search for those that shoot themselves away from the tweezers onto the floor took up most of the time I have spent on this kit recently.

Here's how far I have gotten as of last night...I started working on the ramp (still have two more hinge things for the bottom and the hinges and locking lever to be installed - I probably won't have the tow cable attached), the gun shield for the M60, the commander's cupola, and the driver's hatch.

100_0183.JPG


And here are several views with the M60 gun shield mounted. It will remain a sub-assembly for painting and will be permanently attached after painting. I still need to attach the ammo chute, side handle, and weapon attachment hardware.

I installed the headlights. Prior to installing the parts that the headlight guards will attach to, I cut the front portion off since I am modeling a gas-powered M113 and the mounting bracket thing was not as long as the one on the M113A1.

There would be one more tiny piece on the top of the hull, but that shoot away when I was cutting it from the sprue and I was never able to find it. I will either take one from another kit or will cover the area with crew gear.

100_0184.JPG


100_0185.JPG


100_0186.JPG


100_0187.JPG


100_0188.JPG


100_0189.JPG


100_0190.JPG


100_0191.JPG


The ramp in the AFV Club kit is pretty nice. You can have the smaller door either open or shut. Not sure which I am going to do, but the open ramp would show the personal affects ammo can.

100_0192.JPG


100_0193.JPG


I have mixed feelings about the clear plastic periscopes. They are nice, but I have to paint them before I put the rest of the items on the cupola so I can reach them easily to paint in order for them to have the effect that I want them to have.

100_0194.JPG


The driver's hatch is pretty nice in that it has the piece that the lever that holds the hatch open interfaces with.

100_0195.JPG


It might not seem like much progress was made in terms of parts count, but it did take a bit of time to do what has been done.

Thanks for looking.

Cheers,
James
 
That is still some respectable progress; especially given the issues you had with escaping parts. I love this!
 
Thanks, Guys.

Some more progress...

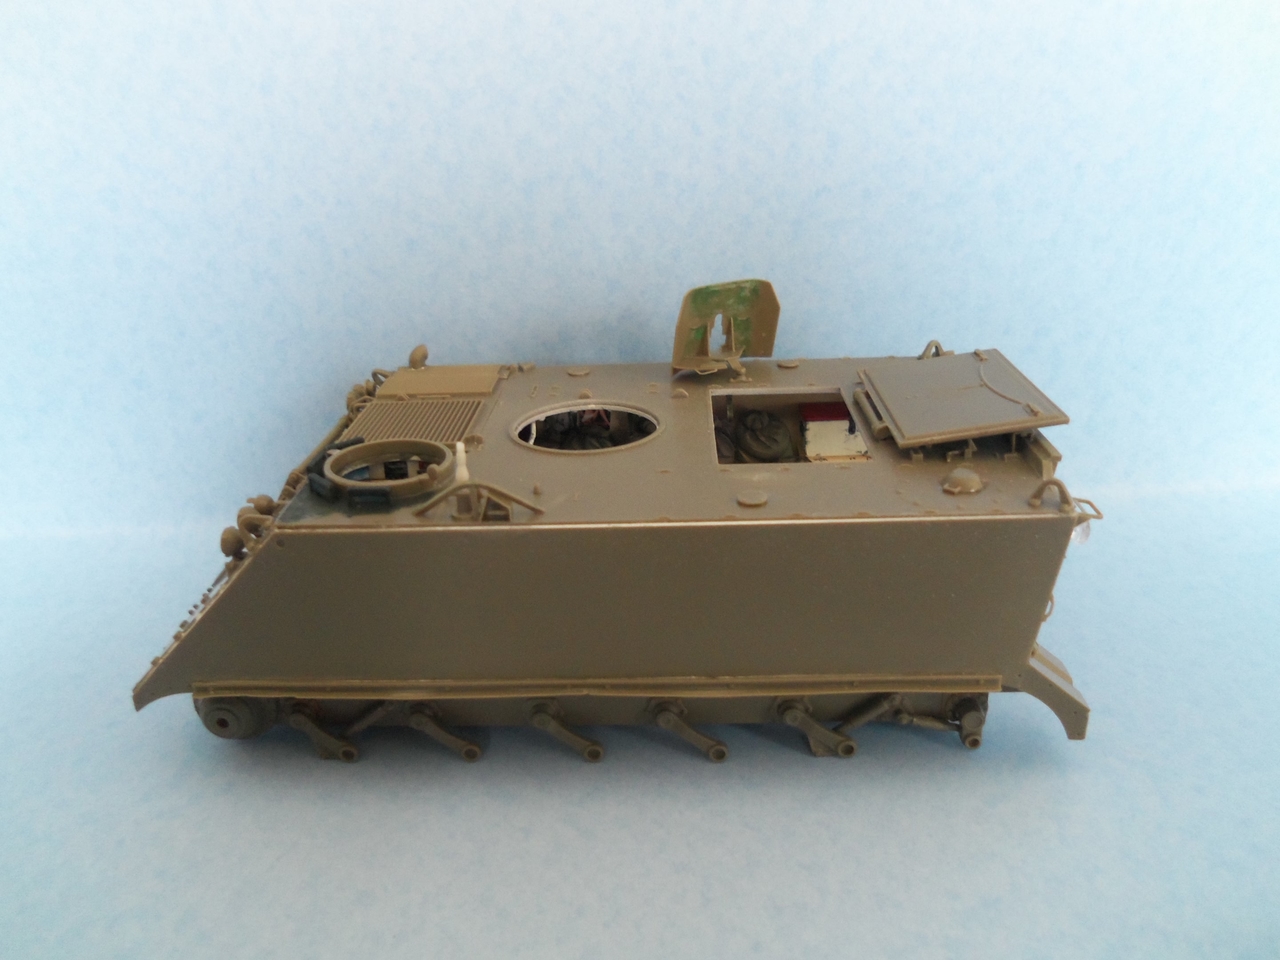
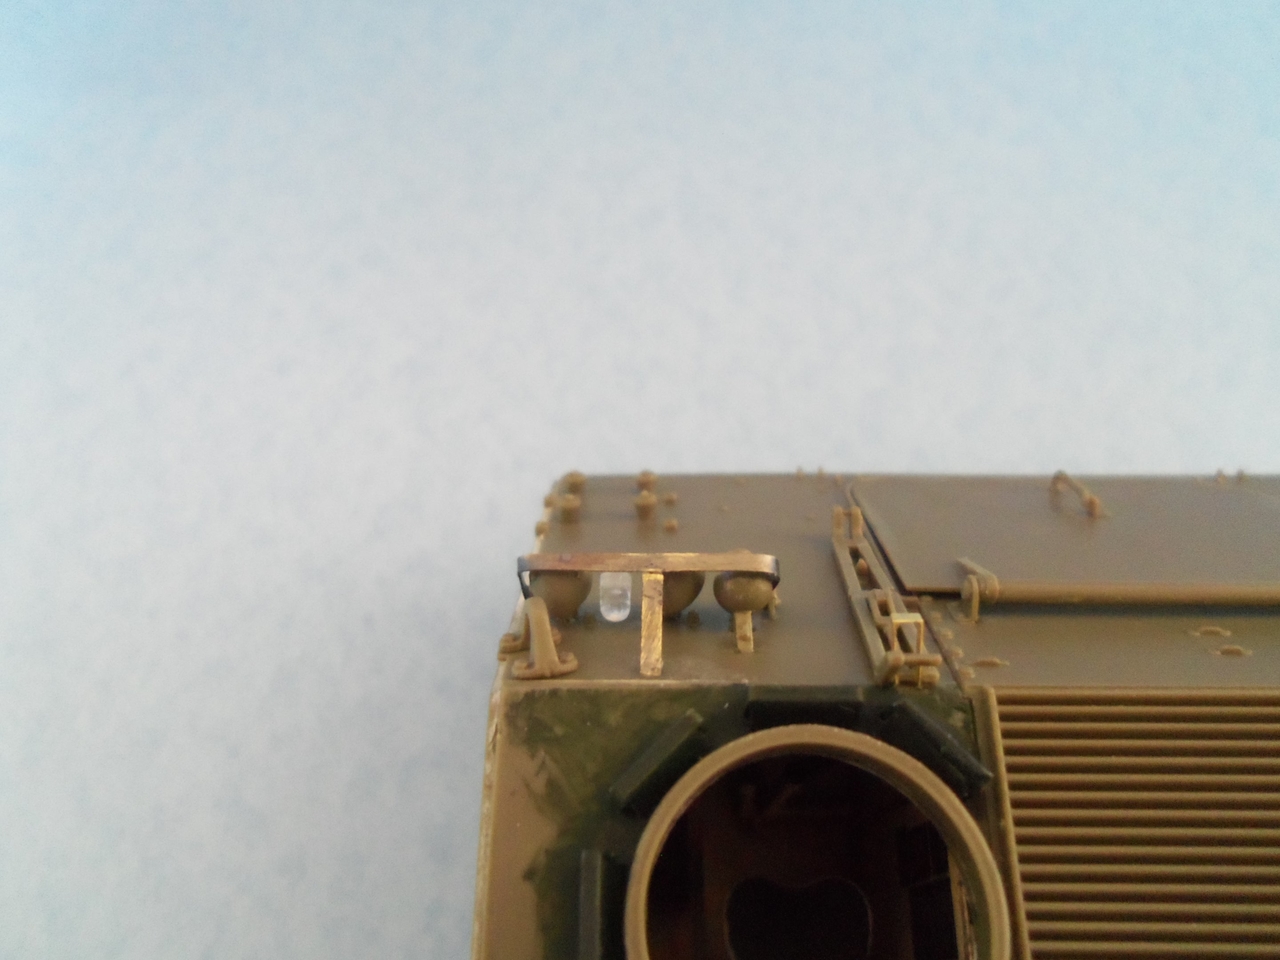
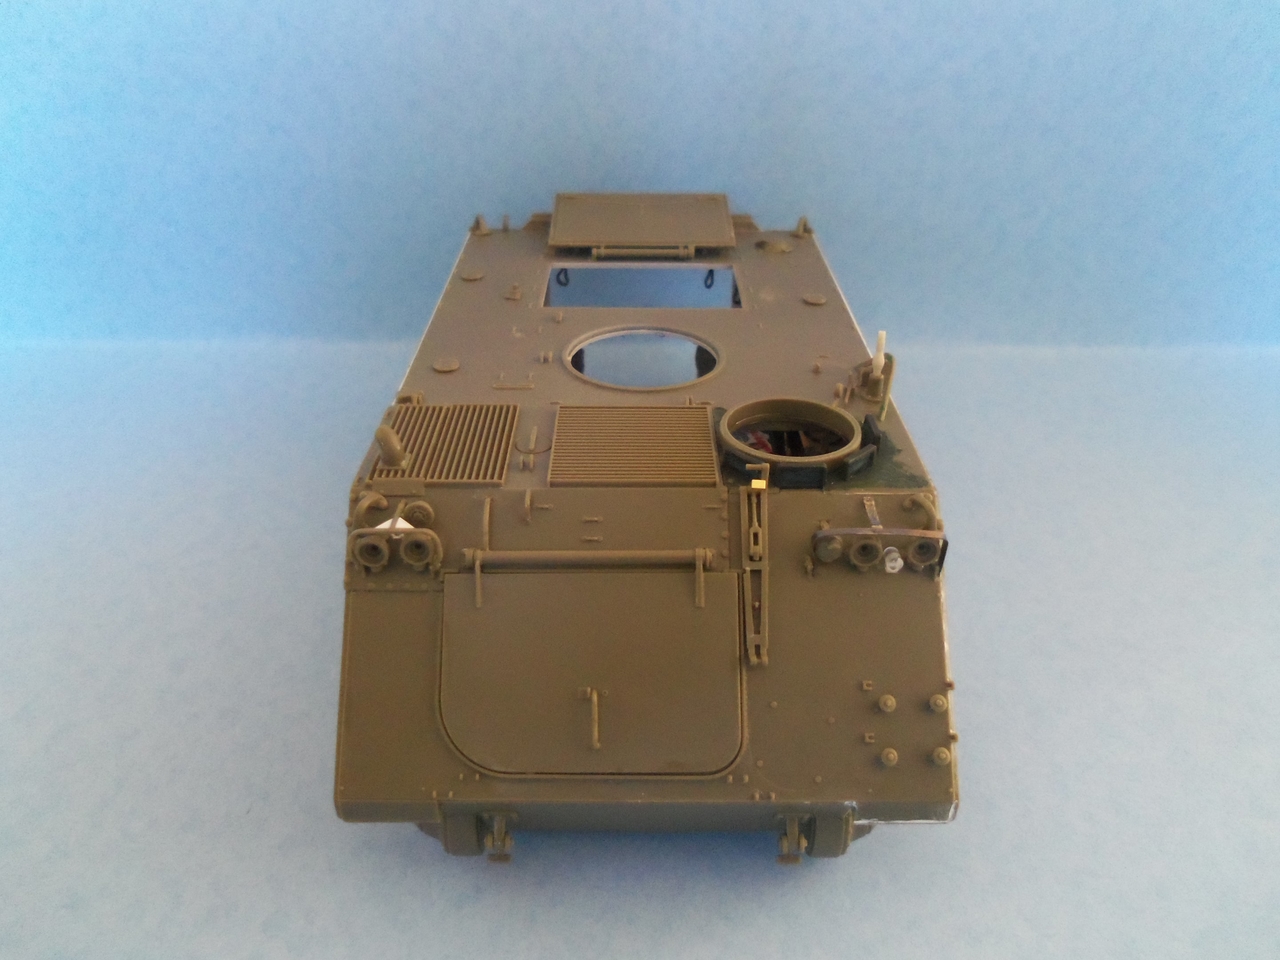
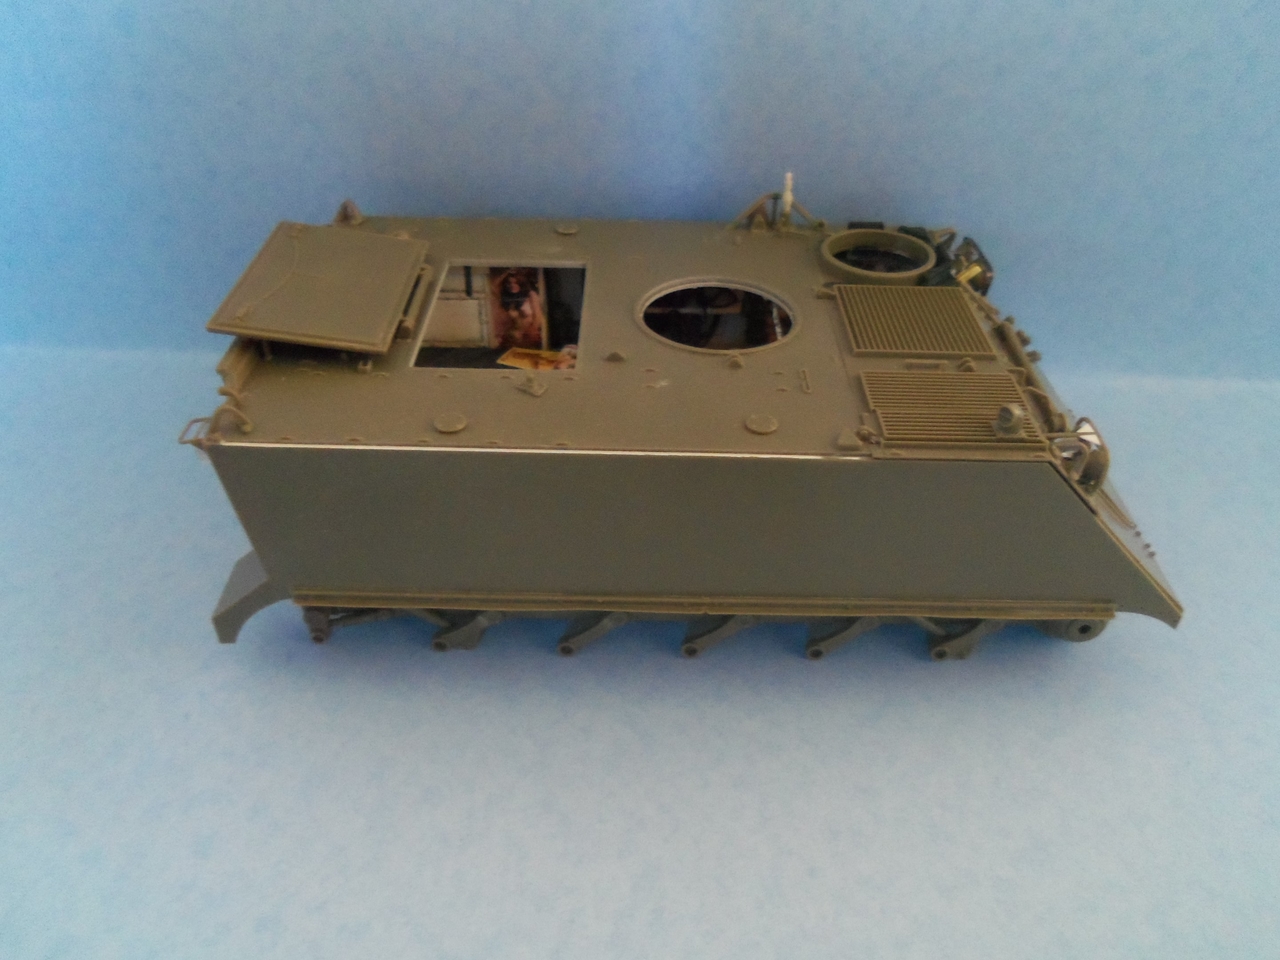
Since HARASSMENT had a field expedient headlight guard made for the driver's side set of headlights, I could not use the guards from the kit. Plus it is a straight M113, so the M113A1 and later headlight guards would not work anyway. Since I did not have any plastic that would stay bent in the desired shape, I found a piece of photo etch fret that looked to be about the size and width that I needed, cut it and bent it to shape, and glued it to the attachment points. I then took another piece to make the support bracket that extends from it to the front of the hull. For the other set of headlights, it received a guard made from the kit guard which was shaved and sanded down to the thickness, or thinness, for the type used by the gas powered M113s. The support brace was made from a part from the kit that was not used since it was inside the engine compartment and the door was closed. Added to the support brace are two pieces of thin sheet styrene that are the pieces that were welded to the support brace to strengthen it. This process was pretty time consuming due to the sanding and shaping, but I think it turned out well.

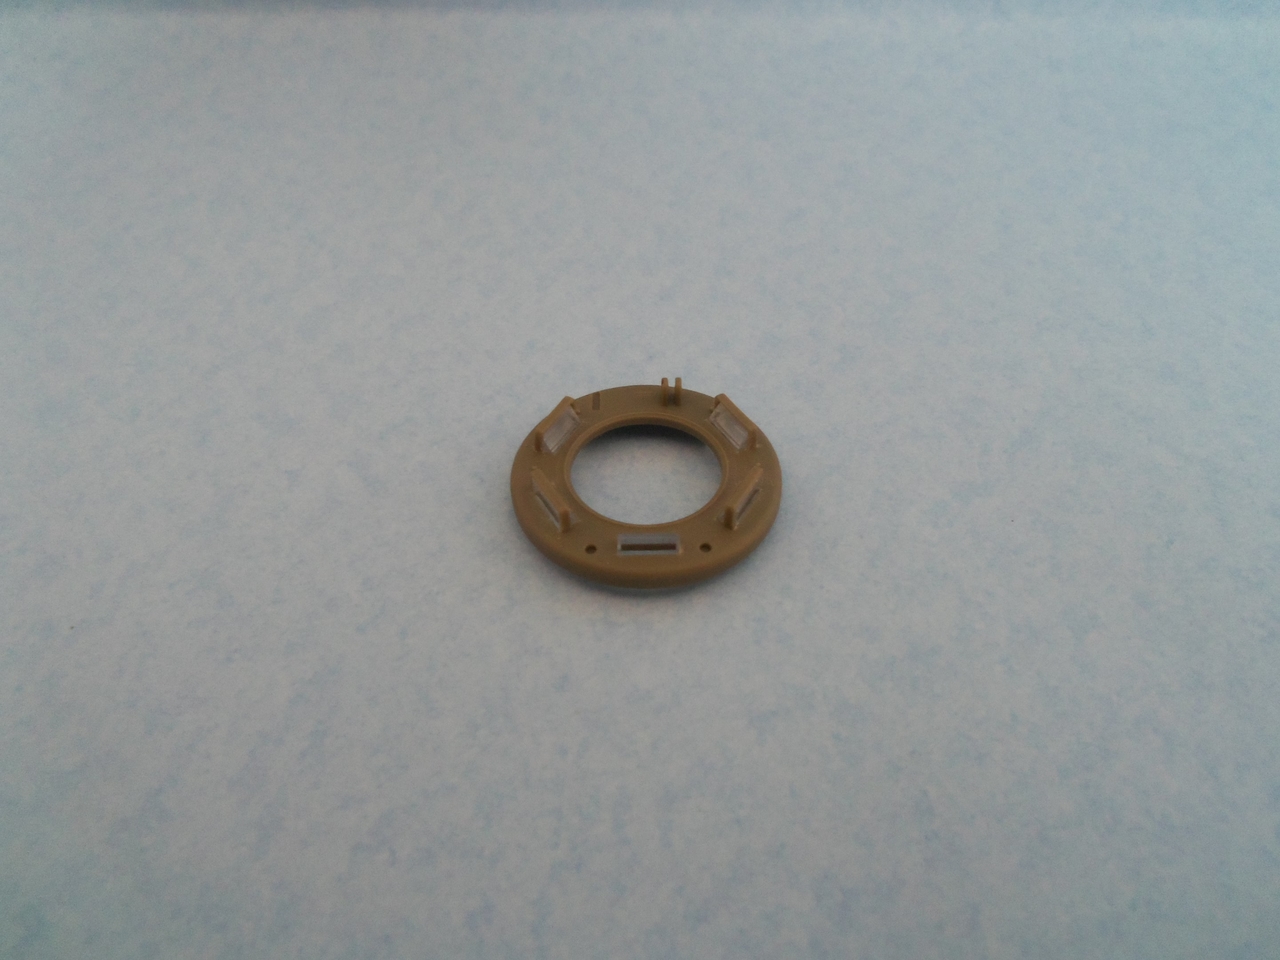
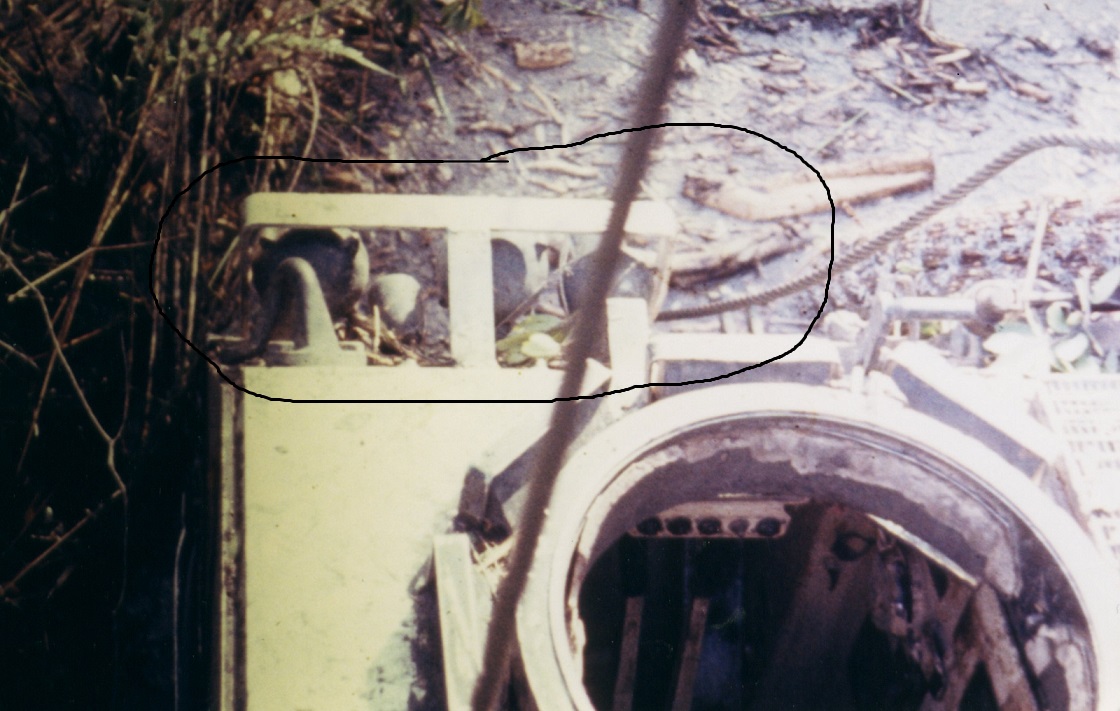
Here is a top view of the actual field expedient headlight guard that makes this particular vehicle unique...

IMG_0050_-_Copy.jpg


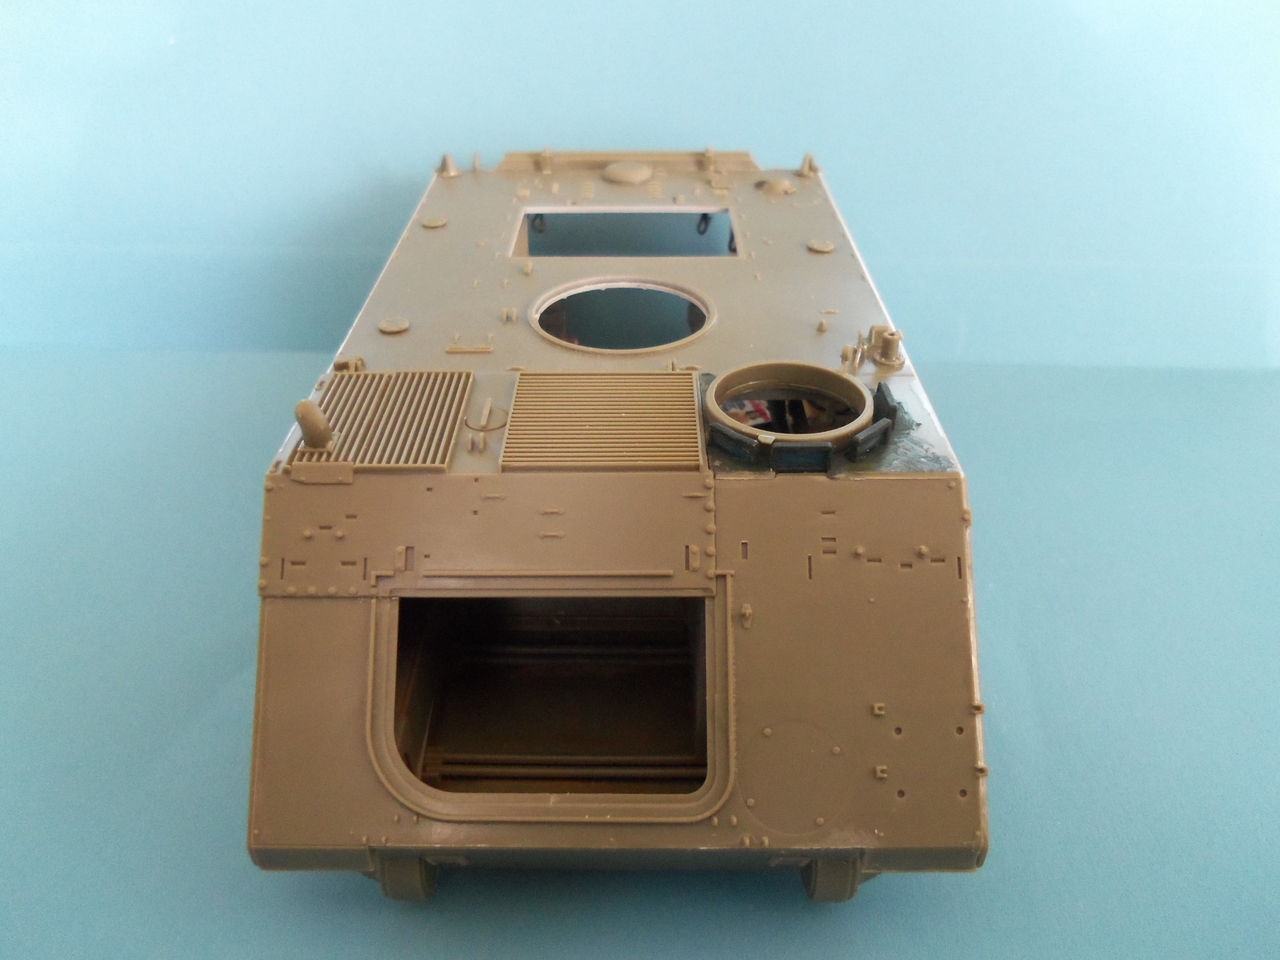
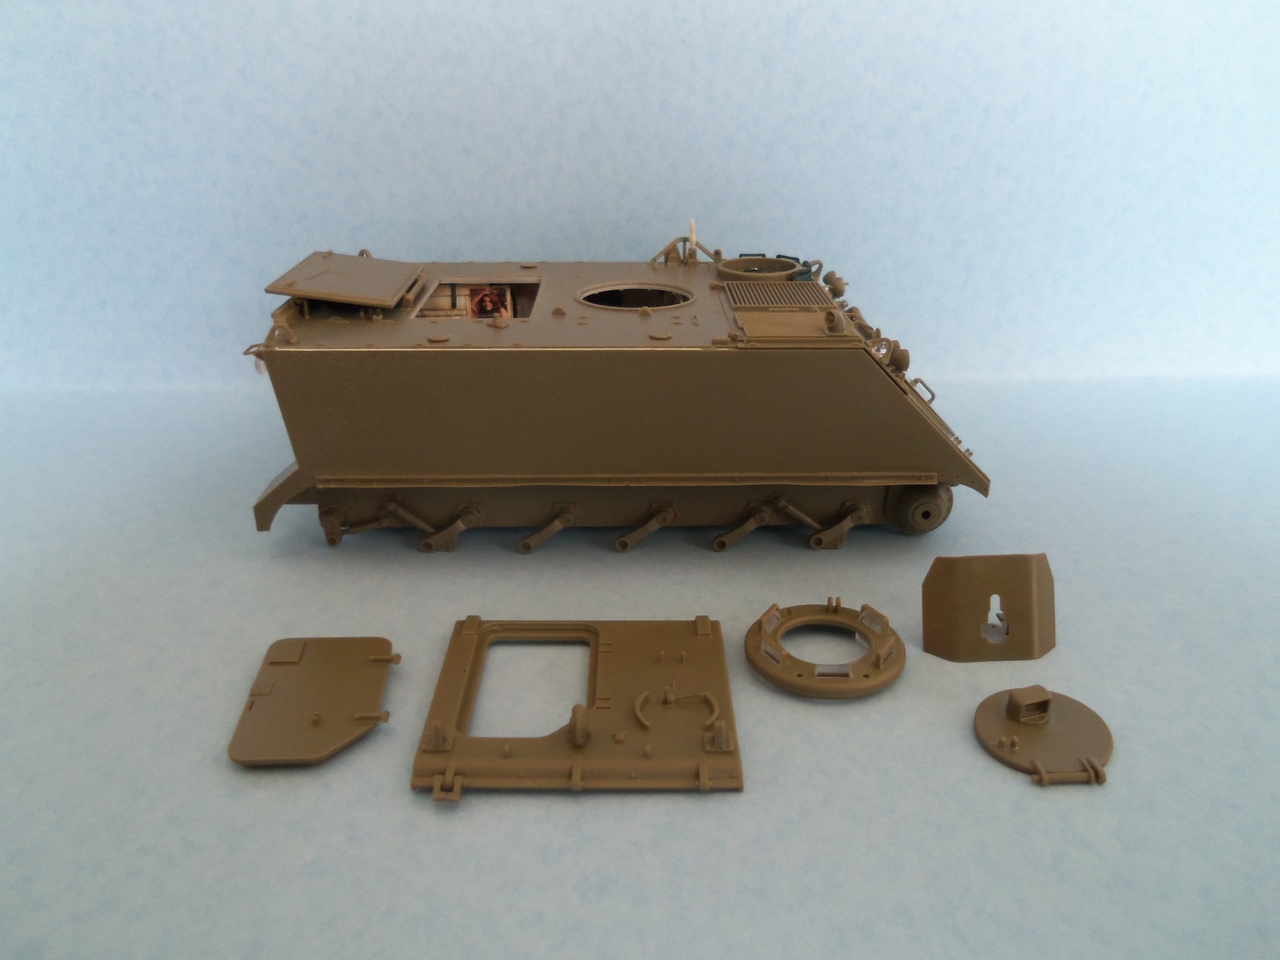
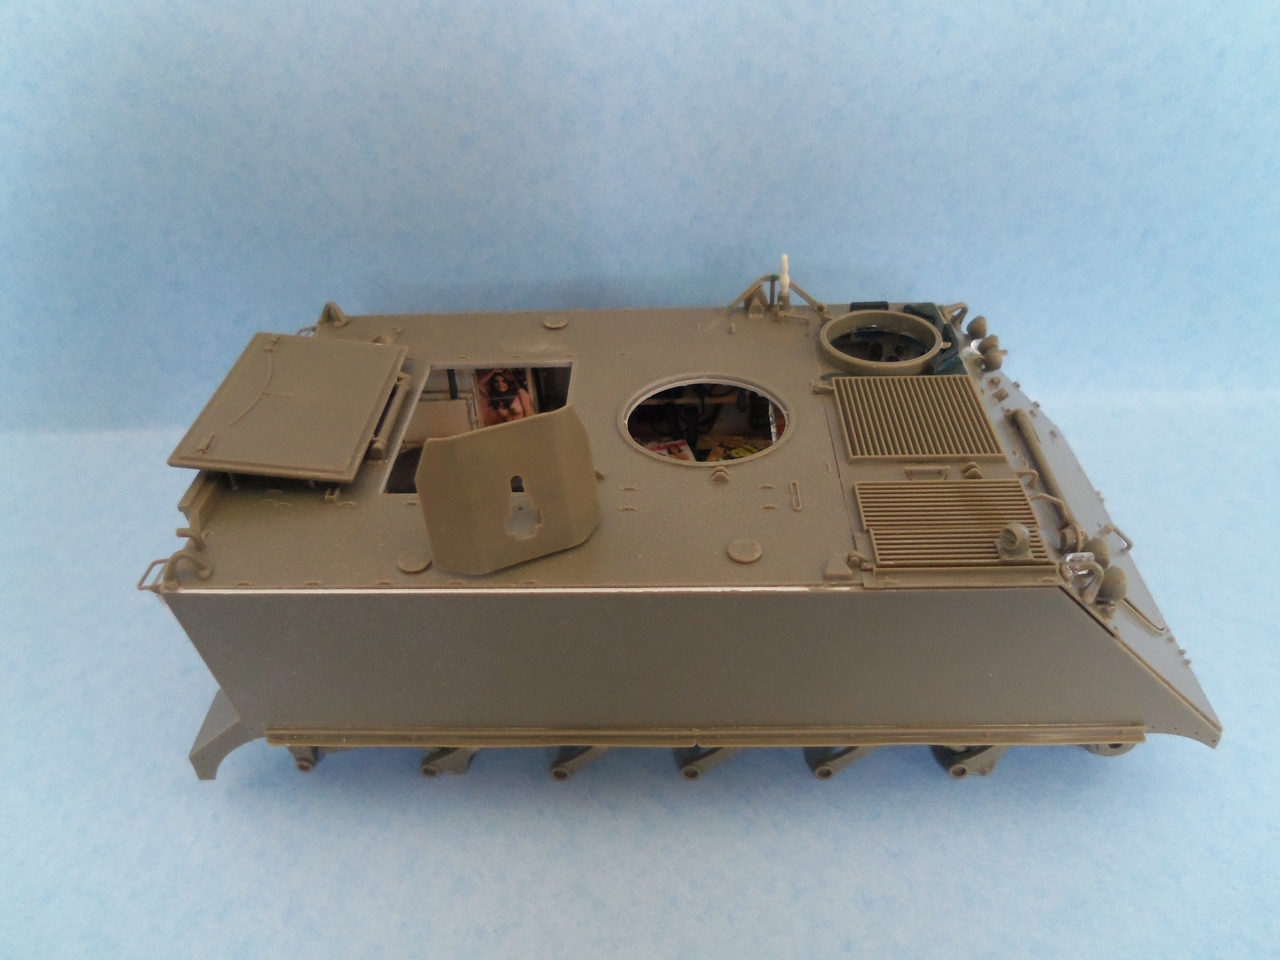
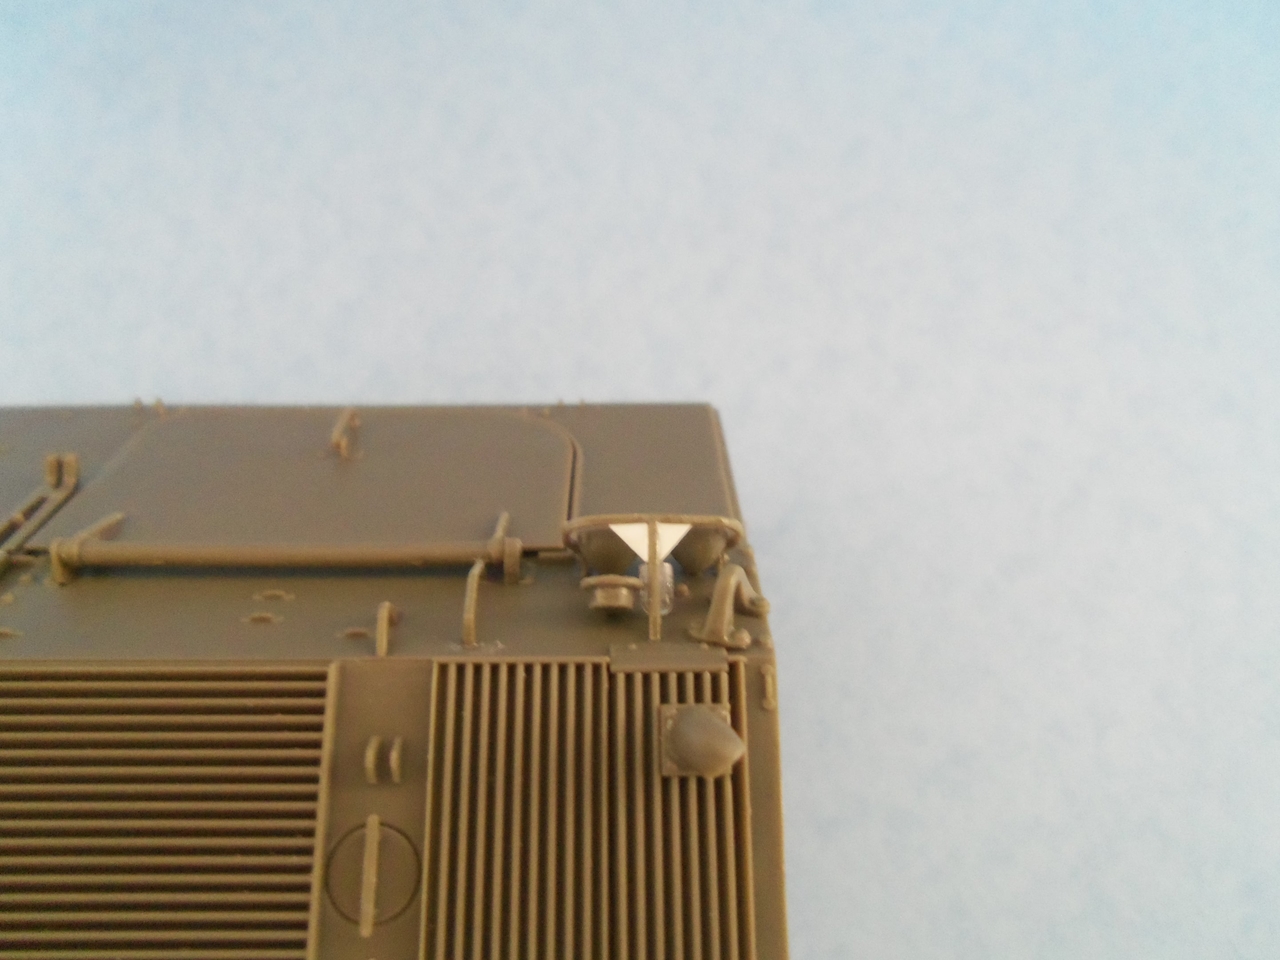
And here is the 1/35th scale version...

100_0216.JPG


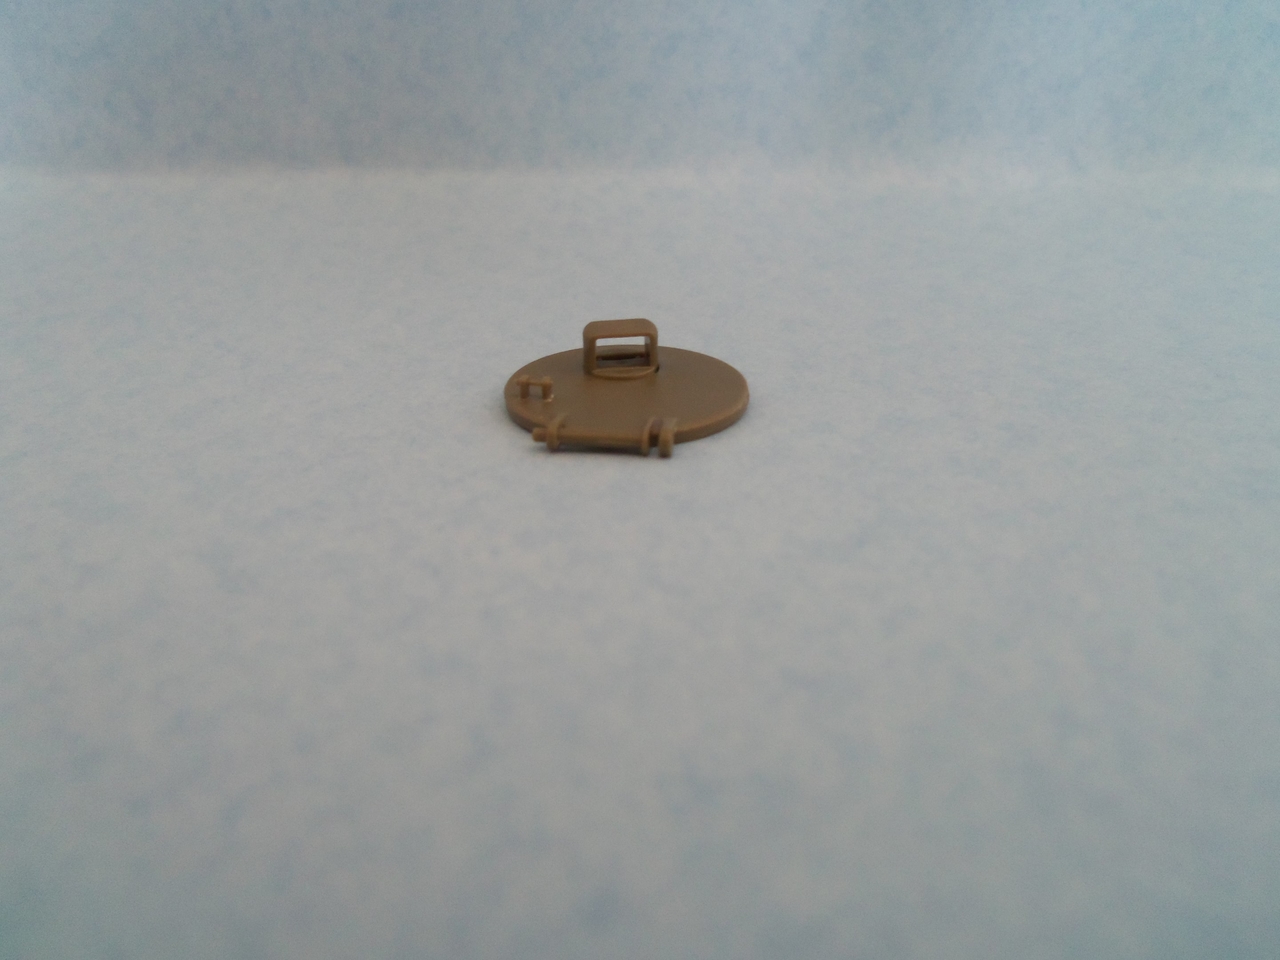
And a picture of the top view of what the factory installed headlight guard looks like for the right side headlights in 1/35th scale...

100_0217.JPG


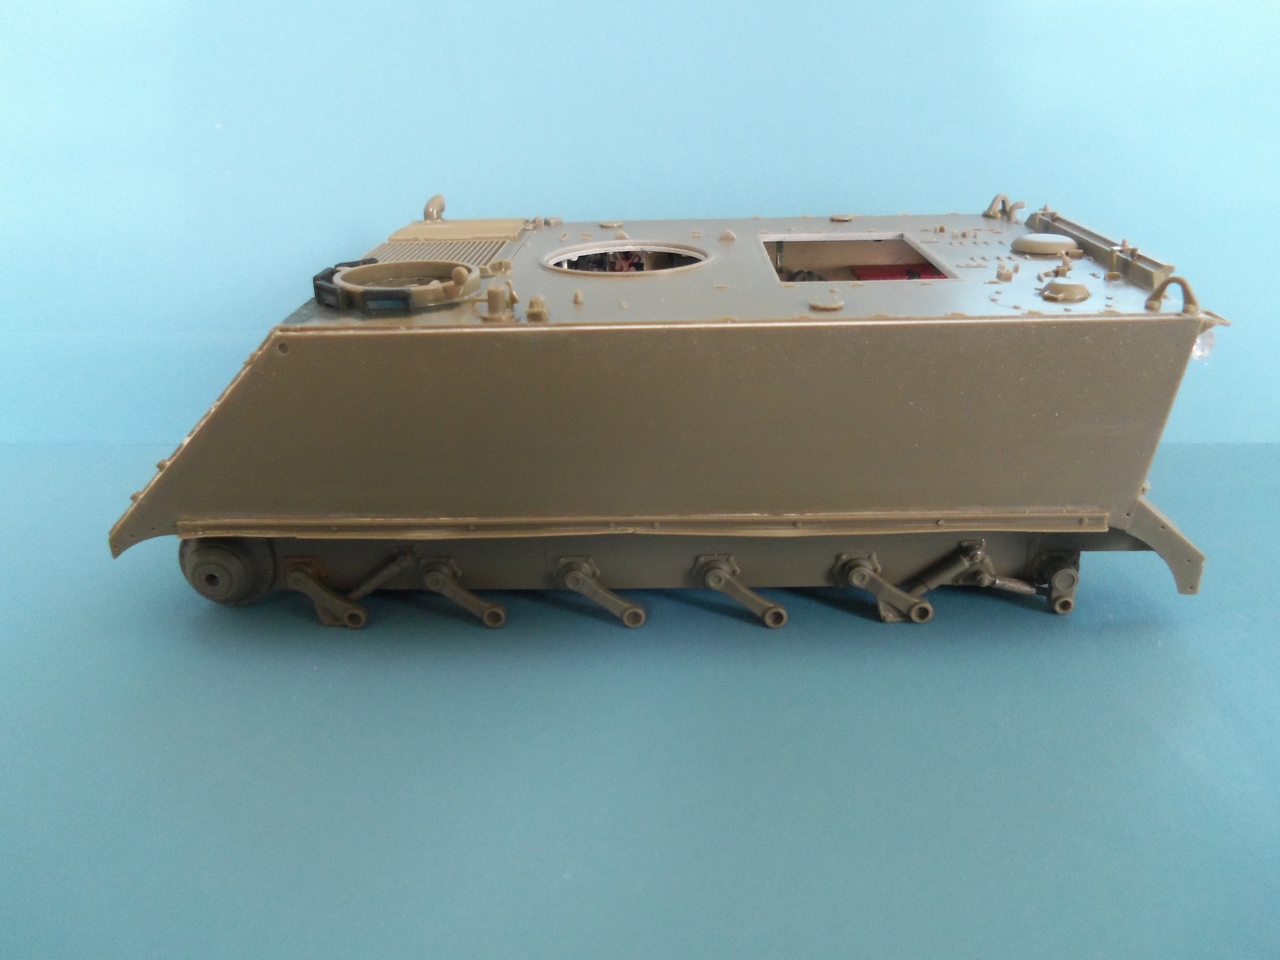
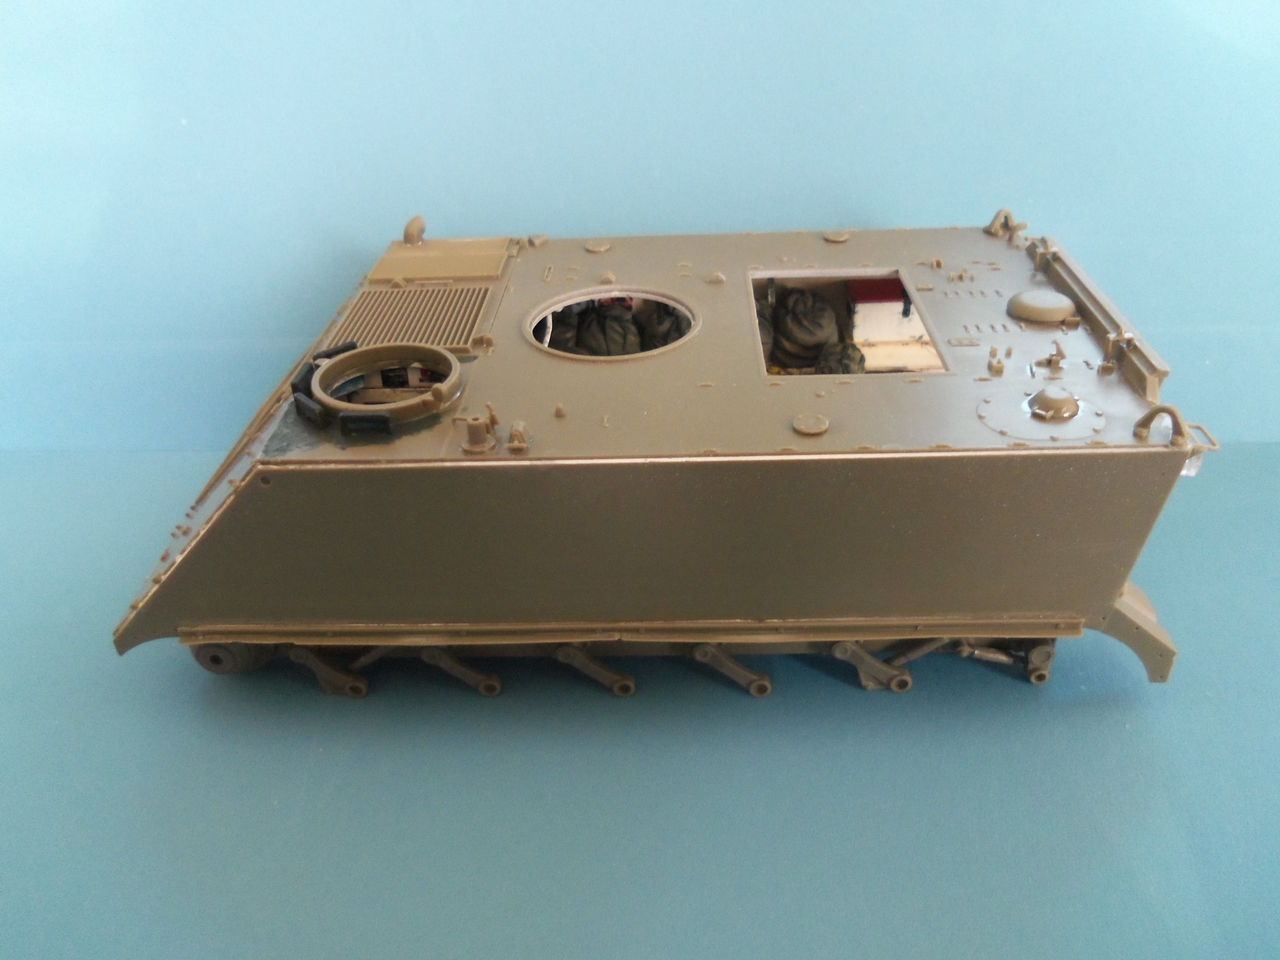
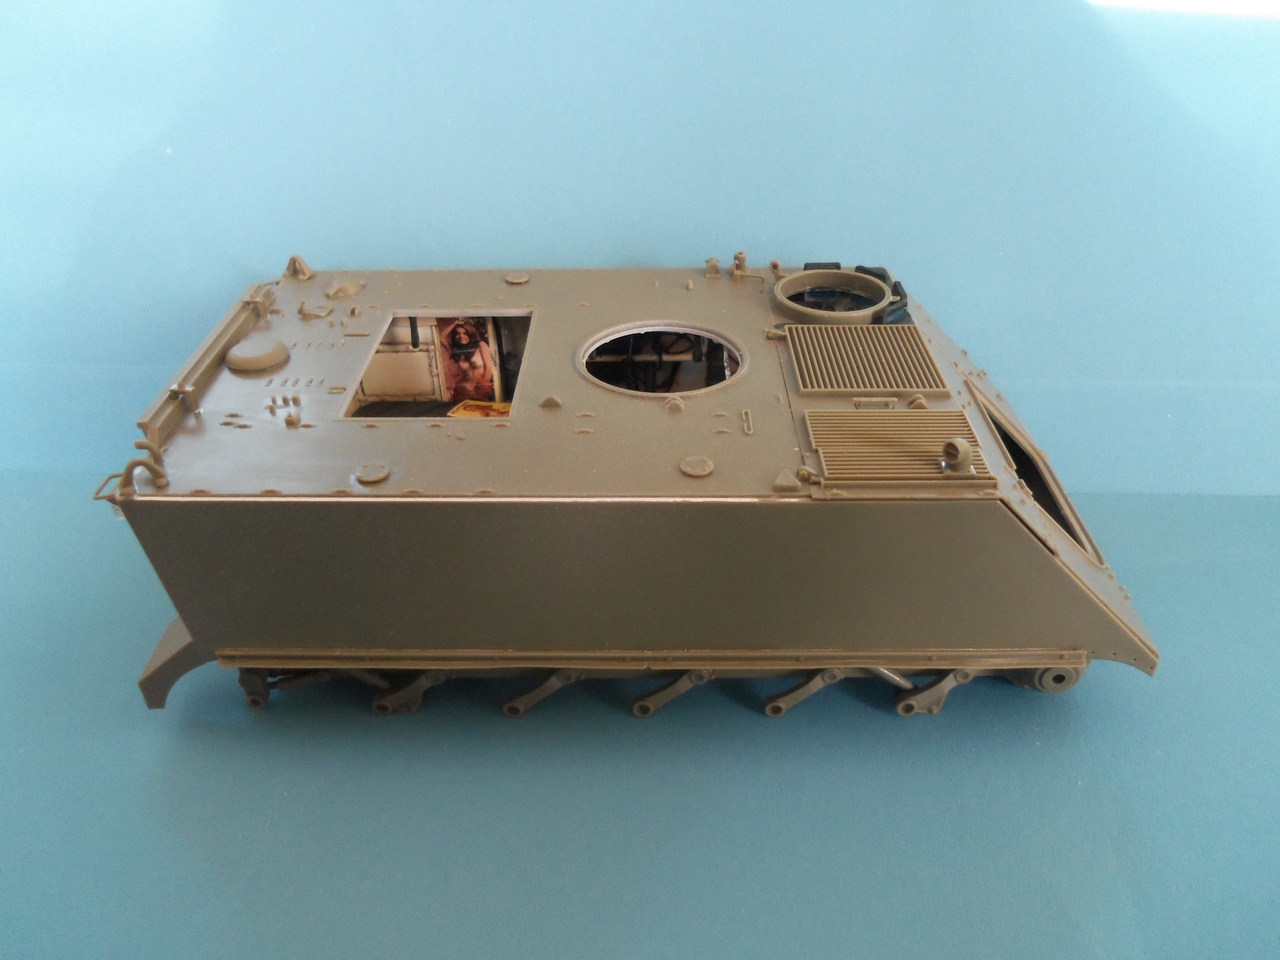
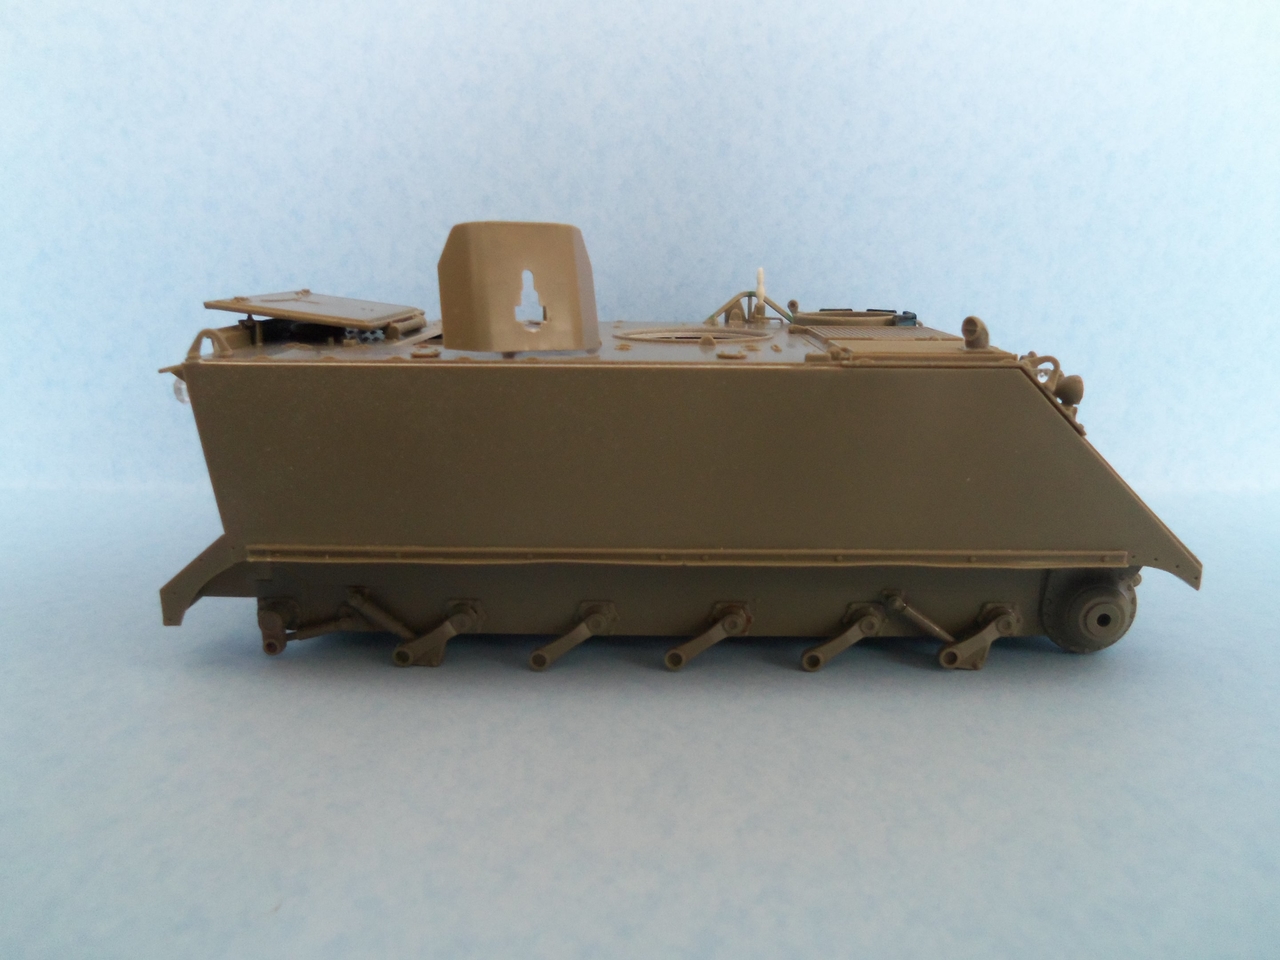
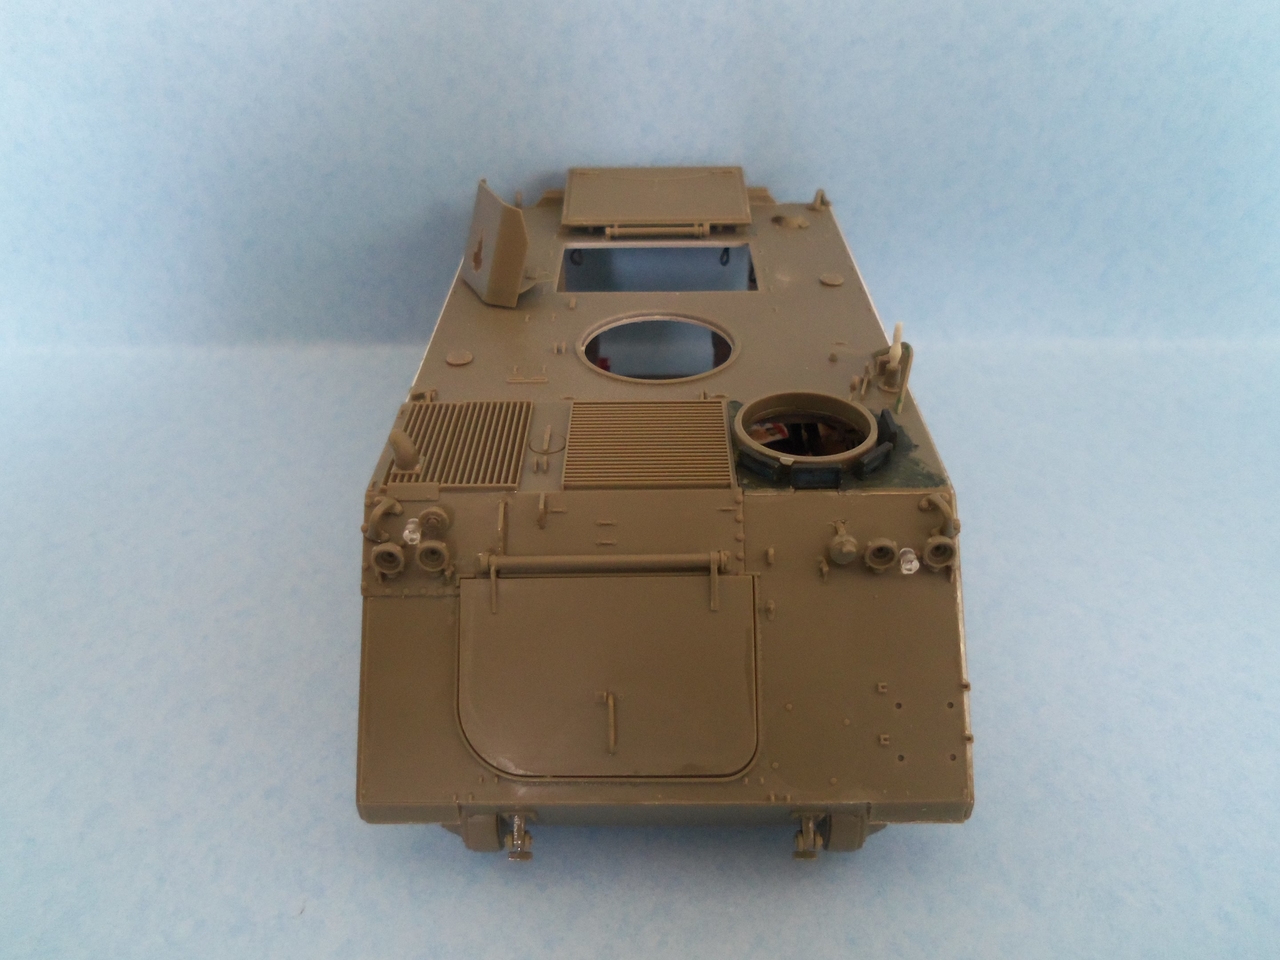
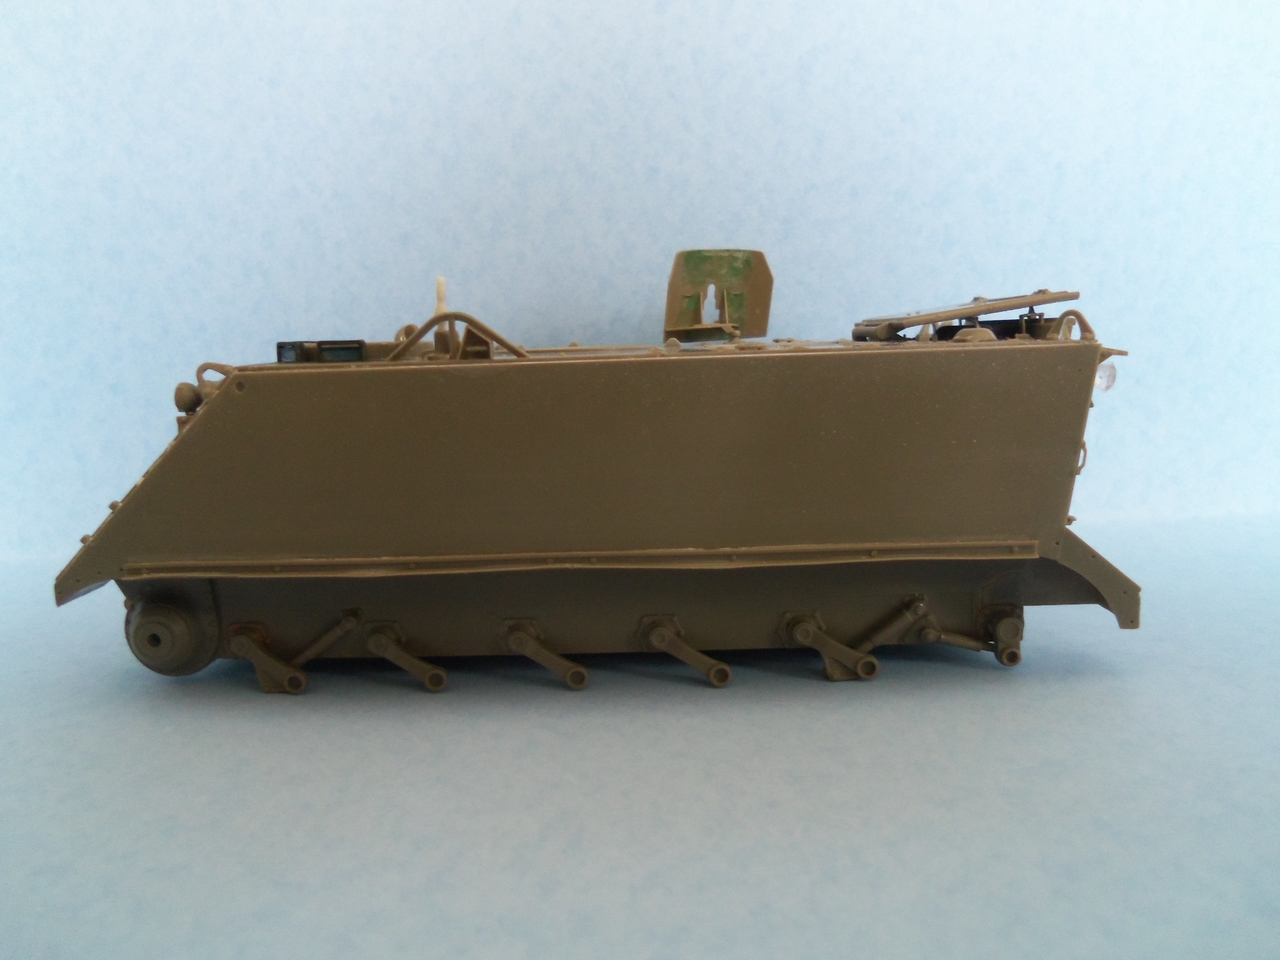
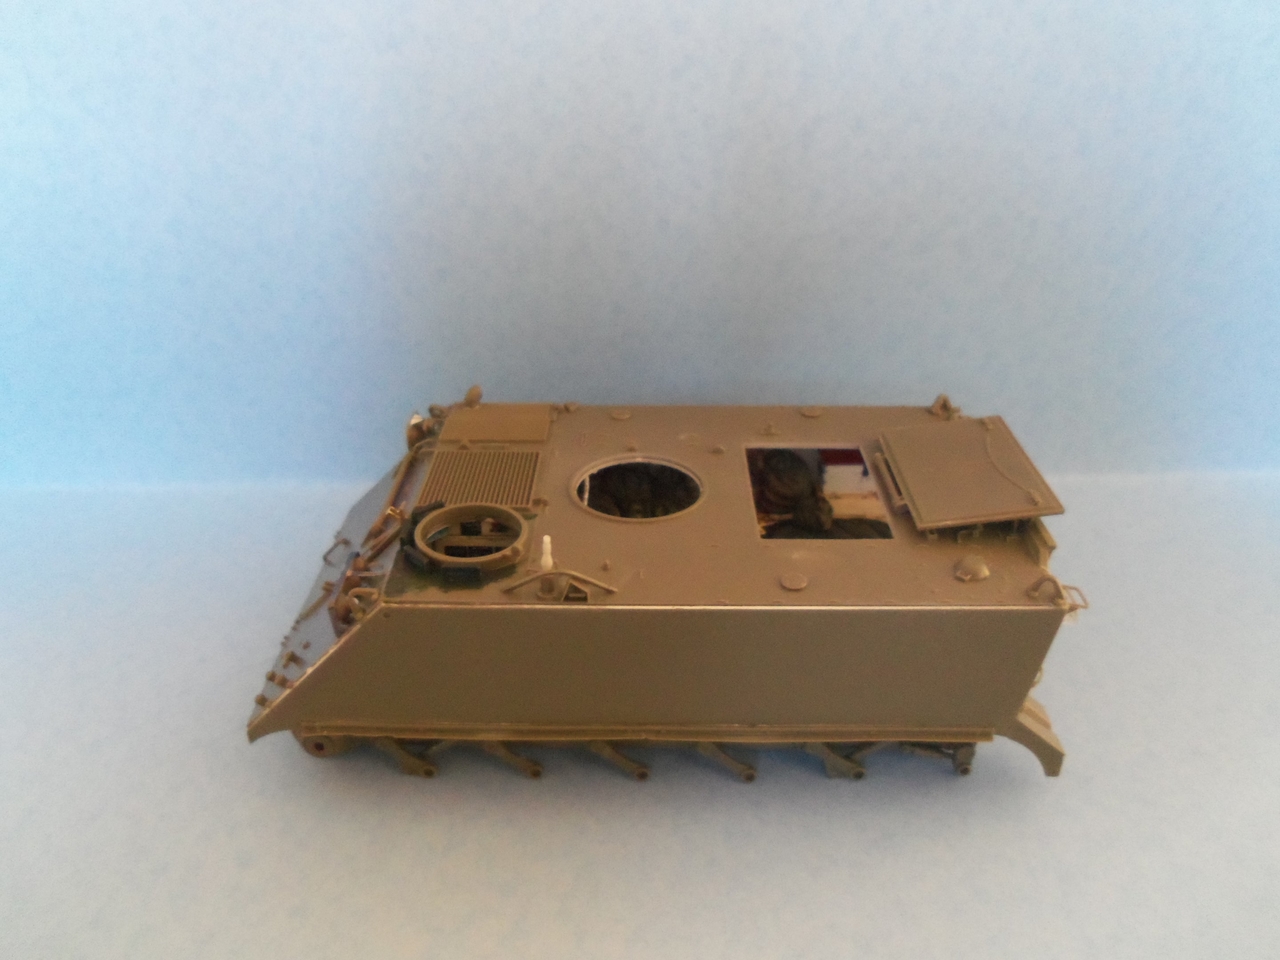
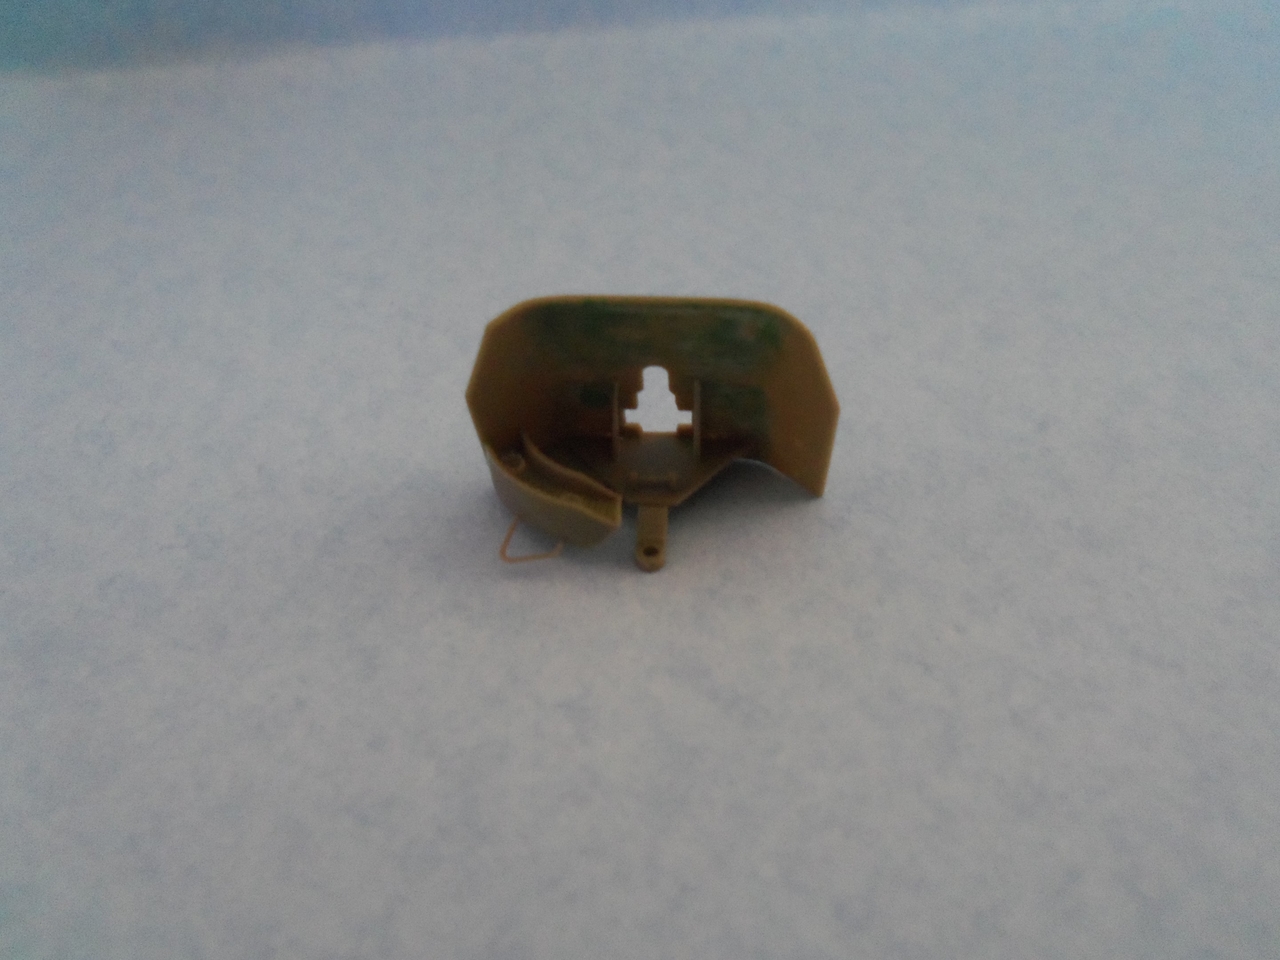
Some pics of the parts at other angles that also show the addition of the thing that holds the trim vane open (although the trim vane was taken off of HARASSMENT, the device remained in place), the bolt heads that normally hold on spare track links, etc...

100_0204.JPG


100_0205.JPG


100_0206.JPG


100_0212.JPG


I also added some pieces to the M60 shield...

100_0218.JPG


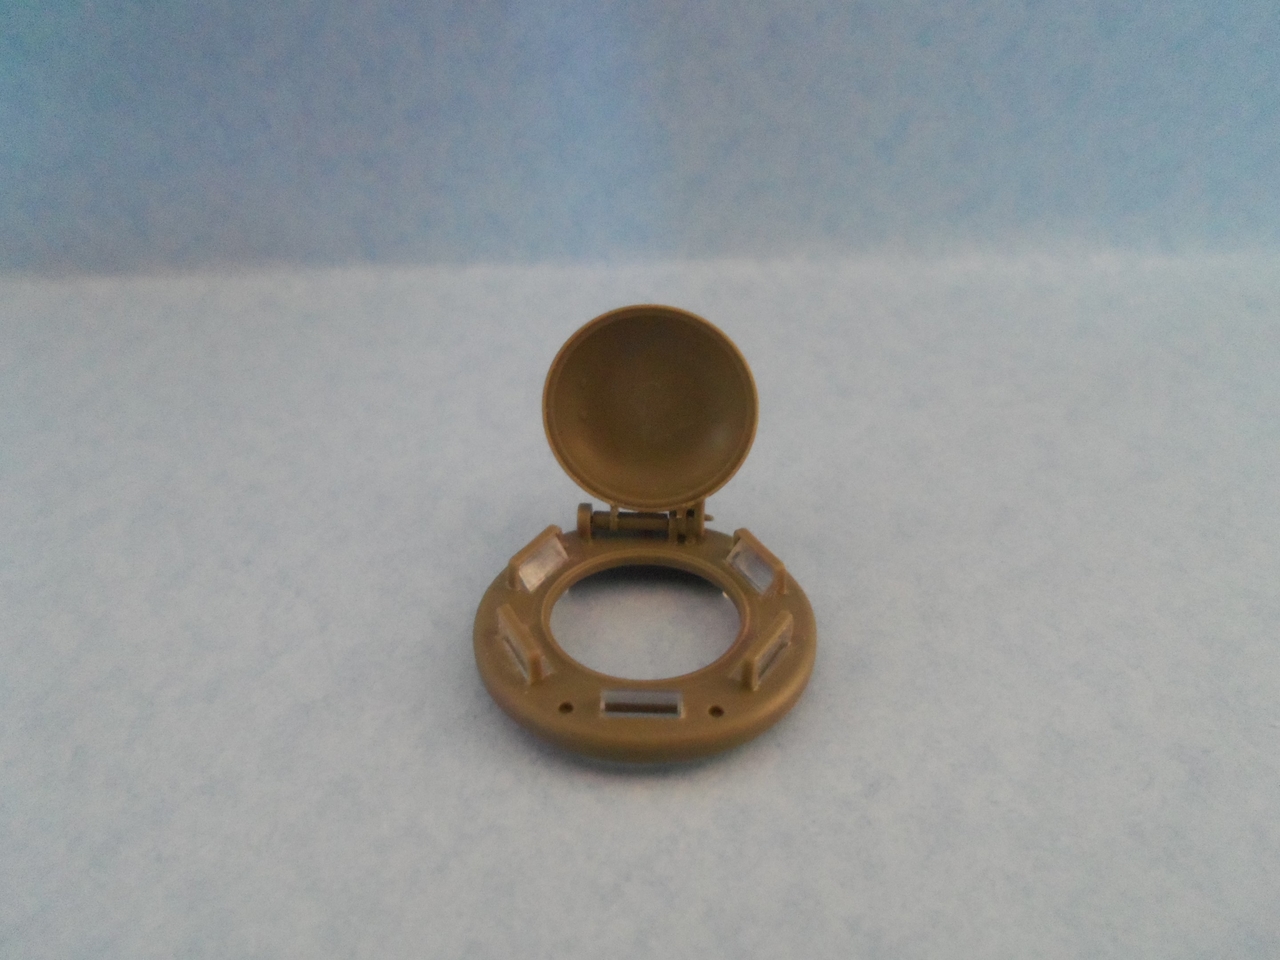
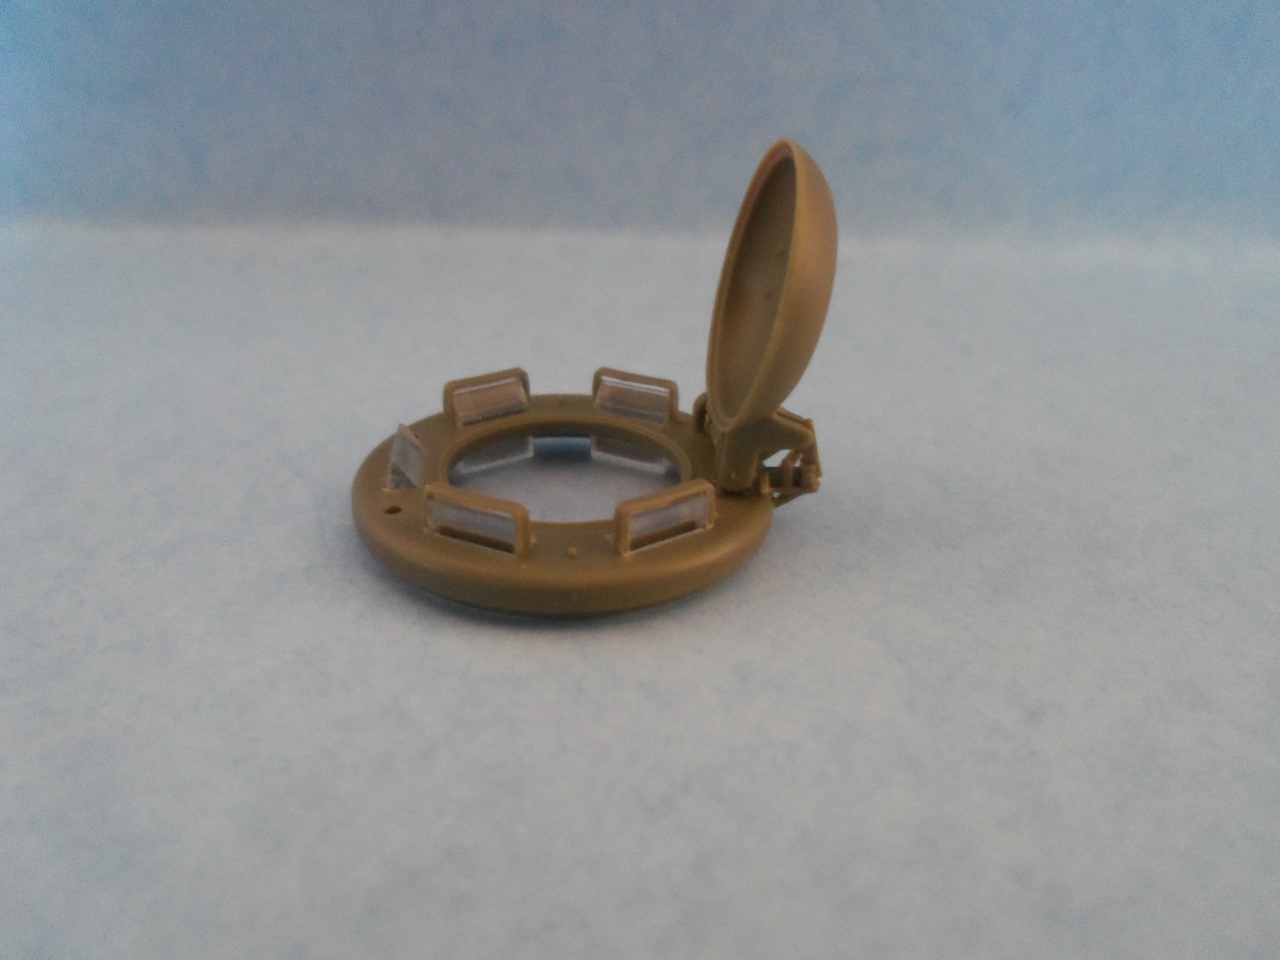
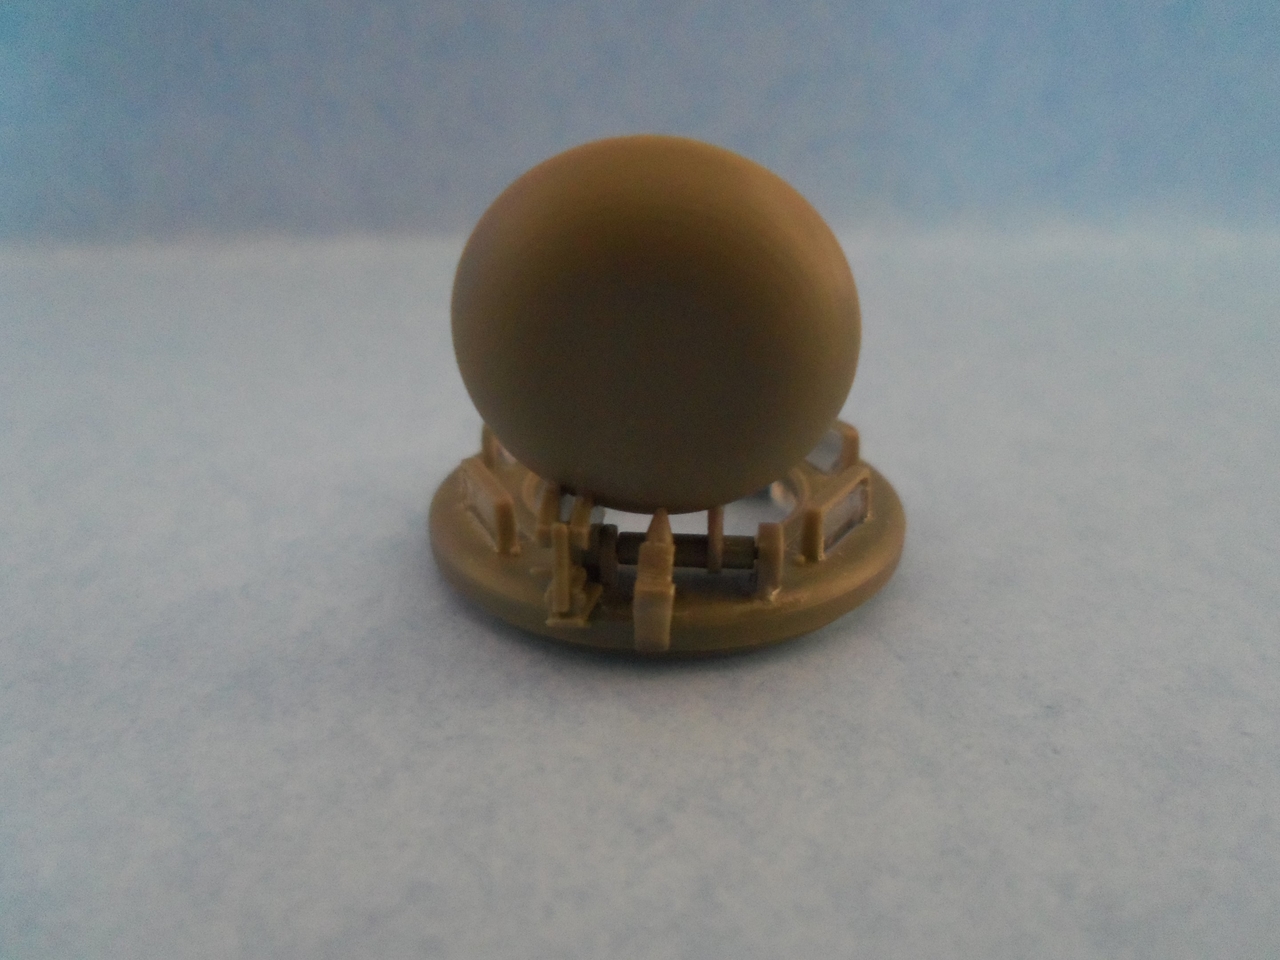
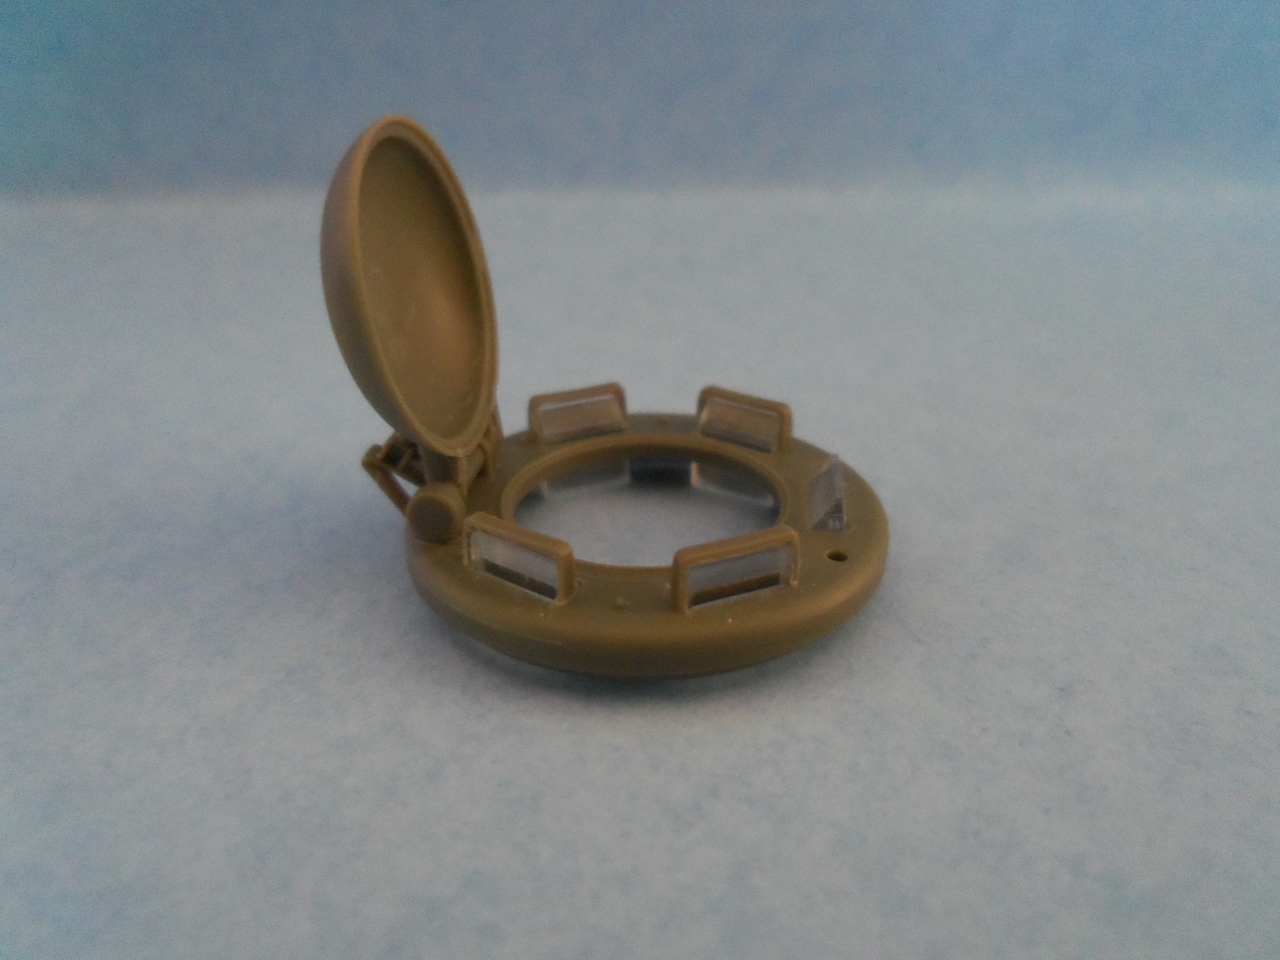
Got more done on the commander's cupola. From here, I will paint the periscopes so I can finish adding the mount for the .50, a board that the gunner sits on that rests upon the tops of the periscopes near the open hatch, and sculpt a flak jacket that the gunner will be resting against located on the inside of the open hatch...

100_0219.JPG


100_0220.JPG


100_0221.JPG


100_0222.JPG


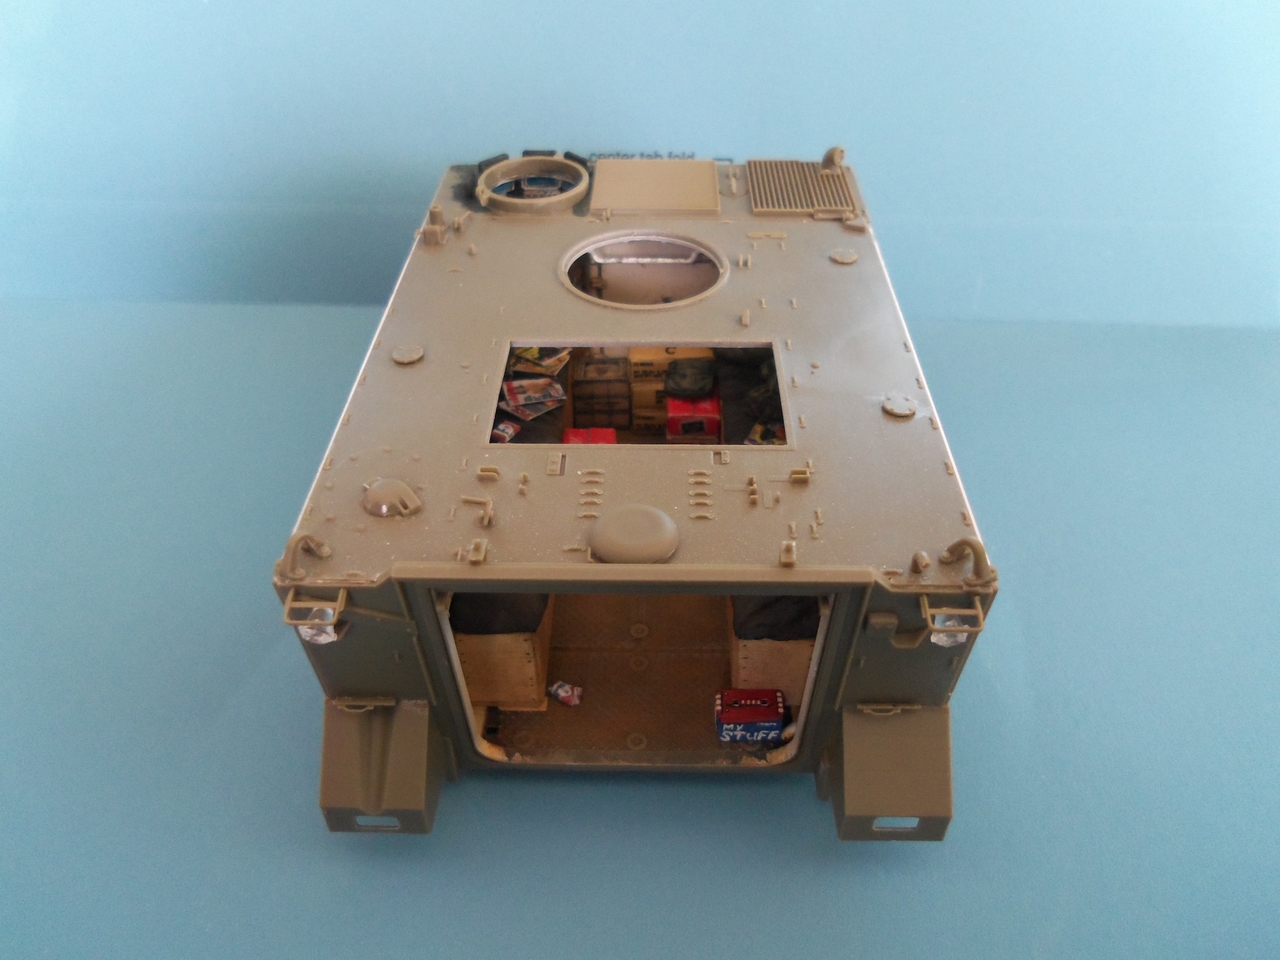
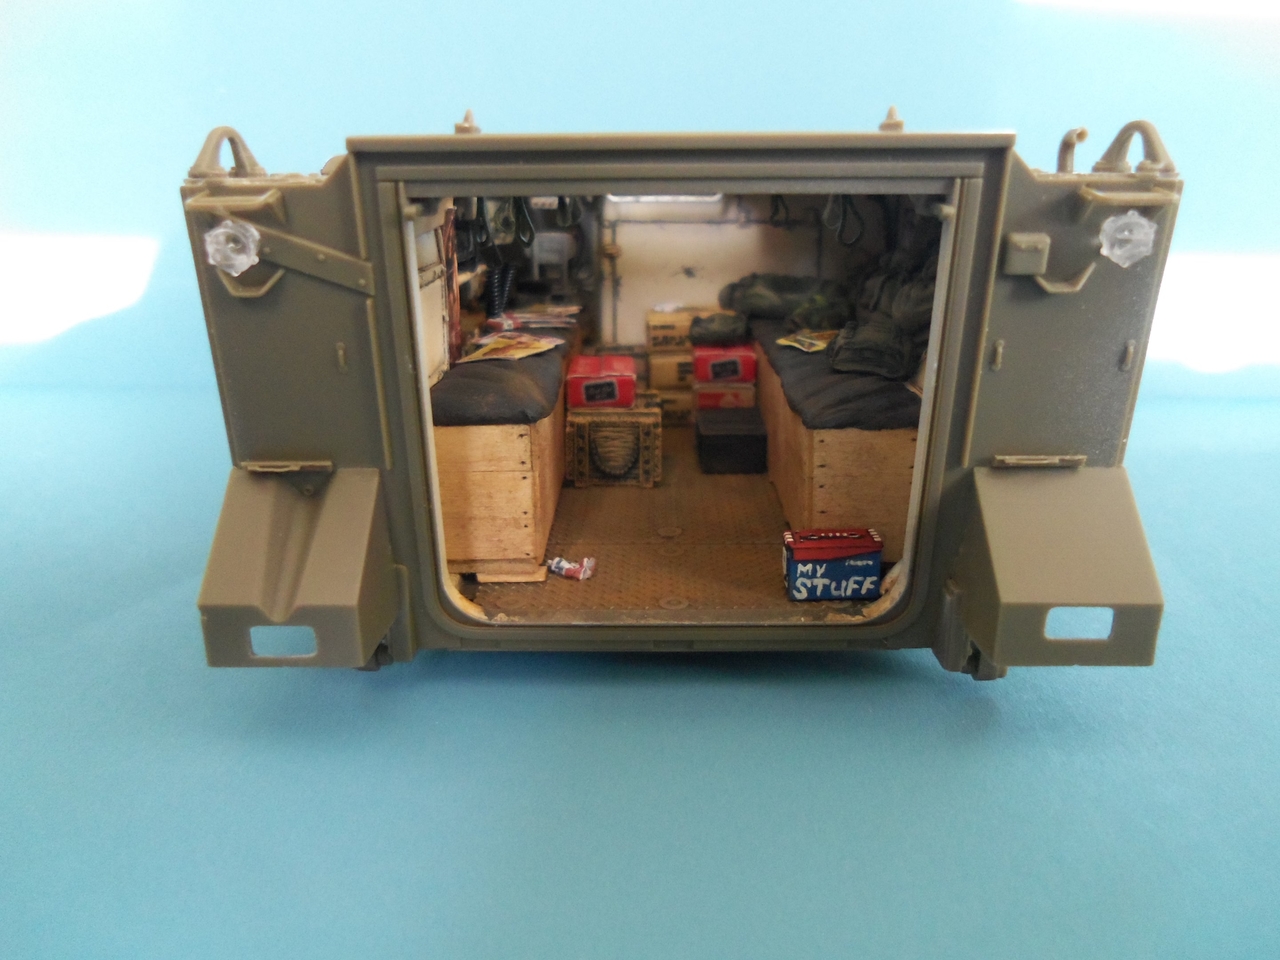
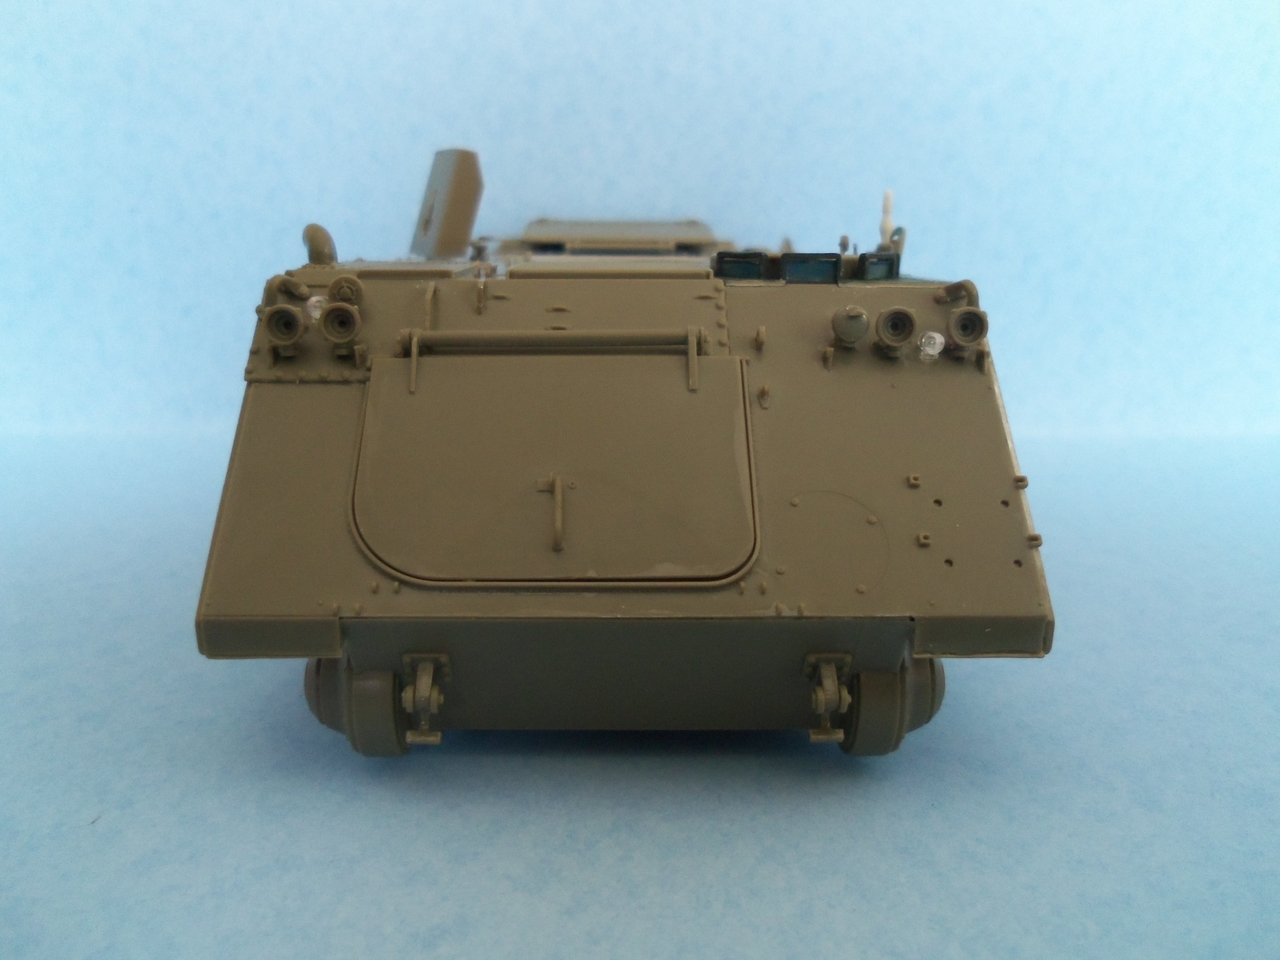
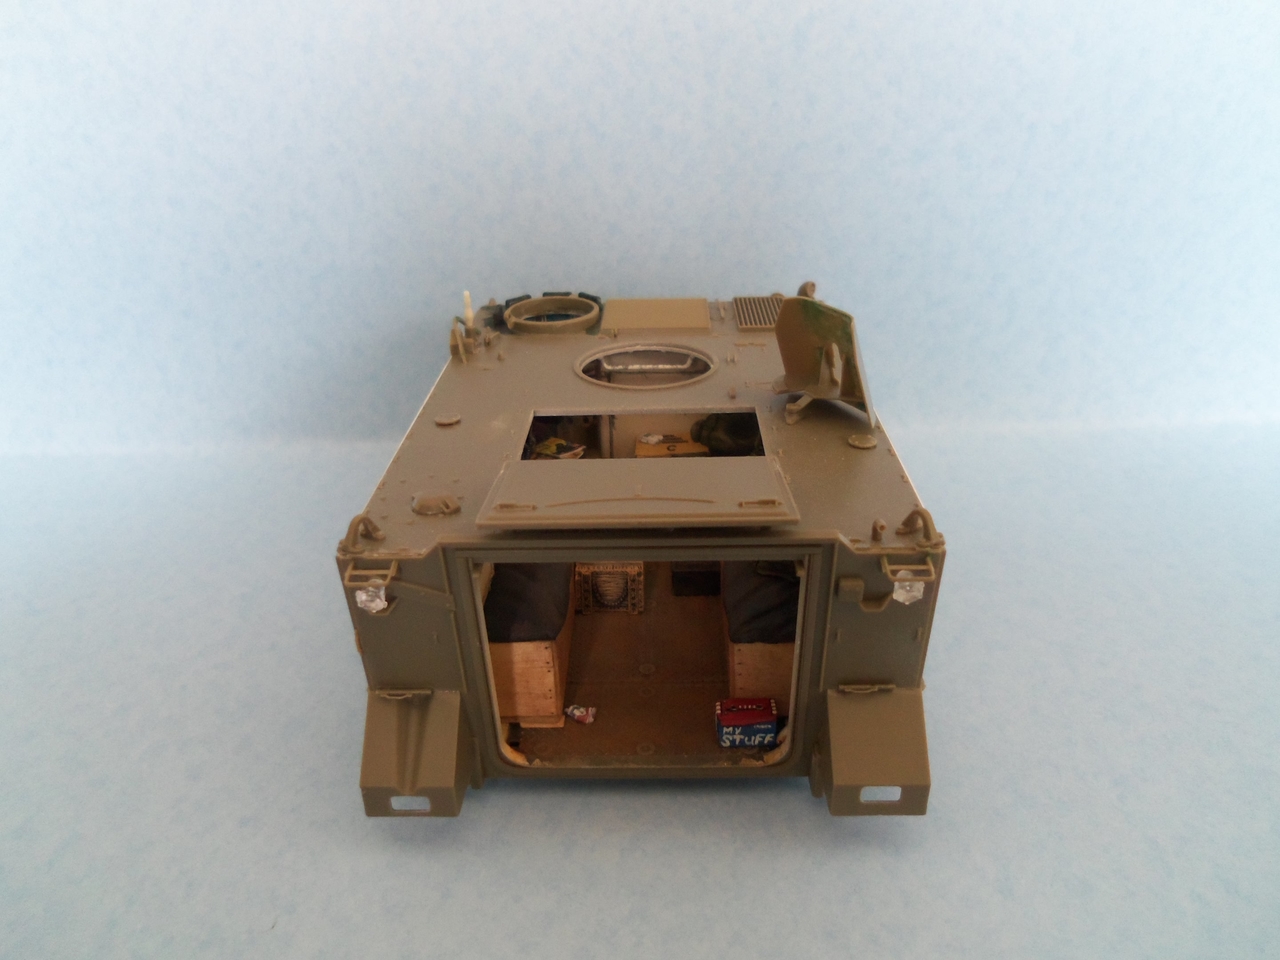
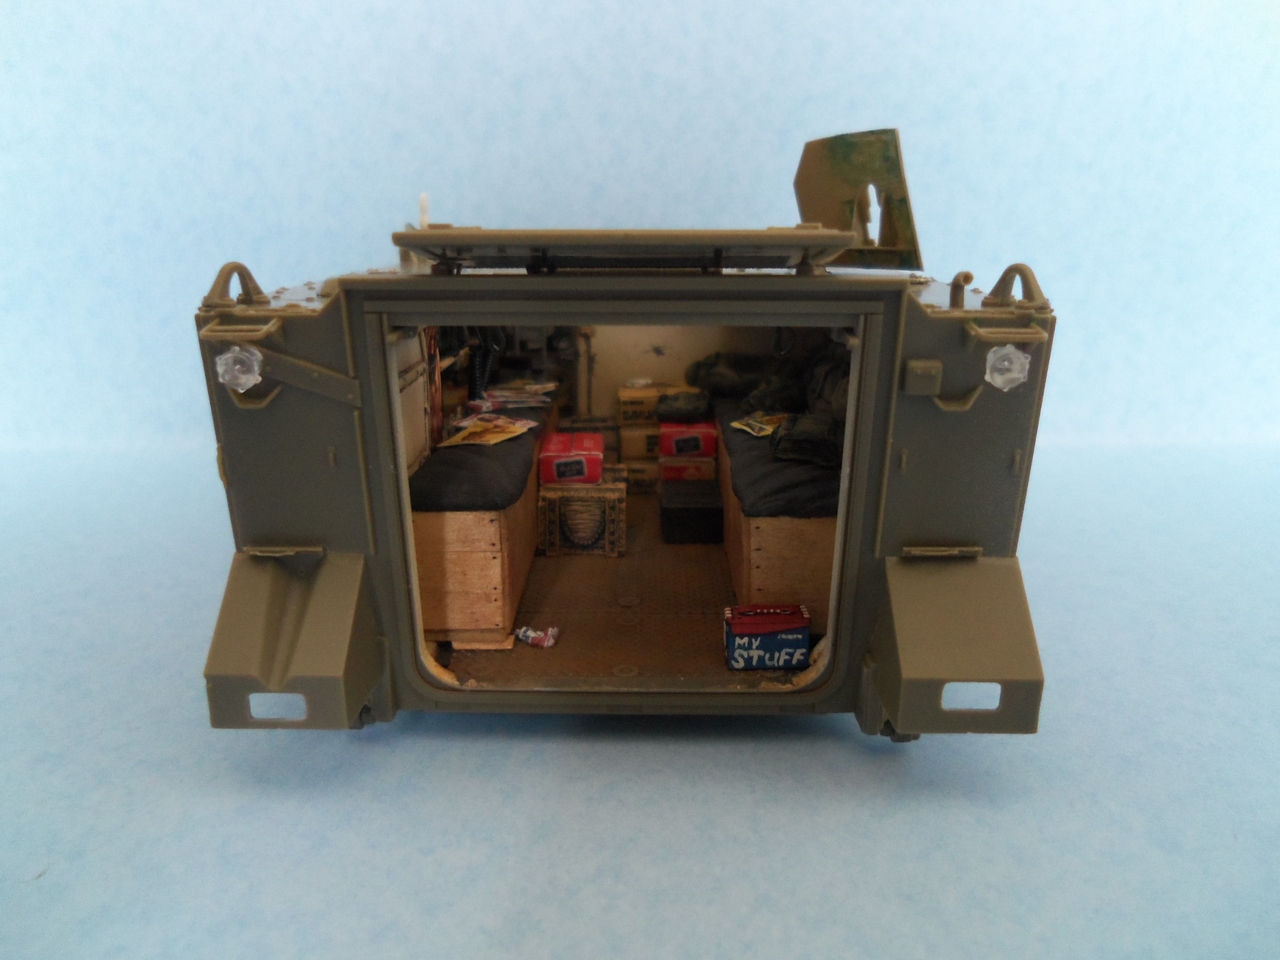
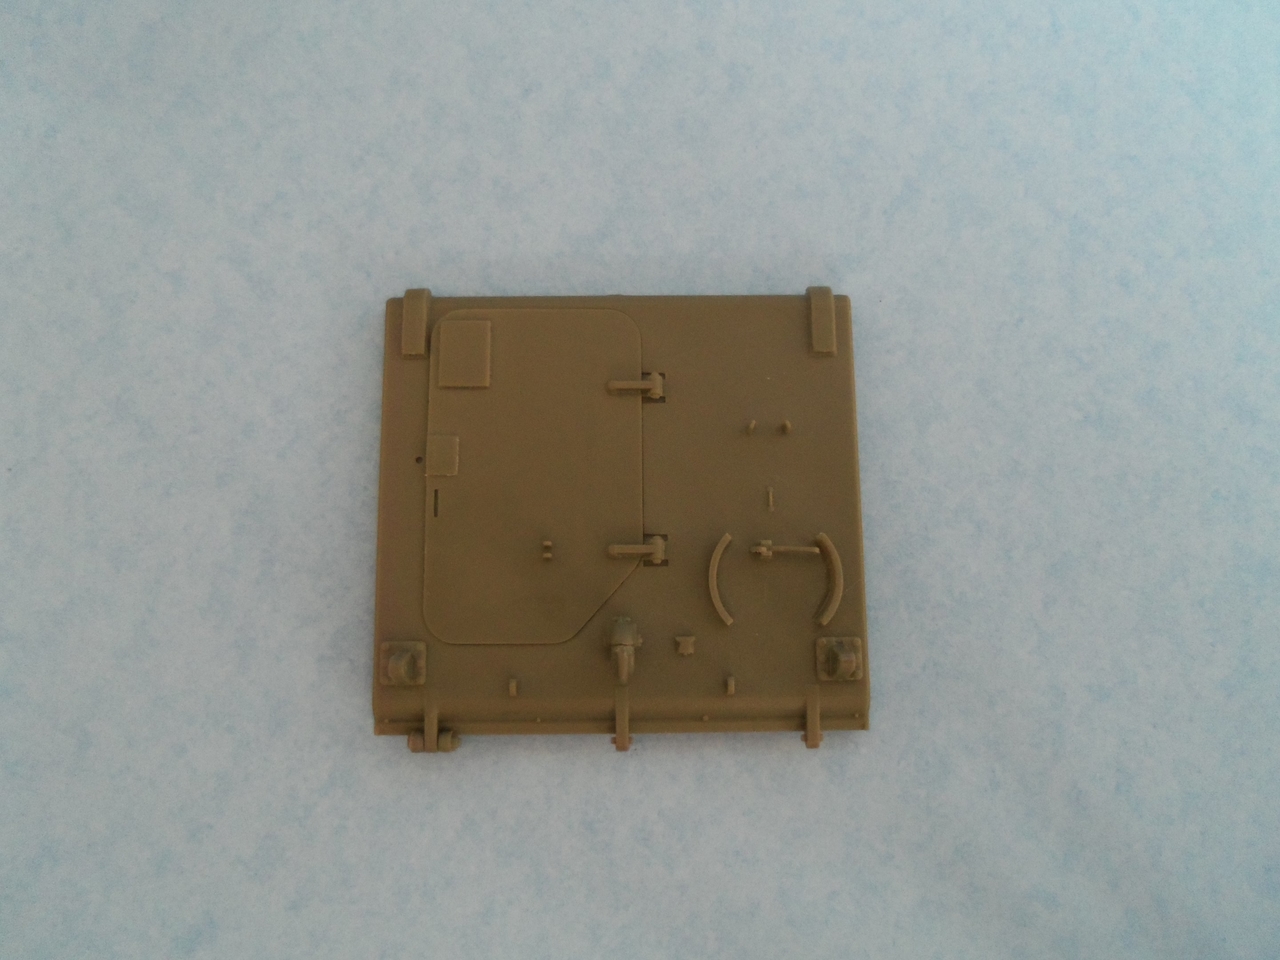
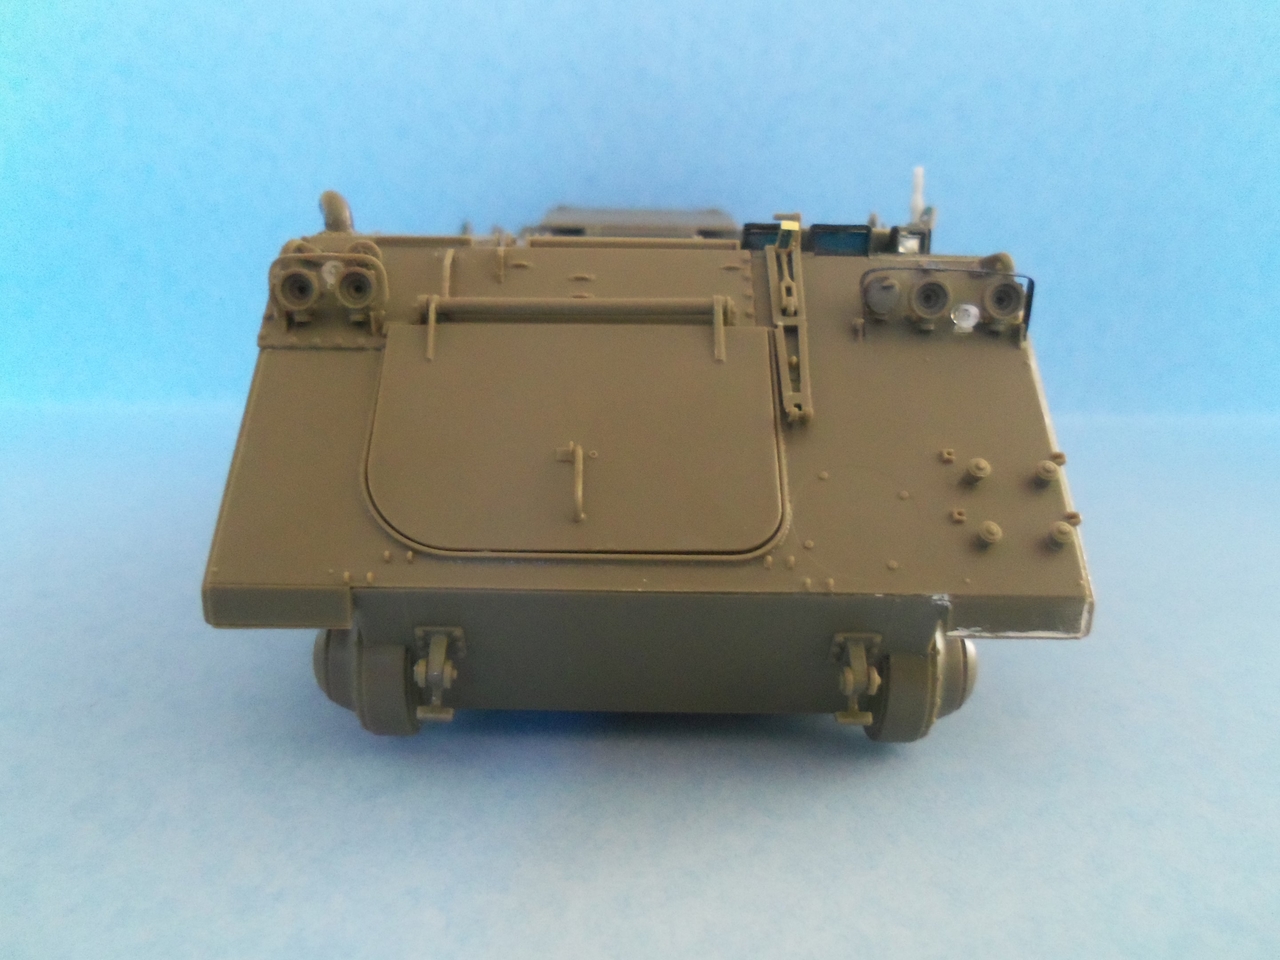
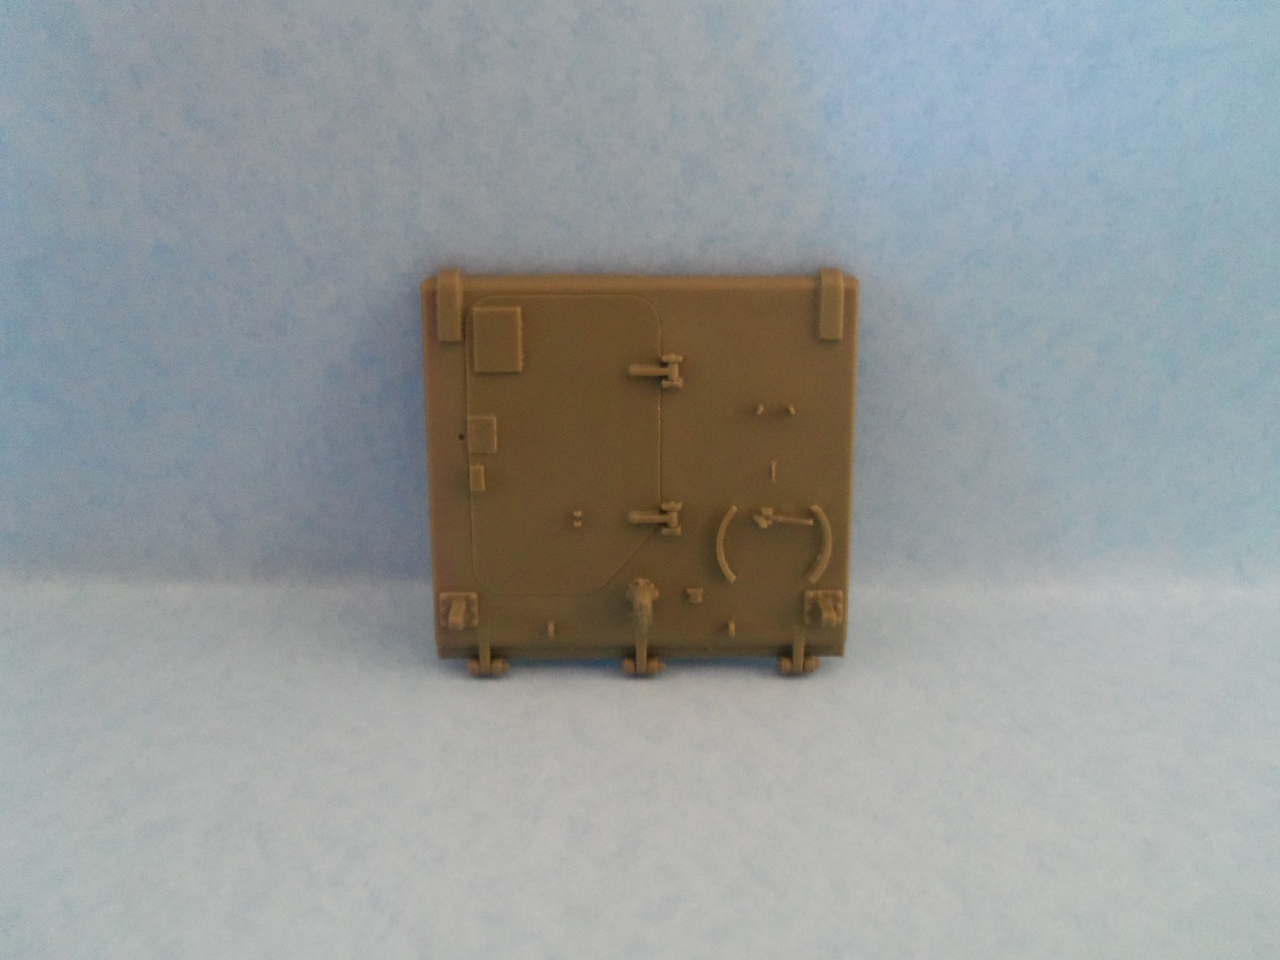
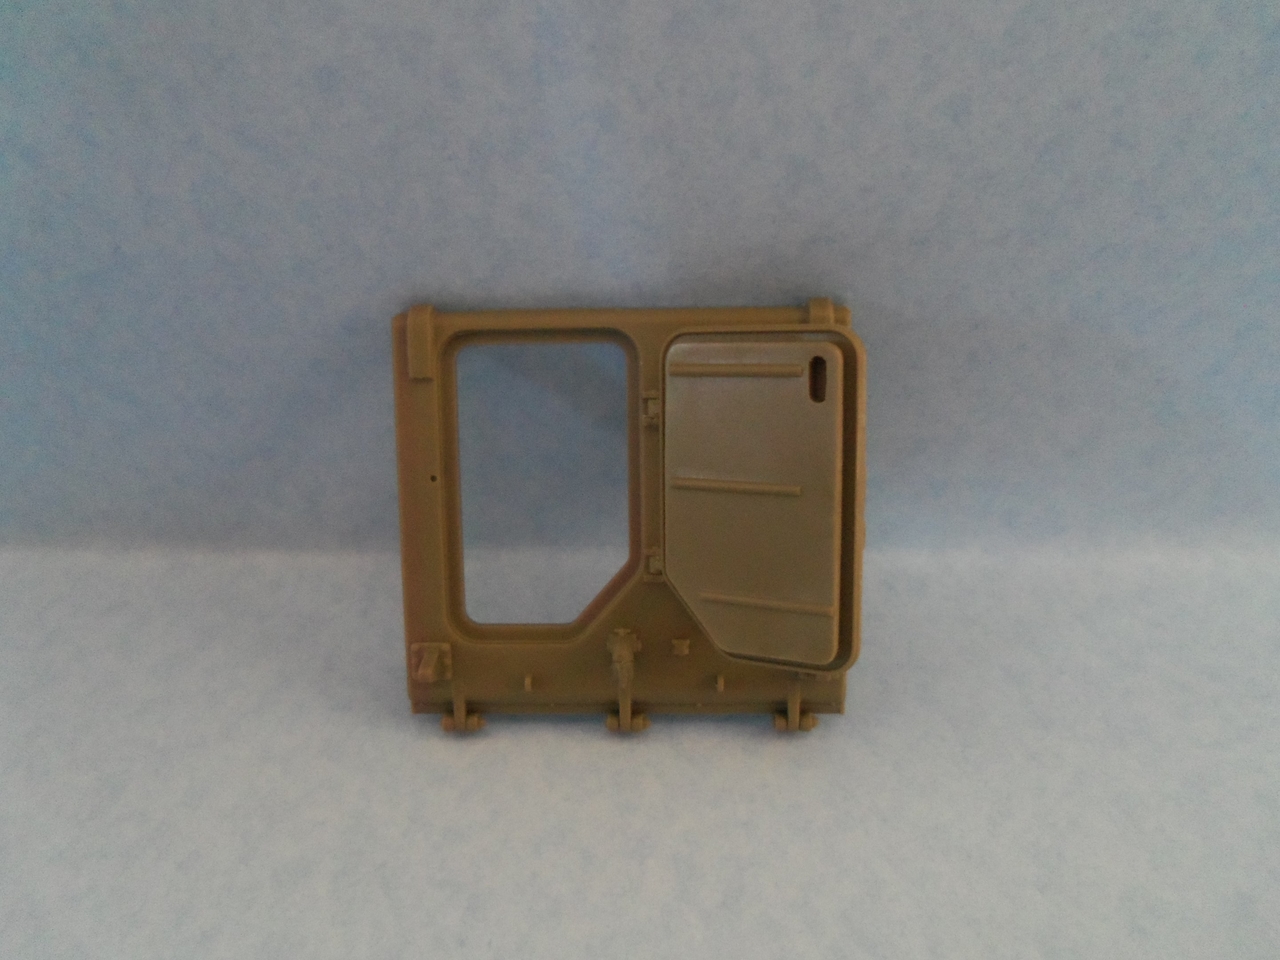
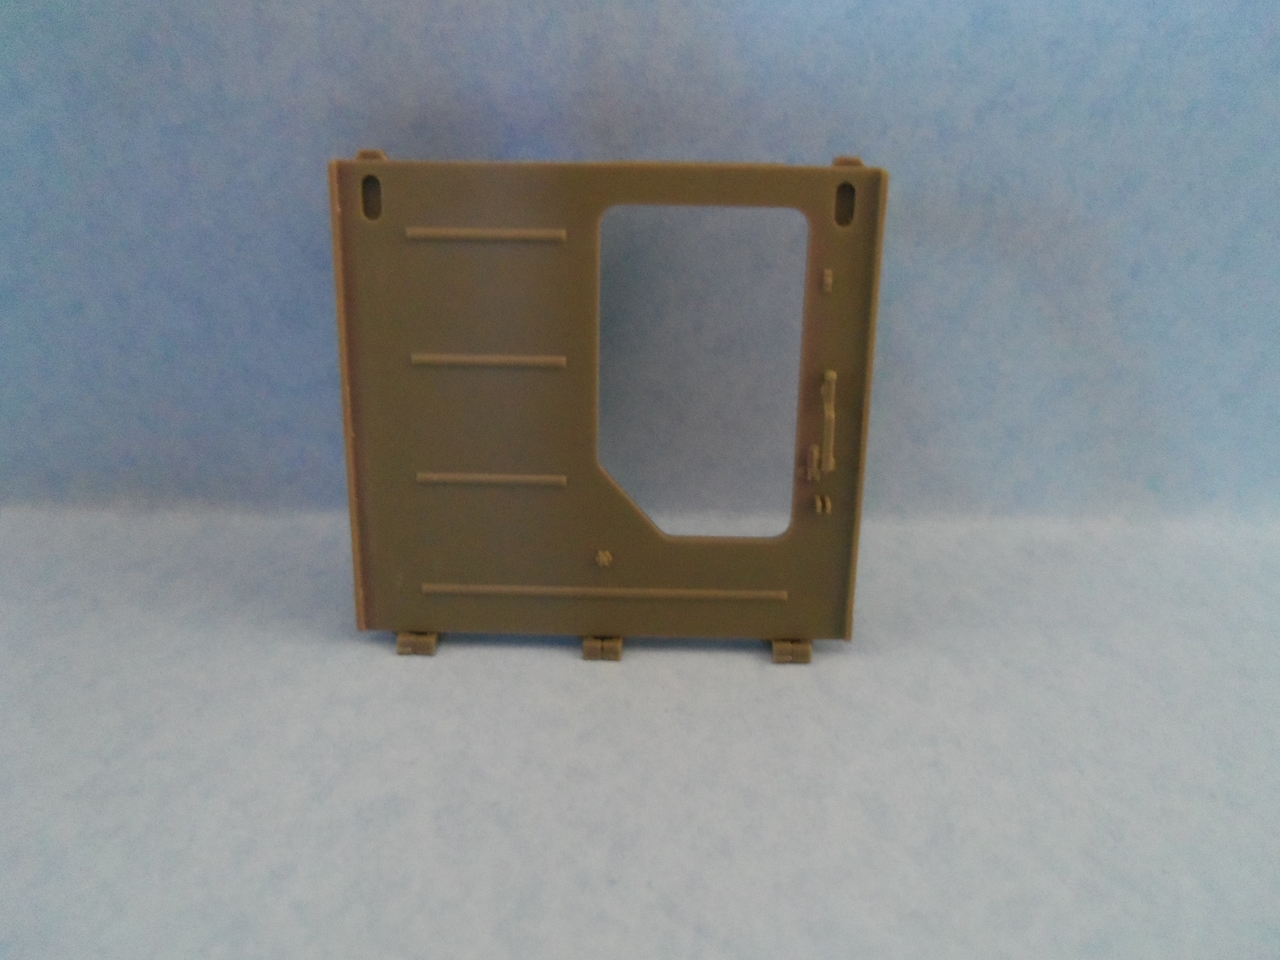
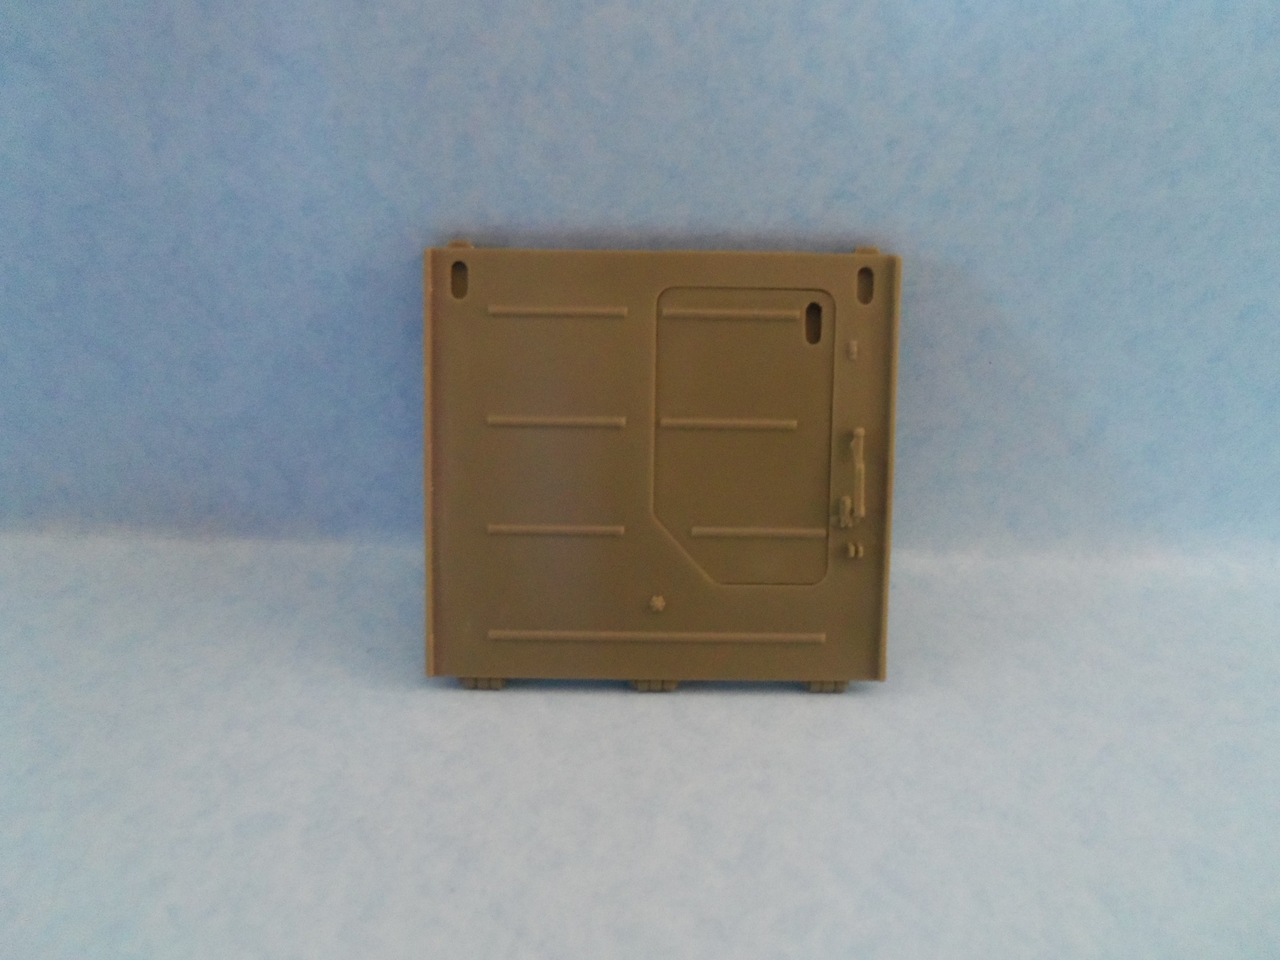
The rear hatch is just about complete. The only thing left to add are the lever that keeps the smaller troop door closed and the ramp cable(this will be the last thing I add after painting). The hinges on the troop door allow the door to be open or closed...

100_0223.JPG


100_0224.JPG


100_0225.JPG


100_0226.JPG


This is just about ready to start painting. I hope to have the painting started by this weekend.

Thanks for looking.

Cheers,
James
 
Very cool. I didn't realize there was so much to it but I guess like everything else military there is. Enjoying the build.
James
 
Back
Top