• Modelers Alliance has updated the forum software on our website. We have migrated all post, content and user accounts but we could not migrate the passwords.
    This requires that you manually reset your password.
    Please click here, http://modelersalliance.org/forums/login to go to logon page and use the "Forgot your Password" option.

AFV Club M113 ACAV

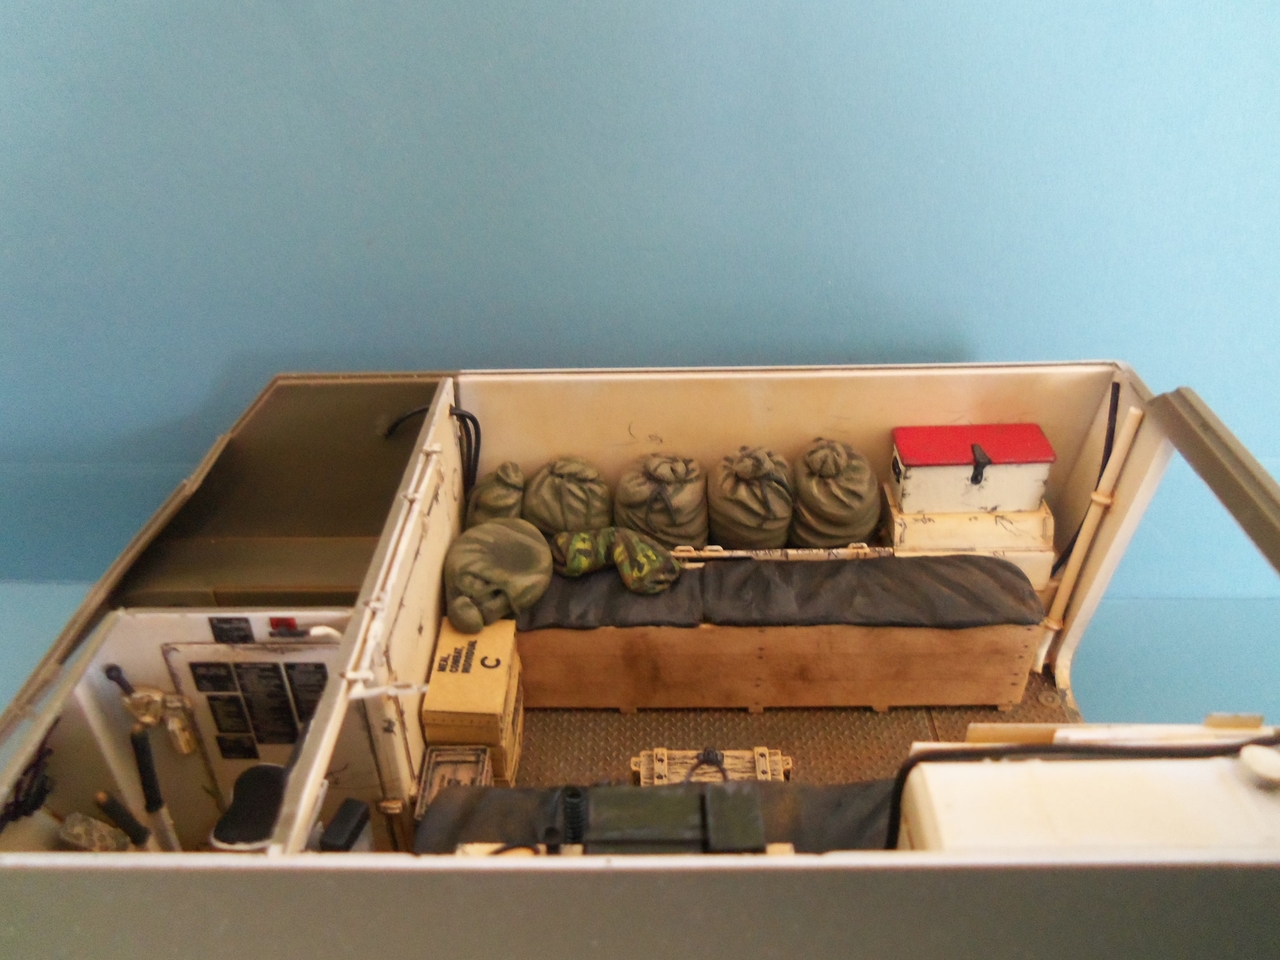
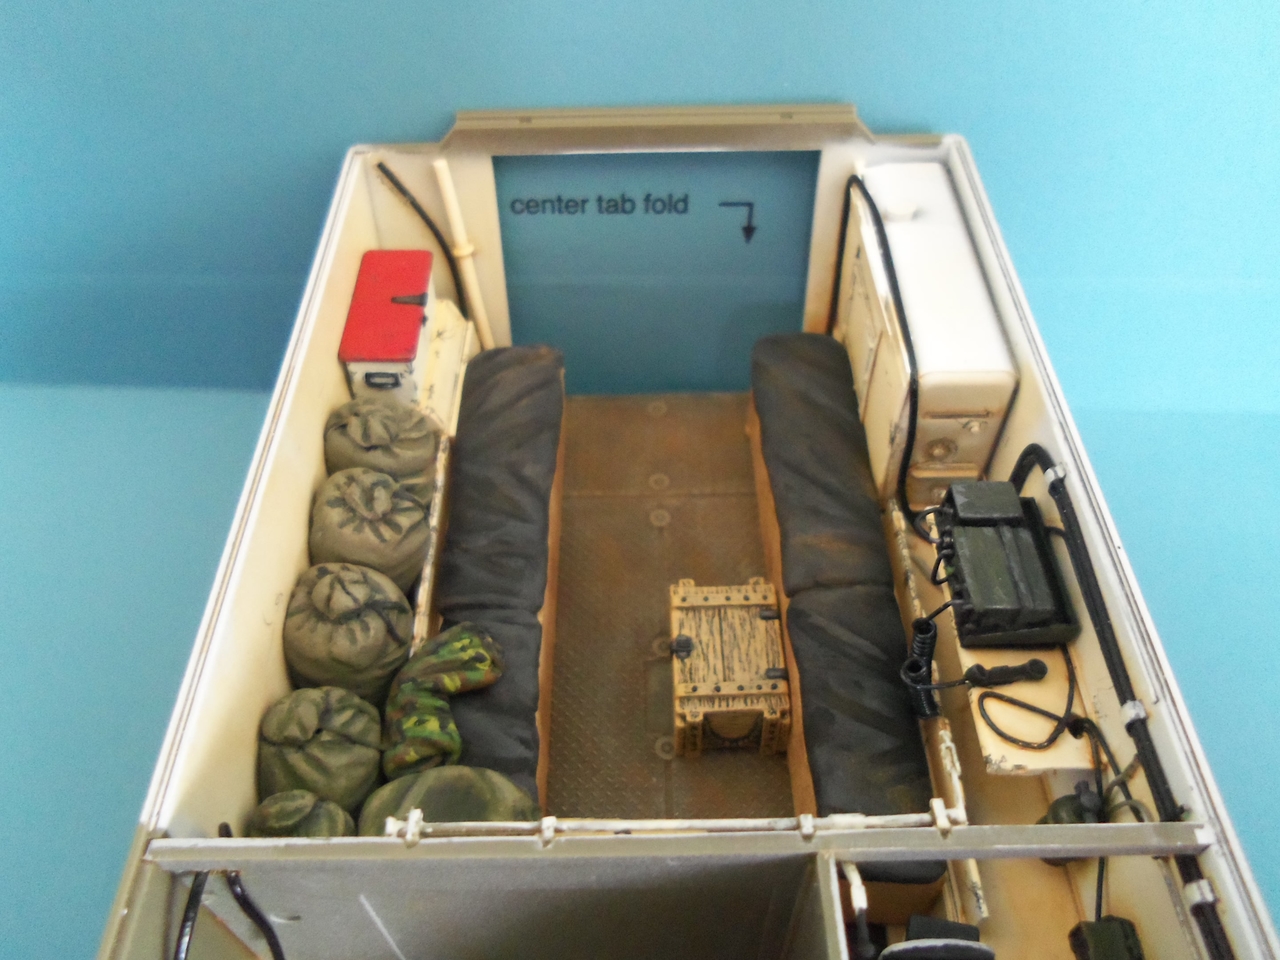
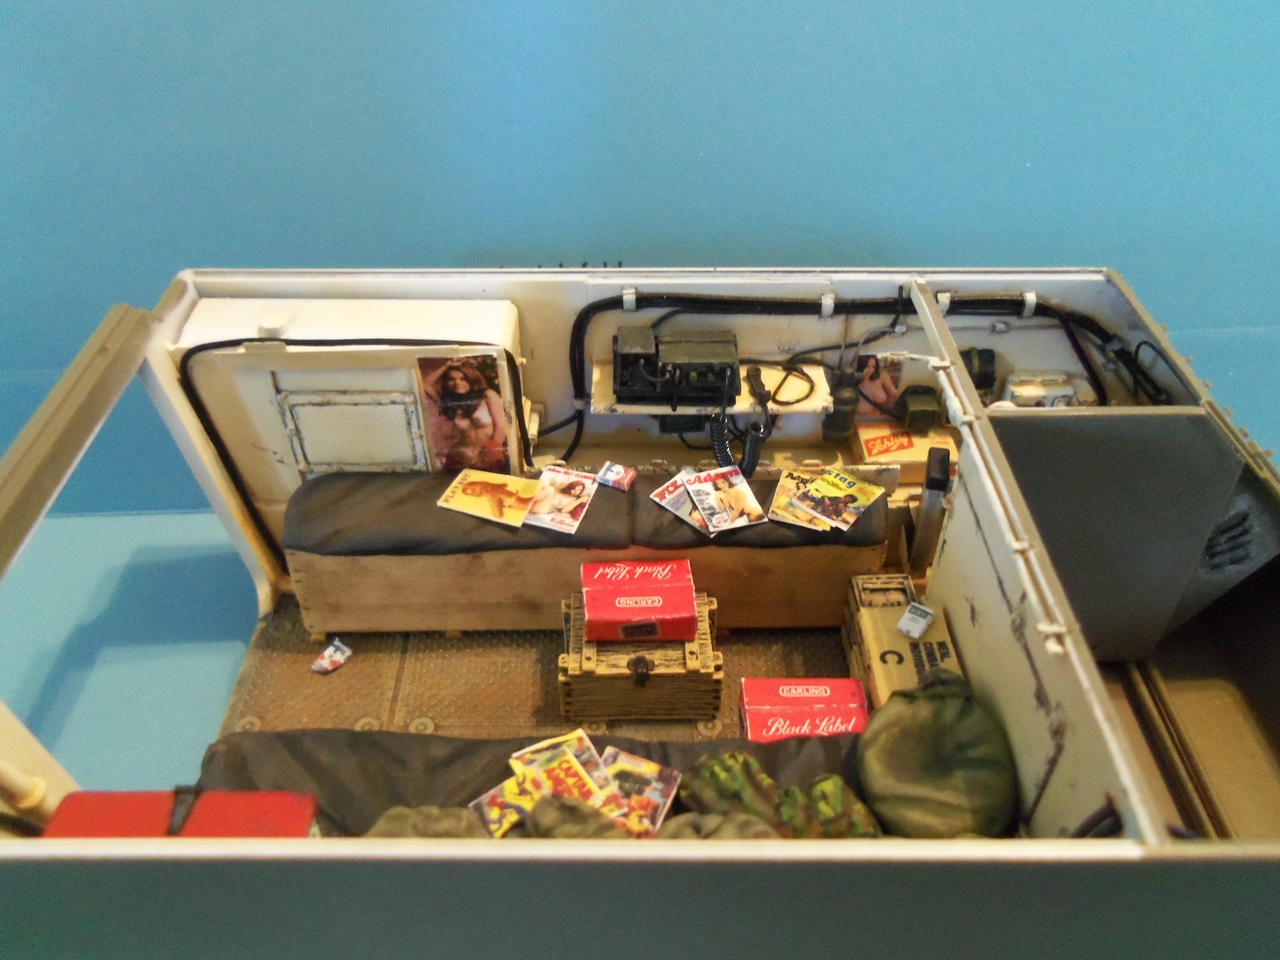
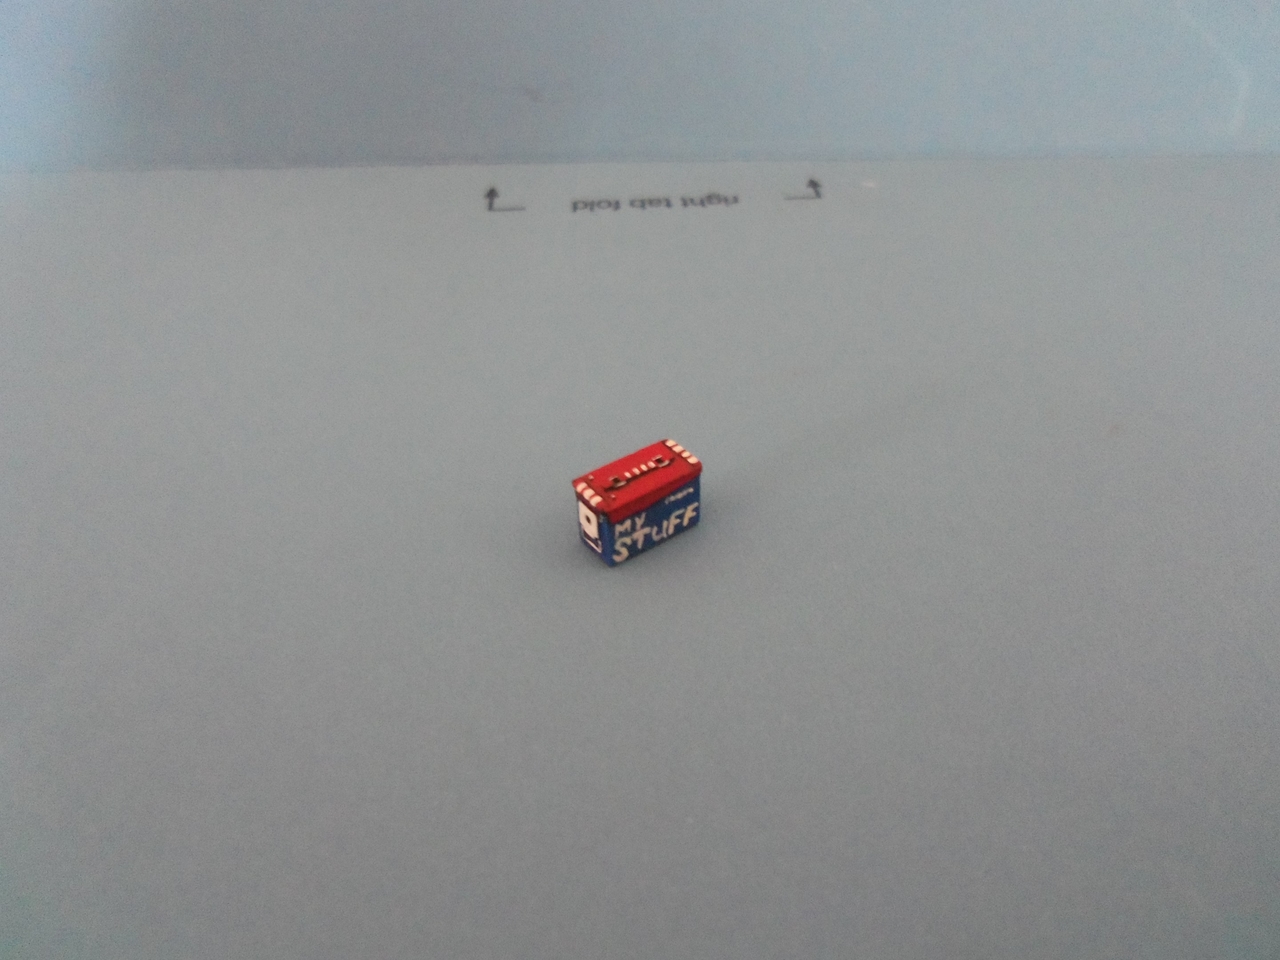
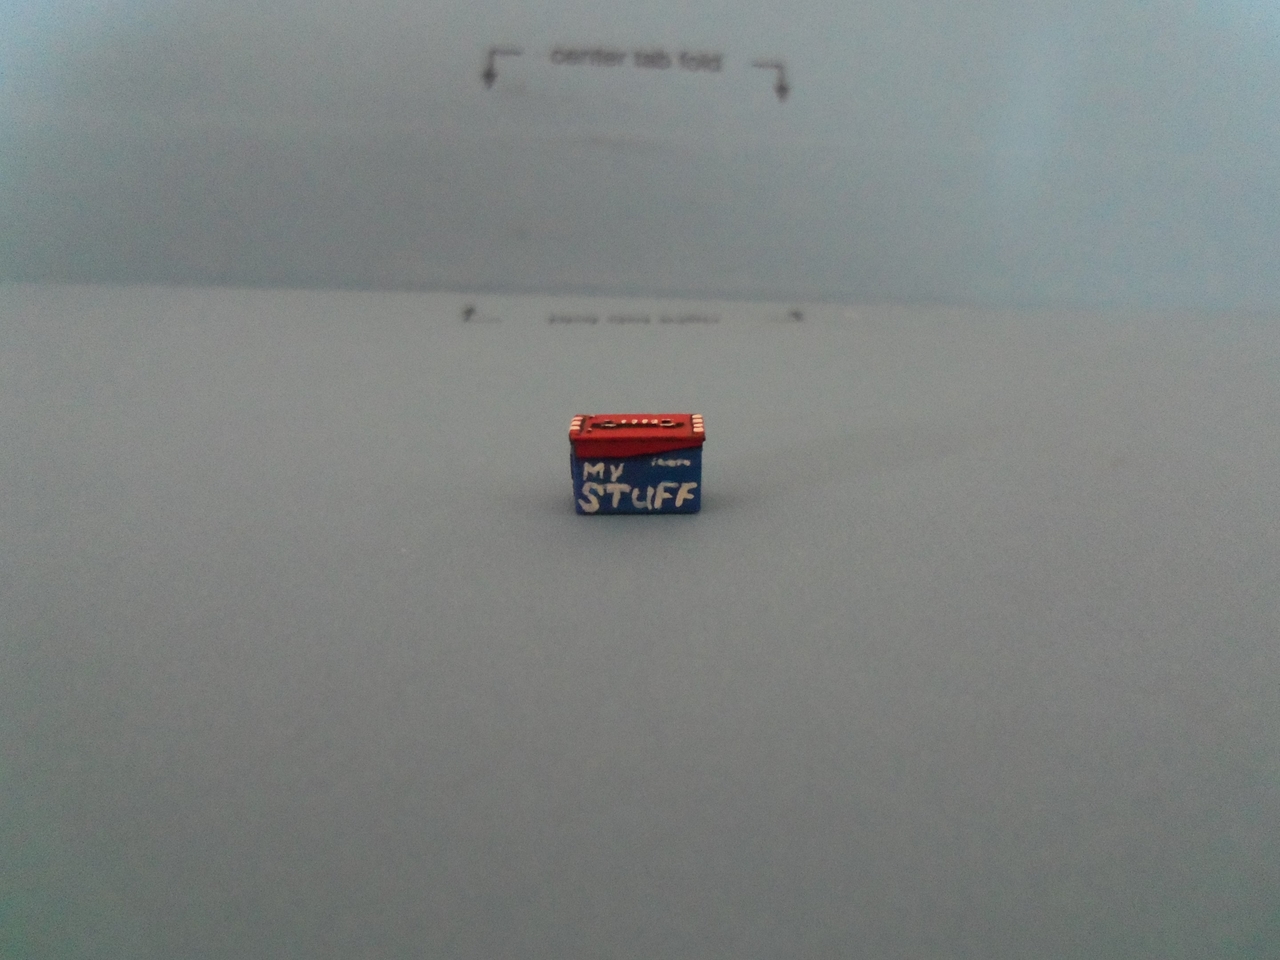
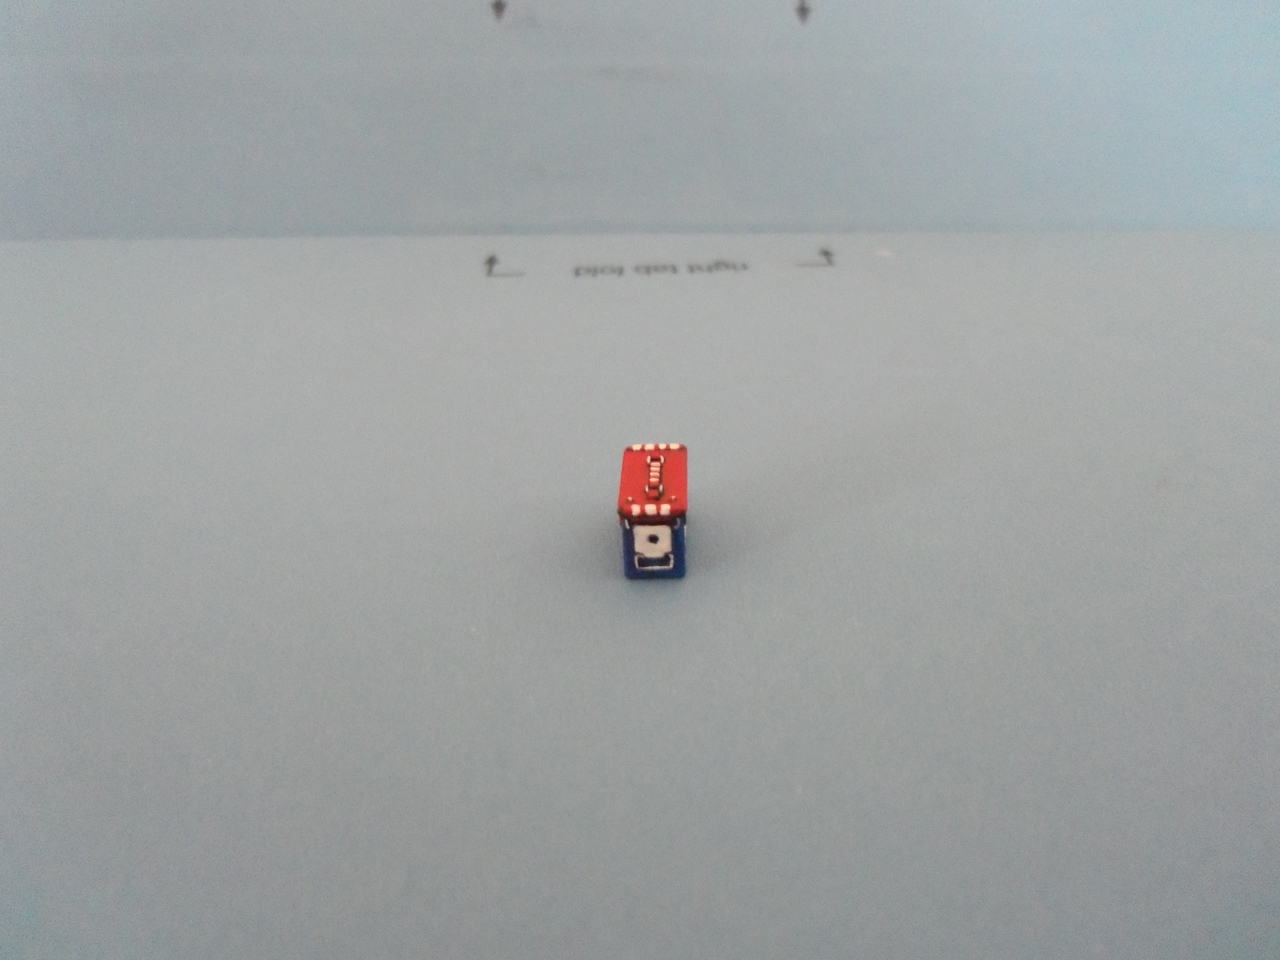
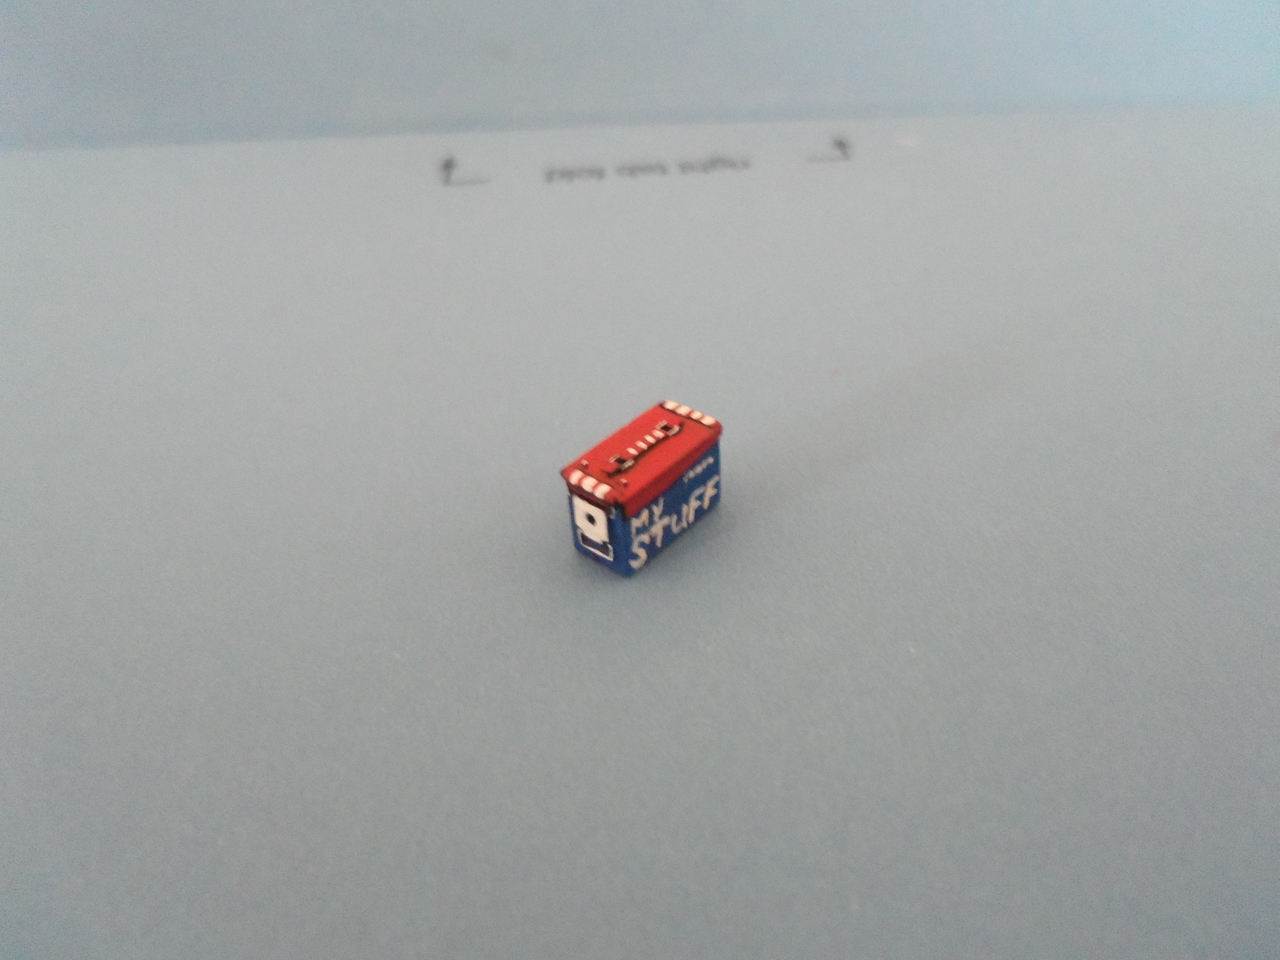
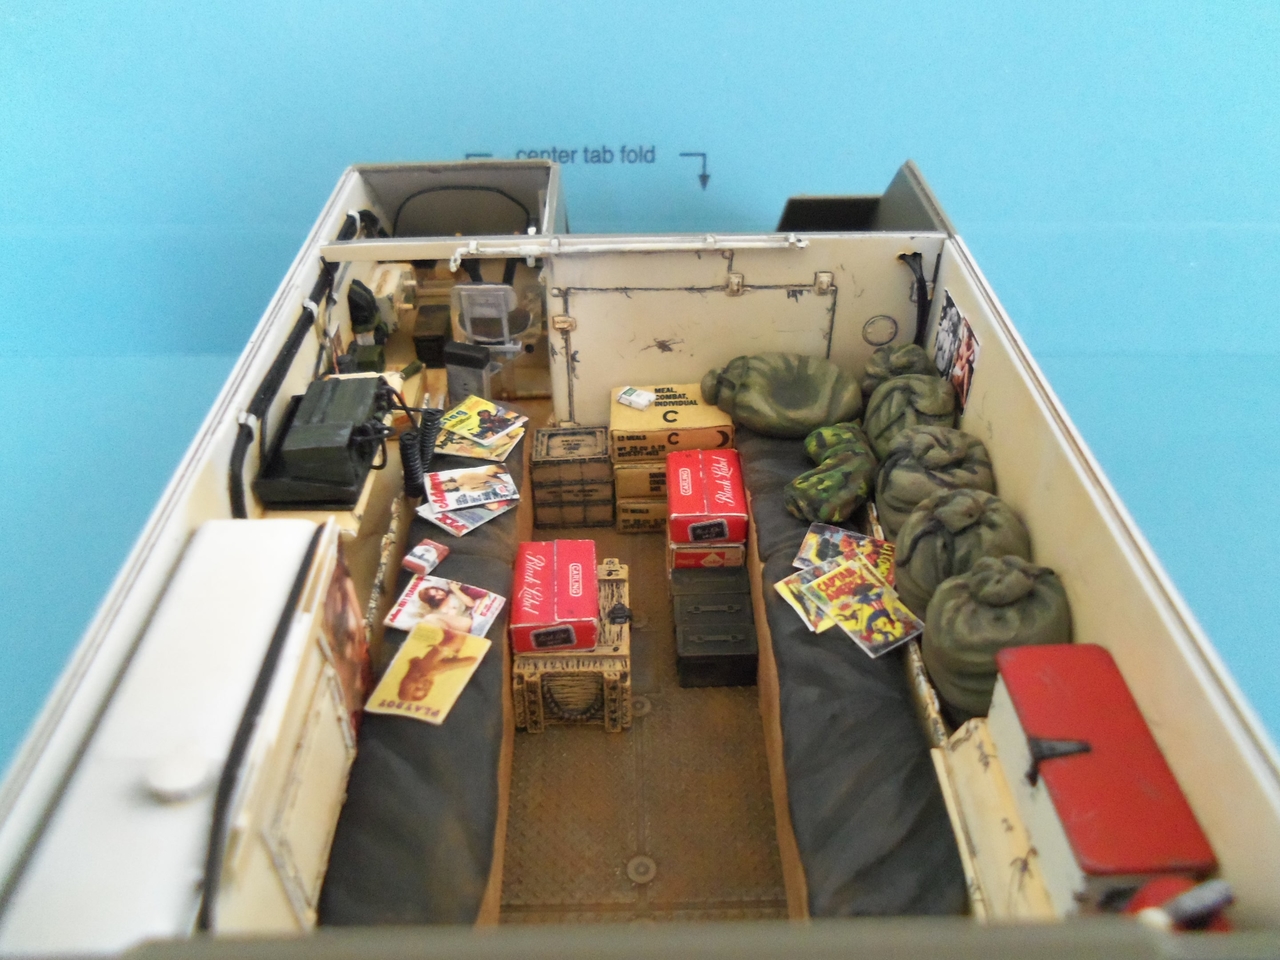
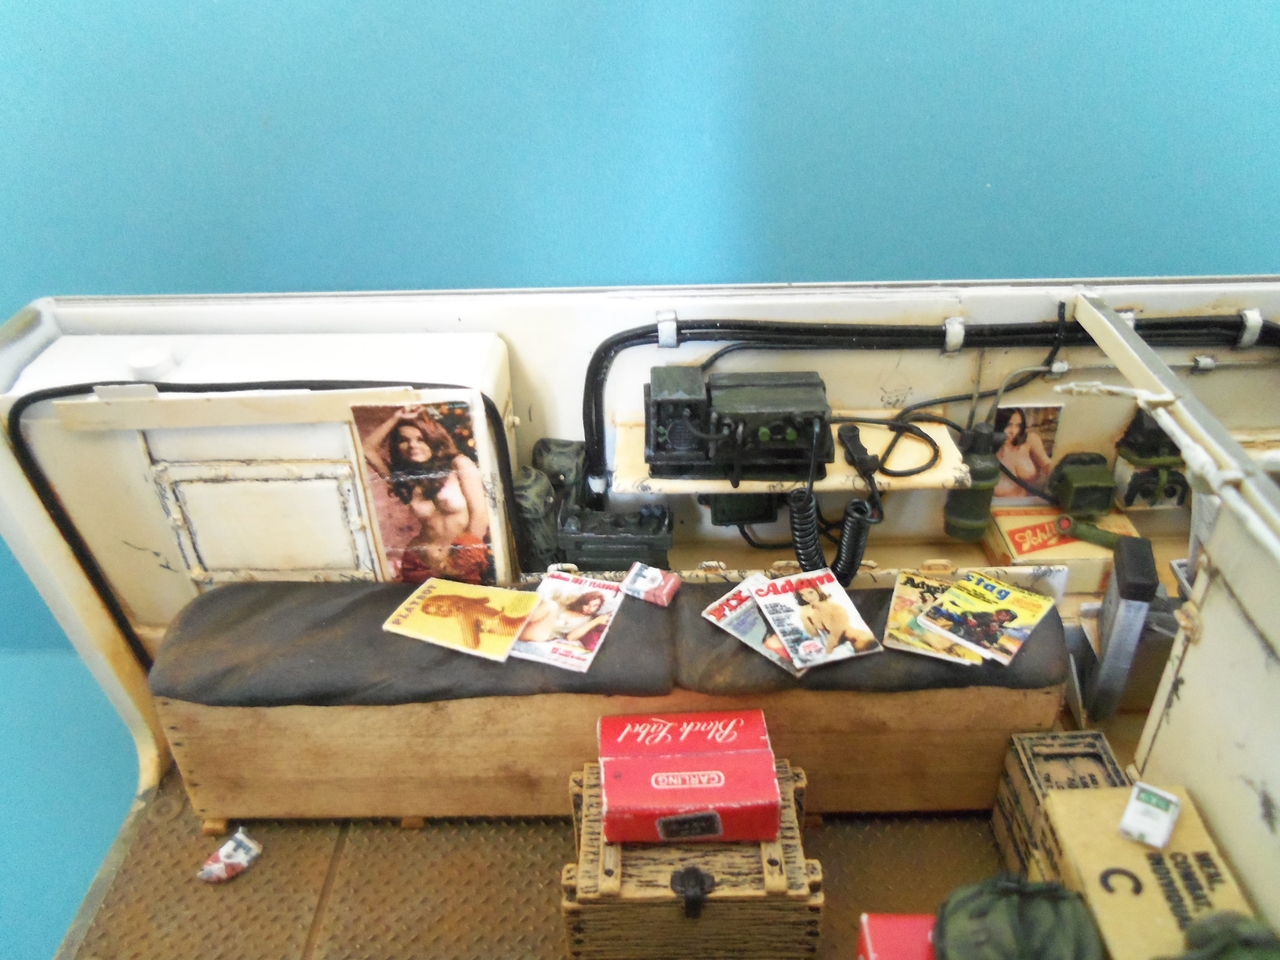
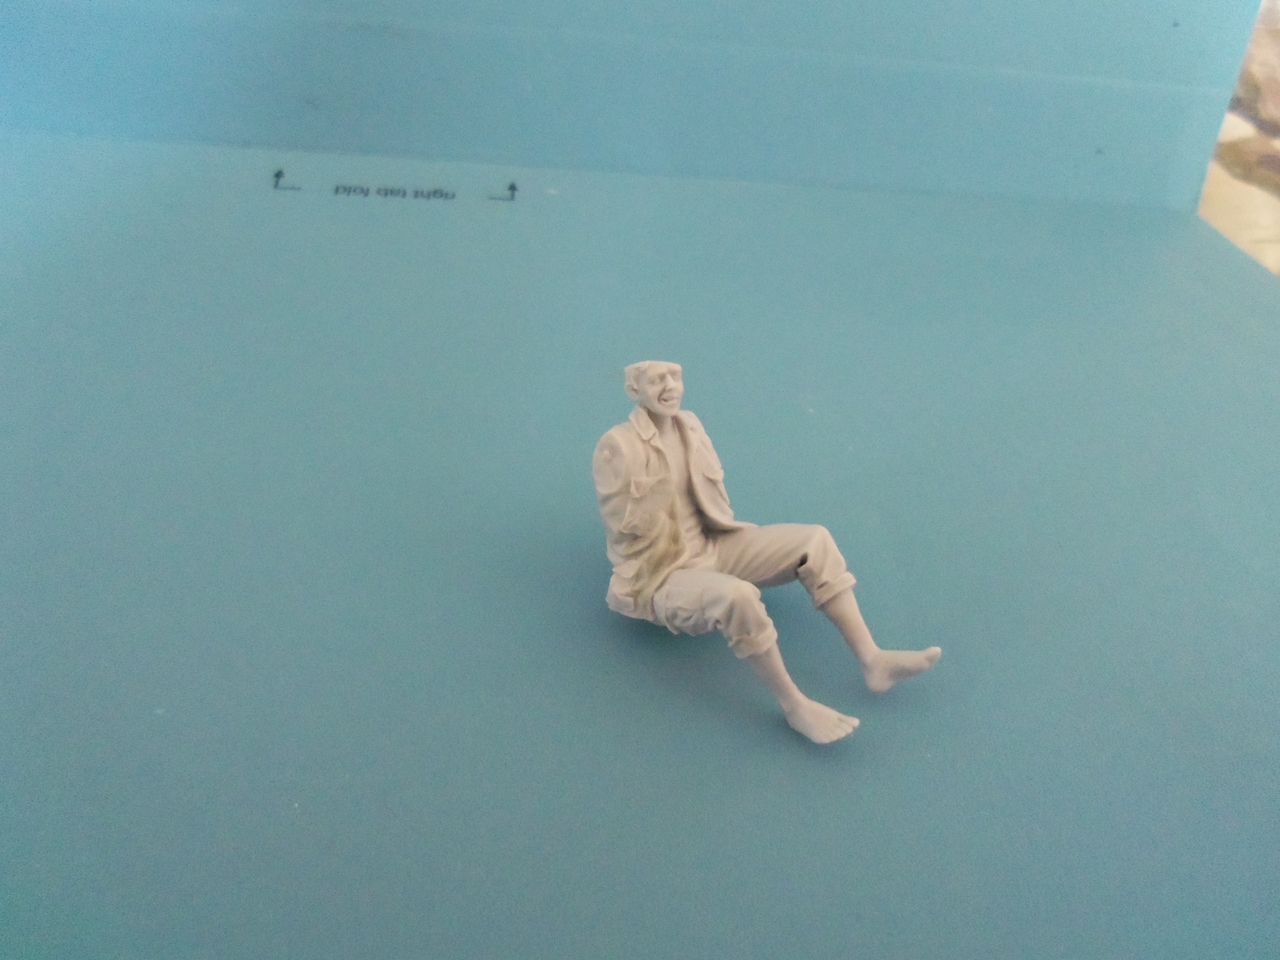
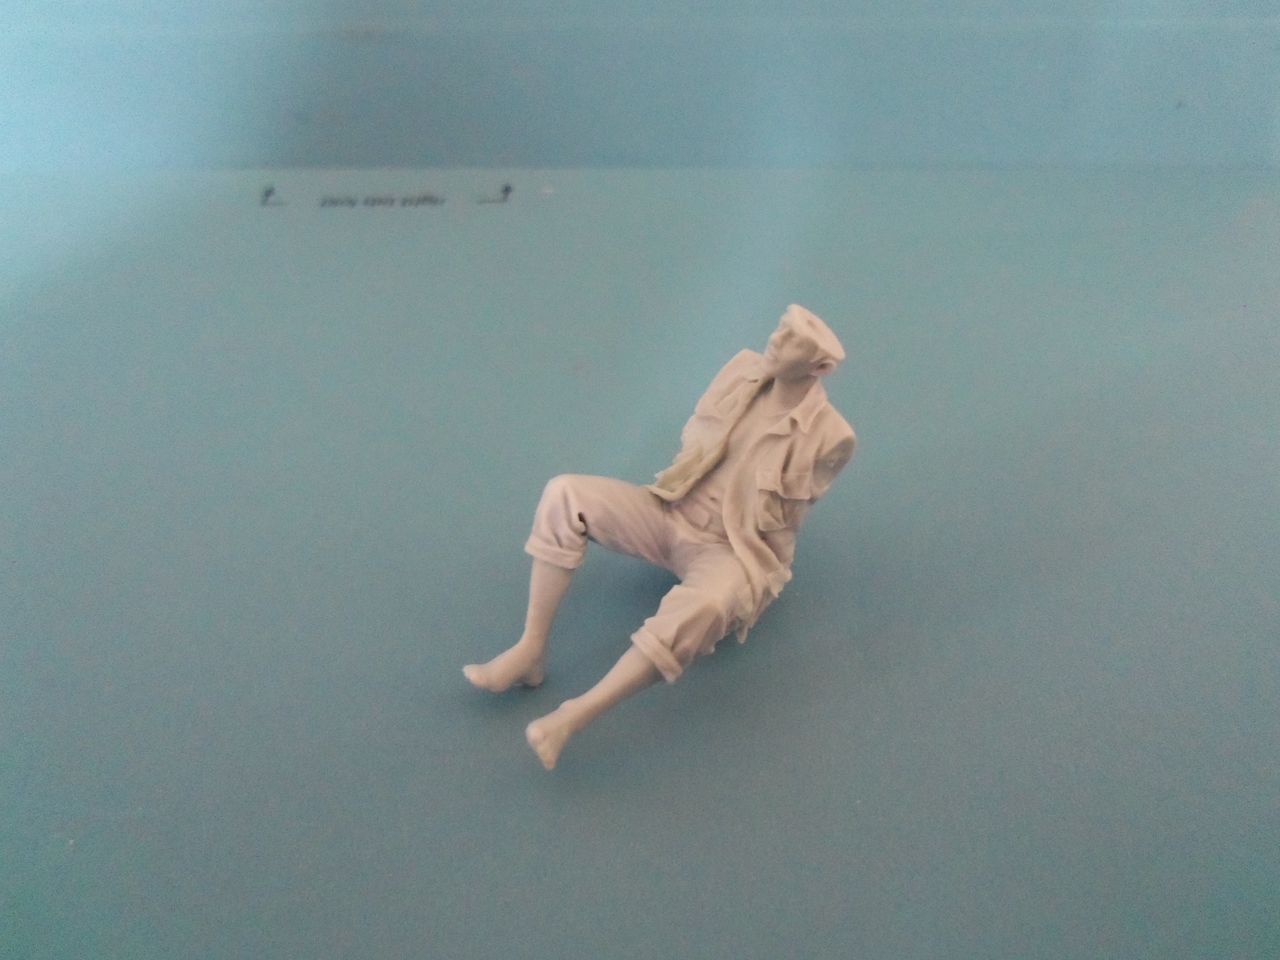
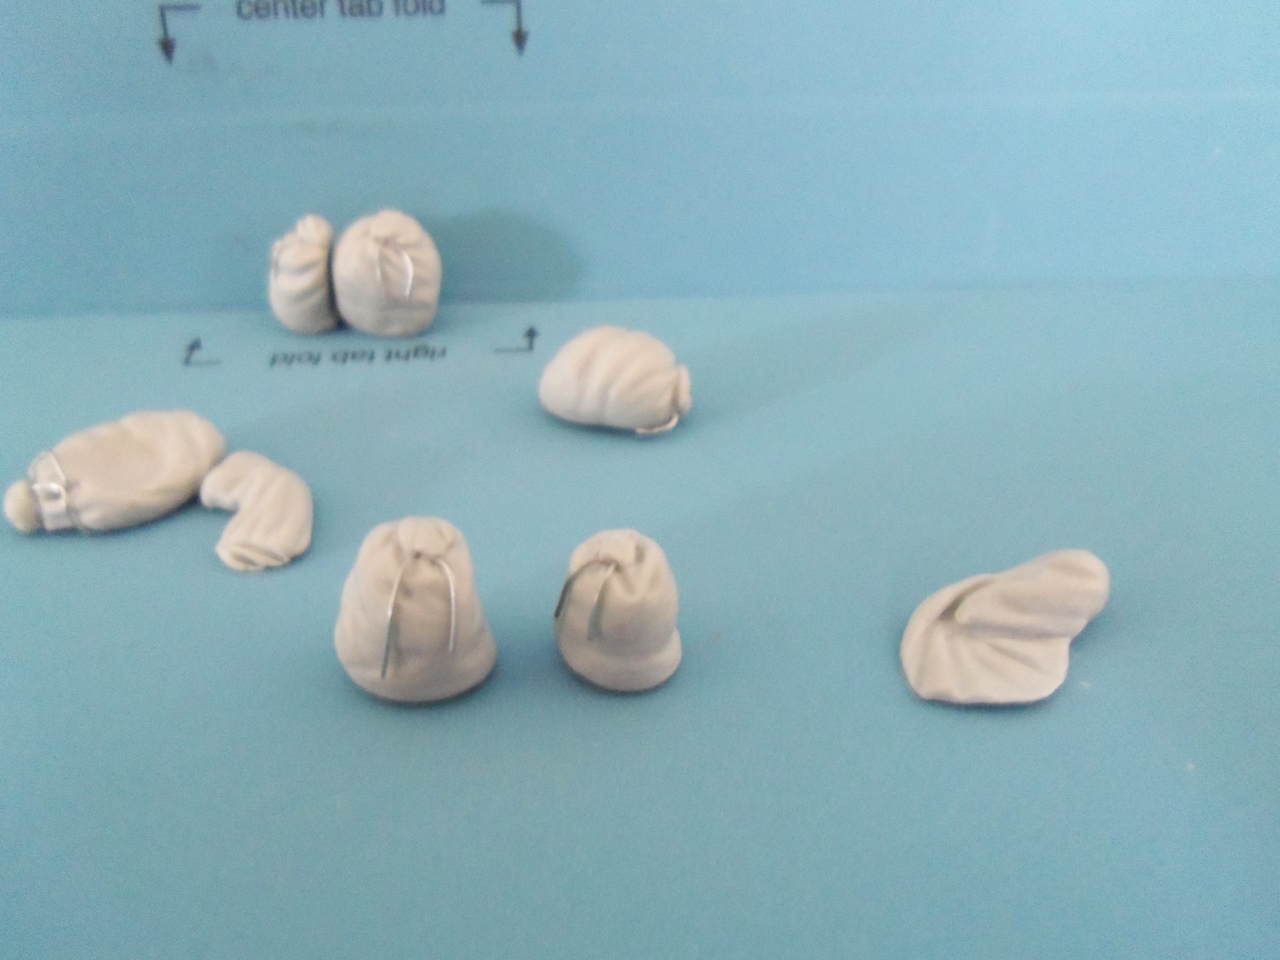
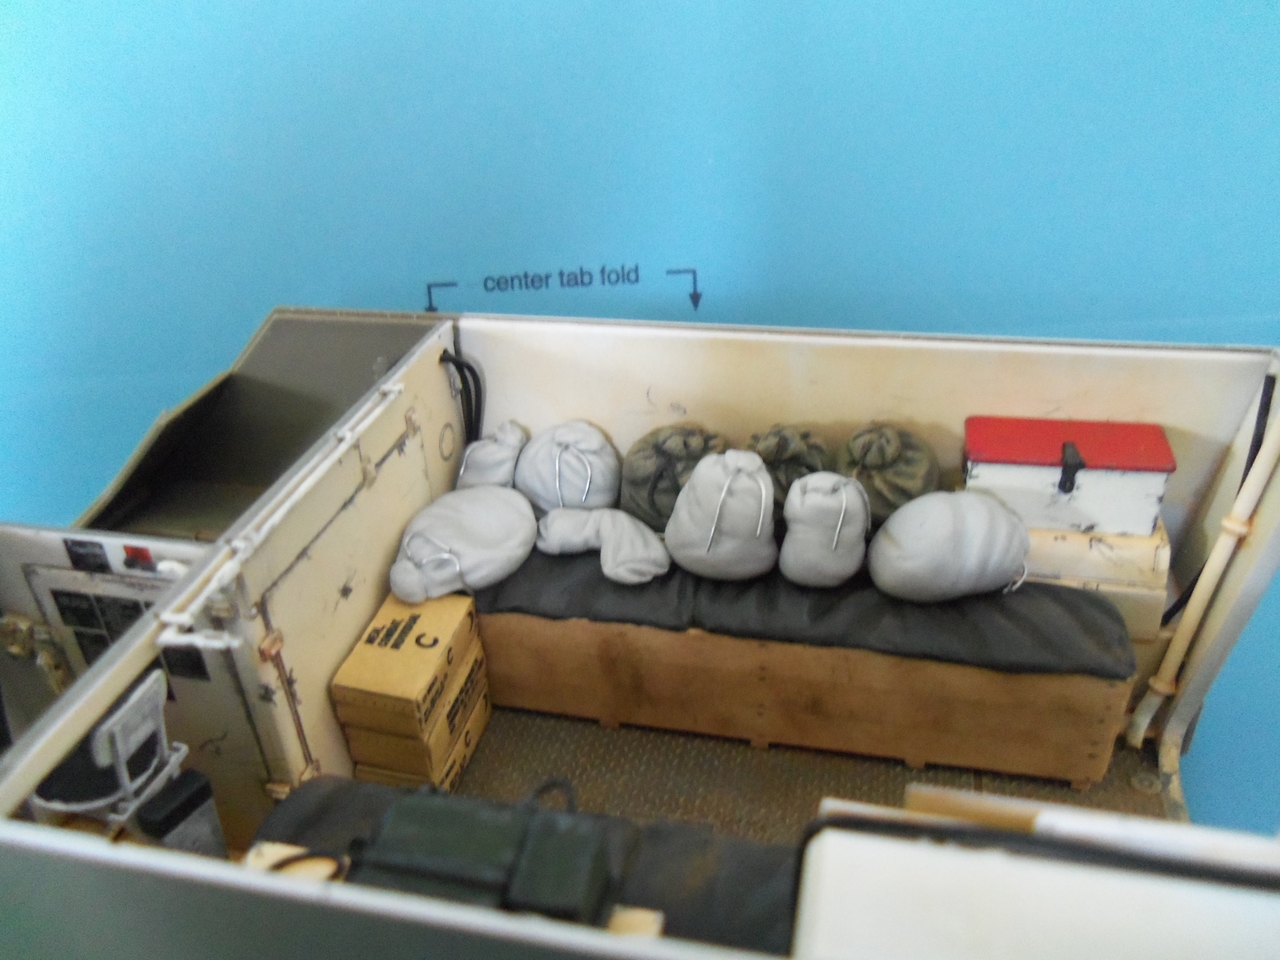
I've been sick for a couple of days so I haven't done much on the modeling front. I did do a bit here and there, but nothing super significant. I dabbled with the various pieces of stowage such as these WP bags that the crew stores their spare uniforms, etc., and a couple of poncho liners. The photos are a bit blurry - sorry about that. By the time I downloaded them, I had already started painting some of the items so by then it was too late to reshoot the photos.

100_9757.JPG


100_9758.JPG


100_9759.JPG


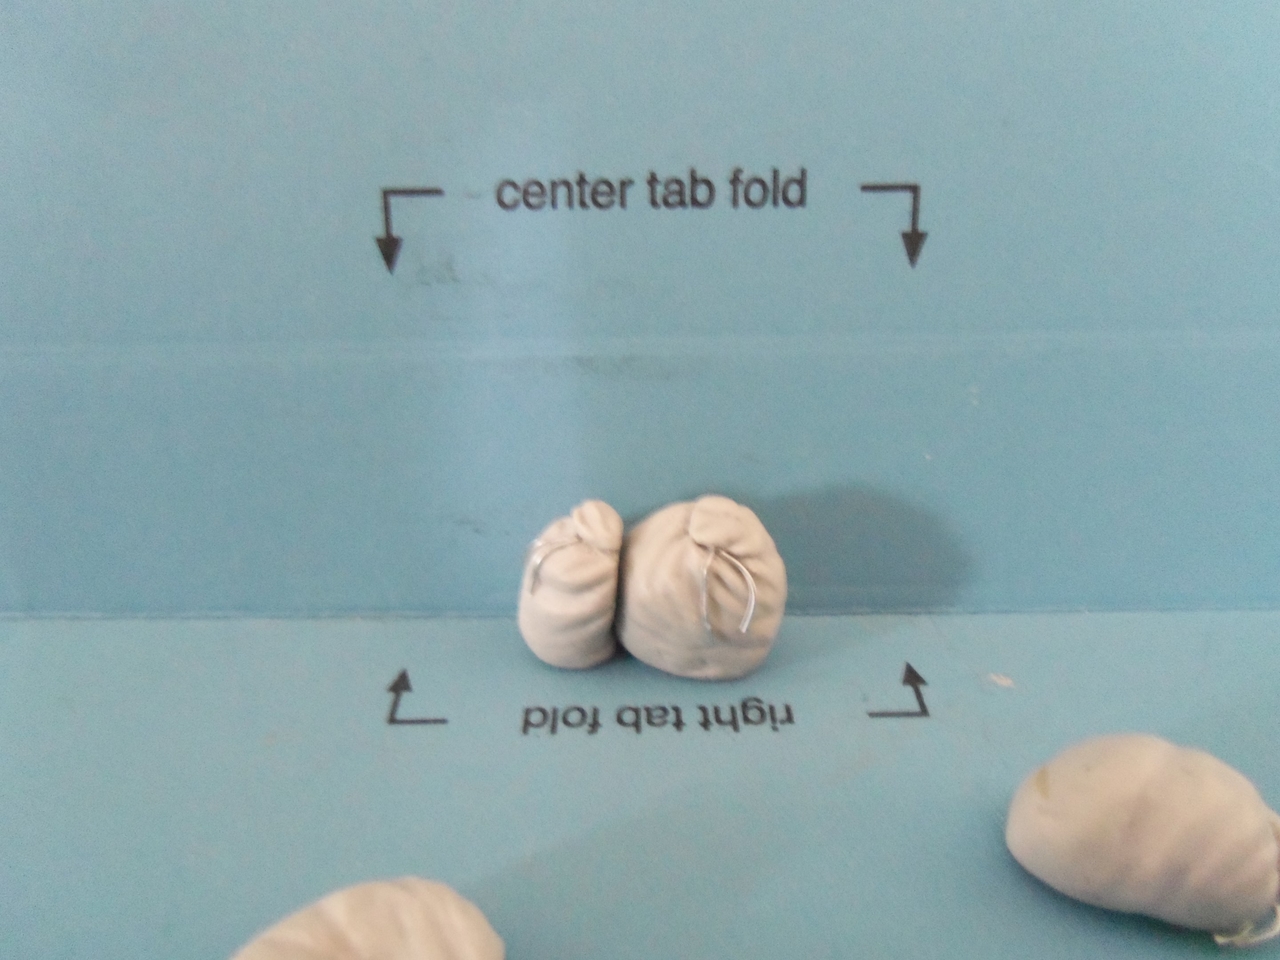
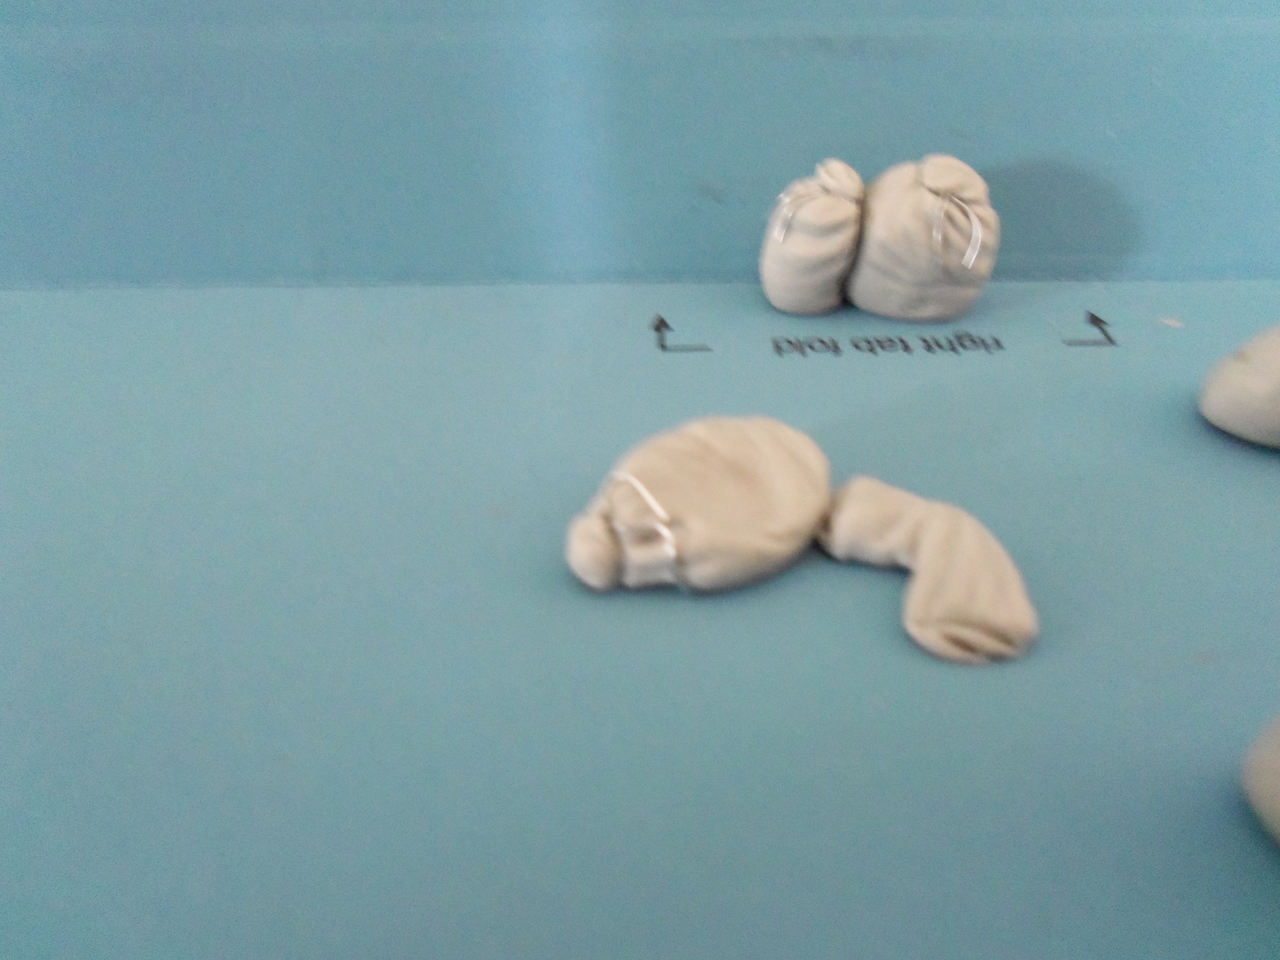
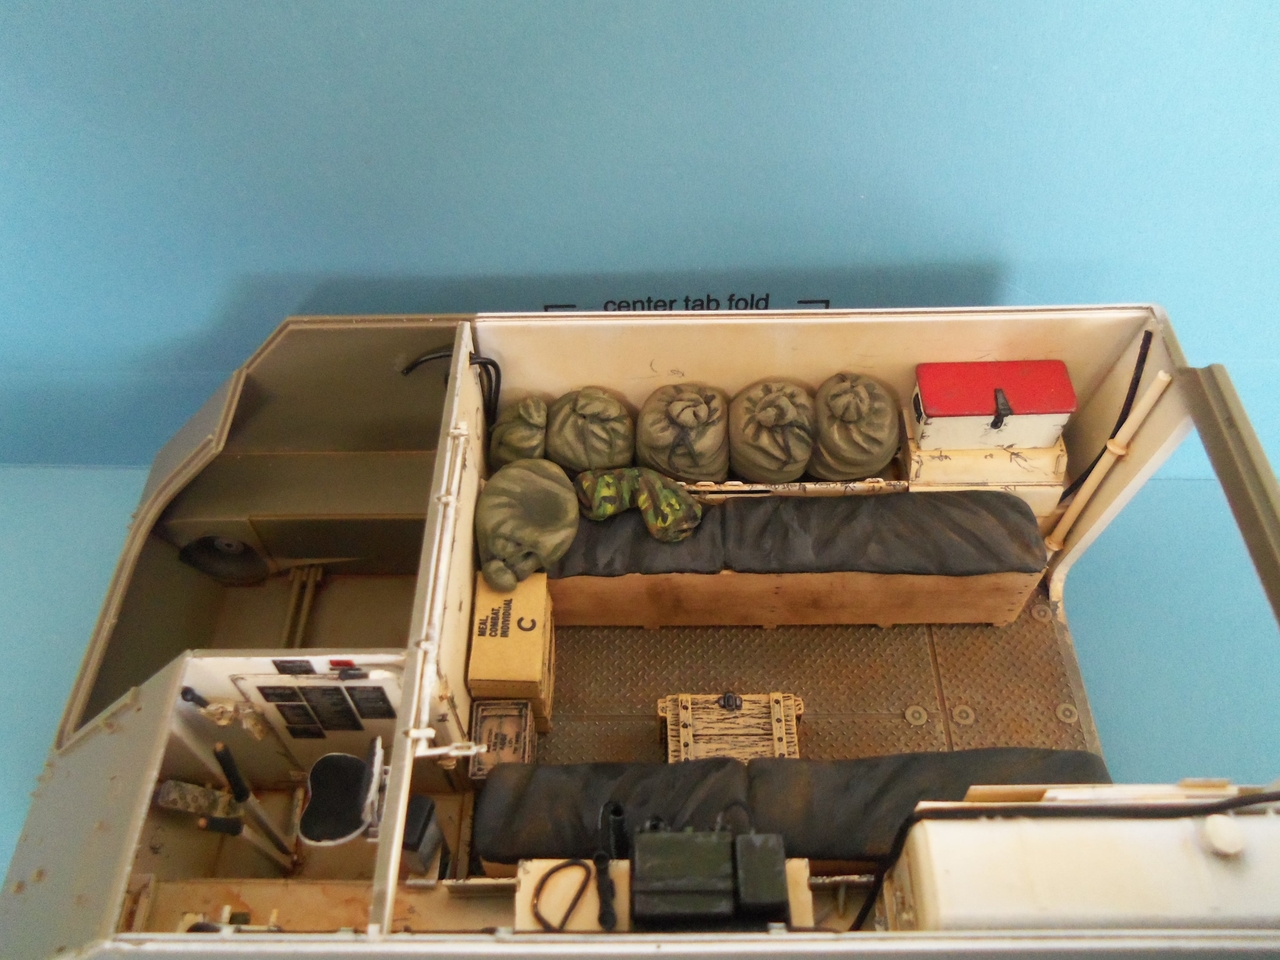
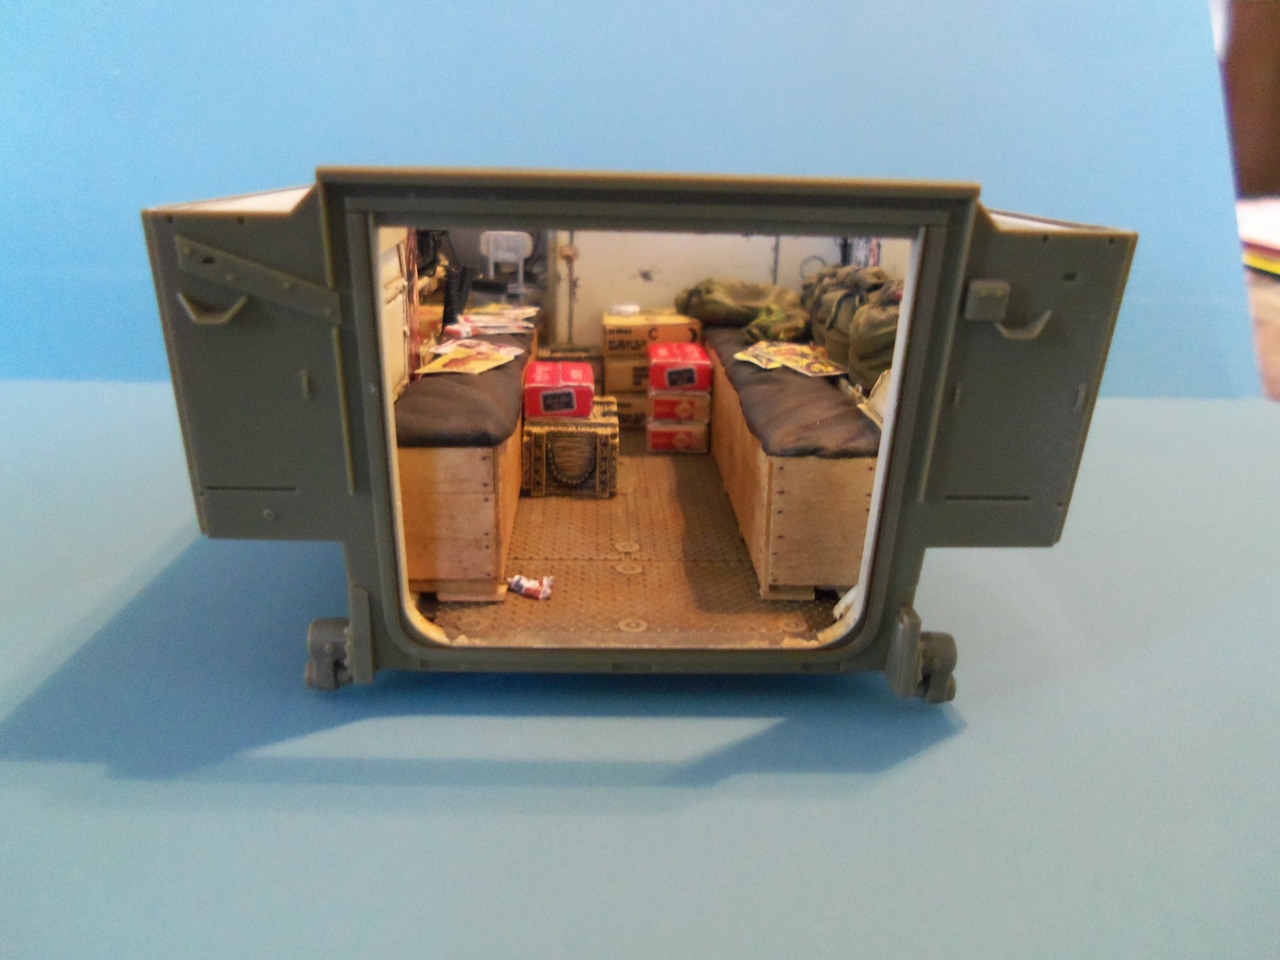
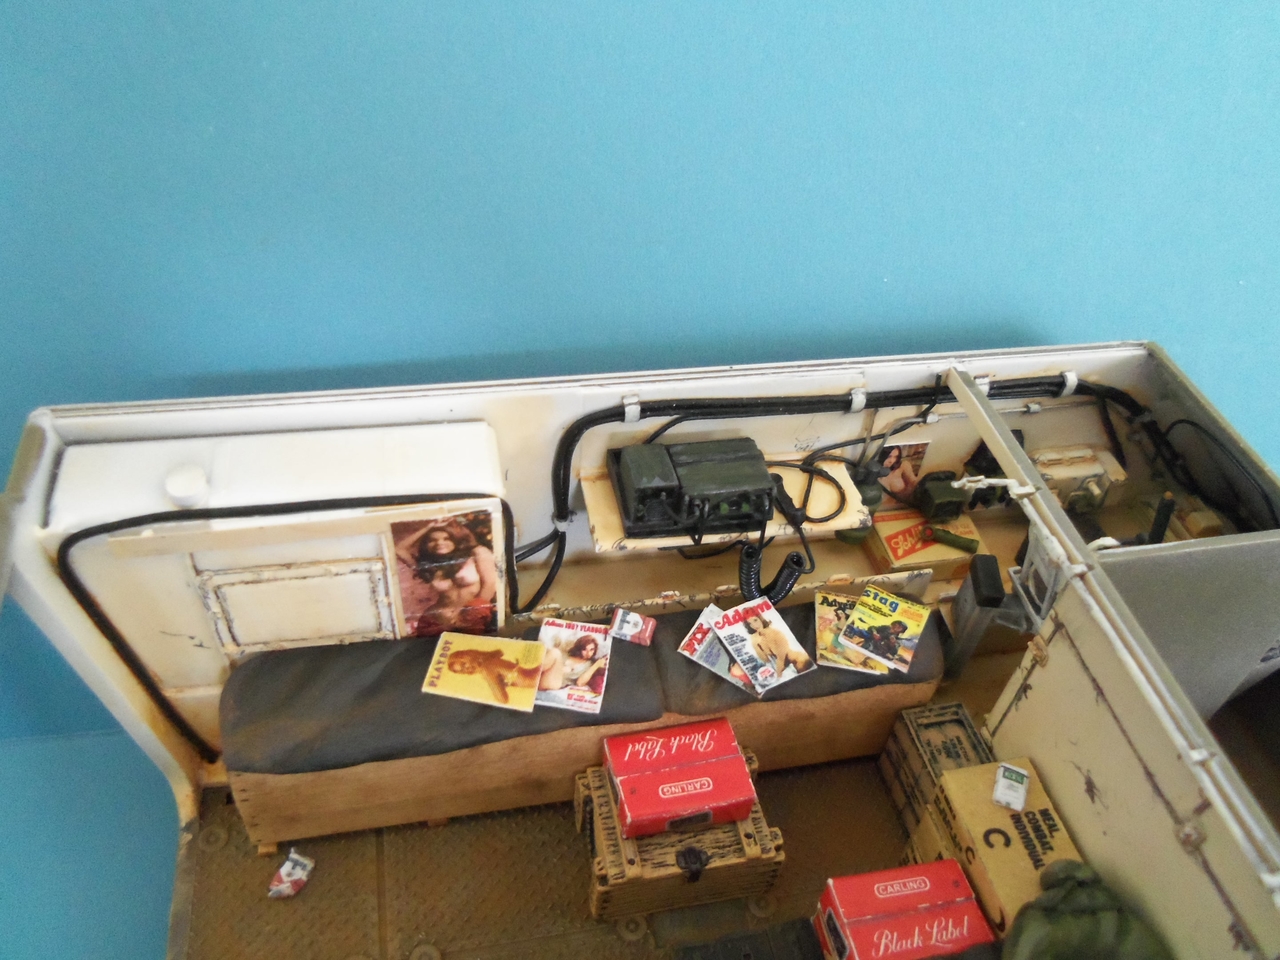
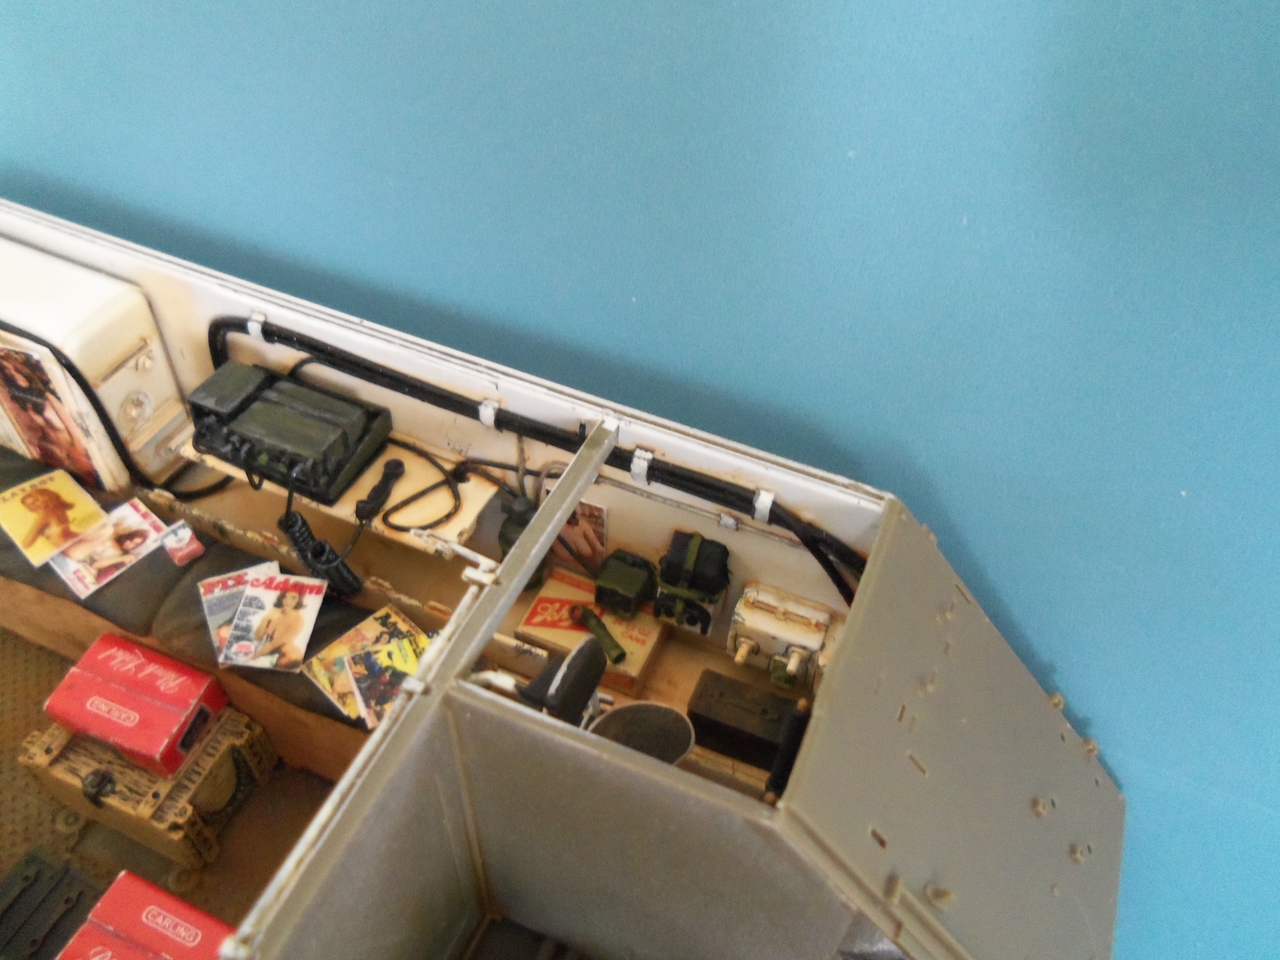
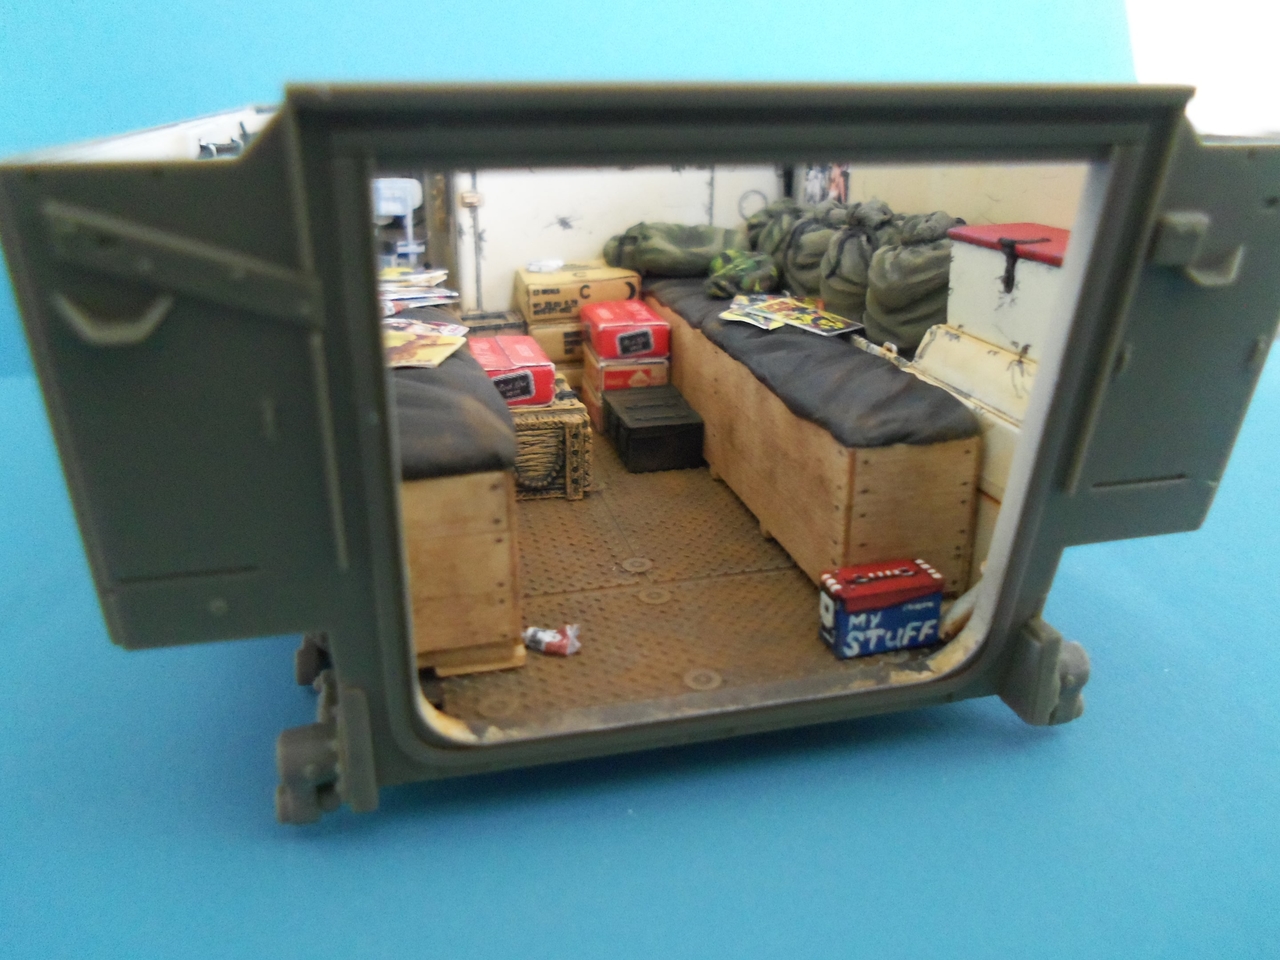
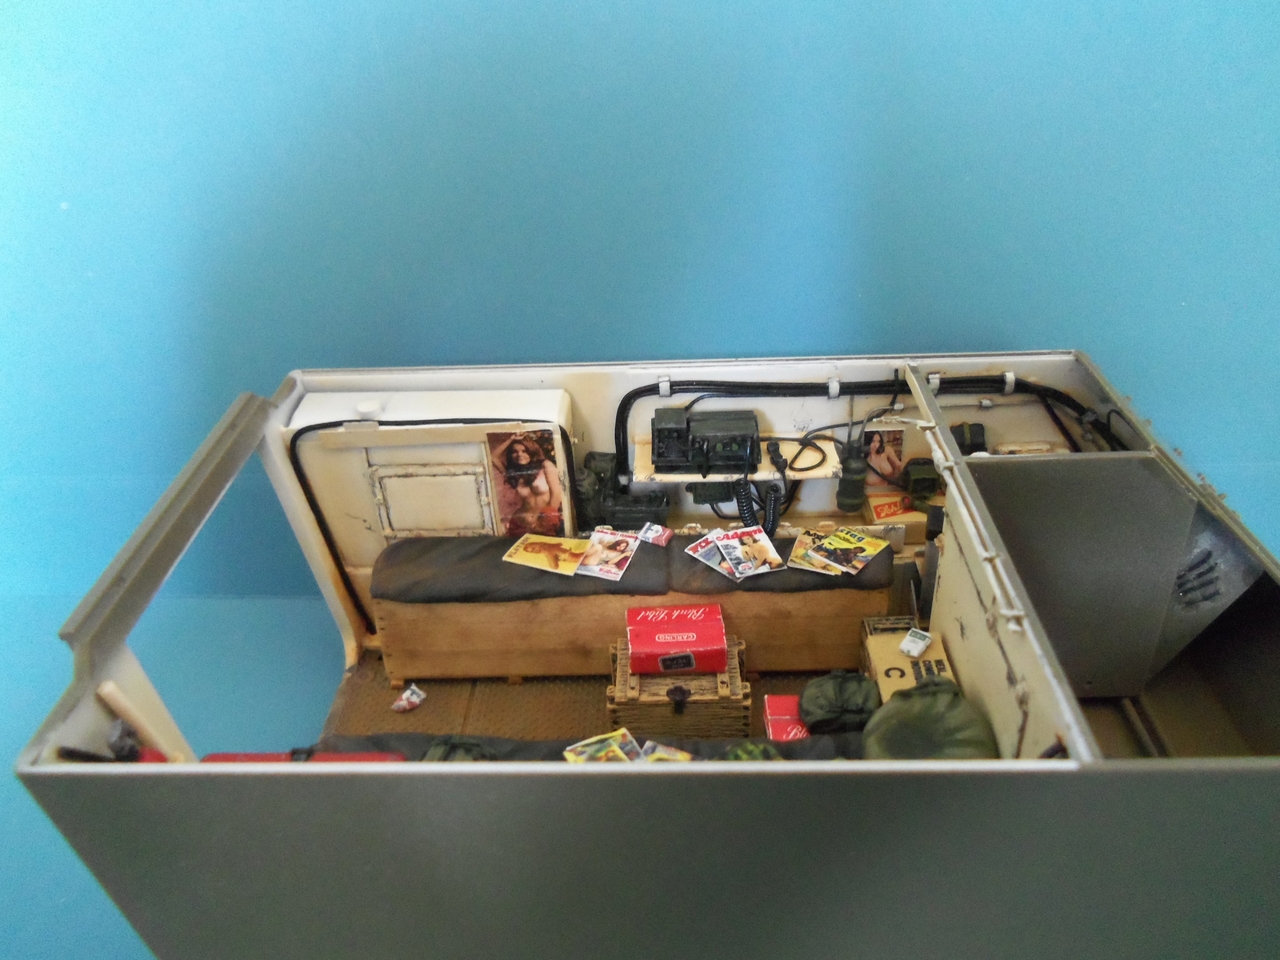
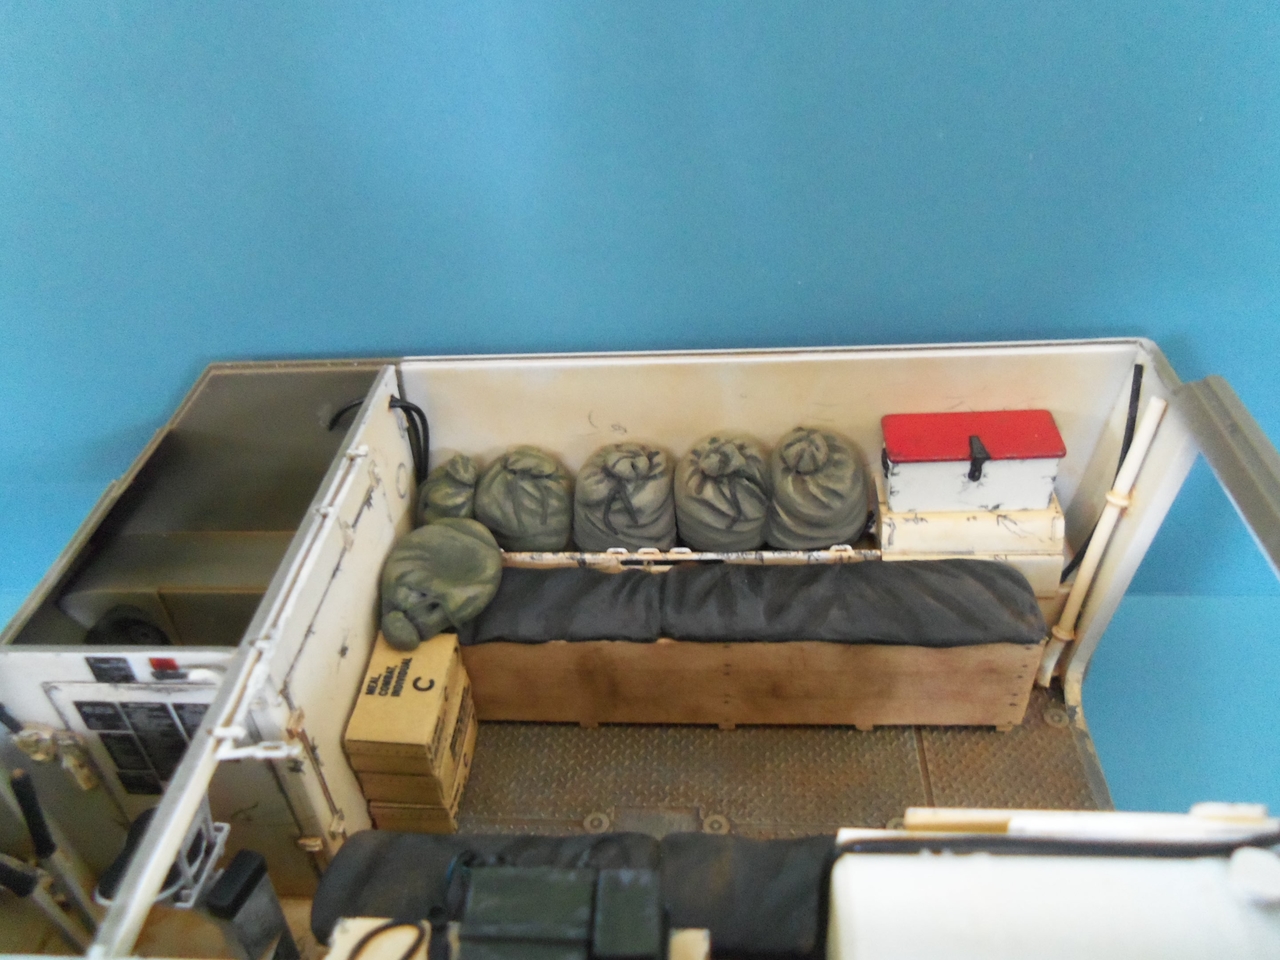
And these next photos are of where I am playing with where I might want these items to be located.

100_9760.JPG


100_9761.JPG


100_9762.JPG


100_9763.JPG


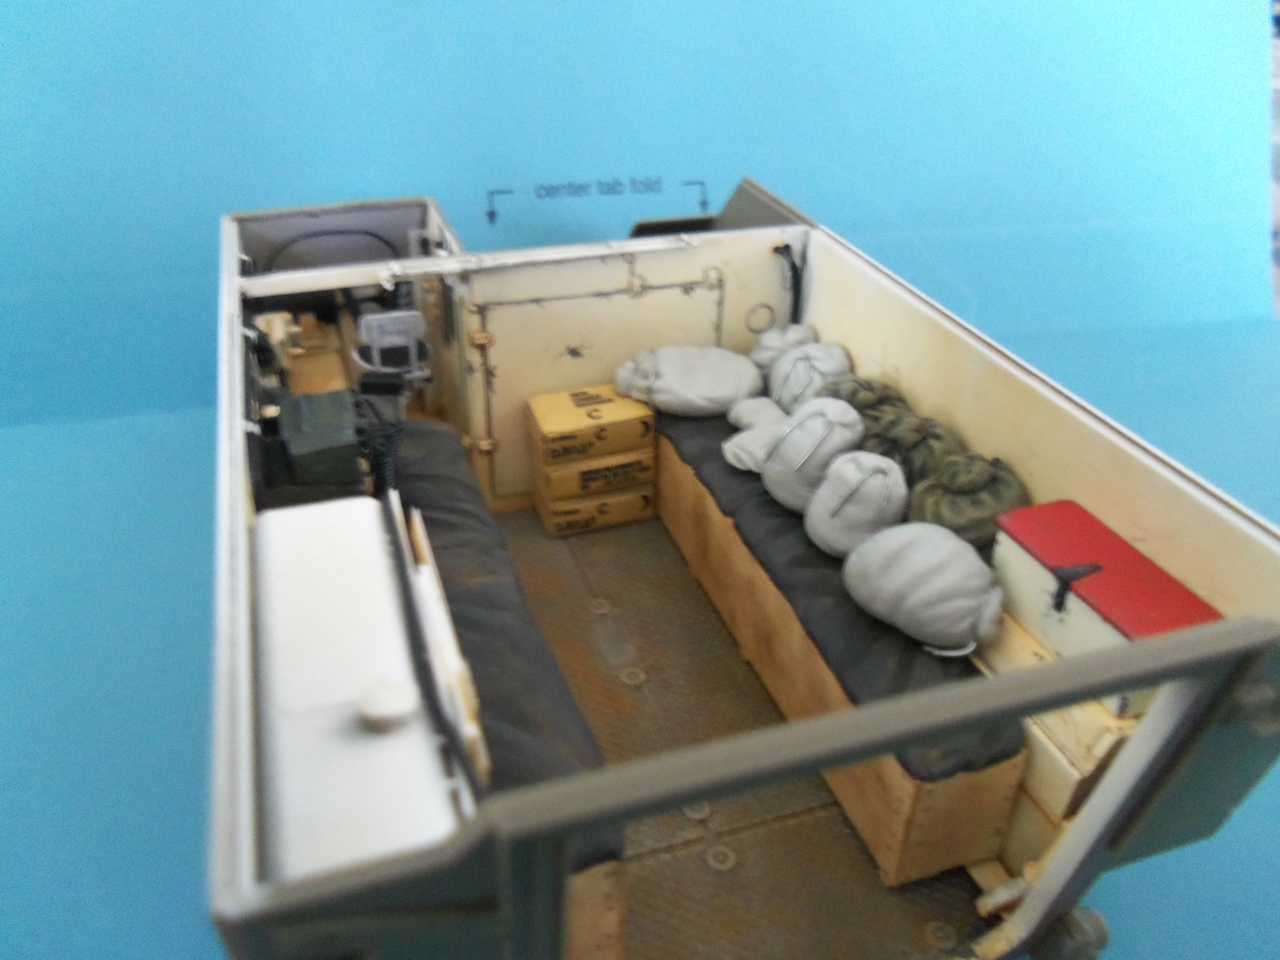
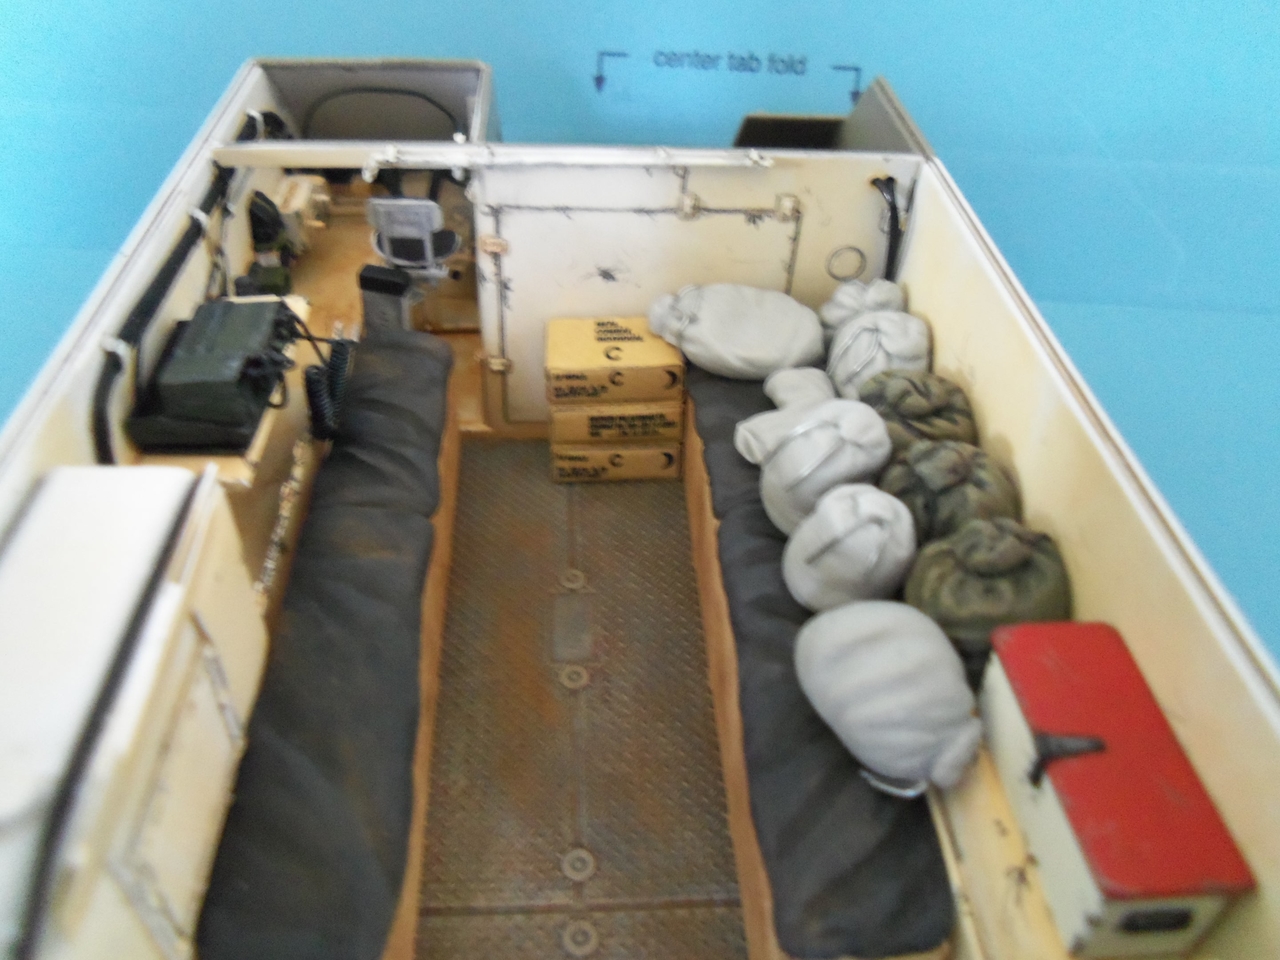
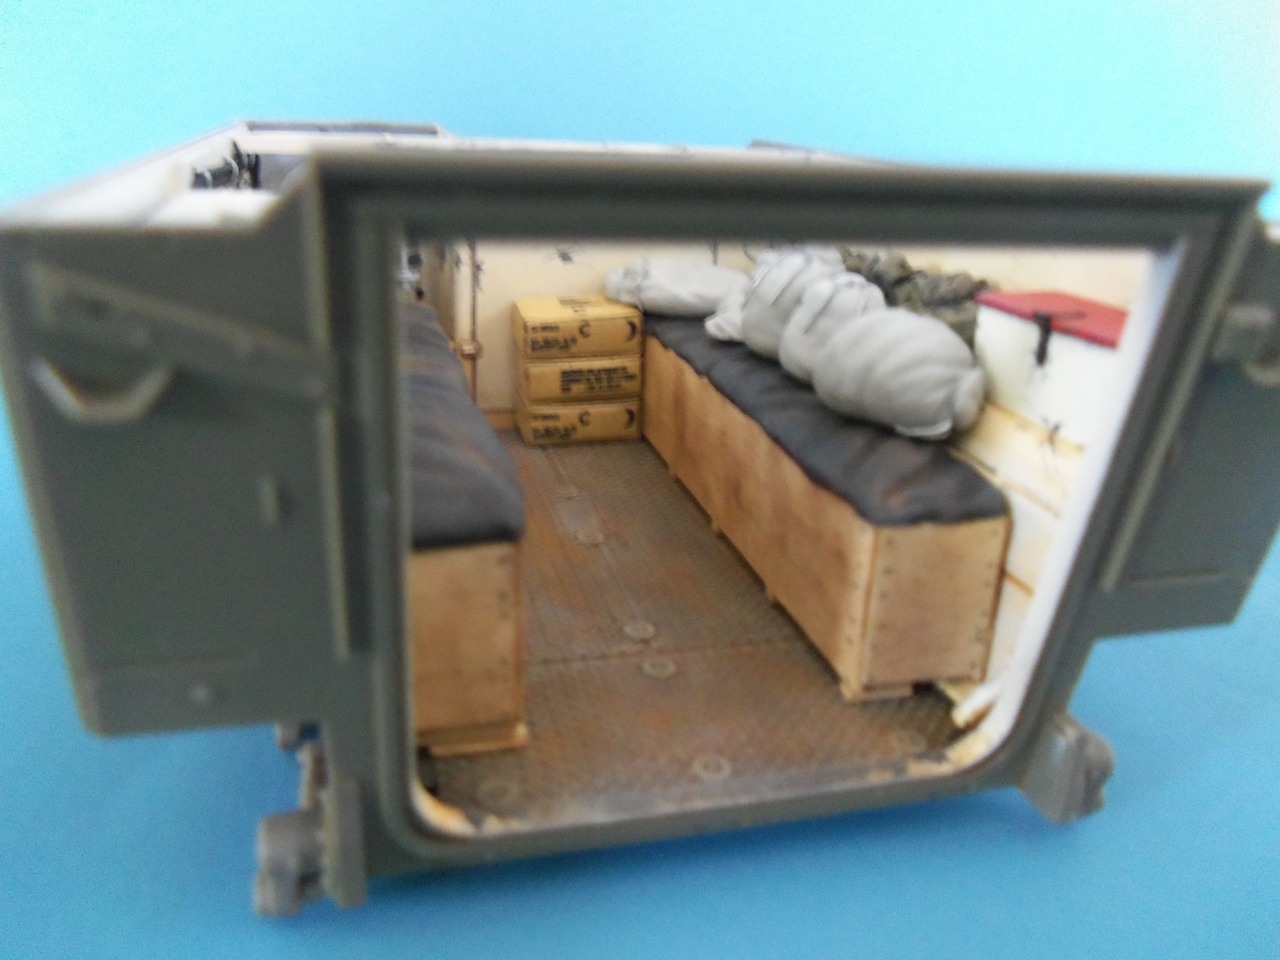
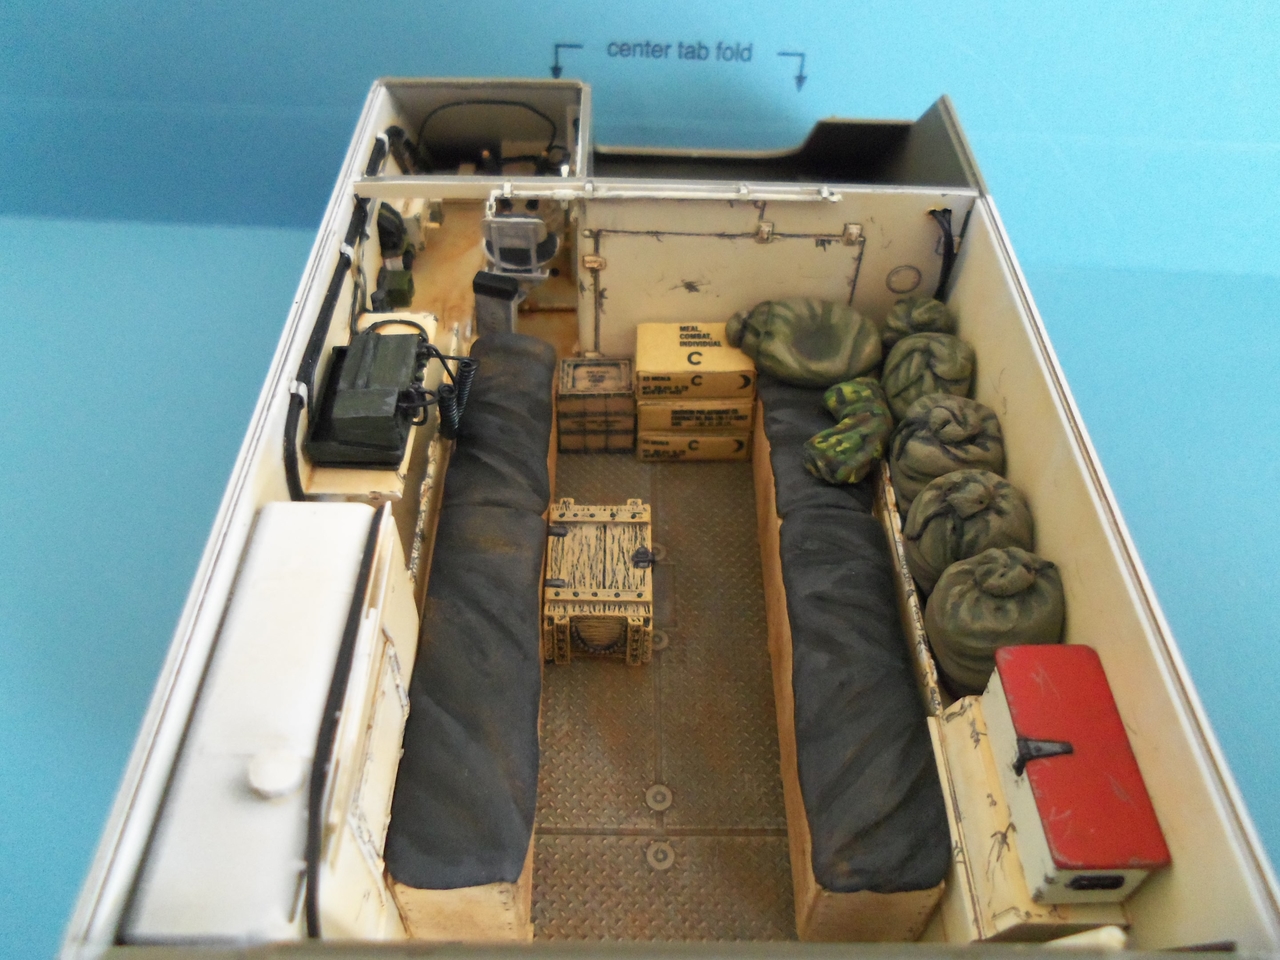
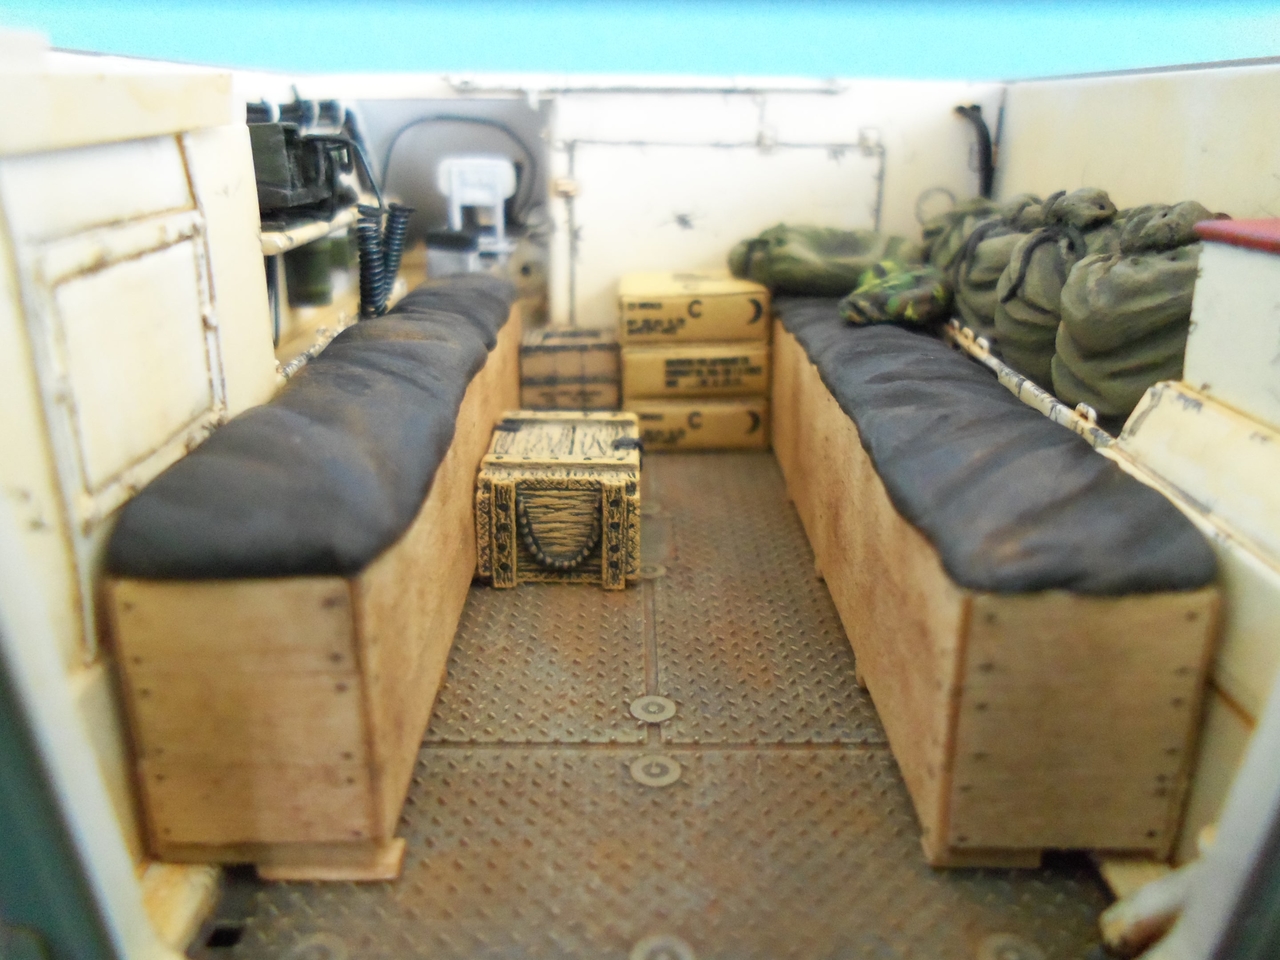
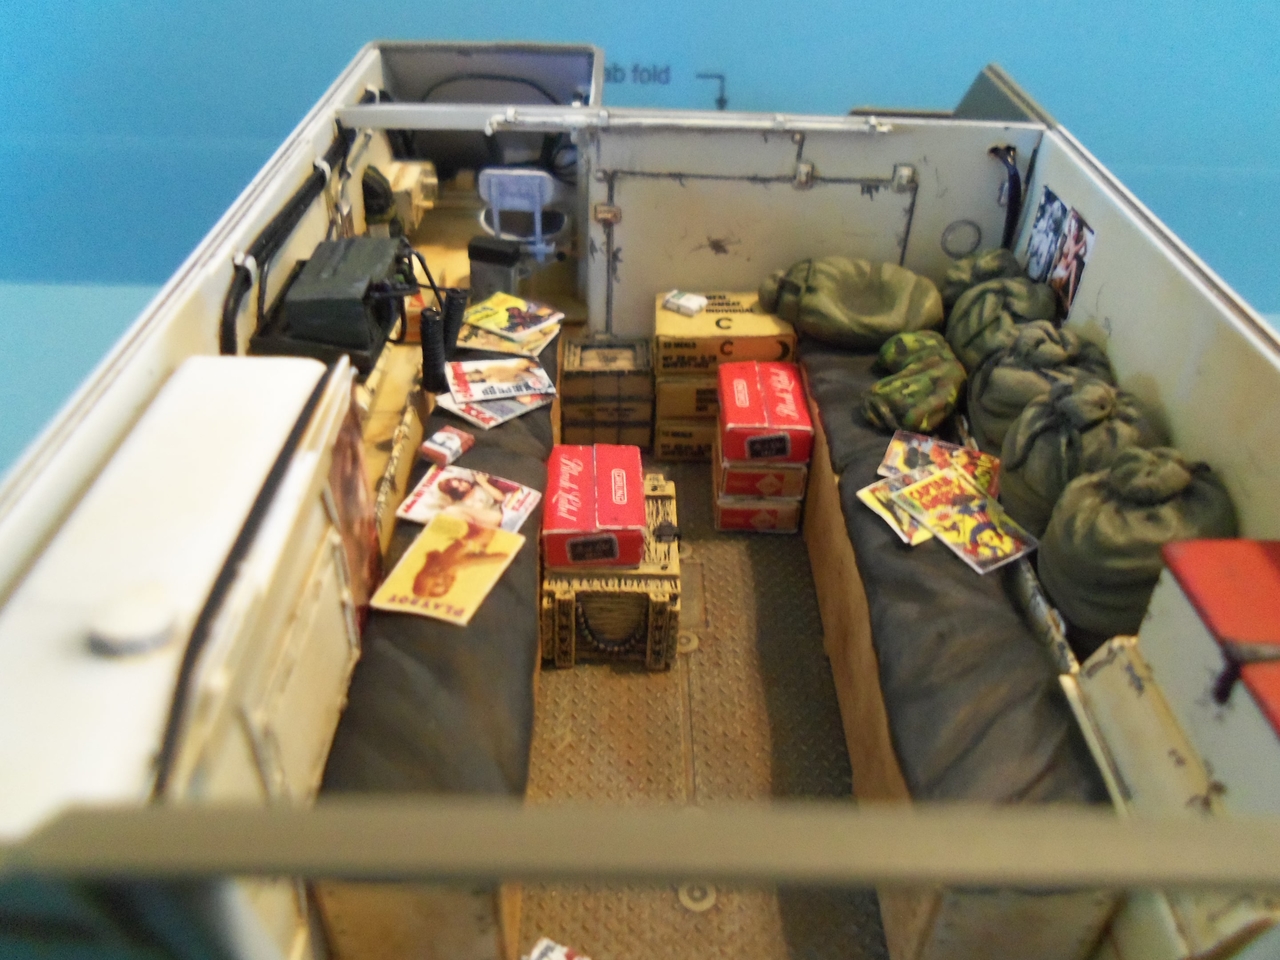
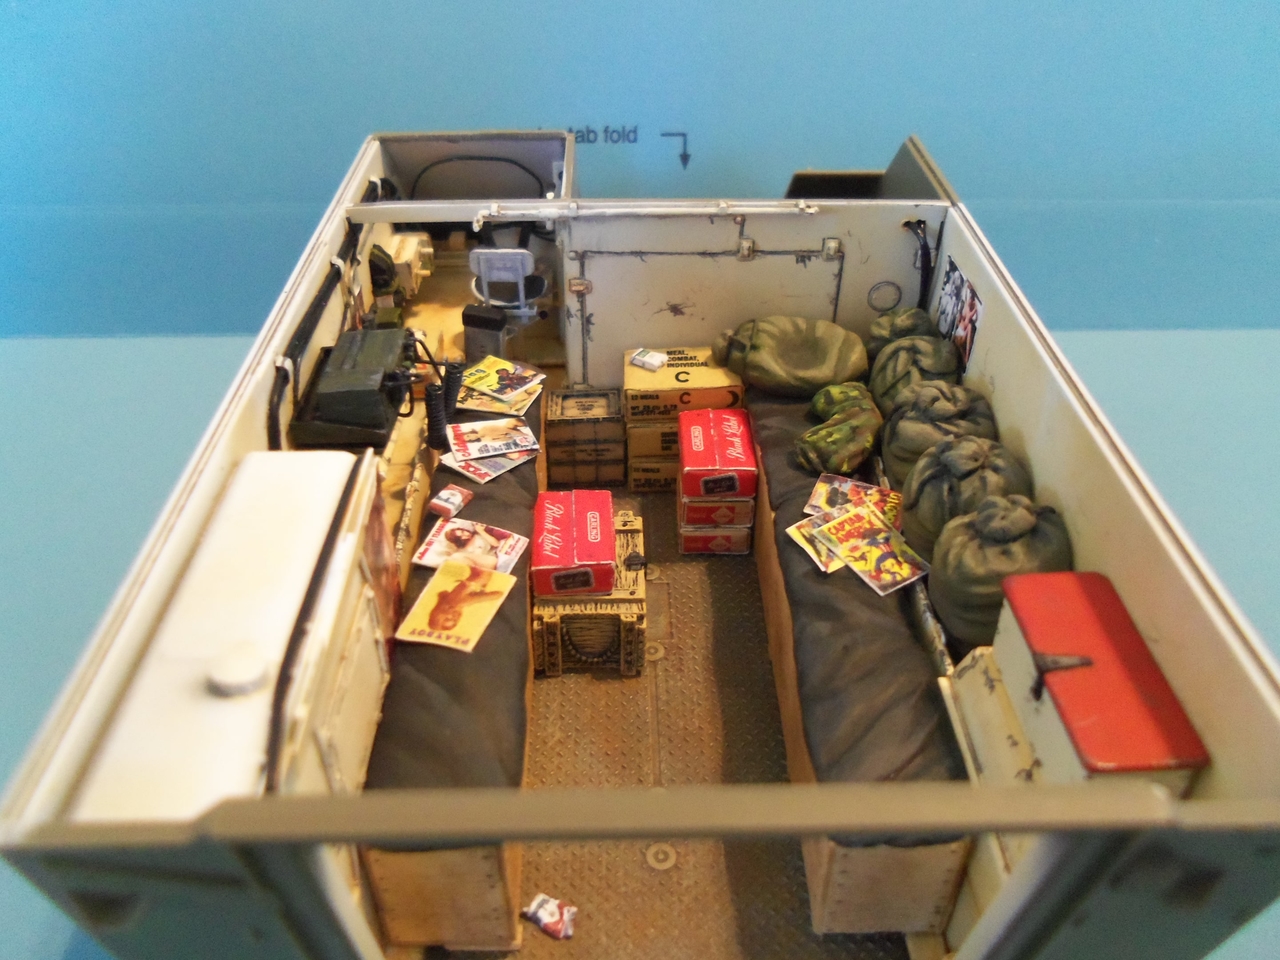
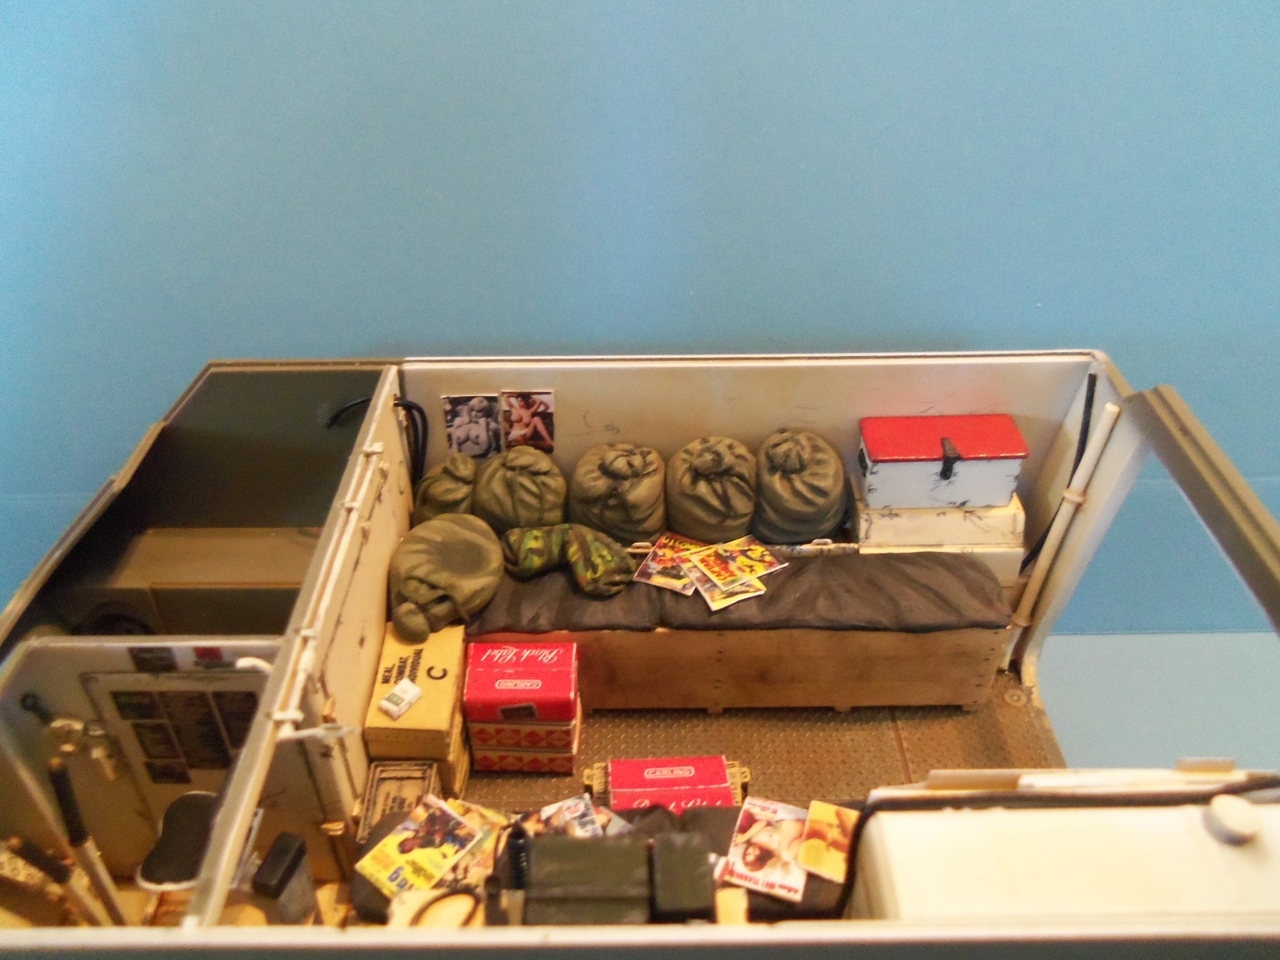
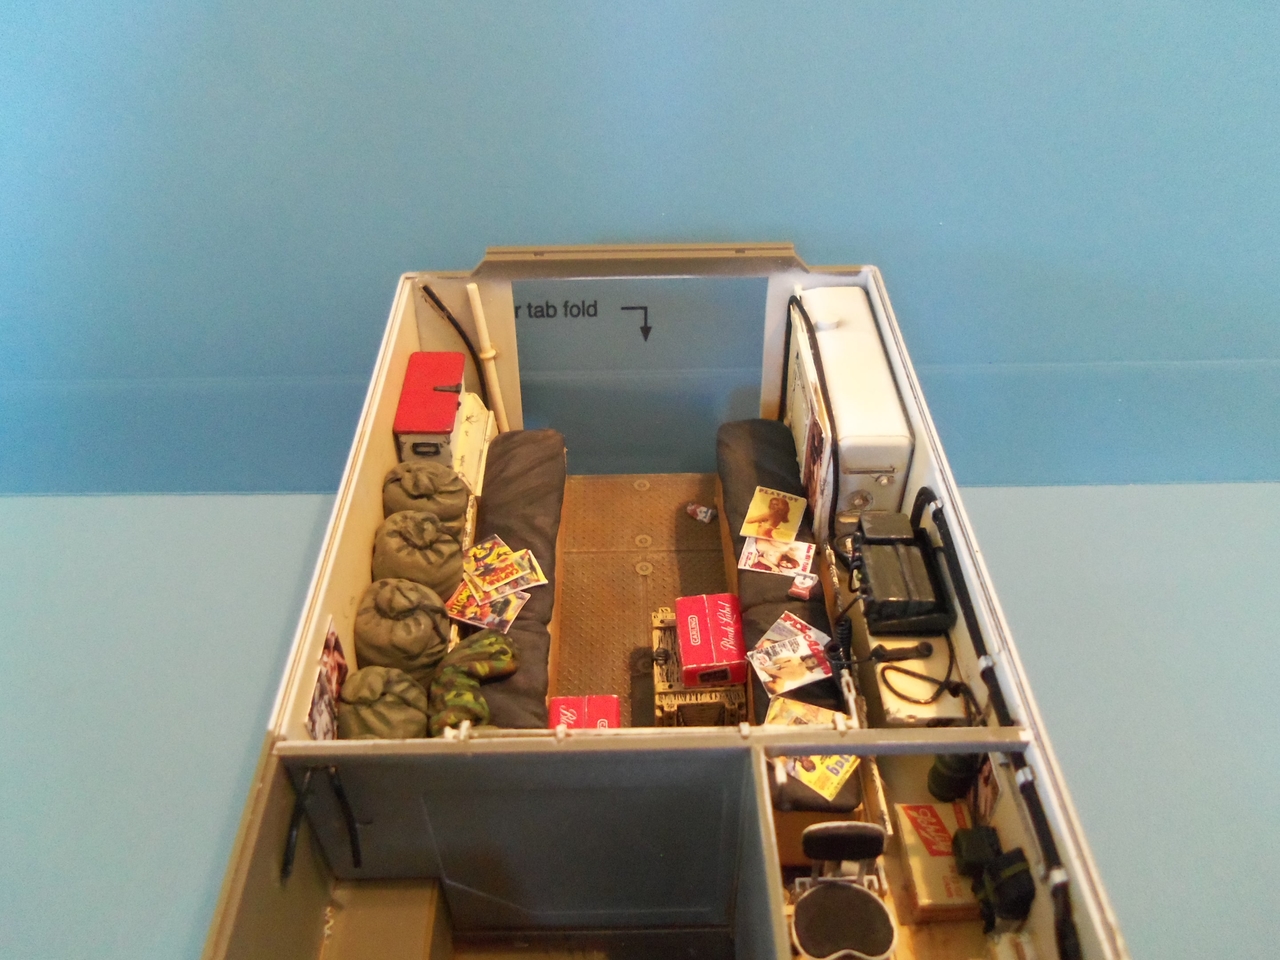
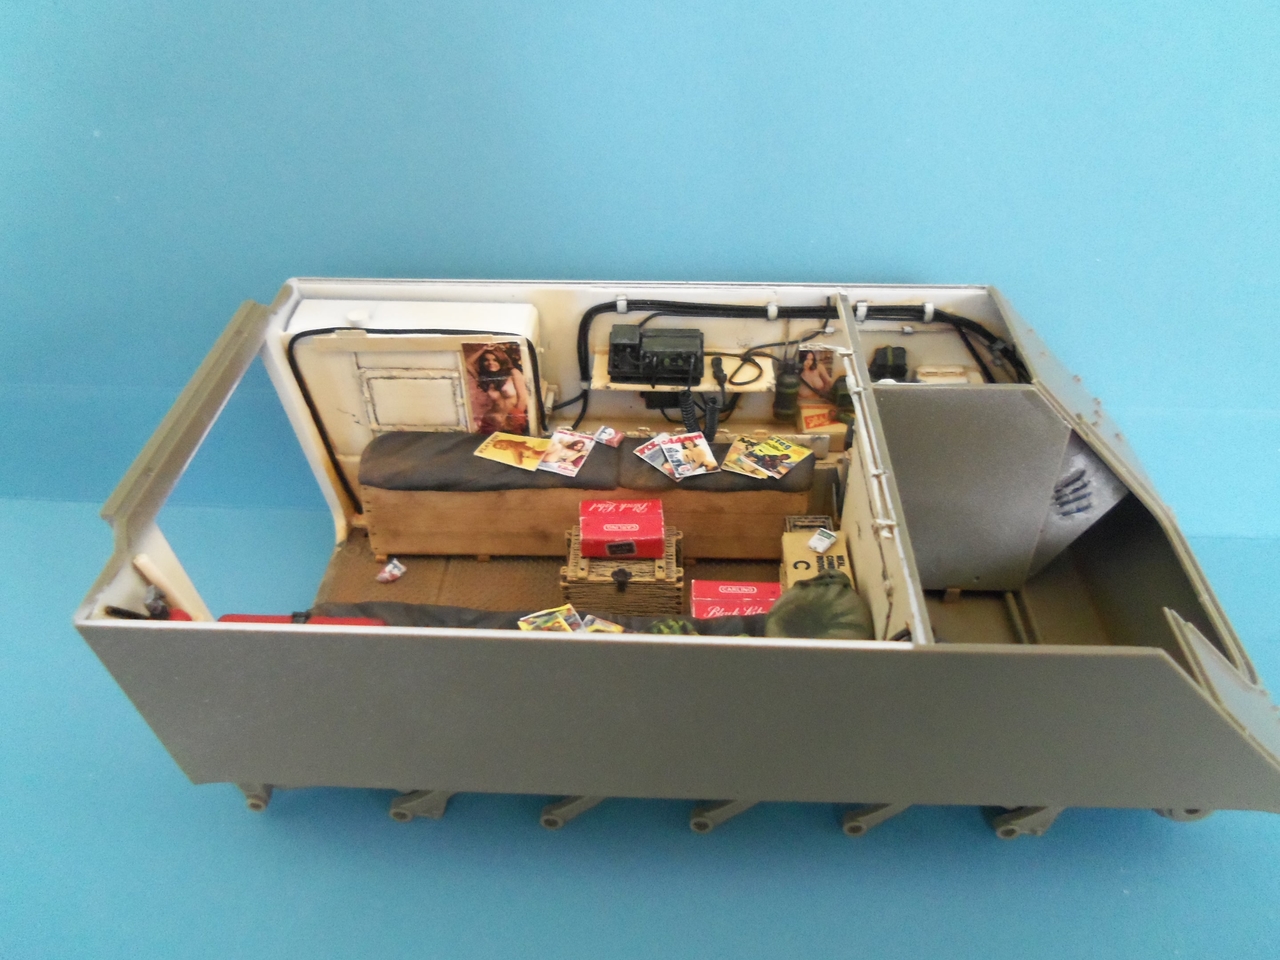
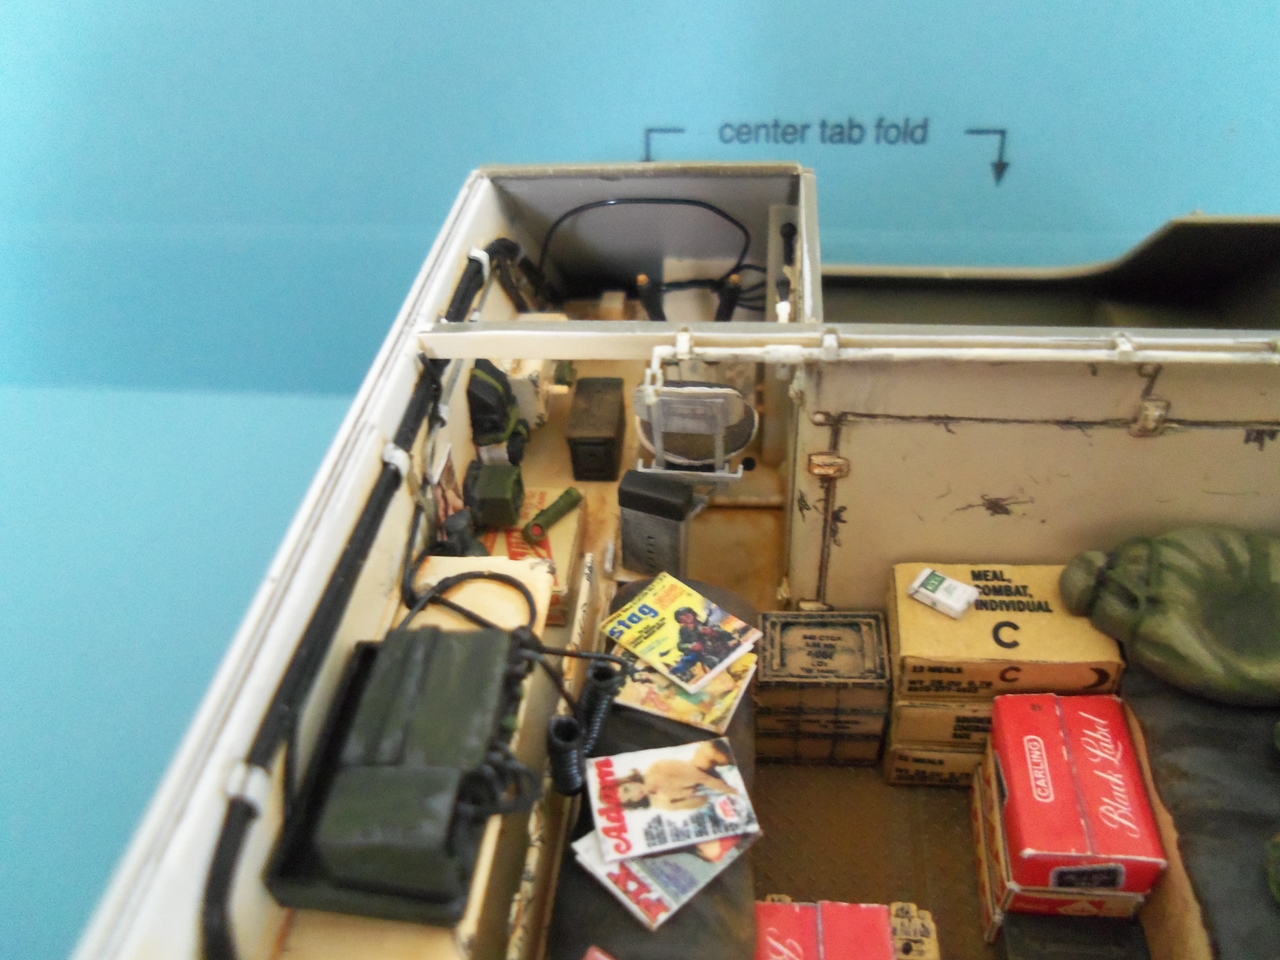
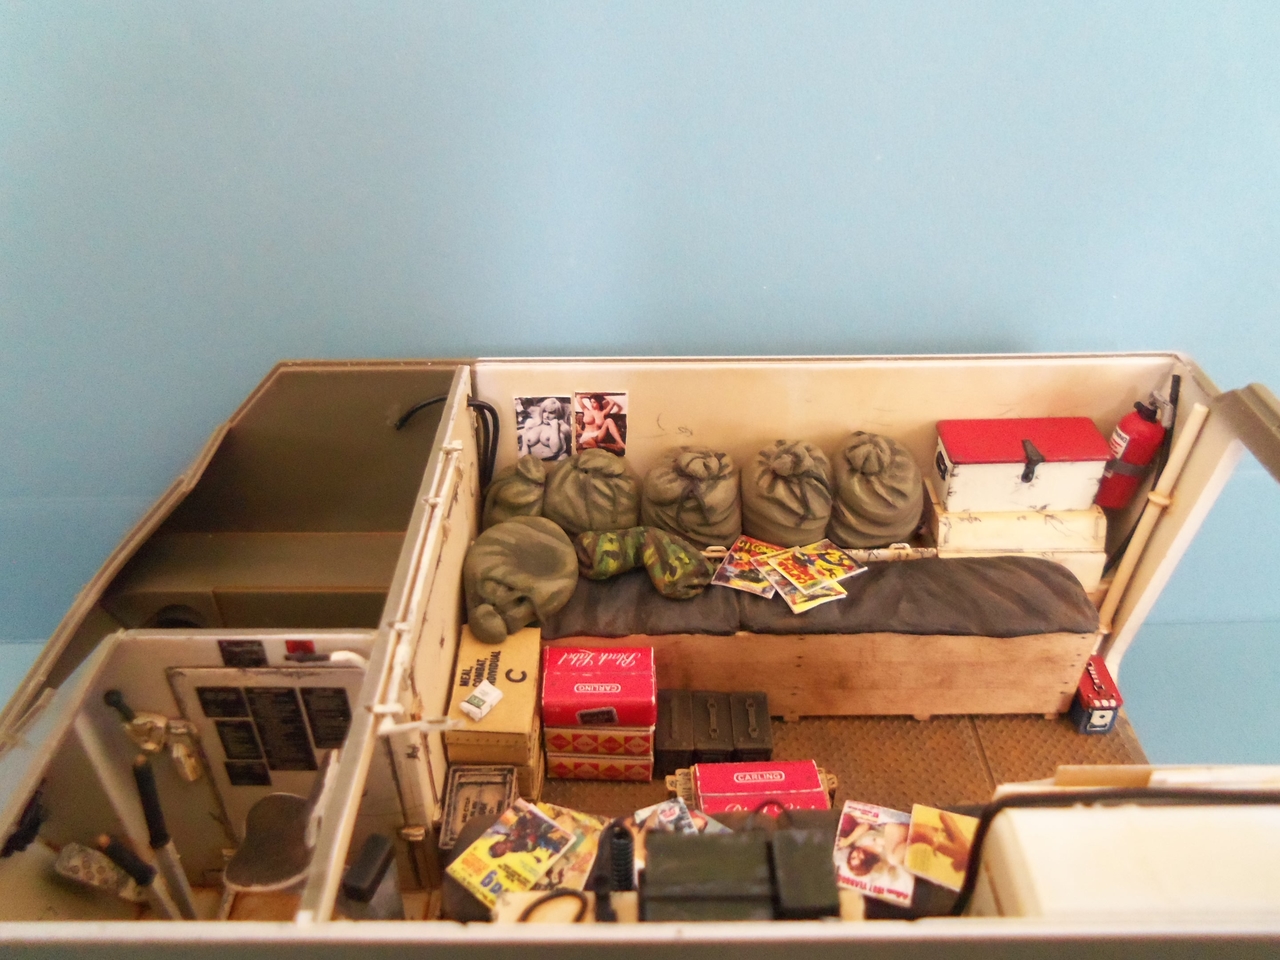
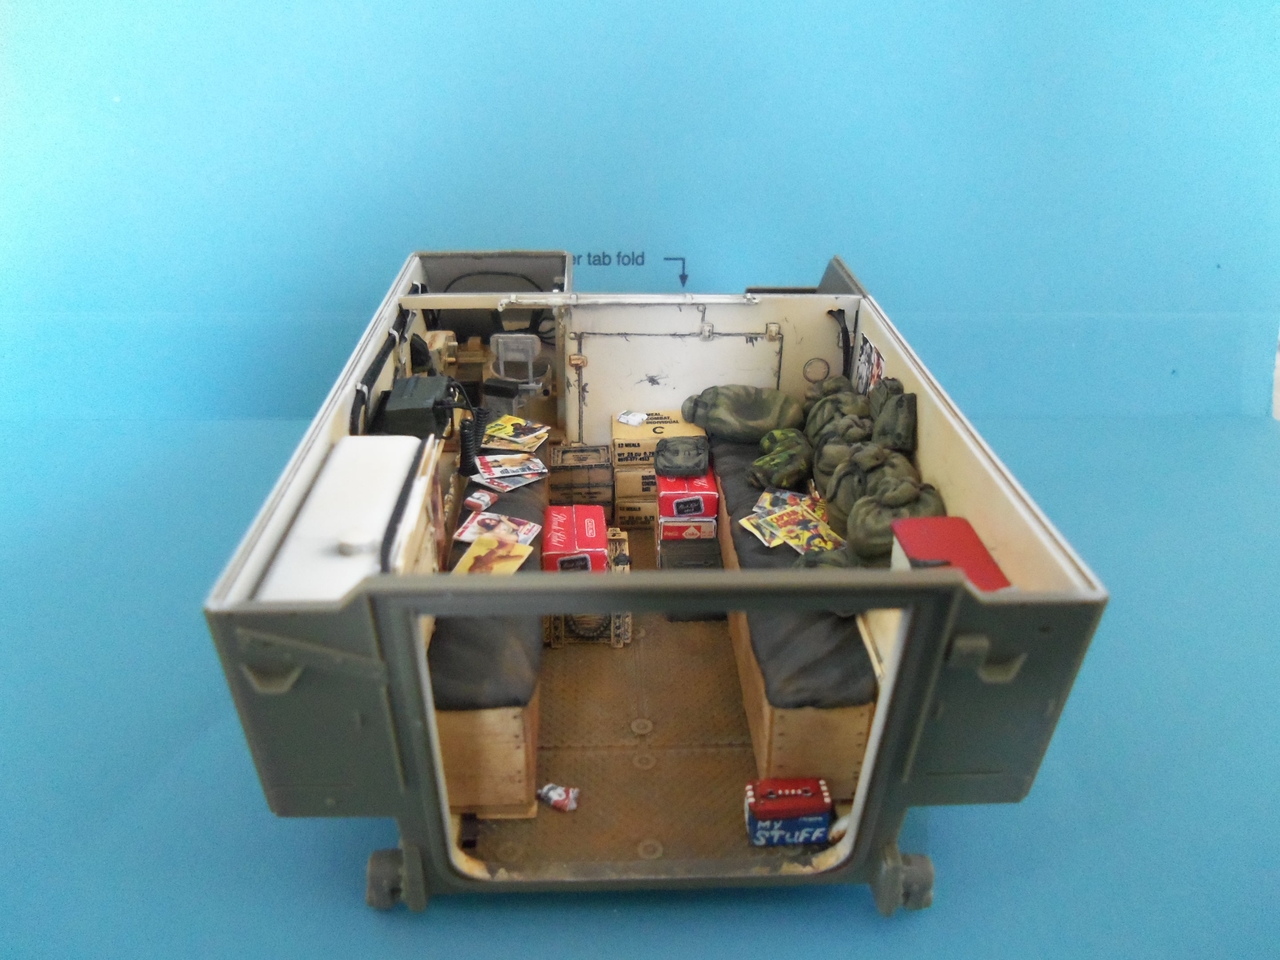
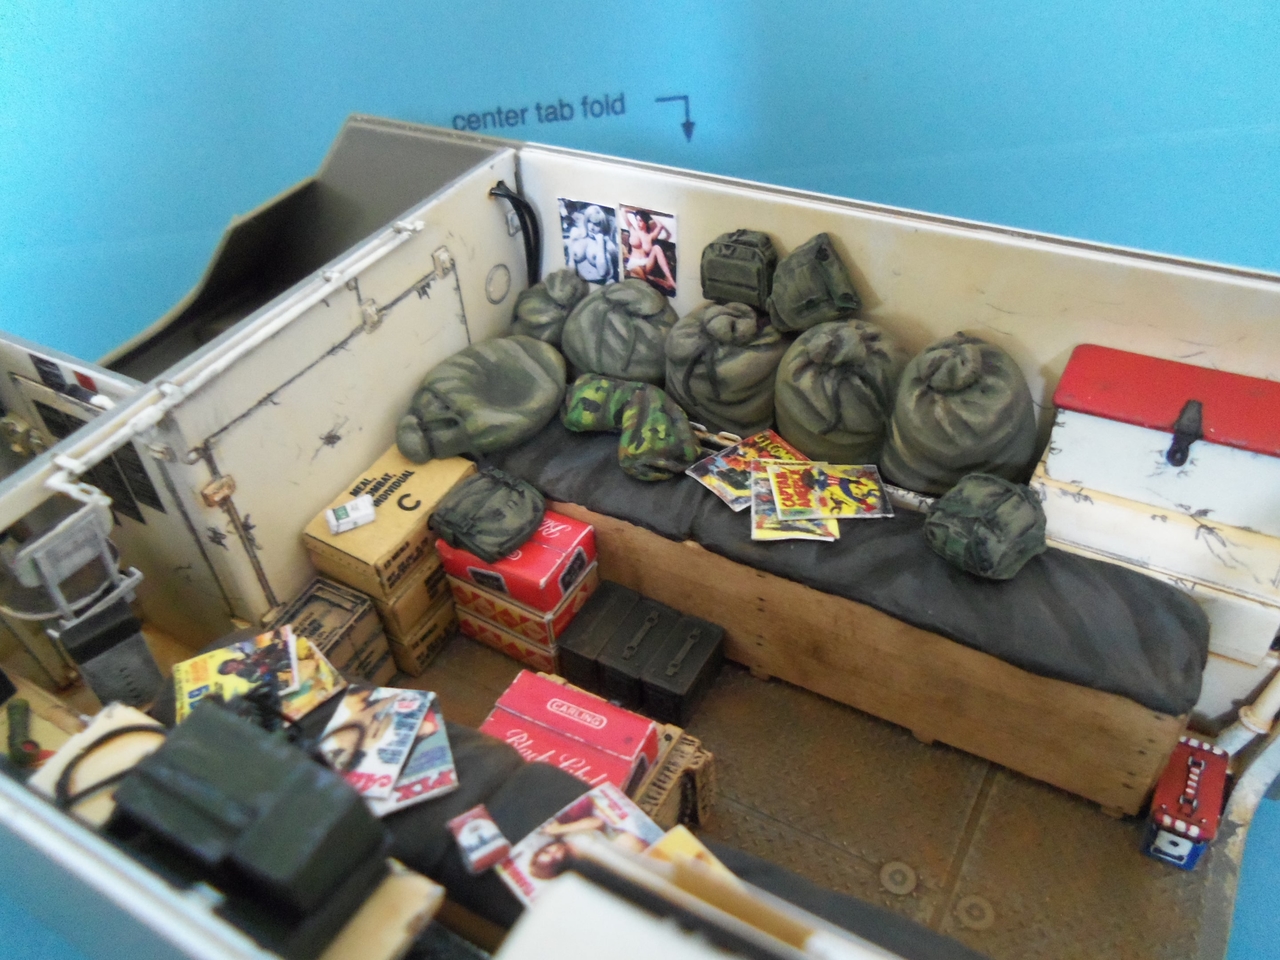
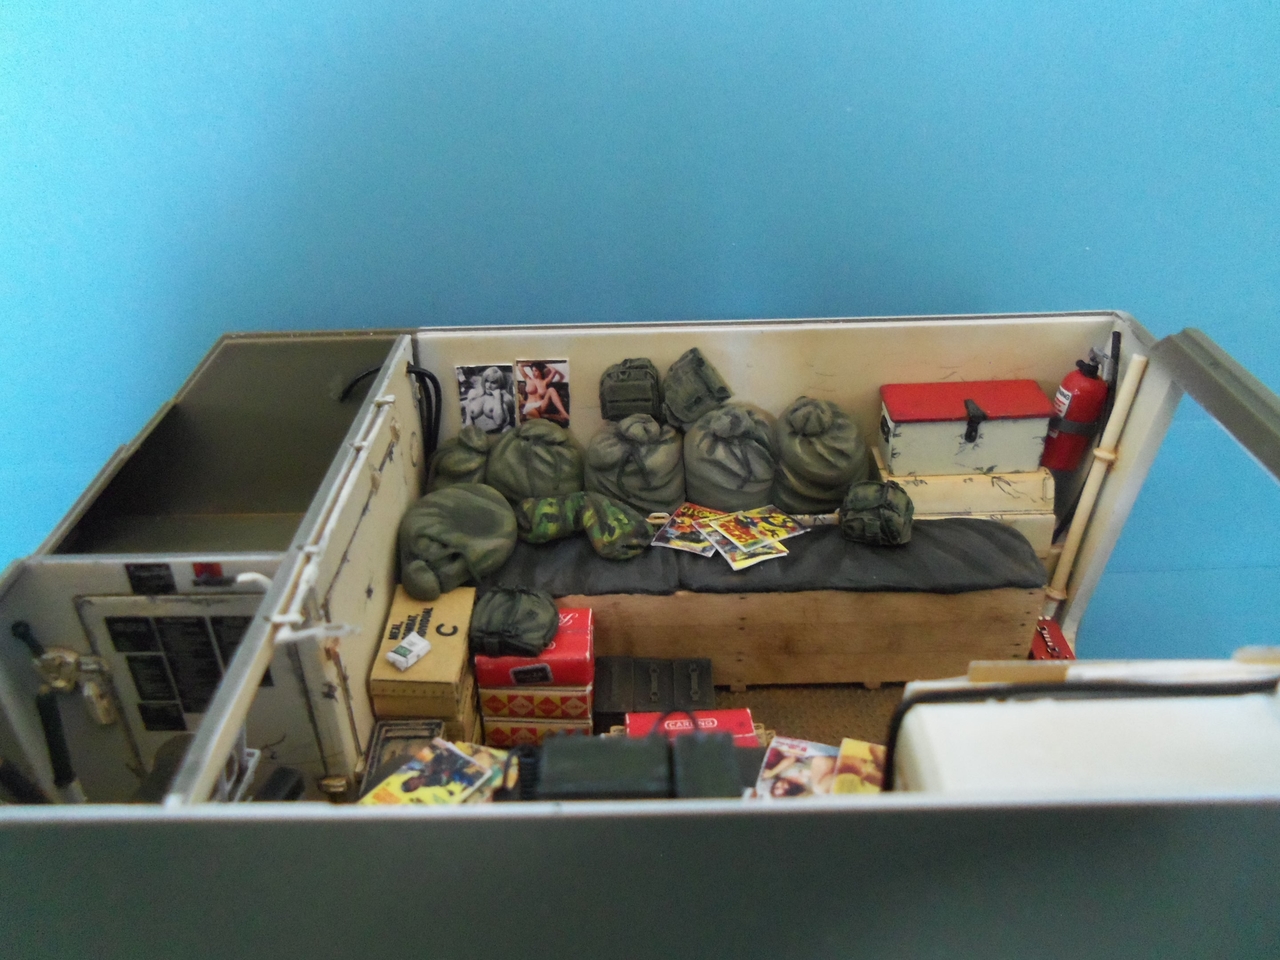
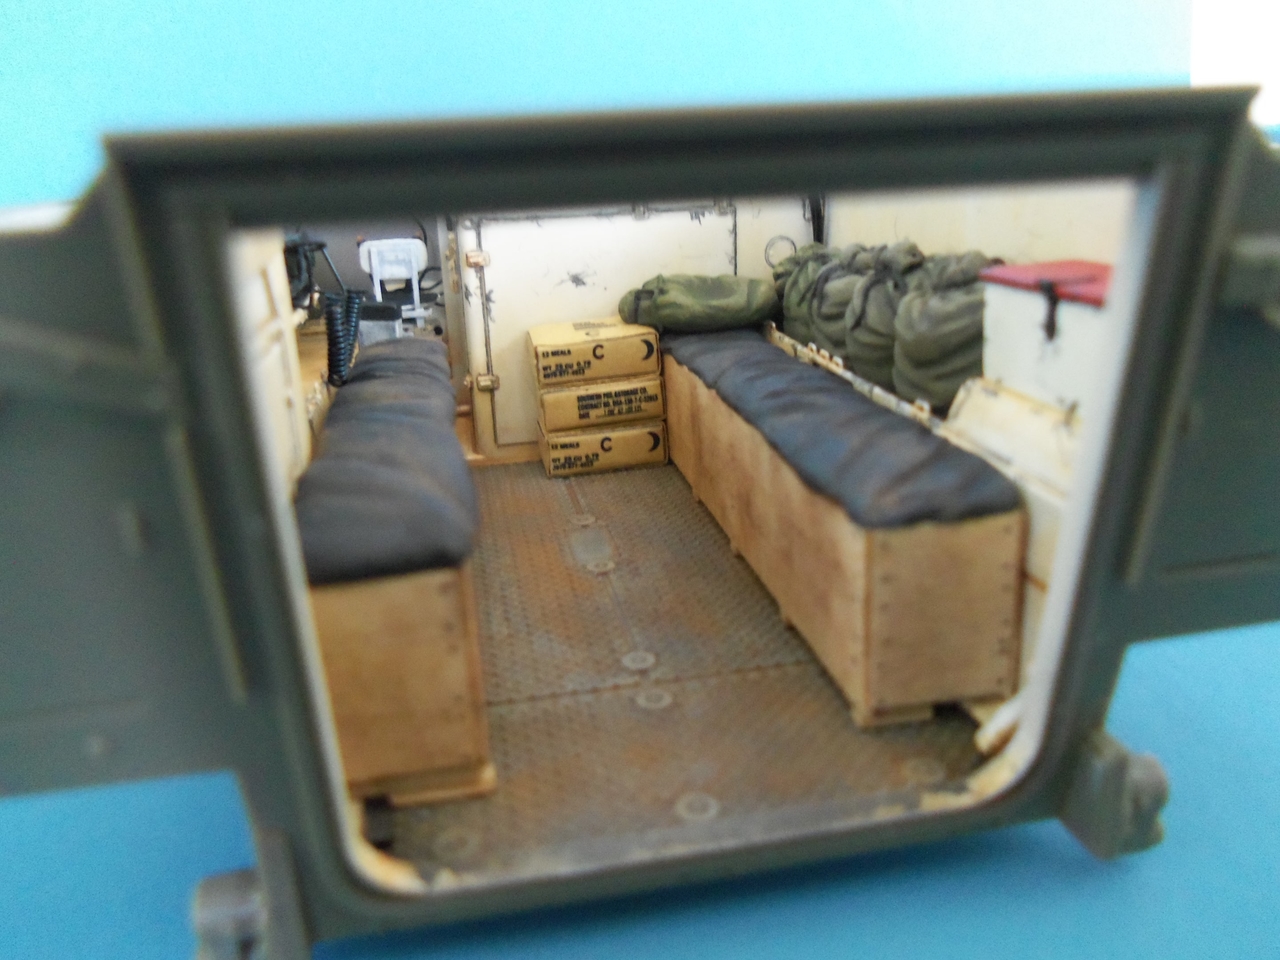
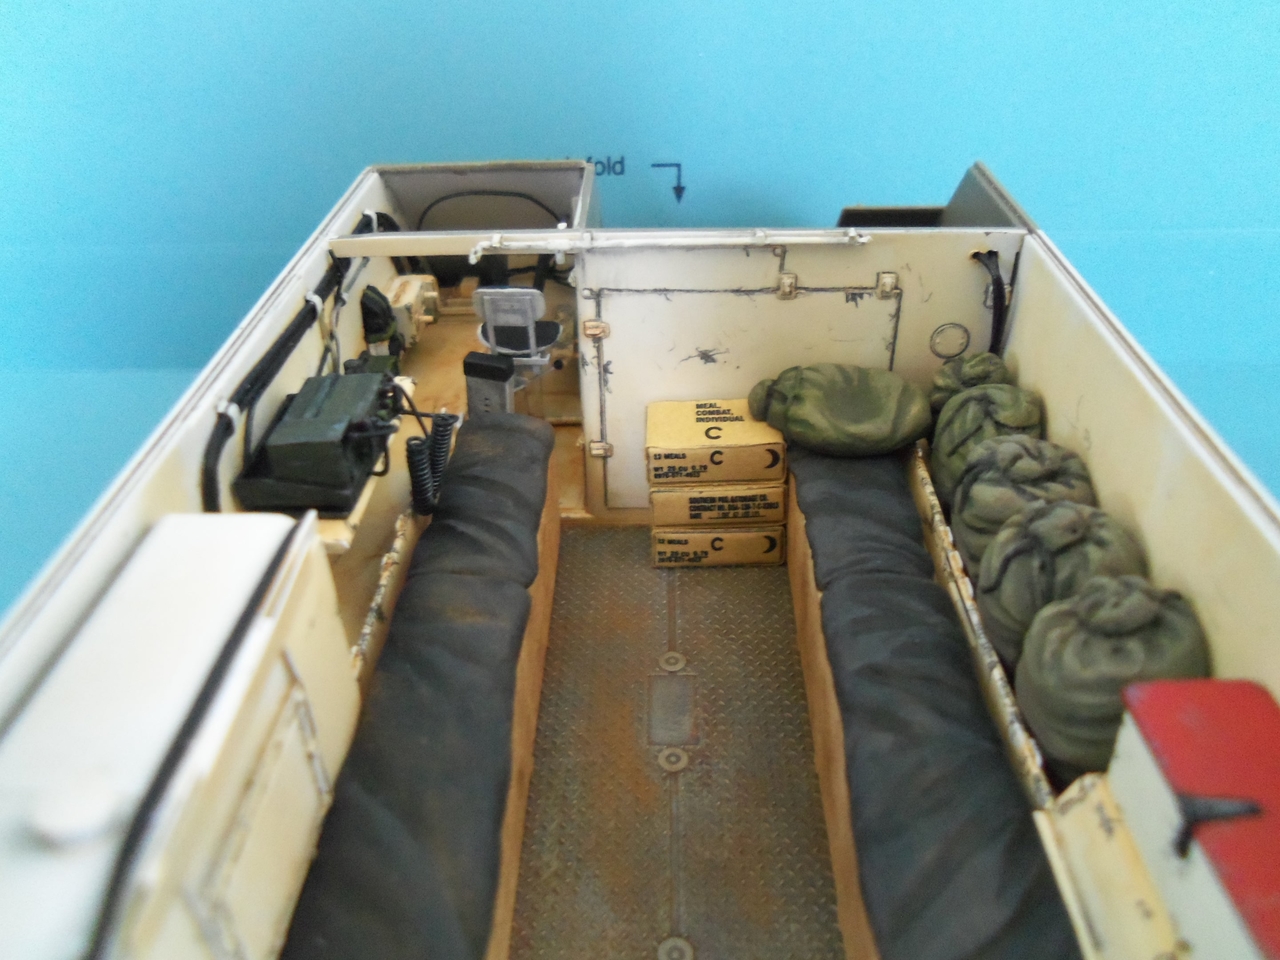
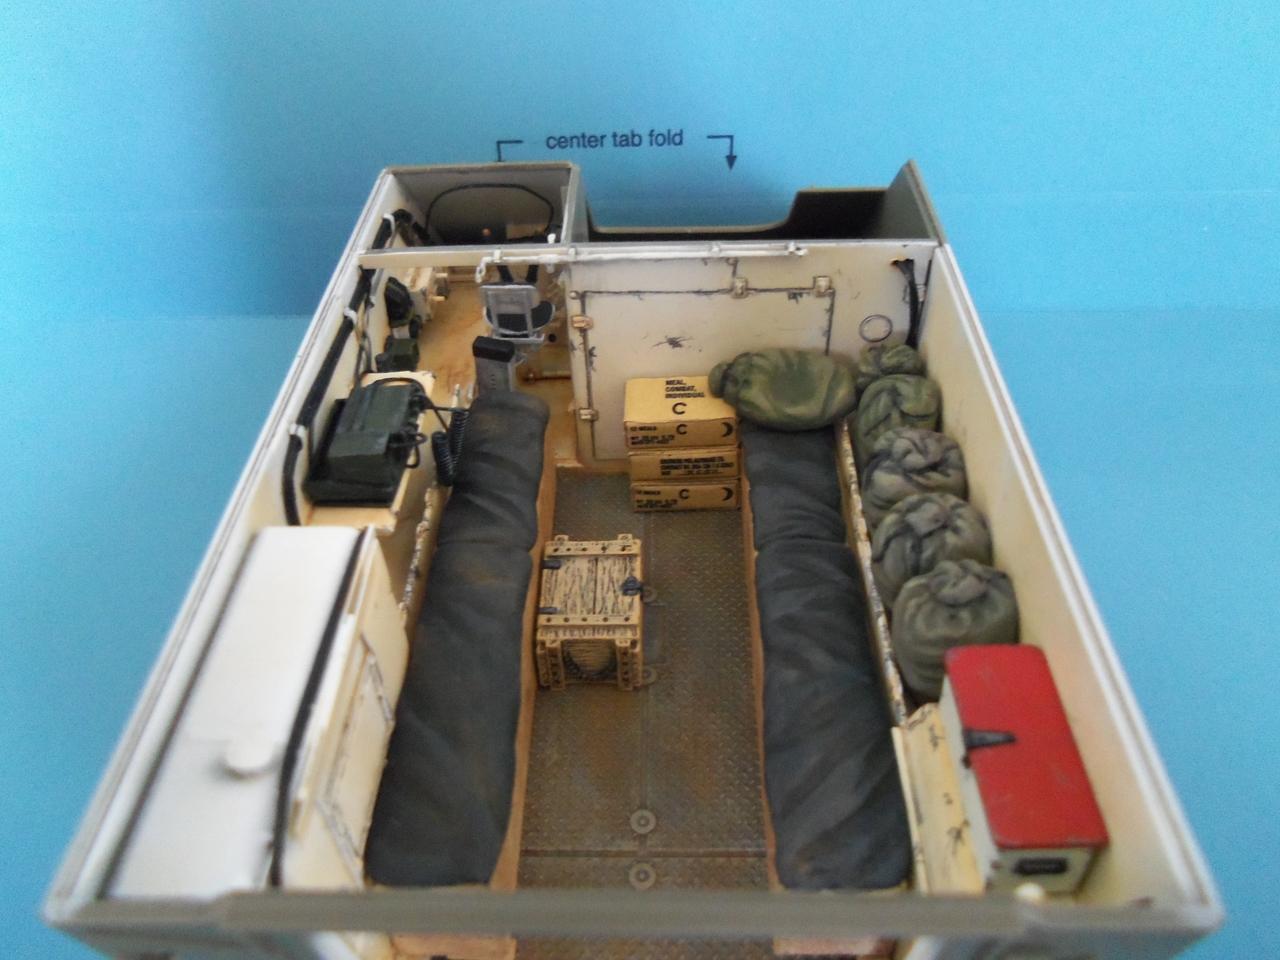
And here I have painted a few of the bags (it looks like I need to add one more highlight and perhaps darken the cords that close the bags) and glued them in place. Note the depression in the bag located on the pad of the box seats and on c-ration box indicating where someone had laid their head for a nap. Although most of the squad would sleep outside, the squad leader, platoon leader, and platoon sergeant usually slept inside the track to be close to the radio when they weren't on a dismounted patrol or checking the perimeter.

100_9783.JPG


100_9783.JPG


100_9785.JPG


100_9786.JPG


100_9790.JPG


Now to continue to work on the stowage...

Cheers,
James
 
Thanks, Guys.

Yesterday I was able to add a few items to the interior. On the floor, I added a case of 5.56 ammo next to the c-ration boxes and a box that grenades and other demo items come in. The case of 5.56 ammo is from the Bravo 6 "US M2A1 Ammo Boxes and Crates" kit (B6-35075) which comes with several crates including one that is broken open and flattened and the ammo cans that were in it. Decals of the markings of both the crates and ammo cans are included. Back when I was interning at the Air Defense Artillery Museum I had gotten permission to take photos and measurements of the Vietnam-era crates, boxes, and cans in our collection to send to Vladimir of Bravo 6 so he could make accurate reproductions of those items in miniature, so anyone who decides to use this particular kit can be assured that the markings are accurate. The other box on the floor is from Armand Bayardi and those of you who have used his items before can attest to the quality and detail of his castings.

The other item that I added was the poncho liner near the WP bag that was used as a pillow. To paint this, I broke out one of my ERDL Camouflage Pattern Poncho Liners that was manufactured in 1967, arranged it in a shape similar to what I had sculpted (I probably should have done that prior to sculpting, too - perhaps next time :) ), and basically copied the pattern that could be seen. On the older ERDL poncho liners, the colors are a bit different from those on those of the same pattern manufactured in the 1980s, so the dark green and brown tend to blend together a bit more than later versions. I applied a glaze of a darker green to create the shadows and to recreate that "blending" of the brown and dark green colors of the poncho liner. One the top of the hull is put on, you probably won't be able to see much of it so that is one of the things that kind of sucks about doing interiors, but I know those details are there.

100_9801.JPG


100_9802.JPG


100_9803.JPG


100_9804.JPG


100_9805.JPG


100_9806.JPG


After painting the other WP bags and seeing where they may fit, I have decided that I am not going to use them. What I might do is sculpt one that is open with some of the clothing visible or taken out if I decide to use a figure who is showing under an Australian Shower in a diorama.

Thanks for looking.

Cheers,
James
 
Amazing work! I feel like I could go in and take a nap there too. Brilliant work. And with all the pics you're taking, you'll have a great representation of the interior even though it won't be seen so well when the top is on.
 
Amazing work! I feel like I could go in and take a nap there too. Brilliant work. And with all the pics you're taking, you'll have a great representation of the interior even though it won't be seen so well when the top is on.

Thanks. You probably would need a nap after drinking a few beers while looking at girlie magazines. Ha Ha :)

Here is the progress that I made. I added some soda and beer cases, a couple packs of cigarettes (one empty one crumpled up on the floor), a centerfold from December 1966 on the gas tank, some comic books, some pictures on the walls, and some "girlie" magazines including a July 1967 issue of Playboy and the 1967 Yearbook from Adam magazine which is within the time frame in which this track is being depicted in.

100_9825.JPG


100_9826.JPG


100_9827.JPG


100_9828.JPG


100_9829.JPG


100_9830.JPG


Now to get some ammo cans painted to put on the floor and make some web gear to be placed about.

Thanks for looking.
Cheers,
James
 
Thanks Guys.

I haven't gotten as far on this project over the last few days as I would have liked, but I made some progress nonetheless. I have all kinds of stowage and accessories for this track that are in various stages of painting. One of the more colorful items that is complete is this ammo can used for personal stuff (letters from home, writing paper, pens, etc) by one of the crew members. To make sure it was not confused with somebody else's can, he painted it in Red, White, and Blue. Here it is in miniature.

100_9834.JPG


100_9835.JPG


100_9836.JPG


100_9839.JPG


100_9840.JPG


I also put some items in the driver's area such as his personal effects ammo can and a flashlight with red lens. A few ammo cans were placed on the floor in the troop compartment and a fire extinguisher was mounted in on the back wall on the right side near the bilge pump pipe.

100_9846.JPG


100_9847.JPG


100_9848.JPG


100_9849.JPG


100_9850.JPG


100_9851.JPG


100_9852.JPG


I will be placing some spare man-pack radios and accessory bags in the space under the radio shelf. There will be some web gear in various spots in the interior. I am also planning on placing a figure either reading a magazine or sitting with his head in his hands like he is tired in the troop compartment.

Thanks for looking.
Cheers,
James
 
Thanks, Guys.

I have painted plenty of accessories, but most of them will not be placed in the interior, but on the exterior, so there is not a whole lot to add to the interior anymore until a set of Bravo 6's Individual Equipment kit arrives. I was going to place a few sets of web gear inside the track, but realized that I had used the belts from the two sets I already had on my "Breakfast in the Boonies" diorama so I had to order another set. When it arrives, I will add a couple of sets of web gear to the interior. Until then, this is pretty much complete with the exception of those pistol belts with pouches.

I placed a spare radio and a couple of radio accessory bags on the left side and some butt packs and gas mask bags on the right side.

100_9854.JPG


100_9855.JPG


100_9856.JPG


100_9857.JPG


100_9858.JPG


I am still not sure which figure I will place inside the troop compartment. I will build both figures that I am contemplating and then choose. One of them is from the Bravo 6 "Delta Blues" set which is shown here. Since he was originally playing a guitar, there was a flat space on his right chest area where the guitar would have been placed. My use for this figure has him reading a magazine instead, so in these photos I have added some putty to the right side of the shirt. Tonight I will add the right breast pocket and then I can replace his head and get him ready for painting.

100_9868.JPG


100_9869.JPG


Until next time...

Cheers,
James
 
Back
Top