
-
Modelers Alliance has updated the forum software on our website. We have migrated all post, content and user accounts but we could not migrate the passwords.
This requires that you manually reset your password.
Please click here, http://modelersalliance.org/forums/login to go to logon page and use the "Forgot your Password" option.
You are using an out of date browser. It may not display this or other websites correctly.
You should upgrade or use an alternative browser.
You should upgrade or use an alternative browser.
Adventures in soldering: The Rat Rod Wrecker
- Thread starter randy_ditton
- Start date
Hey Randy,
Whoa, that's some impressive detailing, scratch-building and metal work!
Very, very impressive!
")
In the model car field, this kind of work is extraordinary!
Bob
Whoa, that's some impressive detailing, scratch-building and metal work!
Very, very impressive!
In the model car field, this kind of work is extraordinary!
Bob
AndyFettes
Master at Arms
Superb!!!!!!!!
randy_ditton
Master at Arms
Thank you James, I can tell the elves have been working, all my cookies are gone
Thanks MP!!
Thank you Erik!
Thank you Mike
As always, Thanks Terry!!!
Hi Rick, Thank you!
Hi Stug, Appreciate the kind words!
Thanks Jeff
Kevin, Thank you!
Hi Martin, I still going, just kinda slow :bgri
Thank You Bob, I'm having a blast building this thing up!1
Thank you Andy!!
Thanks Chris, Sorry about the coffee
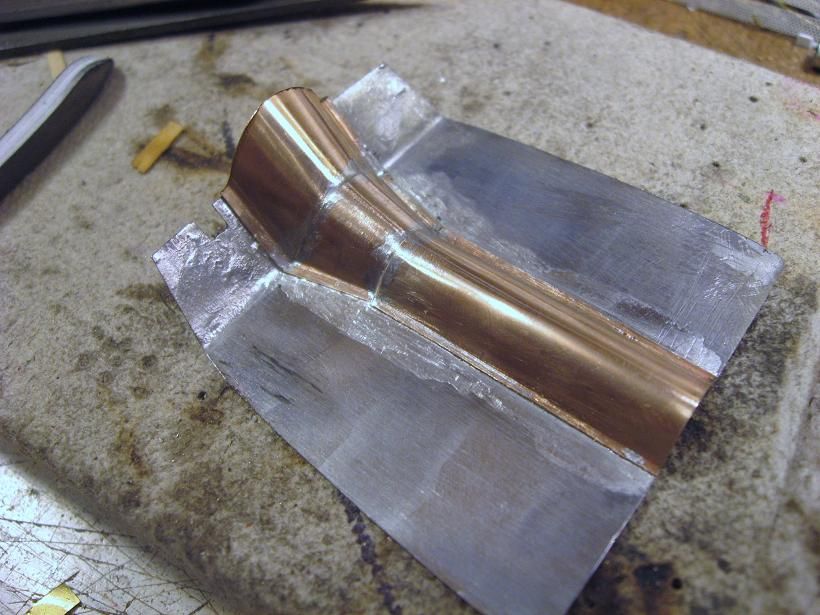
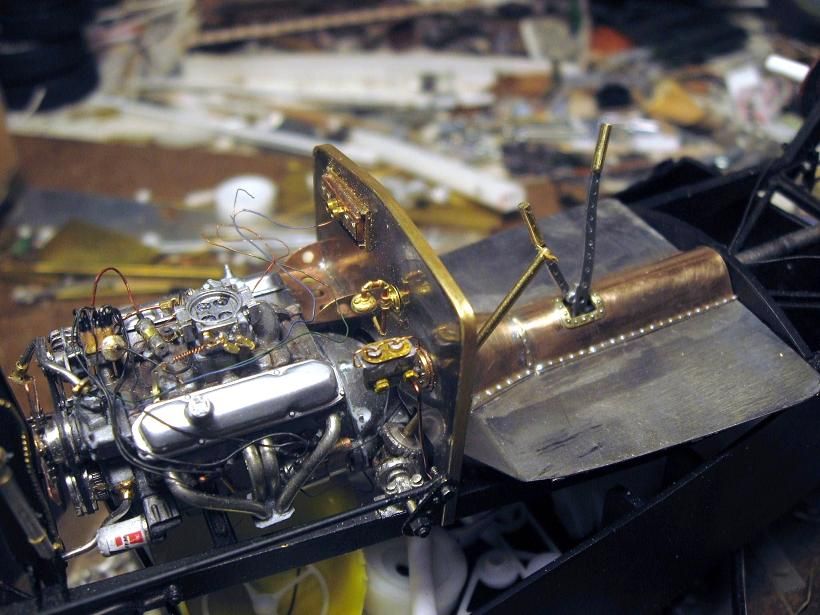
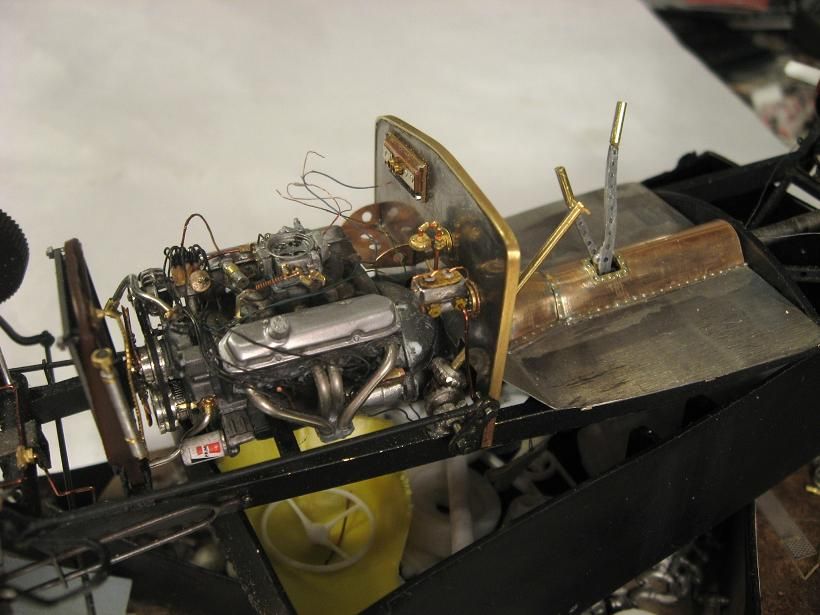
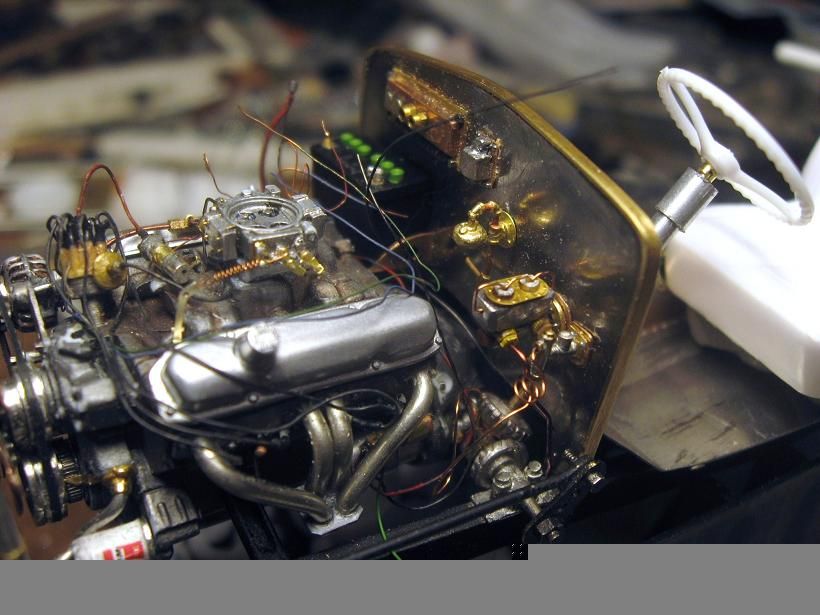
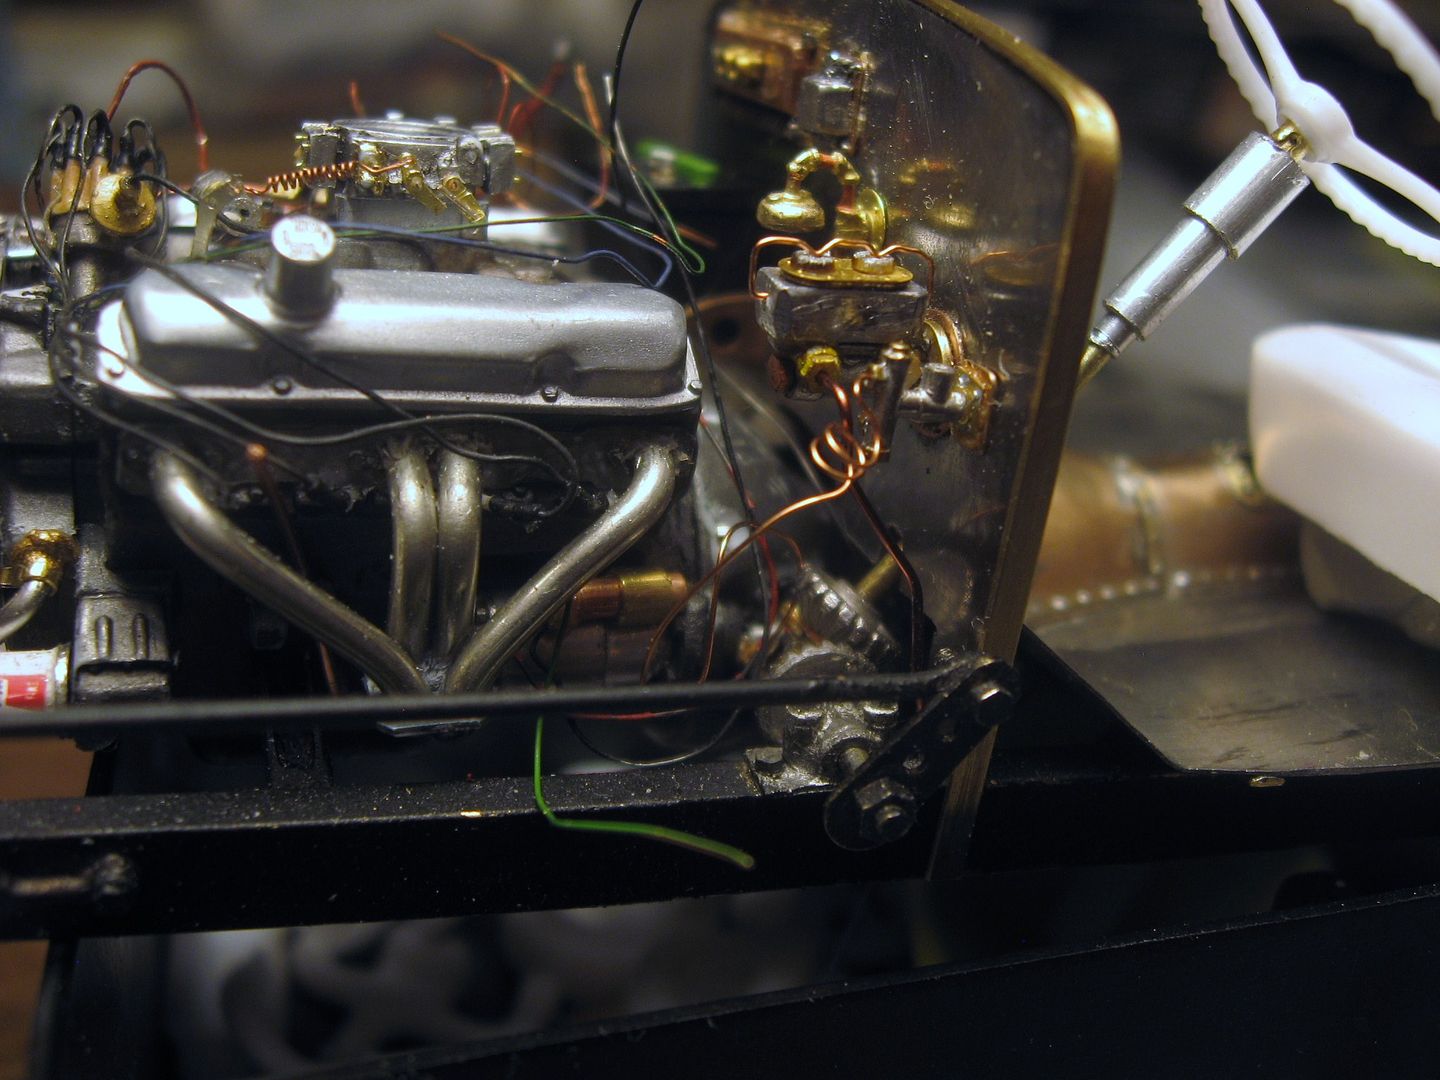
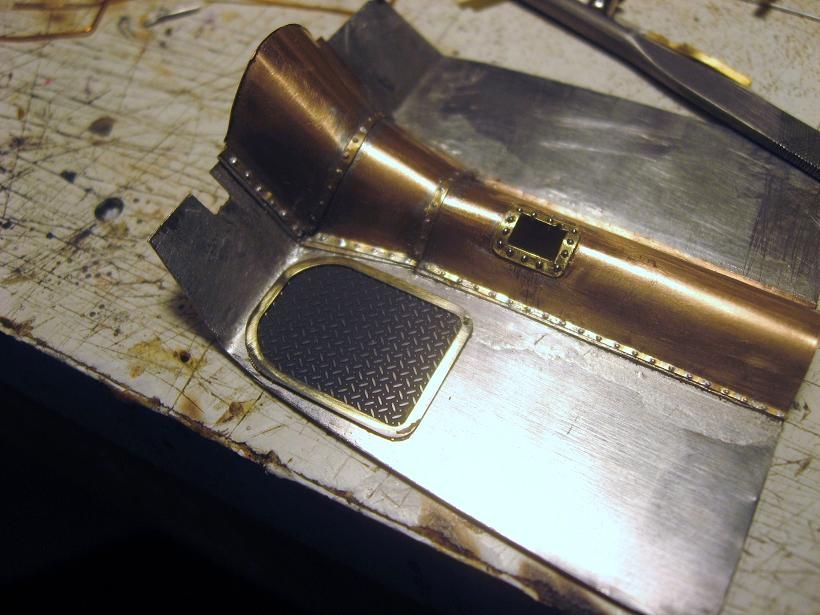
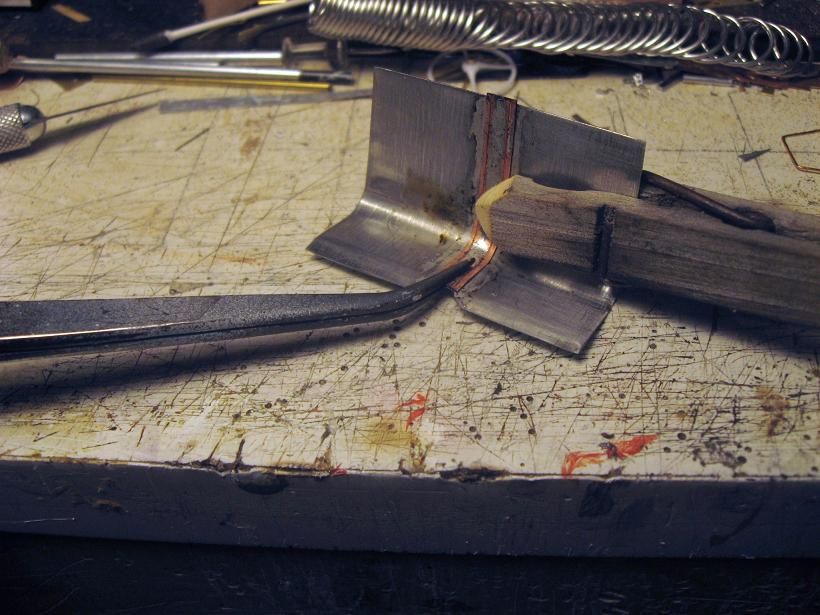
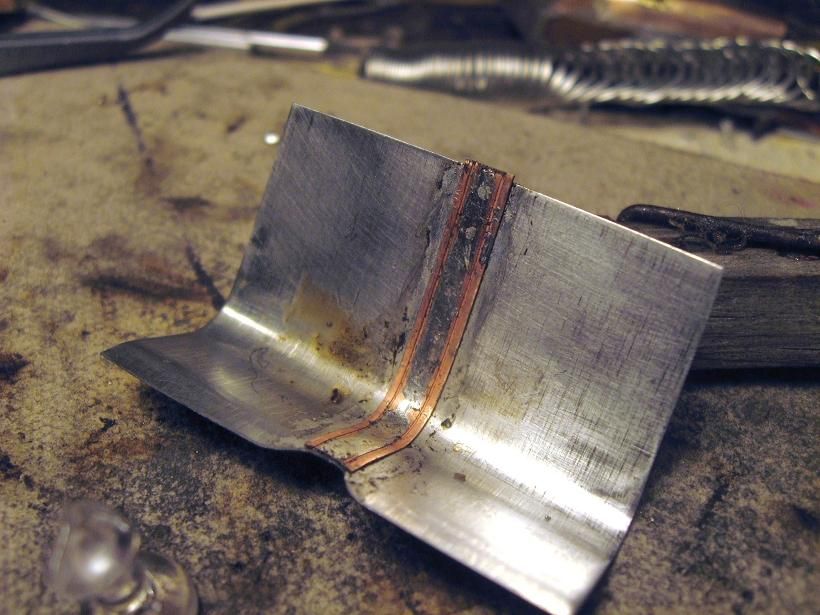
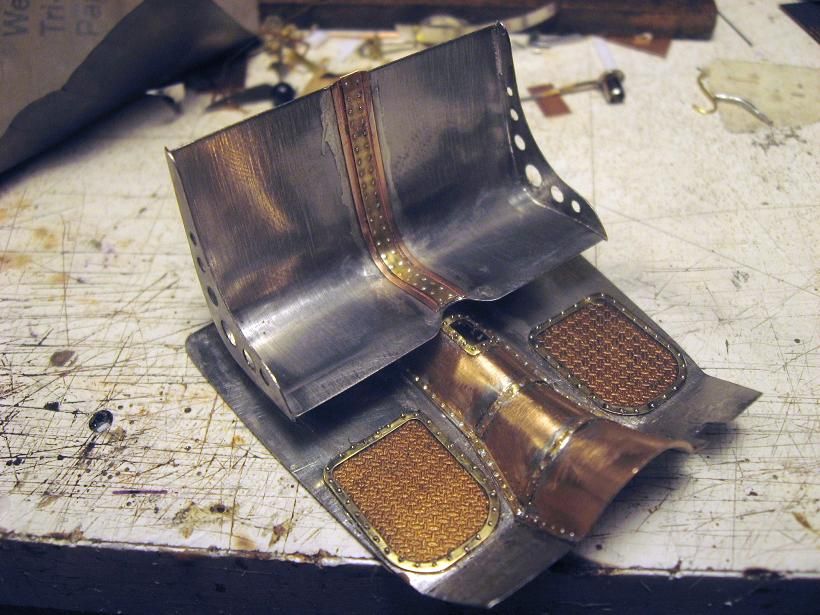
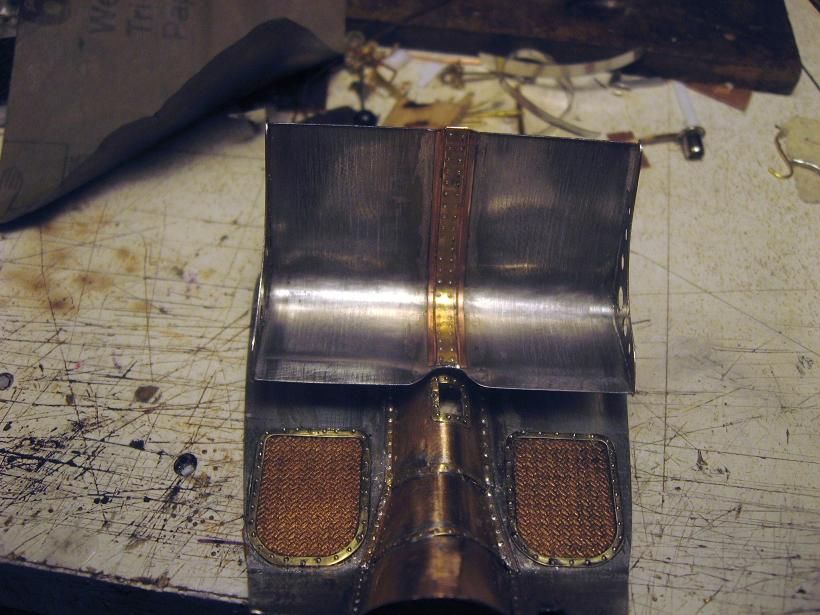
Left off last time showing a mock up the firewall, here is a mockup of the floor of the cab also. Using K&S sheet goods of tin and copper. These solder well and are soft and easy to work with...
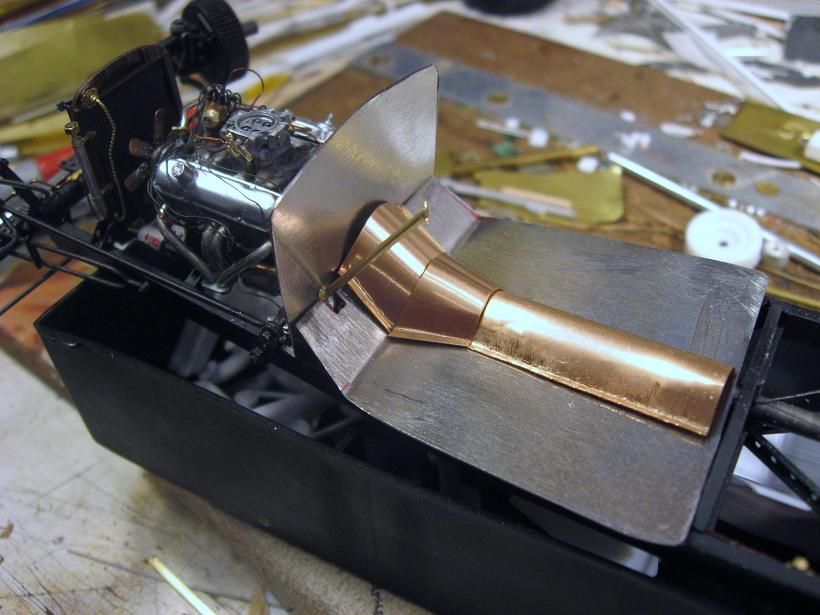
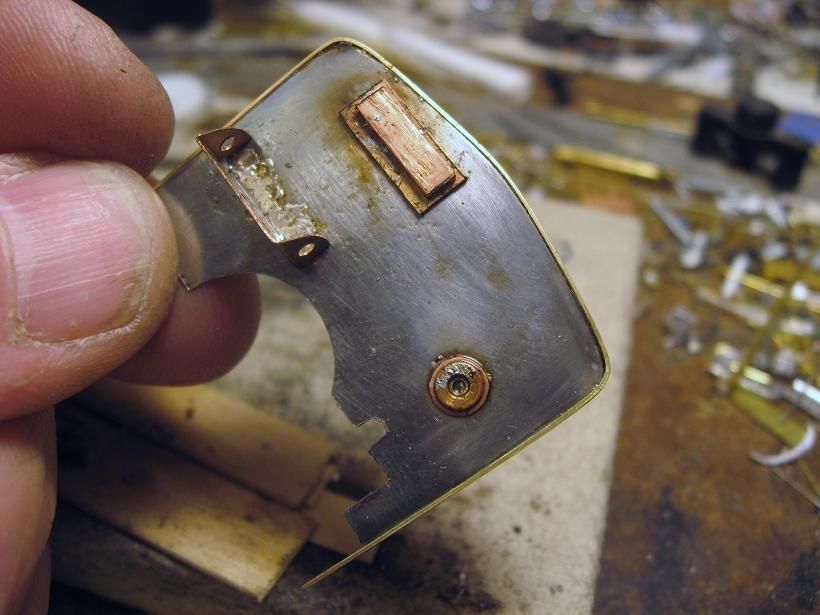
Building up the firewall first....

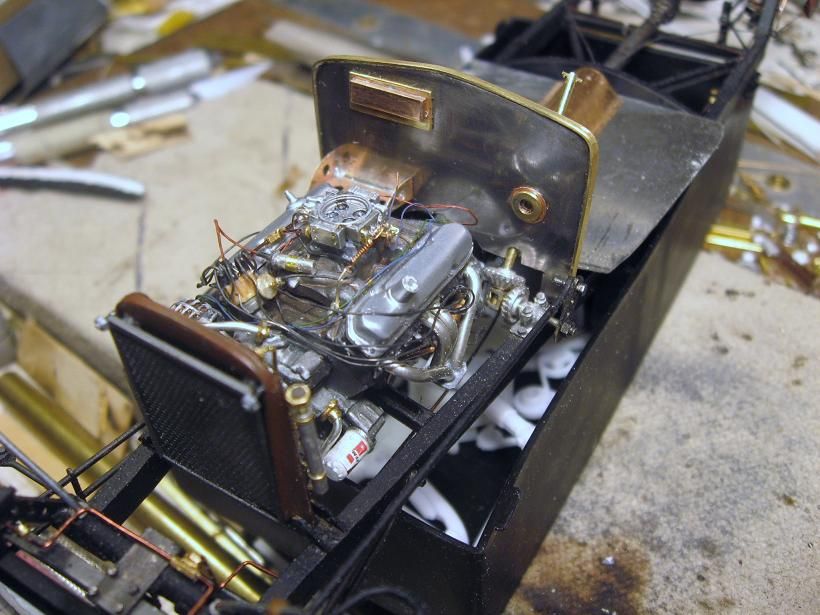
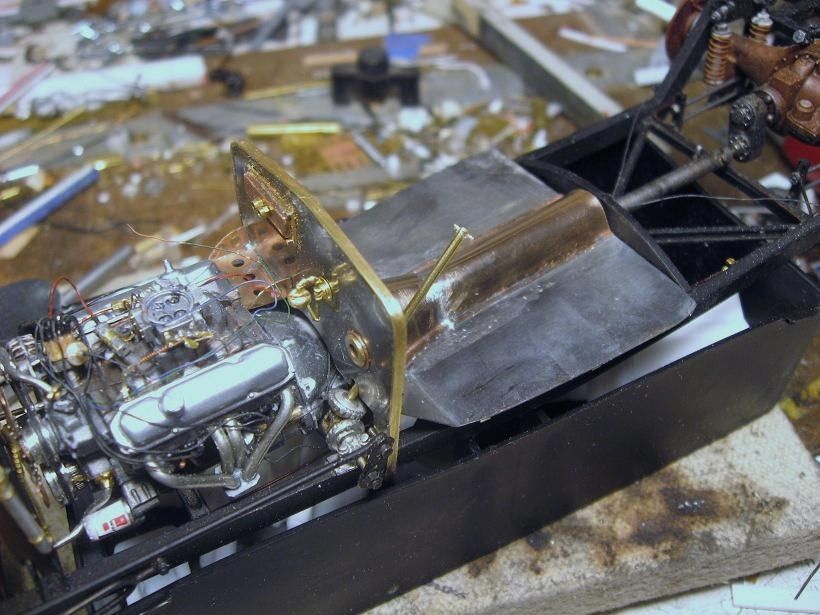
Checking the fit....
Heater hoses....

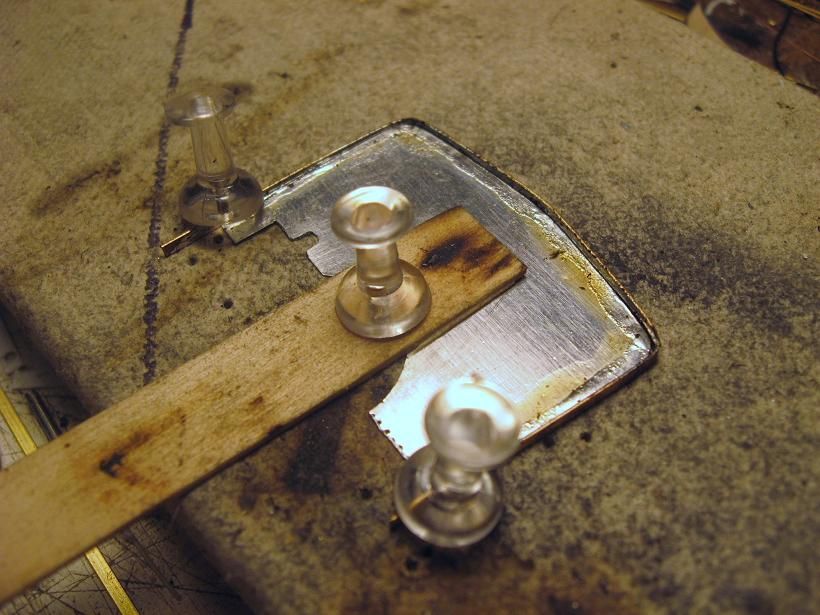
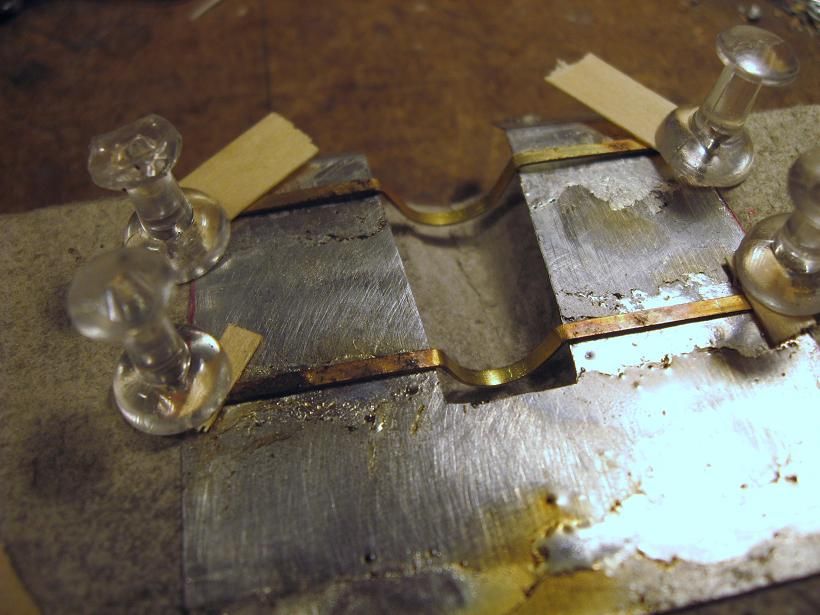
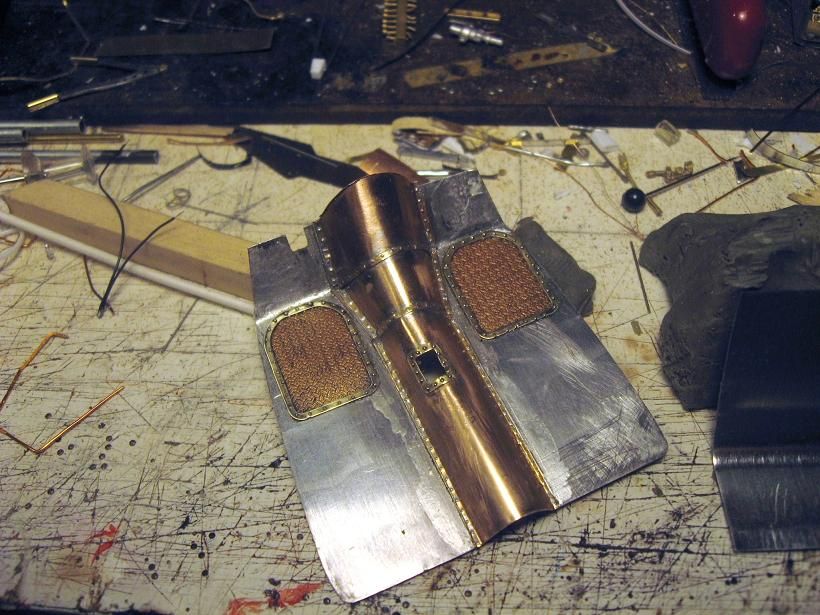
On to the floor, I use a piece of Homosote to work on when I need to pin together parts for soldering. It is a paper building board product that you used to find in the home centers. It is dense and holds pins well. Serves the same purpose as Chuk's ceiling tile.
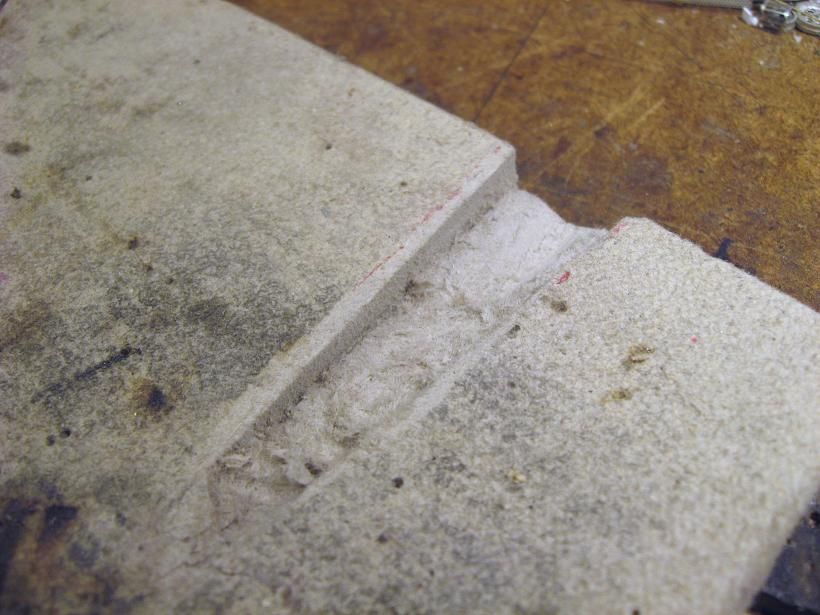
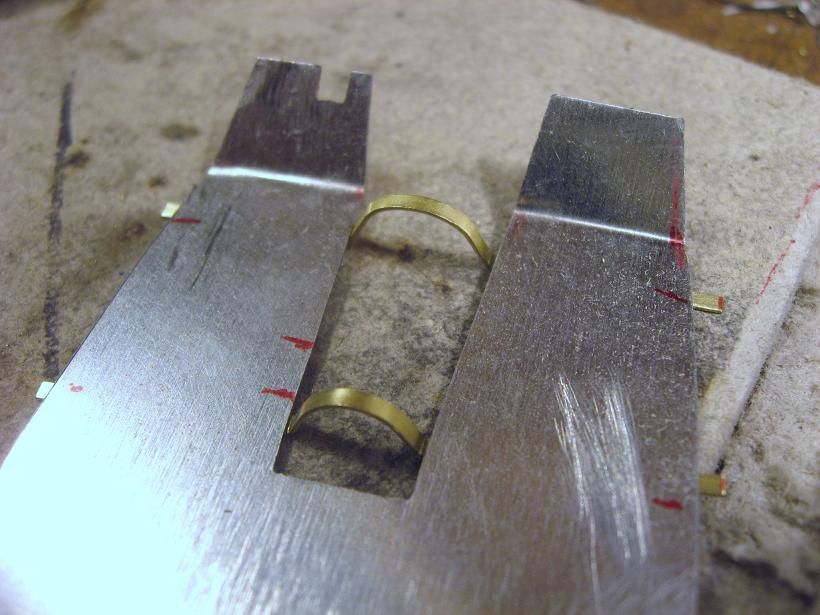
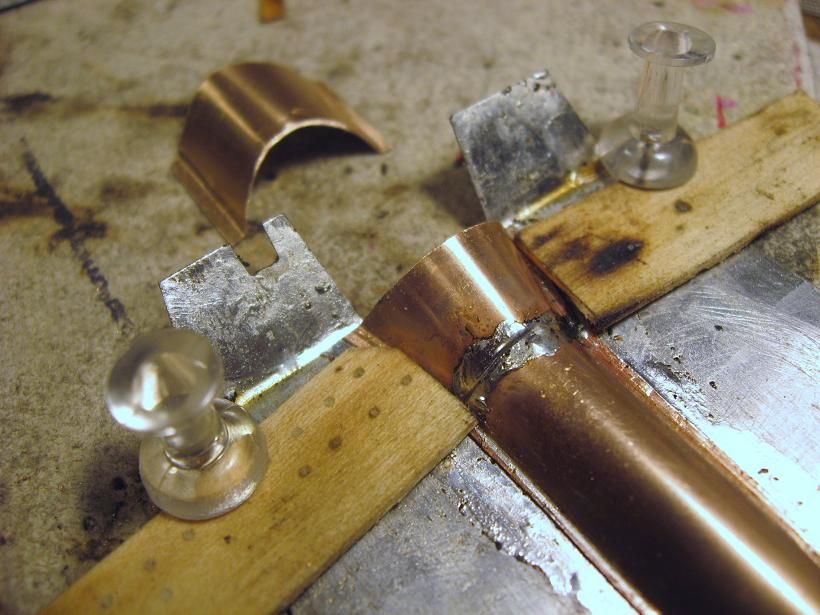

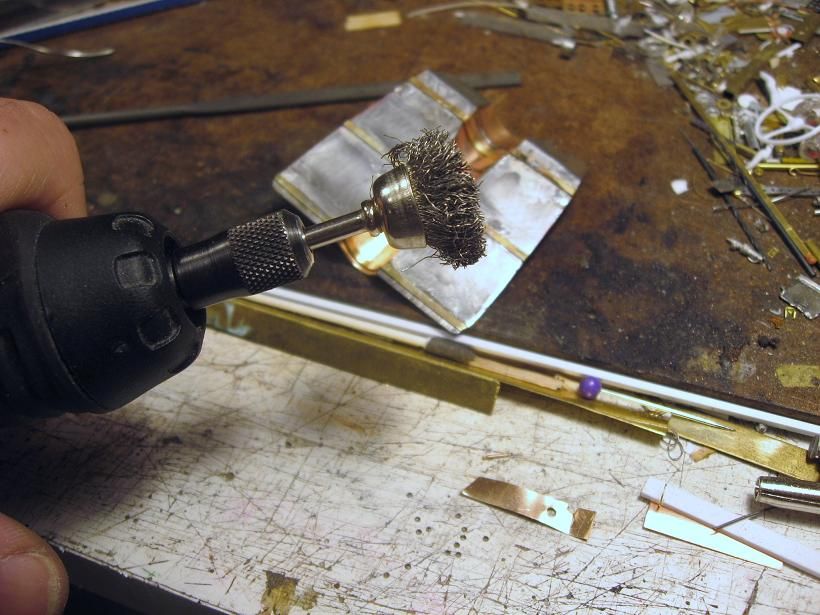
A sloppy solderer's best friend...
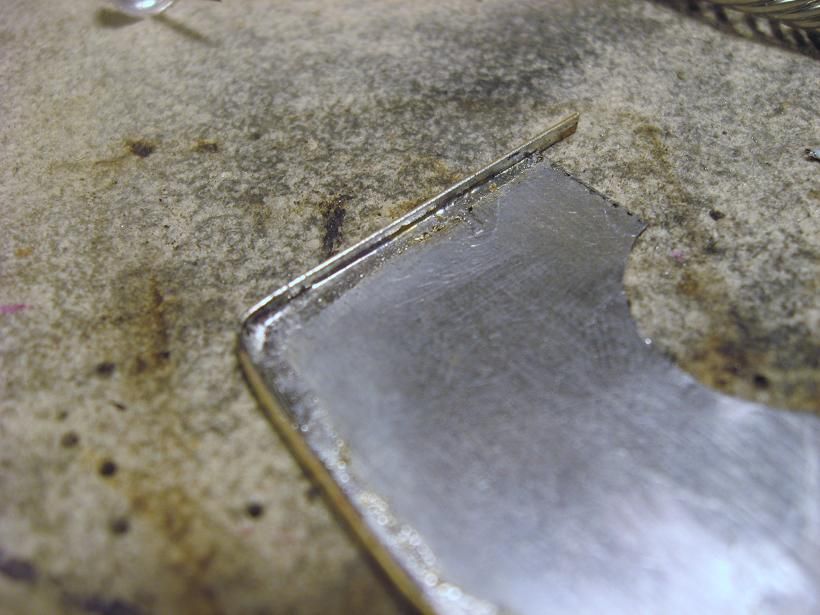
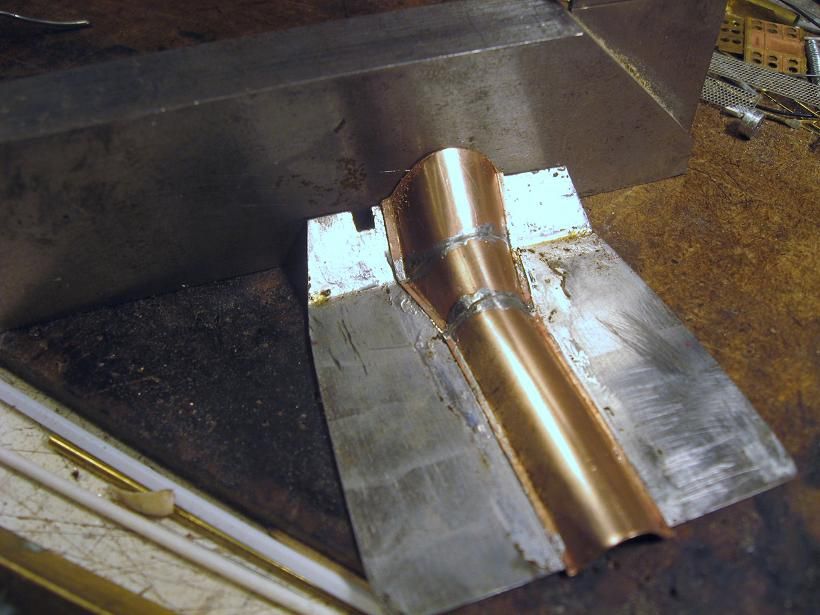
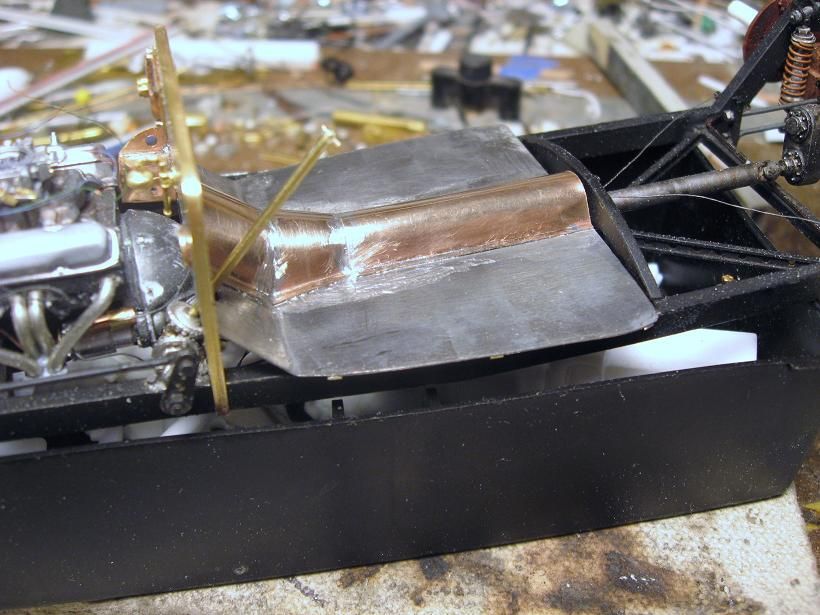
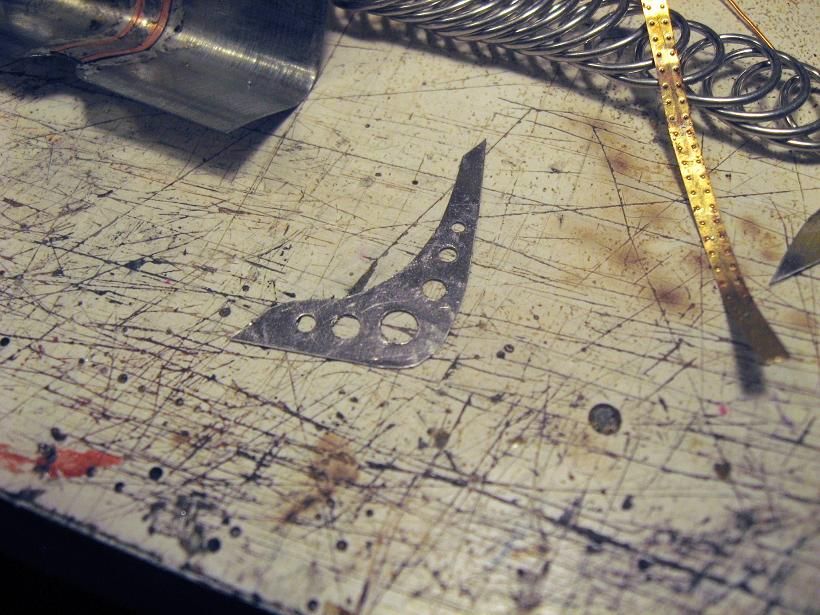
Filing the front square....
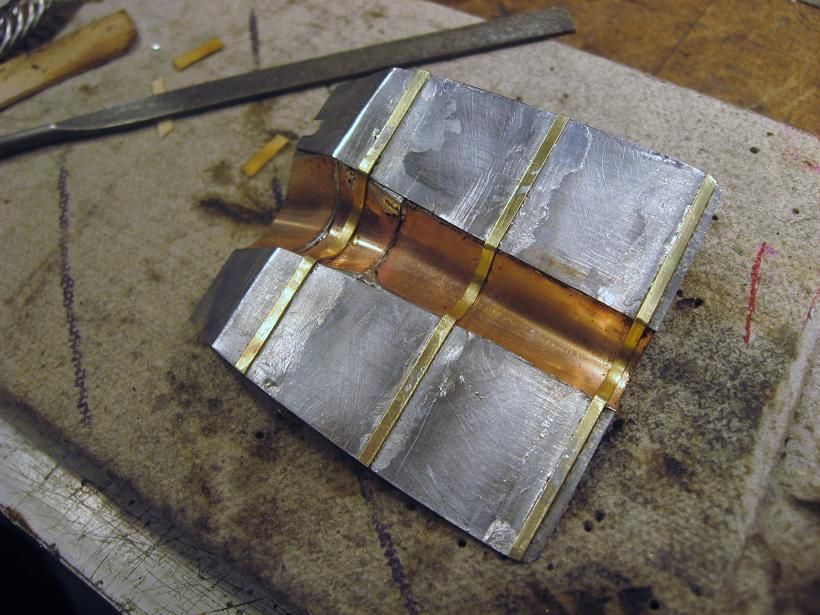
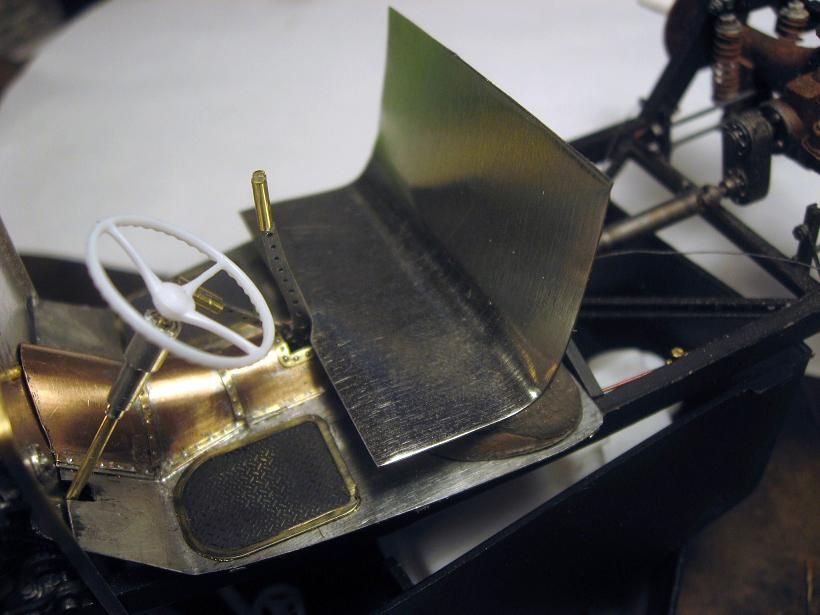
Mock up time...
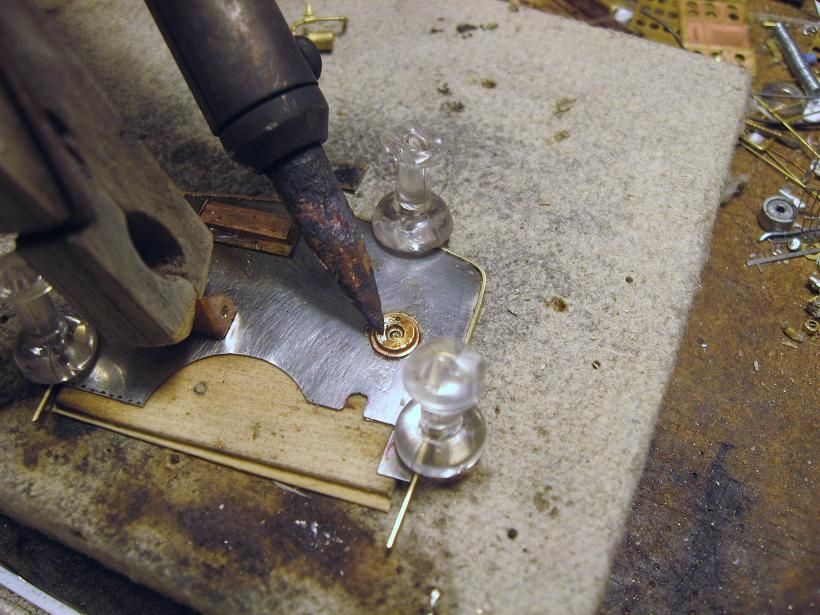
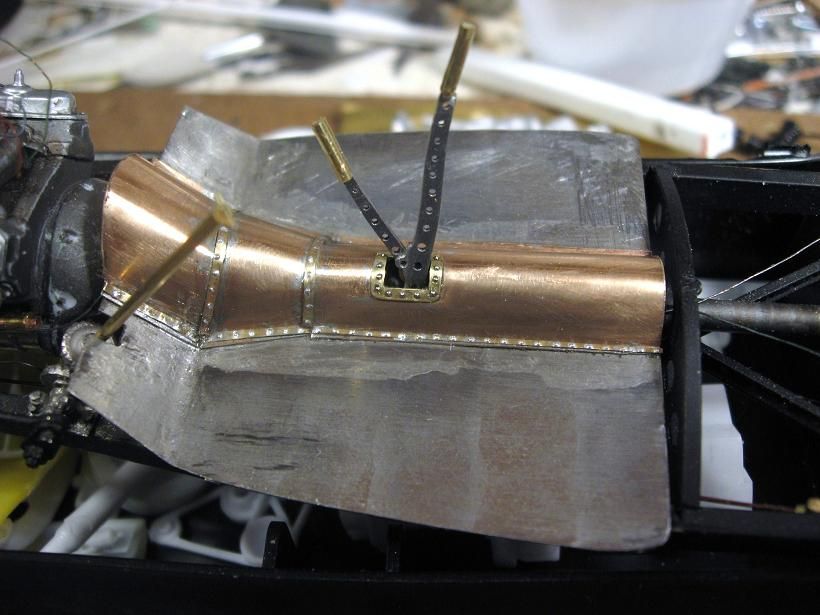
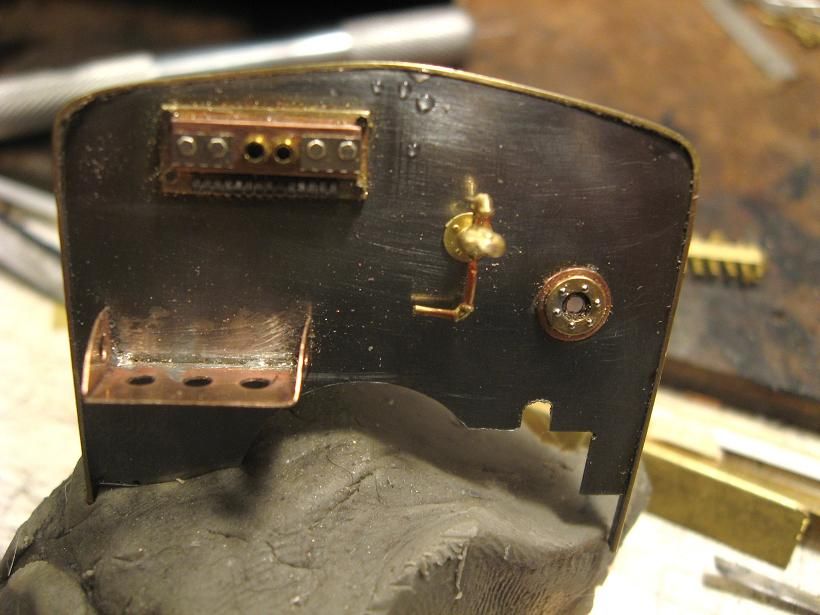
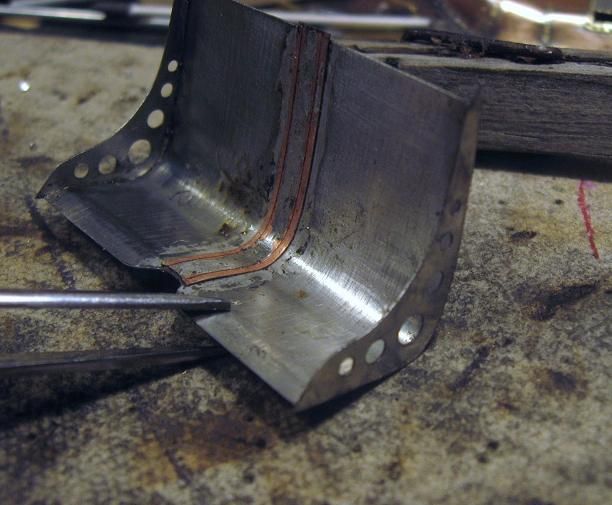
Added some rivets and opened up for the shifters, have a two speed rear axle so I need the second lever. The shifter opening has Scale Hardware rivets while the others are a photo etch strip...
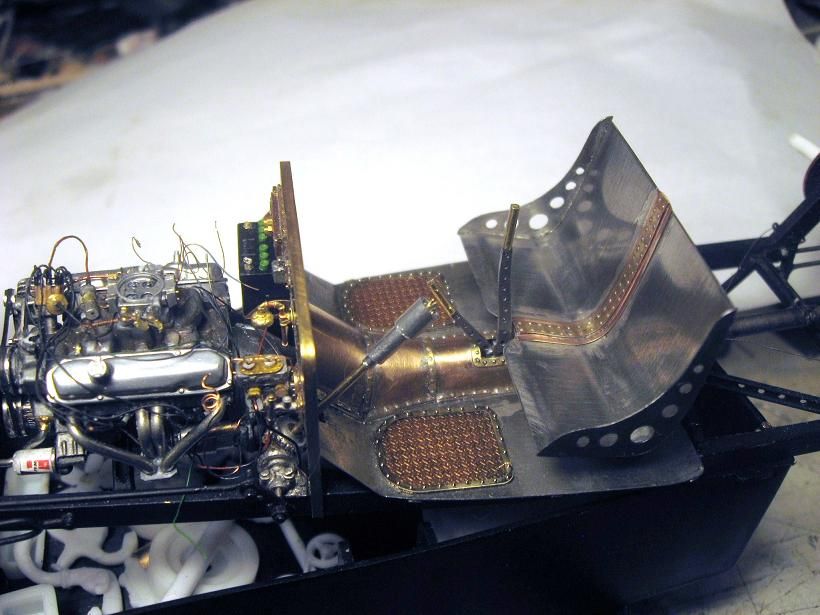
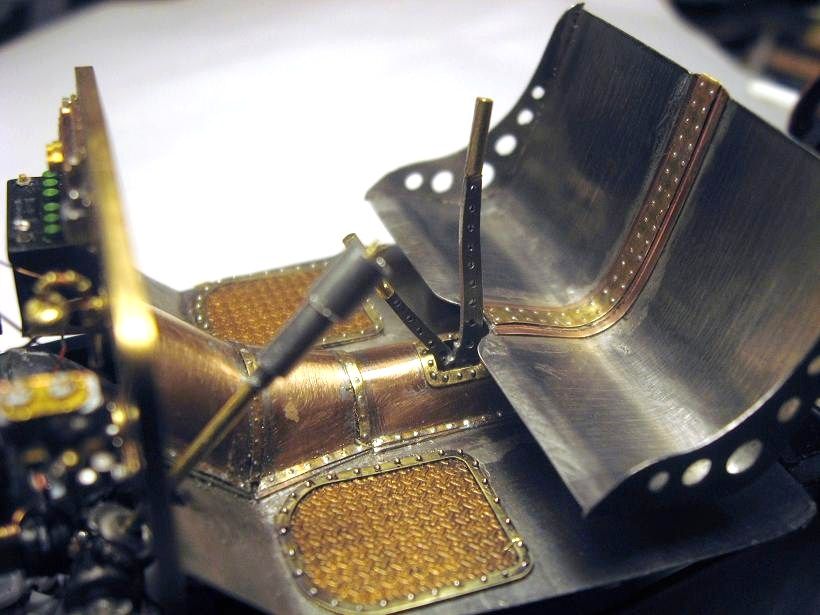
The shifters are just set in place for now until the seat is in..
Thanks for looking in!!
Randy
Thanks MP!!
Thank you Erik!
Thank you Mike
As always, Thanks Terry!!!
Hi Rick, Thank you!
Hi Stug, Appreciate the kind words!
Thanks Jeff
Kevin, Thank you!
Hi Martin, I still going, just kinda slow
:bgriThank You Bob, I'm having a blast building this thing up!1
Thank you Andy!!
Thanks Chris, Sorry about the coffee
Left off last time showing a mock up the firewall, here is a mockup of the floor of the cab also. Using K&S sheet goods of tin and copper. These solder well and are soft and easy to work with...
Building up the firewall first....
Checking the fit....
Heater hoses....
On to the floor, I use a piece of Homosote to work on when I need to pin together parts for soldering. It is a paper building board product that you used to find in the home centers. It is dense and holds pins well. Serves the same purpose as Chuk's ceiling tile.
A sloppy solderer's best friend...
Filing the front square....
Mock up time...
Added some rivets and opened up for the shifters, have a two speed rear axle so I need the second lever. The shifter opening has Scale Hardware rivets while the others are a photo etch strip...
The shifters are just set in place for now until the seat is in..
Thanks for looking in!!
Randy
Kreighshoer
Active member
that is ... oh mother ... that is ...
WOW!

WOW!
Randy, that is freakin' awesome!
That is gonna look so good!! WOW!
Bob
That is gonna look so good!!
WOW!Bob
that is ... oh mother ... that is ...
WOW!
What she said....
Randy this just rocks, forming up the shapes and all the soldering hold down ideas...and when I think of all the burns I could have saved myself when I did that halftrack.
Keep on truckin' sir!
panzerace007
Active member
RANDY,
YEAH ! WoW ! Beyond Awesome ! I echo th replies - Learning Sooooo Much ! Great Tips ! Especially on th way you held done everything. Thanx !
I love how you held down th trim piece on th Firewall !!! I'll have to look for that stuff, or get a piece of ceiling tile !

YEAH ! WoW ! Beyond Awesome ! I echo th replies - Learning Sooooo Much ! Great Tips ! Especially on th way you held done everything. Thanx !
I love how you held down th trim piece on th Firewall !!! I'll have to look for that stuff, or get a piece of ceiling tile !
ricklawler
Member
REALLY NICE Work. That's a cool little trick you have using the push pins and a piece wood to hold things while soldering...gonna have to steal that one from you.
Best,
Rick
Best,
Rick
AndyFettes
Master at Arms
Wow Randy !!!
I have nothing else to add
I have nothing else to add
randy_ditton
Master at Arms
As Always James, a big thank you for your comments
Thank you Laura:Hiay :Hiay
Bob, Thank you, appreciate your support!
Hi MP, Thank you and I'm glad I'm not the only one that takes battle damage while building!!
Thanks ERik!!!!!
Hi Rick, Thanks but I think Chuk uses cooler pins
Thank you Andy!!
Hi T, thanks for the comment!
Hi Chuk, Thanks for that but as my son pointed out to me the other day, You Chuk, have awesome modelling in yout threads and really coooool babes
Small update....
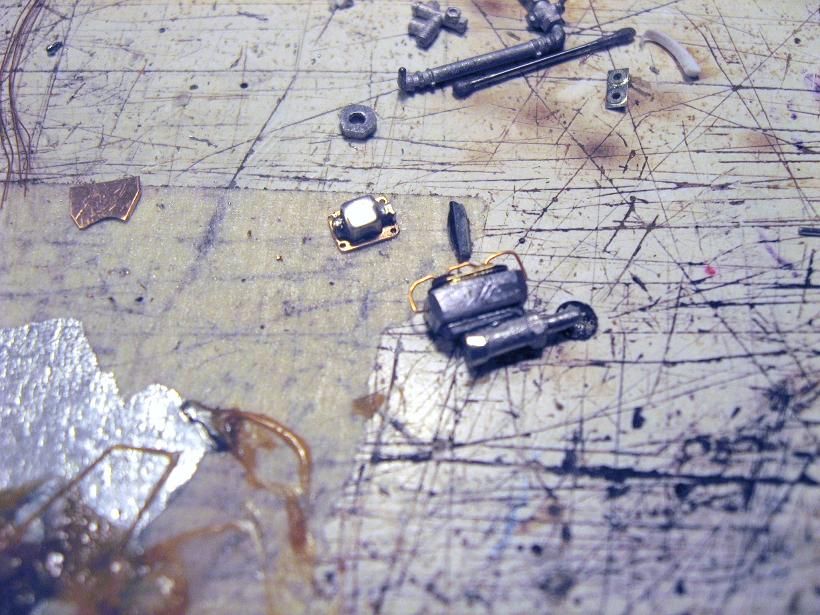
Transmission gets some more detail with clutch stuff, backup light wires and speedo cable..
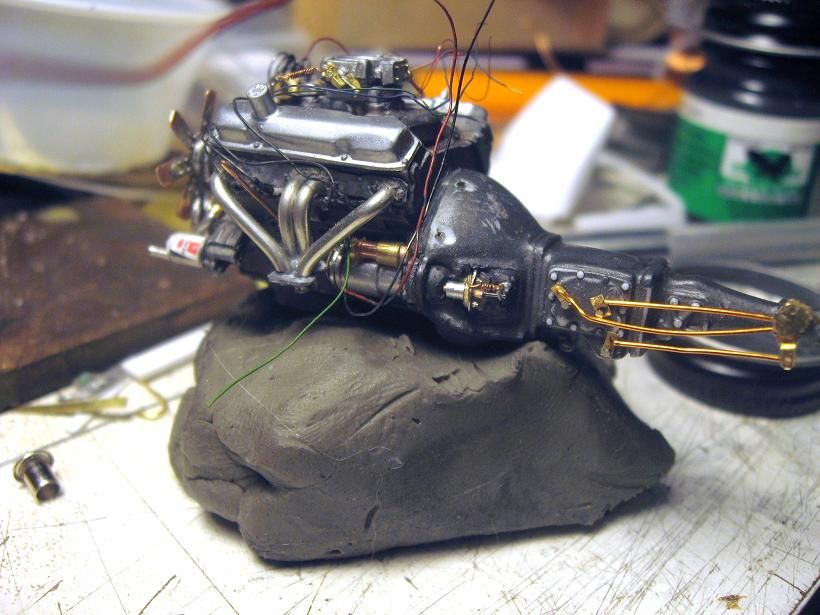
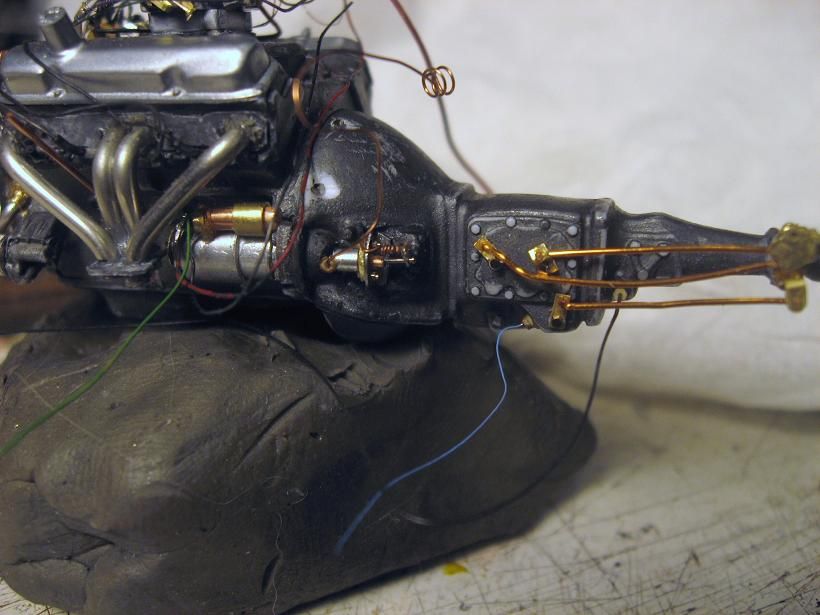
Really need to get the wirring bundled up ...
Raided the armor pe scrapbox for some tread plate and pz IV hatch trim....
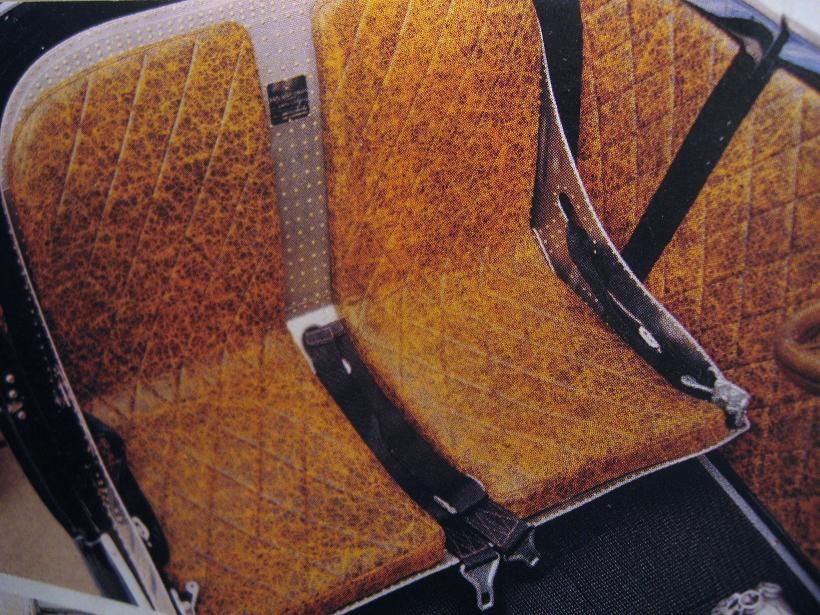
Saw a bomber style bench seat that looked like it would work for my truck...
Josh Mishler photo "Street Rodder"
Mock up of a seat...
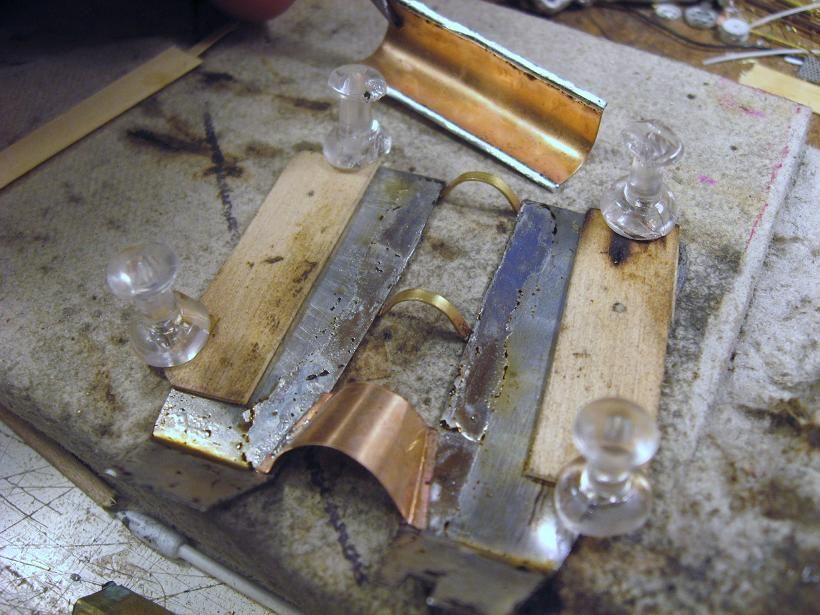
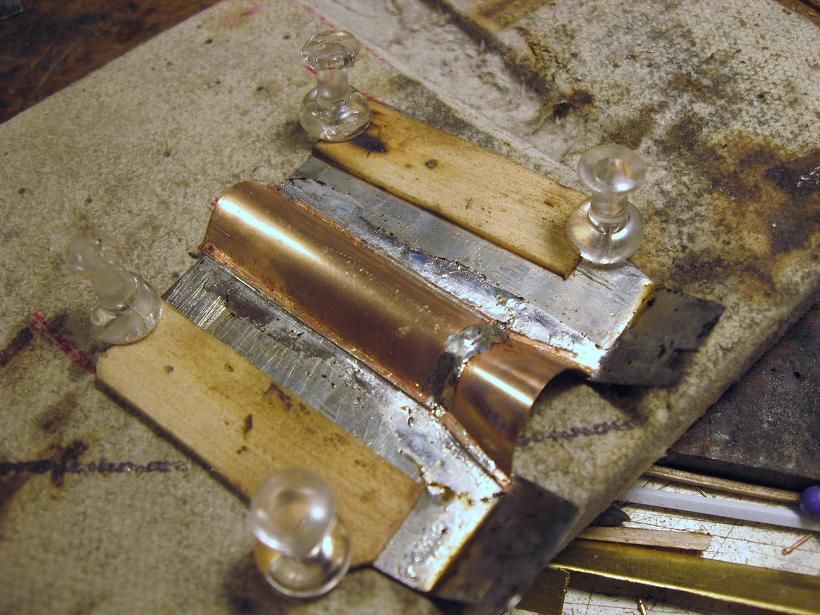
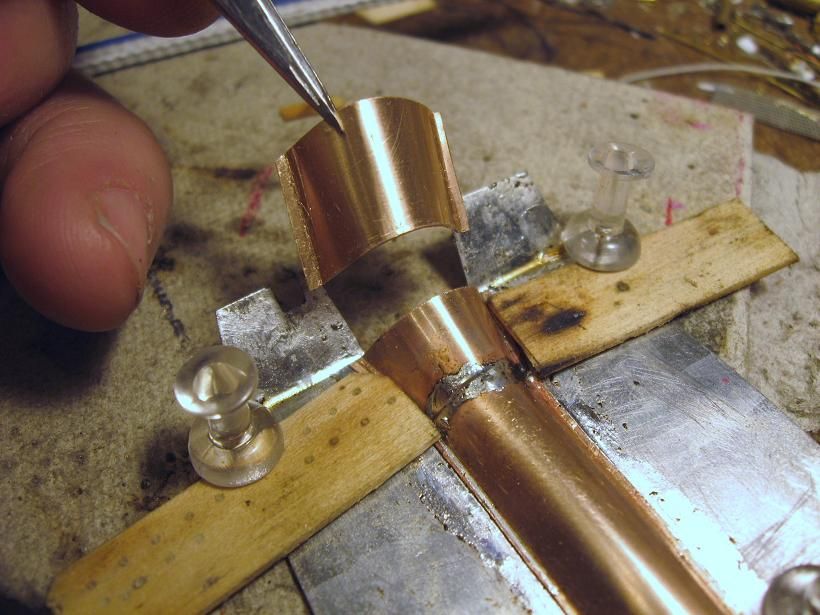
Soldering up a seat...
That is all I got for now, Thank you for looking in !!
Randy
Thank you Laura:Hiay :Hiay
Bob, Thank you, appreciate your support!
Hi MP, Thank you and I'm glad I'm not the only one that takes battle damage while building!!
Thanks ERik!!!!!
Hi Rick, Thanks but I think Chuk uses cooler pins
Thank you Andy!!
Hi T, thanks for the comment!
Hi Chuk, Thanks for that but as my son pointed out to me the other day, You Chuk, have awesome modelling in yout threads and really coooool babes
Small update....
Transmission gets some more detail with clutch stuff, backup light wires and speedo cable..
Really need to get the wirring bundled up
...
Raided the armor pe scrapbox for some tread plate and pz IV hatch trim....
Saw a bomber style bench seat that looked like it would work for my truck...
Josh Mishler photo "Street Rodder"
Mock up of a seat...
Soldering up a seat...
That is all I got for now, Thank you for looking in !!
Randy
:woohoo: :woohoo:
Just gorgeous !
Hey Randy, where do you get all the little doo dads, all the stuff that's going in the engine? What's it made out of, what's the header made from...DETAILS MAN!!

Awestruck... thanks. I just got out of my rut! I am headed to the workshop right now!
Regards,
Regards,