• Modelers Alliance has updated the forum software on our website. We have migrated all post, content and user accounts but we could not migrate the passwords.
    This requires that you manually reset your password.
    Please click here, http://modelersalliance.org/forums/login to go to logon page and use the "Forgot your Password" option.

Adventures in soldering: The Rat Rod Wrecker

Erik, Definitely gets a chop !!!

Thanks Martin:) :)

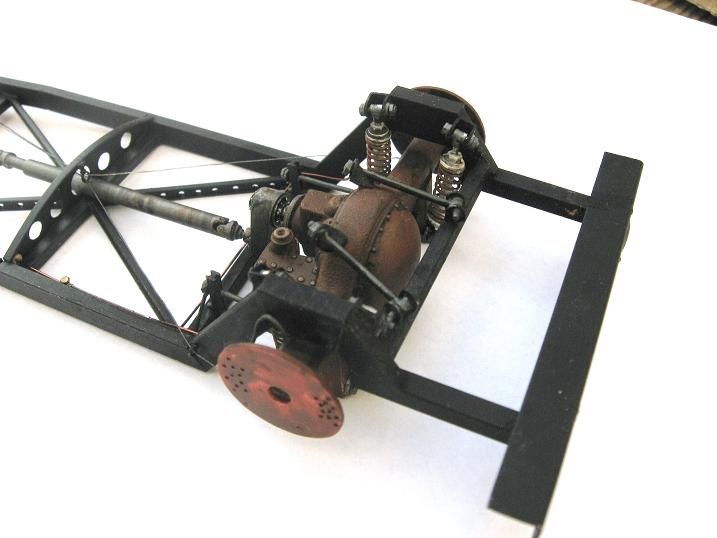
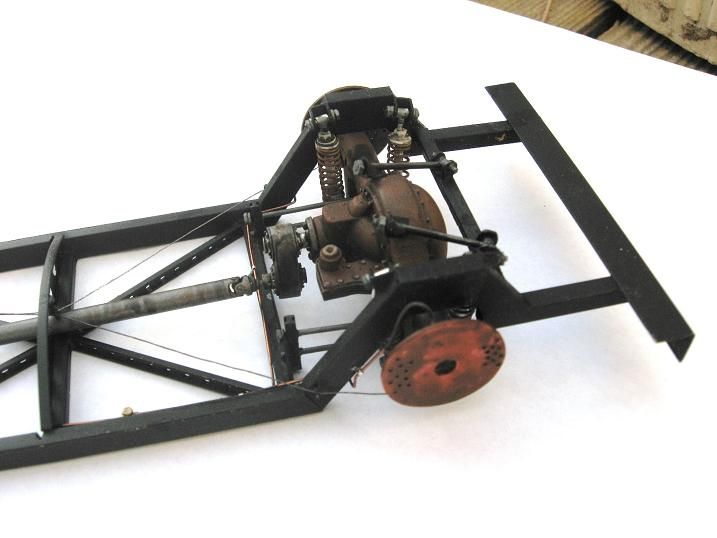
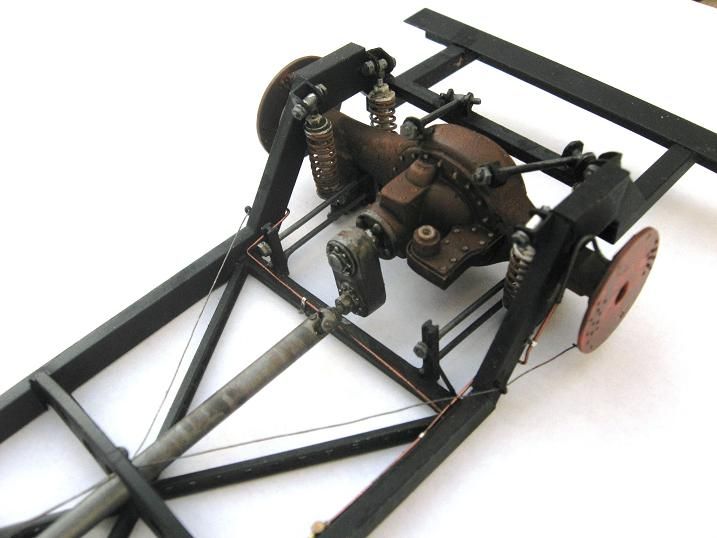
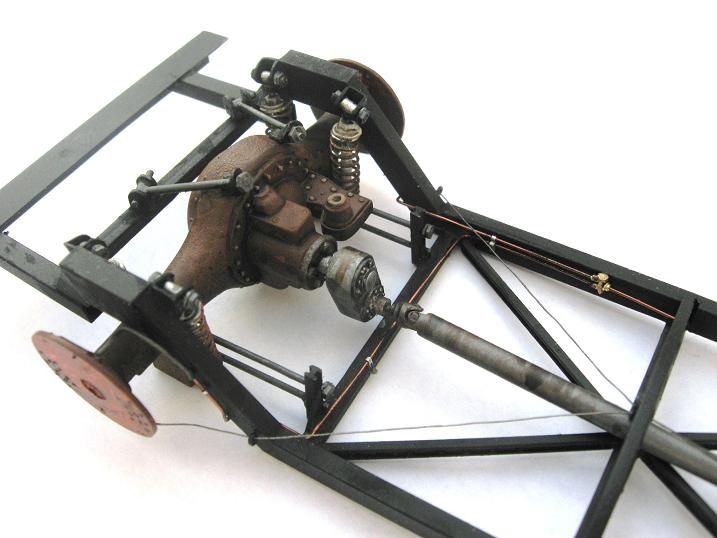
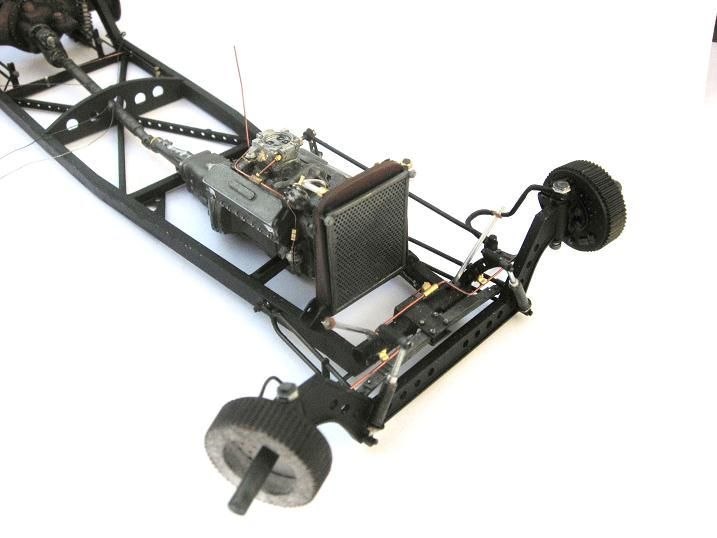
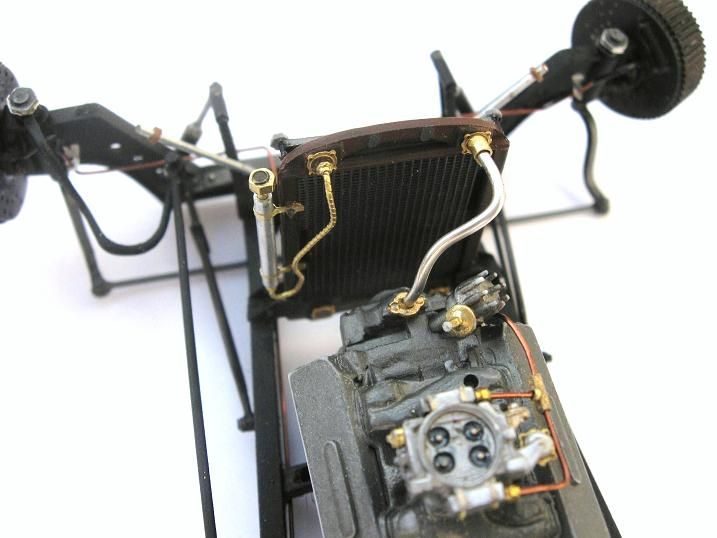
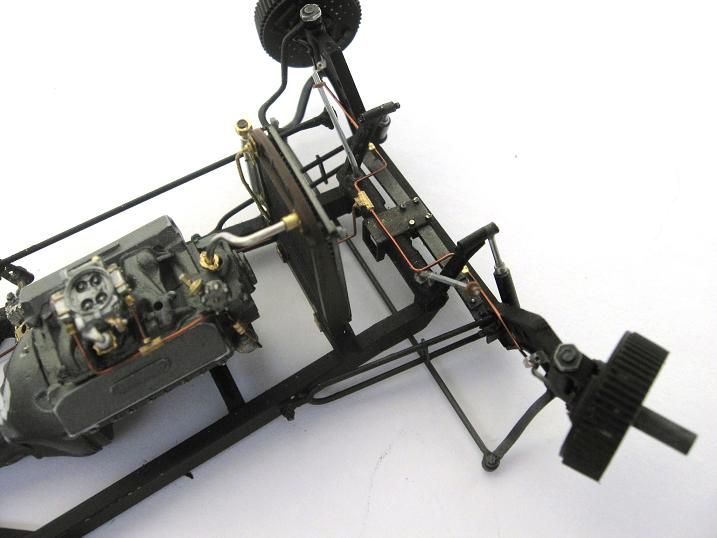
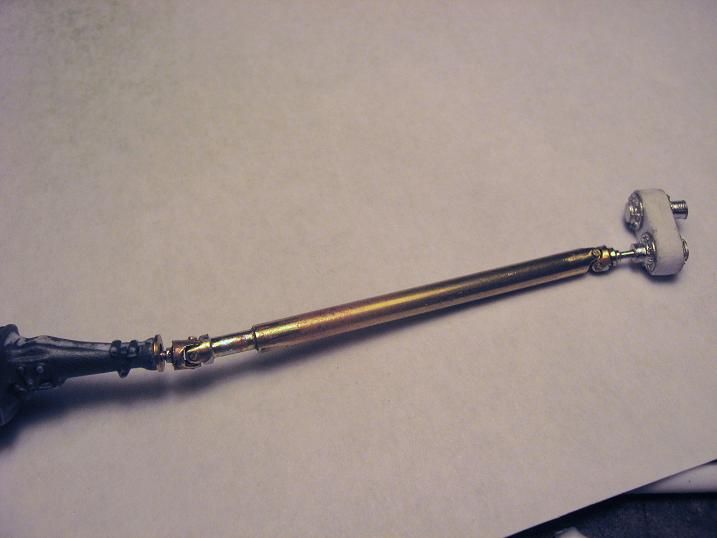
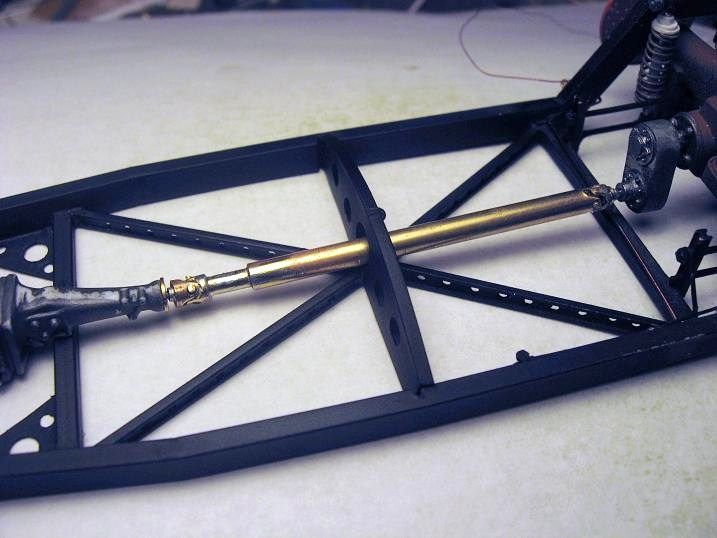
Mike, Good call on the drivetrain mockup, for sure going to have to get creative on the headers on the steering box side!

MP, I know , I know, kinda lame on the wheel:D :D No plans but using alot of reference from the hot rod mags and websites. I'm following a couple of builds that are real helpfull plus I got Jeff and Mike to keep an eye on me!

Jeff, You are the MAN!!! Thank you so much for taking the time to post up the info. Just what I was needing.

Hi Kevin, Glad you like it!


Randy
 
Hi Randy ,
I've just arrived on this site ,but I've been following this build since the start . Incredible work ,Im gobsmacked with the work in the front end set up alone ,but the whole thing is just fantastic !! even the shocks :blink . Its a great looking Rat and Im looking forward to seeing this come together .

Chris.
 
Hi Chris, Welcome aboard!! What the he** does gobsmacked mean :D :D :D Is it a good thing? Now lets get going and post some stuff!

Update time,

The big wheels that I'm using from the Dodge Tilt cab kit have no real detail for the drum brakes and hubs so working on that and building up the drive shaft. Had to make up a gear tower so that the drivetrain all lines up...

the kit part for the front hub is on the left and the part I'll use is the finned thingy on the right.
It is a cut down paint lid. The other things are the backing plates for front and back, the back have parking brake details..


001-62.jpg


007-48.jpg


014-31.jpg


Going to paint as I go here 'cause I won't beable to get to some of this later. Working on the brake lines and running some cable for the parking brakes...


018-20.jpg


020-14.jpg


014-32.jpg


016-26.jpg


013-22.jpg


015-30.jpg


002-61.jpg


010-40.jpg


002-61.jpg


019-21.jpg


022-11.jpg


025-13.jpg


That is all for now, comments are always welcomed!

Randy
 
Absolutely fantastic. Might have to lift this whole thread and put it in a sbs on scratch building.
(y) (y) (y) :notworthy :notworthy (y) (y) :notworthy :notworthy (y) (y)
James
 
RANDY,


WoW ! This is really Awesome !! beyond words ! (y) :notworthy

Question: What did you use to form the "couplings" on the universal joint ?
 
Hi Randy ,.....Yip Im still gobsmacked !! :D , it means ..amazed ..in awe ...dumbstruck ,ya know what I mean ?
Beautiful work there buddy ,that shot of the rear is awesome !!!

Chris.
 
Holy Cow! Randy this is just getting better and better.

I showed my Brother in Law this thread the other day, like so many of us he use to build models when he was young but put it aside as life got in the way. Next day he ask me where would someone get this stock...:mpup I suspect we'll have a new member in the next couple of weeks asking all sorts of questions about a fire engine he wants to build from scratch.

And it's your fault Randy! (y)
 
Hello All,

Chris, be careful talking about my rear:D :D

MP, Glad he is getting the urge :) :)

Thanks Terry!!!

Thanks Jeff!!!

Got a nice sunny day here in Co. so got some shots outside in the shade...


033-10.jpg


034-6.jpg


035-6.jpg


037-3.jpg


038-6.jpg


Brake lines and fittings...


039-3.jpg


043-4.jpg


044-4.jpg


flip it over now.....


045-2.jpg


047-2.jpg


051-4.jpg


053-1.jpg


054-2.jpg


055-2.jpg


056-1.jpg


057-1.jpg


007-50.jpg


015-31.jpg


016-27.jpg


018-22.jpg


025-14.jpg


026-9.jpg


028-11.jpg


029-9.jpg


033-11.jpg


039-4.jpg


045-3.jpg


049-3.jpg


050-3.jpg


The motor is just set in for these pics, long ways to go on that. You can probably pick up on the fact I like the look of brass and copper instead of chrome on my rod :D :D. Will get toned down a little when it all gets weathered.
The radiator you see is the core of course and I will add a nose shell of some kind.


Randy
 
WOW :blink Randy ,gotta hand it to ya ,you are a true craftsman ...and a first class painter ,the painting is awesome you got the 'lived in look ' perfect ...I love it (y)

Chris.
 
Randy, if you put this thing on scale jacks and in the right back ground, you couldn't tell if it is real or not. Outstanding work so far!
 
This thread is going to do a lot to make up for my near-total ignorance of how cars work. Godd gravy, man- working u-joints?

Cheers-
chuk
 
Taking a break from making wood dust the past few days to check on the site. This is the first thread I checked and ain't disappointed!!!!!!
:notworthy :notworthy :notworthy :notworthy :notworthy :notworthy :notworthy and one more :notworthy

Tim
 
Back
Top