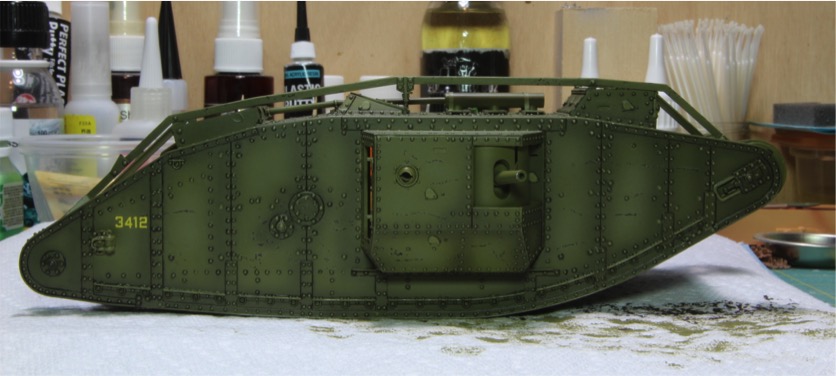
1/35 scale Takom Mk IV Male Tank
World War I battlefields were notoriously dirty and desolate places. Added to it, the British tanks with the tracks that encompassed the outside of the tank caused all sorts of dirt and mud to fall down the sides of the tanks. Despite their very slow top speed, these tanks got muddier then today’s high speed armored beasts. It was so bad in fact the British stopped wasting their time camouflaging the tanks as the got so dirty they naturally blended into the battlefield. This is the next step in my weathering adventure. Time to get dirty!!!!!
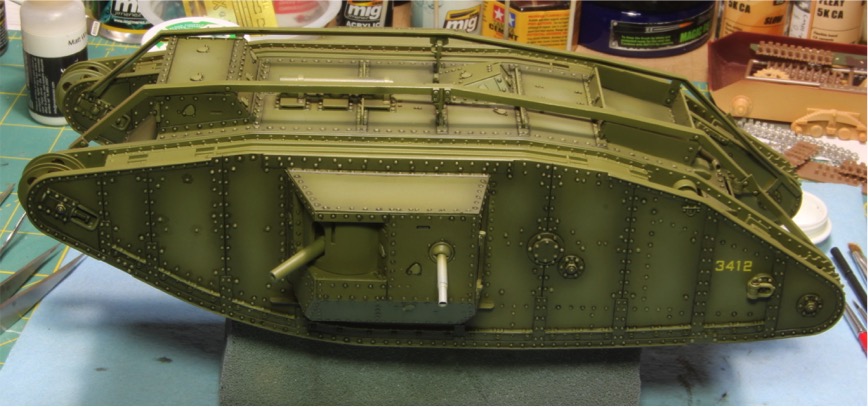
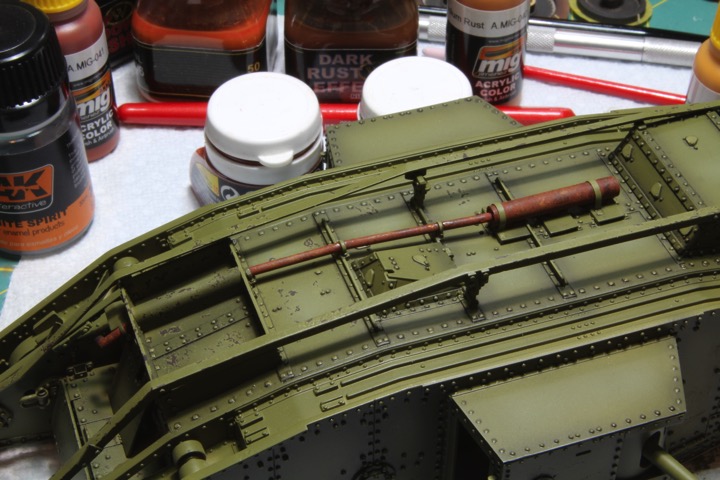
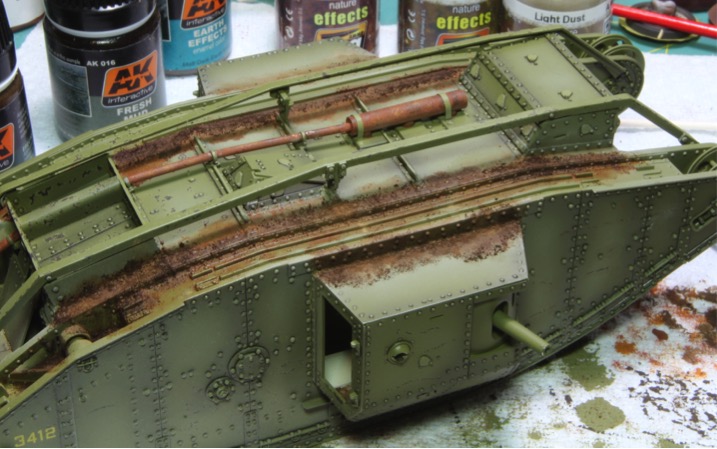
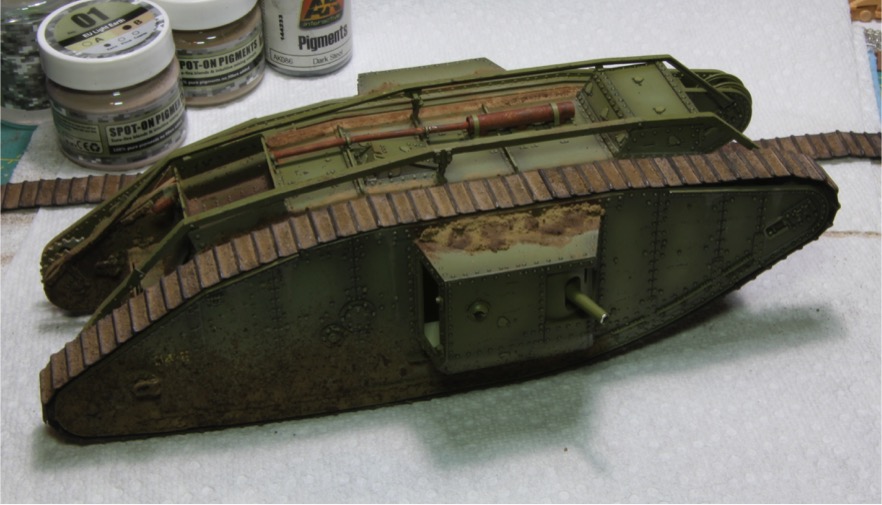
First step was to start off with a very lite dust layer as a base to all the dirt. I used Ammos Natural Effects North Africa Dust, heavily thinned and misted over the bottom and generally up the sides behind the gun sponsons.
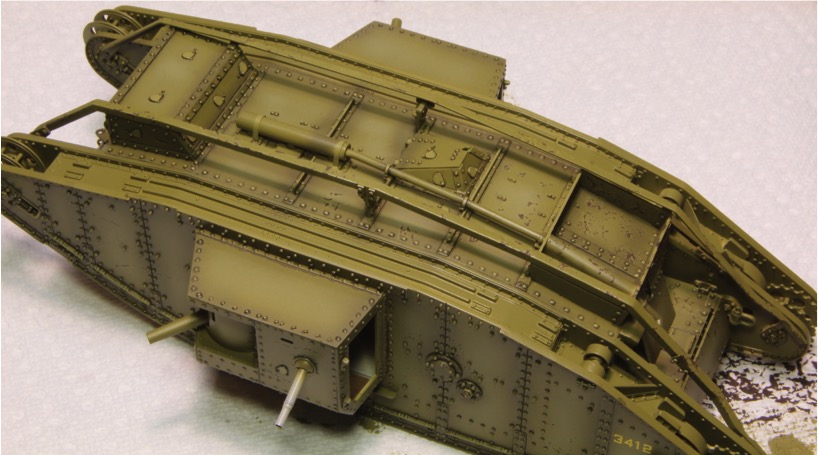
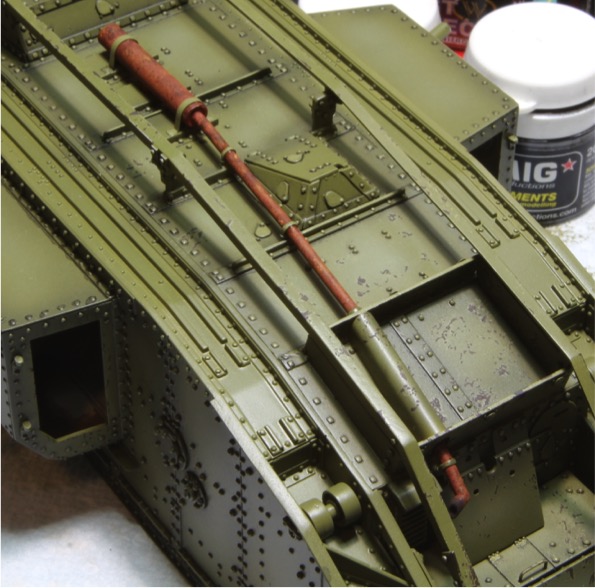
Next up was pigments to simulate the dried mud, dirt and dust on the roof. Here I used the old school Mig pigments, European Dust and Dried Mud. These were blended and fixed in place using enamel thinner.
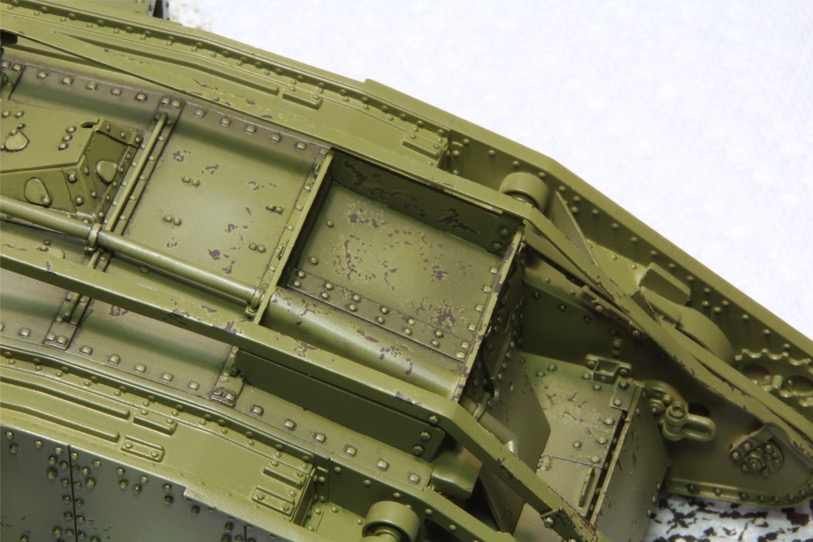
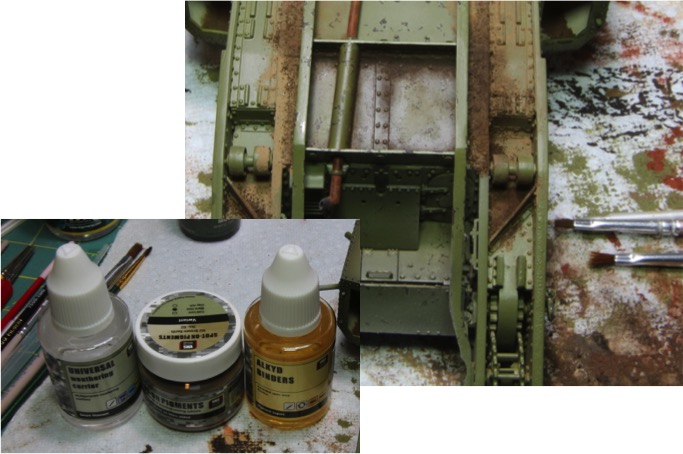
Continuing with the top, I added mud deposits to the spud box. For those that don’t know the track spuds are basically track grousers with extensions that were bolted onto the tracks to provide better traction and flotation in the mud. When not on the tracks, the were stored on the Mark IV in the box at the rear of the roof. This area would no doubt be full of mud and dirt that was knocked off the spuds as they road along. For this area, I decided to use a new product. This was the Vantage Modeling Solutions (VMD) EU Brown Warm Tone Coarse pigments and used their Alkyd binders. I followed their video instructions and am very happy with the results.
For those of you tha haven’t heard of VMS before, here is their web site.
https://www.vms-supplies.com I strongly recommend giving them a try. In the US I have been getting my stash from Michigan Toy Solider Company.
https://www.michtoy.com Their customer service is amazing. In Europe its probably much easier to get VMS directly from their web site.
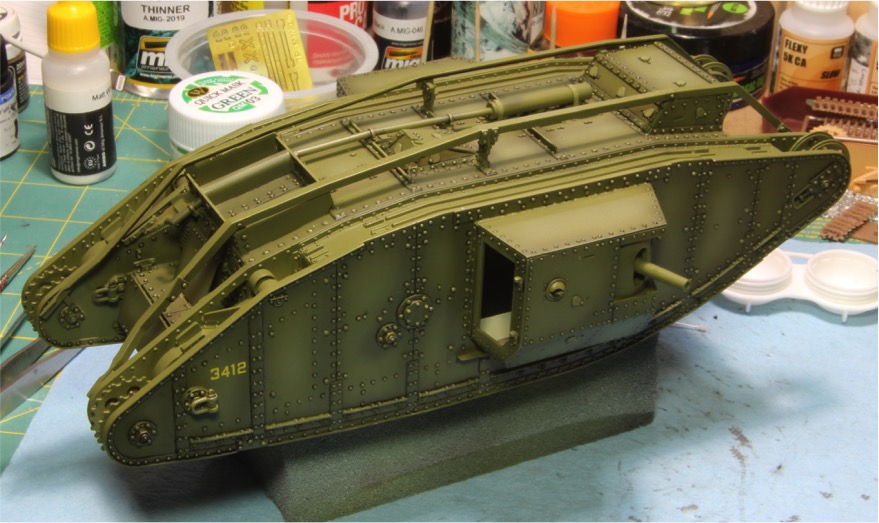
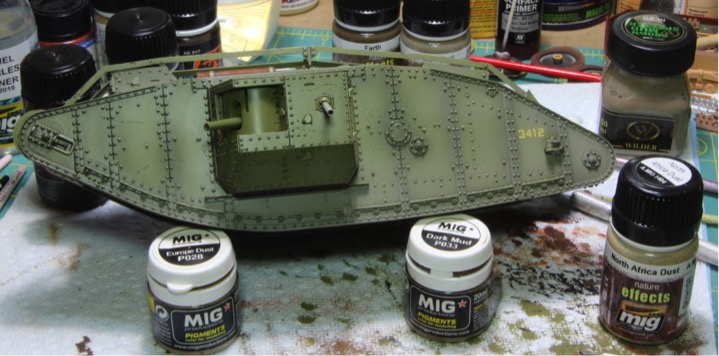
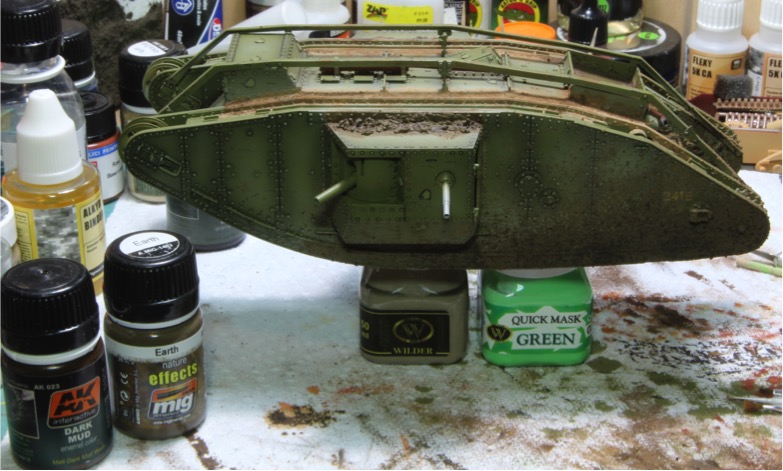
Next up is the mud on the sides. I saw a pretty good technique in the Weather Magazine for adding the mud to the sides of a Mk IV tank and decided to use it. I mixed up some modeling dirt with Ammo Nature Effects Earth in a very wet mixture and then I used the air pressure from my airbrush to basically splash the mud on the tank, building it up one splatter at a time. I then repeated the process with a mixture of dirt and AK Dark Mud. This created some variation in the dirt. I basically kept most of the dirt under the sponson level moving toward the front of the tank and then moved up the sides toward the back following reference photos I had of real tanks.
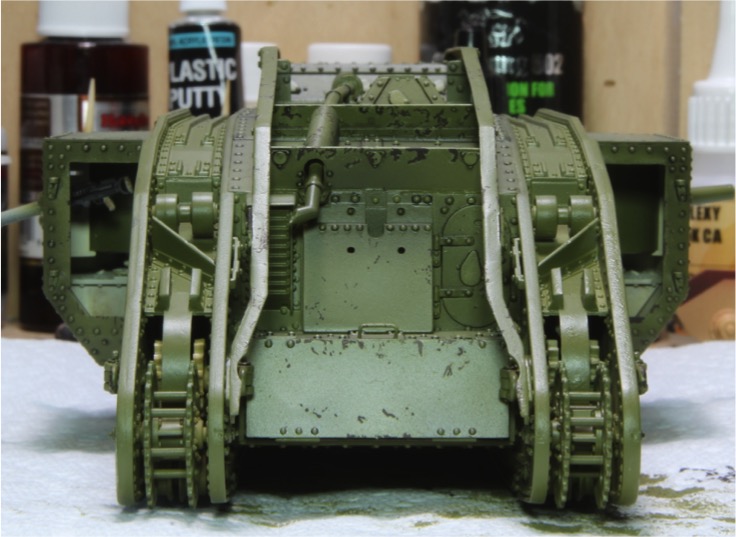
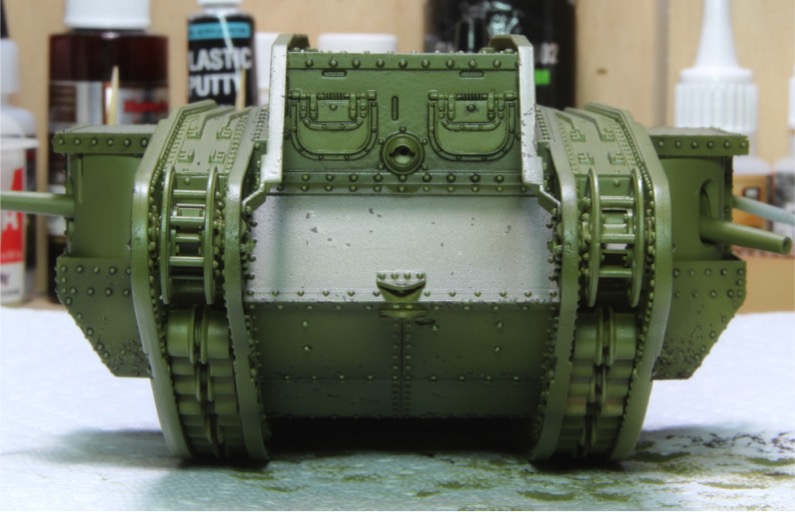
And I didn’t forget the rear of the tank…
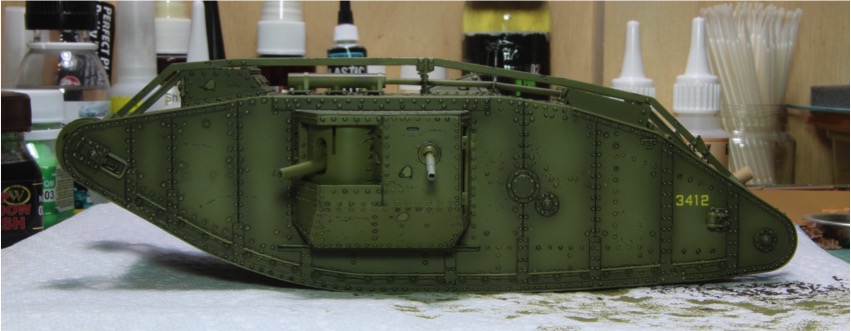
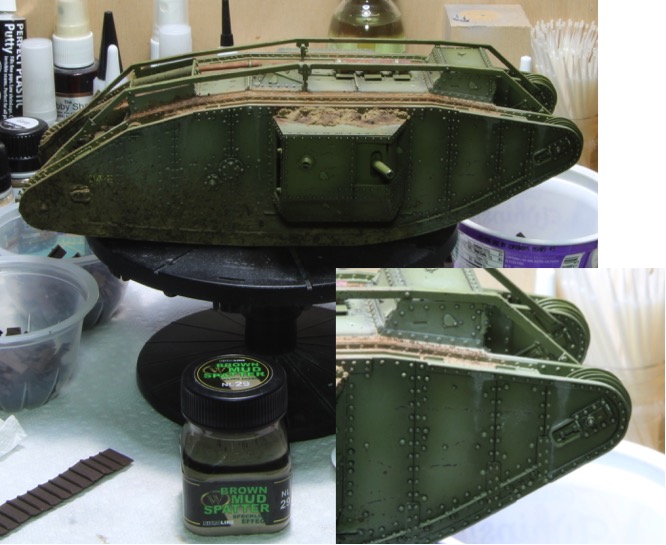
Next step was some dirt streaks from water and dirt that has run down the sides of the tank. I used Brown Mud Splatter from Adam Wilder’s line of weathering products, basically painting streaks down the sides of the tank in random places. This ended up being a little lite but otherwise its ok.
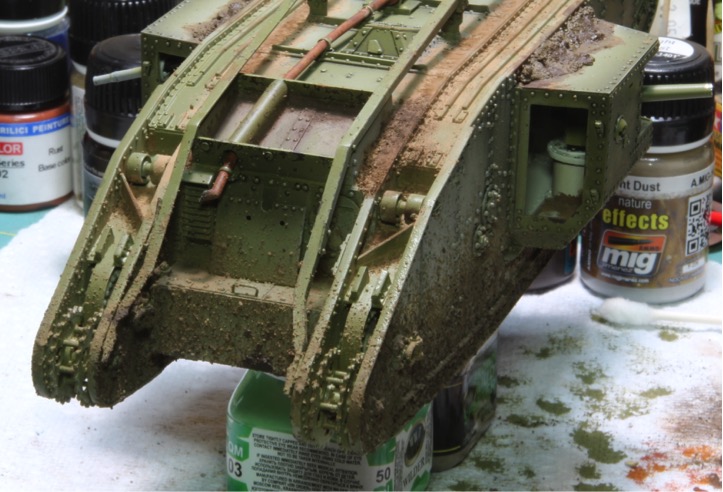
The front of the tank looked too clean, so I added some dirt in the corners using the VMS pigments again. This time I used EU Light Dirt and EU Brown Earth Cold Tone again with the Akryl Standard fixer. This fixer has a 9 hour working time. Basically you dump on the pigments, add the fixer using capillary action, then hit it with a little heat from a hair dryer. Like a minute on medium heat worked fine for me. This dries everything and fixes it in place with a totally matt finish. Its totally locked into place, but if you want to make adjustments you have 9 hours before its irreversible. Pretty cool product.
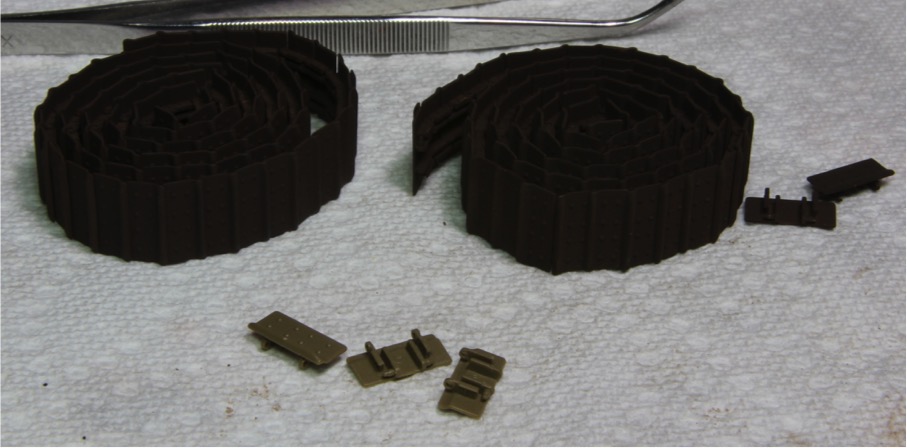
This step basically finished the hull of the tank. Next up is the tracks. Takom supplied working individual links with this kit. These are the newer style single part link instead of the original multi piece links they had in the past. The links are in a bag by themselves already removed from the sprues. There is just a single blemish, probably where the plastic is injected into the mold, but this is right on the ridge of the track link, quick swipe from a sanding stick and its all gone. These just snap together to assemble the run. I painted mine in Ammo Track Primer before assembly. Something I learned from the Mk1 build, once assembled the links overlap making airbrushing a nightmare. Once painted, assembly took about 15 minutes per side.
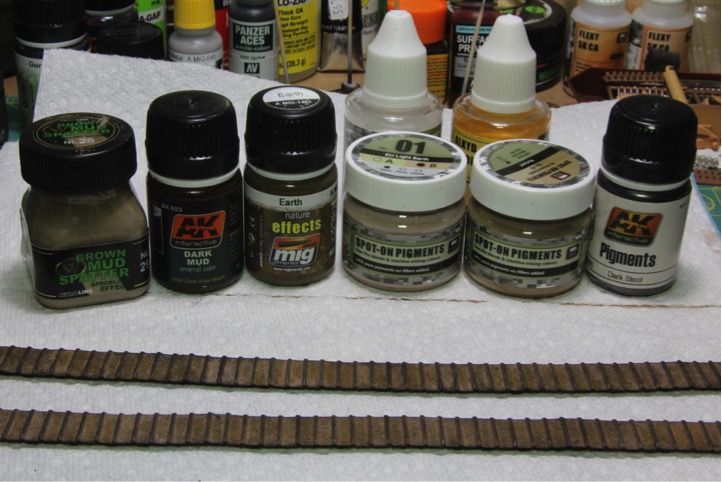
Sorry the picture is so dark. I put some of the unpainted links in the front so you can see what they look like. Then I dirtied the links. Here they are with all the products I used.
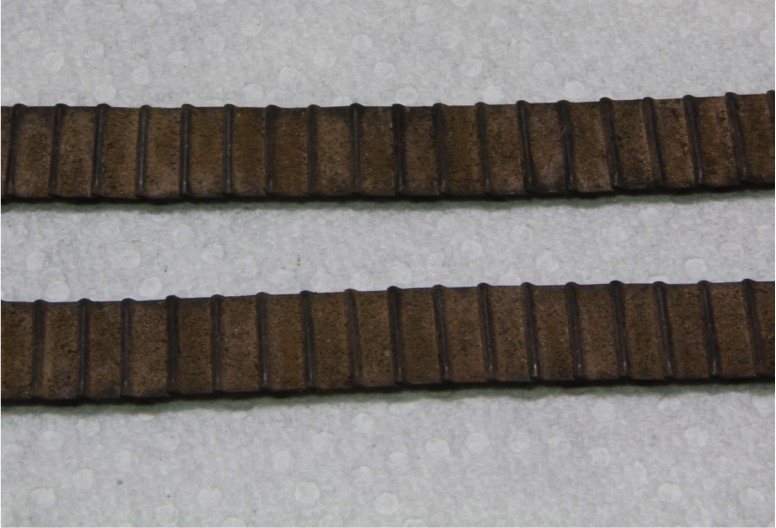
And close up
Its interesting that the metallic shine I put on the ridge using AK dark steel pigment doesn’t show up in the photos, its very prominent in real life. :idonno I let the tracks sit for a bit then installed the right side run. It’s a little loose, but not to bad overall.
The left side track will be added when we get to the base.
That’s it for today. The tank is pretty much finished, just need to work the accessories and the base. Getting close. :frantic :frantic :frantic :frantic
Thanks for looking, and as always comments and questions are welcome!
Mike

")