RichB
Well-known member
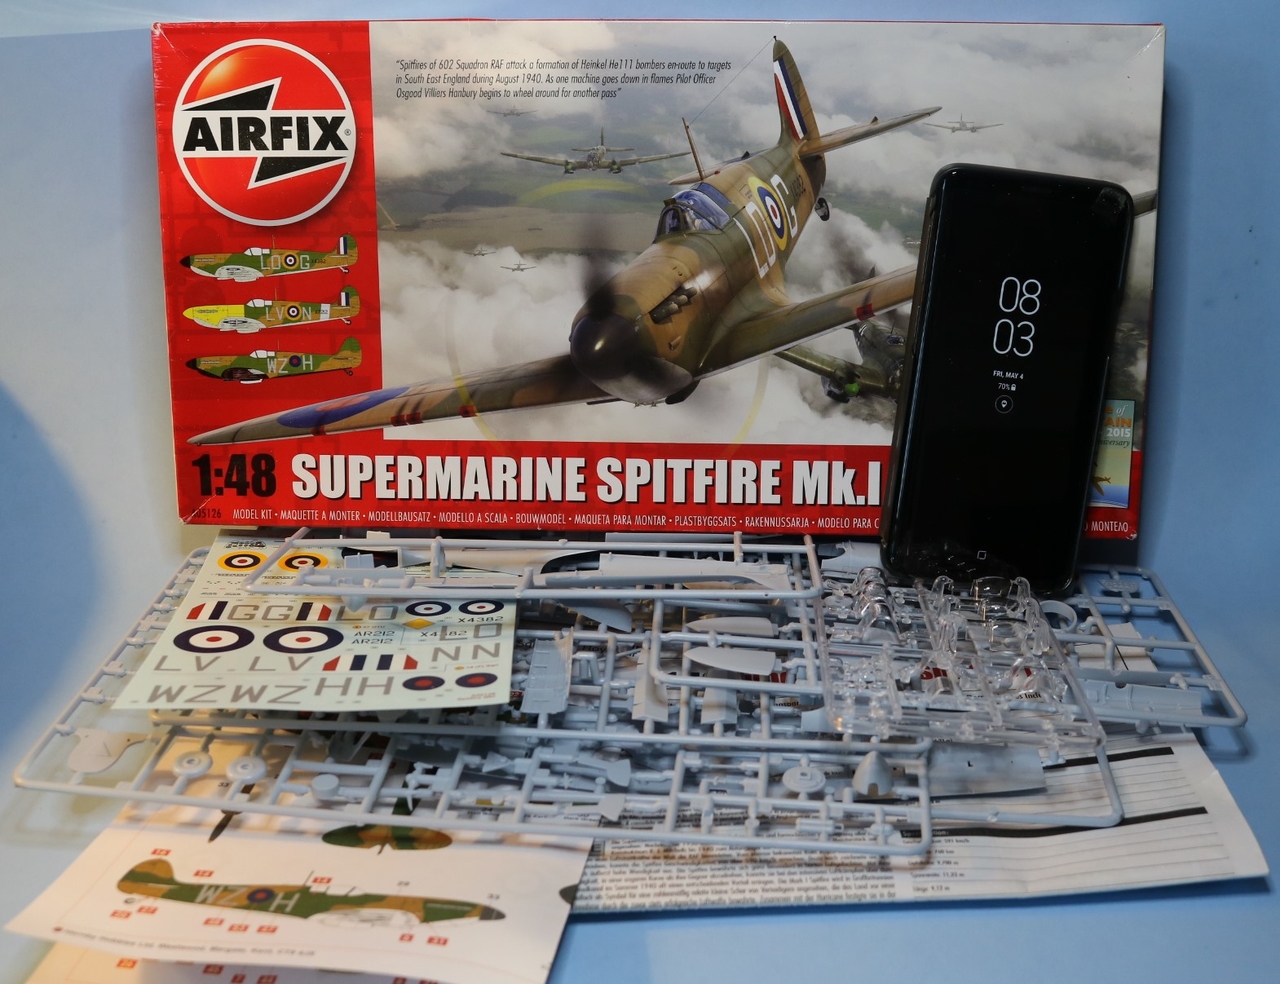
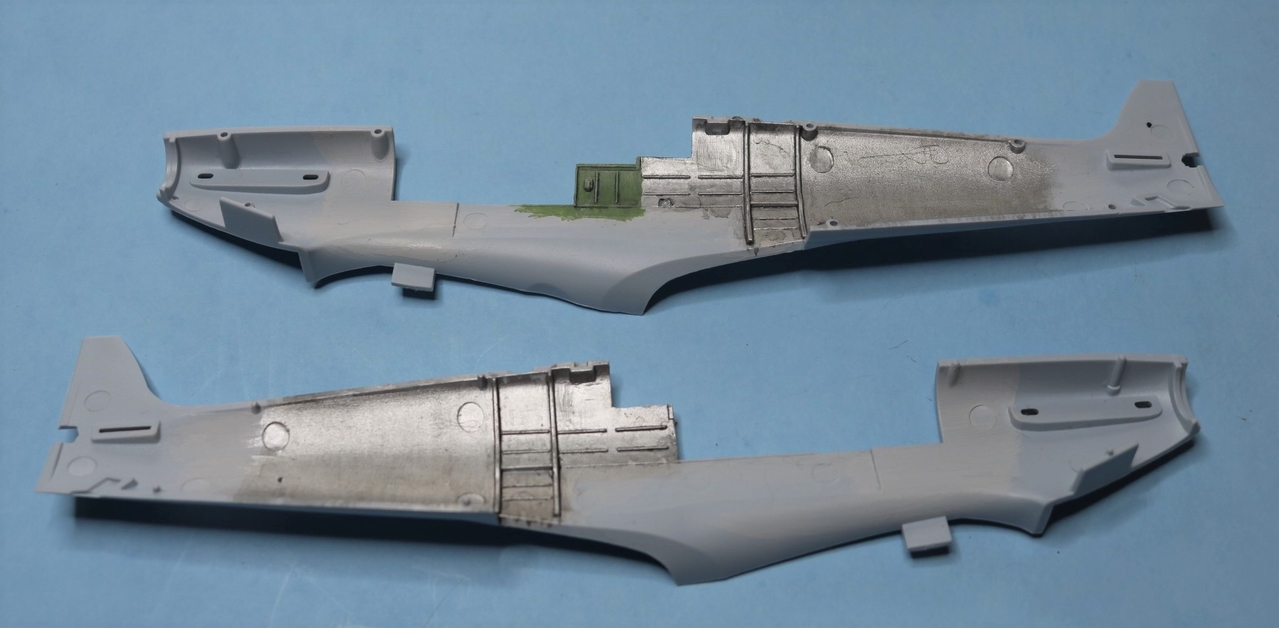
Took the start pic earlier in the week but just got to cut plastic this weekend.
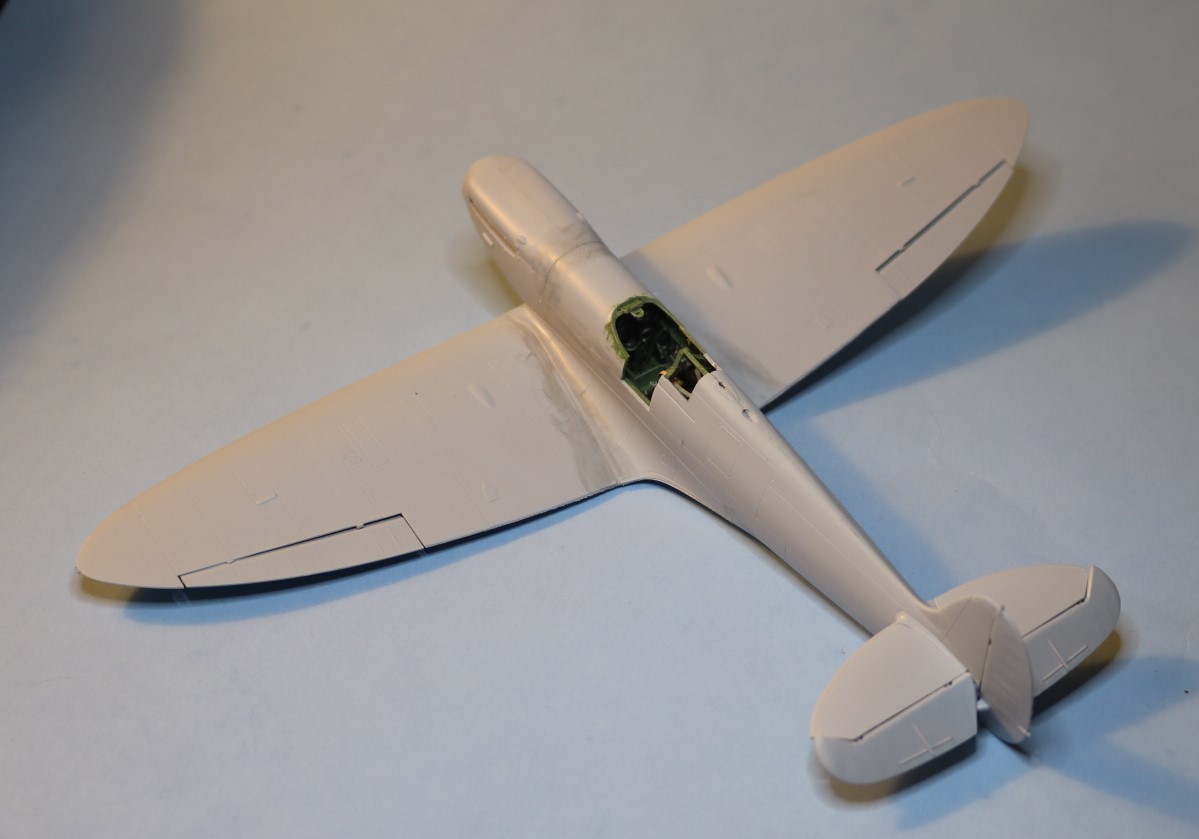
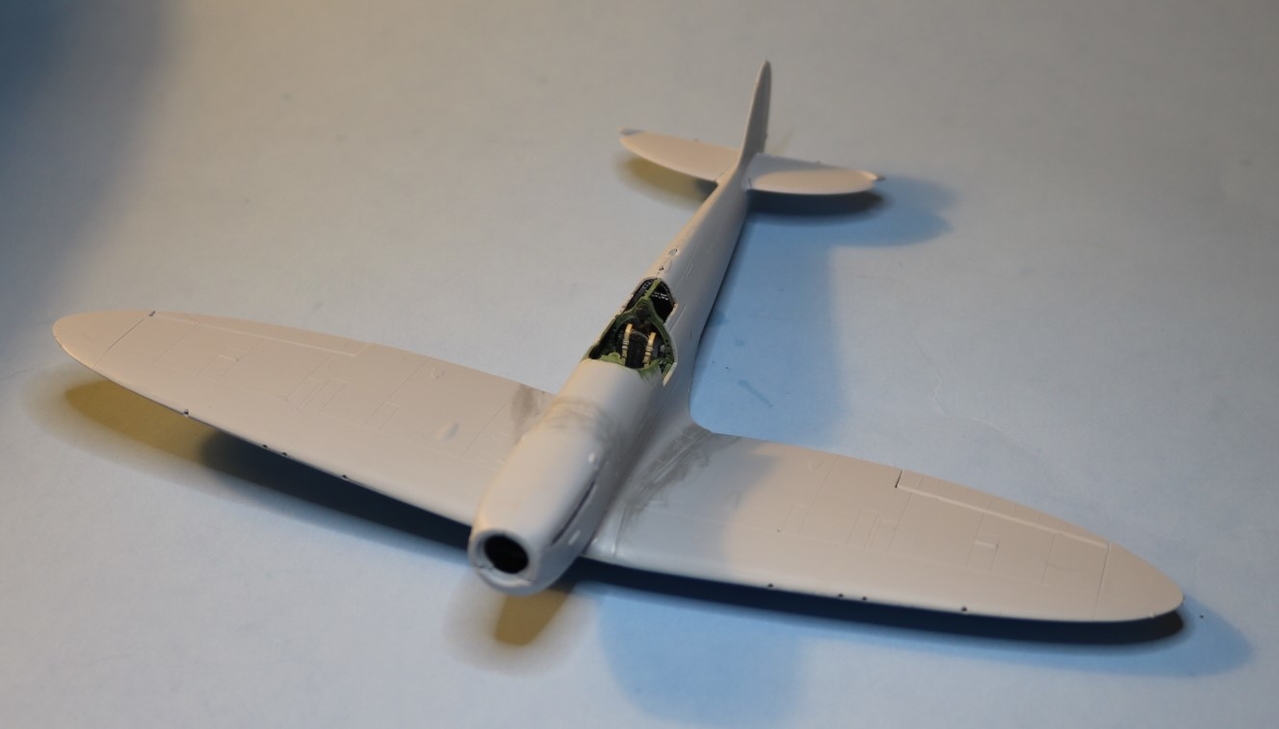
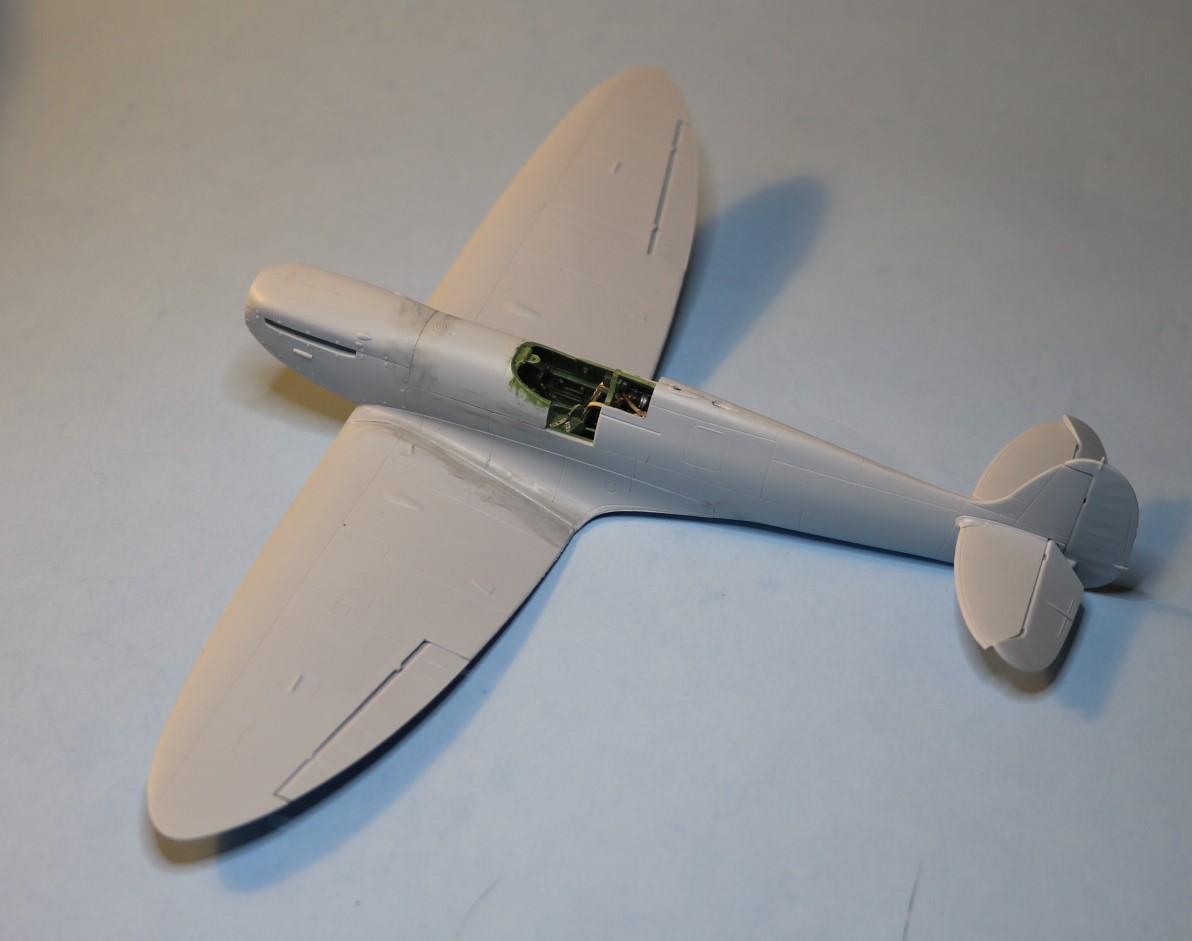
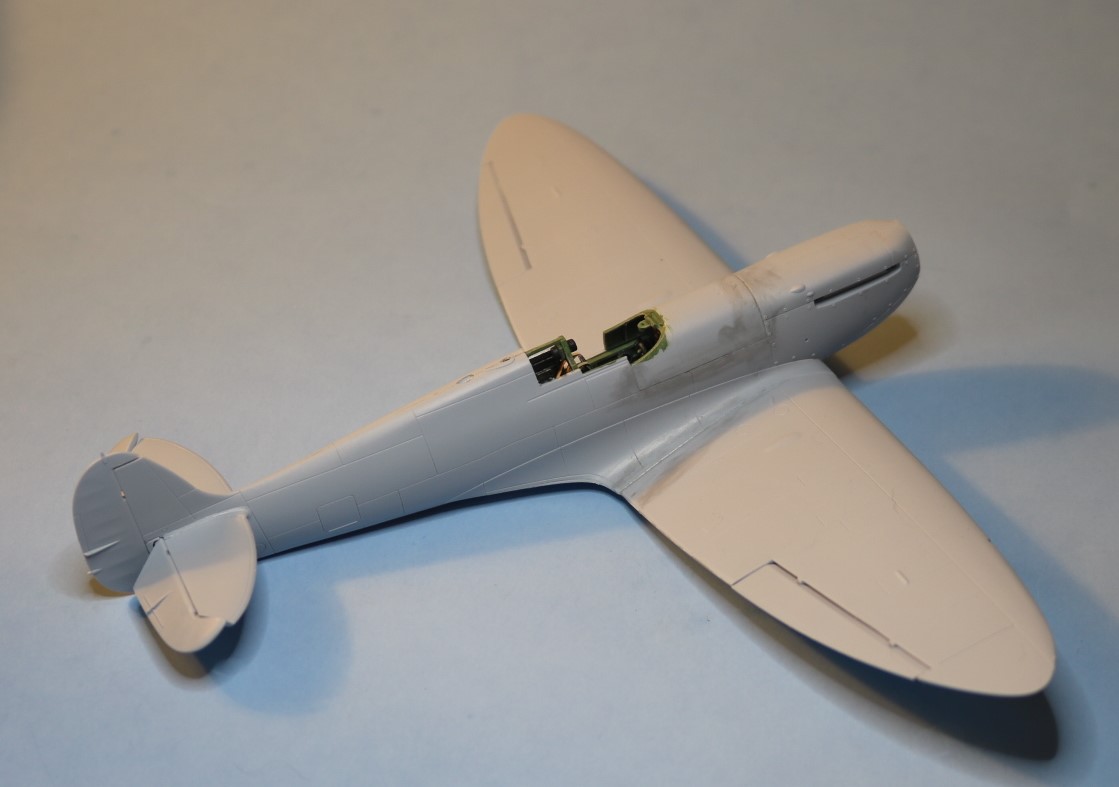
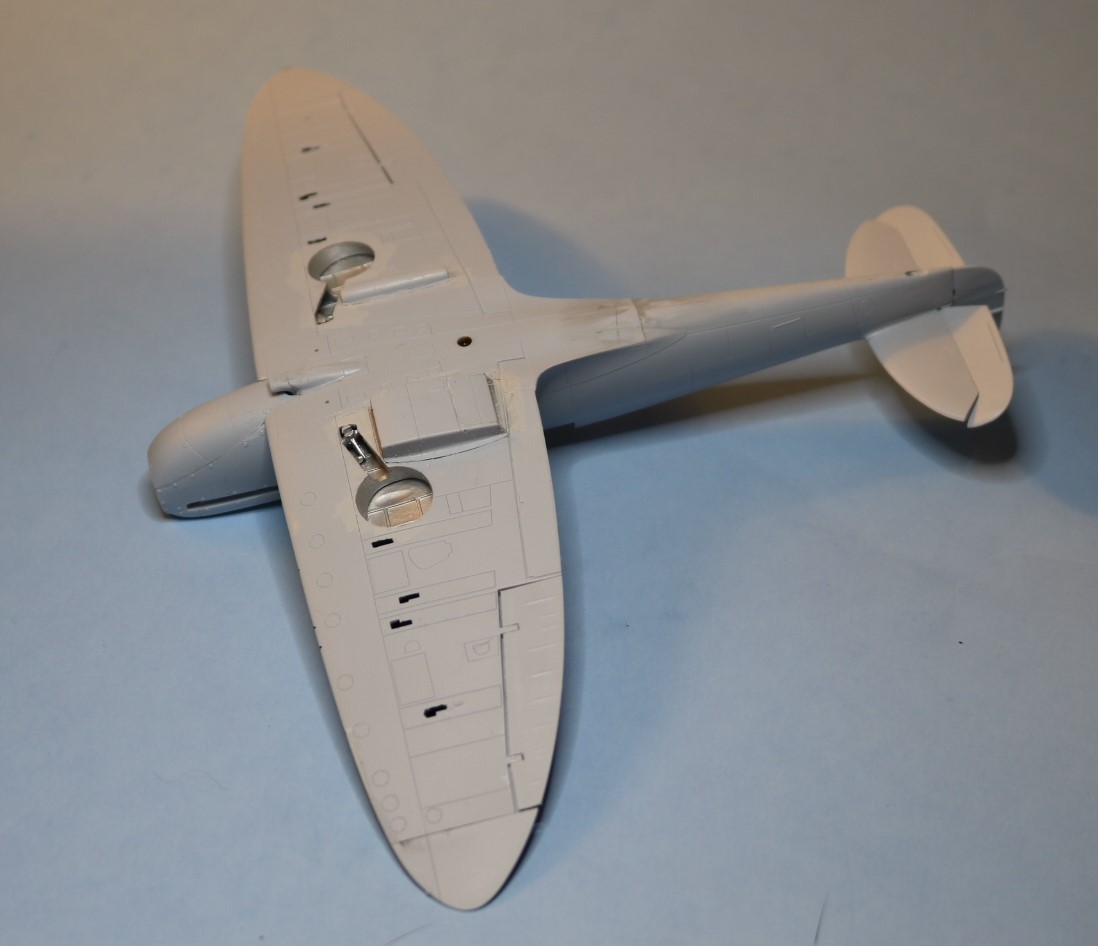
The cockpit is nicely detailed and provides for early or late Mk. I's with different lower starboard panels, different undercarriage levers, long radiator flap lever and cockpit armour. A couple of things that Airfix missed were the ring & bead sight for an early Mk. I (I've got a spare PE one in the parts bin), the optional open cockpit door has the crowbar molded on and the headrest for the unarmoured option. The fittings for the crowbar were on Mk. I's and II's door but the crowbars weren't factory installed until 1942. As my Spitfire won't have the armour, I cut the headrest from the plate and glued it to the bulkhead. Early Spitfires were fitted with a metal seat that was usually interior green but could also be black. The red-brown "bakelite" wasn't cleared for use until May 1940. The two cylinders on the port side were compressed air tanks, not oxygen bottles or fire extinguishers, and ran the guns, flaps, brakes and landing lights.

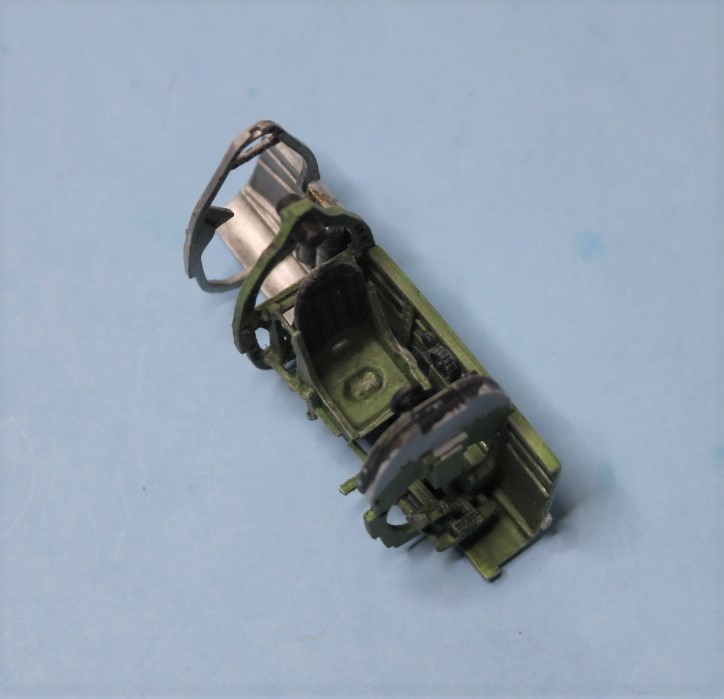
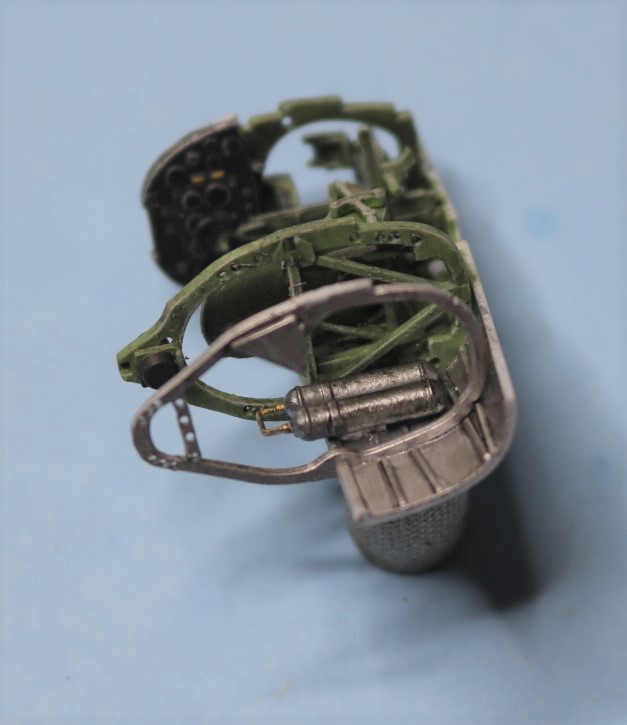
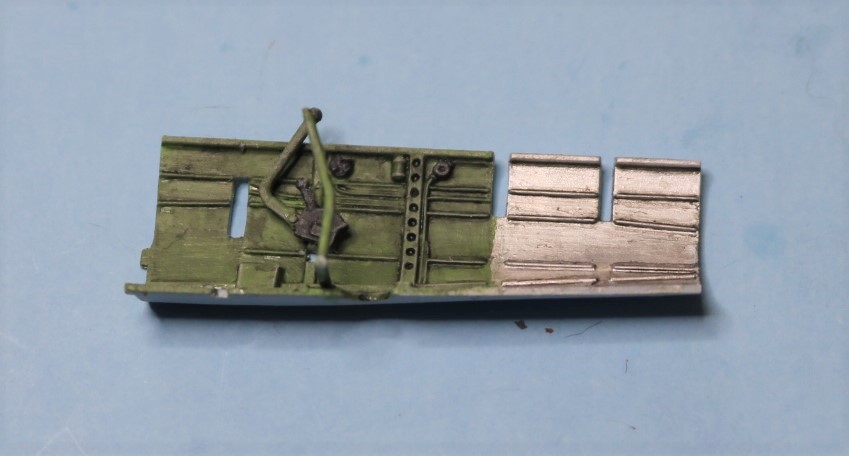
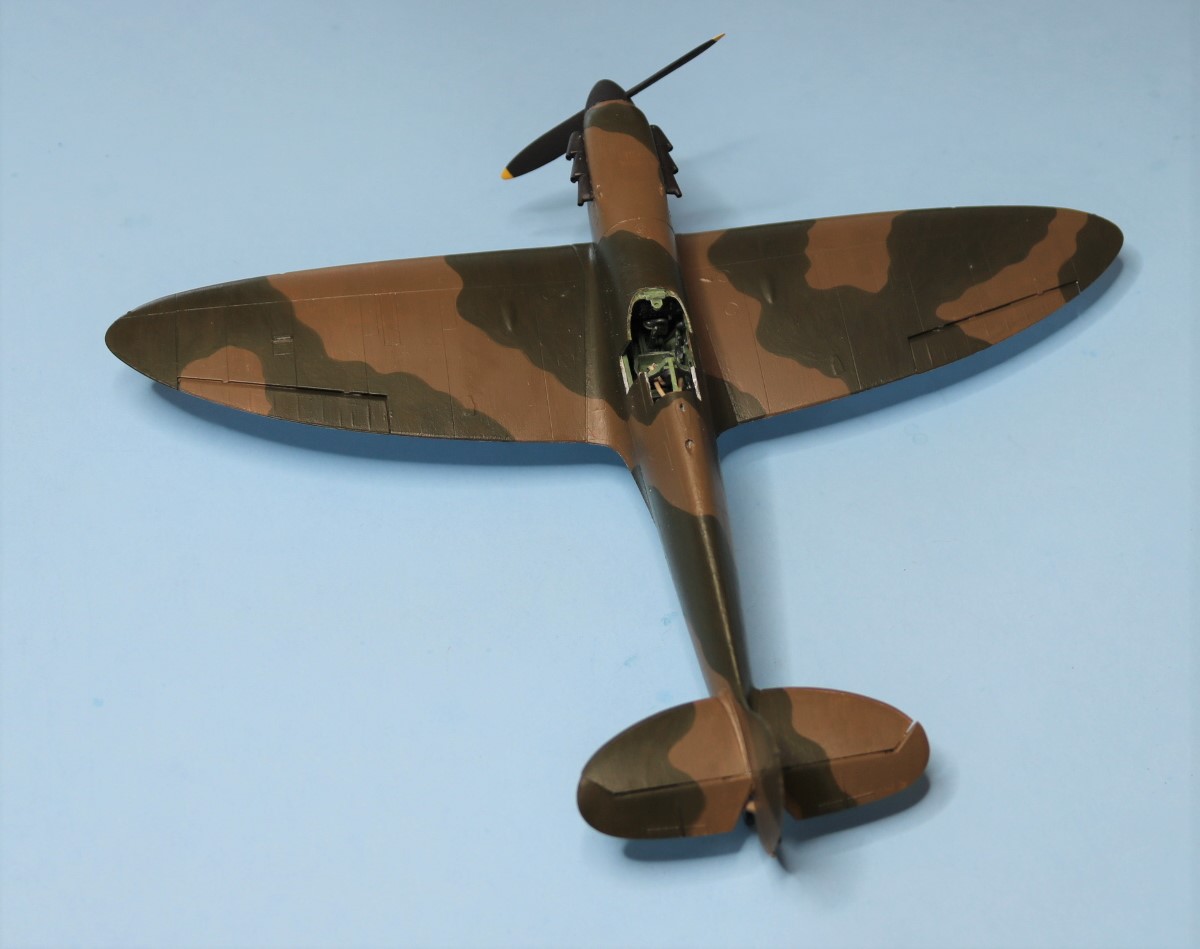
Still have to add the seat harness and route the anchor cable into the aft fuselage before the fuselage can be closed up.
Cheers,
Rich
The cockpit is nicely detailed and provides for early or late Mk. I's with different lower starboard panels, different undercarriage levers, long radiator flap lever and cockpit armour. A couple of things that Airfix missed were the ring & bead sight for an early Mk. I (I've got a spare PE one in the parts bin), the optional open cockpit door has the crowbar molded on and the headrest for the unarmoured option. The fittings for the crowbar were on Mk. I's and II's door but the crowbars weren't factory installed until 1942. As my Spitfire won't have the armour, I cut the headrest from the plate and glued it to the bulkhead. Early Spitfires were fitted with a metal seat that was usually interior green but could also be black. The red-brown "bakelite" wasn't cleared for use until May 1940. The two cylinders on the port side were compressed air tanks, not oxygen bottles or fire extinguishers, and ran the guns, flaps, brakes and landing lights.
Still have to add the seat harness and route the anchor cable into the aft fuselage before the fuselage can be closed up.
Cheers,
Rich

")