

This was posted by Tanaka Akir in X on May 29th, 2026...
Tanaka Akir's Time-Saving Surface Treatment Techniques
This is a surface treatment method I often use, utilizing Tamiya tube putty and thin instant glue.It comes in handy for fixing support marks or layer lines on 3D printed items, as well as surface treatment during scratch-building or modifications.
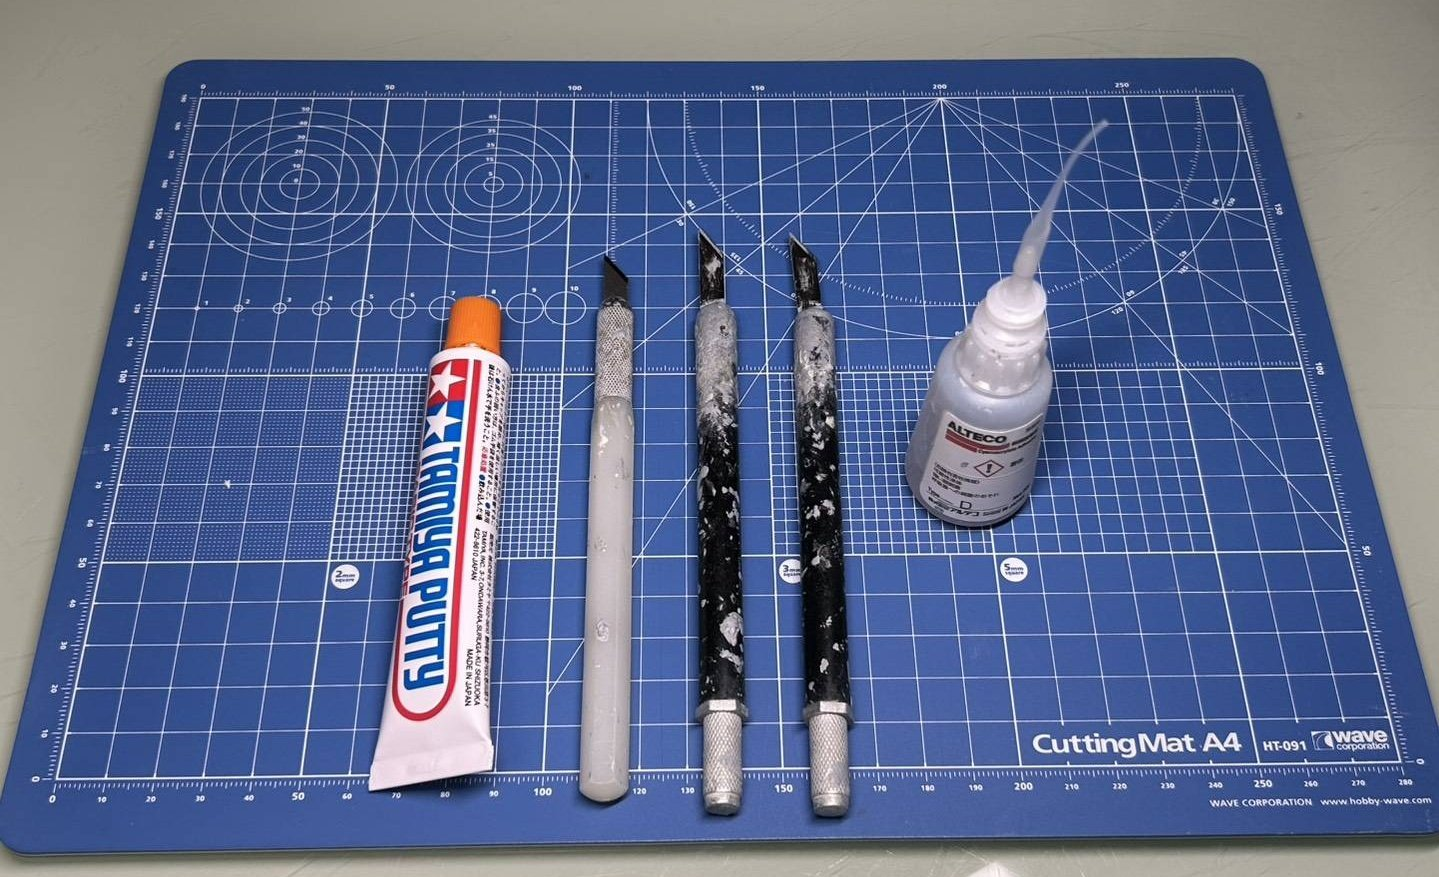
Here are the tools to use.
In the video, since I'm using new Tamiya putty, it contains a high amount of thinner components, making it softer than usual. Therefore, I've used a smaller amount of instant adhesive. Please adjust the amount of instant adhesive according to the softness of the putty and your preference.
By the time you finish applying the putty, it will have reached a semi-cured state, allowing you to process it with a knife. Processing it at this timing is more efficient than waiting for full curing.
Working on multiple parts in rotation will further save time. You can proceed with almost no waiting time.
This method is effective not only for fixing support marks or layer lines on 3D printed items, but also for surface treatment during scratches or modifications.
Since half of it is super glue, it adheres extremely well, and hardening spray can also be used. However, applying it too thickly can cause cracking, so up to about 1mm is recommended.
Tanaka Akir's Time-Saving Surface Treatment Techniques
This is a surface treatment method I often use, utilizing Tamiya tube putty and thin instant glue.It comes in handy for fixing support marks or layer lines on 3D printed items, as well as surface treatment during scratch-building or modifications.
Here are the tools to use.
- Tamiya Tube Putty
- Design Knife (for cutting)
- A used knife for mixing the putty
- Thin Instant Glue (such as Alteco D Type, etc.)
In the video, since I'm using new Tamiya putty, it contains a high amount of thinner components, making it softer than usual. Therefore, I've used a smaller amount of instant adhesive. Please adjust the amount of instant adhesive according to the softness of the putty and your preference.
By the time you finish applying the putty, it will have reached a semi-cured state, allowing you to process it with a knife. Processing it at this timing is more efficient than waiting for full curing.
Working on multiple parts in rotation will further save time. You can proceed with almost no waiting time.
This method is effective not only for fixing support marks or layer lines on 3D printed items, but also for surface treatment during scratches or modifications.
Since half of it is super glue, it adheres extremely well, and hardening spray can also be used. However, applying it too thickly can cause cracking, so up to about 1mm is recommended.


