Hello Everyone,
I have put together a little article on how I deteriorate a rubber road wheel for a German tank. This would probably suit other vehicles I suppose but I have not looked for the effect on allied vehicles.

I hope this helps those of you who are looking for a way to do this effect or just wish to dabble in the darker side of modelling :evil:
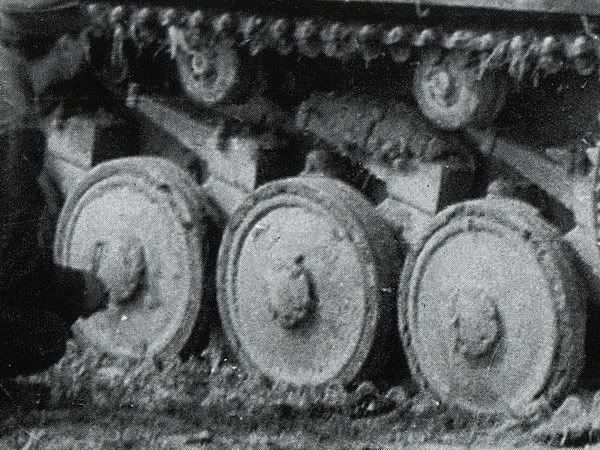
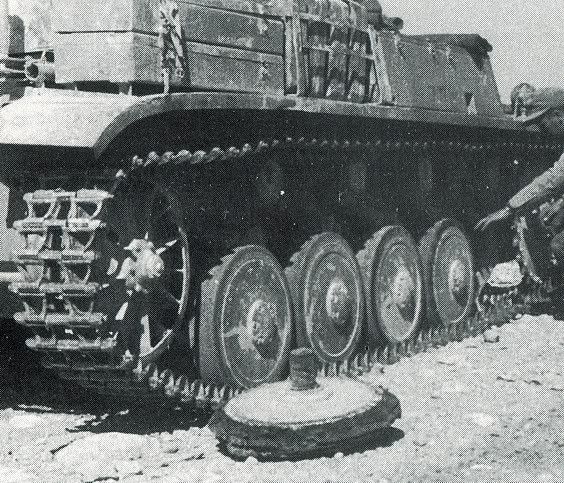
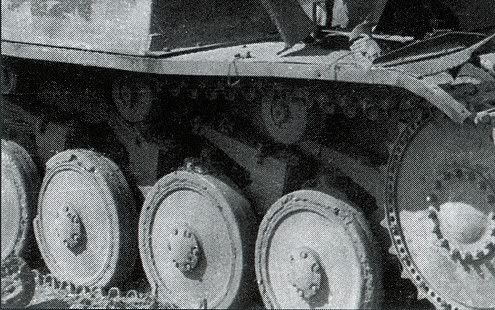
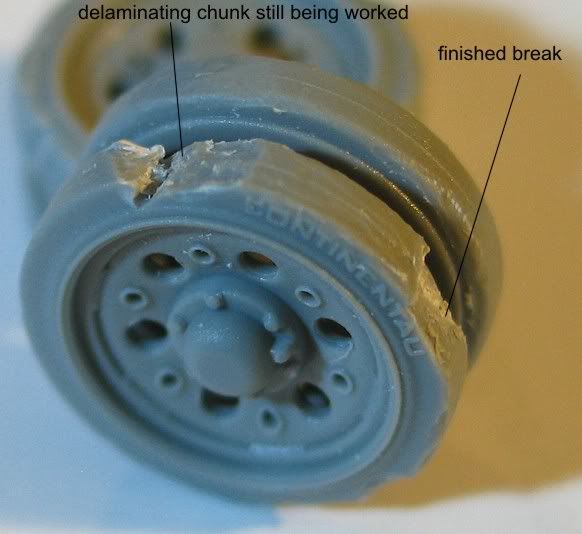
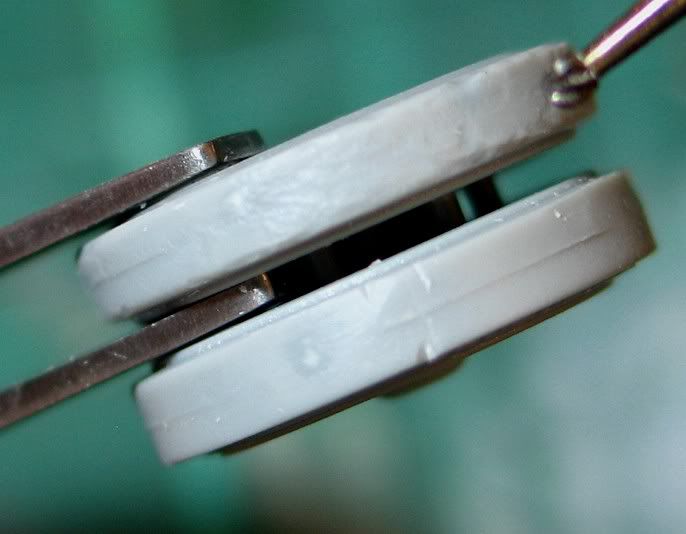
For those of you who know my style, it usually involves some kind of wear and tear above and beyond the OOTB model. I can't help myself as I love to dabble in damage. This can be achieved simply and to good effect with German rubber road wheels such as on MK2, 3 and 4 chassis tank variants. The rubber deteriorates under the stress of long Km's, rocky terrain and especially dry desert conditions as the photos below show.
.
You can clearly see the detioration to the edge and centre depending on the wear factor. How much you want to do depends on the state of your vehicle and how far you want to go.
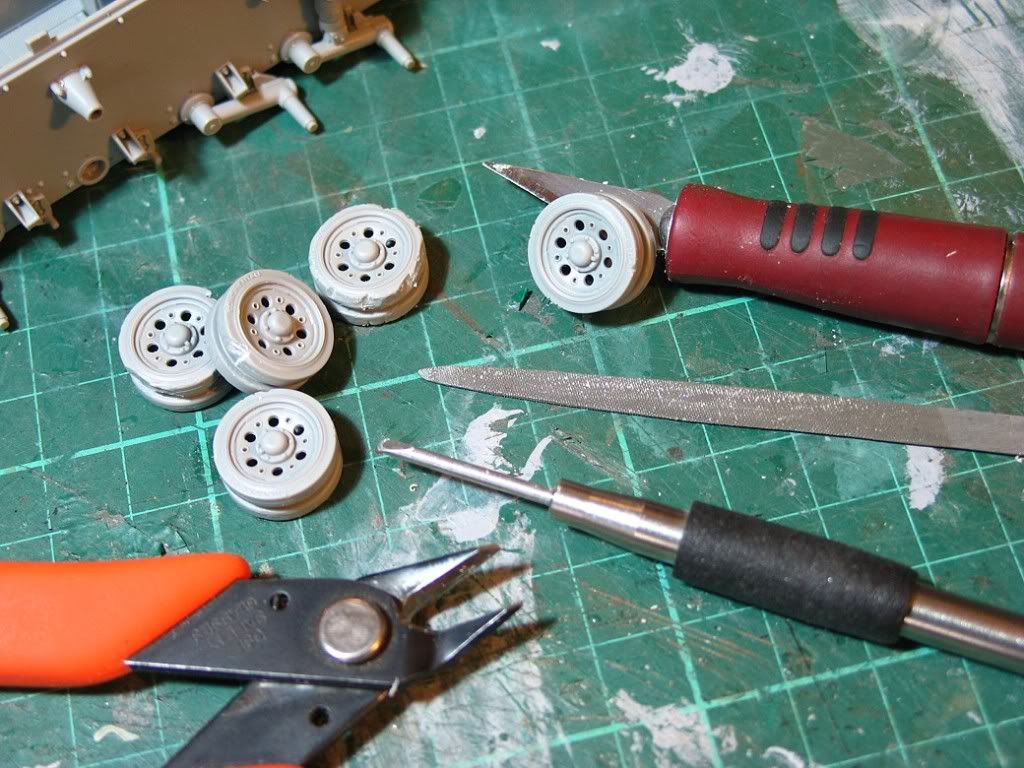
Tools.
I use a
dremmel,
scapel,
micro chisel,
pair of really sharp cutters and
smooth sandpaper.
HERE ARE SOME WHEELS IN PROGRESS THAT I WILL EXPLAIN THE EFFECTS ON, AS PER THE TOOL USED. PLEASE READ ON IF I HAVE CAUGHT YOUR INTEREST.
All photos are taken in Super Macro mode so please take into account that your results will not look like this to the naked eye as the camera is acting as a magnifier- in other words, it looks a hell of a lot pretty in normal eye scale.....
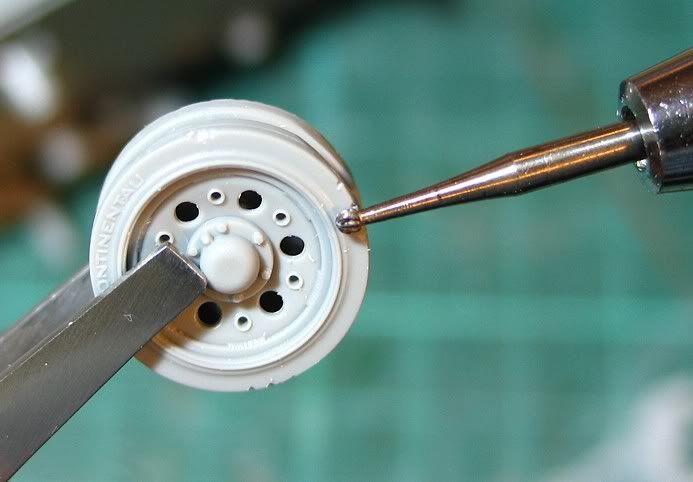
ROUND DREMMEL HEAD
I use this to start the deterioration of the edge of the tyre. Dont press to hard and run the drill on about 65-70% speed. It doesn't have to be all the way around either. I recommend doing this under a good large magnifier.
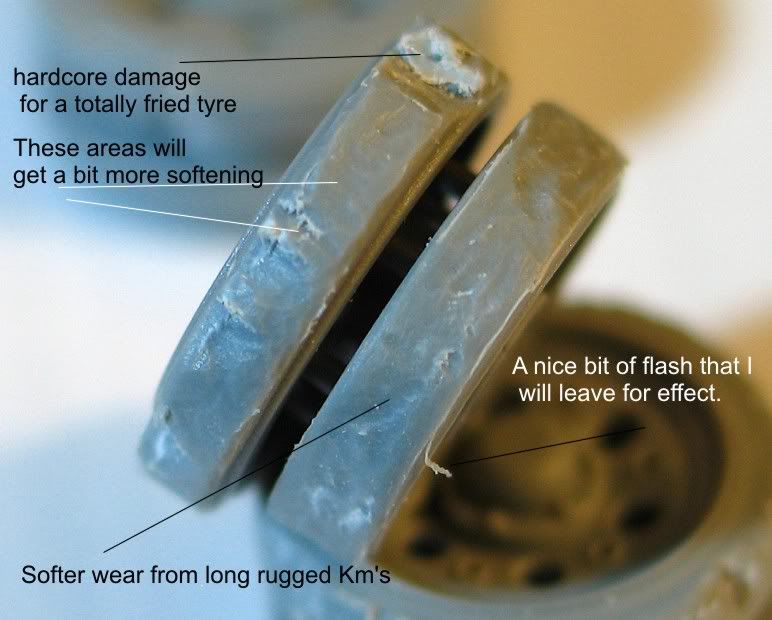
Also, don't wear any 2 tyres the same as they wear independantly and are replaced at different times.
It is also good to apply general smooth wear to the flat contact surface of the tyre, where the day-to-day travel and grind with rocks and stones leave their mark.
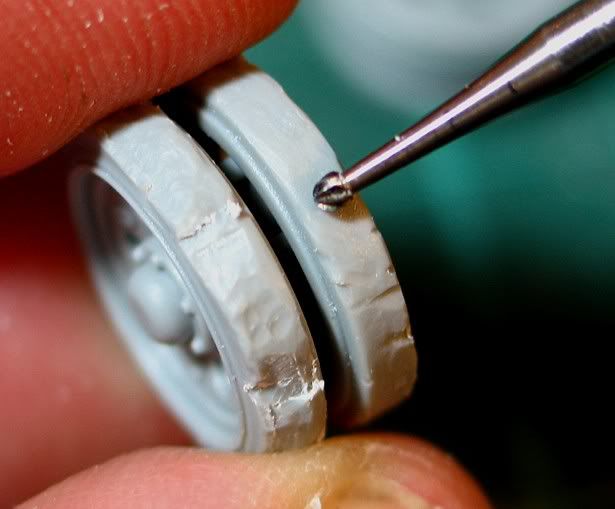
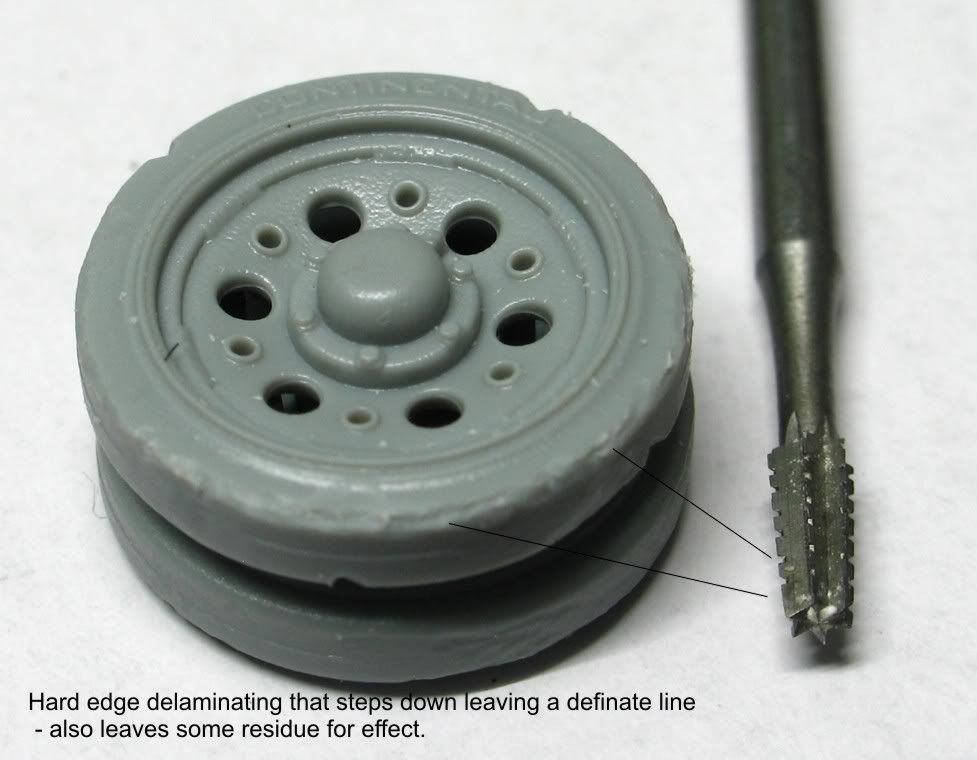
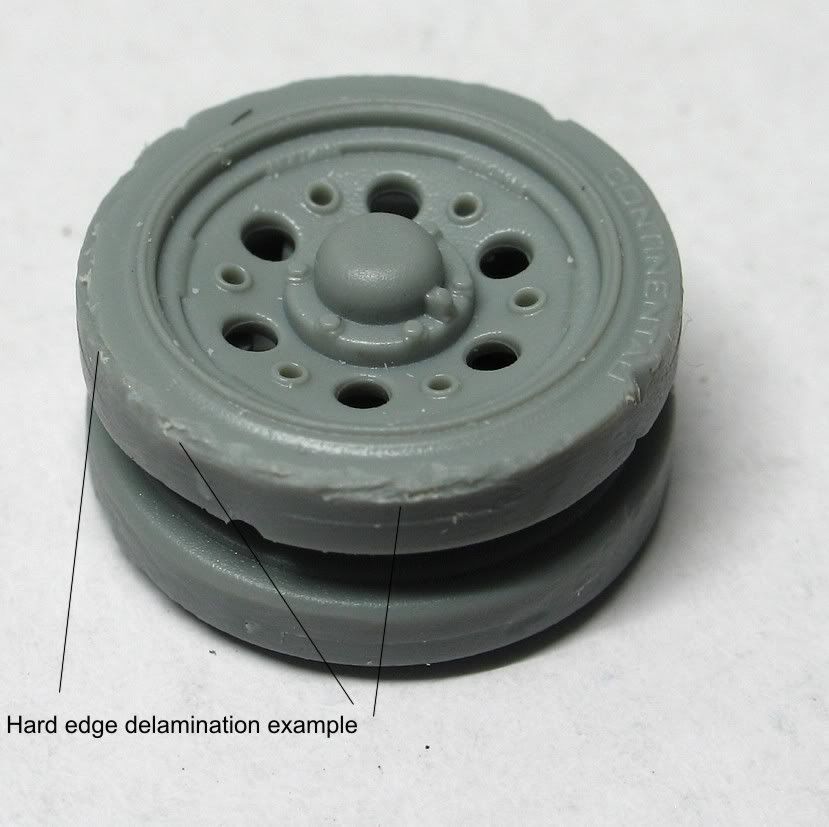
LONG TOOTHED DREMMEL HEAD
I then continue with a sharper longer dremmel on the same speed setting to create the delaminating edge you see occurring in the photos above. Again, I recommend a magnifier.
Scapel
I use this to make small nicks on the edges and flat contact surface. These are only small and can
sometimes be the only damage applied.This can also be used to scrub away slight sections to the top ofthe tyre surface- just be gentle though.
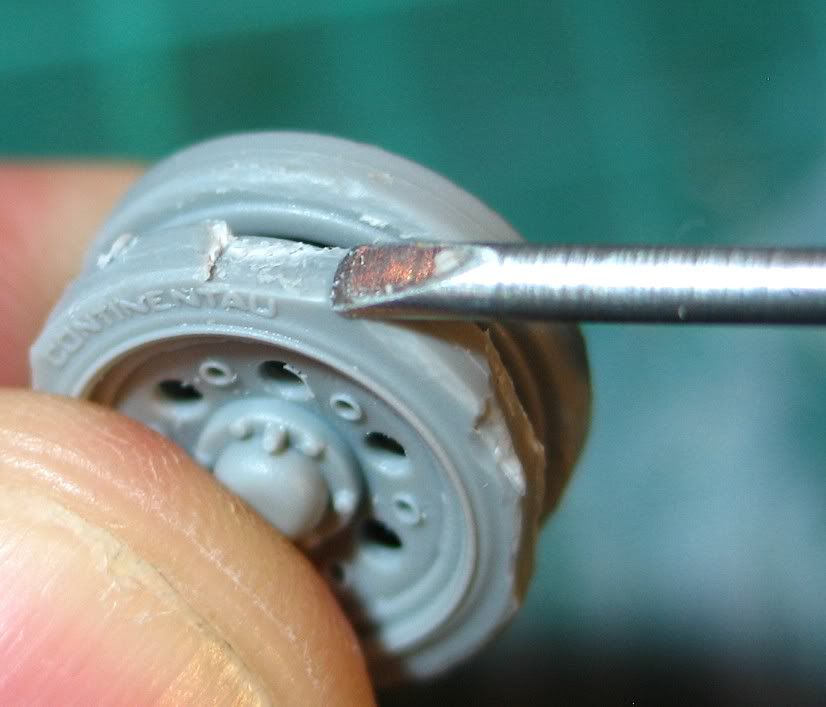
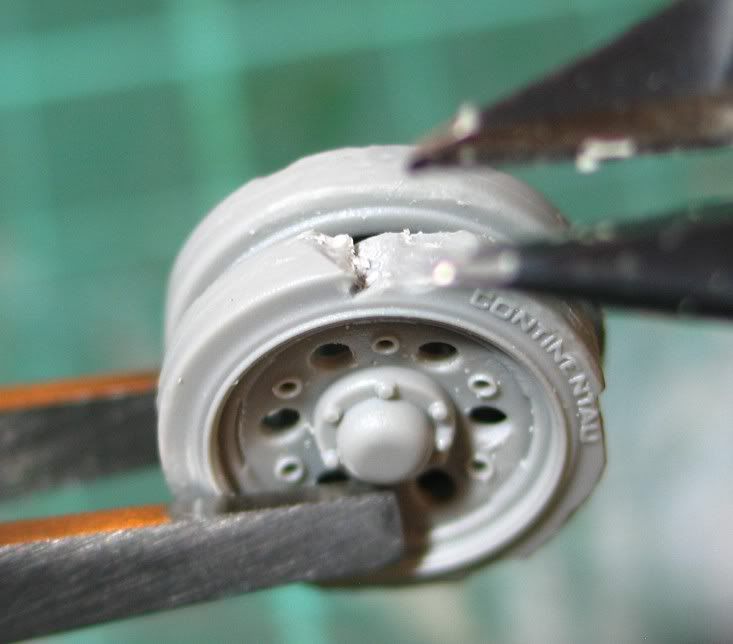
MICRO CHISEL
This is used to get that severe, broken, long flat chunks that sometimes just explode offafter heavy use on very rocky terrain. I carefully make a starting 'nick' with the scalpel at a horizontal angle then push into that with the Micro chisle until I have the desired length then stop. I then cut in vertically at the thick end again with the scalpel but only a little. Then I jam the chisel in upto the end of the cut and push up. Kind of like trying to make a splinter in a piece of wood though this version looks better if it is the width of the tyre. This is probably the most difficult effect.
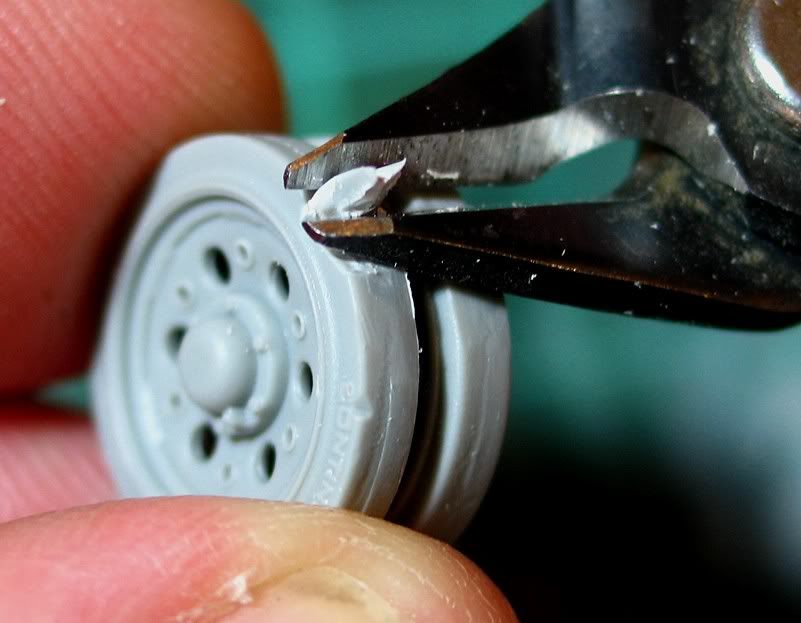
REALLY SHARP CUTTERS
I say really sharp because if they are blunt they will flatten the plastic too much when you make the cut. Justpick a spot and dig in butbe careful not to make a full ct and don't cut the wheel where it is not rubber (ie. the rim)
Once the cut is made carefully liftthe excess plastic with the cutters........
REMOVE to leave a sharp ragged edge...........
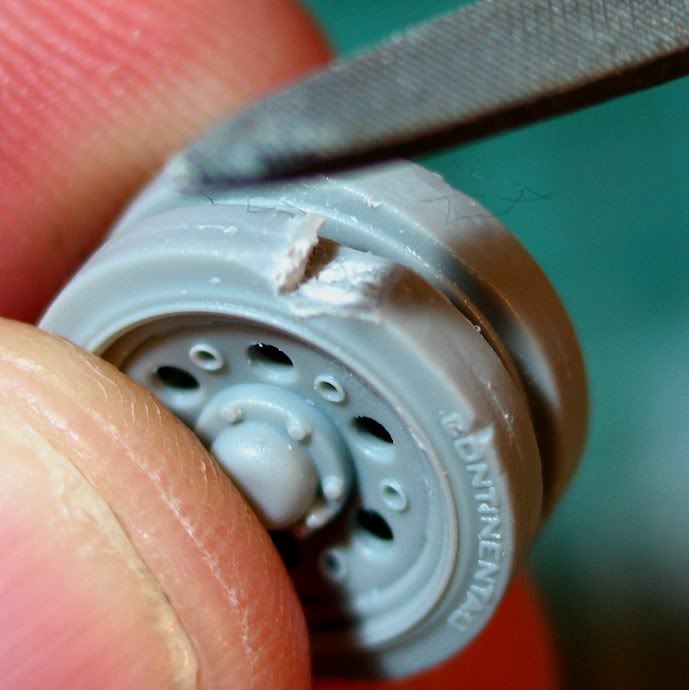
Then clean-up slightly with a file based around what you want.
I hope this has been interesting and informative.
Ian.