• Modelers Alliance has updated the forum software on our website. We have migrated all post, content and user accounts but we could not migrate the passwords.
    This requires that you manually reset your password.
    Please click here, http://modelersalliance.org/forums/login to go to logon page and use the "Forgot your Password" option.

Organizing the workbench

MichelC

Member
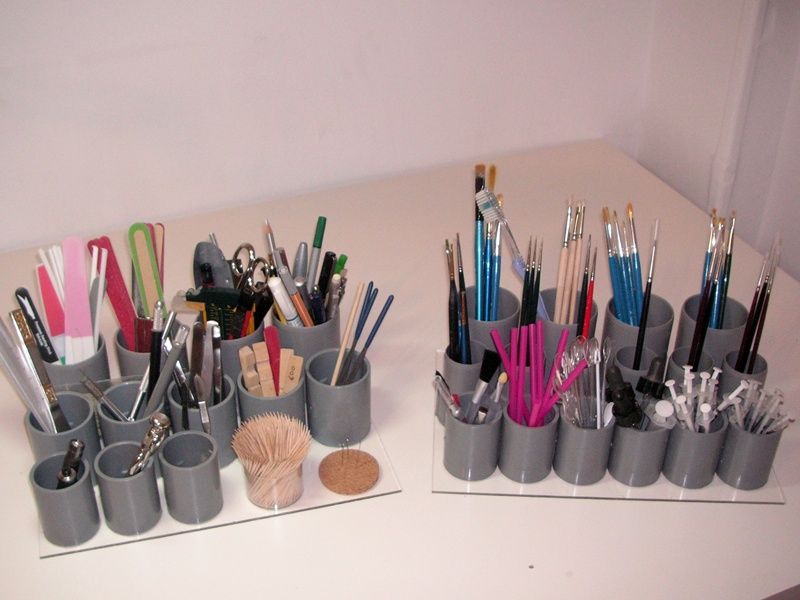
Tired of groping for the right tool? I was! So I organized my workbench with these caddies. The idea is not mine, it comes from some special issue of FSM magazine. Let's give to Caesar...

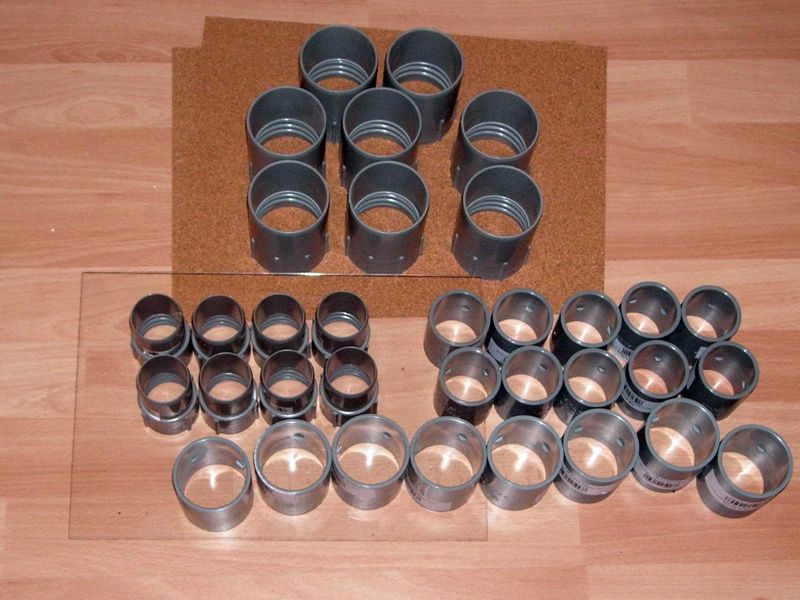
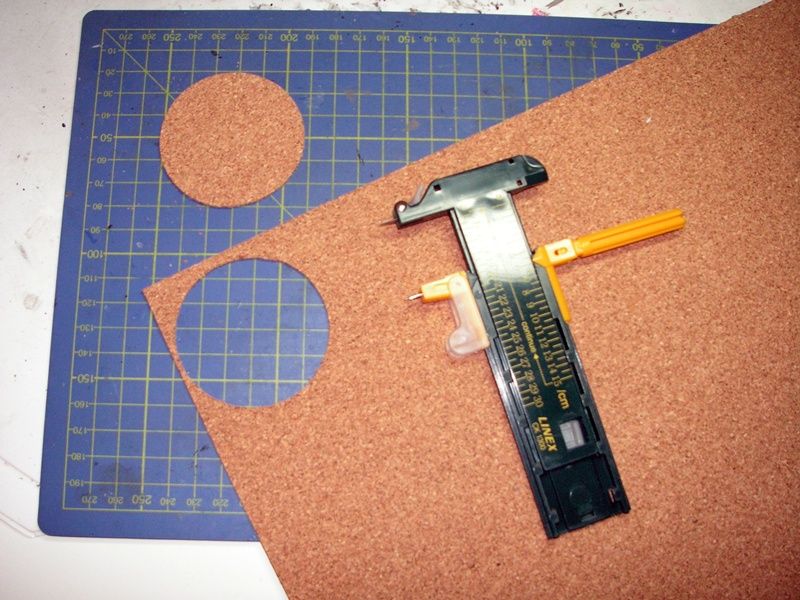
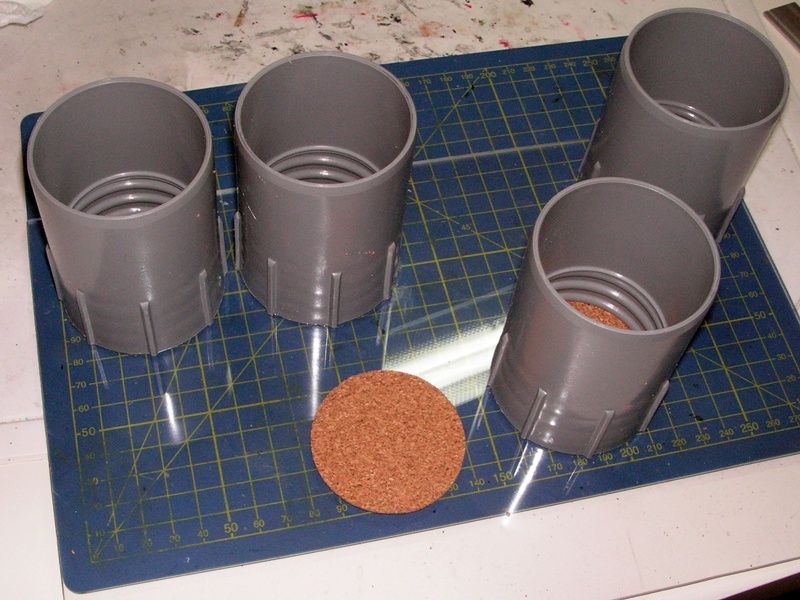
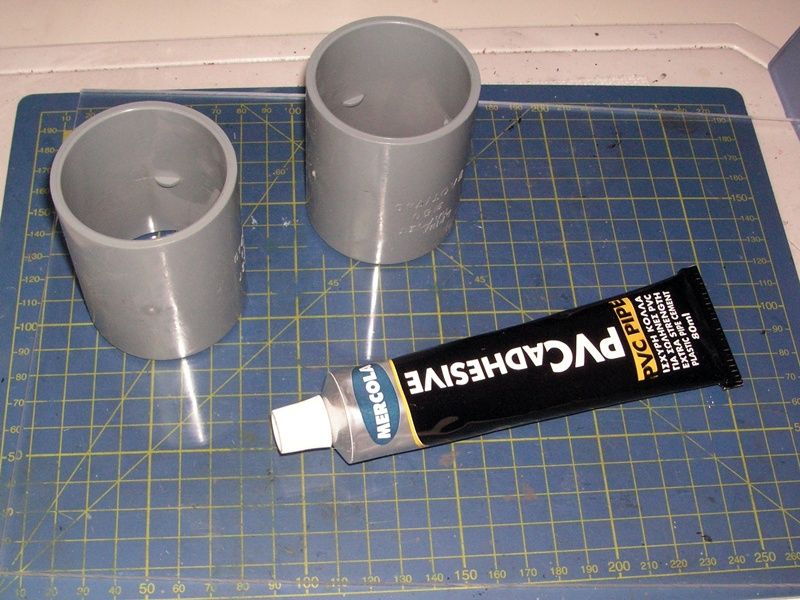
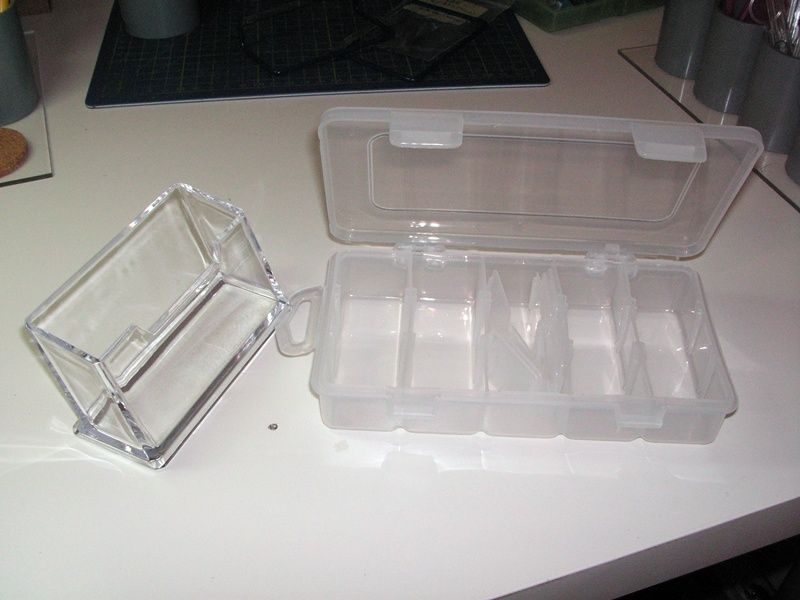
Materials used: plumbing fittings from the hardware store, clear acrylic sheets, cork sheets (to place in the bottom of the holders to protect your sharp points), a business card holder and a small organizing box. PVC glue was used.

The pics are self explanatory.

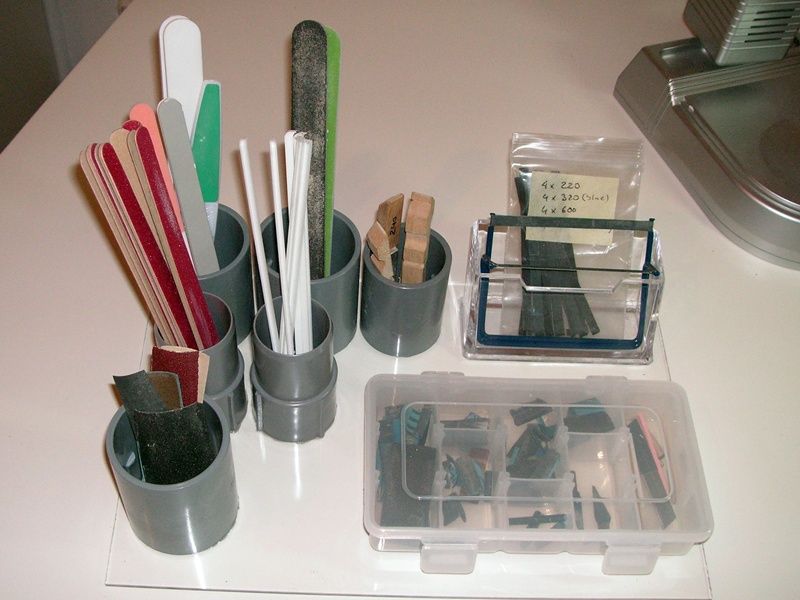
I made three caddies. One for the paint brushes and everything paint related including all that's needed for airbrushing, one for tools and one for sanding. For the latter I used the organizing box for all those small bits of sandpaper and the card holder for the oddly shaped sanding tools.

I must say that since I use the caddies working at the bench has become more pleasurable! Thought I'd share.


Cool, bet you still get cluttered up. :rotf

I got one of those lazy susan caddies. Found it's really nice but my problem is putting the tool back where it belongs.
 
A clean organized bench is the sign of a sick mind (thats my [strike]excuse[/strike] reason for the way my bench looks) :pinch:


BUT have to give you credit for making a great looking storage system- clean, neat, organized, it's bound to be a big help. (y)

What size PVC fittings did you end up useing?
 
Well, I have my own theories on the subject of cluttered desks and cluttered minds but I will leave this for another time. :silly:

I bought an assortment of fittings, ranging from 1 1/2 inch to 2 1/2 inches. I bought a random number of them at a guesstimate and ended up using all of them.

M
 
Michael- How many fittings did you buy? And more important, where did you fit the cork on the bottom of the fittings. Did you glue them to the inside diamter of the fitting, or did you glue it to the bottom? I saw the article in Fine Scale Modeler (I think I may have lost it as well, DUH!!!) and wanted to give it a try. You did it and succeeded. Way to go. Now I have something to base my try on. Thanks for showing it.

Dave
 
Dave, nothing very complicated here. It says it all in the article and with some patience and TLC it can be done in a couple hours. I bought 34 fittings in four different sizes. I didn't glue the cork bottoms, I just inserted them into the bottom of the fittings and glued those in place. You can even insert them from the top afterwards if the fitting is a straight cylinder (some of them are kind of bottle shaped). You don't have to glue the cork, it won't go anywhere, but if you must a few beads of epoxy glue between the cork bottom and the acrylic base will do just fine.

I hope this helps. Let me know if you have any other questions.

M
 
Back
Top