• Modelers Alliance has updated the forum software on our website. We have migrated all post, content and user accounts but we could not migrate the passwords.
    This requires that you manually reset your password.
    Please click here, http://modelersalliance.org/forums/login to go to logon page and use the "Forgot your Password" option.

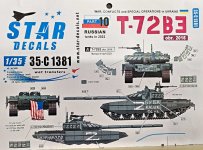
MODERN RUSSIAN ARMOUR USED IN COMBAT - T-72B3M BUILD 3rd Feb 2025

Brokeneagle

Master at Arms
T-72B3M in the Ukraine
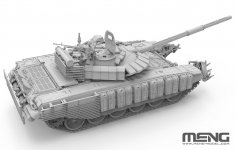
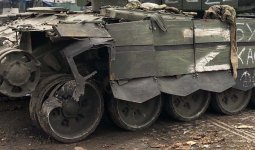
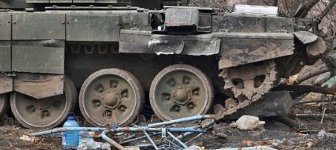
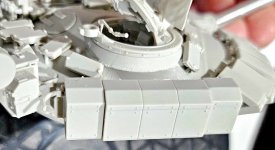
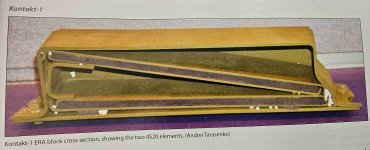
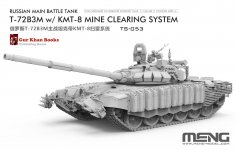
This was the tank that caught my interest initially, super tough looking, heaps of updated details like the stand-off armour grates, Relik box turret armour, charge bag armour plus the ever present 'mag wheel' spoke design which I love.

886729ba8ba32552.jpg

888e7597cff64570.jpg92d0978de6364430.jpg4bcd8e906bda07bb.jpg
While I was waiting for the T-80U kit to be released I started building-up a T-72B3M, which is the version of the T-72B3 updated in 2019-2022 used in the ukraine. I am going to base the weathering and damage on multiple tanks that I have reference photos of and just have some fun with it.
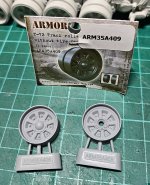
I have a few after market extras plus a Turned metal barrel and Ariel from Aber
20241125_205324.jpg20241127_220914.jpg
The chassis is the beginning point with movable suspension arms that can get a bit 'fidley in places, especially the braced front and rear ones. I ended -up working out a better method than the instructions suggested.
20241125_210325.jpg
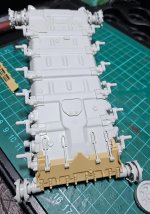
Meng provide a JIG for positioning the torsion arms, which made it a little easier but I wanted to add weight and sag to the front due to the mine plough and it just being a reconditioned 2016 B3 (which was where they were coming from). I just needed to position the JIG a little more forward to achieve this.
The big difference in construction of this chassis compared to the RFM T-80U is that it is molded in 1 piece and is much easier to construct. I am not sure why RFM has gone with the rear sides and front all being seperately molded. This T-72 Meng kit is much easier and not that different from a T-80.
20241125_211121.jpg

20241125_210318.jpg

20241125_210334.jpg
 
Last edited:
Starting on the wheels...........
Images show that some of these tanks can have some really worn down wheels, probably depending on their age and money spent on rehab back into the field.
The captured ones now used by the Ukrainians can have some absolutely ablitorated rubber!
20250108_123541.jpg


20241126_220506.jpg

Original condition
20241125_210353.jpg


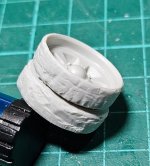
worked on with small motor grinding tools (as described previously here]
20241125_230744.jpg20241125_230750.jpg
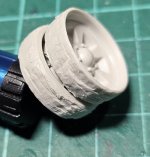
I then added some modelling paste to the after-market rims [without rubber], to use as the two front wheel rims with virtually no rubber left on them. These have the alternate pattern wheel spokes that can be mixed with newer and older, as seen on this image of a T-90M (below) without the side skirt armour. This T-90M actually has 3 different styles of spoke patterned wheels.
450536937_8355408321158153_6212708442293927852_n.jpg

20241125_205324.jpg
20241126_160432.jpg

sanded down a little with fine sand paper
20241126_212212.jpg
20241126_212101.jpg
 
Last edited:
A little more builld progress on this ......... I am enjoying the build on this one with plenty of mods to the side armoured panels.
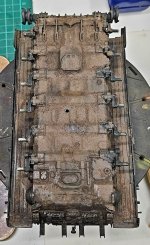
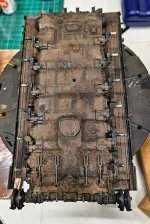
First up is the chassis, now with the top section added and side panels with ongoing mods. The details on this kit are really nice with 'heaps of details' just waiting to be highlighted with the paint stage.
Current progress on -
* PE engine deck screens and vent covers.
*'Modding' the front guards(damage andseperate the front rubber section).
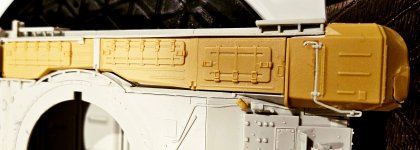
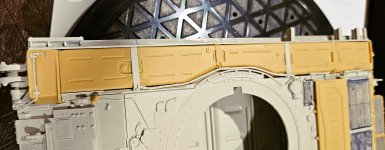
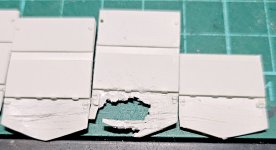
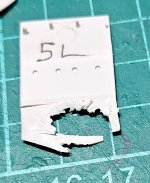
*'Modding' the side guards (damage and seperate each panel).
FUKmixSWUAERO6Q.jpg

20241204_011946.jpg
20241204_012018.jpg


20241204_012029.jpg

20241204_012006.jpg

I still need to thin that right side guard a little more from underneath. I thought that the rubber section went further back but the photo at the top of this section shows that it should be a lot thinner.
Rear louver covers added and ditching beam.

20241209_001156.jpg

20241204_012353.jpg20241204_012402.jpg
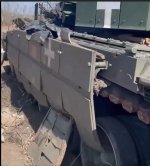
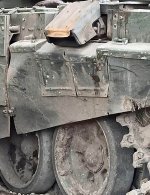
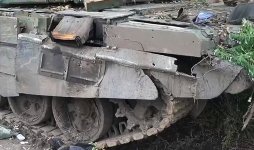
Some references for the damage these vehicles get to their side panels. This part is really fun just mixing and matching to the actual damage they get in the field - you know me, I hate it when it looks new or pristine (which is why I don't model 'curbside cars').

450843056_8367521546613497_2407363395636195556_n.jpg
Screenshot 2024-04-27 171926.jpgside armour detail .jpgside armour detail 2 .jpgwheel mud detail.jpgside armour detail 3 .jpg
Adding some retaining bolts for the missing armoured panels.

20241208_173257.jpg

The side armour comes as one large section but can easily be carved -up to simulate individual damaged sections. The rubber sections on these can be scratched, dented and gouged.
20241201_232651.jpg
20241202_014341.jpg

20241208_173214.jpg20241208_173237.jpg
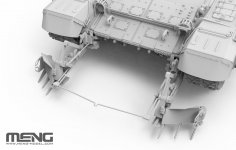
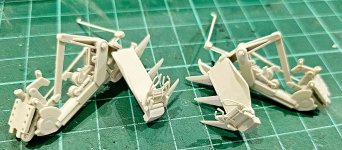
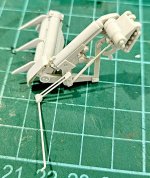
...and the next bit of 'kit' is the sexy KMT-8 mine clearer.
20241208_162307.jpg

20241208_162210.jpg

20241208_162222.jpg20241208_162328.jpg
20241209_001141.jpg
 
Last edited:
I missed the previous updated Ian, sorry, I have a work excuse for that.
These soviet tanks look so mechanical (that sounds stupid) but with all the bolt on stuff and appendages coming off them. They almost look Mech like.
Looking great so far!
 
These soviet tanks look so mechanical (that sounds stupid) but with all the bolt on stuff and appendages coming off them. They almost look Mech like.
Looking great so far!
Thanks MP and I totally agree with you. I think that is part of the allure for me with this 'new fascination/ obsession'. They really do have a 'mech flavour' about them, with a little insect like stuff as well.
 
Dang, yall got that right. Now that you mention it, MP, they sure do. Ian, these are some awesome ref pics to work from, all beat ta heck and beyond. Who said you could over-do battle damage to as Russian tank? The progress so far tells me this is gonna be another doozy!
 
Some turret stuff............... nice textures
20241125_212803.jpg


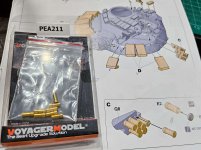
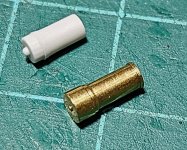
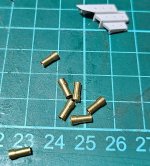
I added some voyager brass smoke dischargers so that I could have a few of them looking open and spent. The shape and length is different from the kit ones but the end caps fitted OK.
20241127_220914.jpg20241127_220628.jpg20241127_220635.jpg
20241204_012122.jpg

20241204_012153.jpg

20241204_012100.jpg

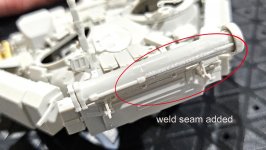
The red circle on the image below shows where I have added a missing weld seam to the rear canister (barrel cleaning rods)?
20241204_012202.jpg20241204_012236.jpg

I also purchased a very nice ABER barrel that still needs some details added for the thermal cover.
20241204_230454.jpg

20241204_230606.jpg
 
Last edited:
Dang, yall got that right. Now that you mention it, MP, they sure do. Ian, these are some awesome ref pics to work from, all beat ta heck and beyond. Who said you could over-do battle damage to as Russian tank? The progress so far tells me this is gonna be another doozy!
Thanks Steve, I have a lot of photos of damaged T-72B3M's with the side armour and stand-off slatted armour panels very damaged.......I haven't even got to those yet. :soldier I have to flick back to my WW1 tanks now as I am on the home run with those 2.
Back ASAP.
That is a ton of detail on that turret, woof!
Yeah, they are 'jam-packed' with it. It has been a real eye-opener for me with these modern tanks and how much more detail they have over the WW2 stuff. I have built so much 1940's era for so long that I will be sticking to these modern ones for a change of pace and interest. I have even had a detail hit with the WW1 MKV british tank - its the same, a ton of detail. I could build a few of those as well.
 
Four different road wheel patterns. Number 4 and 3 are different and of the second spoke pattern (from eight to six as the former is on wheel 3). wheel one is the latest wheel design with the spokes reaching the rim.

1738615461339.png
 
Back
Top