fledermaus
Master at Arms
HI to all!!
This is a project I’m doing for a friend of mine that is to be used as a pattern to be cast in resin, so when finished I’m not going to paint it as it s not necessary for the casting process. So armed with a few photos from the net I started this adventure…..
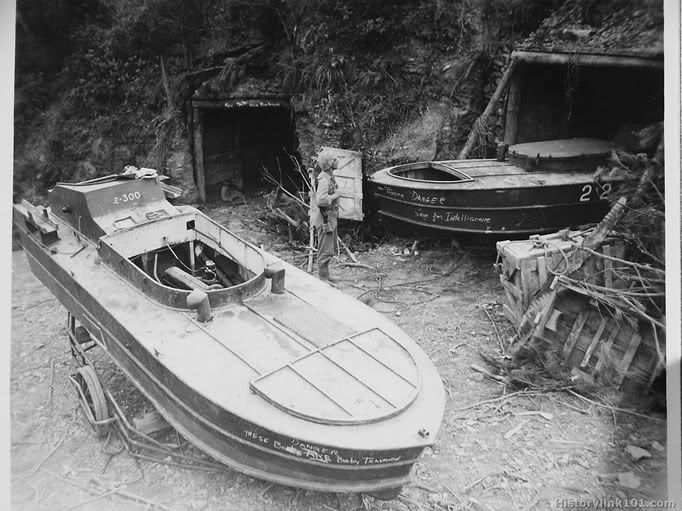
Here is the photo that started it all, the Shinyo kamikaze boat. This little boats carried a modified 260 pounds depth charge on the front, the idea is simple, just crash in to the target ship to try to sink it. Early models of the shinyo also had surface to surface rockets on the sides in wooden made ramps.
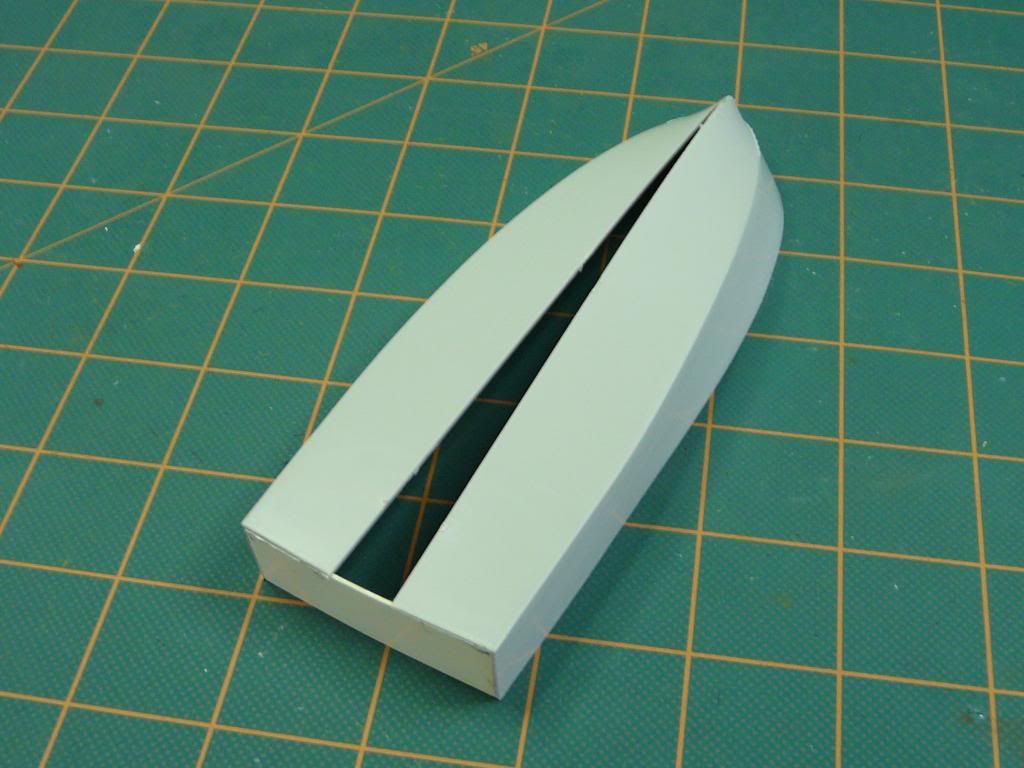
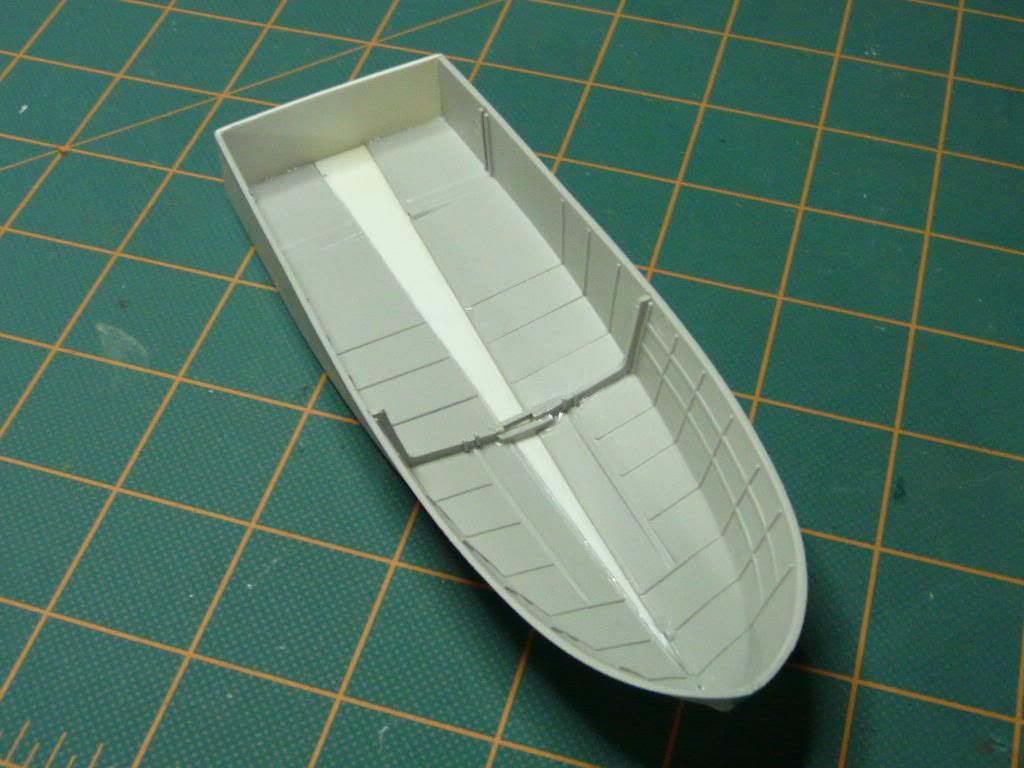
I started the project by buying the italeri barchino to use as a donor for the hull, with a little modification it is almost identical to the version of shinyo I’m recreating. After taking measurements from a scale drawing I made earlier, the hull need to be wider on the rear so a new back plate was made from styrene.
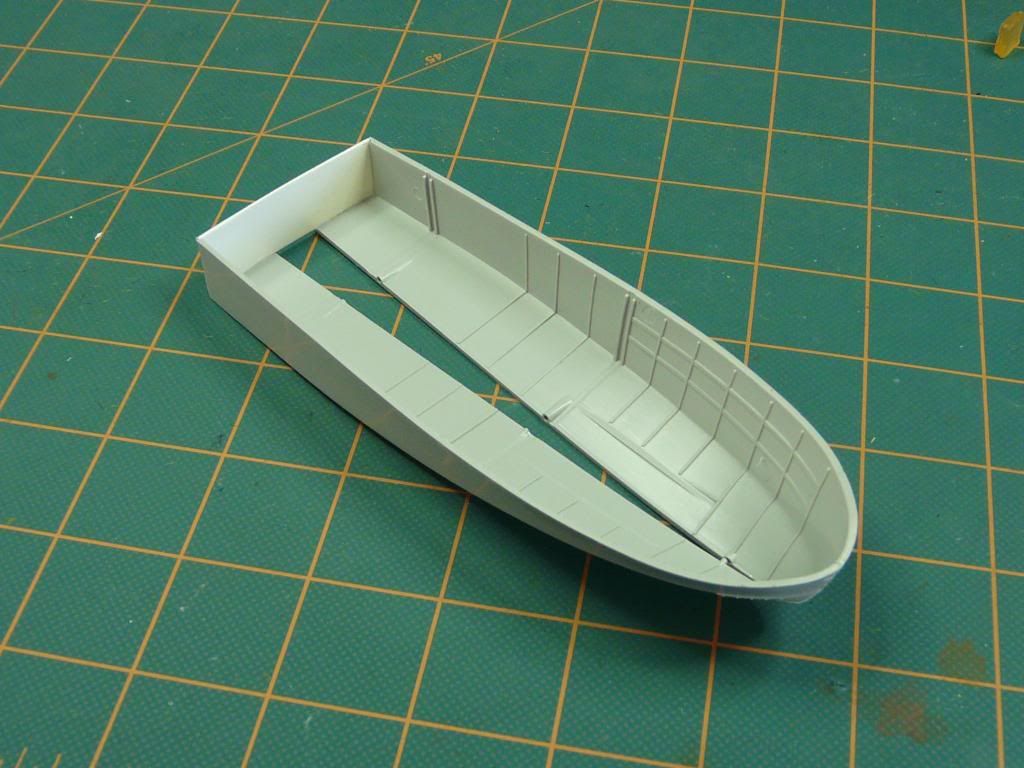
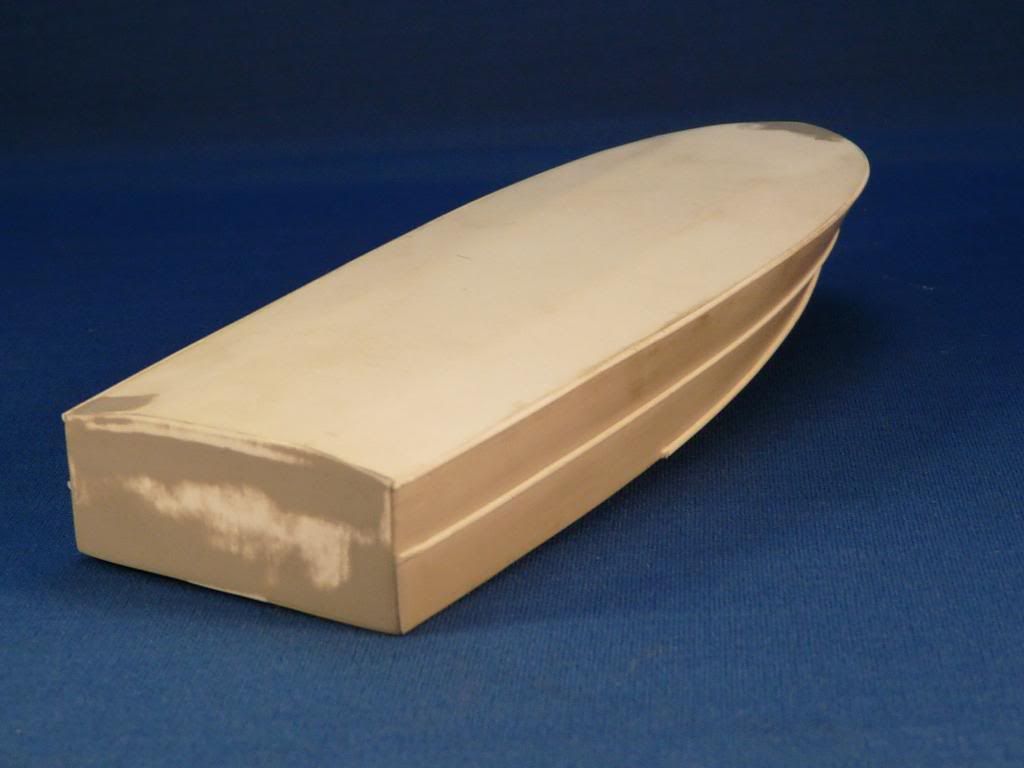
Another piece of styrene for the bottom of the hull in a triangular shape
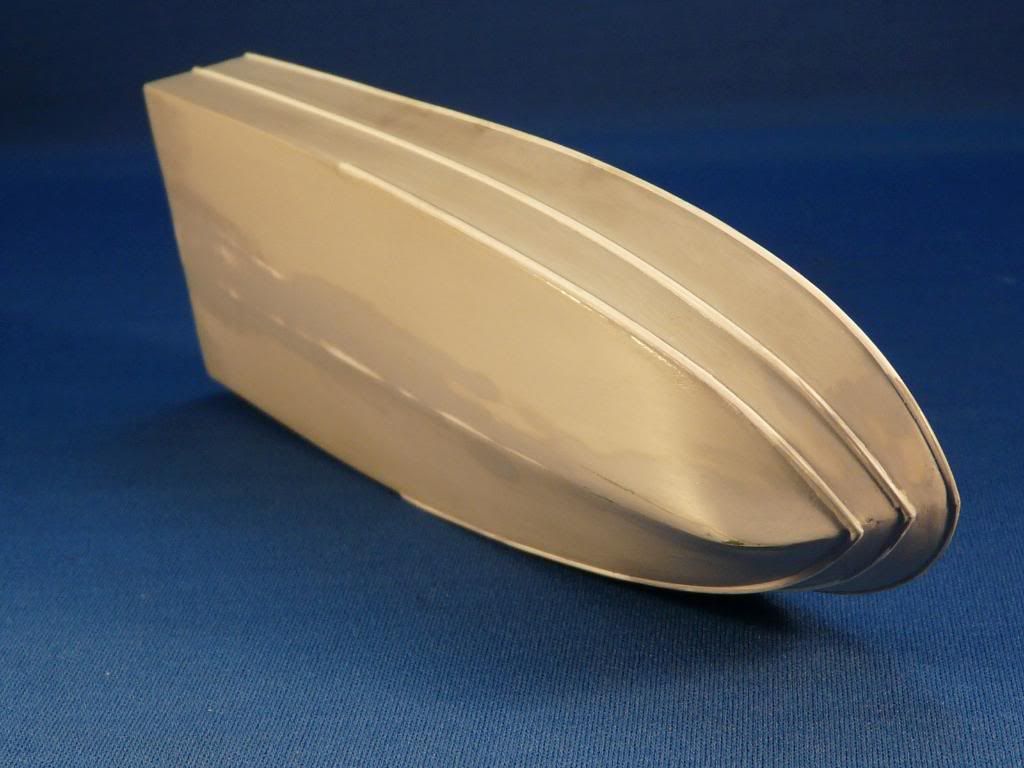
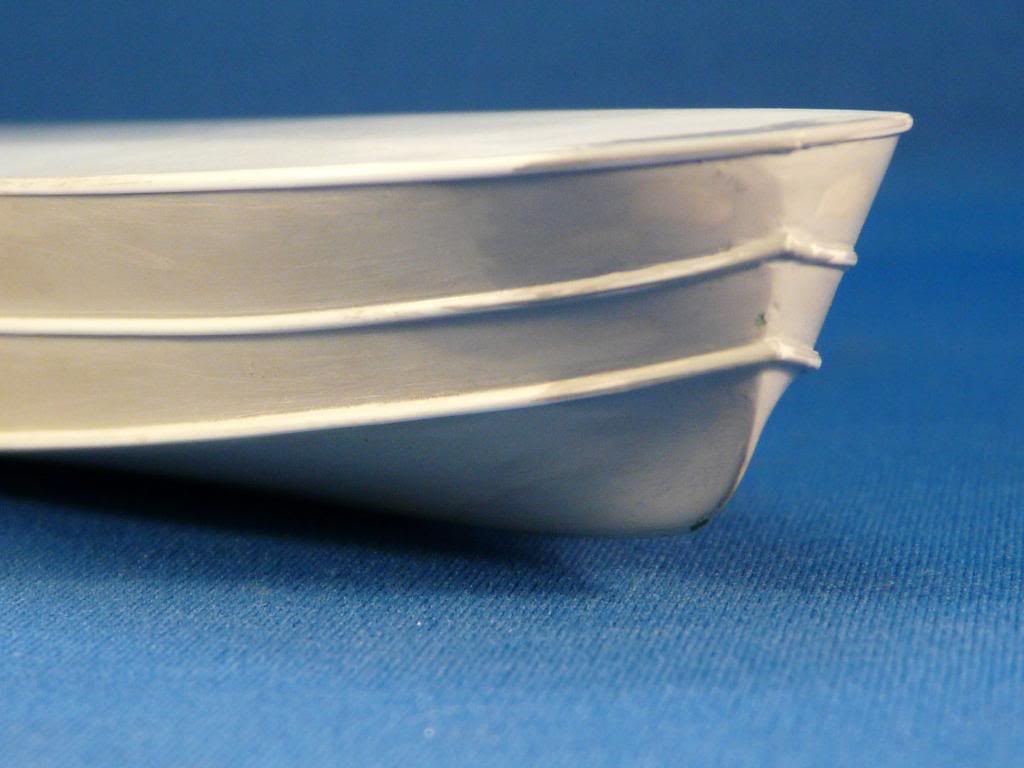
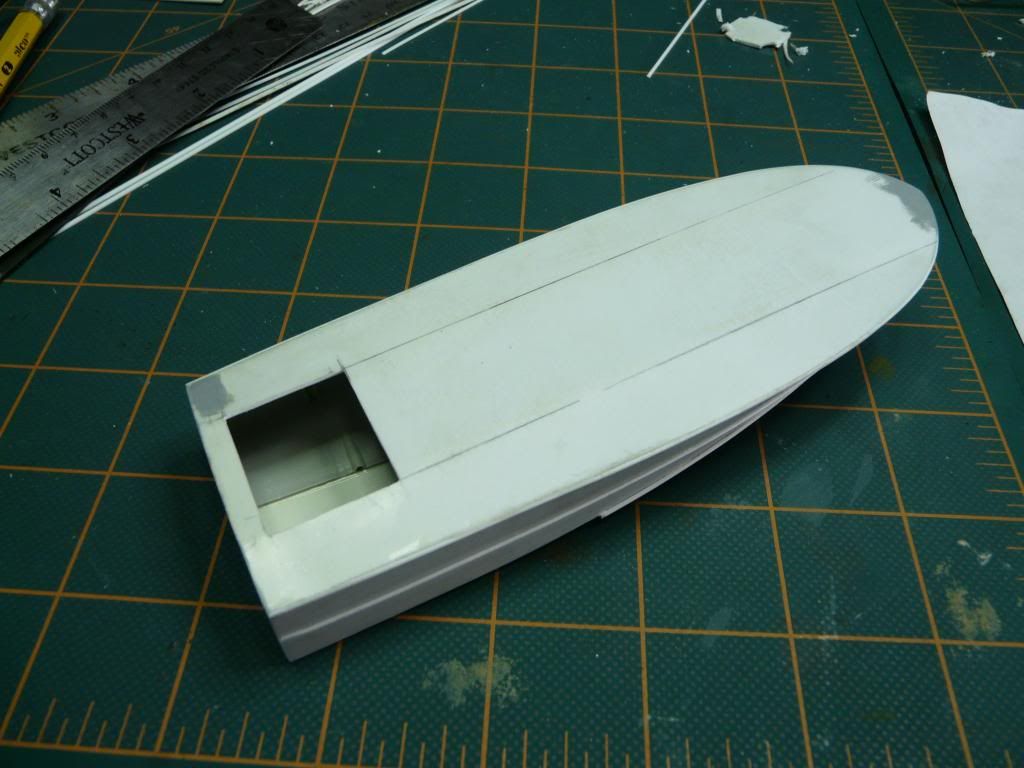
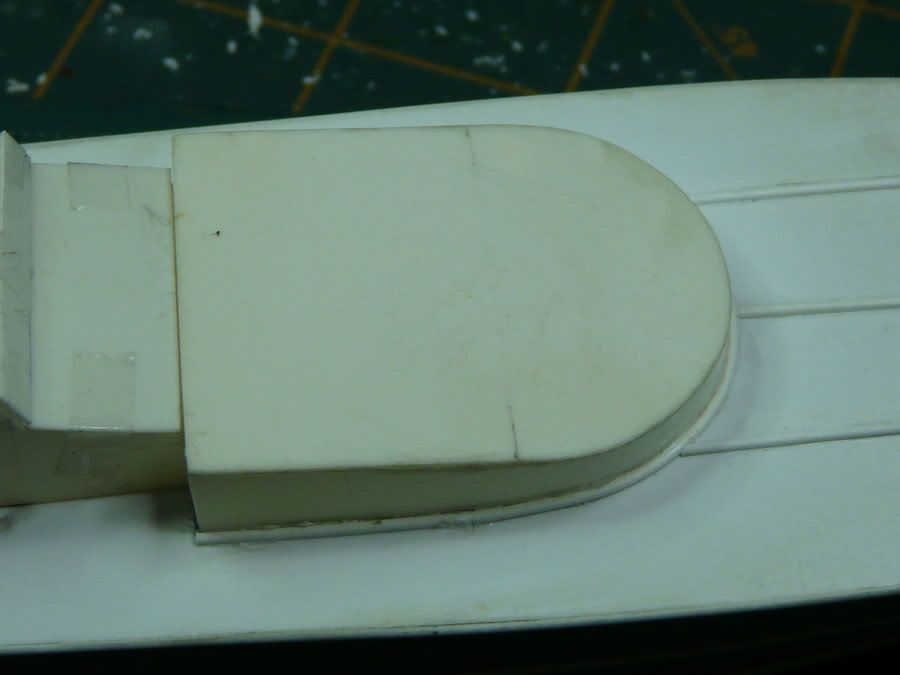
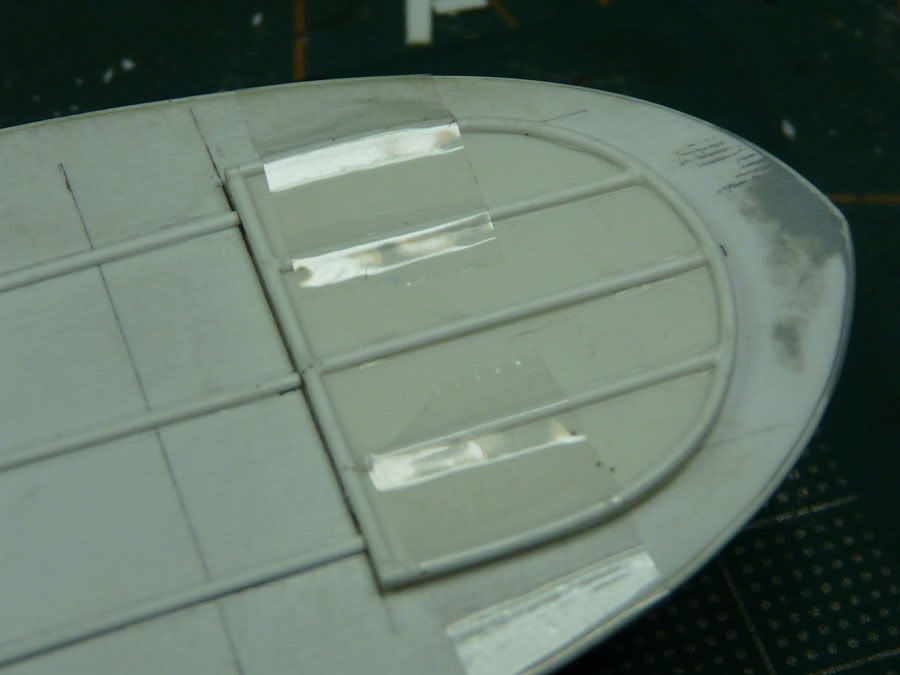
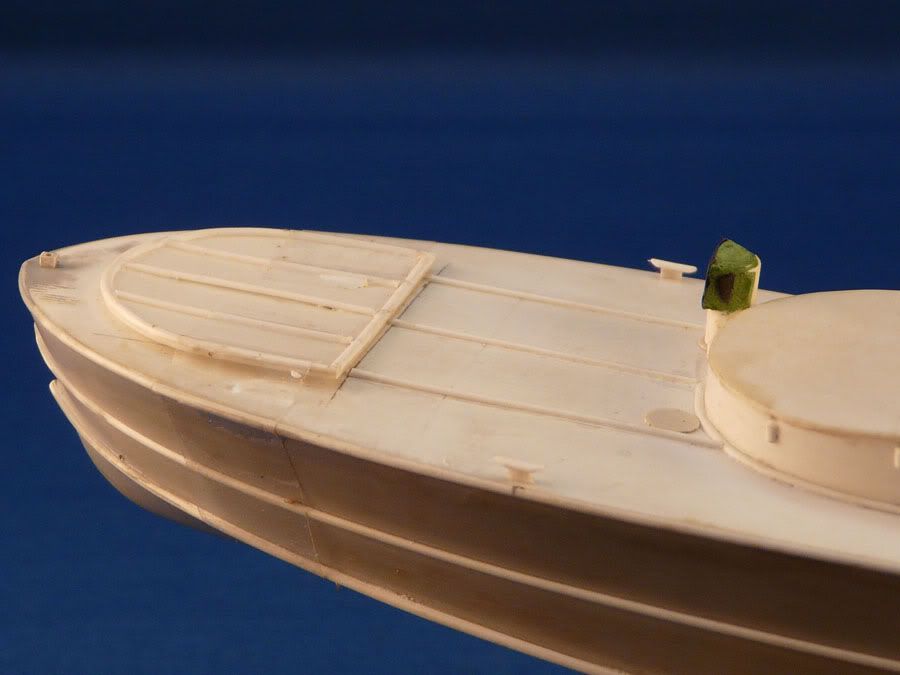
After some sanding and a little primer the bottom was ready, the new deck was installed from styrene and the wood moldings at the sides of the boat where also attached and this is how its looks like now


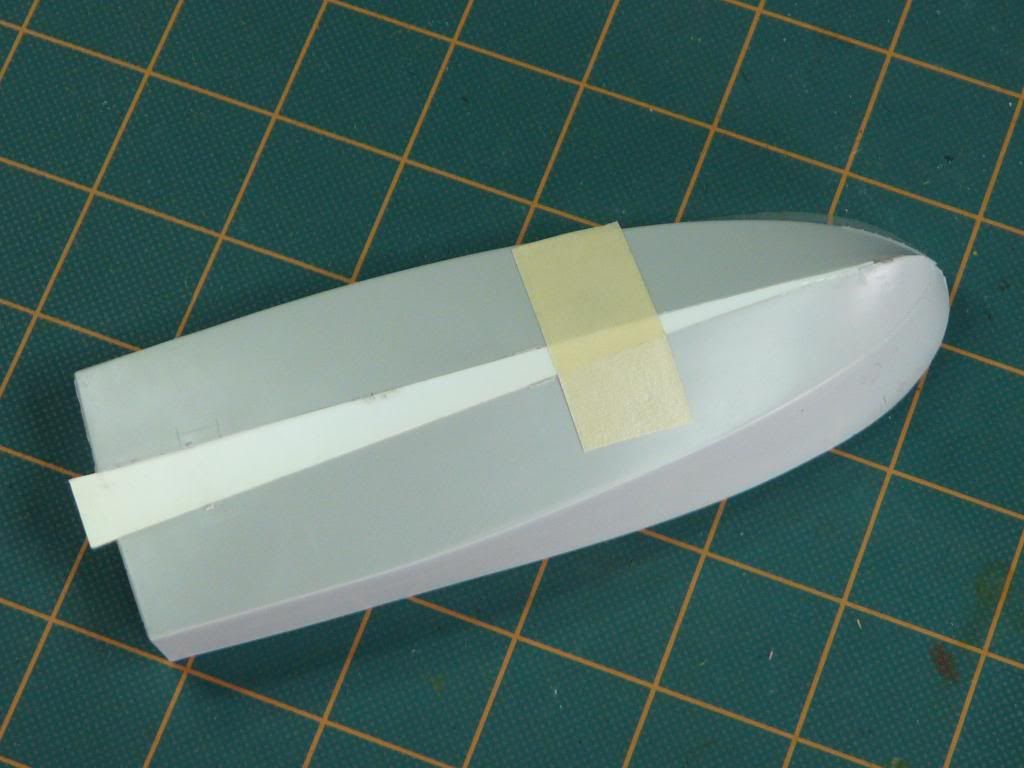
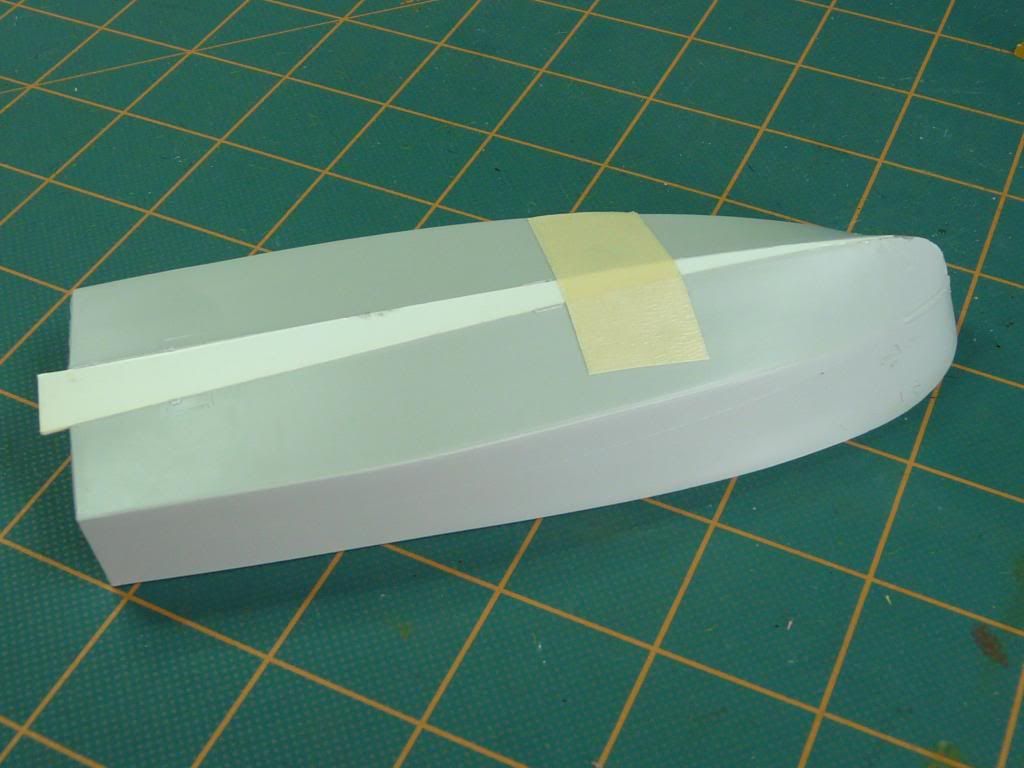
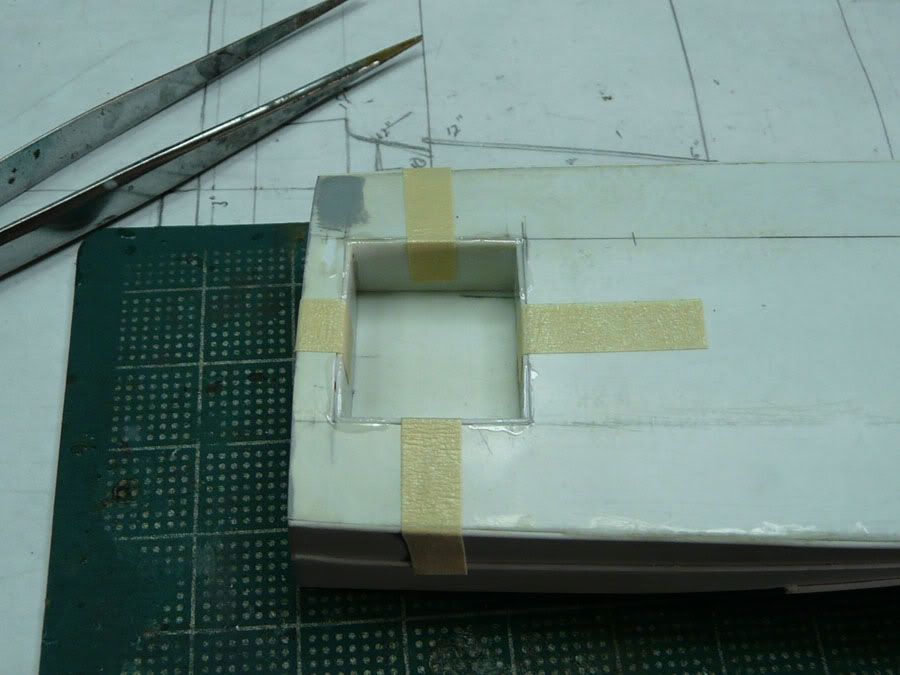
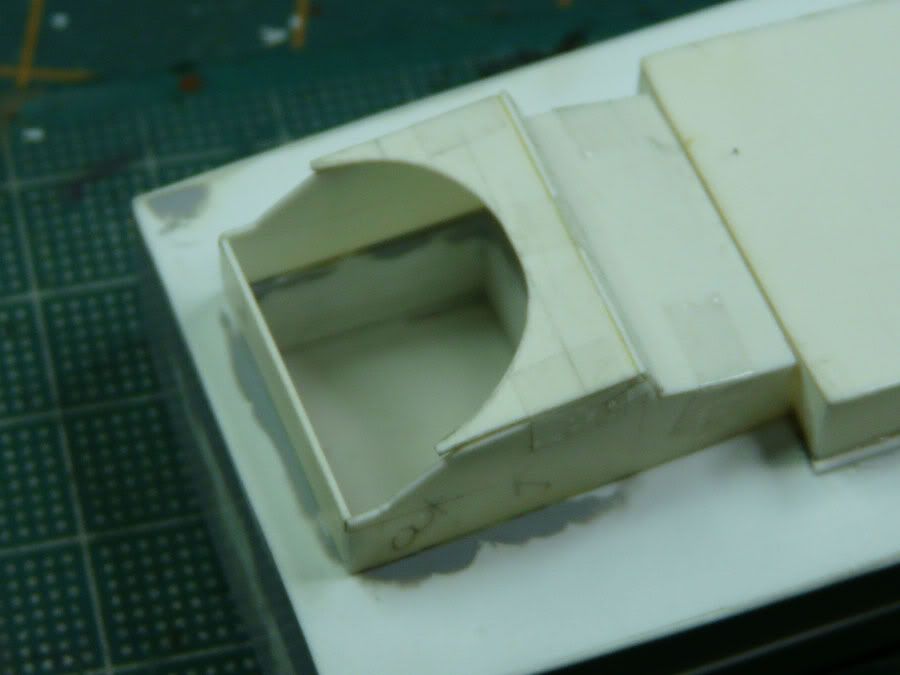
After taking measurements the hole for the pilot cabin was made on the back and a box like structure was placed on the inside followed by sealing and sanding smooth the edges
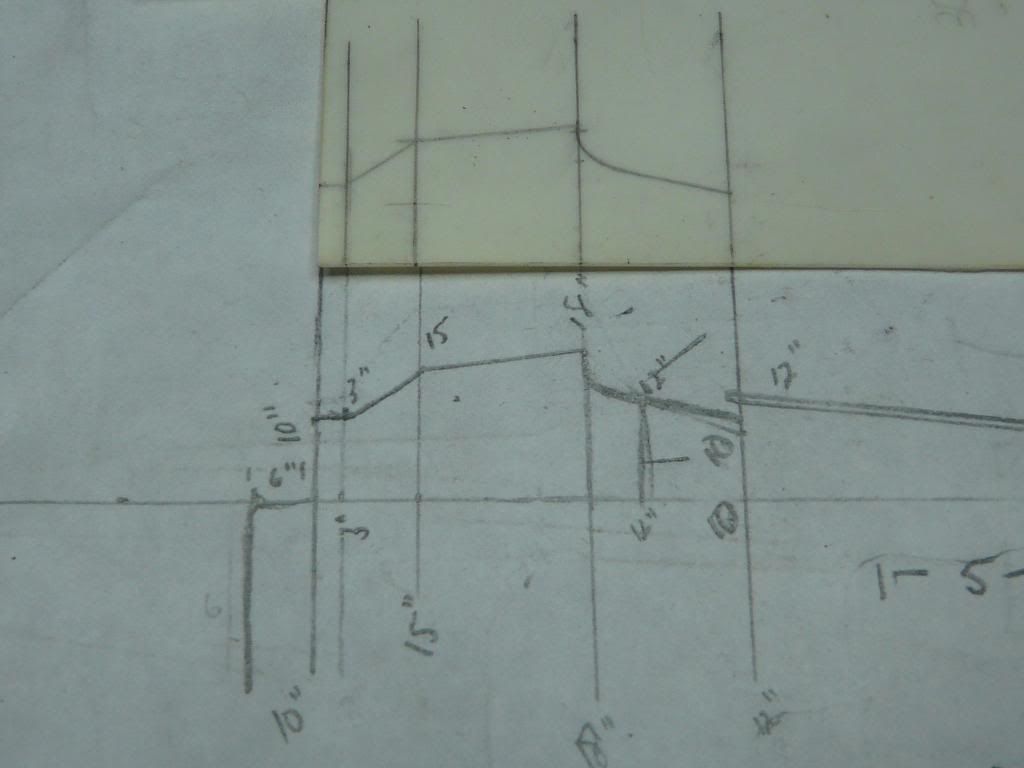
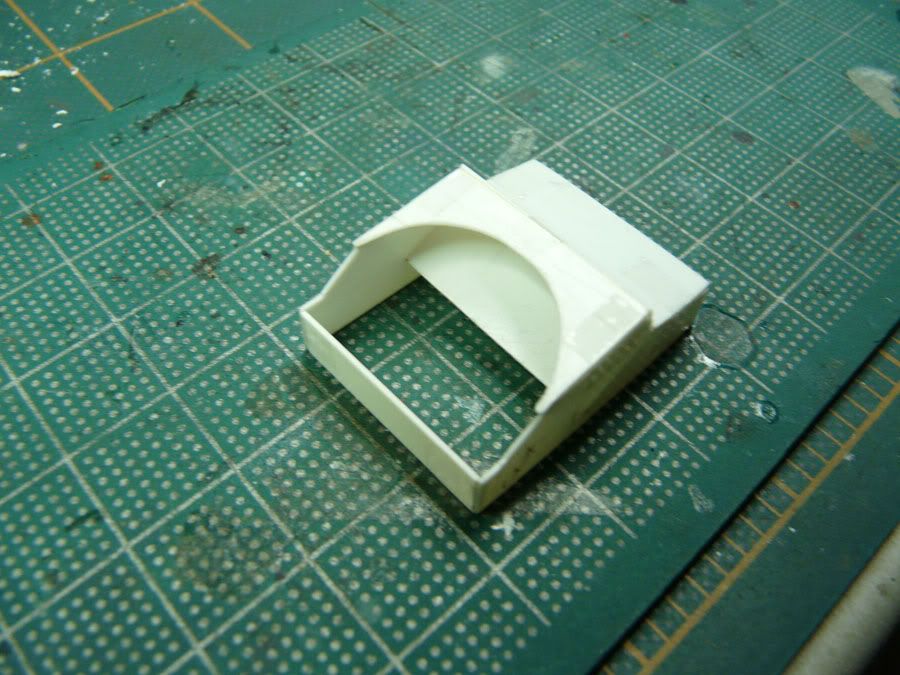
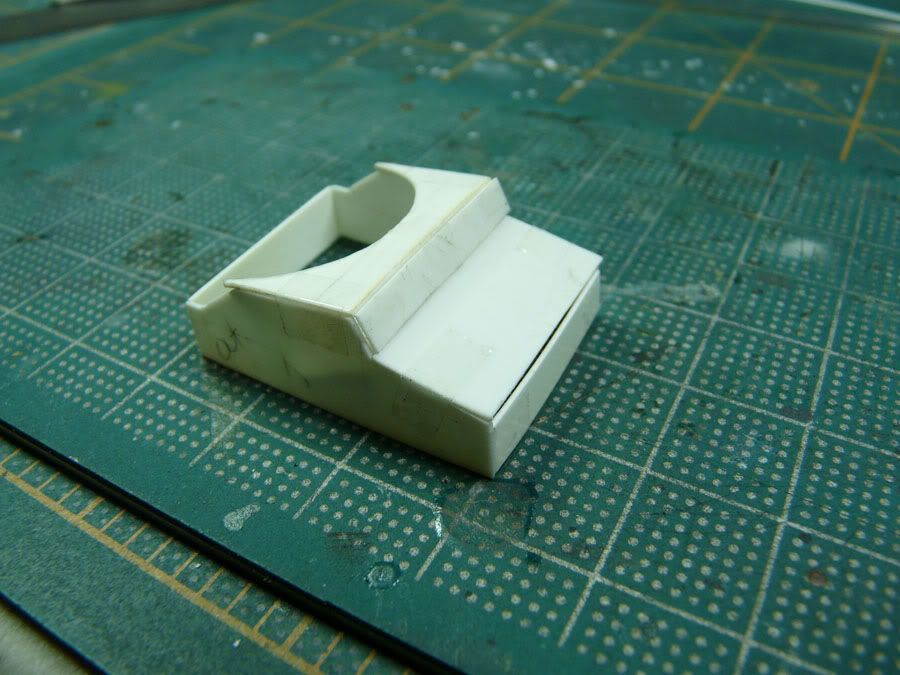
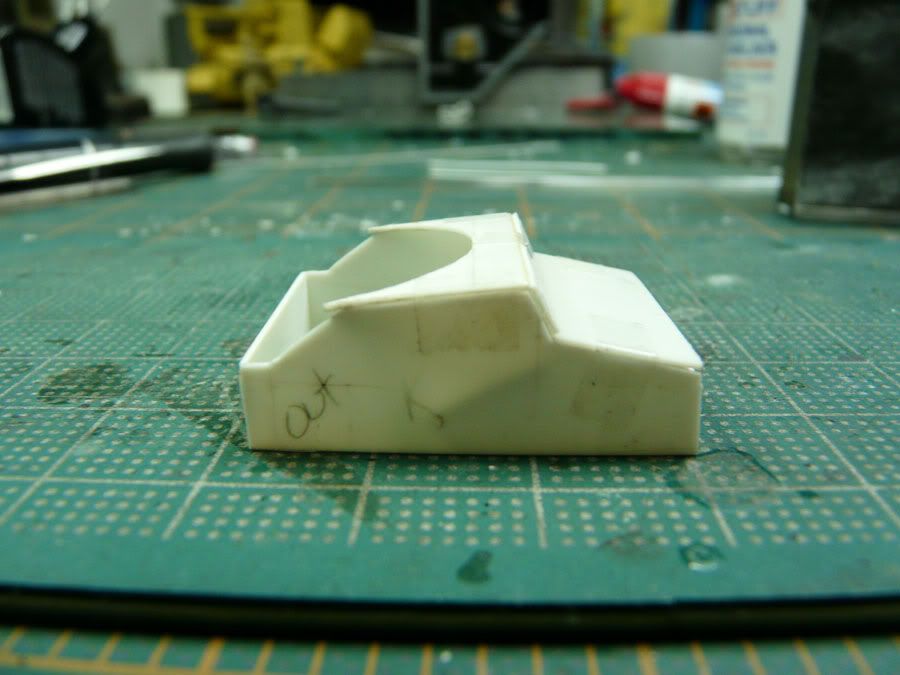
With my home made plans I started the construction of the cabin
Some views of the cabin progress, all the parts are held together with clear tape so it can be taken apart to cast
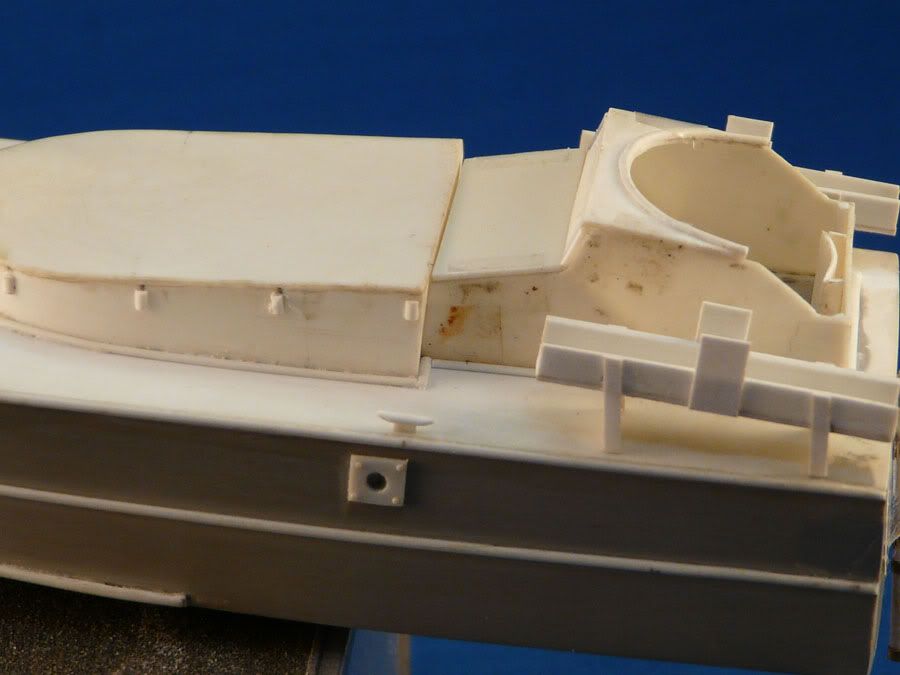
The engine bay area is finished and the cabin is dry tested for proper fit, also added the moldings on front of the engine bay and installed the front charge door with its trimming
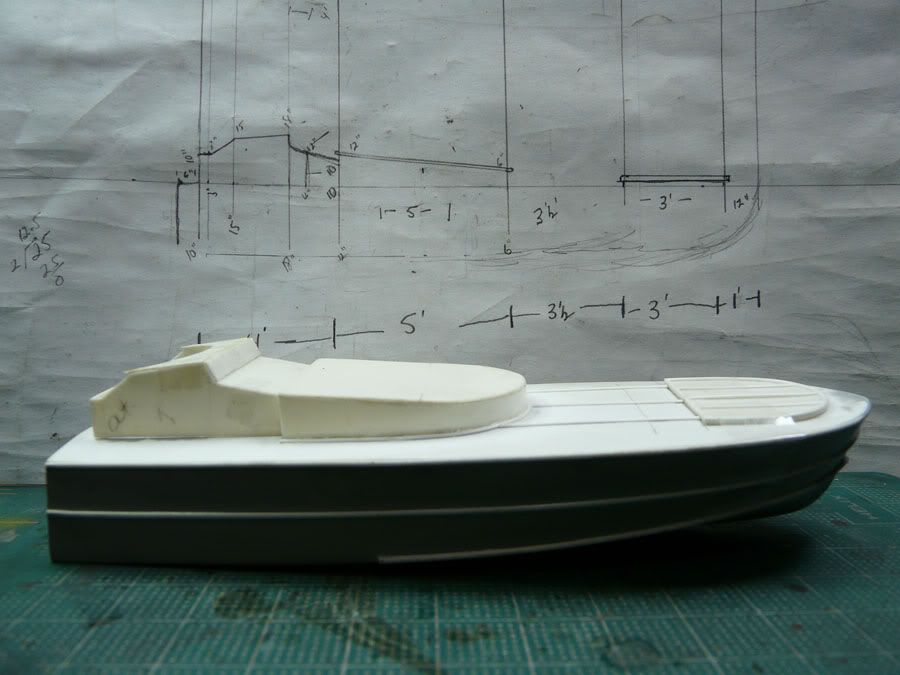
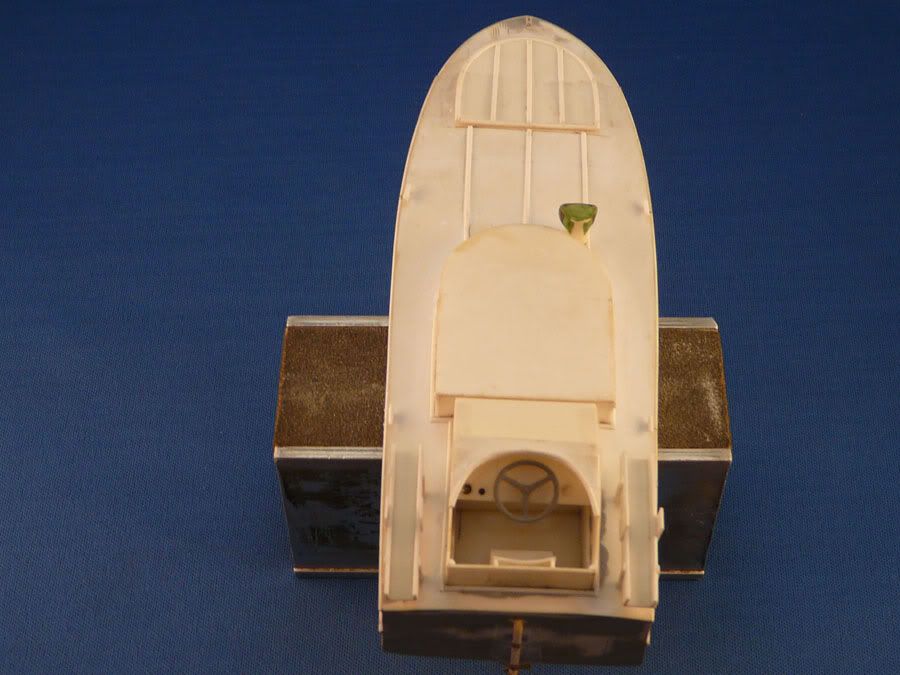
A look of the basic shapes of the deck against my plans

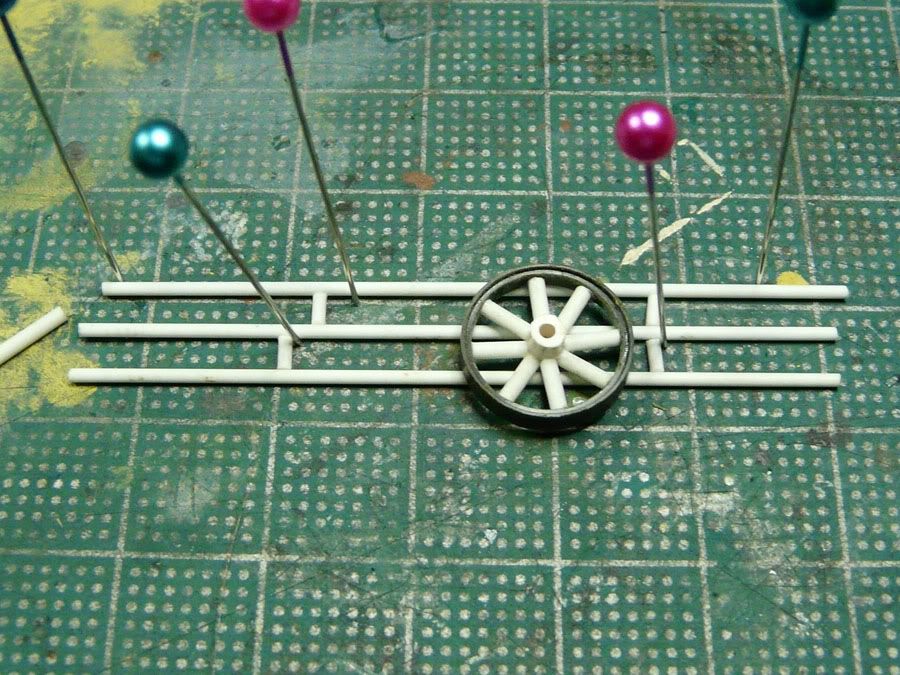
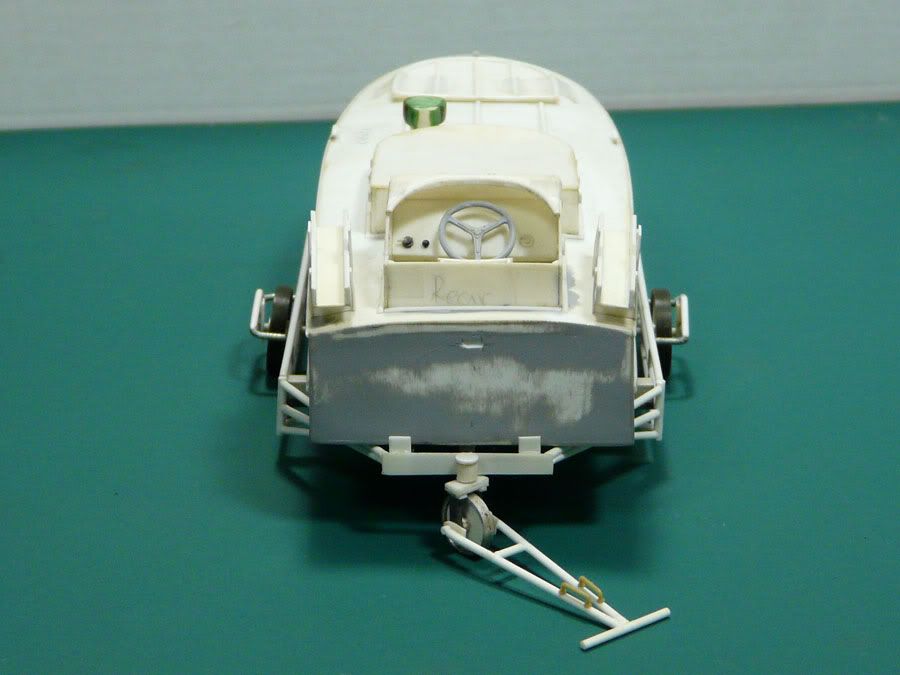
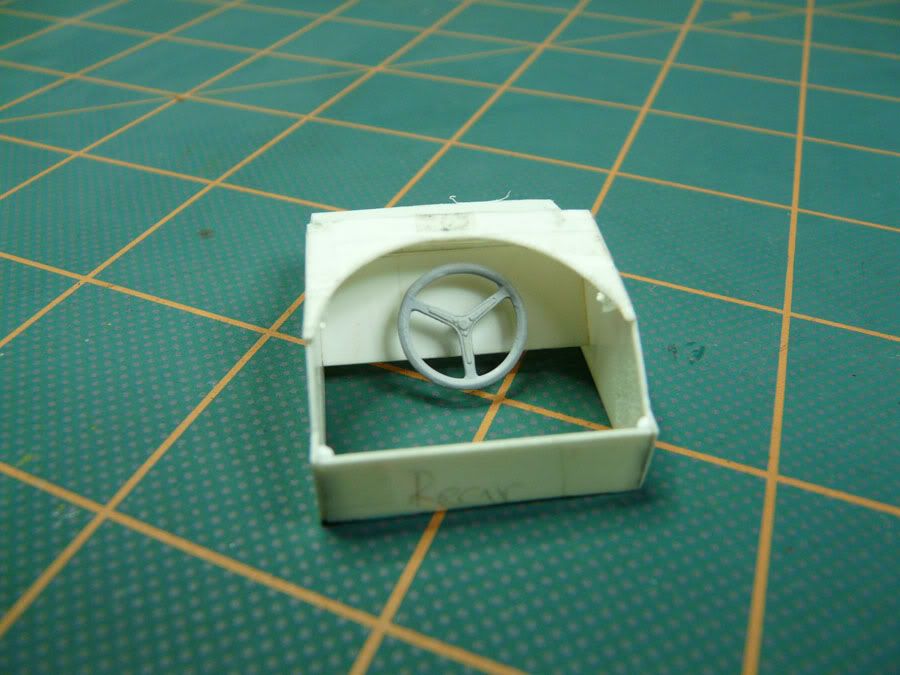
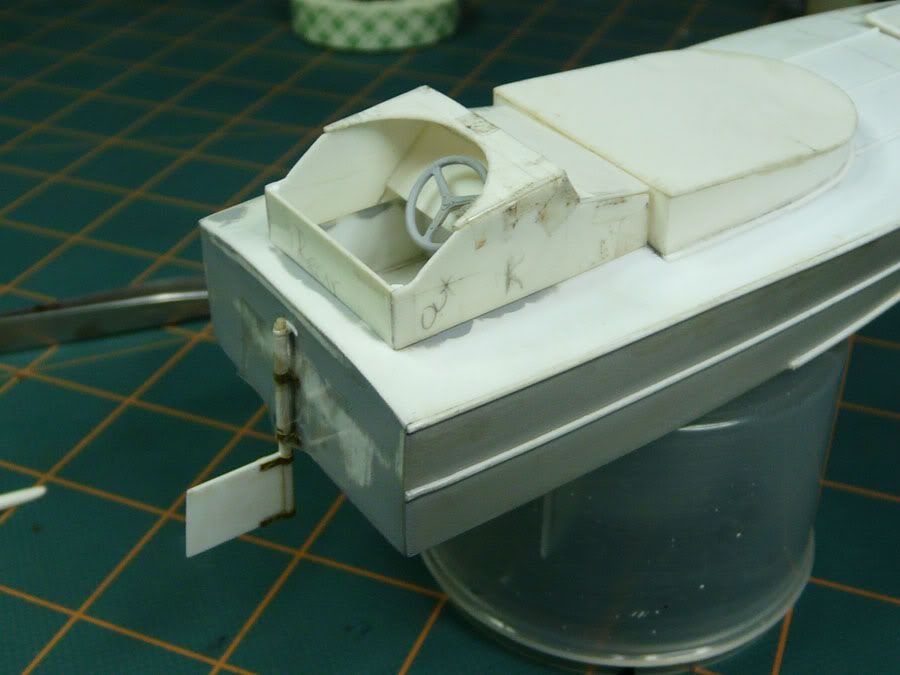
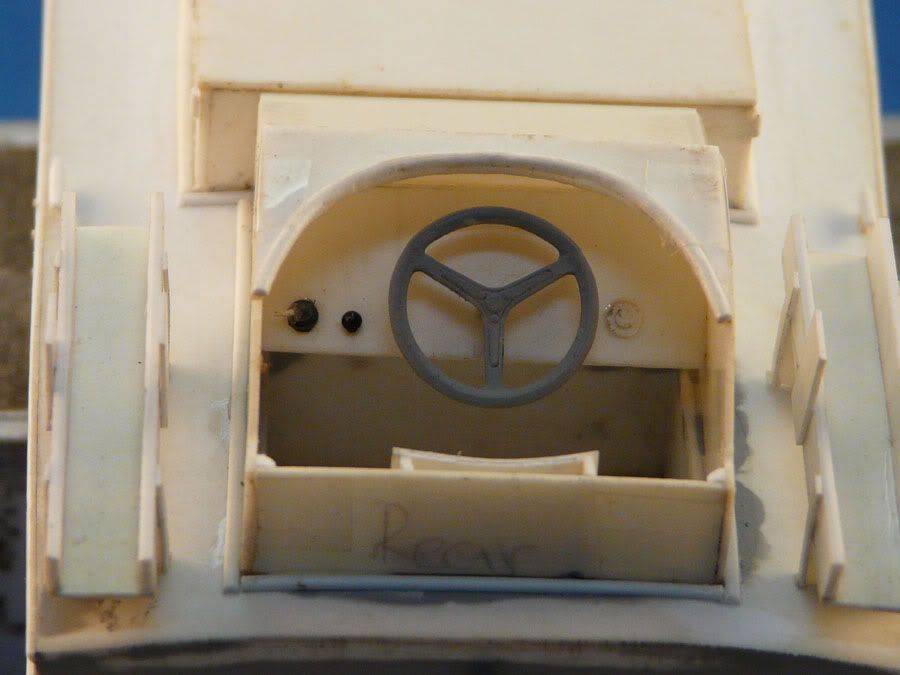
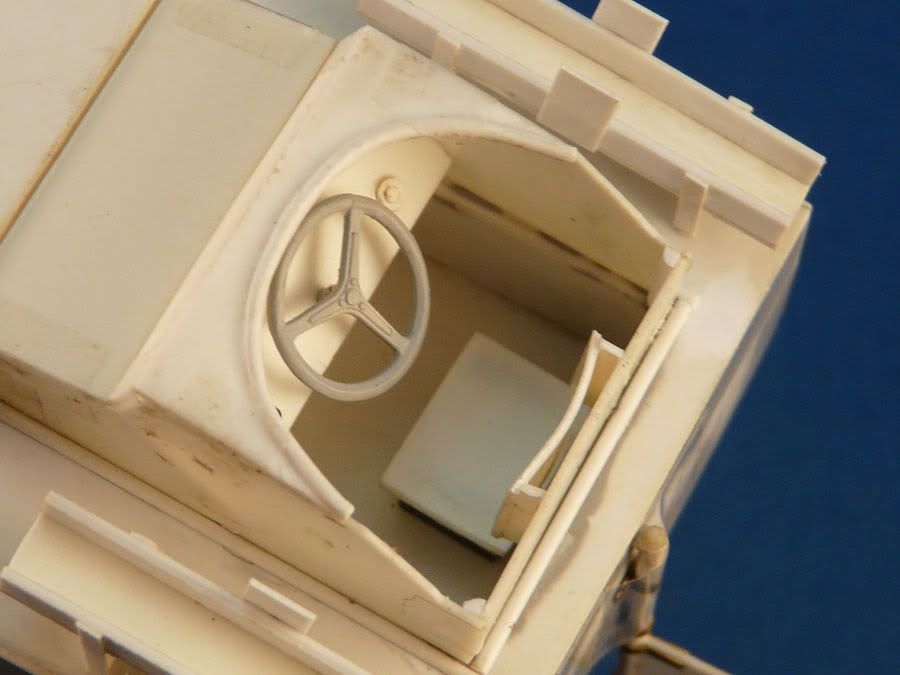
The dash board is installed, I used the steering wheel from the bashing and modified it making it completely round using a piece of round wire of the same diameter

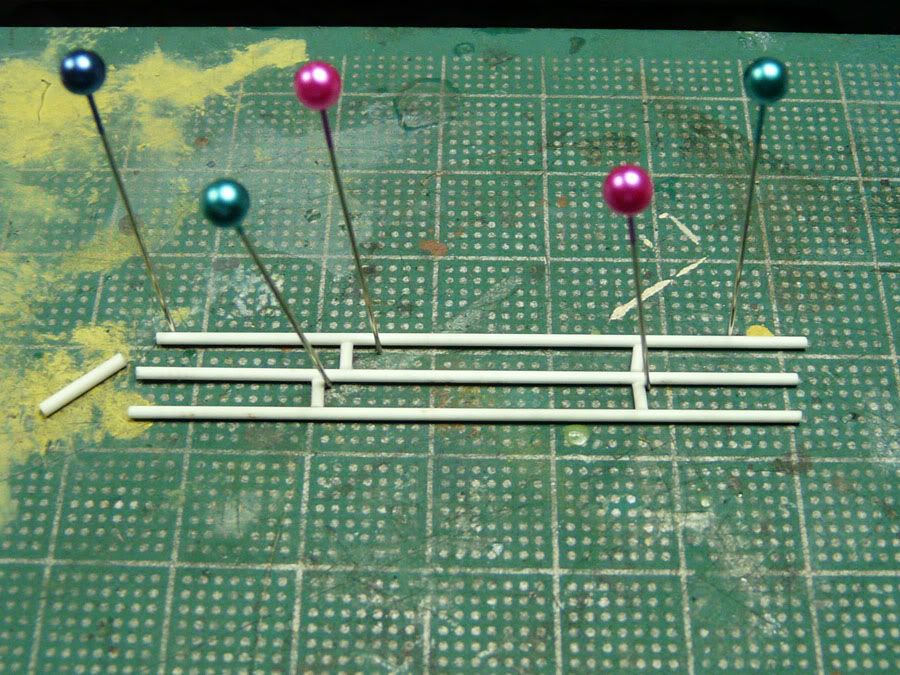
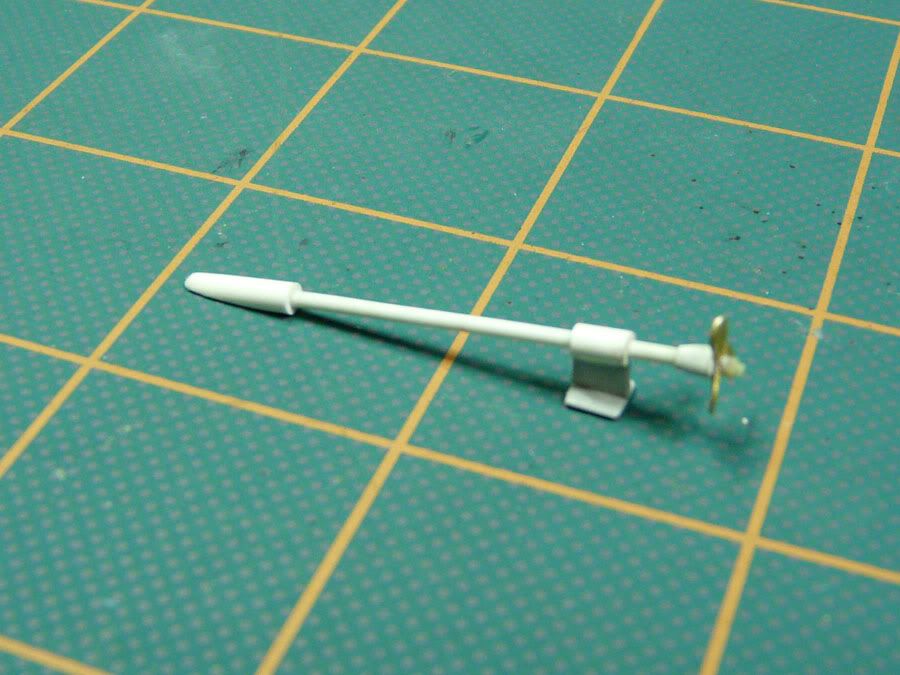
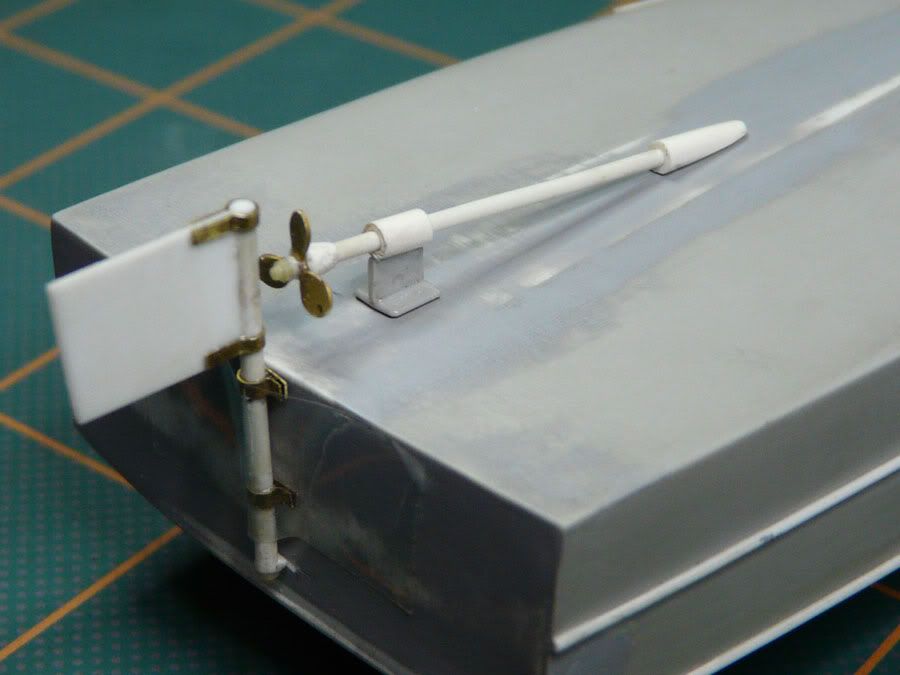
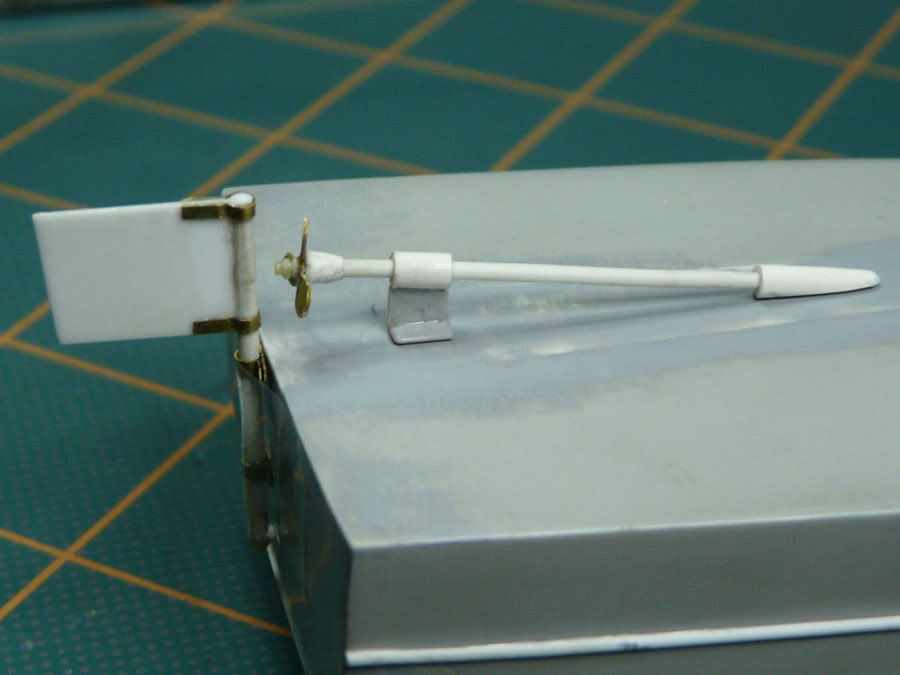
Using styrene rods and the PH propeller blades from the italeri kit, the propeller and shaft are recreated


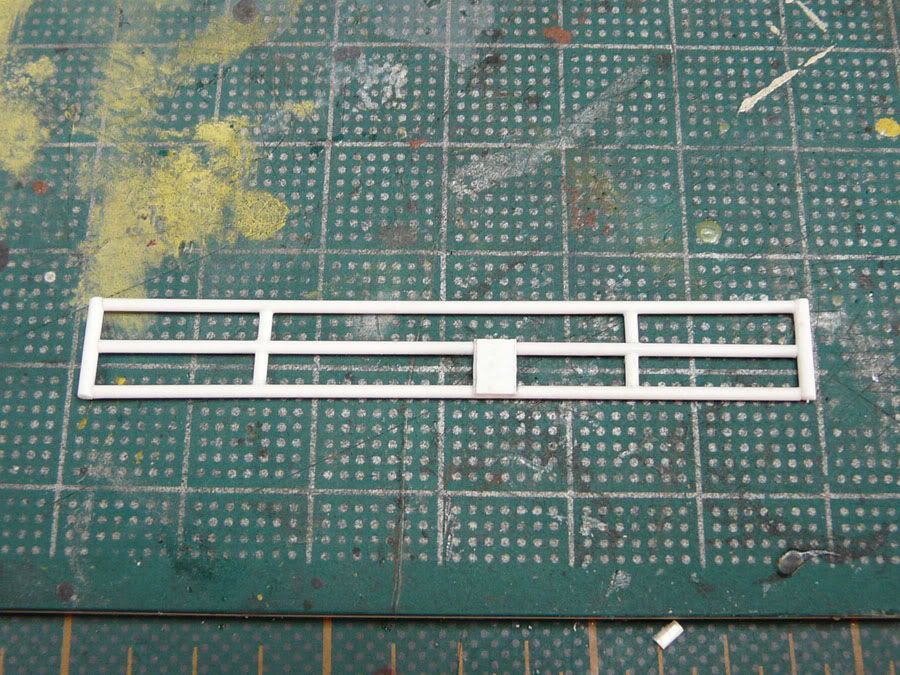
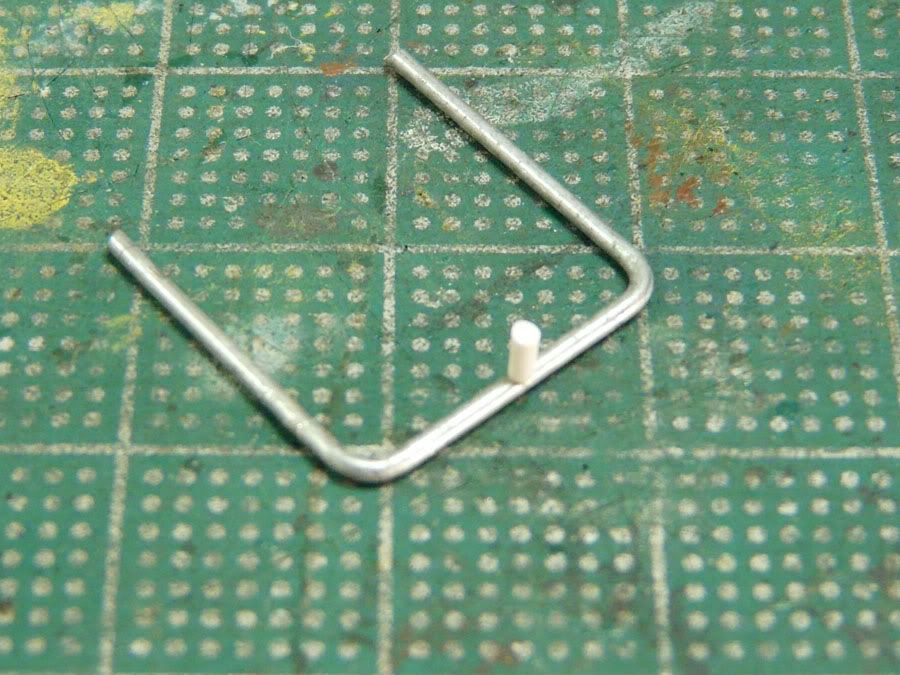
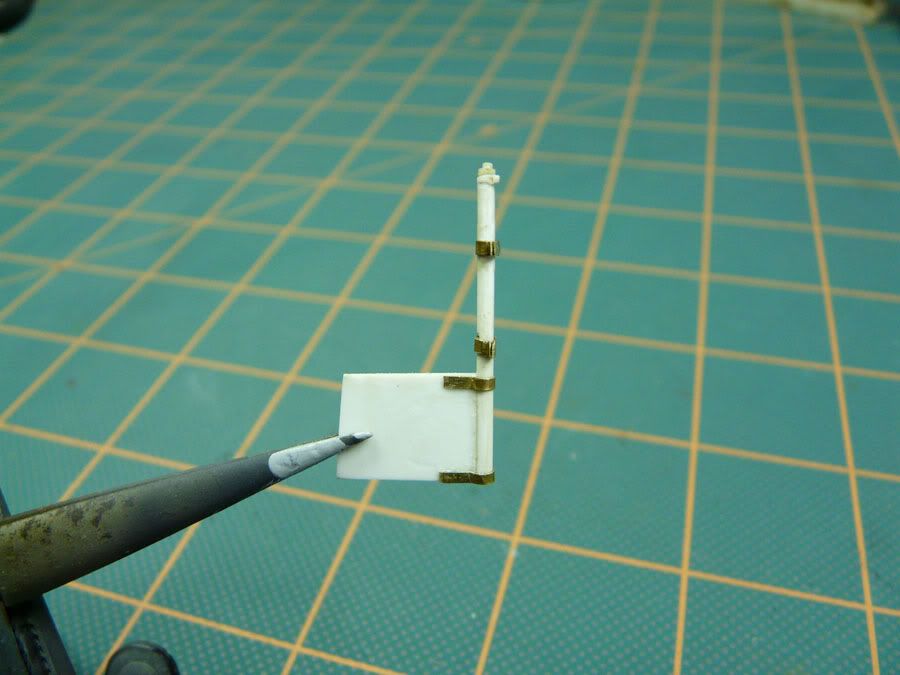
Next was the rudder, it was done using again styrene rod and detailed with some PH from the parts box
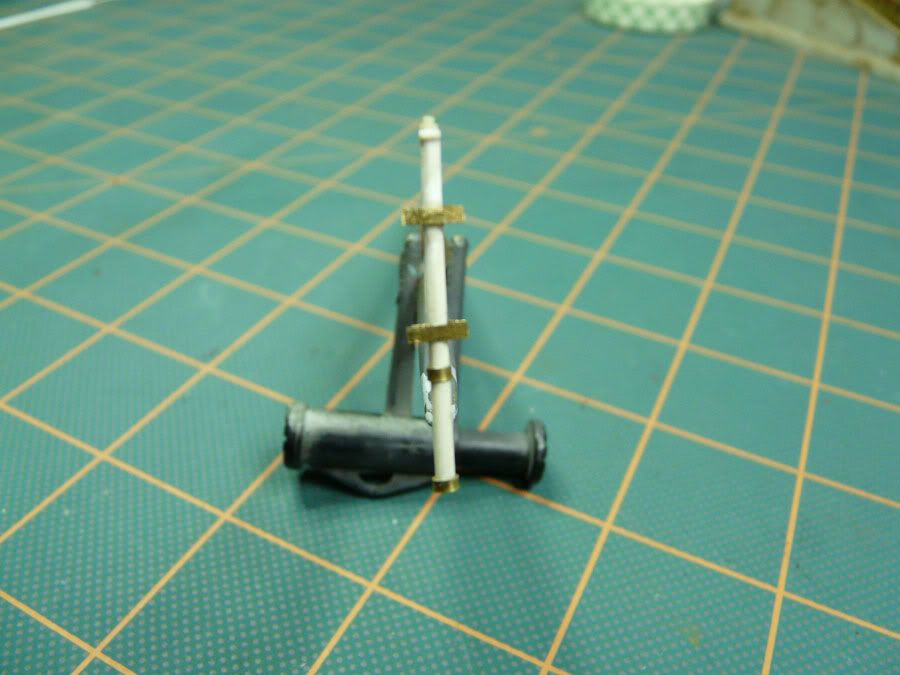

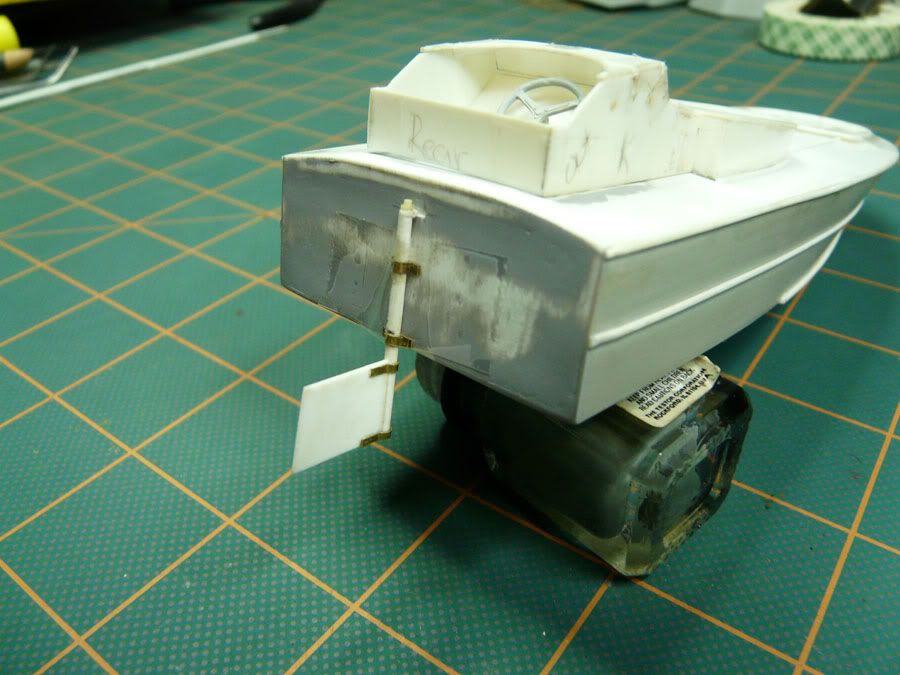
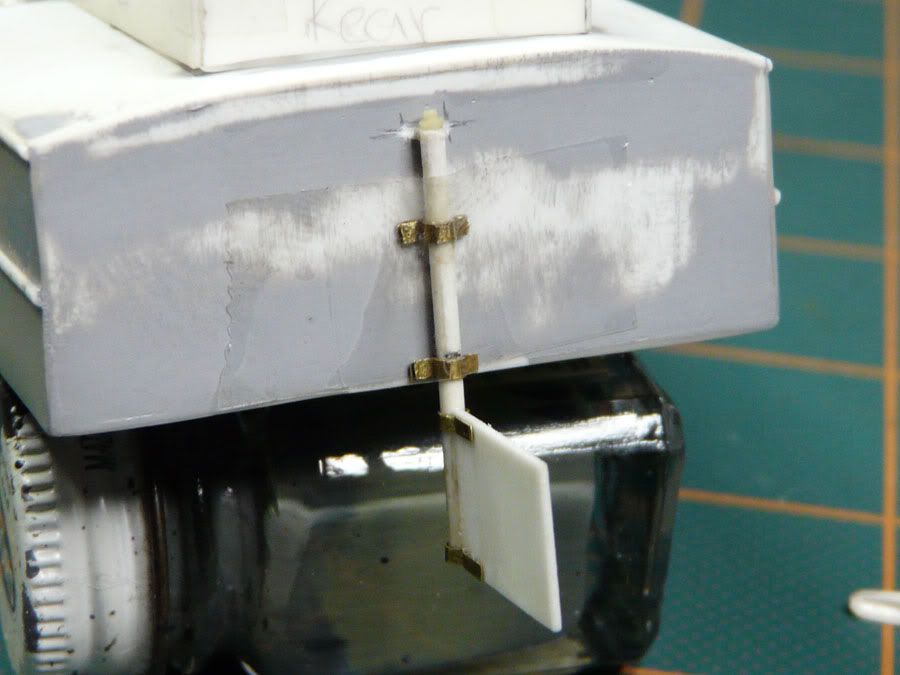
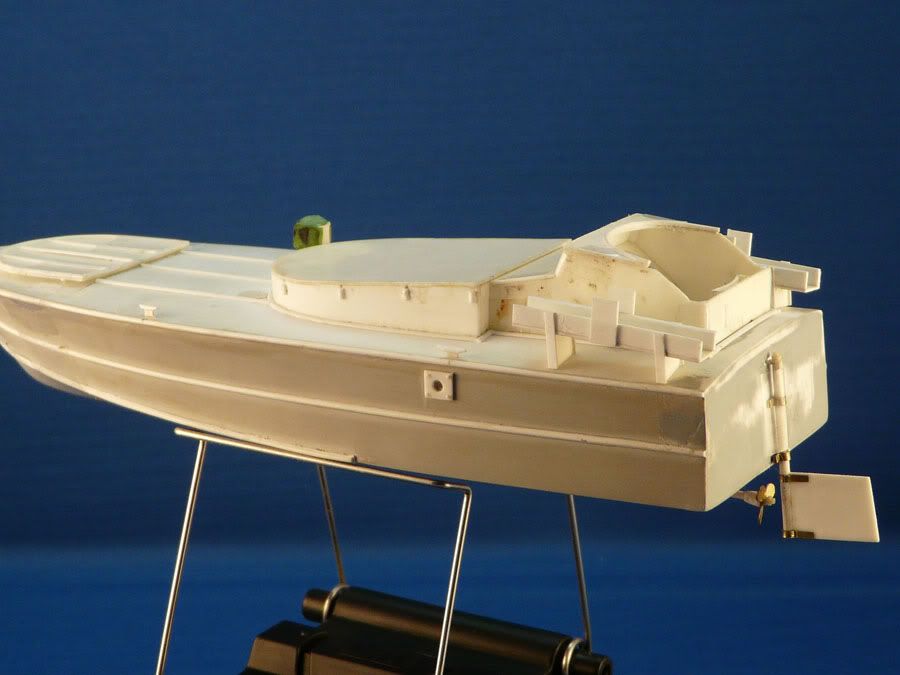
A test fit of the finished rudder and propeller shaft using clear tape
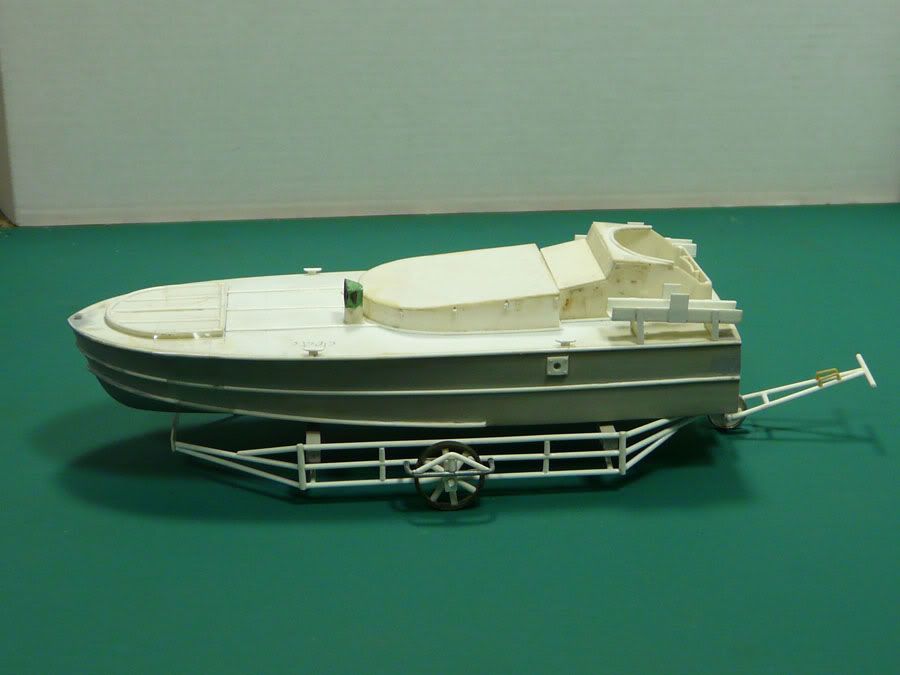
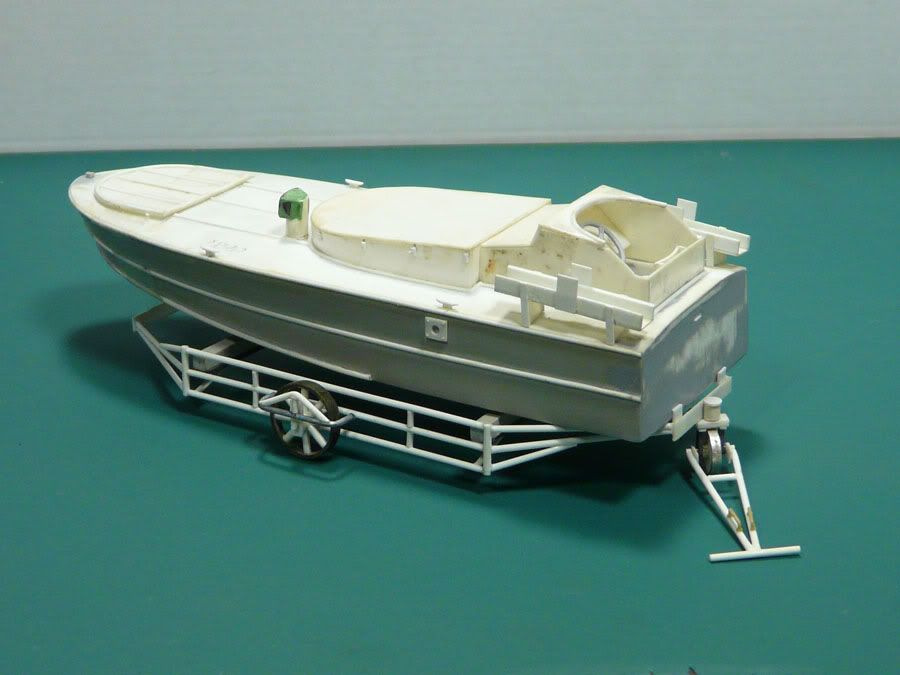
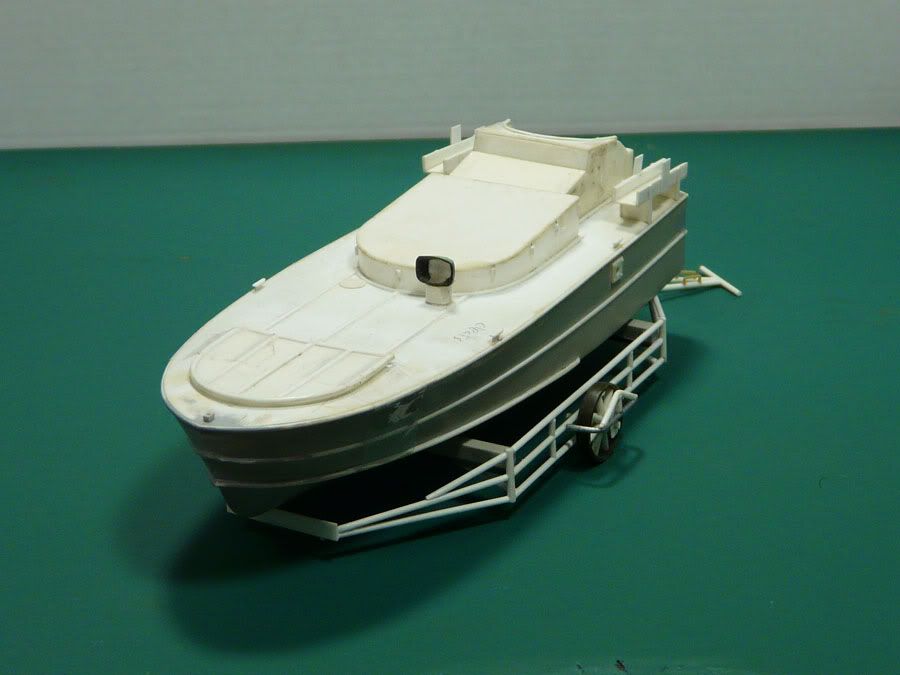
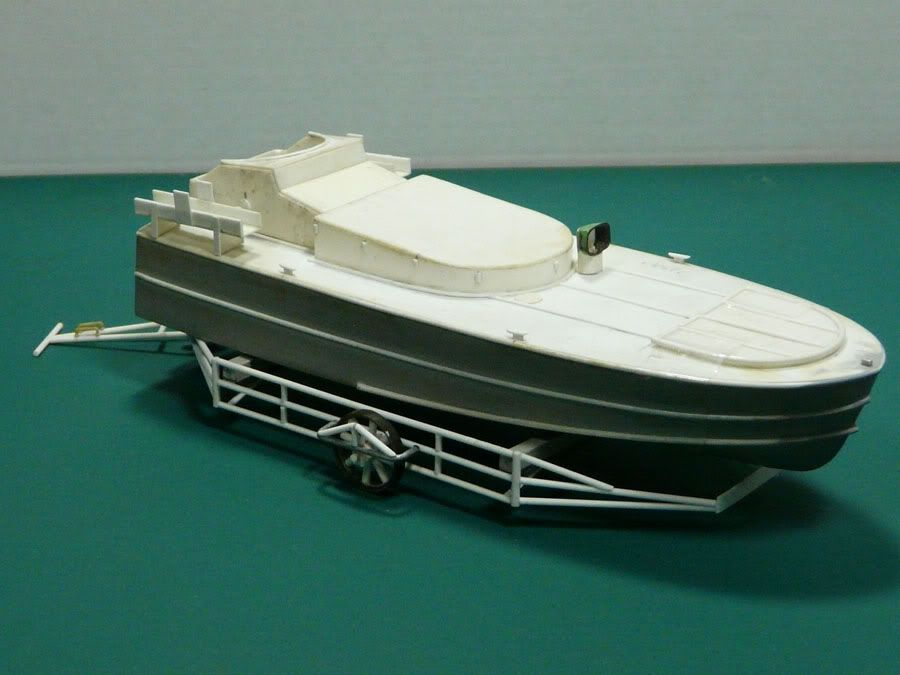
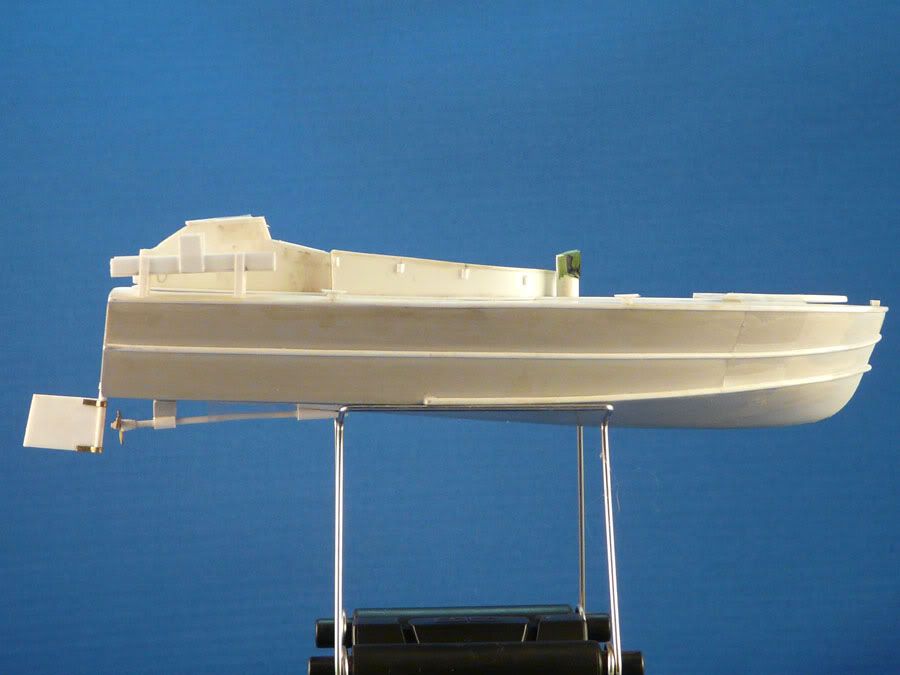
Lastly after adding other details like the rocket ramps air intakes, exhaust port and the remaining trims around the cabin, dash board details, driver seat etc, also modified some of the cabin walls for a better fit, and this is the final result..


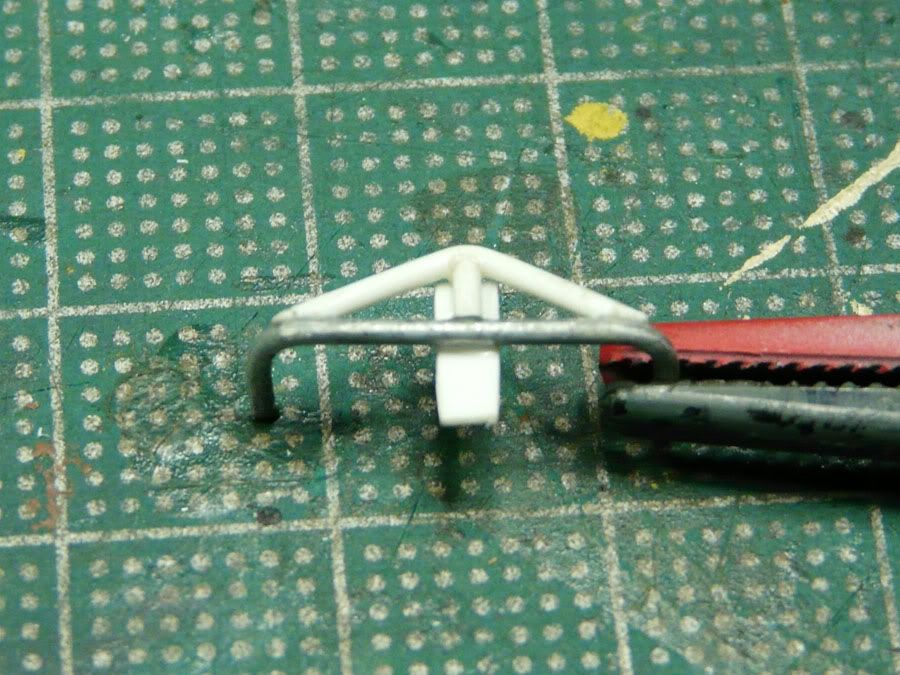
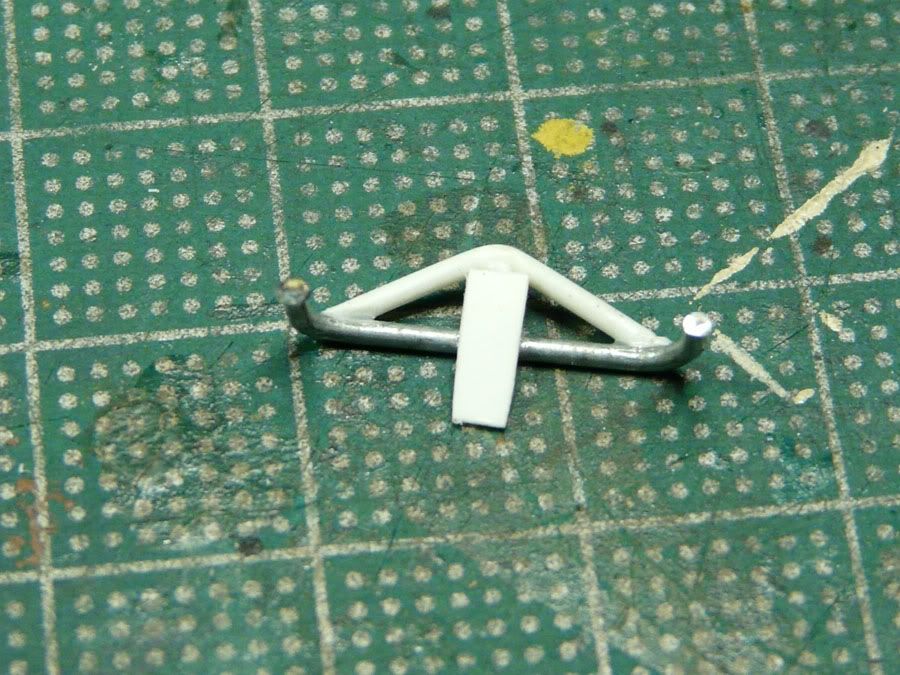
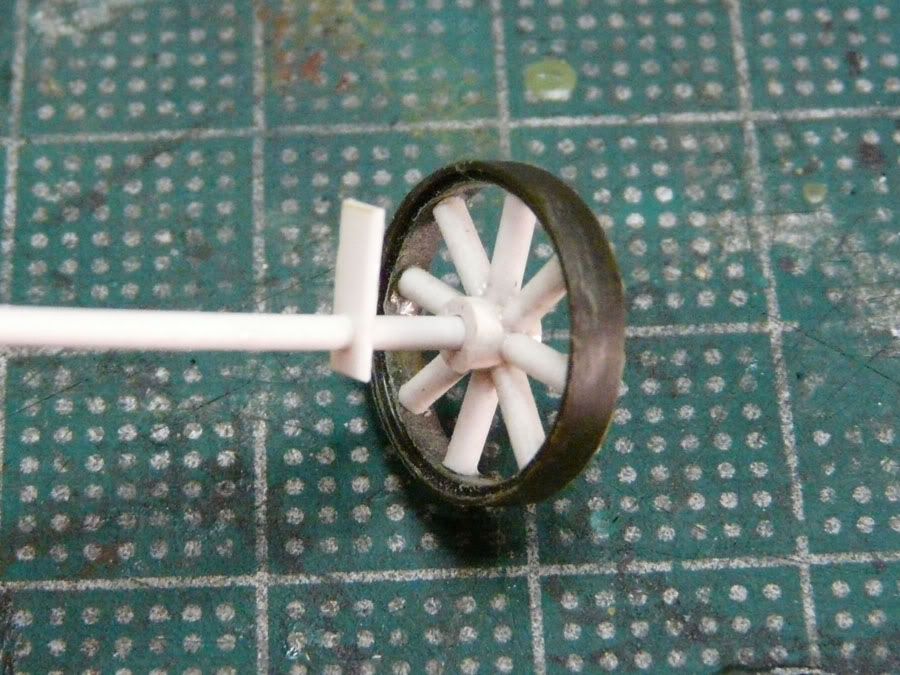
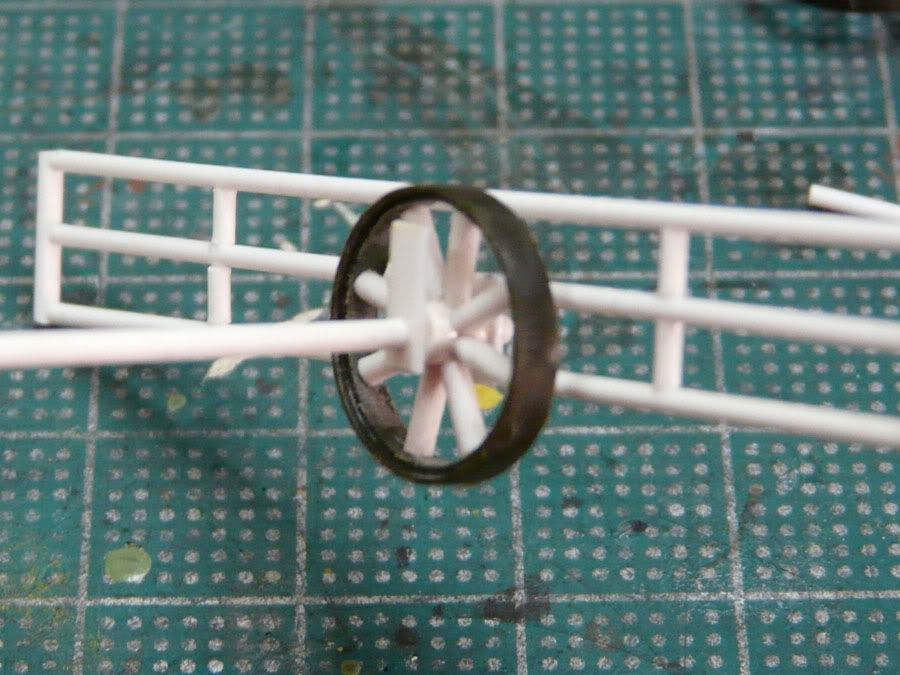
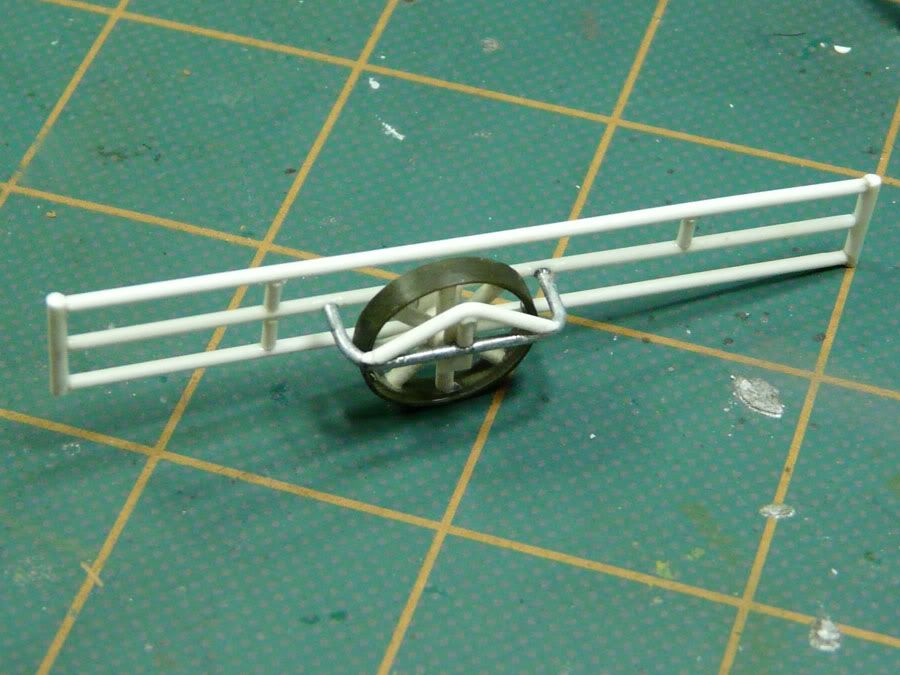
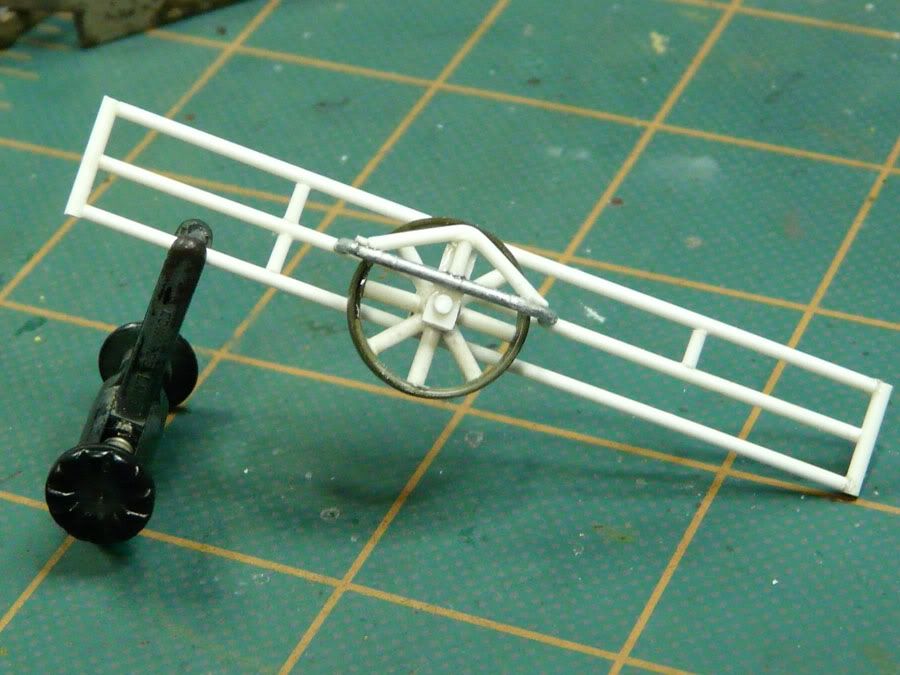
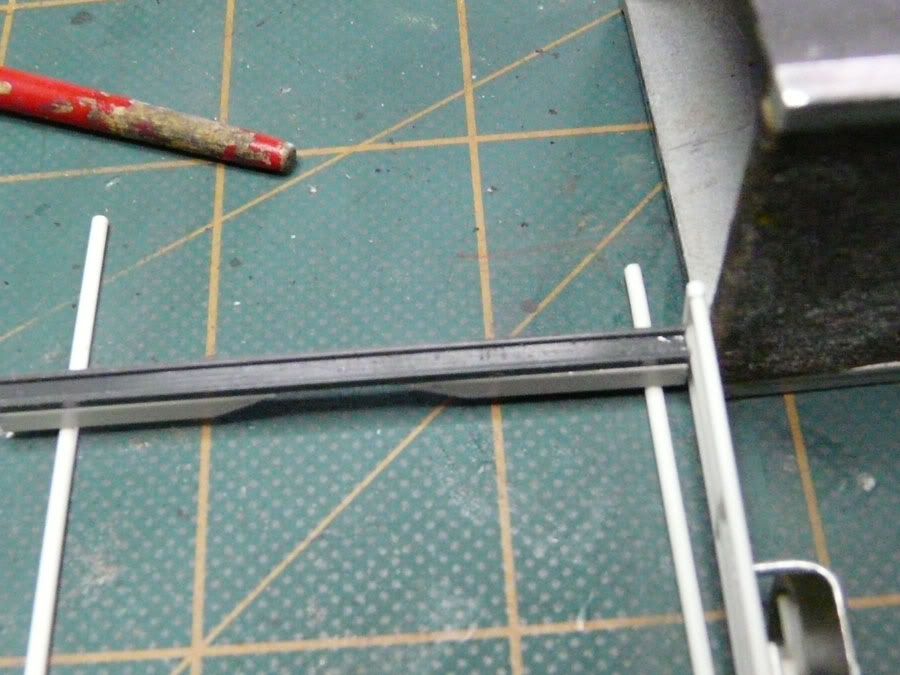
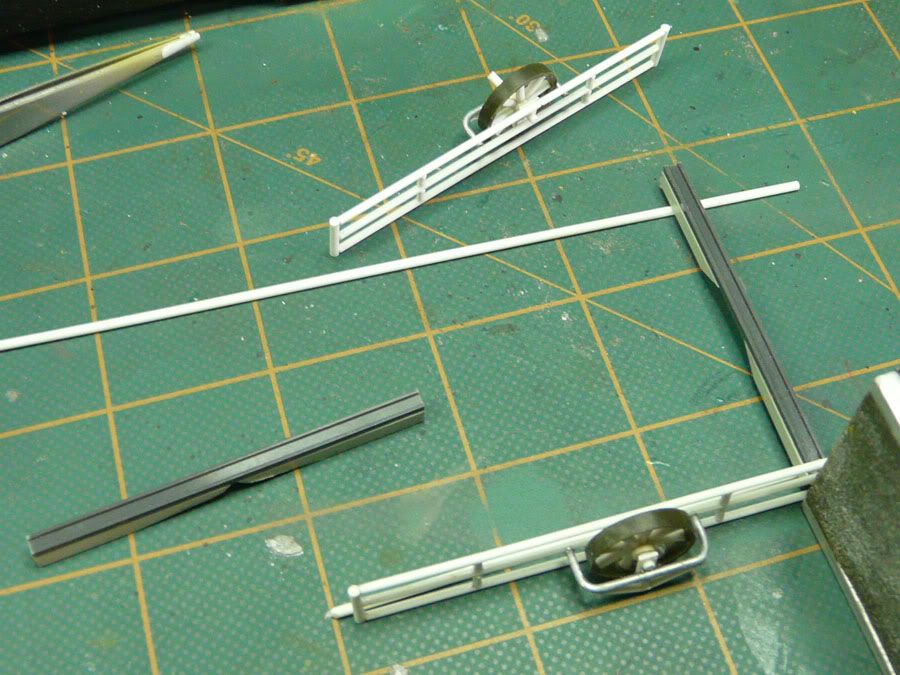
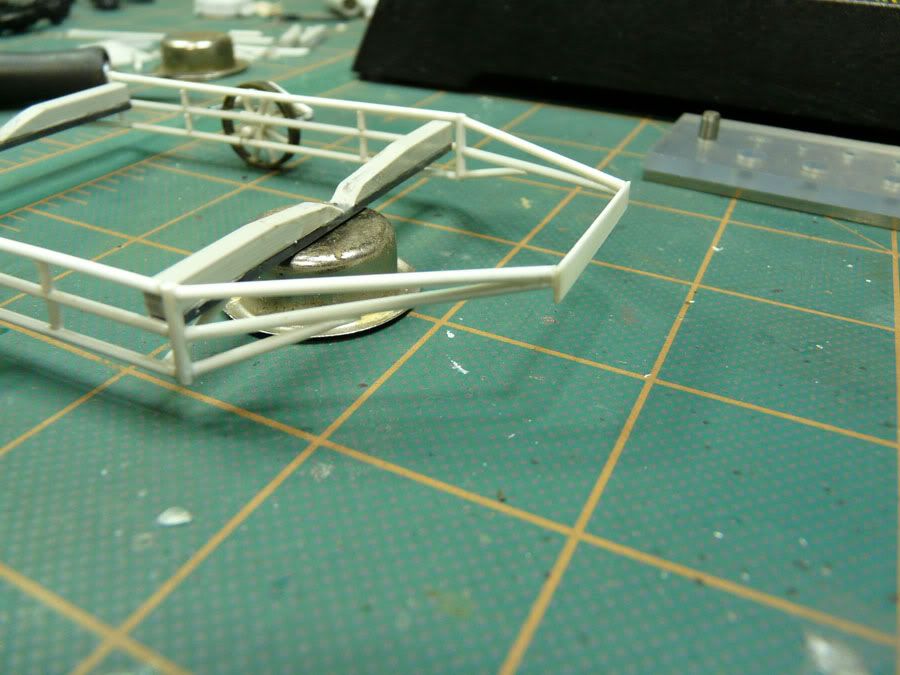
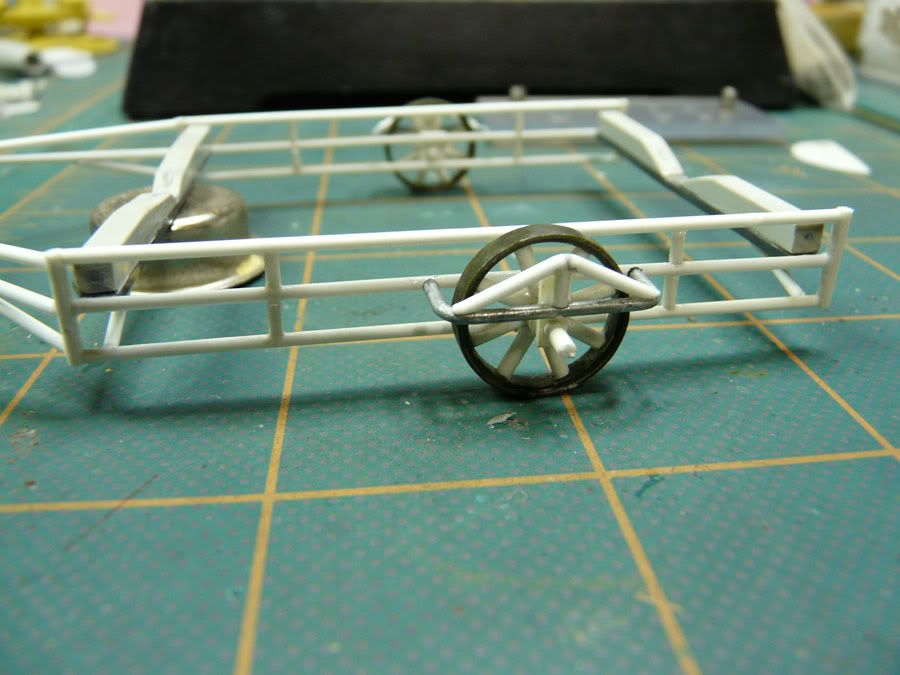
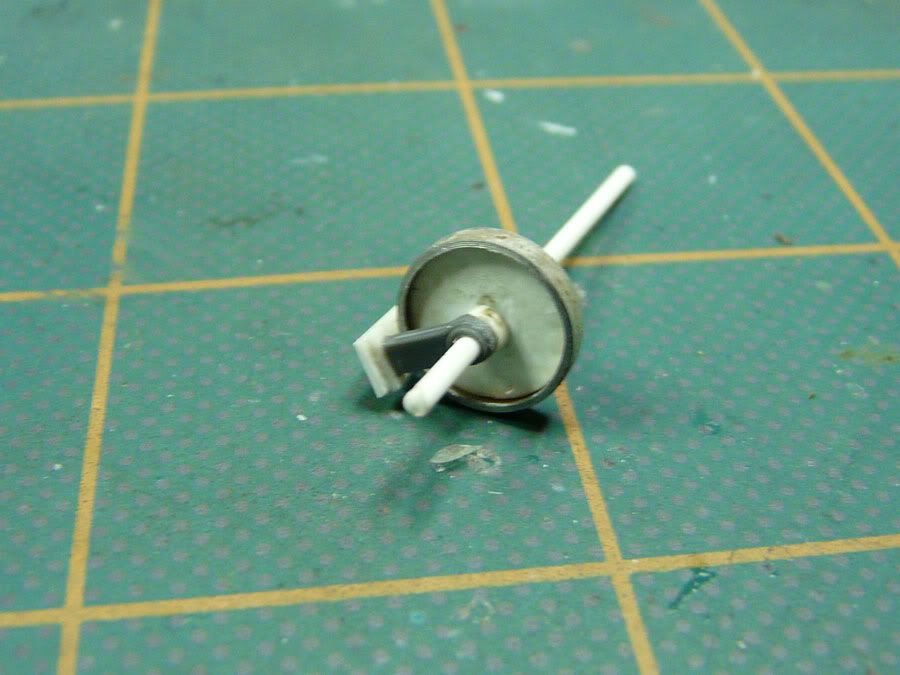
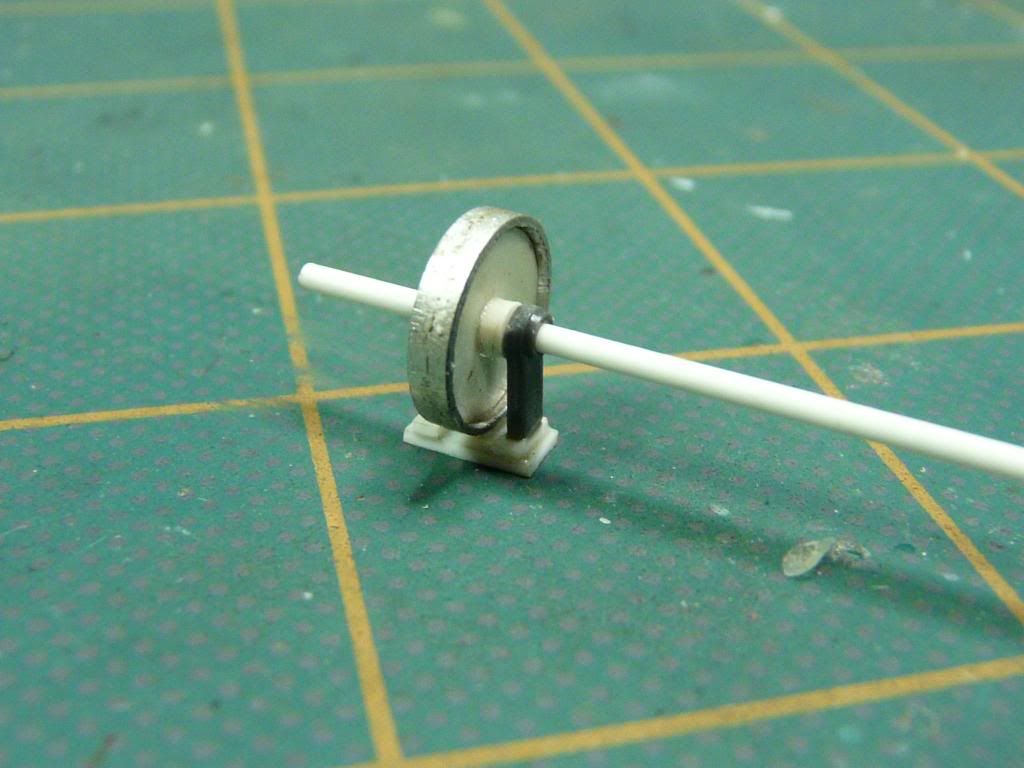
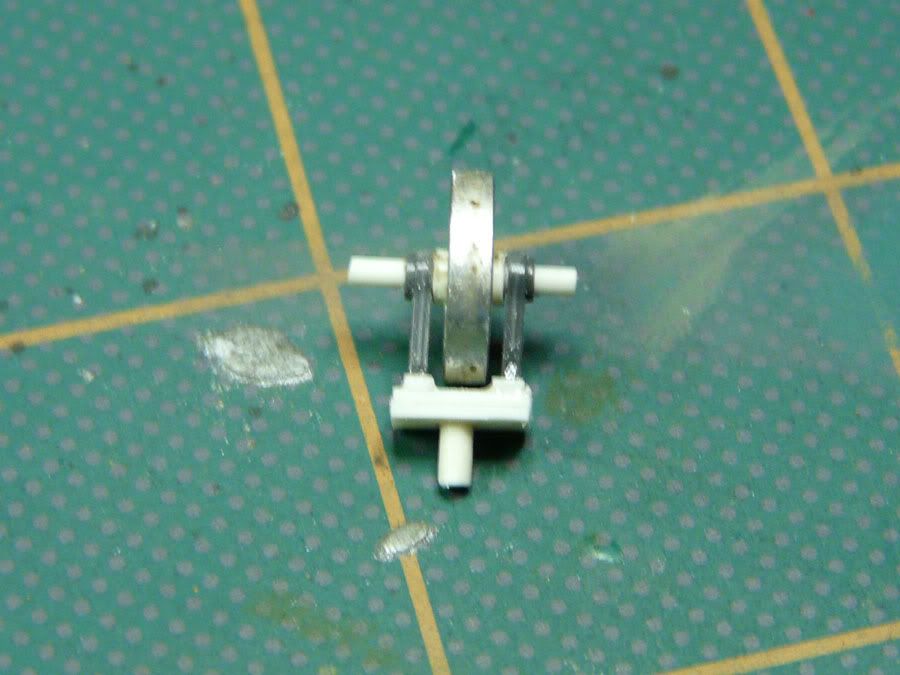
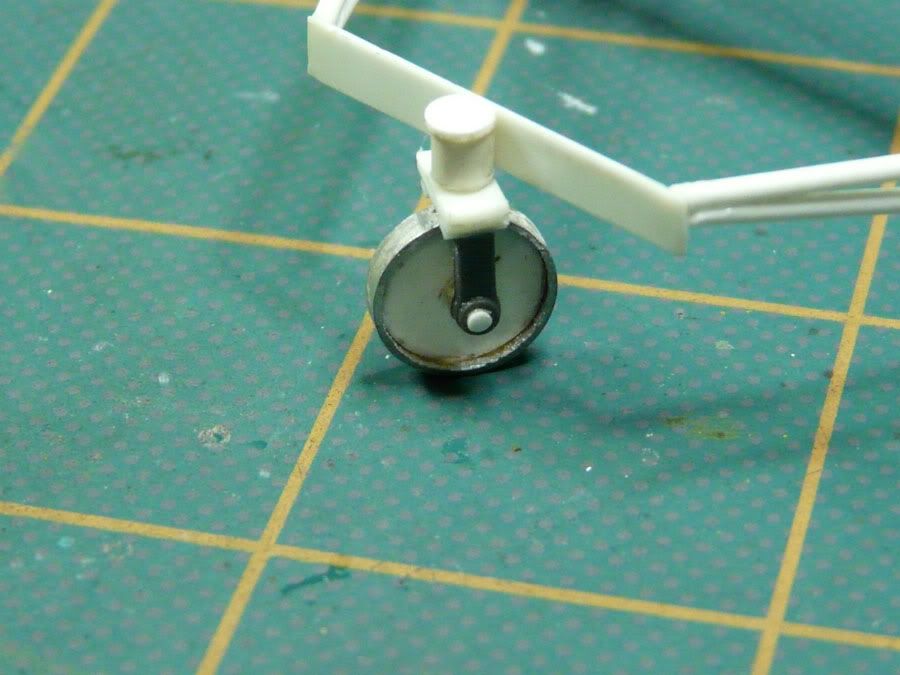
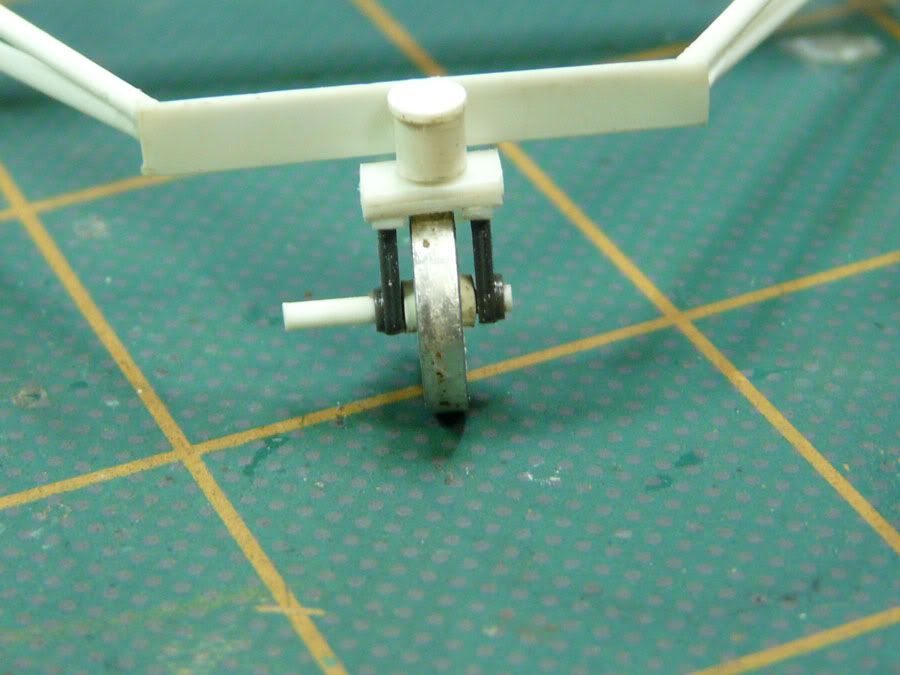
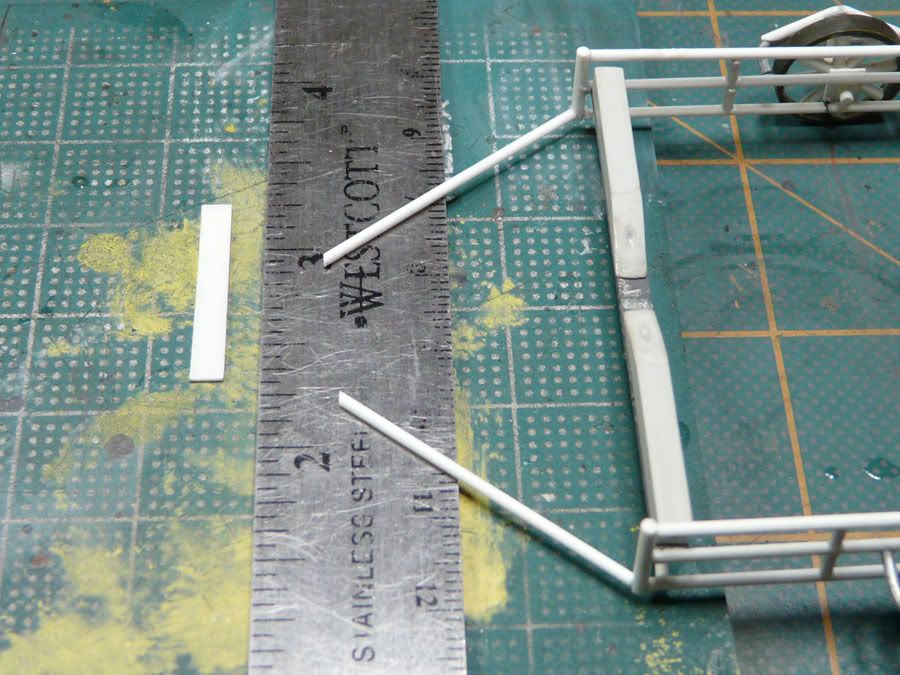
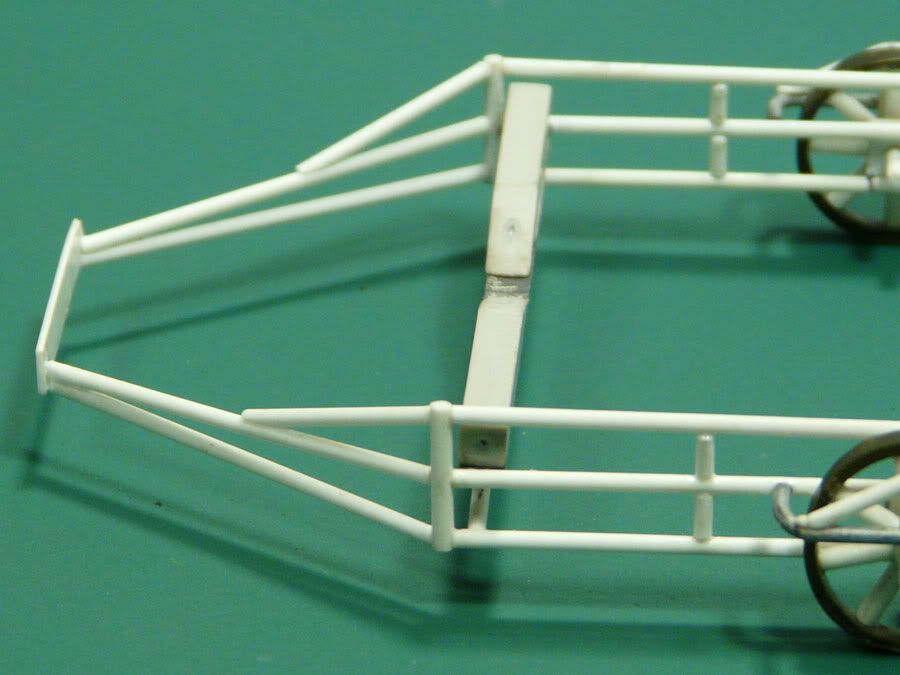
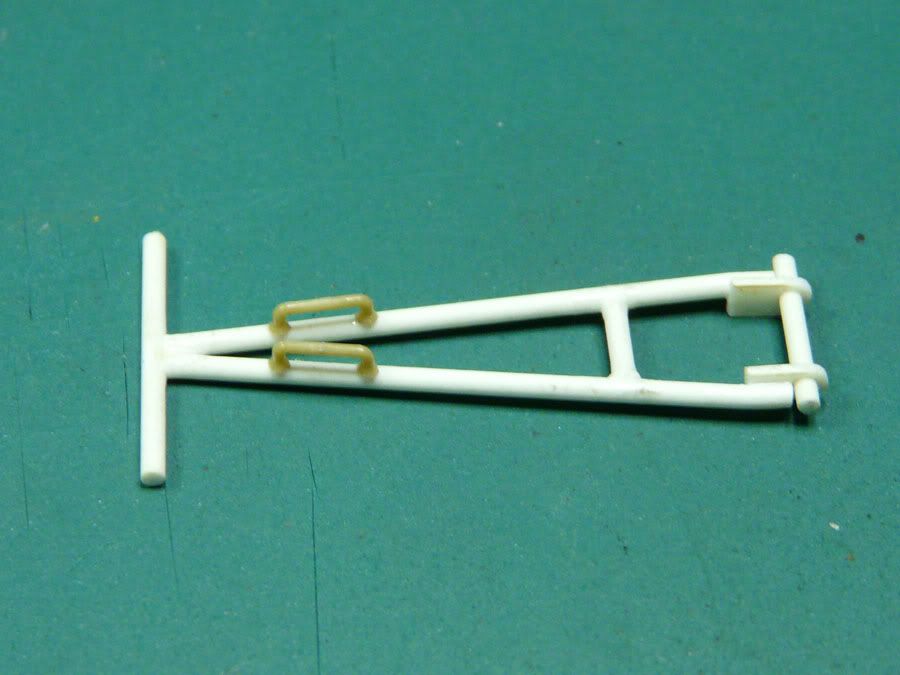
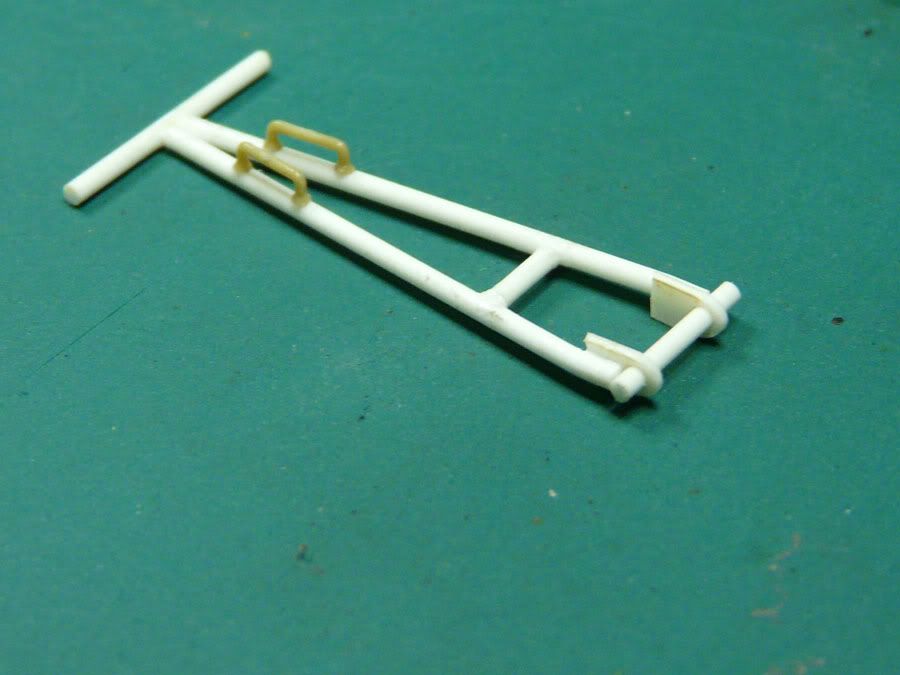
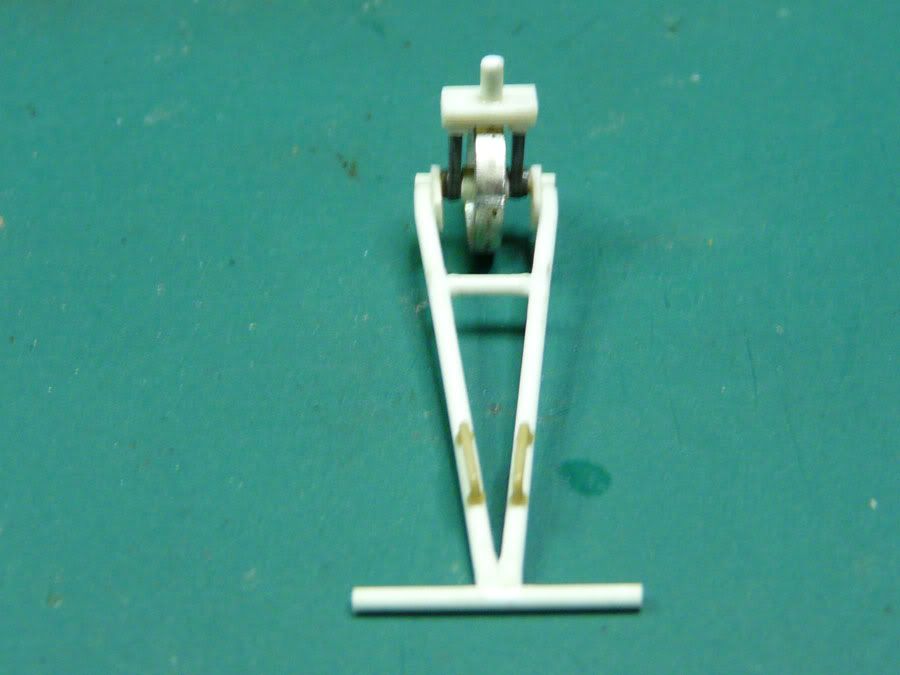
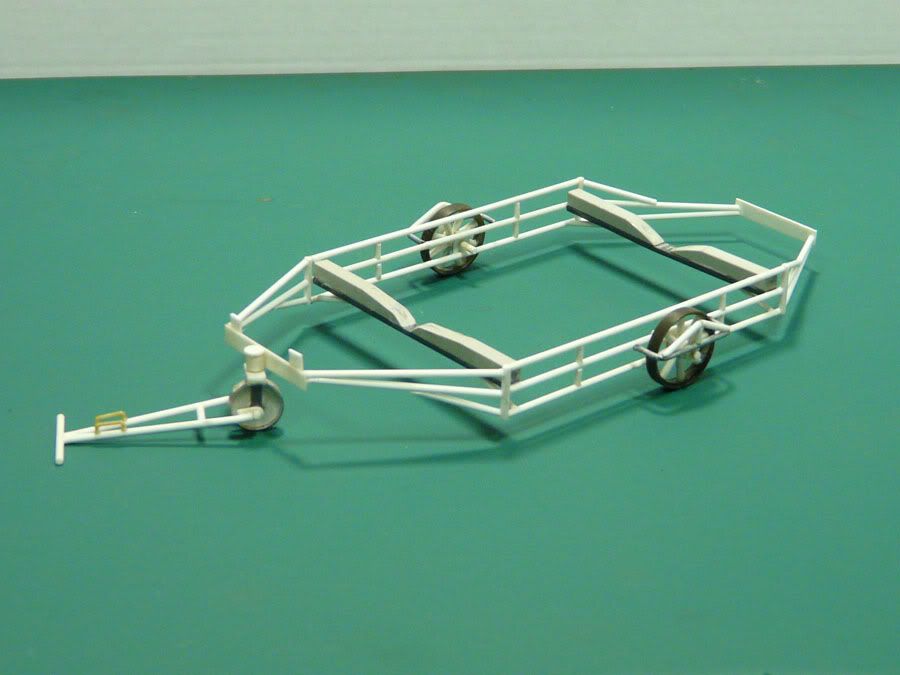
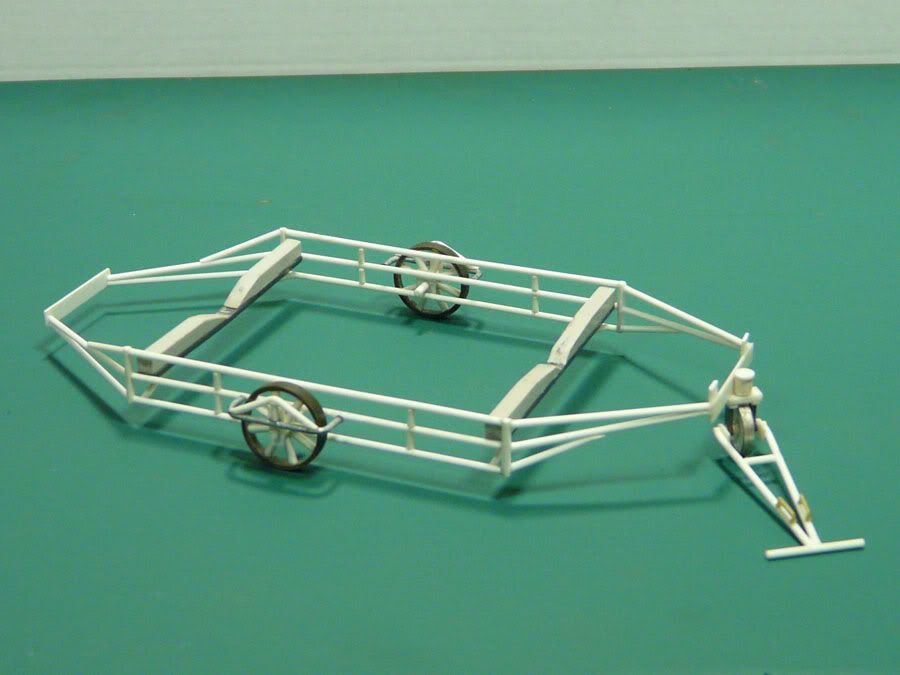
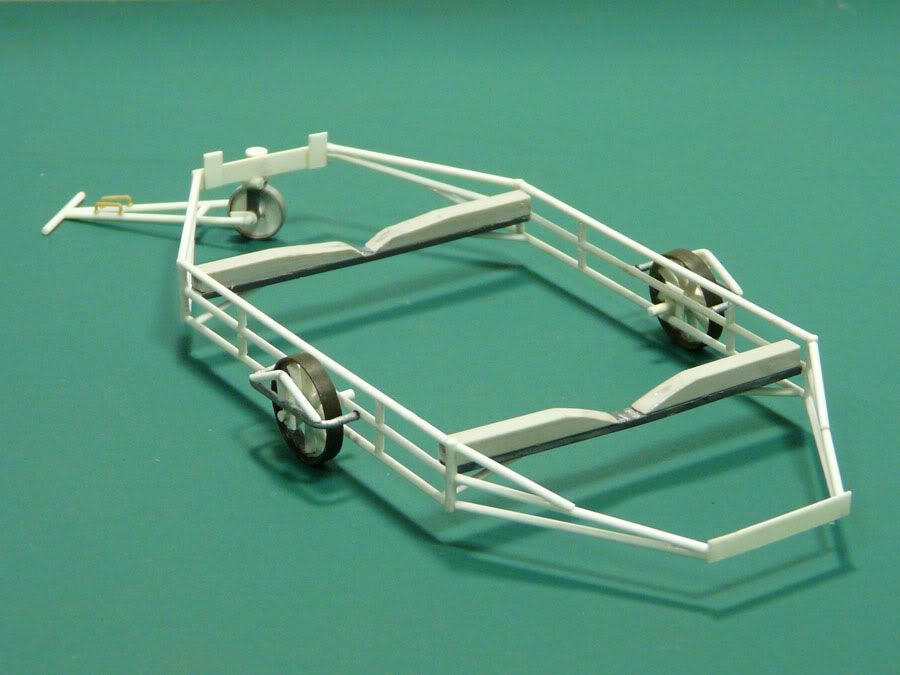
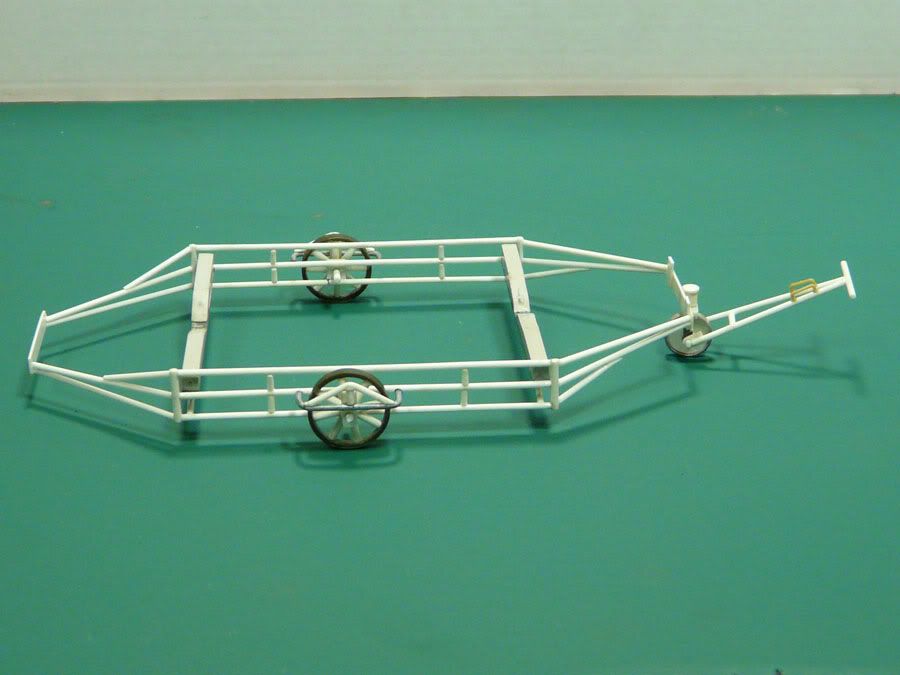
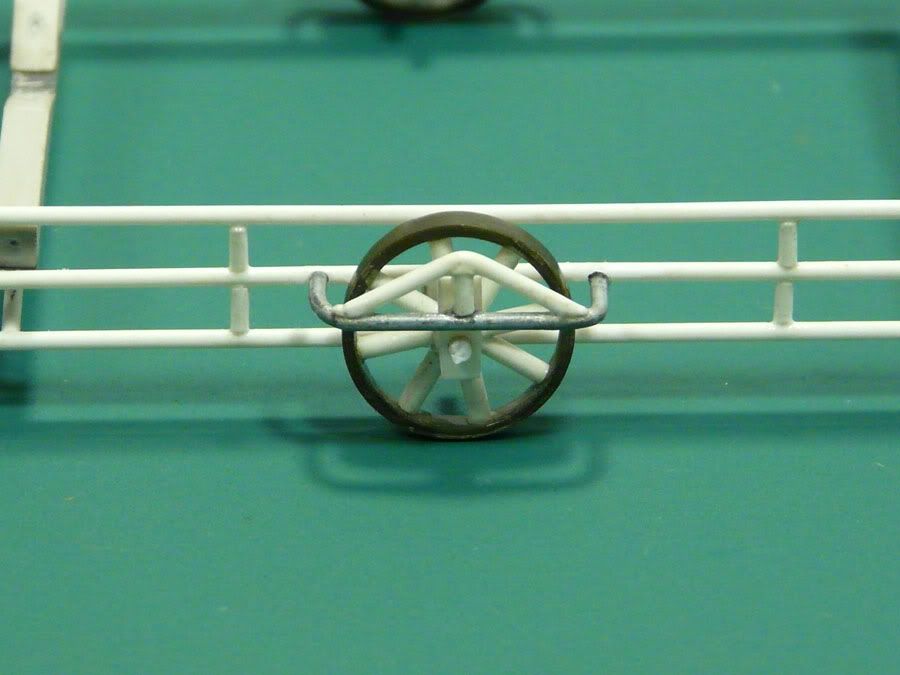
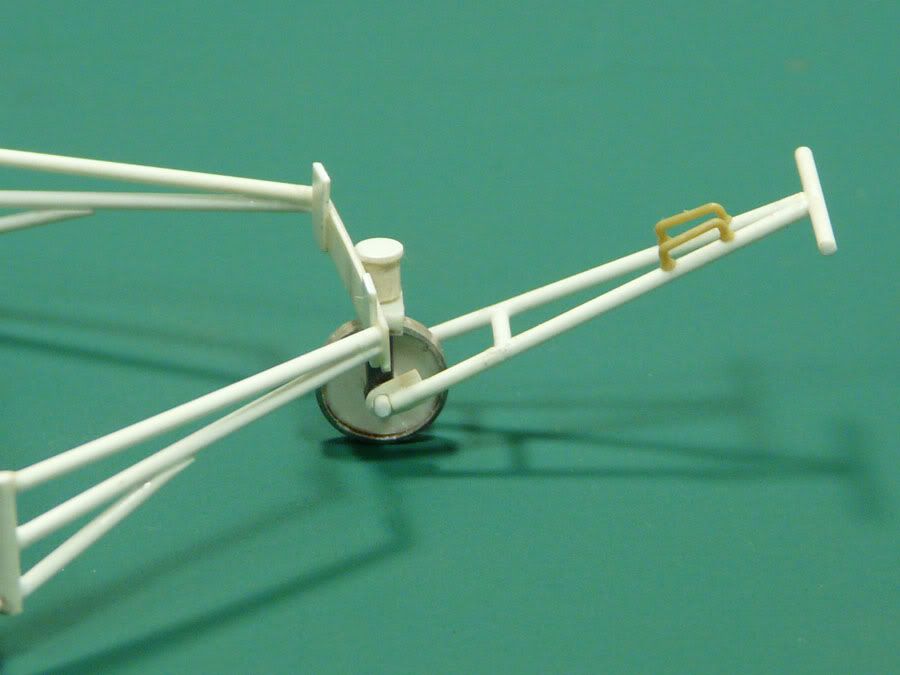
With the boat finished now I’m working on the trailer in the photo, hope you like it and stay tuned more soon!!!
Abdin
This is a project I’m doing for a friend of mine that is to be used as a pattern to be cast in resin, so when finished I’m not going to paint it as it s not necessary for the casting process. So armed with a few photos from the net I started this adventure…..
Here is the photo that started it all, the Shinyo kamikaze boat. This little boats carried a modified 260 pounds depth charge on the front, the idea is simple, just crash in to the target ship to try to sink it. Early models of the shinyo also had surface to surface rockets on the sides in wooden made ramps.
I started the project by buying the italeri barchino to use as a donor for the hull, with a little modification it is almost identical to the version of shinyo I’m recreating. After taking measurements from a scale drawing I made earlier, the hull need to be wider on the rear so a new back plate was made from styrene.
Another piece of styrene for the bottom of the hull in a triangular shape
After some sanding and a little primer the bottom was ready, the new deck was installed from styrene and the wood moldings at the sides of the boat where also attached and this is how its looks like now
After taking measurements the hole for the pilot cabin was made on the back and a box like structure was placed on the inside followed by sealing and sanding smooth the edges
With my home made plans I started the construction of the cabin
Some views of the cabin progress, all the parts are held together with clear tape so it can be taken apart to cast
The engine bay area is finished and the cabin is dry tested for proper fit, also added the moldings on front of the engine bay and installed the front charge door with its trimming
A look of the basic shapes of the deck against my plans
The dash board is installed, I used the steering wheel from the bashing and modified it making it completely round using a piece of round wire of the same diameter
Using styrene rods and the PH propeller blades from the italeri kit, the propeller and shaft are recreated
Next was the rudder, it was done using again styrene rod and detailed with some PH from the parts box
A test fit of the finished rudder and propeller shaft using clear tape
Lastly after adding other details like the rocket ramps air intakes, exhaust port and the remaining trims around the cabin, dash board details, driver seat etc, also modified some of the cabin walls for a better fit, and this is the final result..
With the boat finished now I’m working on the trailer in the photo, hope you like it and stay tuned more soon!!!
Abdin
")