
-
Modelers Alliance has updated the forum software on our website. We have migrated all post, content and user accounts but we could not migrate the passwords.
This requires that you manually reset your password.
Please click here, http://modelersalliance.org/forums/login to go to logon page and use the "Forgot your Password" option.
You are using an out of date browser. It may not display this or other websites correctly.
You should upgrade or use an alternative browser.
You should upgrade or use an alternative browser.
Hungarian Pz.Kpfw. IV F1
- Thread starter jknaus
- Start date

jknaus
Administrator
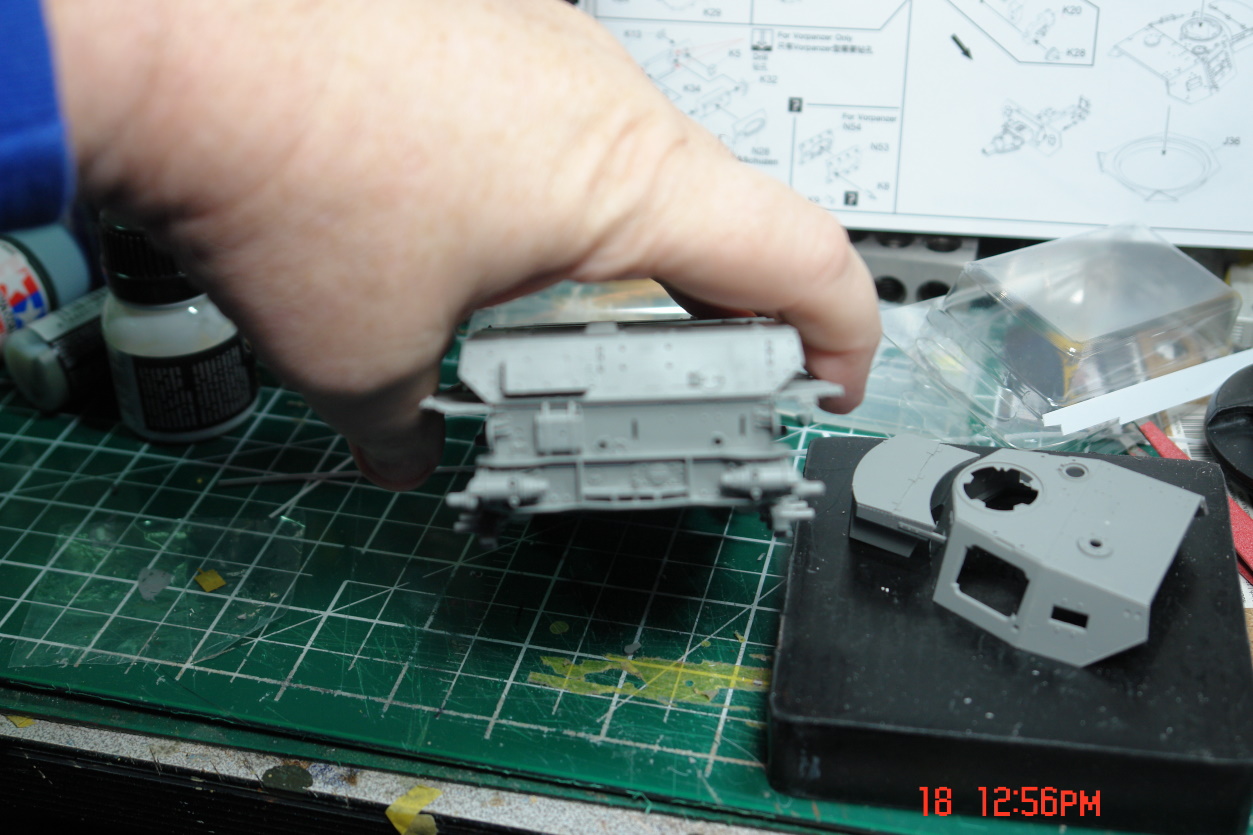
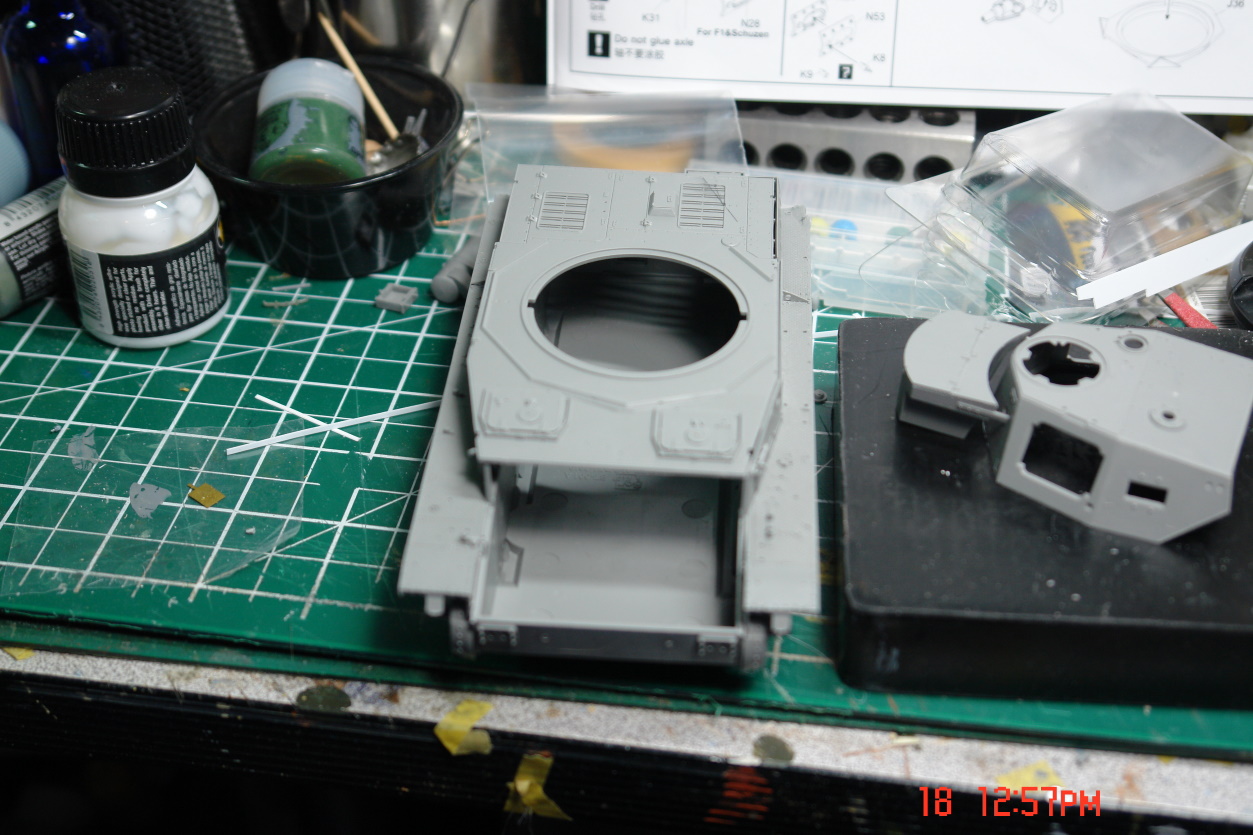
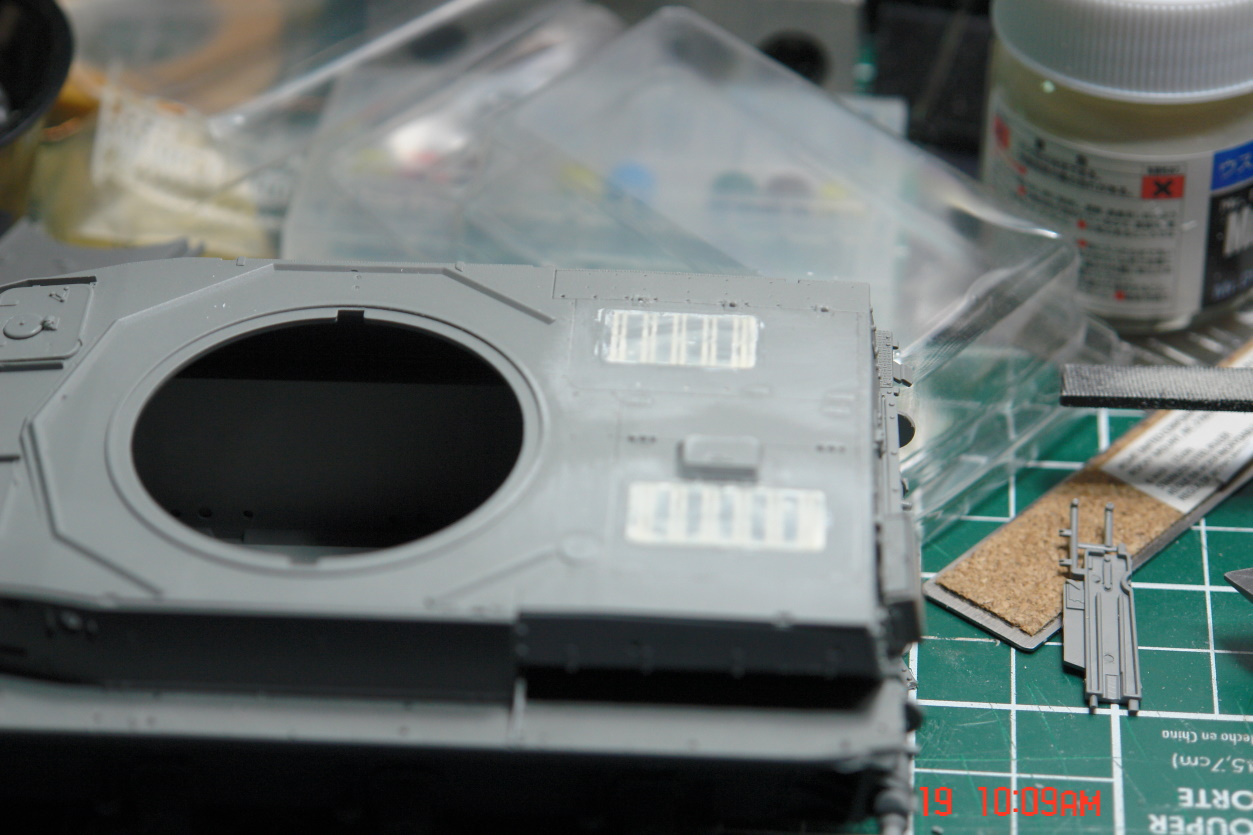
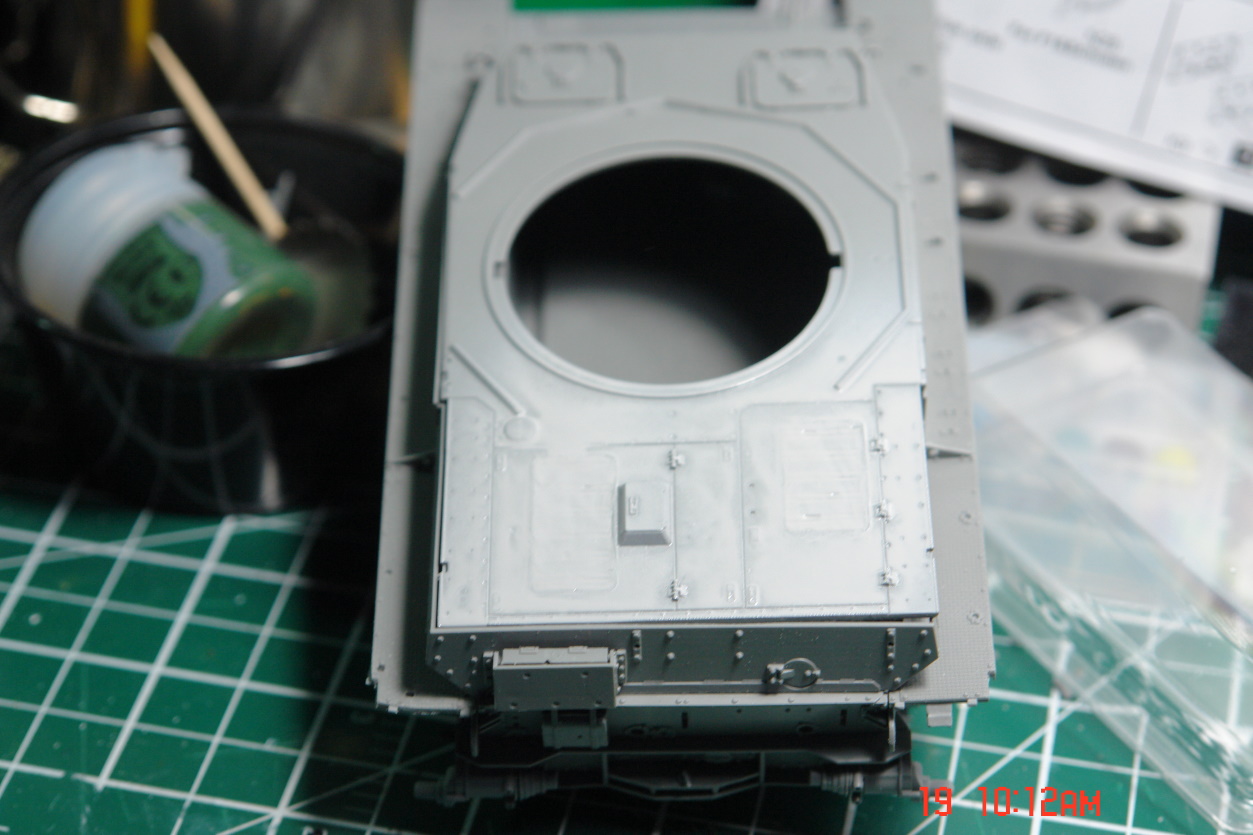
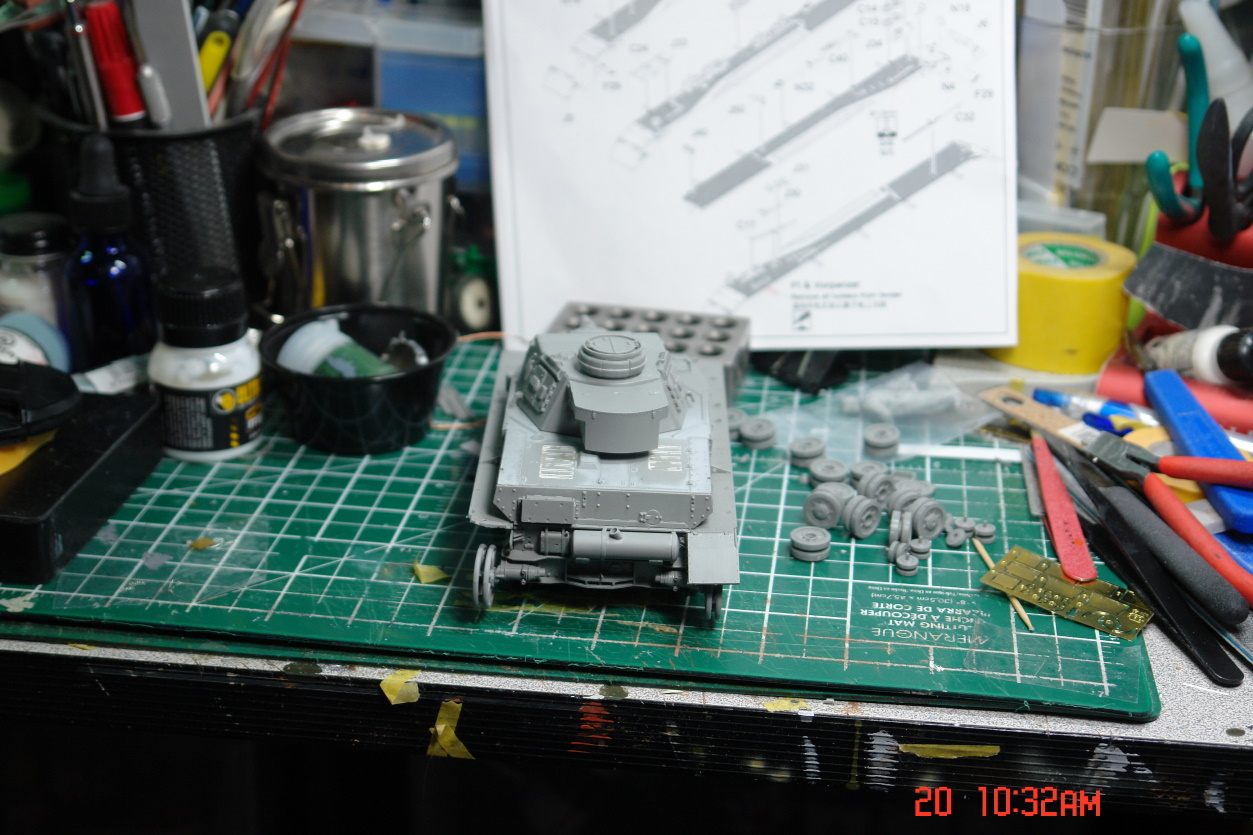
Okay so finally got a bit of modeling in today after being sick this past week. I'm thinking the Dragon kit is a better choice although there are some nice construction steps that make things easy. So first off if you build this kit, the turret right side has the wrong part number. It is a side with no visor which is wrong. I searched through and found the correct part which is not listed. Second file off the small disks on those parts as they do make it stand proud. I didnt pay attention at first so ended up having to disassemble the 2 panels and clean them up more before installing. I took a pic but it doesnt show well.
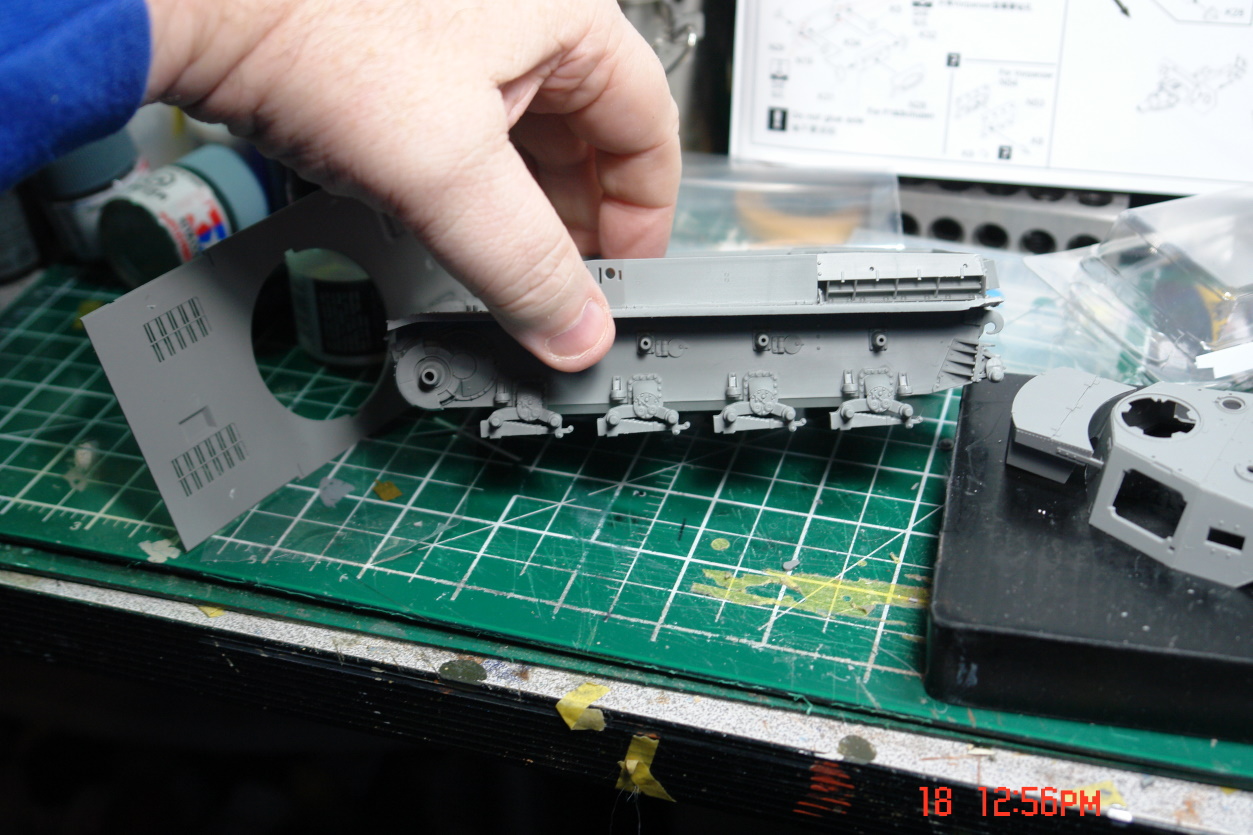
Next the rear deck is wrong for the most part. From Tom Cockle I found that it should be like the Ausf E with the grate having a corner cut off although the early F just had straight doors and no grates. Refitted F1s had the straight grate like the G/Hs.
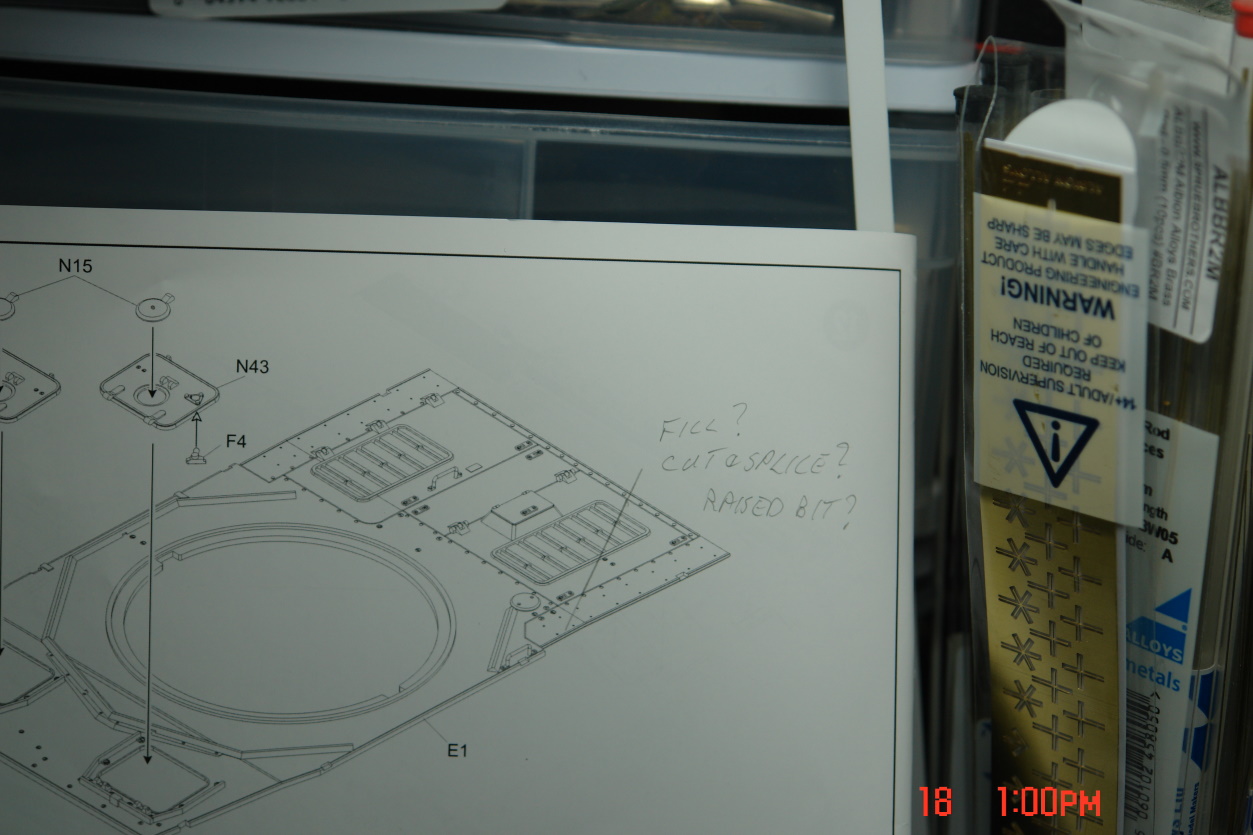
The kit is like this one circled in blue when it should be like the second one circled in red.
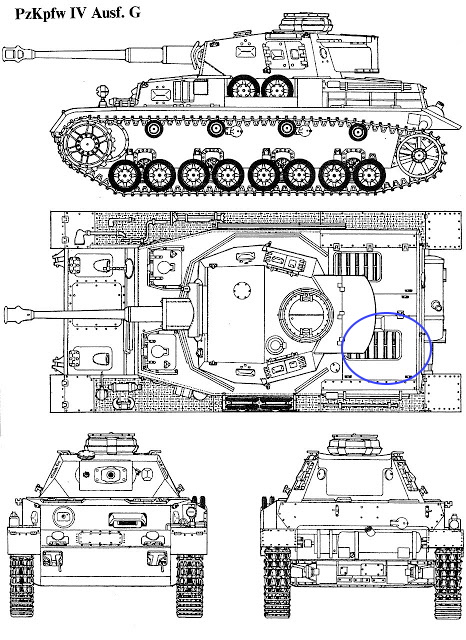
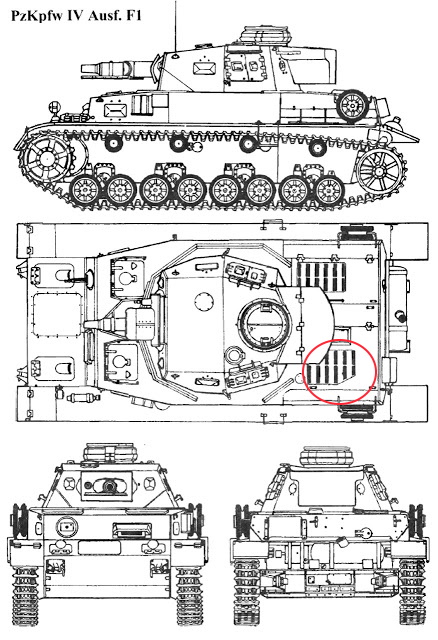
So now trying to decide best way to fix it.
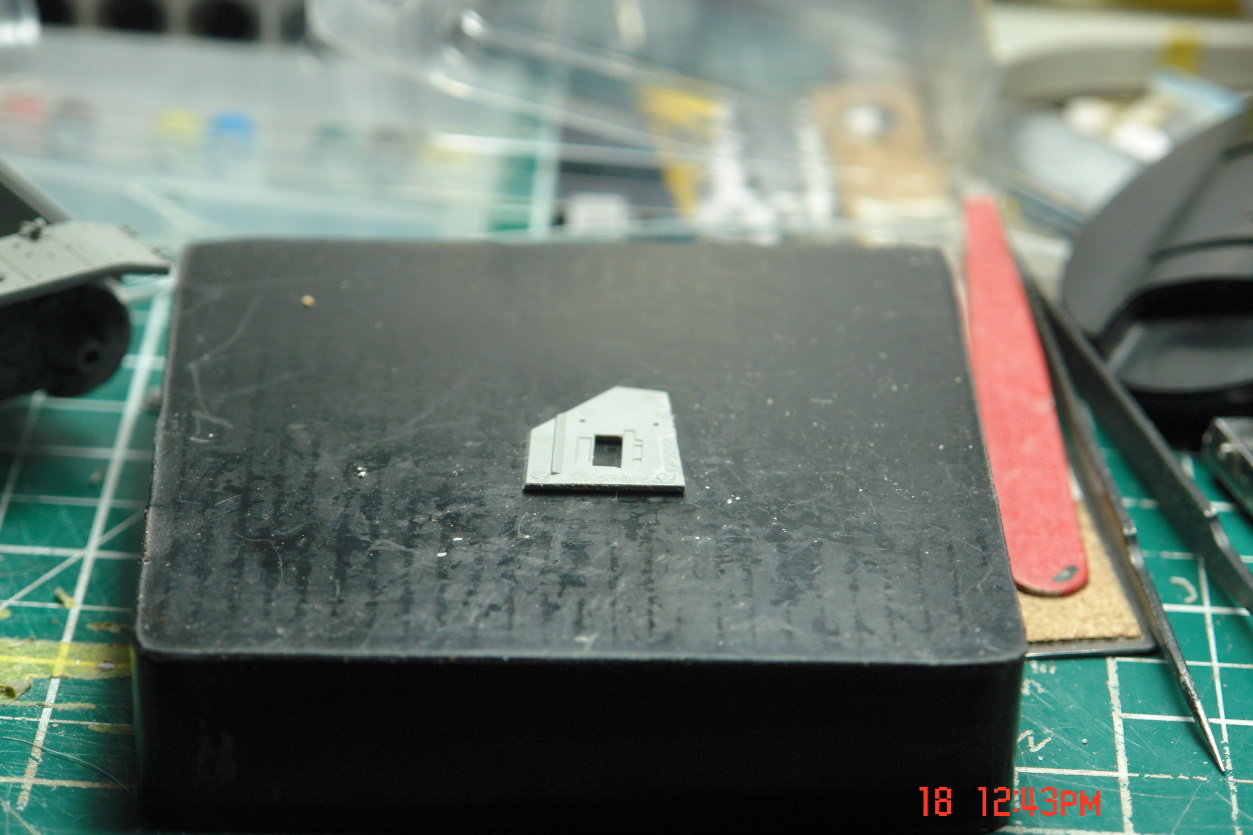
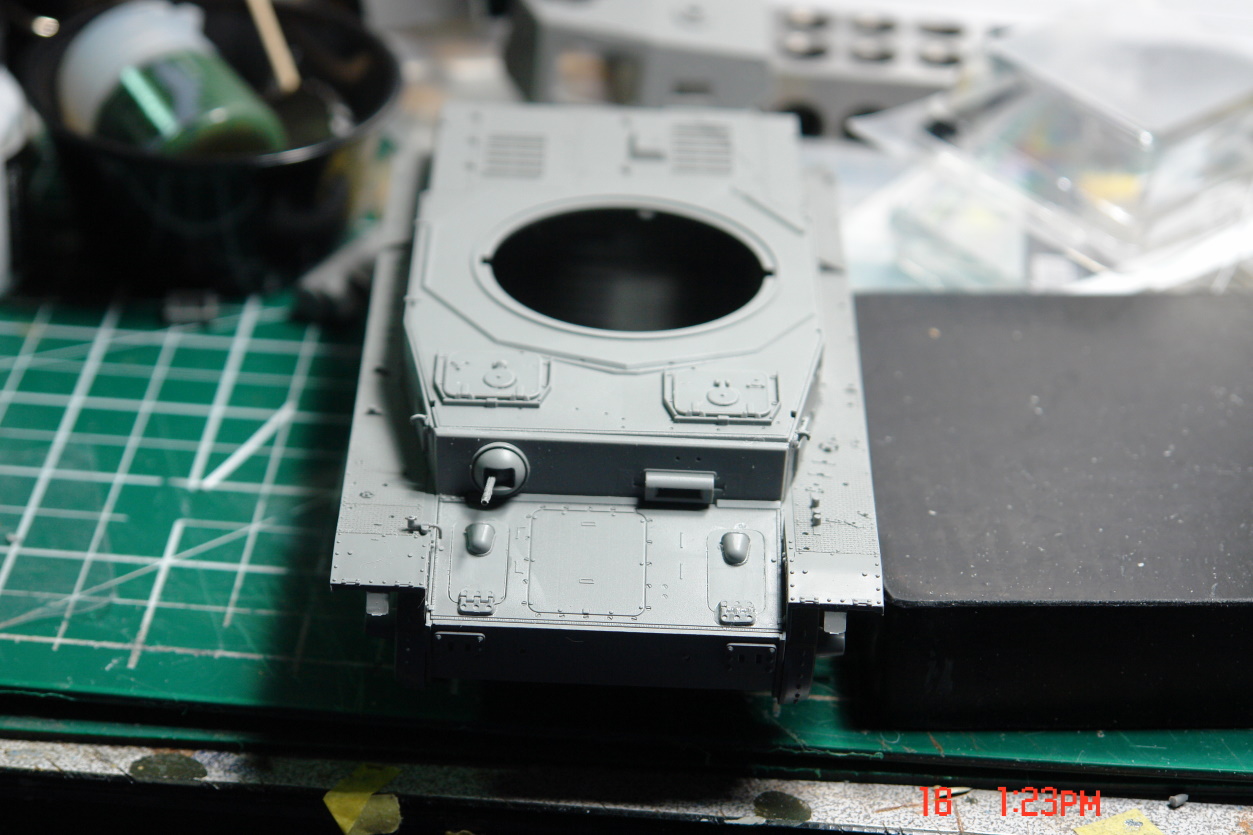
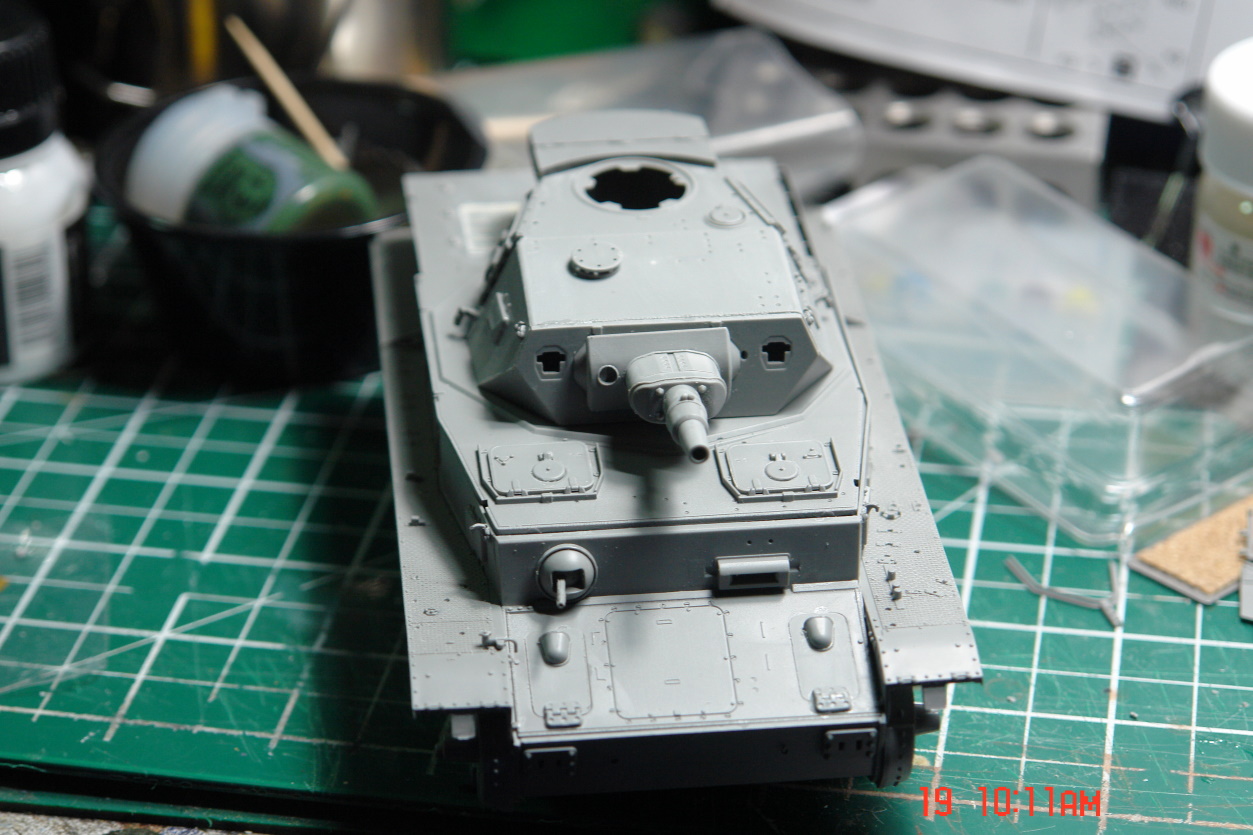
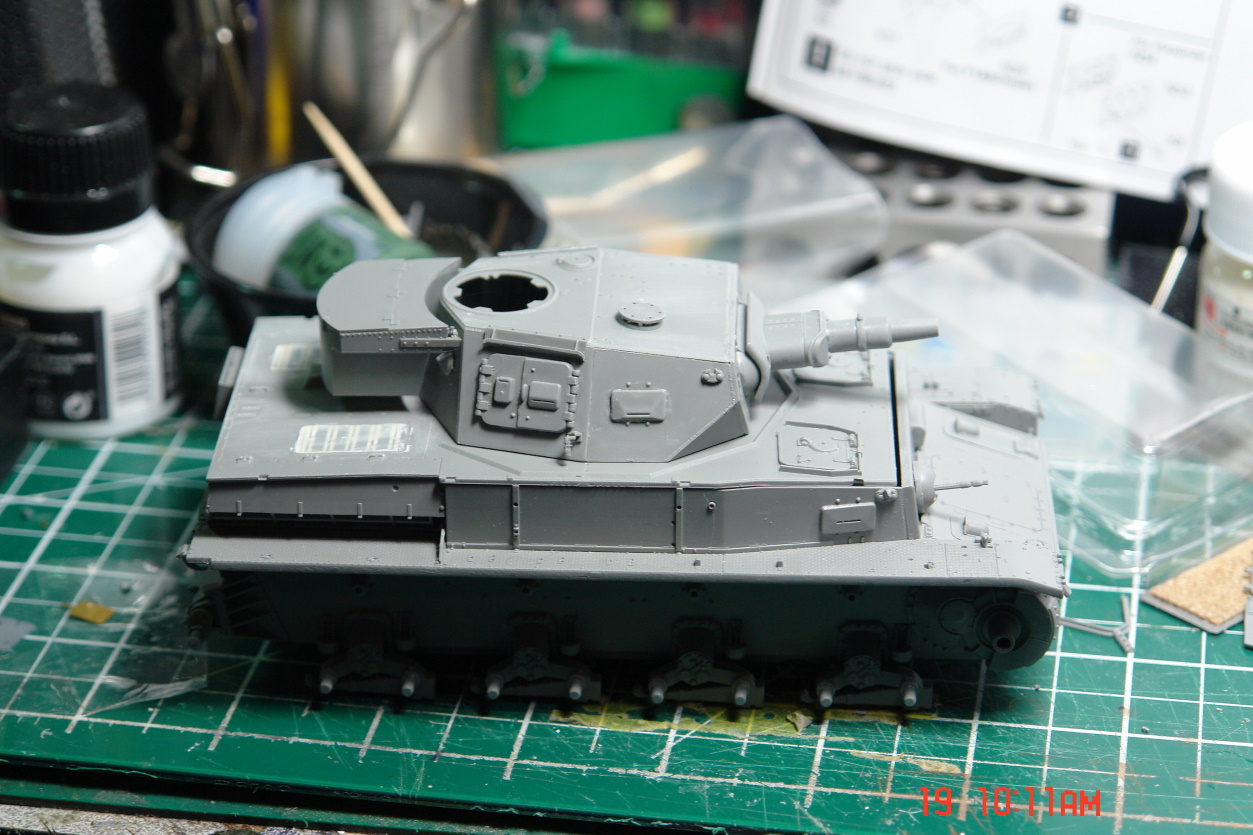
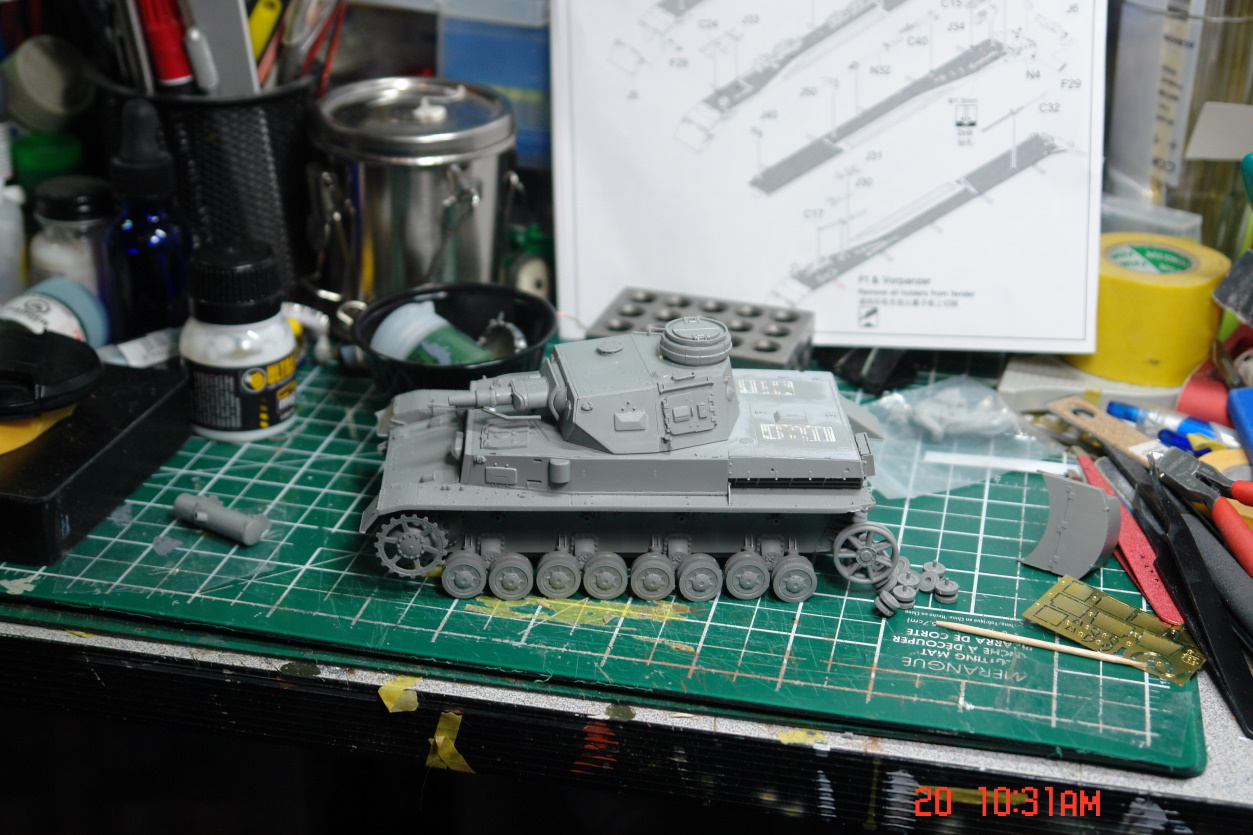
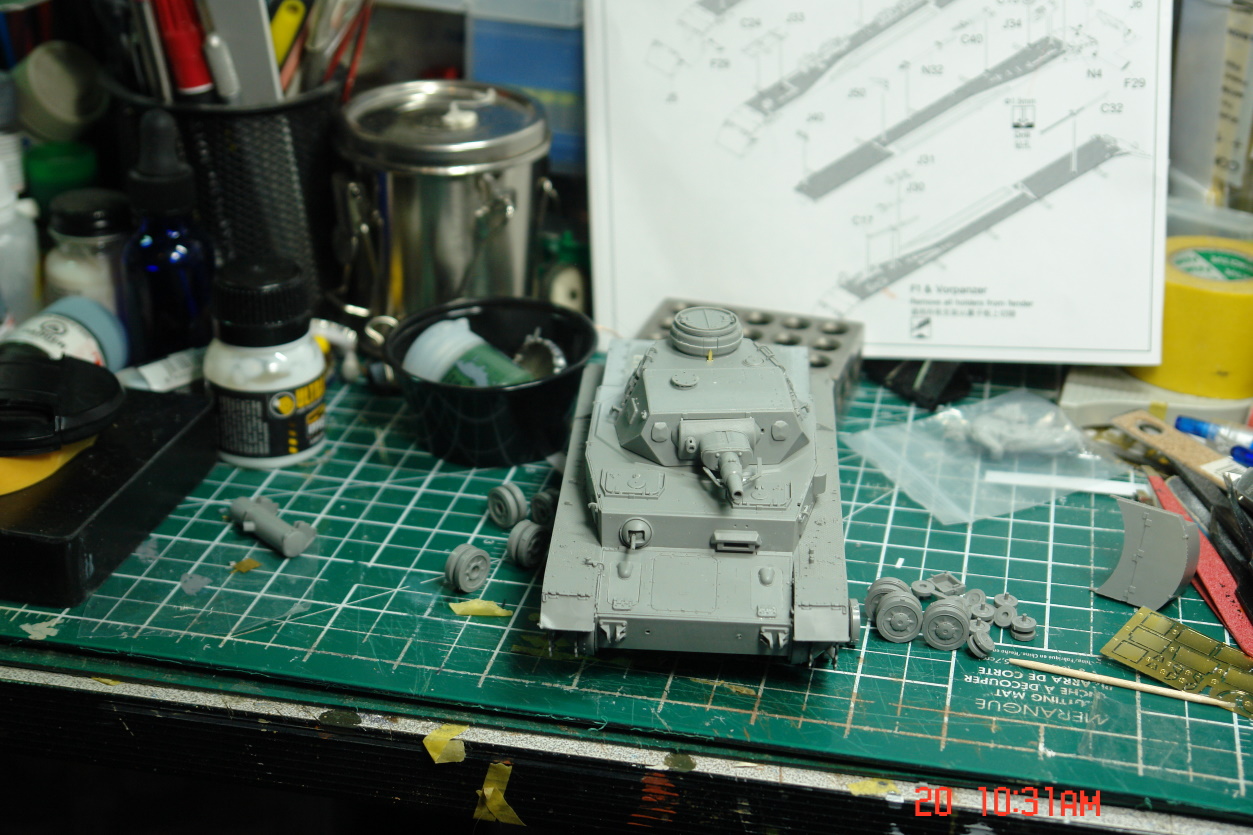
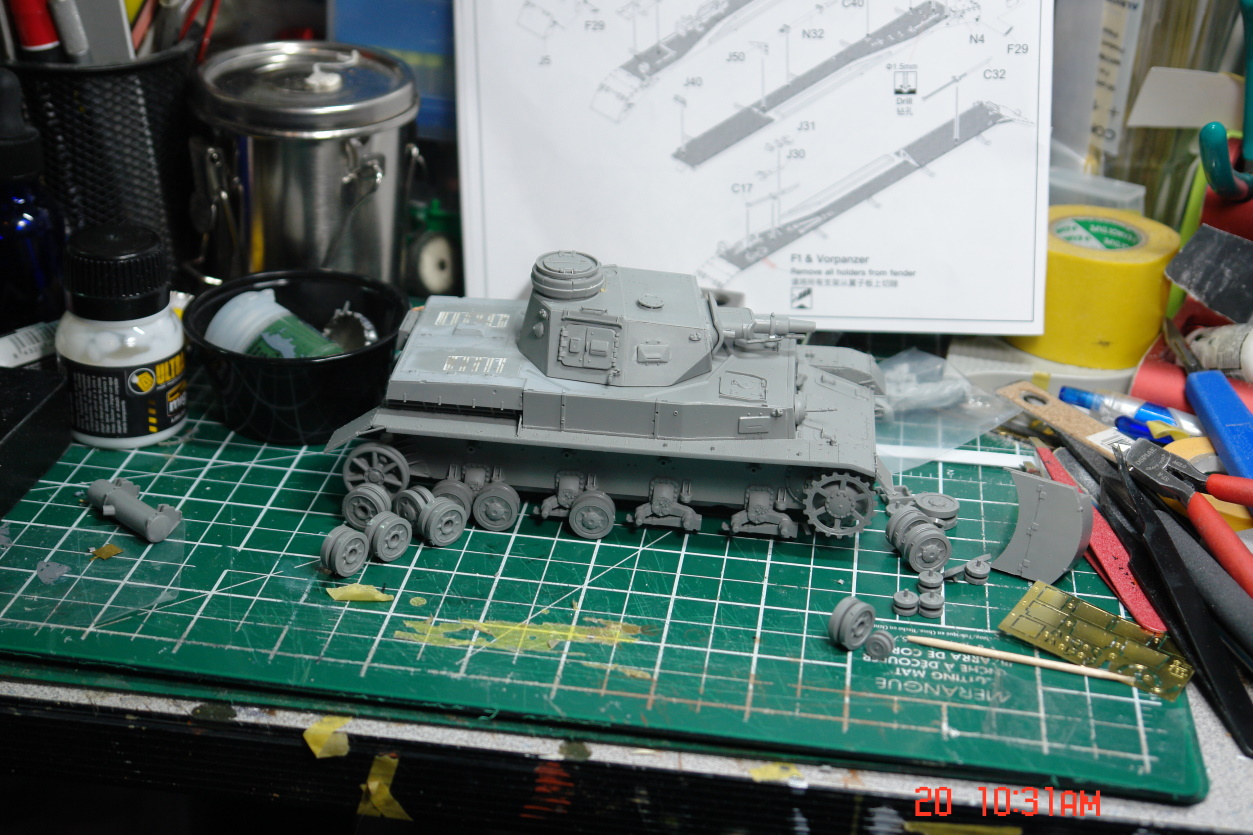
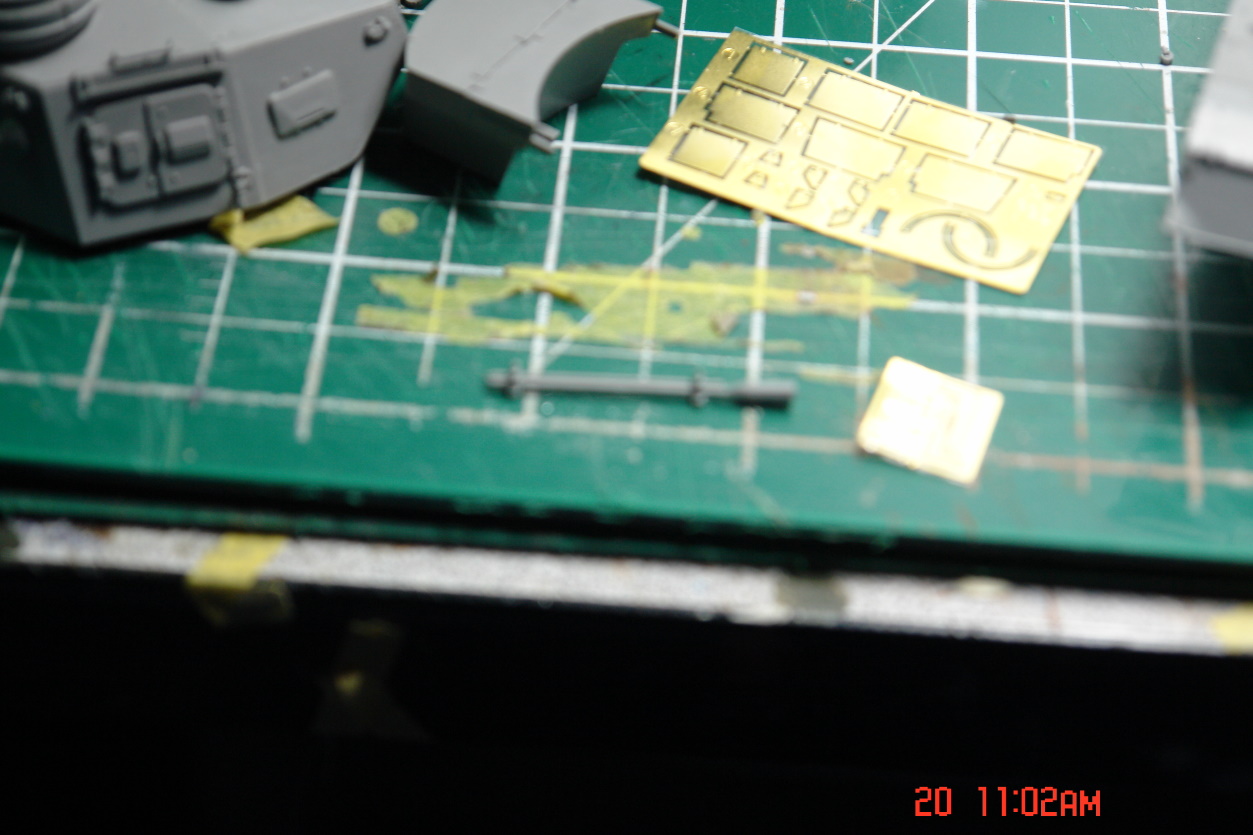
Next they have a towing pintle for lack of a better word that isnt right from the pictures I could find. I think it was a late war thing. So modified the pintle.
Unfortunately I'm still not focusing properly so the pics are a bit blurry but I filed off the extra detail and cut off the extra attachment and made it look more like pictures I have.
Other than that the running gear is on and the fenders. I have the top deck, glacis plat and front vertical plate just dry fit on. I did make a mistake and added one head light to the right fender but it is so fragile I of course broke it off. Tools will go on last so I dont make a mistake like the J.

Comments critiques welcome.
James
Next the rear deck is wrong for the most part. From Tom Cockle I found that it should be like the Ausf E with the grate having a corner cut off although the early F just had straight doors and no grates. Refitted F1s had the straight grate like the G/Hs.
The kit is like this one circled in blue when it should be like the second one circled in red.
So now trying to decide best way to fix it.
Next they have a towing pintle for lack of a better word that isnt right from the pictures I could find. I think it was a late war thing. So modified the pintle.
Unfortunately I'm still not focusing properly so the pics are a bit blurry but I filed off the extra detail and cut off the extra attachment and made it look more like pictures I have.
Other than that the running gear is on and the fenders. I have the top deck, glacis plat and front vertical plate just dry fit on. I did make a mistake and added one head light to the right fender but it is so fragile I of course broke it off. Tools will go on last so I dont make a mistake like the J.
Comments critiques welcome.
James
Good eye for the details James. Hang in there, you'll git'er done 
jknaus
Administrator
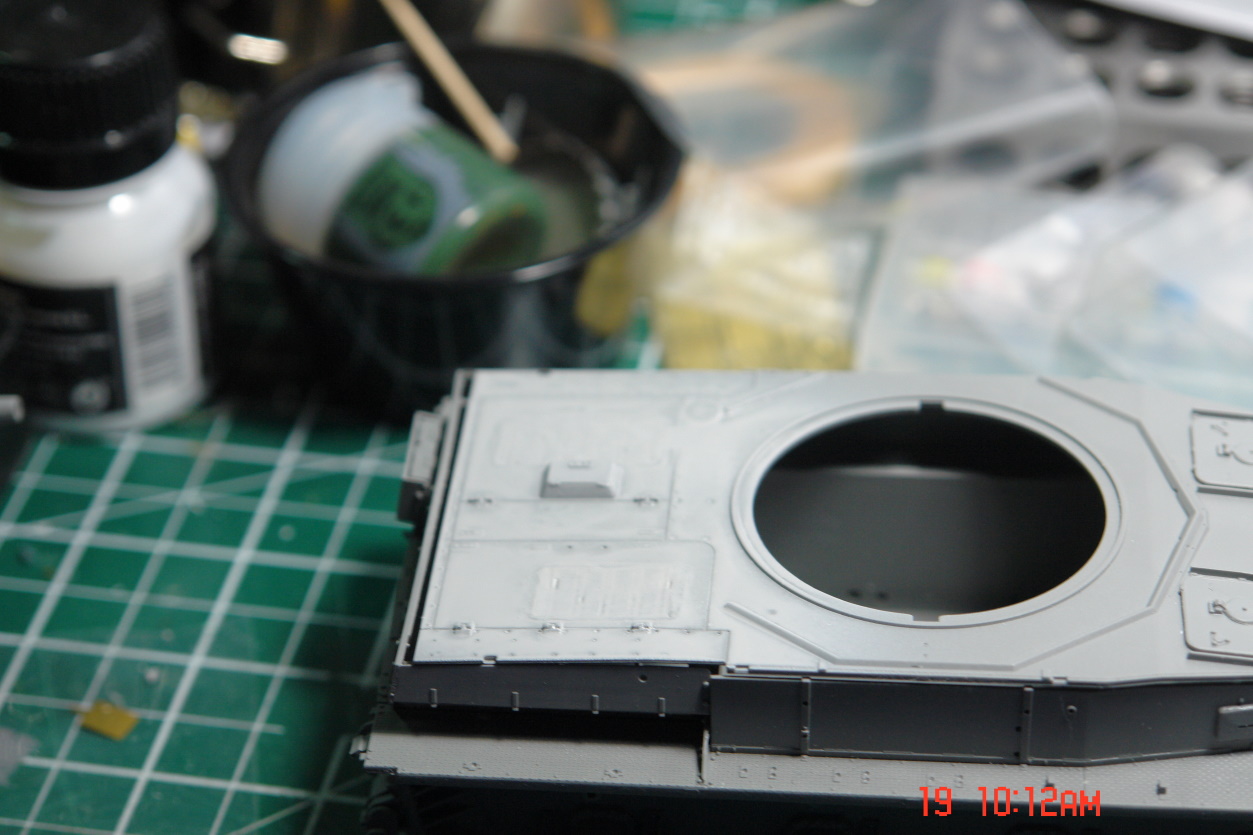
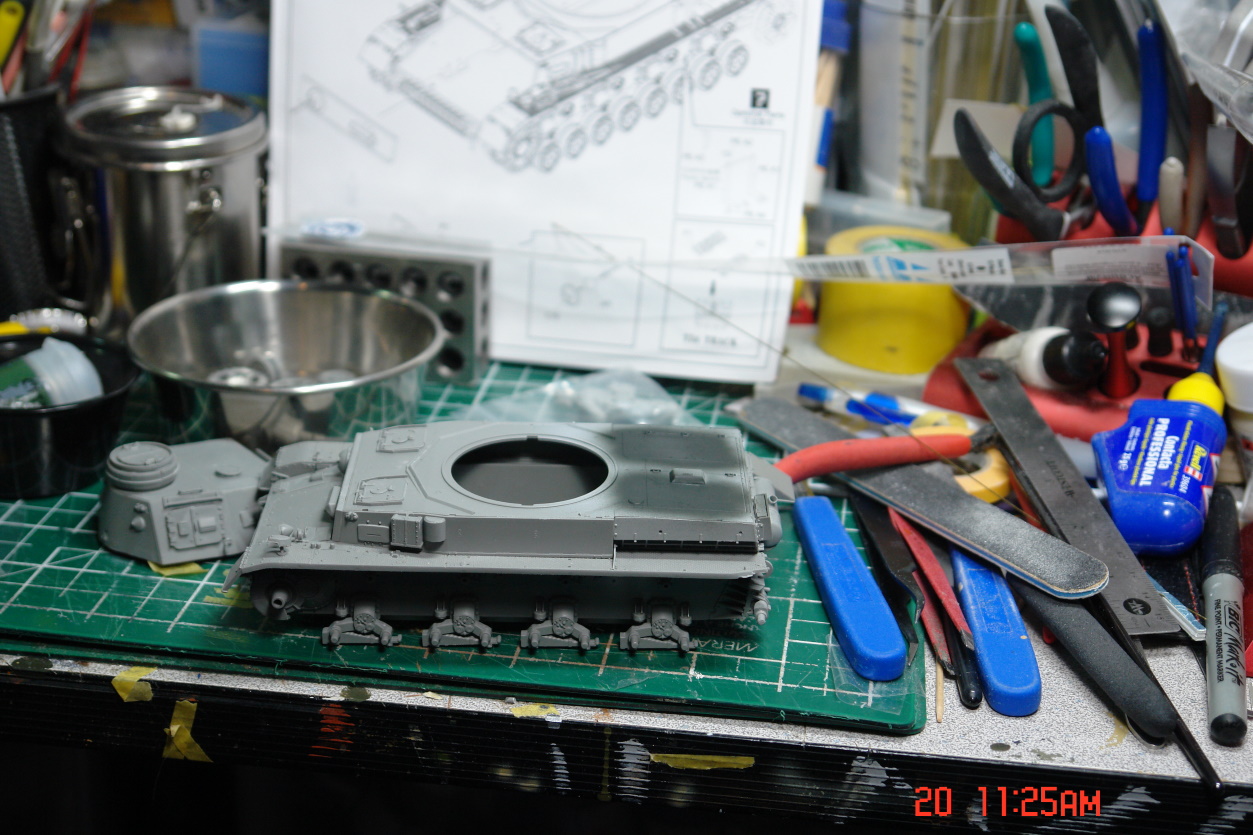
Glued some plastic sheet uder the deck last night and added some Mr Disolved Putty. Let dry overnight.
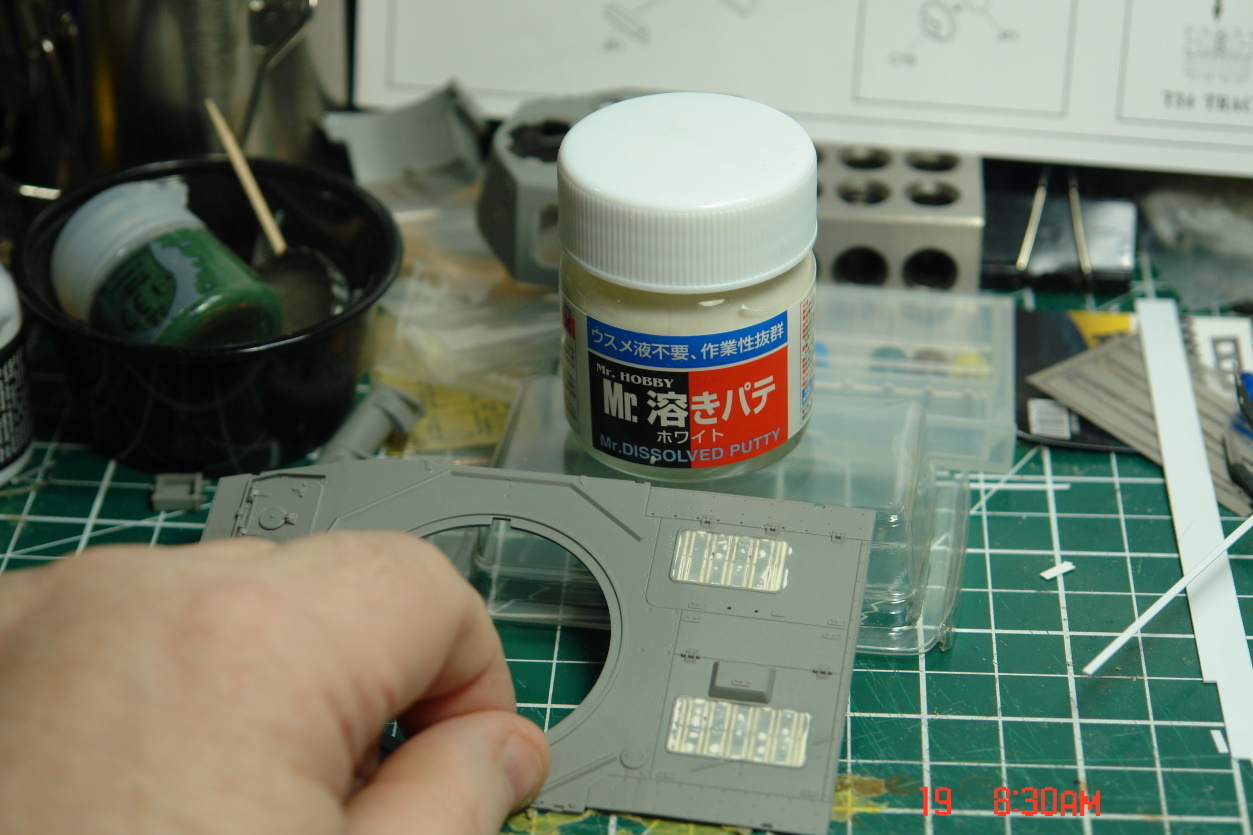
Sanded the deck with 200 grit and then 800. Needed to add more disolved putty.
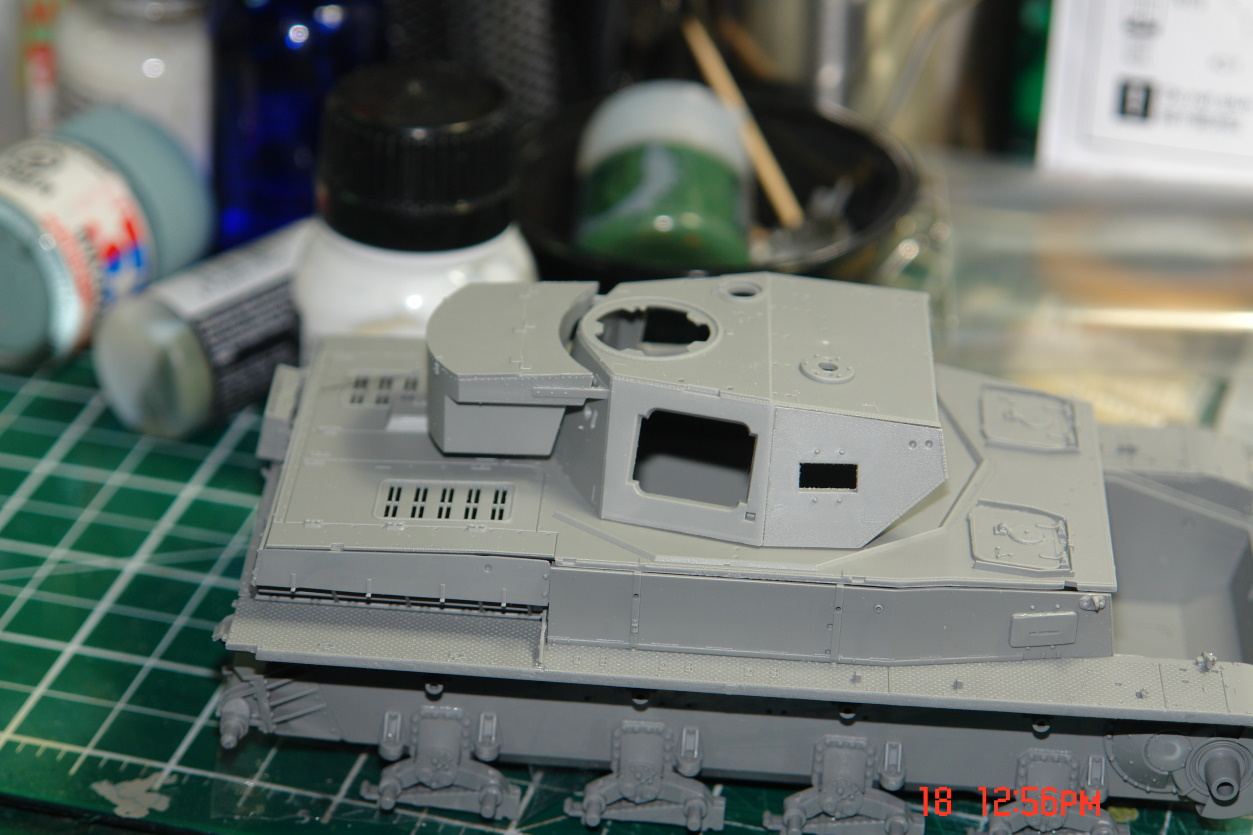
Worked on the turret some more. Some soft detail and sloppy fit which was annoying. Also wrong part numbers called out or parts not even shown. Some of the fits were too tight also.

I glued the fore deck and vertical panel
Next I sprayed some tamiya primer and will let that dry so I can see where I need to sand next and where I need to add more filler. I think its time to start using some putty now.
James
Sanded the deck with 200 grit and then 800. Needed to add more disolved putty.
Worked on the turret some more. Some soft detail and sloppy fit which was annoying. Also wrong part numbers called out or parts not even shown. Some of the fits were too tight also.
I glued the fore deck and vertical panel
Next I sprayed some tamiya primer and will let that dry so I can see where I need to sand next and where I need to add more filler. I think its time to start using some putty now.
James
jknaus
Administrator
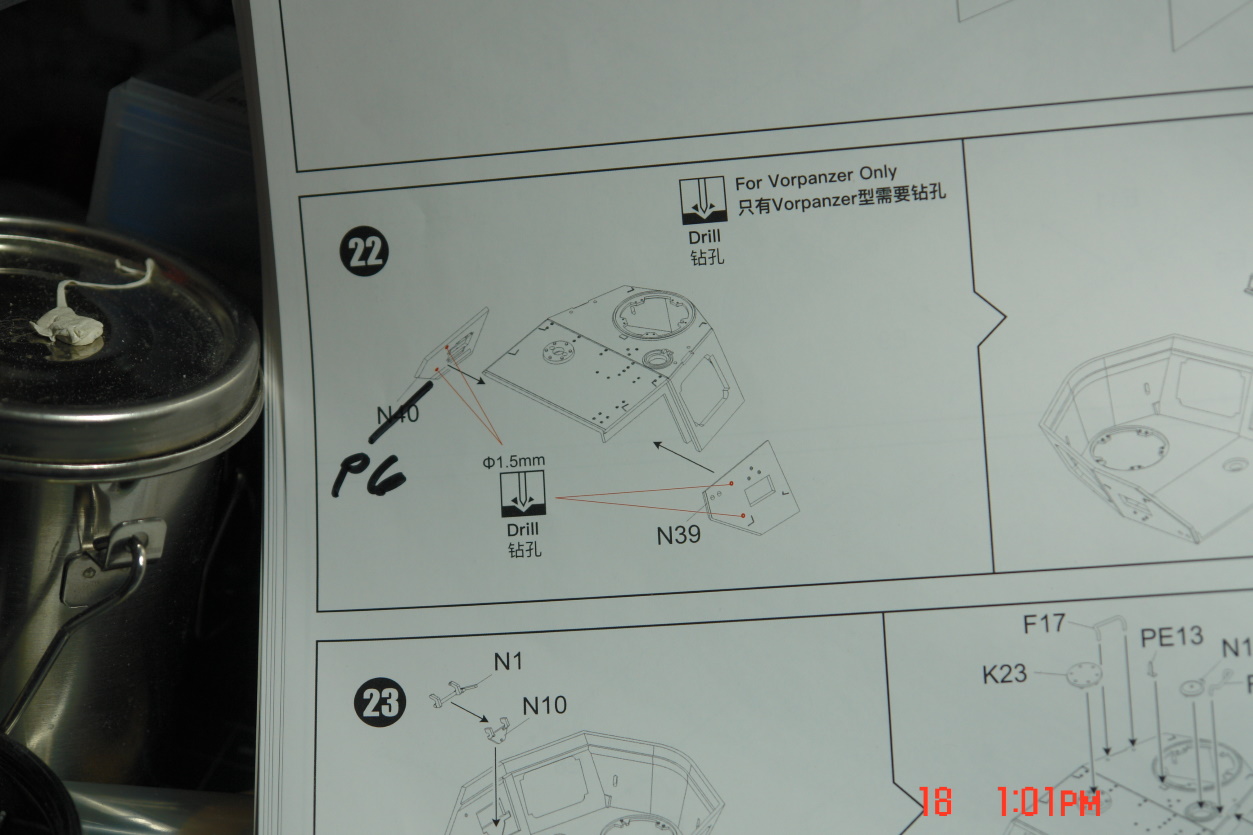
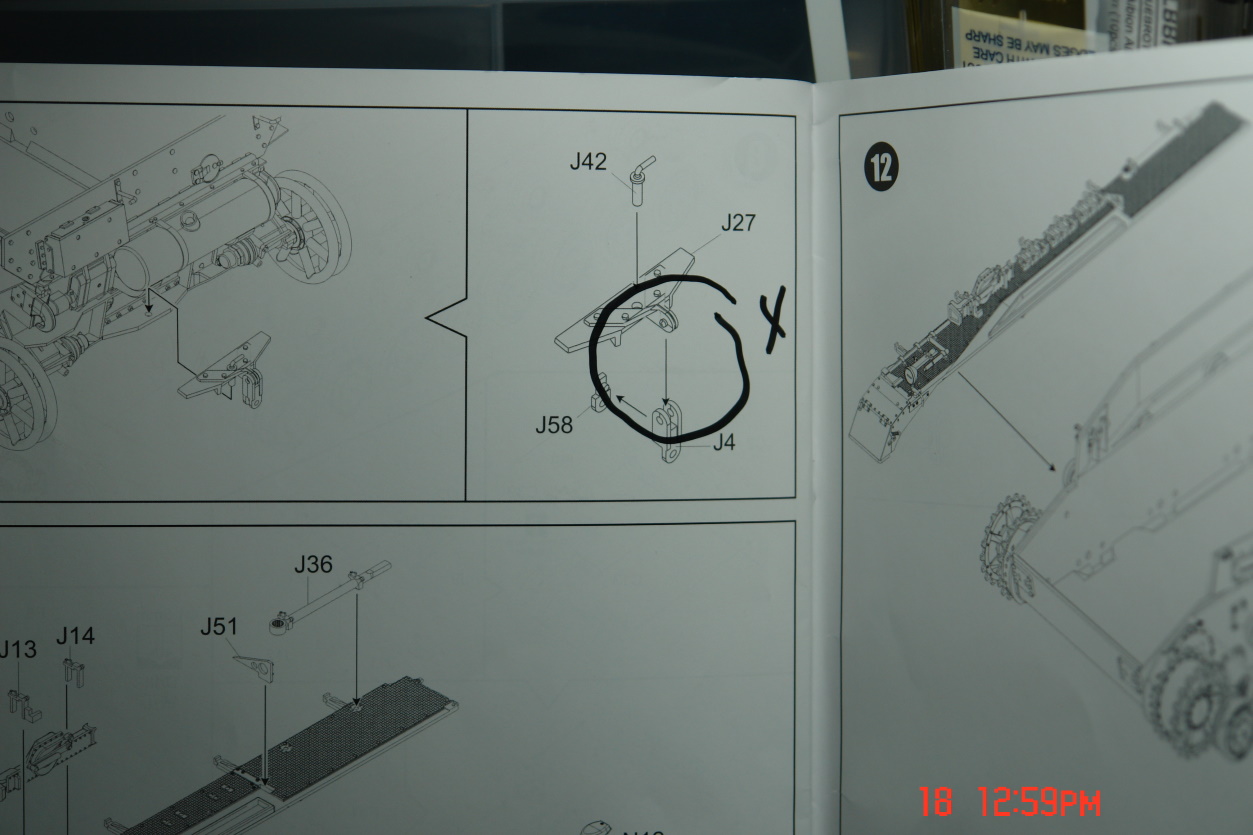
Okay a good afternoon but the more I do the more I find wrong with this kit. From instructions to wondering why the heck did they do this the way they did.. One annoyance I will have to clean up is slots on the top of the hull. 1 of three versions has supports and skirts. I would think you would make cutouts that the modeler would cut and clean for that version while leaving it all flush for the other two versions. I would be wrong and so need to fill them in. I looked at the instructions at the antenna deflector on the barrel and evidently am still not thinking straight as I cut out the center piece of the :Y: like in the instruction picture. Silly me it was the second support. No idea where it went flying so had to make it using strip styrene. Then I glued the drive sprockets together and it looked wrong somehow. Checked my refs and it is the wrong drive sprocket. Not even sure how I will fix that and so I quit for the day. Just had enough of the errors and stupid stuff
James
James
Last edited:
jknaus
Administrator
Okay more research and reading online and I guess the Drive sprocket is the right one. It just looks wrong to me for some reason. So tomorrow fill in the slots for the shurzen supports. Finish the road wheels and add a few more pieces and then I can start painting. I have the Ammo of Mig Pz IV clamps and tool holders and was thinking of using them. Thing is I am not sure how to stick the tools in without breaking the clamps etc. Kind of regretting the impulse to buy them but if I can figure it out all is well. If not the regular tools look okay. I think I'll experiment with how to paint the tools separately. Usually have an issue with them blowing off whatever was holding them. Need to find some of my fine chain or pe chain I think for the hitch peg. While reading I did find a mistake I had not noticed. The top of the turret has a step in it which should not be there. Not sure hou I will get rif of it. I might have to just live with it maybe.
James
James
Beat that thing James!
jknaus
Administrator
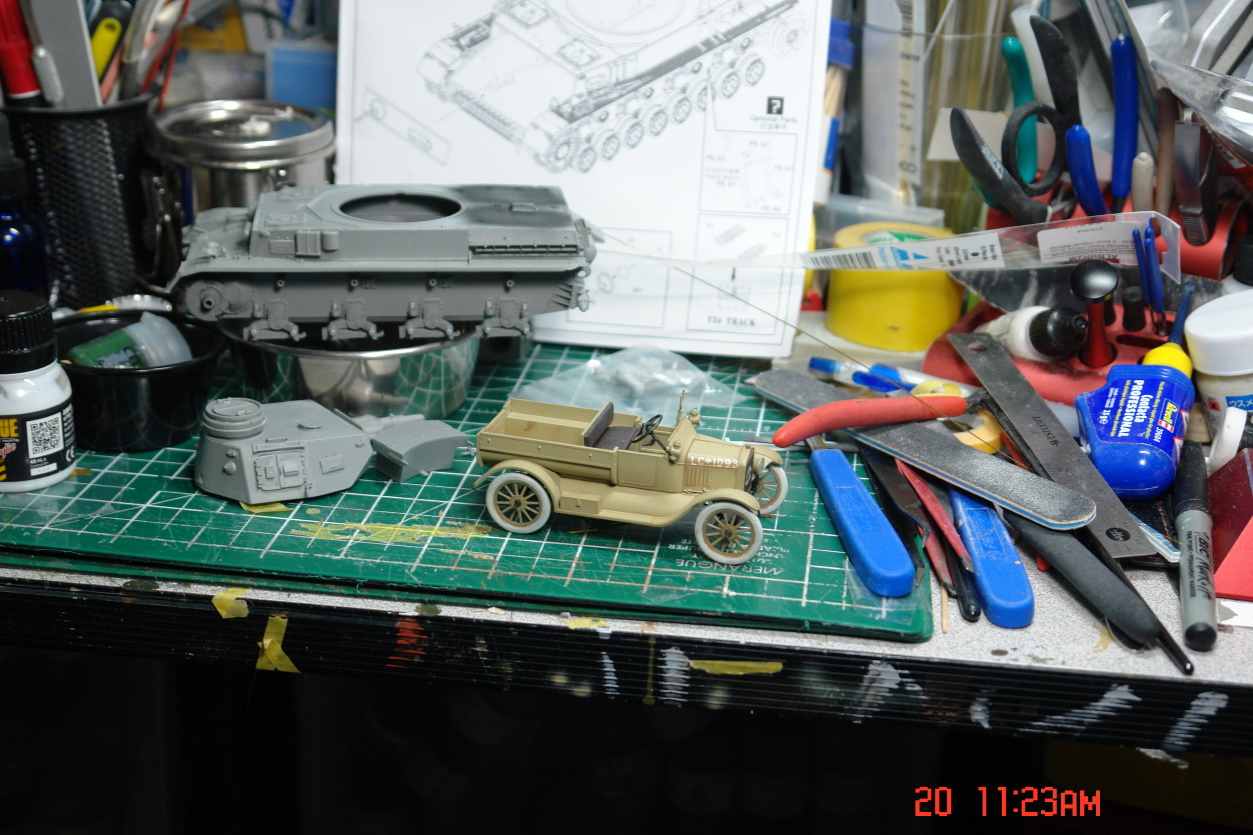
So a bit more done. I think almost ready to paint. I will leave the roof with its step as it is too late to fix now. Just a couple of odd things to add on. The lights were a nightmare and appear and disappeear in the instructions and dont have any mounting guides so hopefully they are right. One was blown off. The ladder is a pain to build and one arm went into the part monsters jaws. I'll look again but I think this particular tank, the Hungarians got rid of the ladder lol. I hope the rear deck looks okay. Not sure how else to smooth it after all I've done so far. Tracks are next. I thought I had some metal ones but I think all I have are late tracks. Will look some more.
Wheels keep falling off for pics.
Okay another wrong instruction. The parts call for a 4 piece cleaning rod but that is for the bigger gun. While not mentioned there is a 2 piece rod but it has no head and both rods have the threaded rod to join them. So cut off one of the small rods and drilled a hole. Might have been a waste of time as it is hard to see. Then cut off the head from the 4 piece set and glued to the 2 piece. Doesnt look too bad but the pic is blurry. Just something to be aware of when building this kit.
Oh and some NATO Black sprayed on as the grey primer didnt show much up.
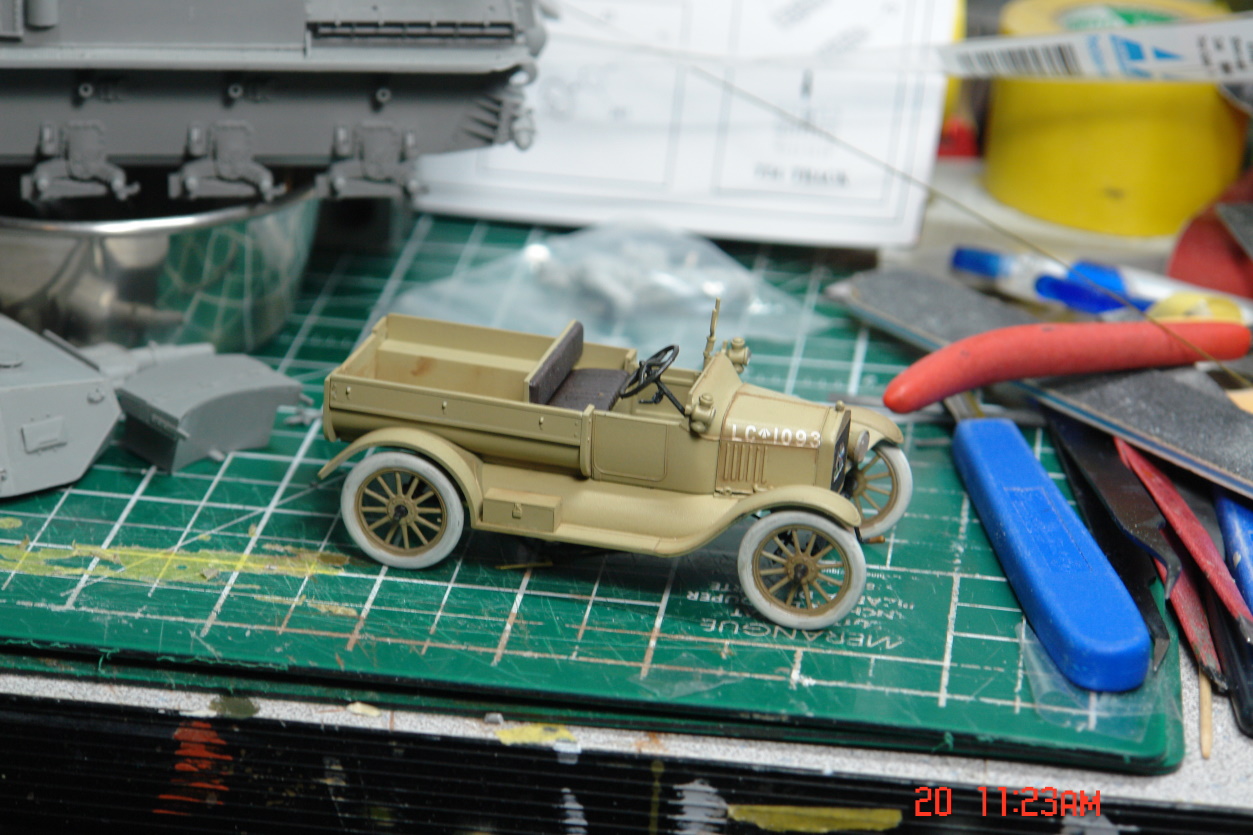
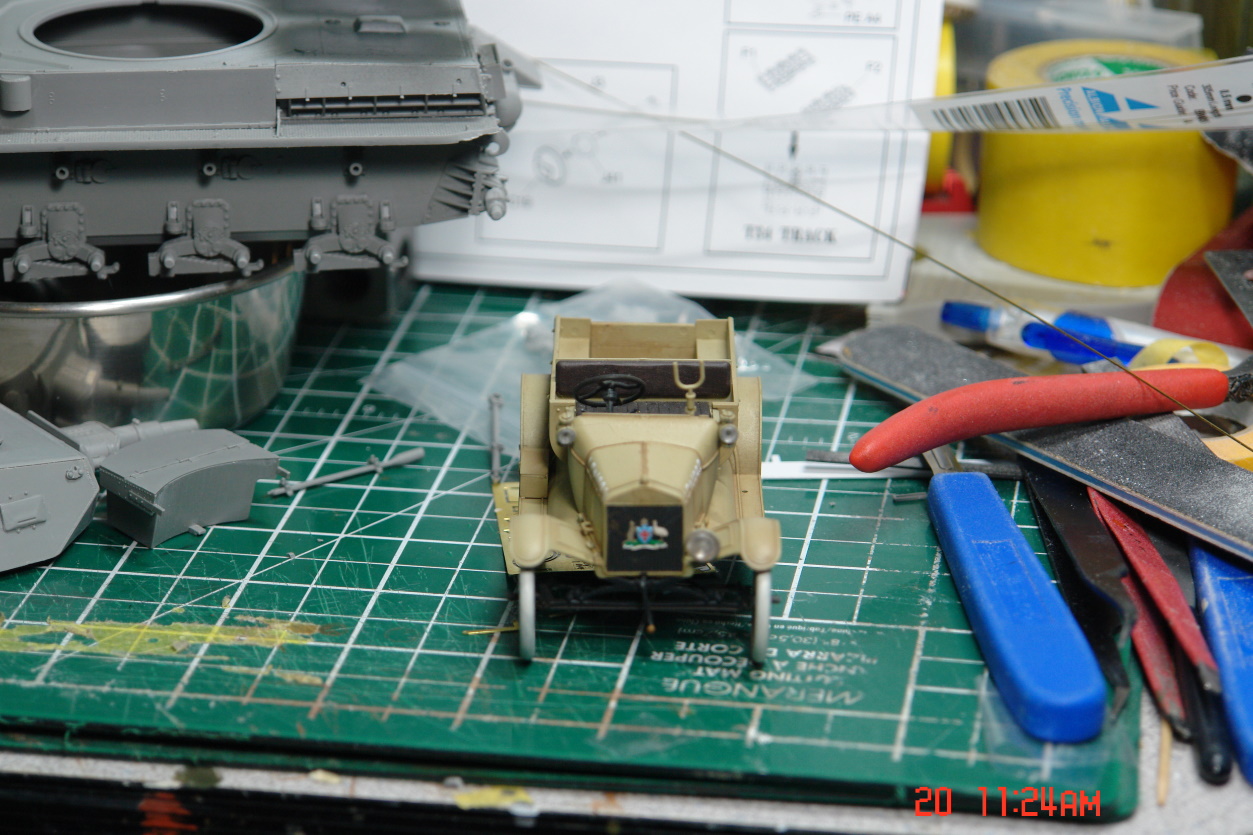
And while not of this build some pics of the Model T as I slowly finish it.
James
Wheels keep falling off for pics.
Okay another wrong instruction. The parts call for a 4 piece cleaning rod but that is for the bigger gun. While not mentioned there is a 2 piece rod but it has no head and both rods have the threaded rod to join them. So cut off one of the small rods and drilled a hole. Might have been a waste of time as it is hard to see. Then cut off the head from the 4 piece set and glued to the 2 piece. Doesnt look too bad but the pic is blurry. Just something to be aware of when building this kit.
Oh and some NATO Black sprayed on as the grey primer didnt show much up.
And while not of this build some pics of the Model T as I slowly finish it.
James
Both are looking great!! 
paddy
Well-known member
Hi James
I really admire your determination to get this right, its funny how often this becomes a mission that has to be done and yet 99% of people would never notice however... its these details that make us happy with a build and thats the really important thing. Also i think it makes the whole thing much more interesting to do as it pushes as and you get a real sense of achievement when it works out good")
Keep up the excellent work mate
I really admire your determination to get this right, its funny how often this becomes a mission that has to be done and yet 99% of people would never notice however... its these details that make us happy with a build and thats the really important thing. Also i think it makes the whole thing much more interesting to do as it pushes as and you get a real sense of achievement when it works out good
Keep up the excellent work mate
James, why didn't you let me know about this build on FB? I have quite a few Hungarian books and spare kit parts to help out.
Regards,
Regards,
Sherman 18
Master at Arms
I'm digging the T.
Panzer IV is looking good.
Panzer IV is looking good.
Duke Maddog
Well-known member
Man, I agree with that sentiment!
Similar threads
- Replies
- 20
- Views
- 2K