• Modelers Alliance has updated the forum software on our website. We have migrated all post, content and user accounts but we could not migrate the passwords.
    This requires that you manually reset your password.
    Please click here, http://modelersalliance.org/forums/login to go to logon page and use the "Forgot your Password" option.

1940 USN Ford Ambulance

I did manage to get the chrome sprayed in the cargo area. I need to clear it and then apply the wood grain decals. I tried my hand at making the gurney but ran into kinking at the corners when using brass tubing. I did take two scrap pieces of tubing and solder them together for the first time.

CBBF69FB-B968-431F-B58F-F42FEB69B9B2_zpsk9uwu2l1.jpg


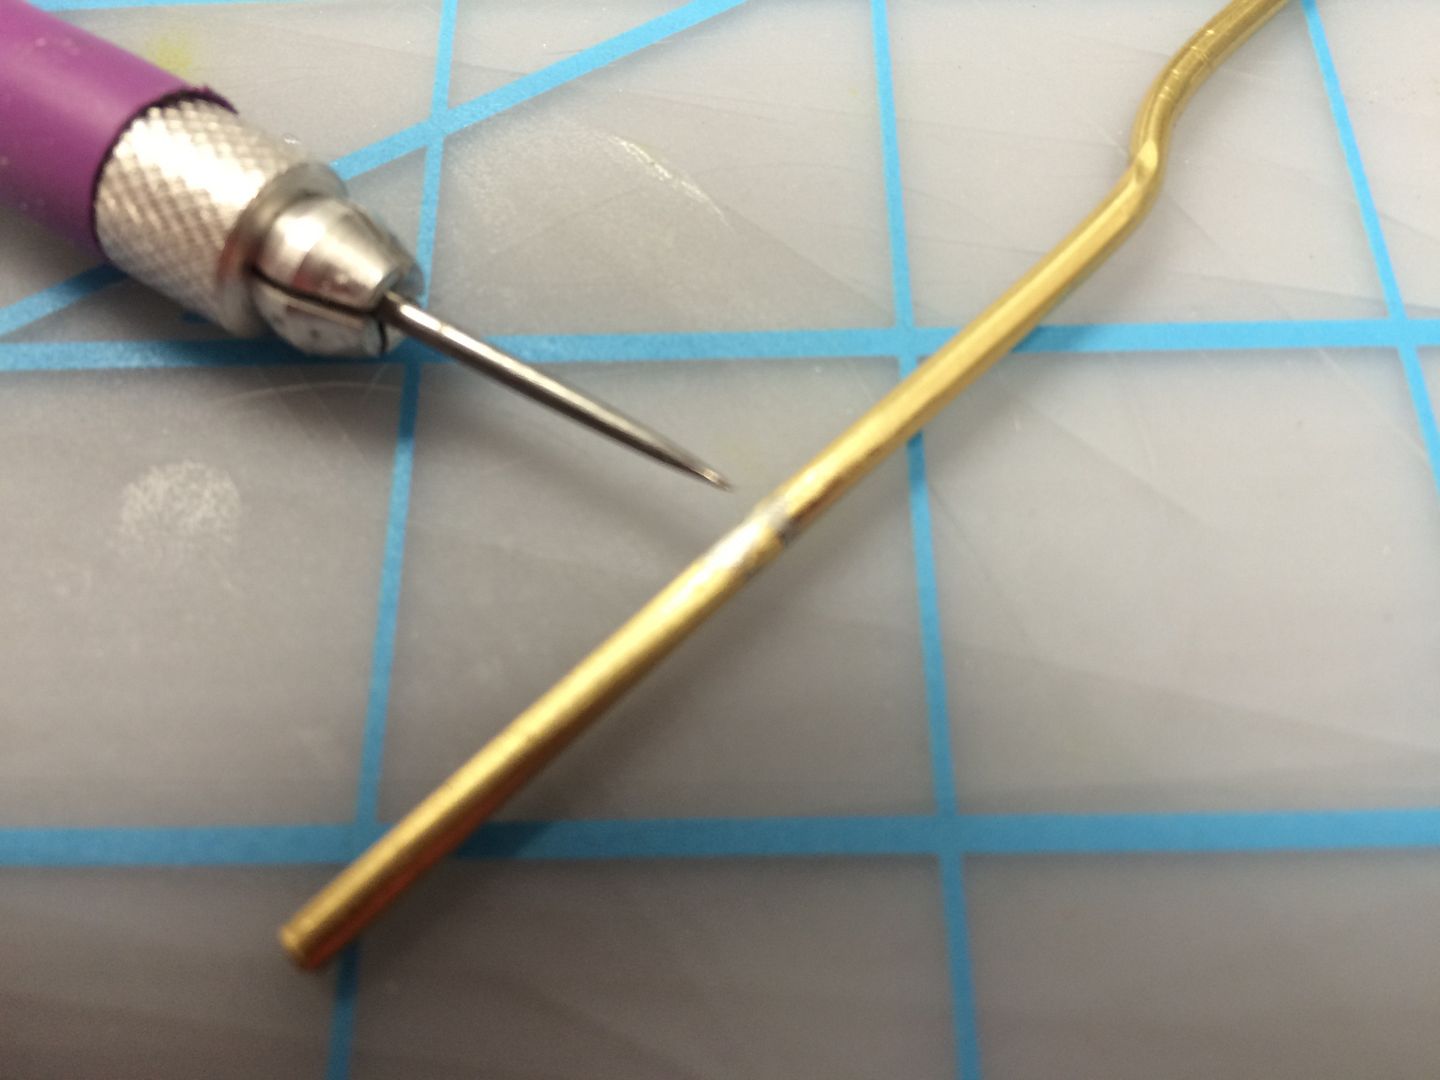
Not too bad considering this was my first time. Ian has a neurosurgery checkup in Baton Rouge on Wednesday. A few blocks away is a nice hobby shop that has a bit of everything including brass rod so I will pick some up after the appointment.

After I got finished soldering and learning as I went, I remembered that I have Adam Wilder's DVD on working with photoetch. I popped it in the laptop and fixed some of my errors in technique. Oh well.
 
Back when I worked in a muffler shop, we had a pipe bender & there were "shoes" we'd insert for different sized pipes. a curved shoe to wrap the pipe around& a couple on the outer edge to keep it from kinking. Maybe you could take a pice of larger tubing, cut it lengthwise &use it as a guide as you make your bend? Just a thot Kenny :drinks
 
You know Ed, I do have some bending sleeves tucked somewhere in the shed. I may have to try them out. After trying to bend the 3/32 tubing yesterday, I do think brass rod will give me a tighter radius. I ordered this cool little jig yesterday from Amazon. It will be put to the test this weekend.

bending%20jig_zpsog6edrei.jpg
 
Last night I got the clear on the chrome strips in the rear of the ambulance and then added the woodgrain decals for the floor boards.

C19C839A-A32F-4B92-A53F-93E9FD10B77A_zps1zrkvrbu.jpg


Next up is scratch building the chocks for the gurney wheels.
 
I will. I also just got the K & S micro wire bending tool.

I think you will like the K & S bender better, I have the same Jig, it has never been used, although
it may work for the size tube your using Kenny. That K&S bender is sweet if it is the one I have, nice decal work. looking good :popcorn
 
Another thing to remember is that brass rod and tube are usually fairly hard from the hobby shop. Anneal them where you want the bends to be by heatin g it until it glows orange.

This is really looking GOOD Kenny! (y) What did you use for the decal base on the wood, and did you do a coating after you printed it? Also, what kind of printer did you use?

(y)


:popcorn
Thanks for the tip Paul. I bought a micro torch yesterday that I can use. The decals were printed on white laser decal paper from Papilio. It was printed using a HP Lasejet Pro 400 color printer using the glossy setting which prints slower. I learned this from trial and error. Printing on the regular setting caused the image to blur. To get the image, I ordered Walnut, White Oak and Teak "paper" from. I scanned in the sheets, they are 8.5" x 11". I used the teak sheet and sized it down to the size of the of the bed of the sedan. The grain at that scale was perfect. I put the decal right on top of the Vallejo Model Chrome using Micro Sol and Set. I think I am going to take some satin clear and hit the boards to take off the shine.

Papilio

Real Wood Paper

Purty neat trick Kenny!! (y)
 
Thank you guys. Today I tackled the gurney/stretcher. I'm not sure I got the right combo of solder and flux. I did manage to get the the frame soldered but went with CA for the rest of the build.

Here is the frame with styrene springs.

C5A81EB2-BF7B-4AD7-BA83-23BB54CA470F_zpst6vko5pr.jpg


A test fit in the cargo area.

349B8147-B743-4ED4-87A1-EE0F7494AF24_zpscmdzfebe.jpg


All that is left is the mattress which will be made from Sculpey oven baked clay and the resin casters

4DBE94B0-19DE-42BA-AAE6-3995DE1964B8_zpskppdkpof.jpg
 
Back
Top