Adam Baker
Active member
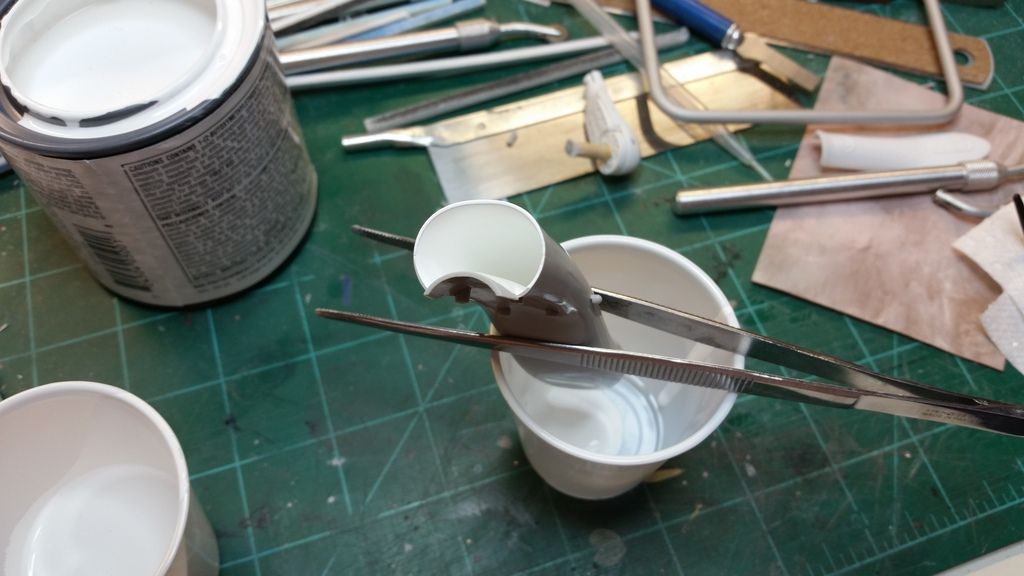
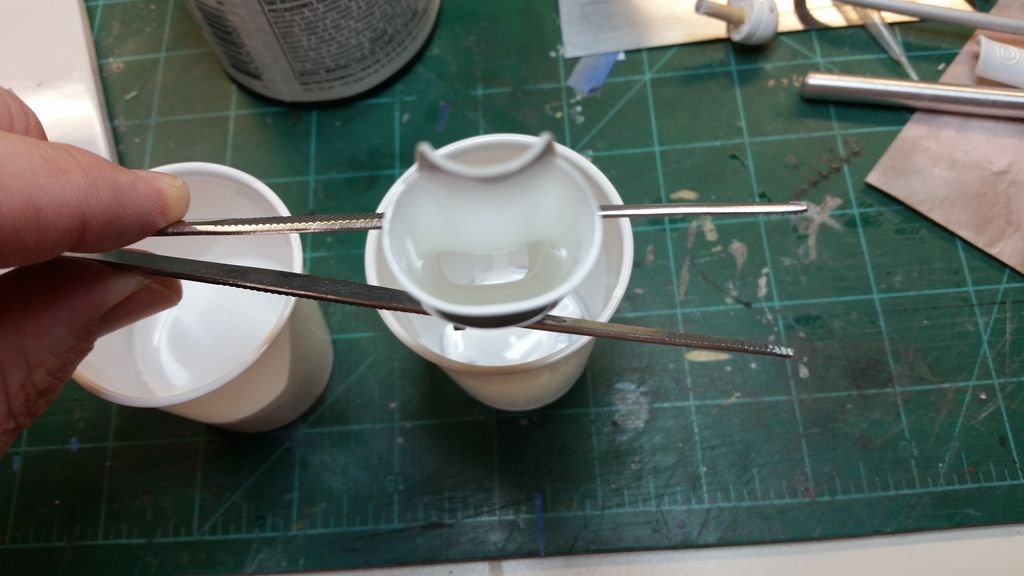
1/200 Trumpeter Bismarck with Pontos 27001F1
Yea, a lot of the DS images I've found don't show them loaded down. A lot like this one below.

The instruction sheet mentions that it could carry up to 24 500lb bombs, 6 on each wing hardpoint, and then 2 sidewinders on the fuselage mounts, but most images show at most 8 500's like above, or 6 500's on TERS on the inboard mounts and HARM's on the outboard mounts, and sidewinders on the fuselage.
The A-7 apparently had the option for 3 hardpoints under both wings, but a lot of the images I'm finding usually only have 2 on each side, but a few I see have drop tanks on the inboard position, then bombs on TER racks in the middle, and then either single bombs or TER racks w/ bombs, or missiles, on the outboard rack.
Yea, a lot of the DS images I've found don't show them loaded down. A lot like this one below.
The instruction sheet mentions that it could carry up to 24 500lb bombs, 6 on each wing hardpoint, and then 2 sidewinders on the fuselage mounts, but most images show at most 8 500's like above, or 6 500's on TERS on the inboard mounts and HARM's on the outboard mounts, and sidewinders on the fuselage.
The A-7 apparently had the option for 3 hardpoints under both wings, but a lot of the images I'm finding usually only have 2 on each side, but a few I see have drop tanks on the inboard position, then bombs on TER racks in the middle, and then either single bombs or TER racks w/ bombs, or missiles, on the outboard rack.
I think what Ian was telling us about the stress load was they likely would not have loaded it down with fully loaded MERs with MK84s. Probably could have gone to work with a couple of JDAMs or Harms. I don't know, just making it up.