
Tamiya/Italeri M107 Tamiya/Italeri M107
Full Build Review by: Tony Lee
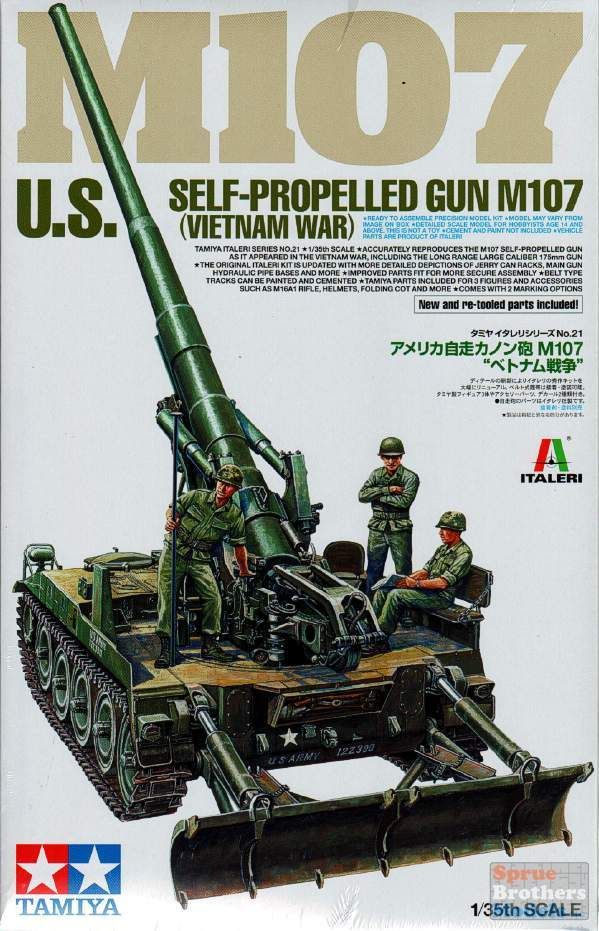
Tamiya and Italeri have teamed up to reintroduce the M107 175mm Self-Propelled Gun from the Vietnam war era.
Tamiya claims to have updated Italeri's kit with more details,improved parts fit,softer band tracks that can be cemented and painted. Tamiya also included three figures and accessories such as a M16A1,two M60 machine guns,a folding table and chairs plus three folding cots and more.
Markings for two U.S. Army units:
Army 2nd Battalion,32nd Field Artillery Regiment,Vietnam 1969
Army 7th Battalion,15th Field Artillery Regiment,Vietnam 1969
I've not built the older Italeri kit but Sherman is building one for the Uncle Tony's SPG campaign
www.modelersalliance.com/forum/uncle-tony-s-spgs/151136-m107
and those that would like to compare the two kits may do so.
Looking over the Tamiya sprues this morning it appears the detail is crisper and knock out punch marks are shallower and easier to deal with if need be plus I didn't find a single sink mark anywhere.
OK People Lets Roll
------------------------------------
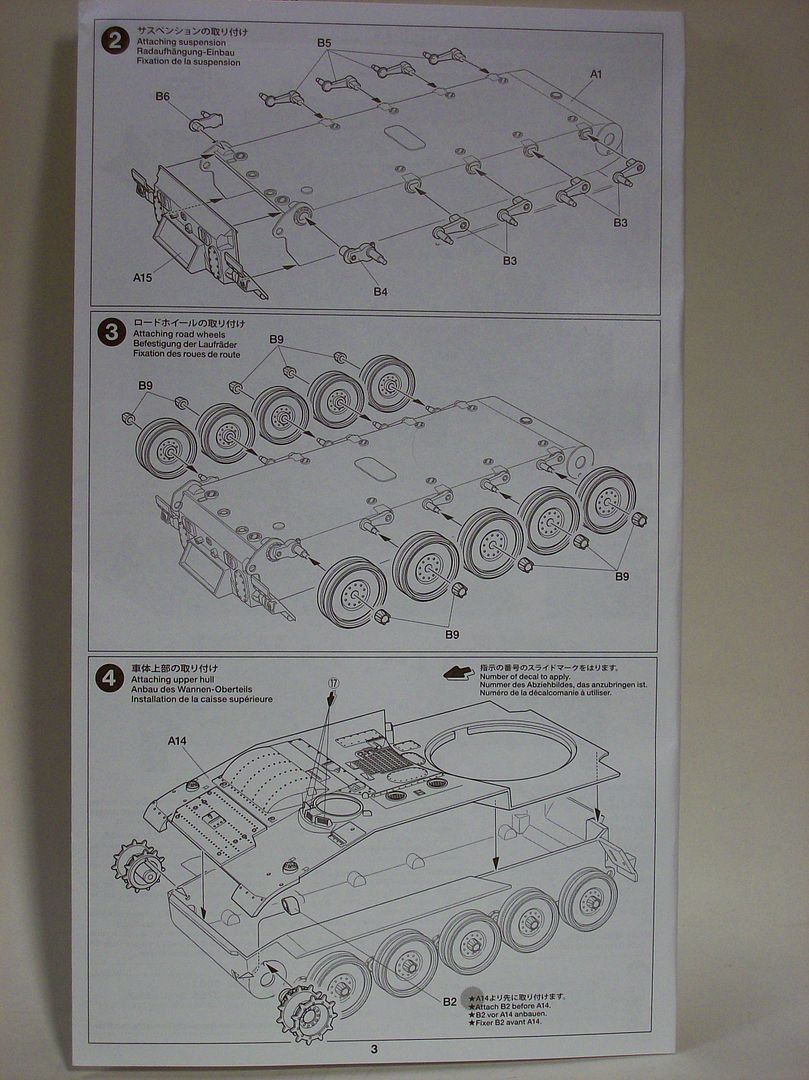
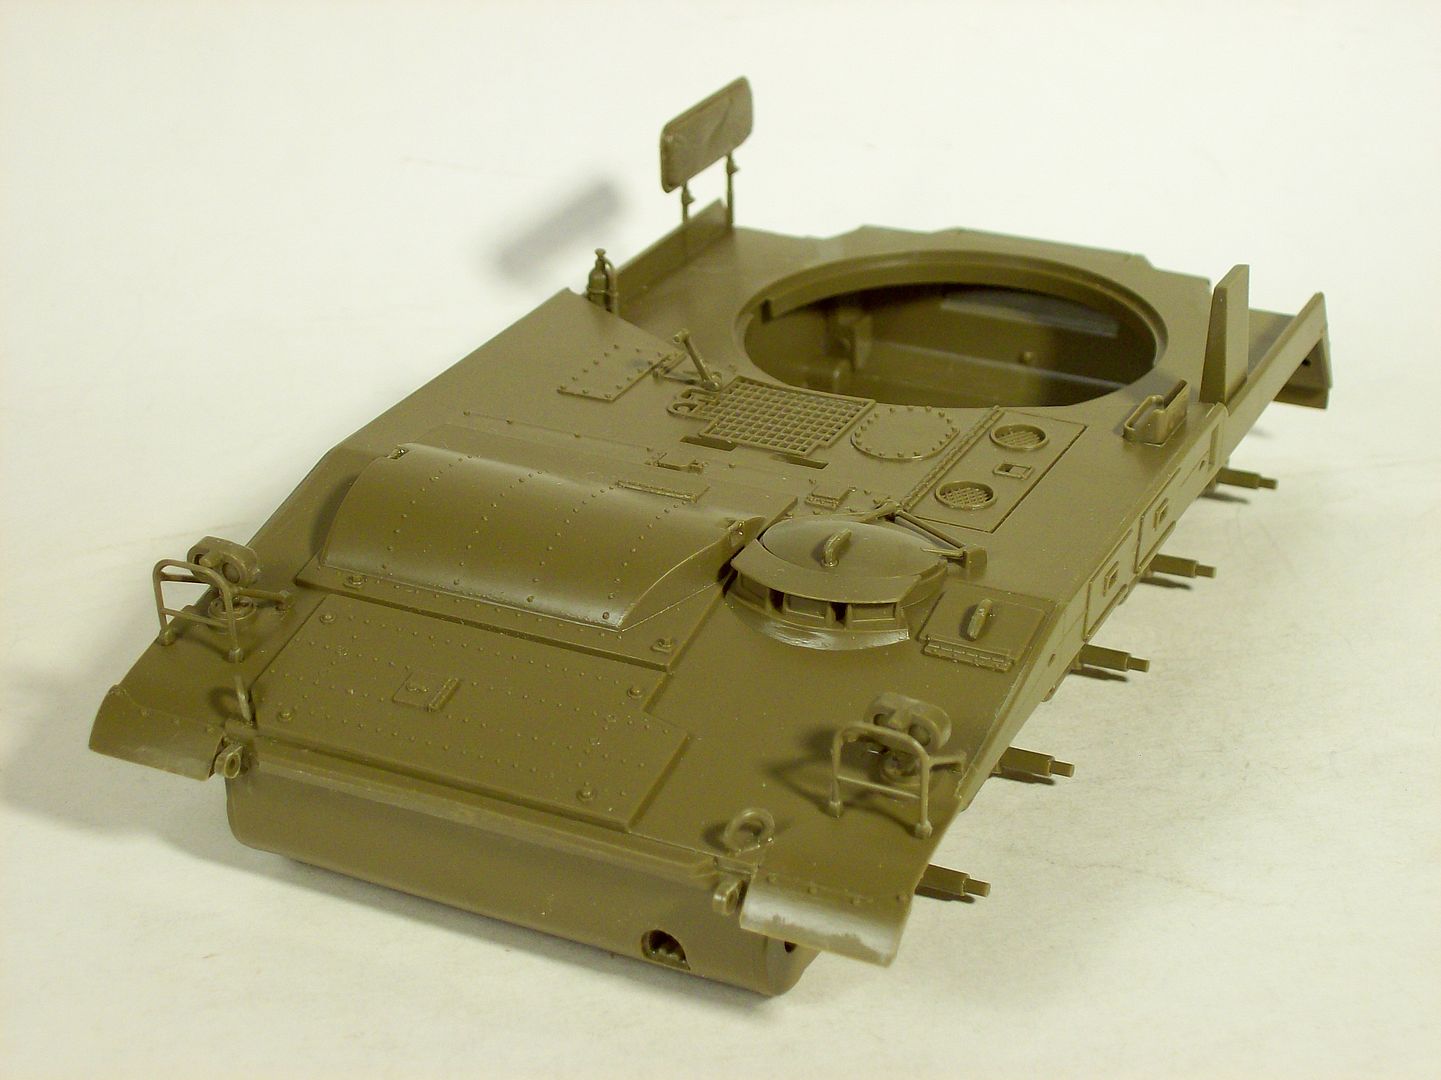
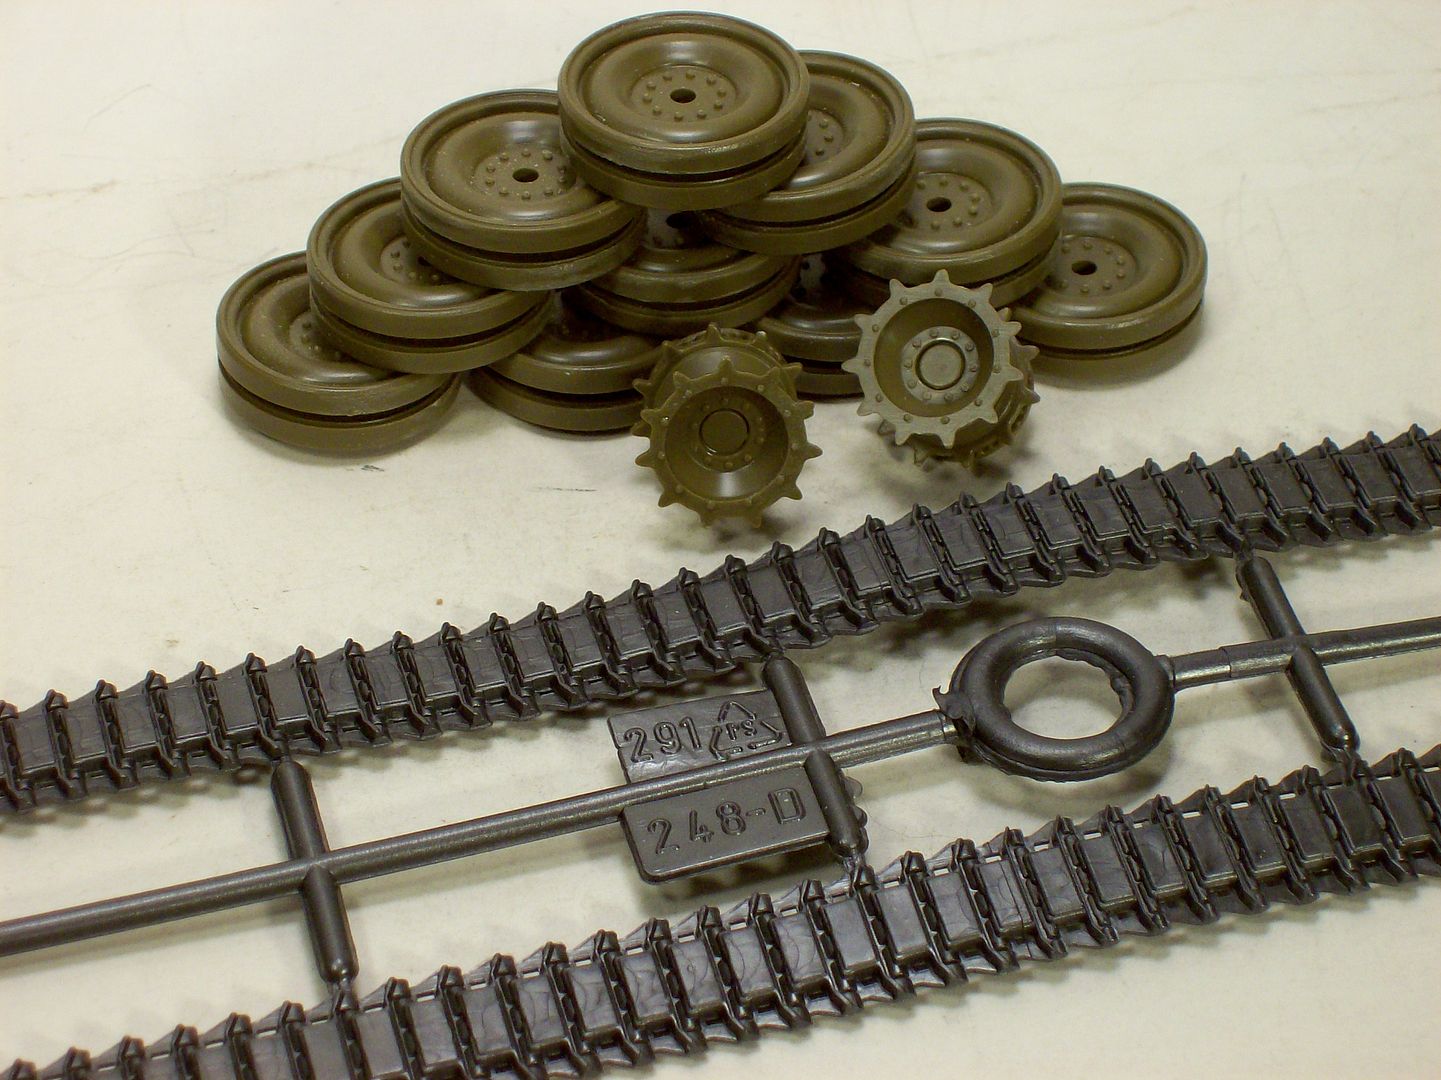
I went ahead and completed the first four steps with step one being the wheels.
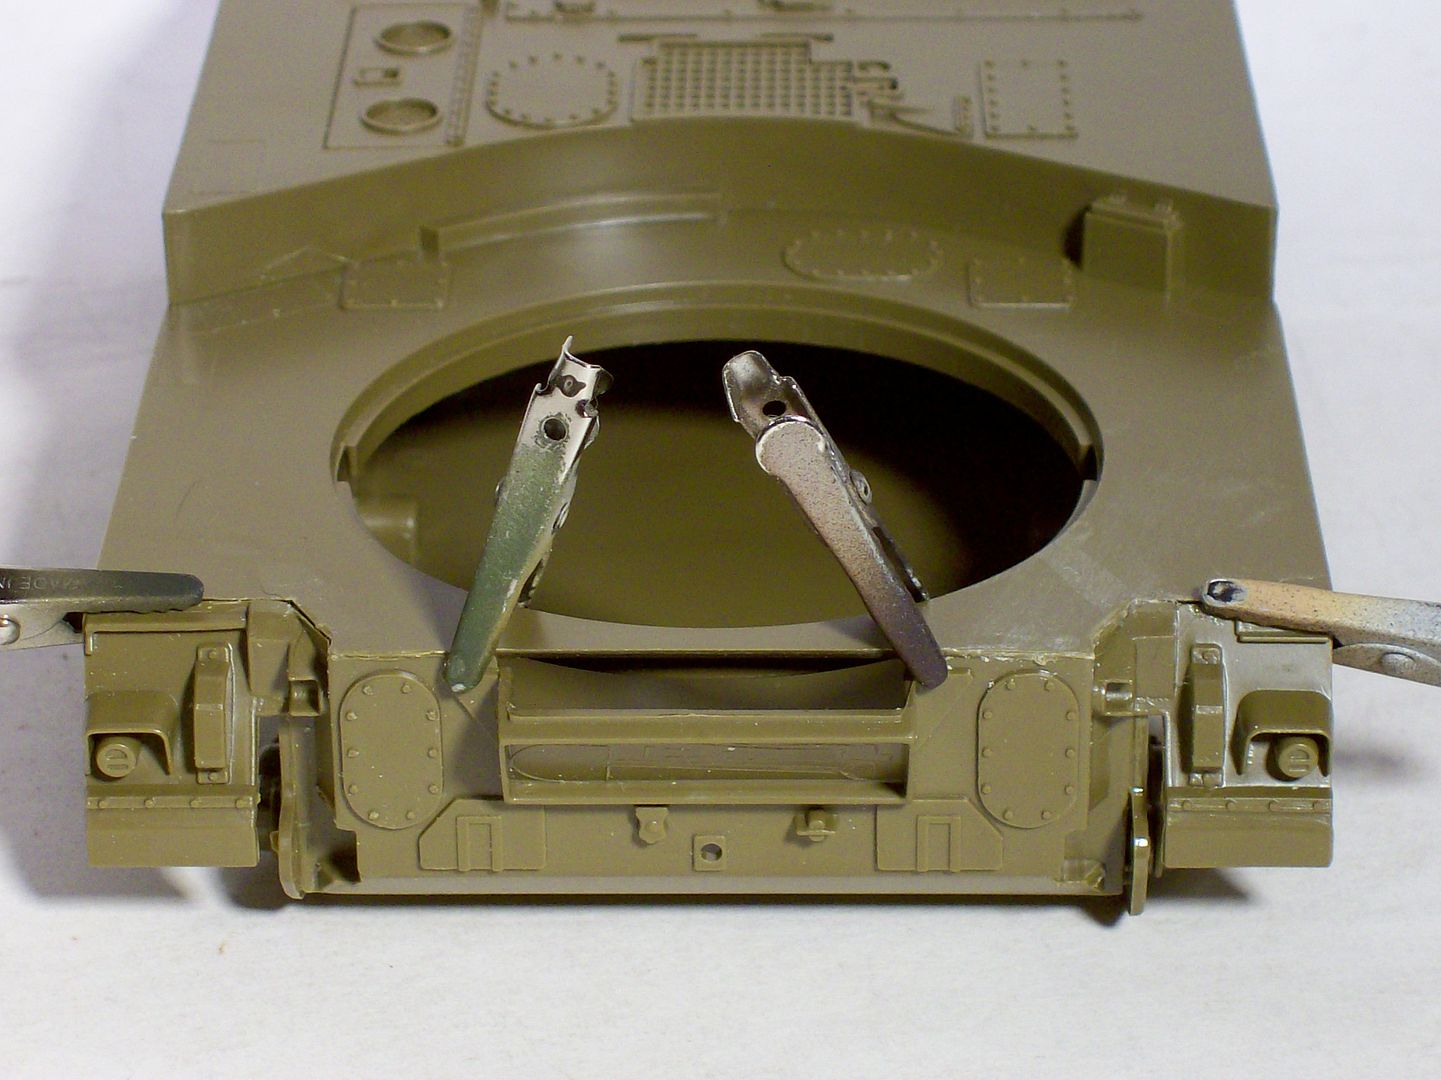
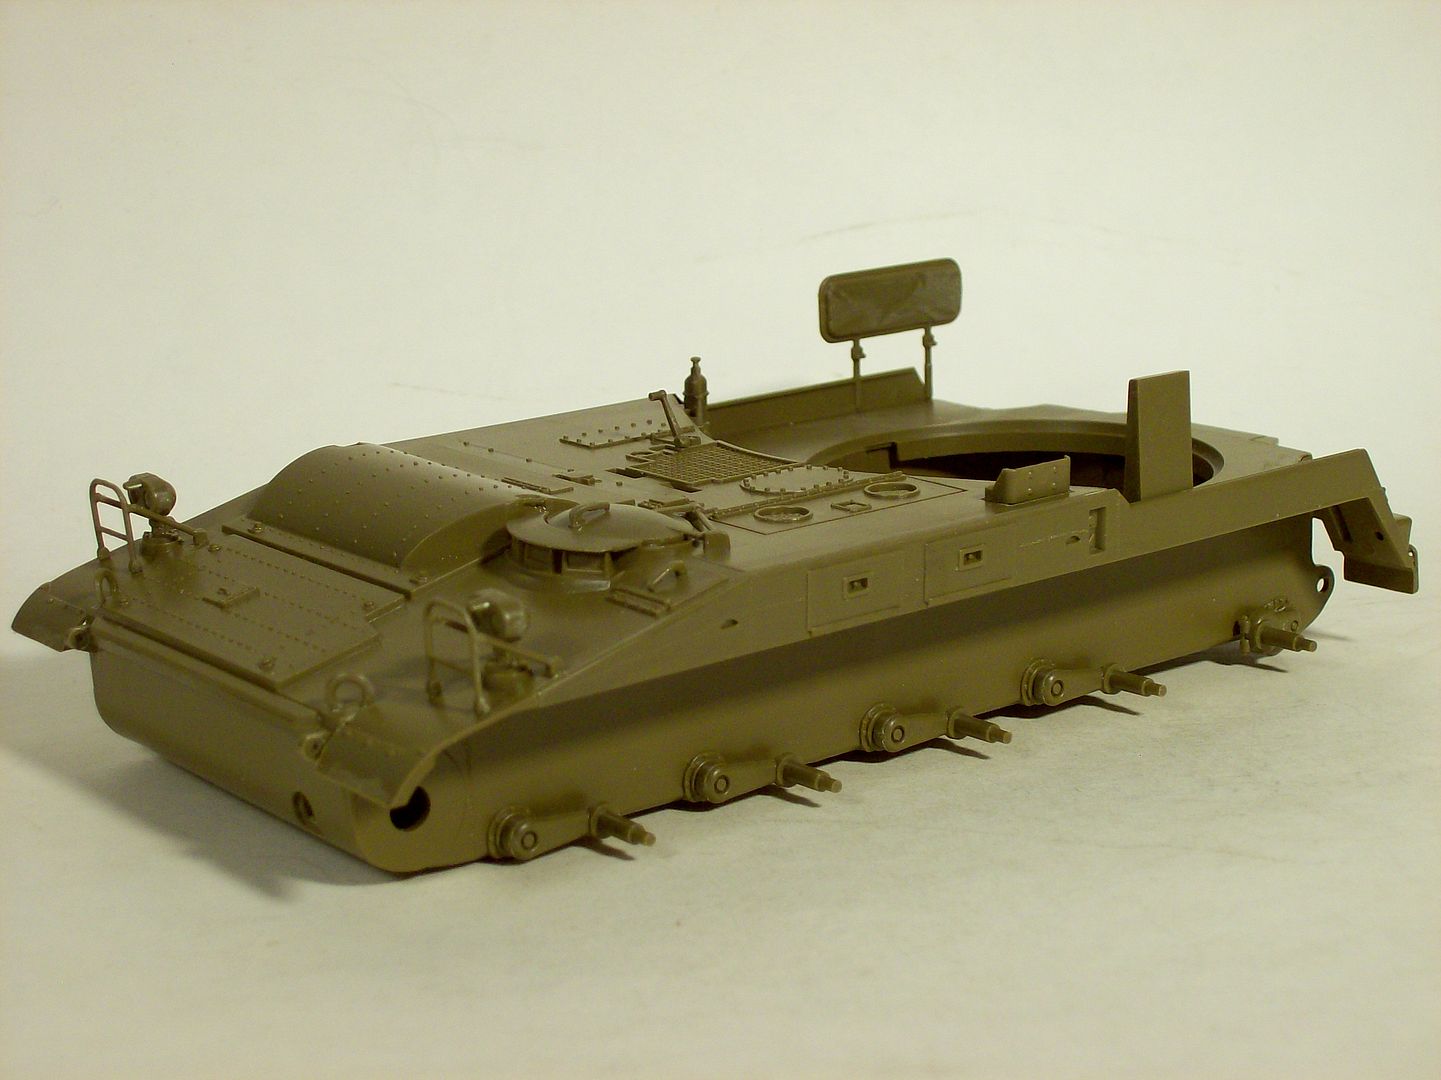
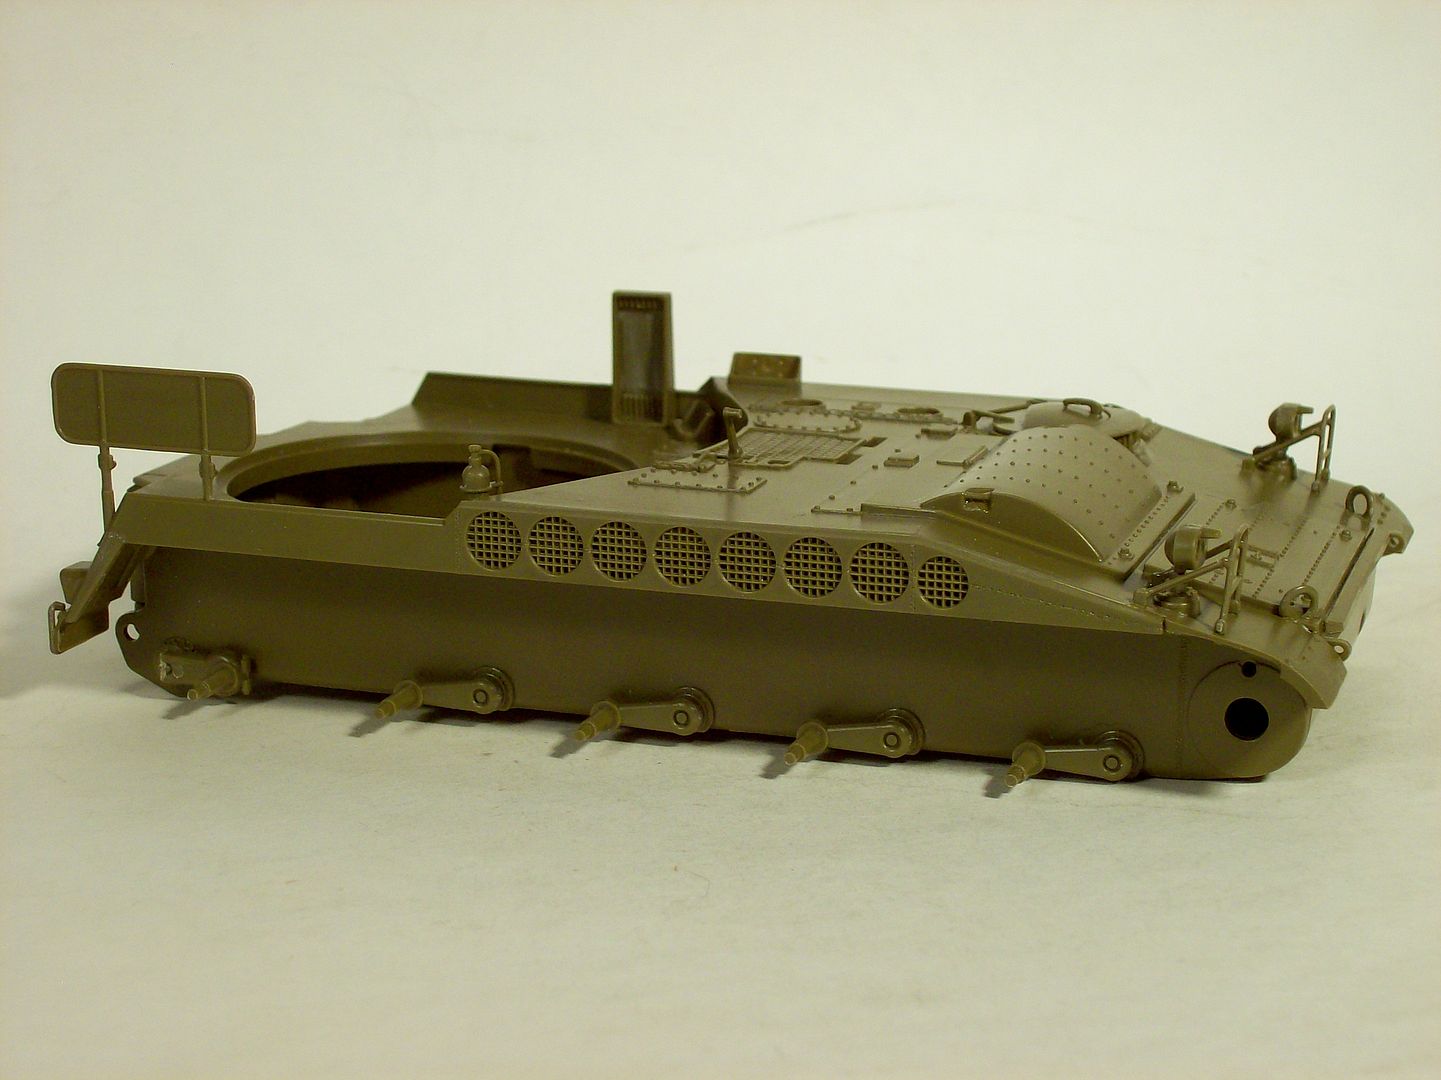
I had troubles with the fit of the upper hull matching up with the rear hull plate and from what I was told is a known problem with the Italeri kit as well.

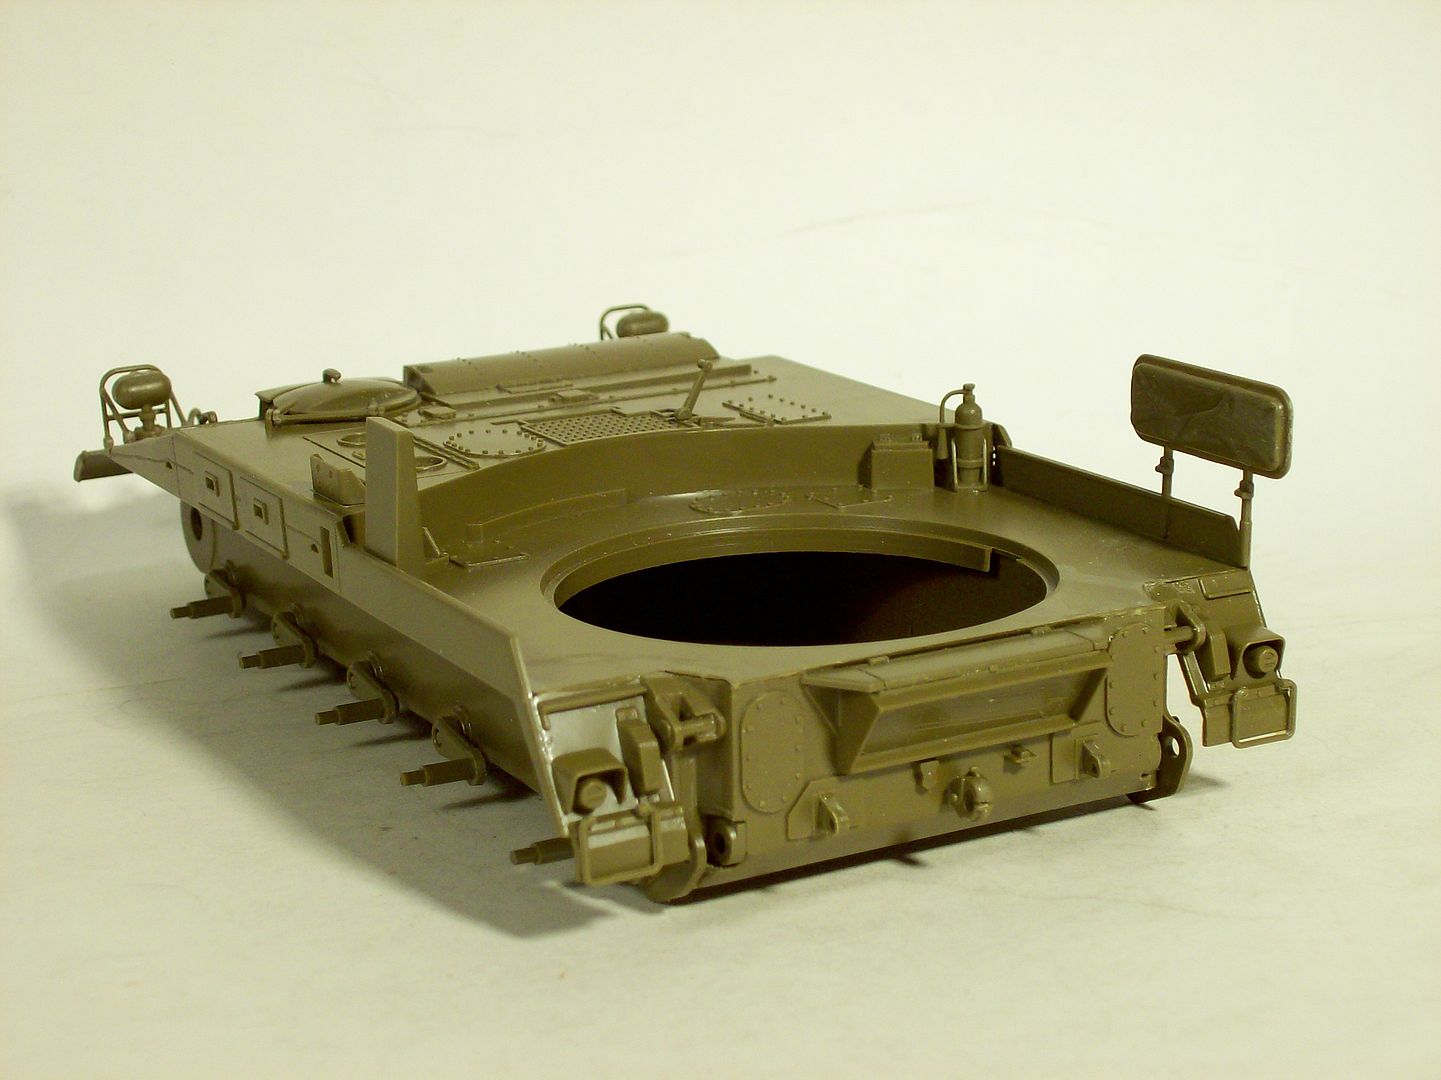
I spent a lot of time getting the fit as tight as I could and then used clips while the glue cured. It still needs a thin application of filler to close the small gaps.
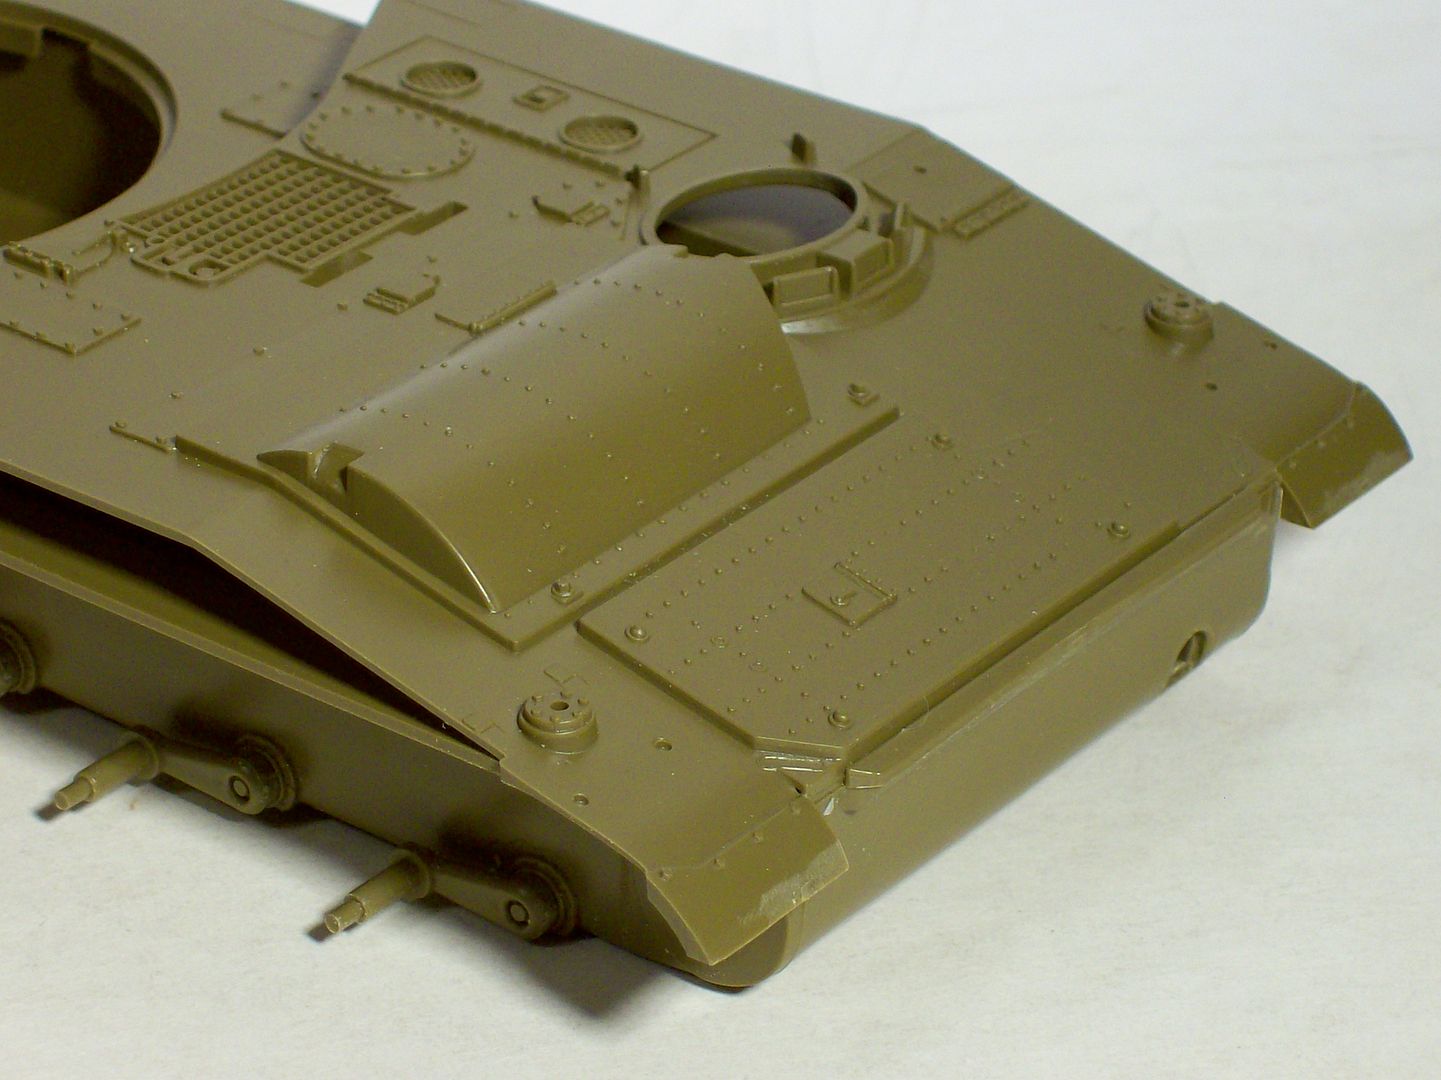
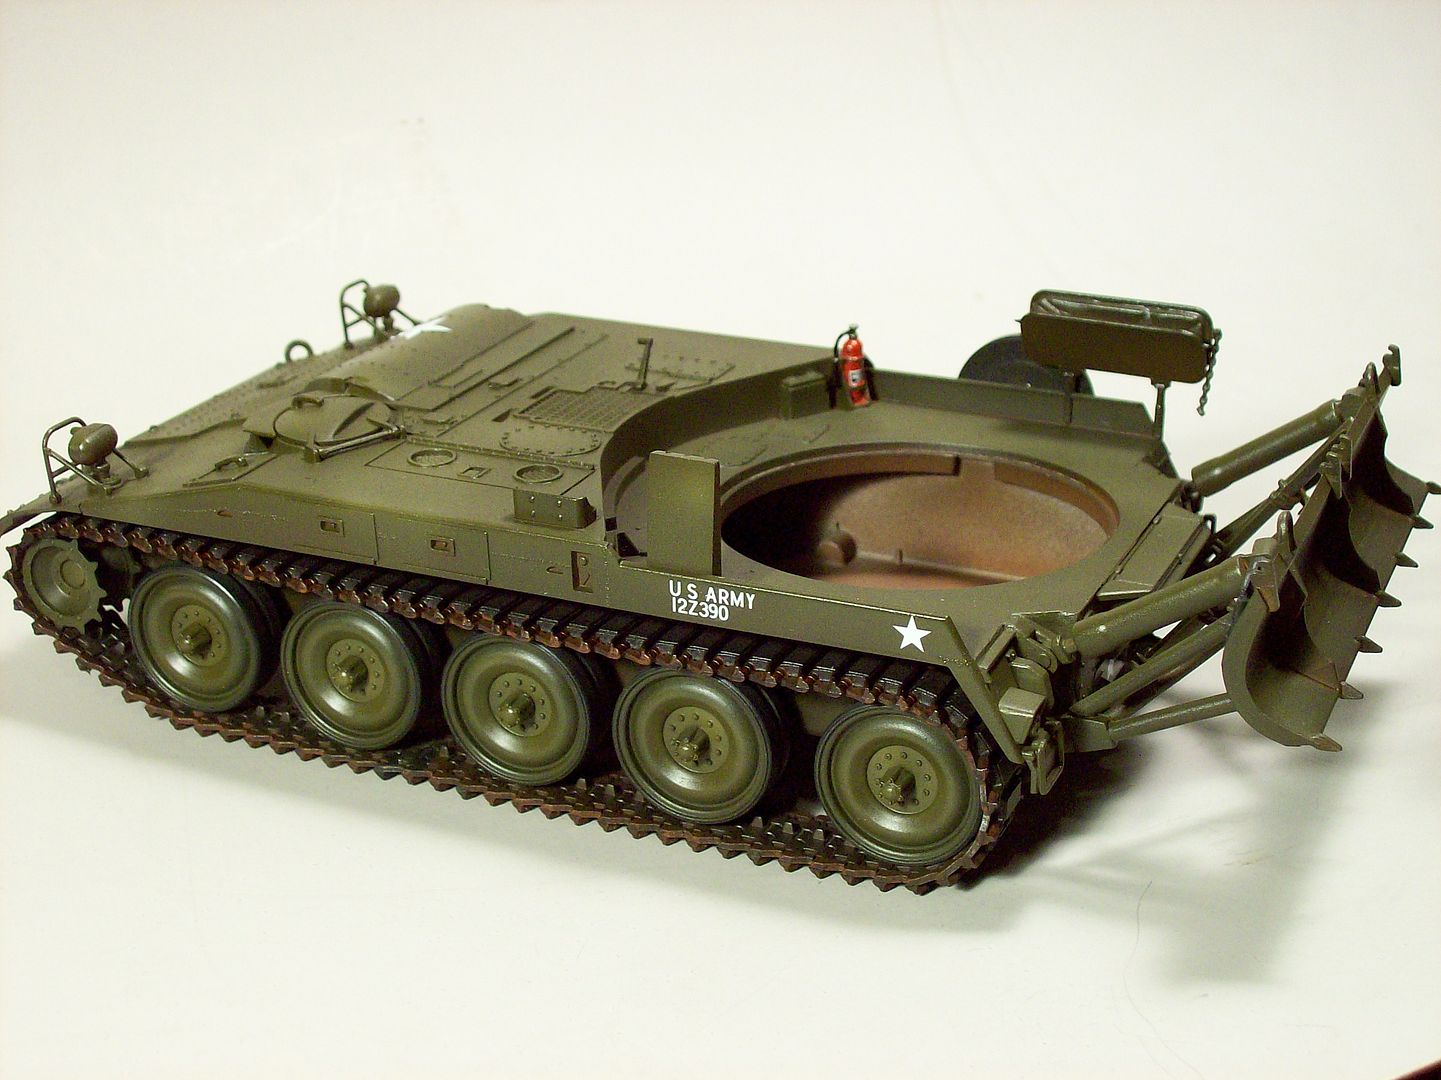
The front fits up nice and tight:
Not so at the rear:
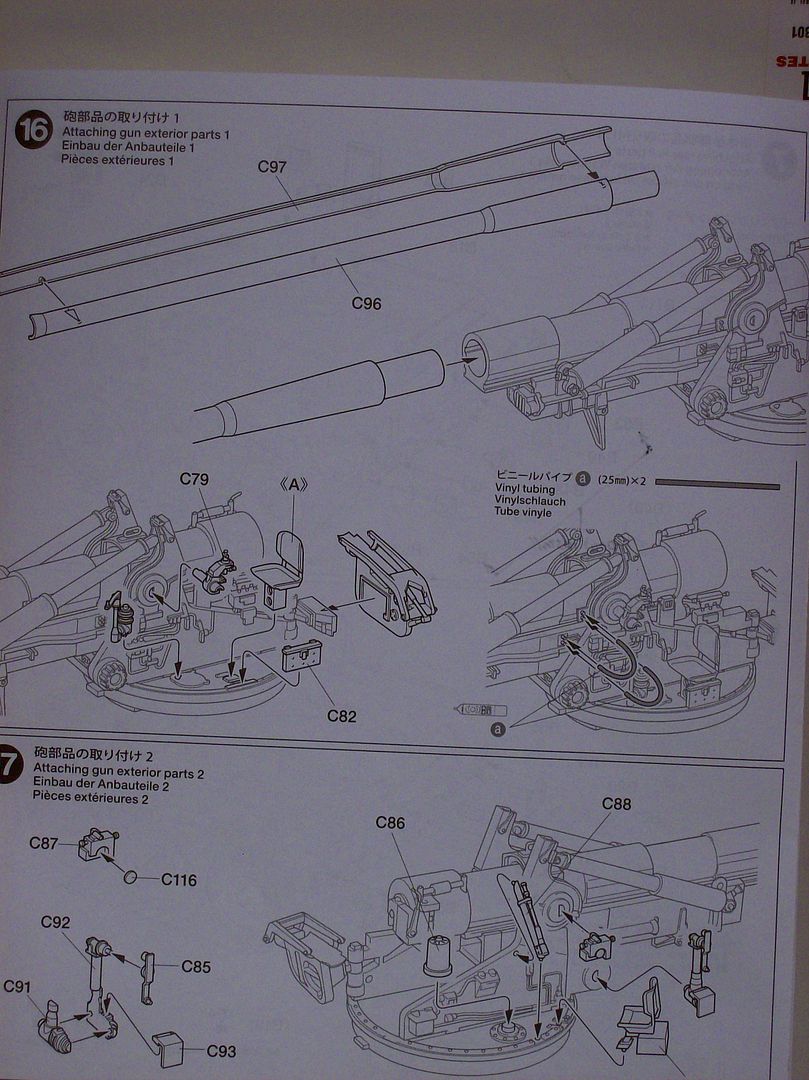
The remainder of the steps completed a walk in the park: BTW Tamiya did not supply you with the Jerry Cans for the new holders.

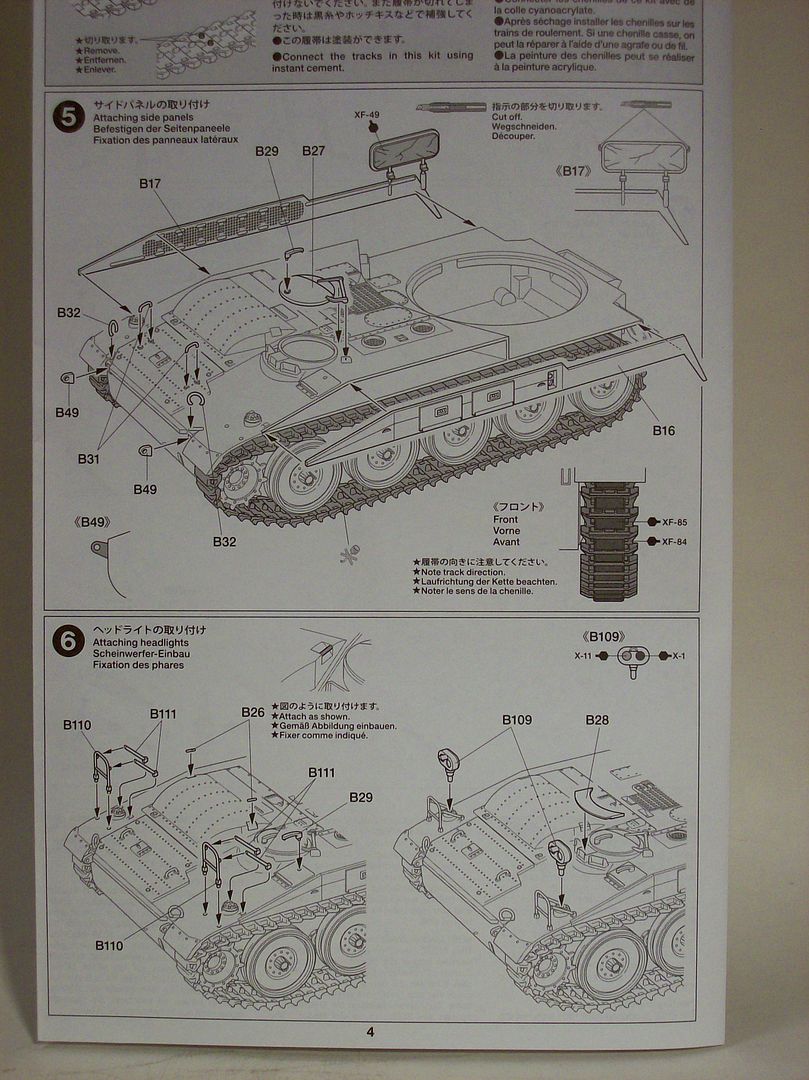
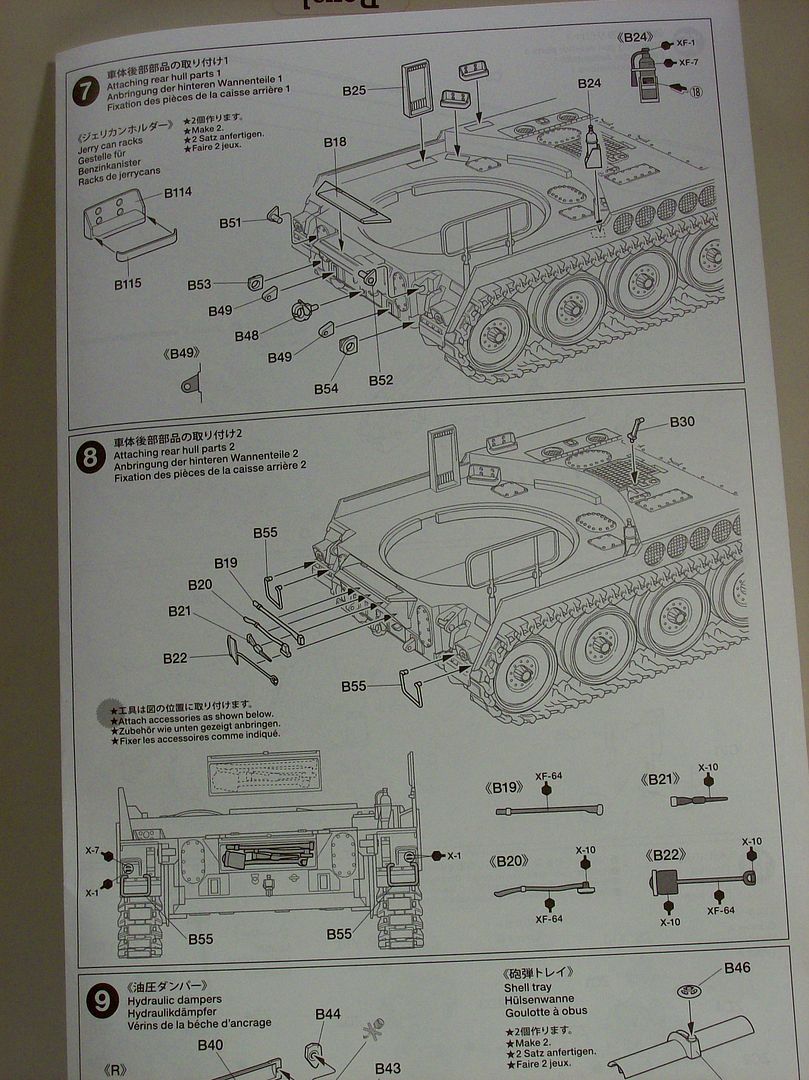
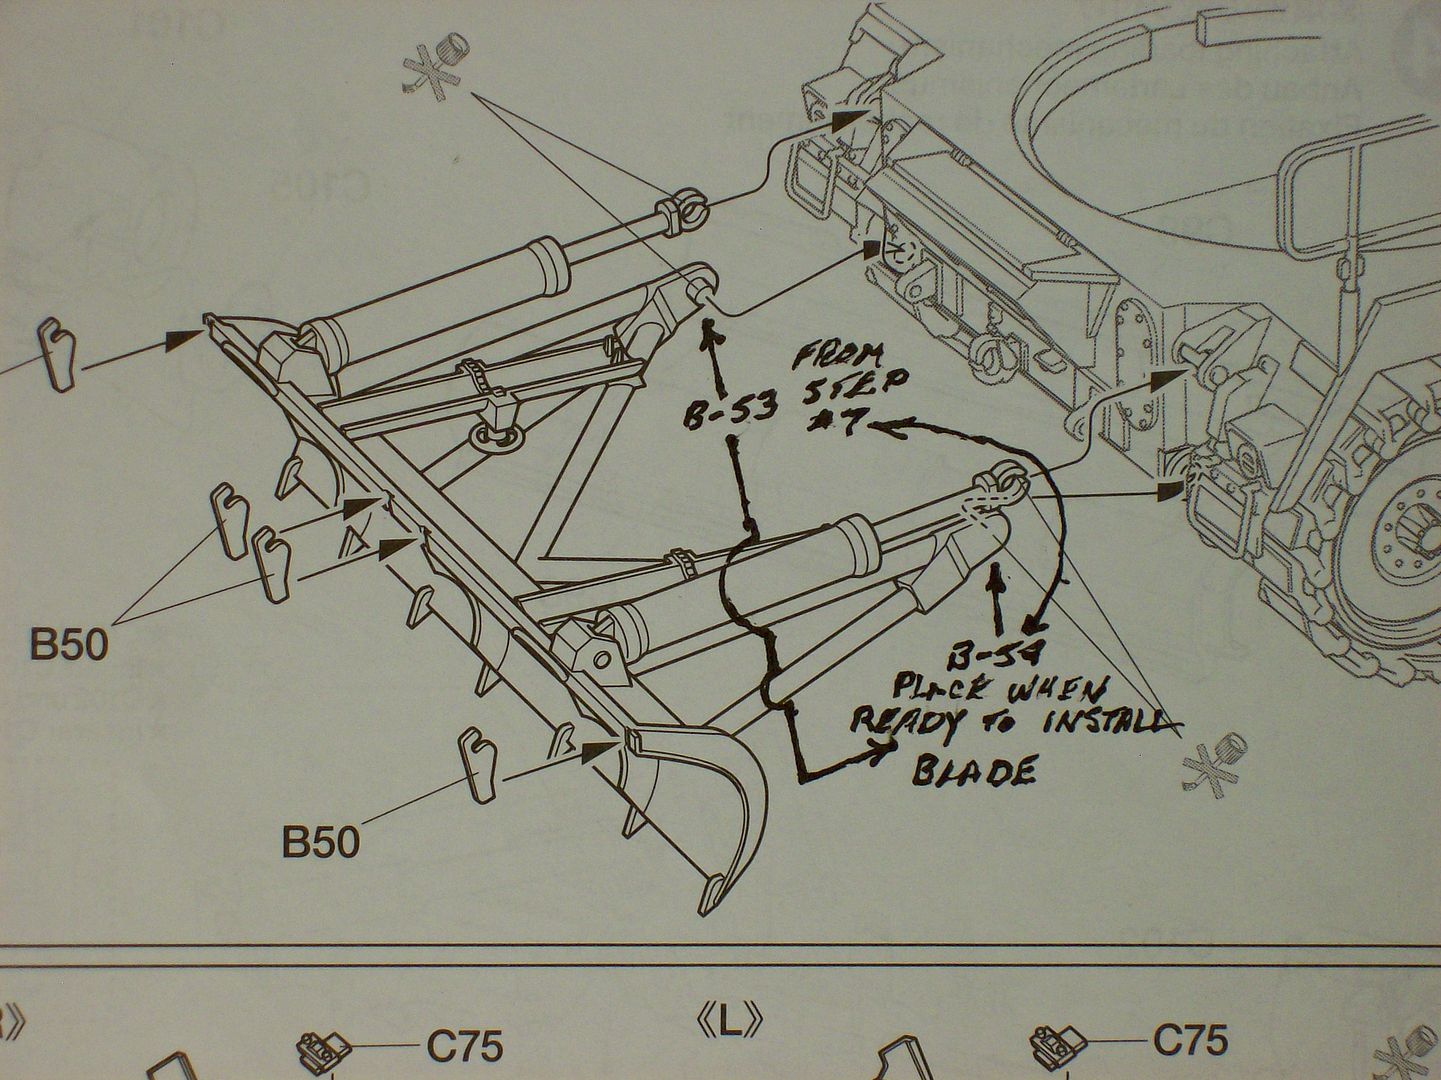
We need to back track for just a moment here with a heads up in regards to parts B-53 and 54 in step #7.
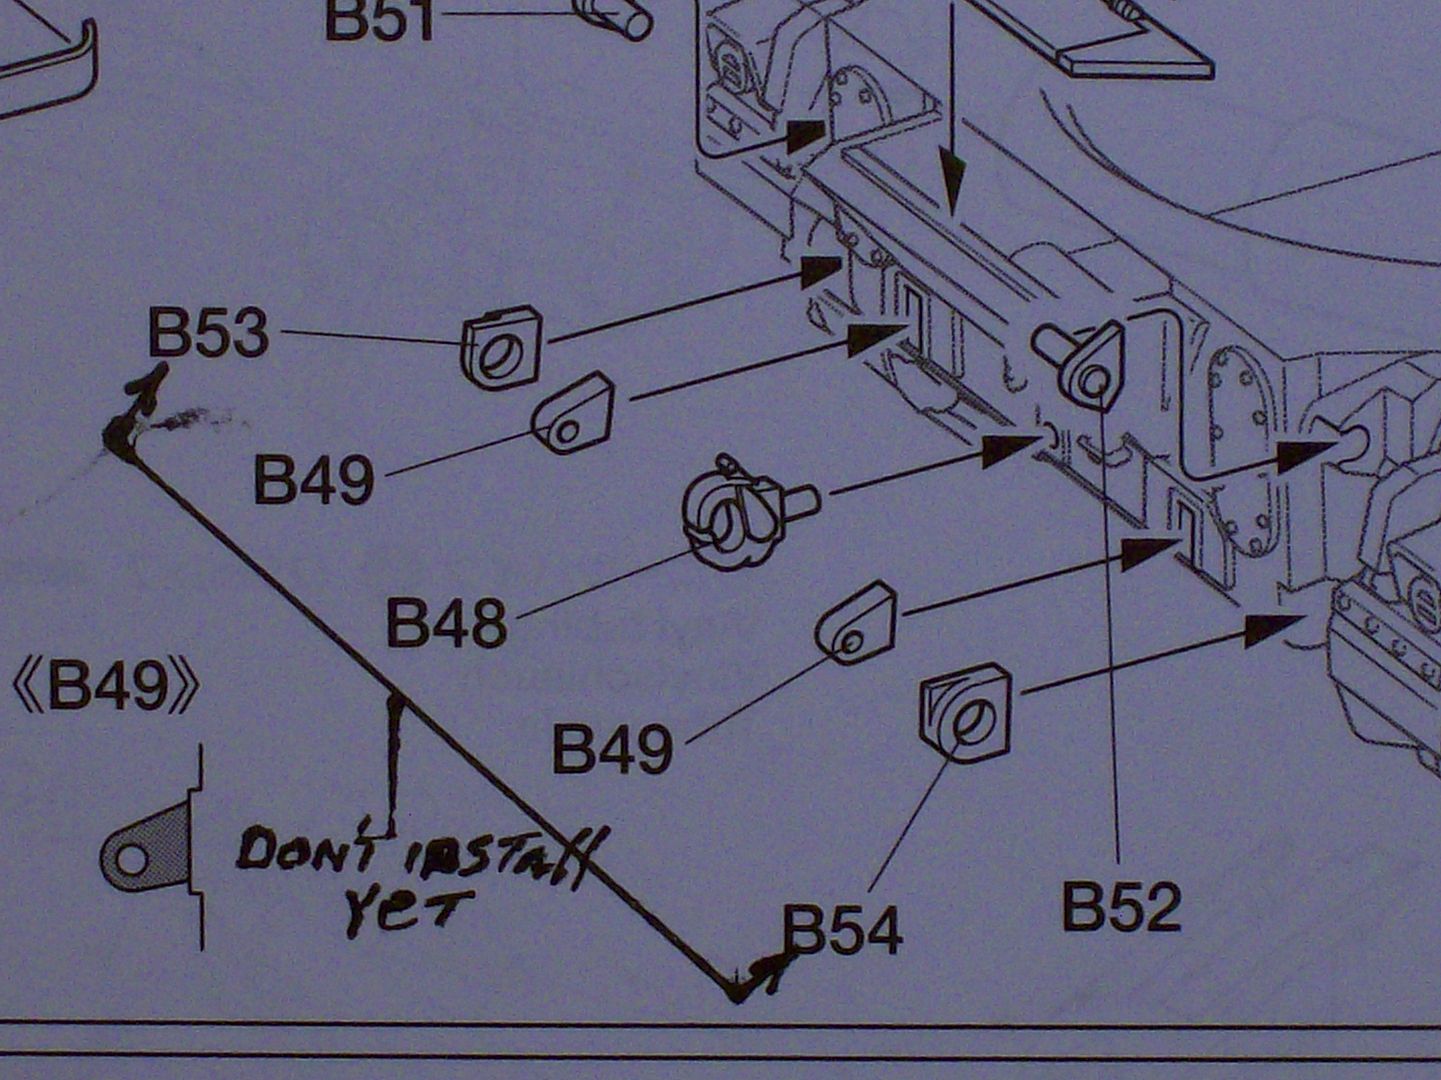
Don't install these just yet we'll do that in step #11 when you install the recoil spade.
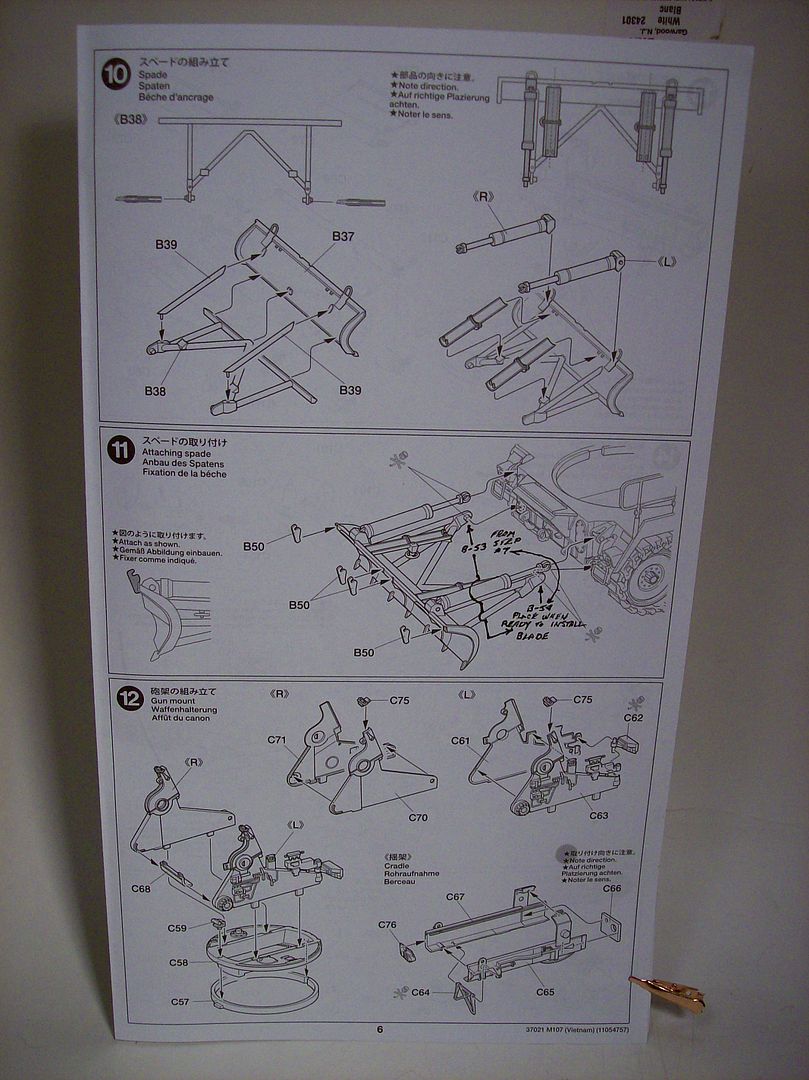

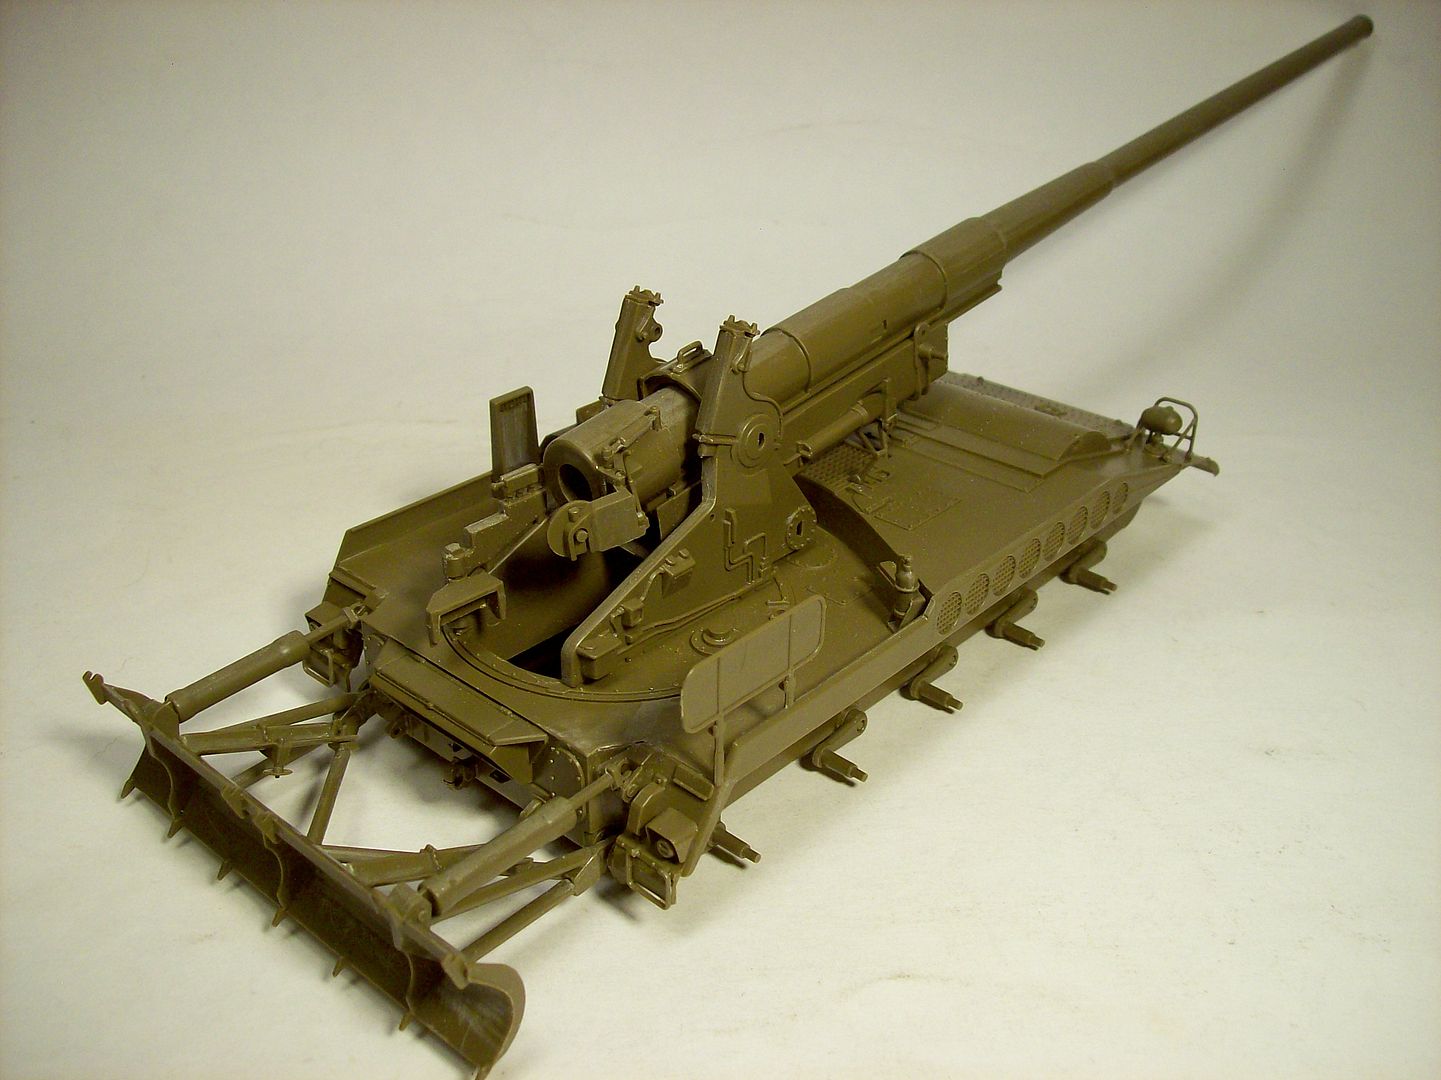
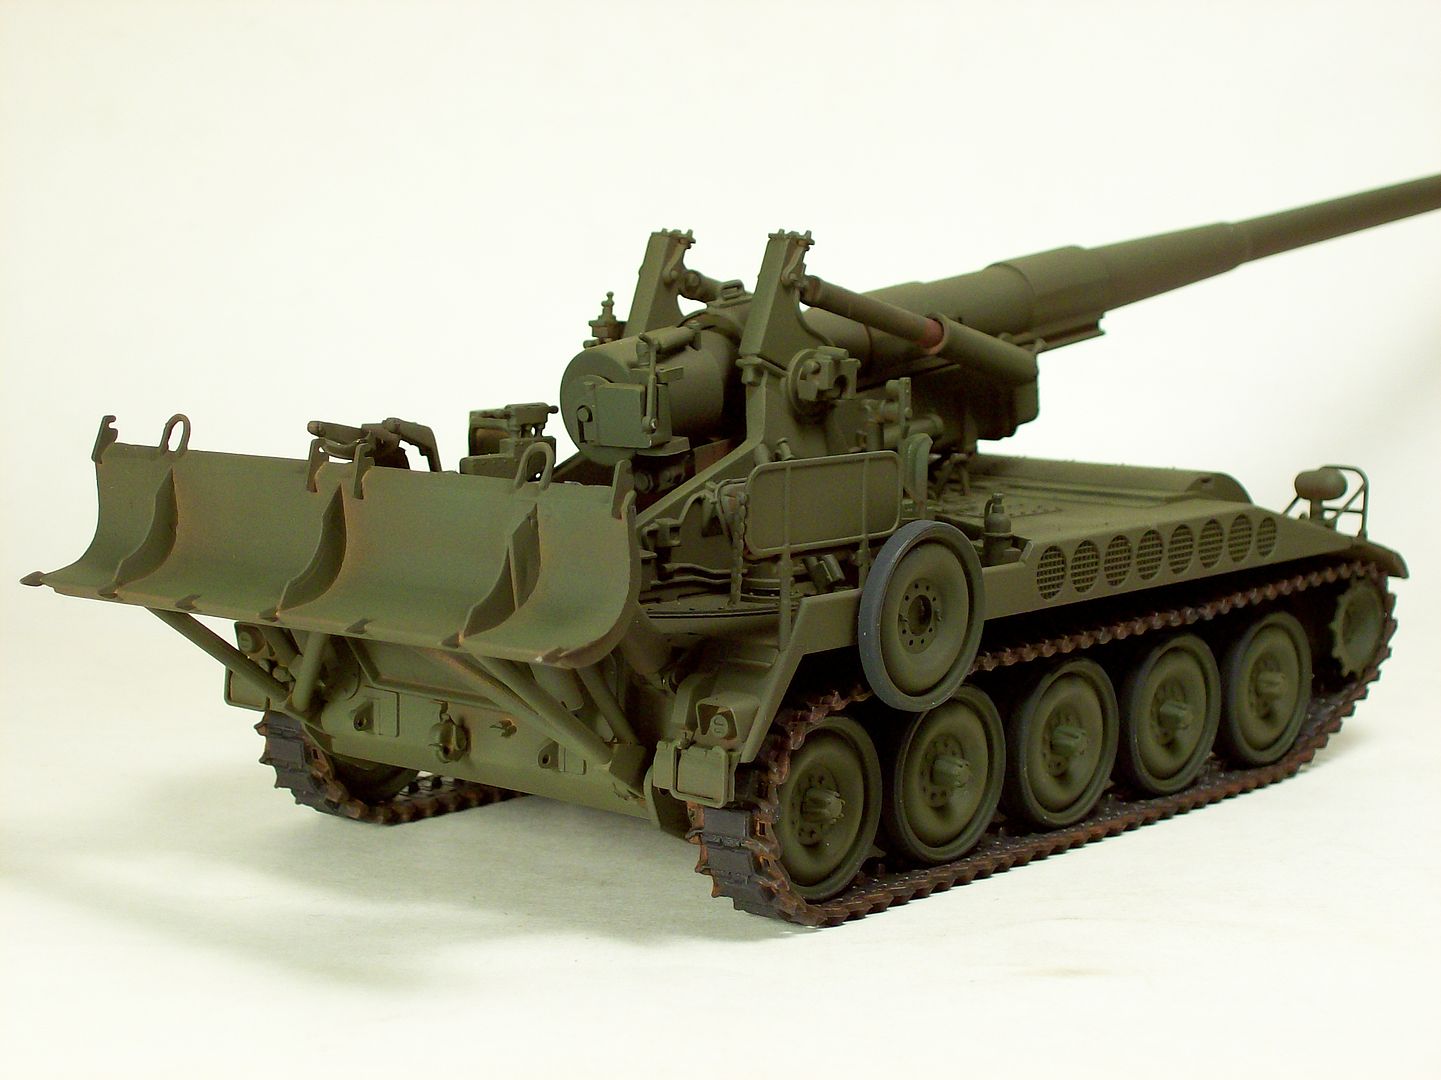
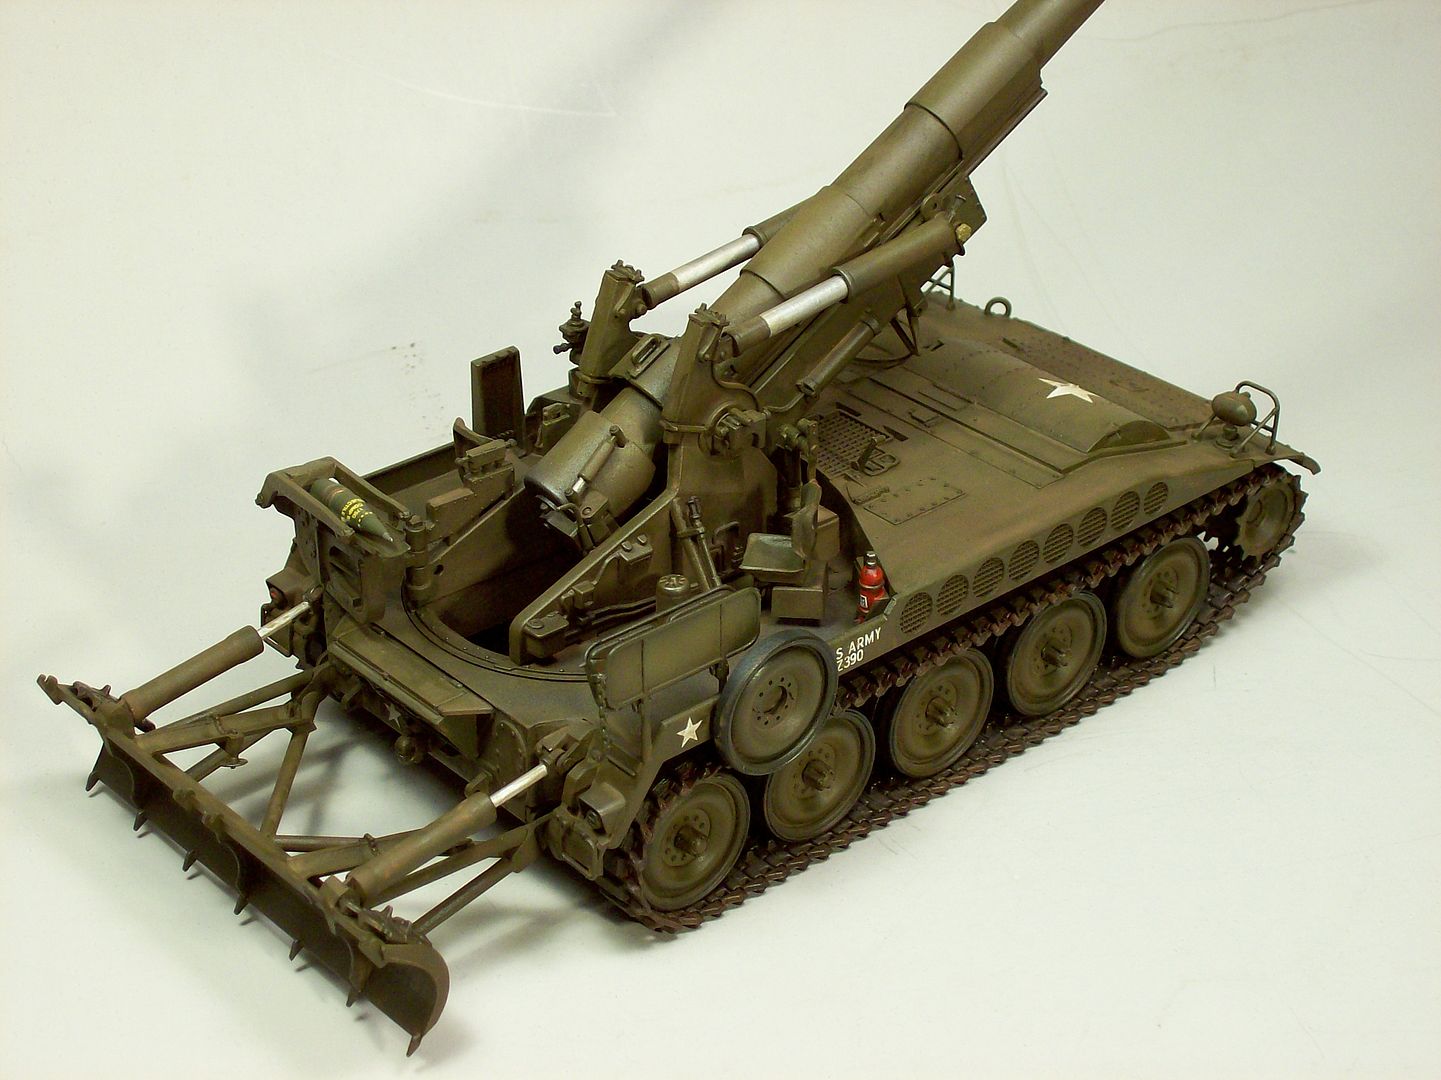
Step #11, Installing Recoil Blade.
Now is the time to place parts B-53 and 54 on the lower brace arms of the recoil spade. If installed in step #7 it will be almost impossible to get the swivel pins in the holes.
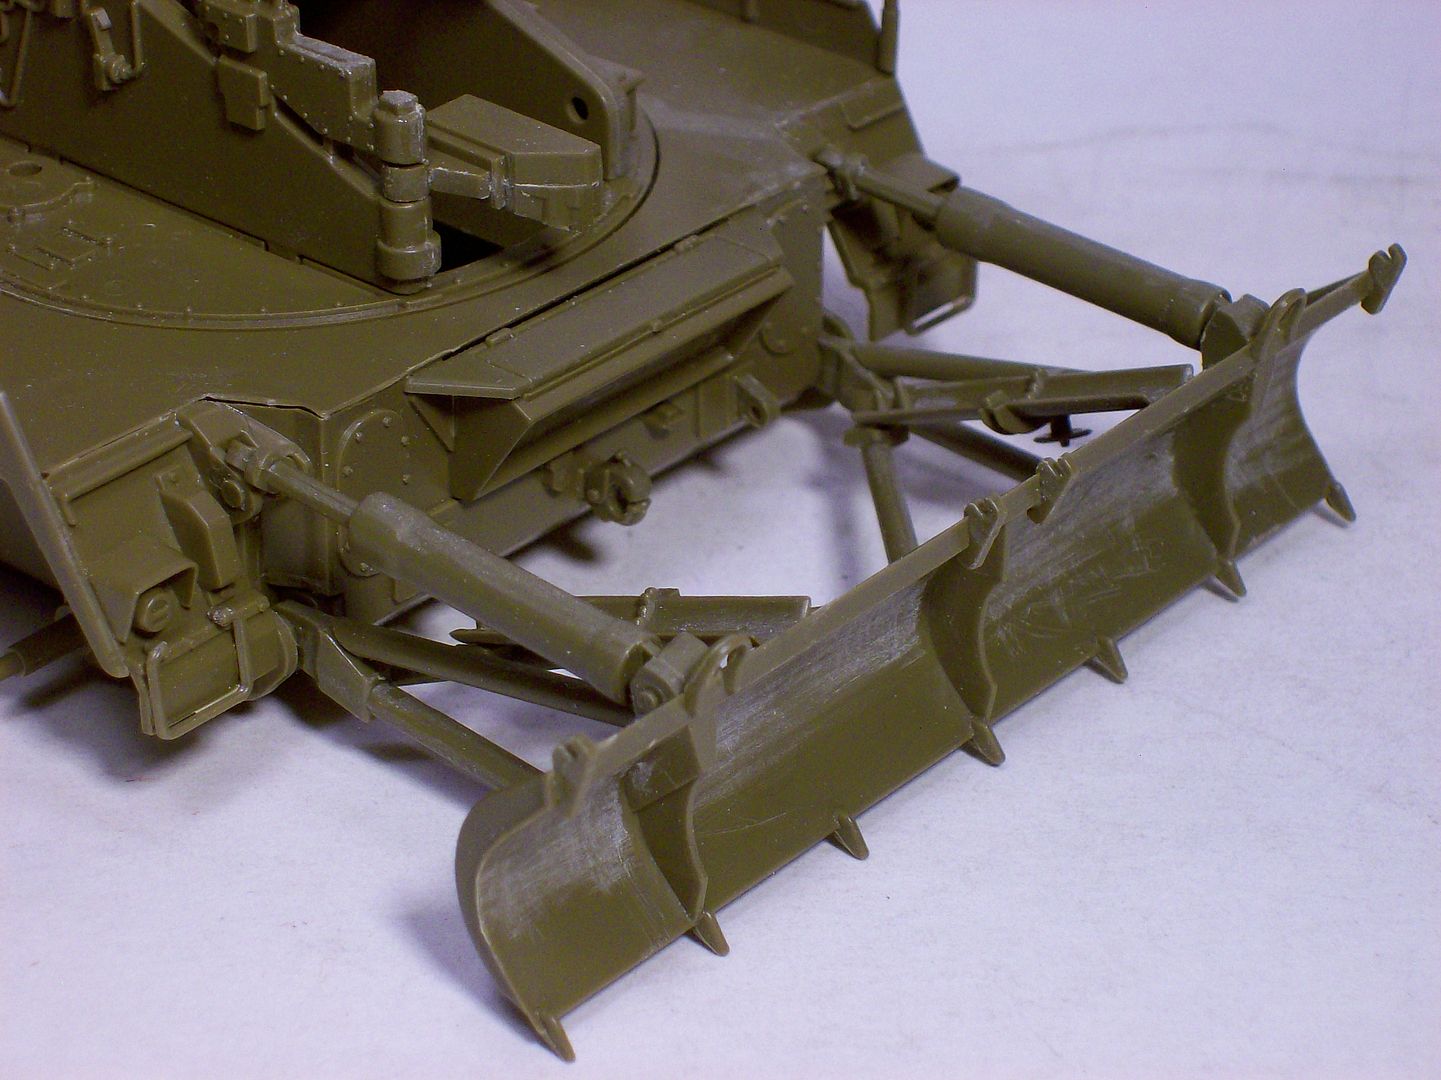
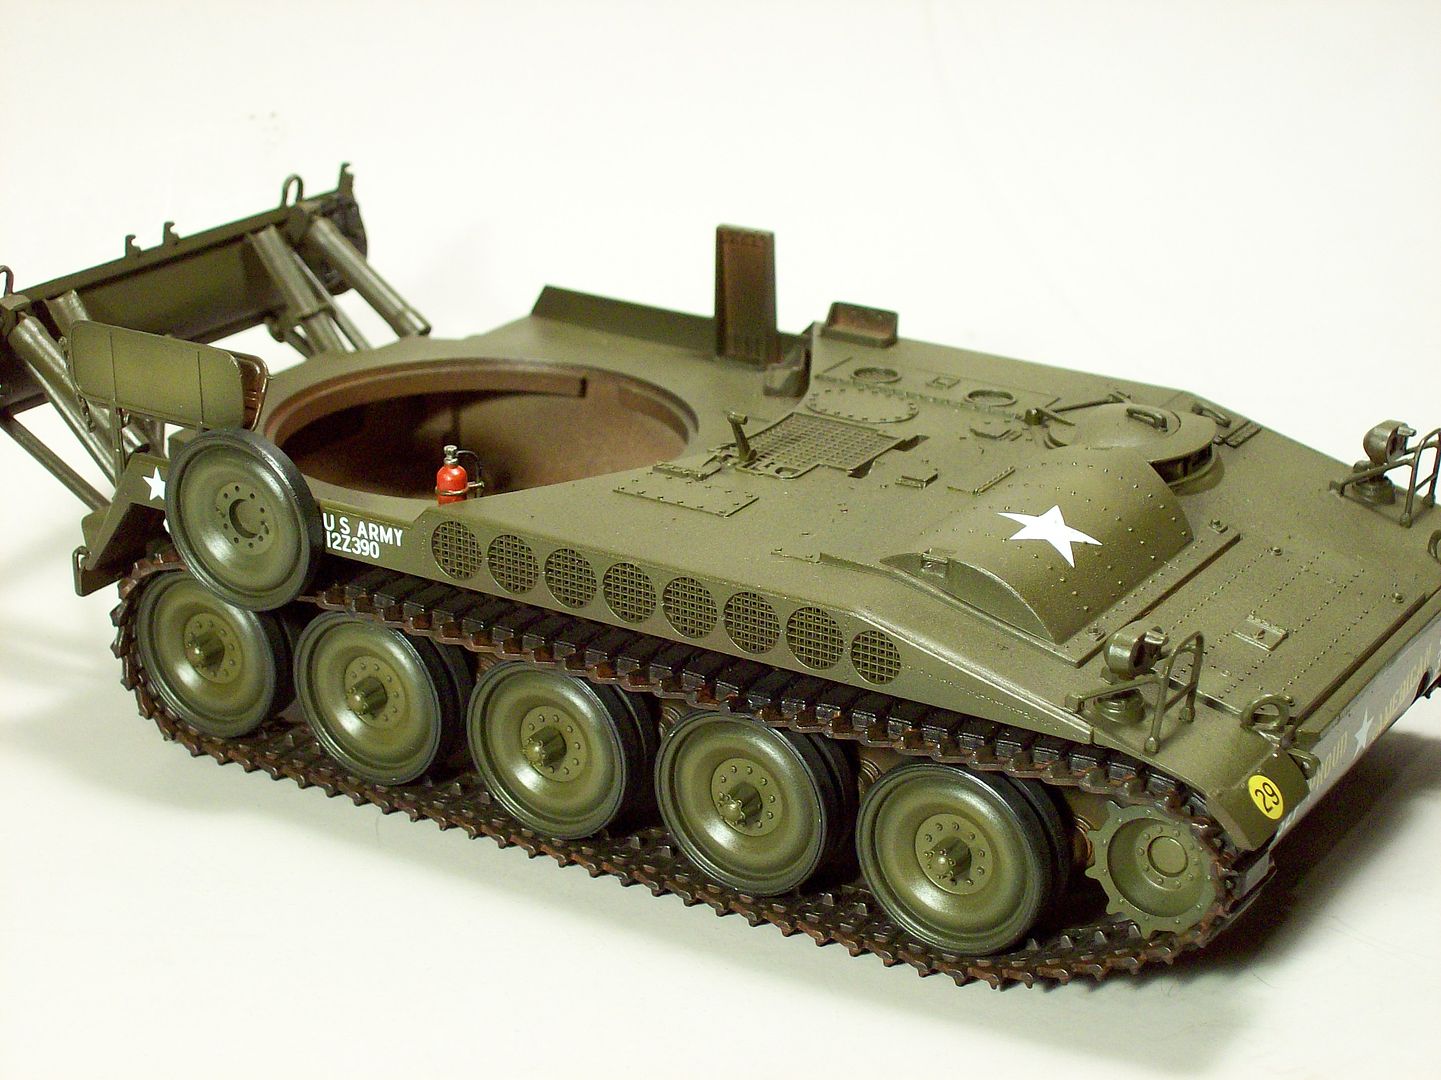
Progress shots of work:
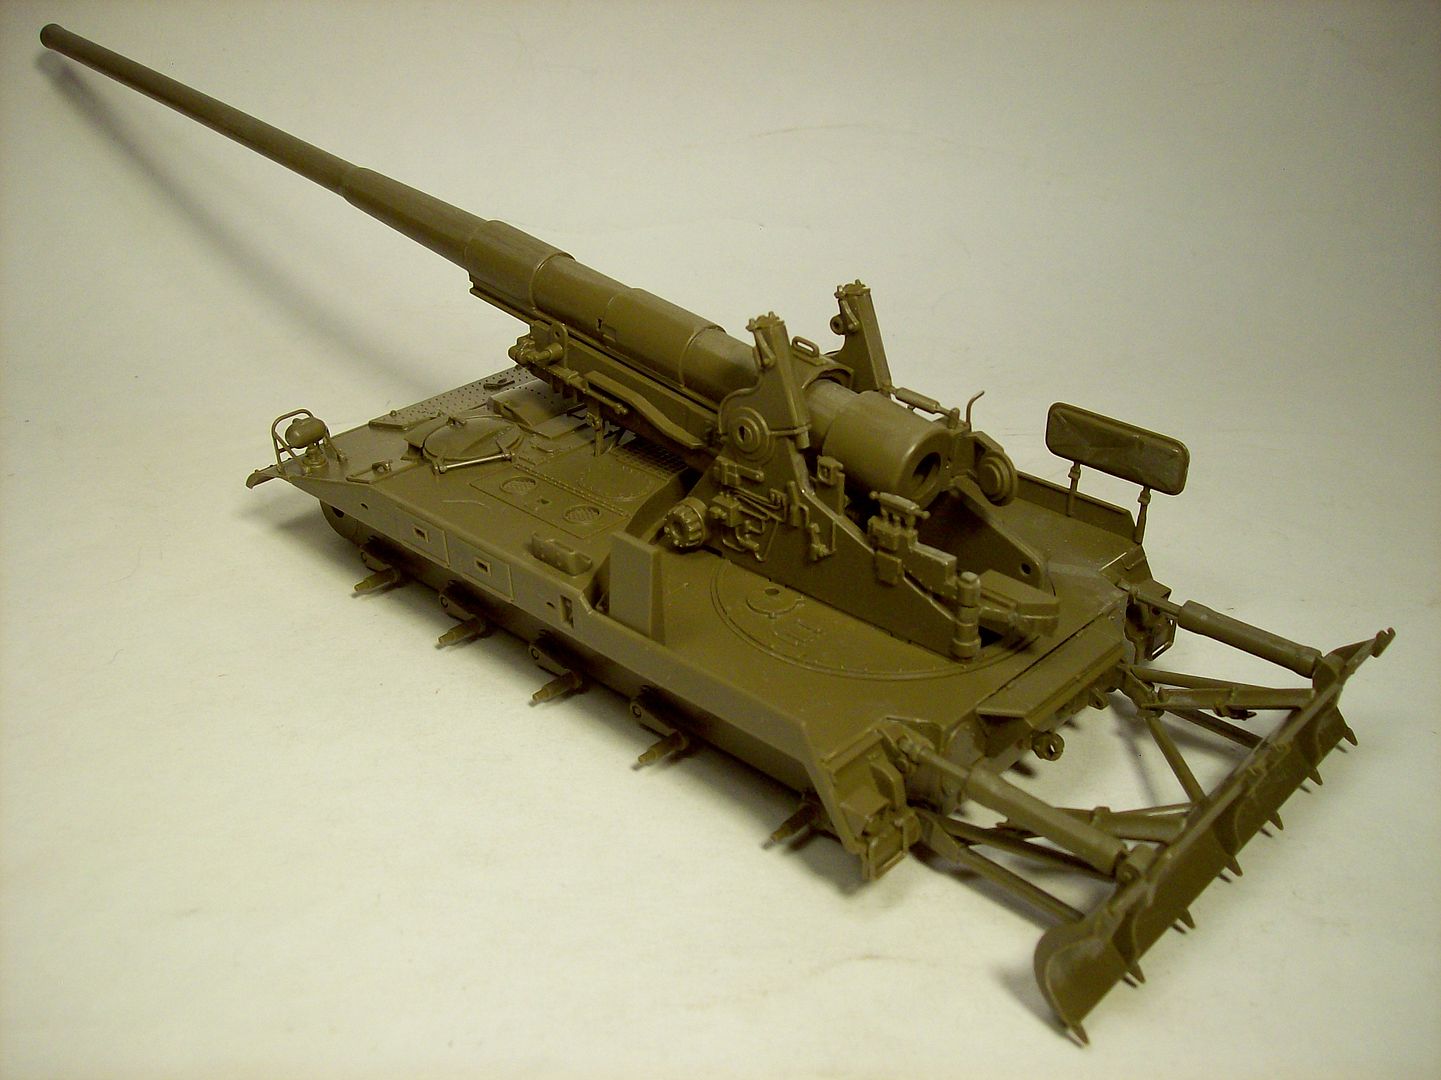
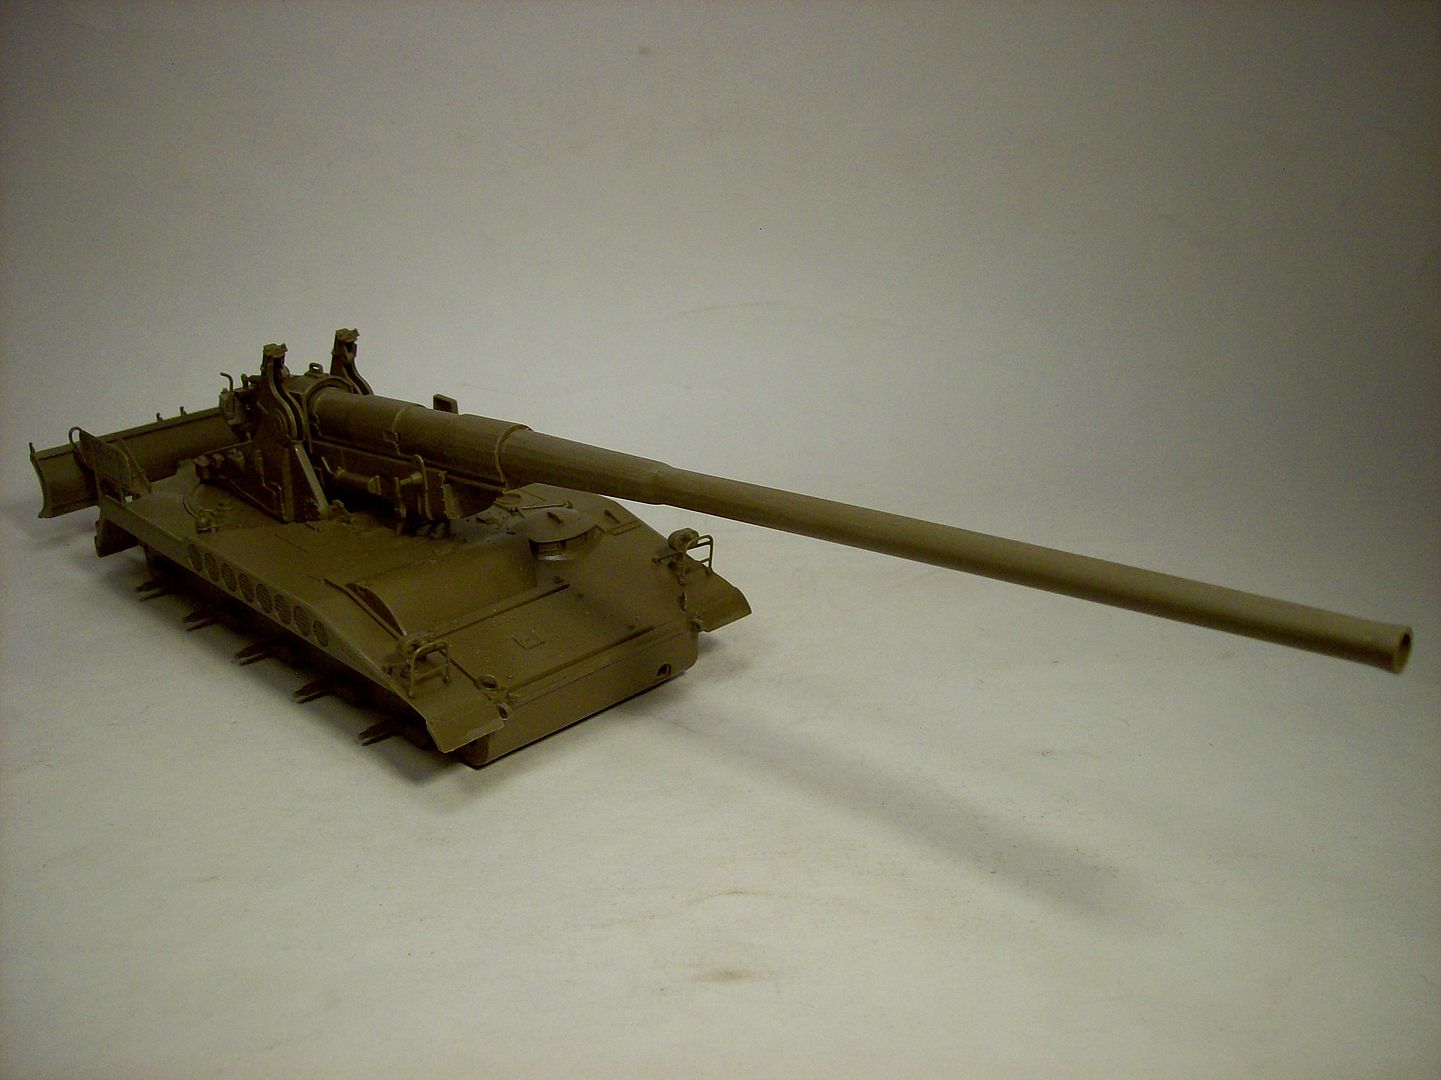
GOOD NEWS:
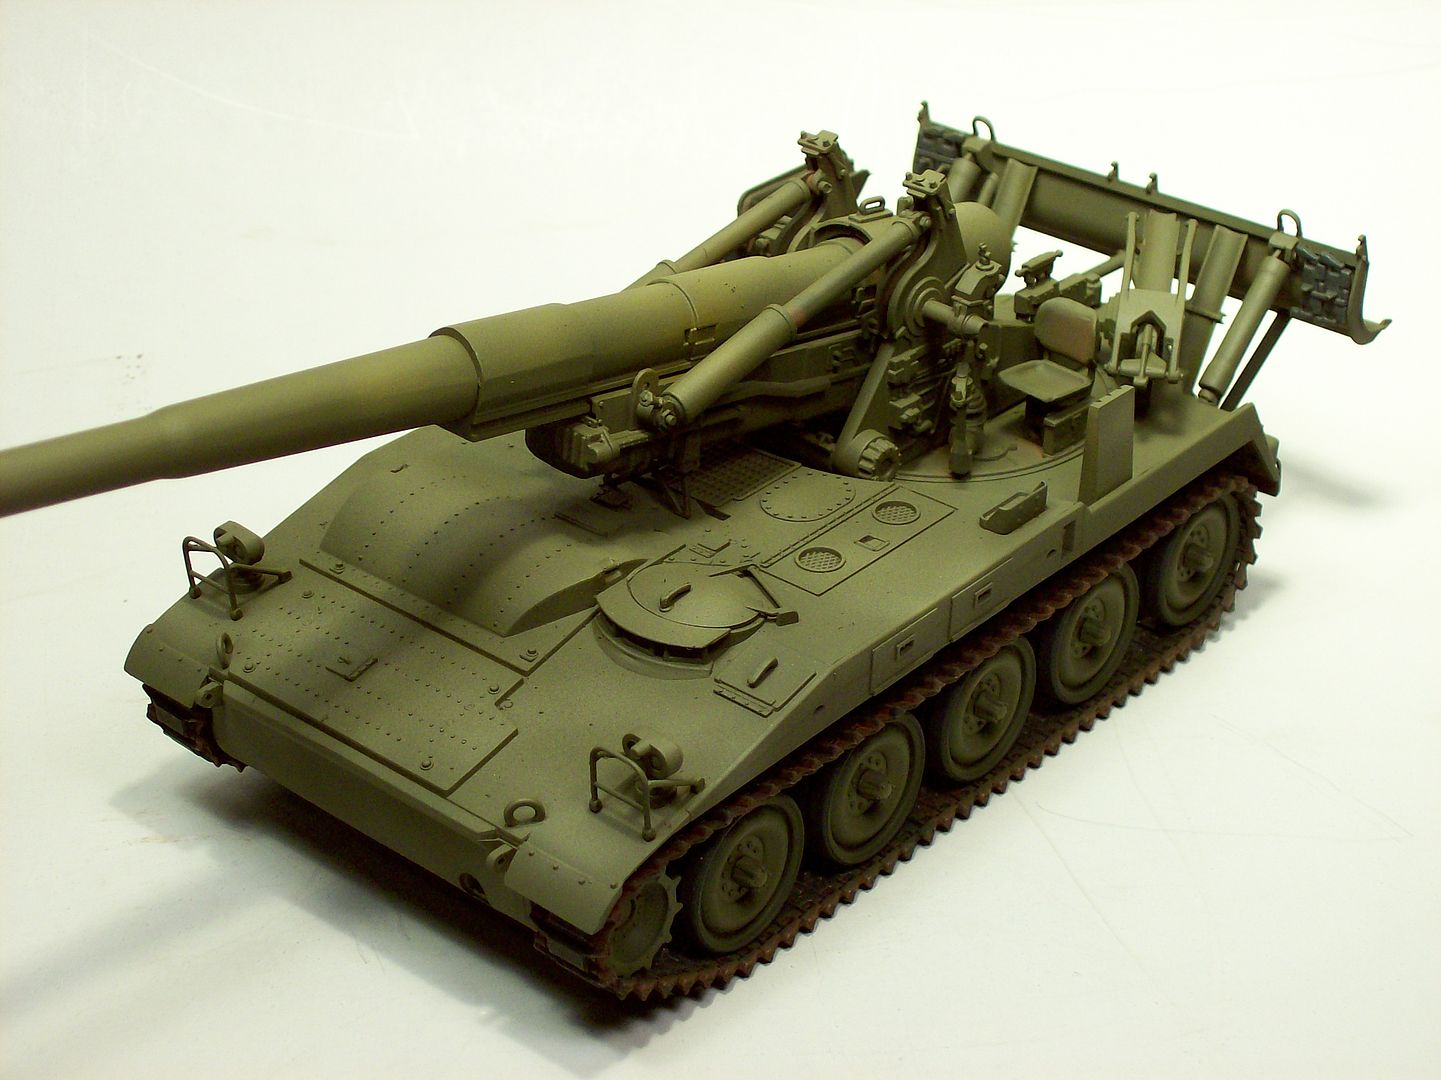
The two halves of the barrel snug up GREAT when glued together, NO FILLER required at least on my kit.

Placed more gun parts and stuck a couple of the figures together:
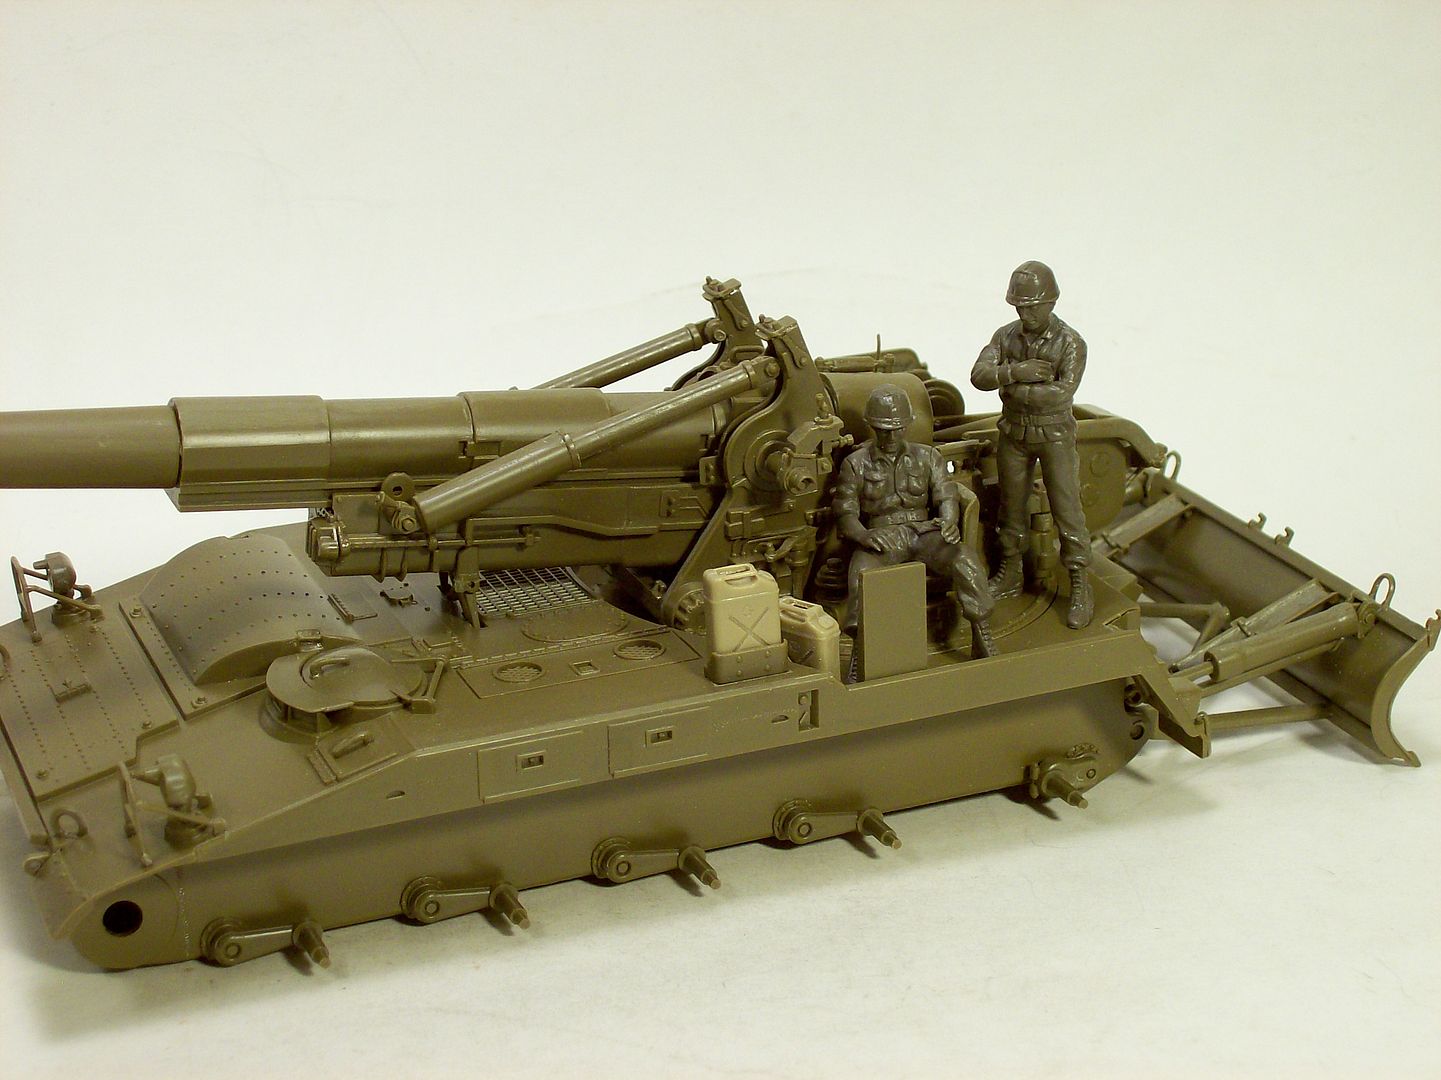
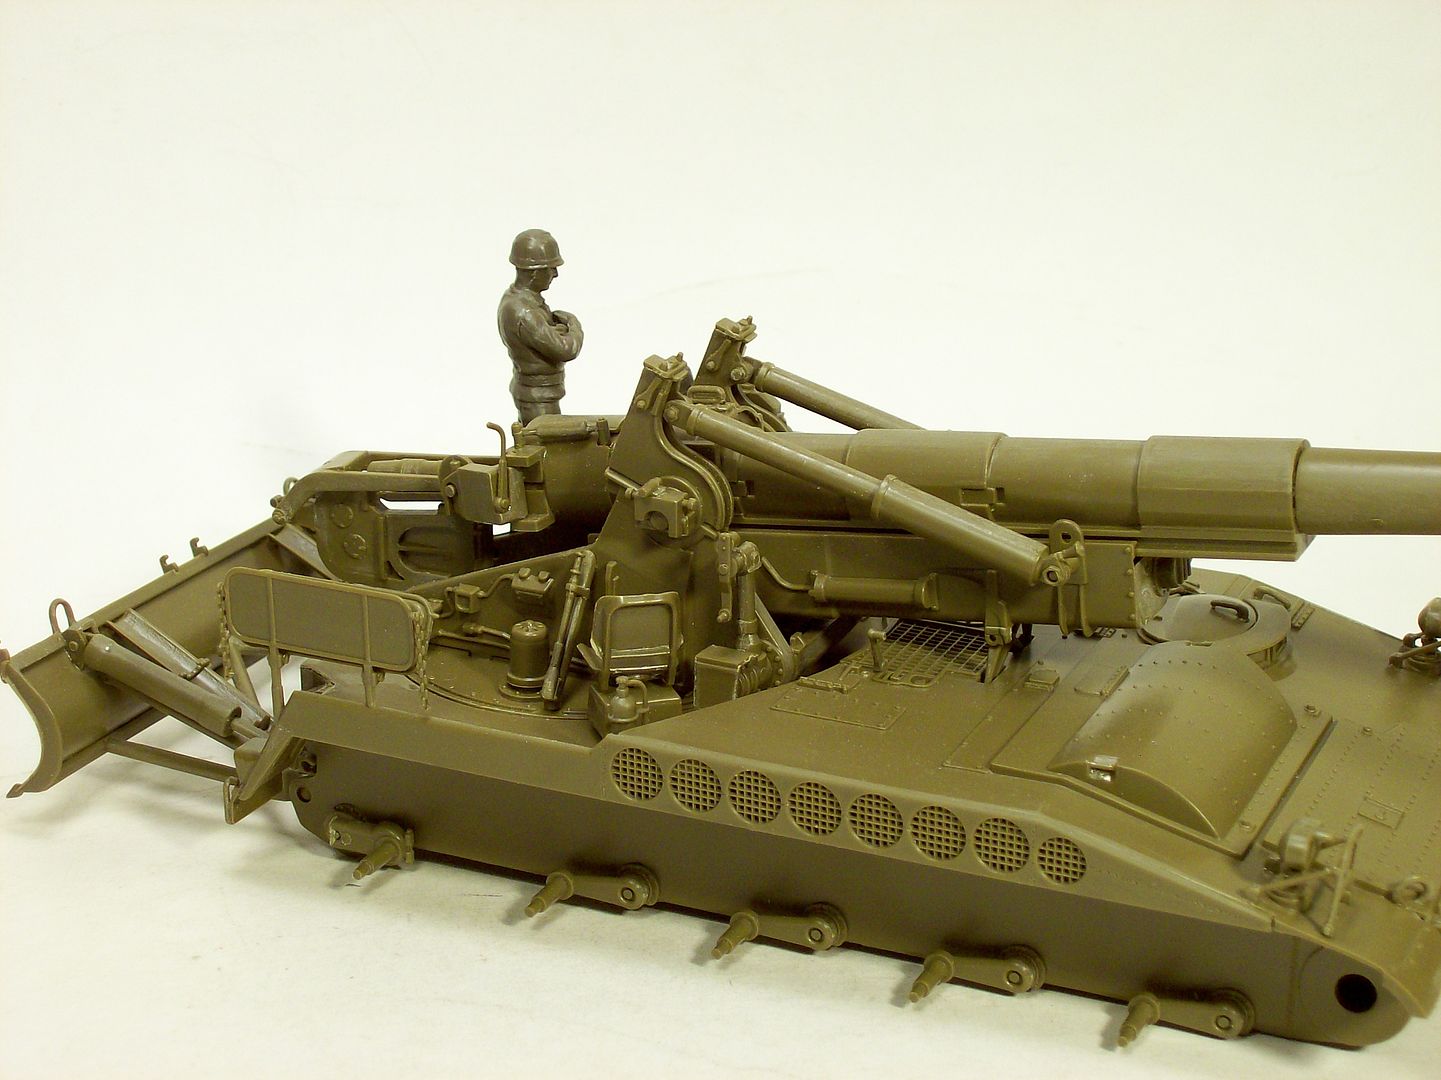
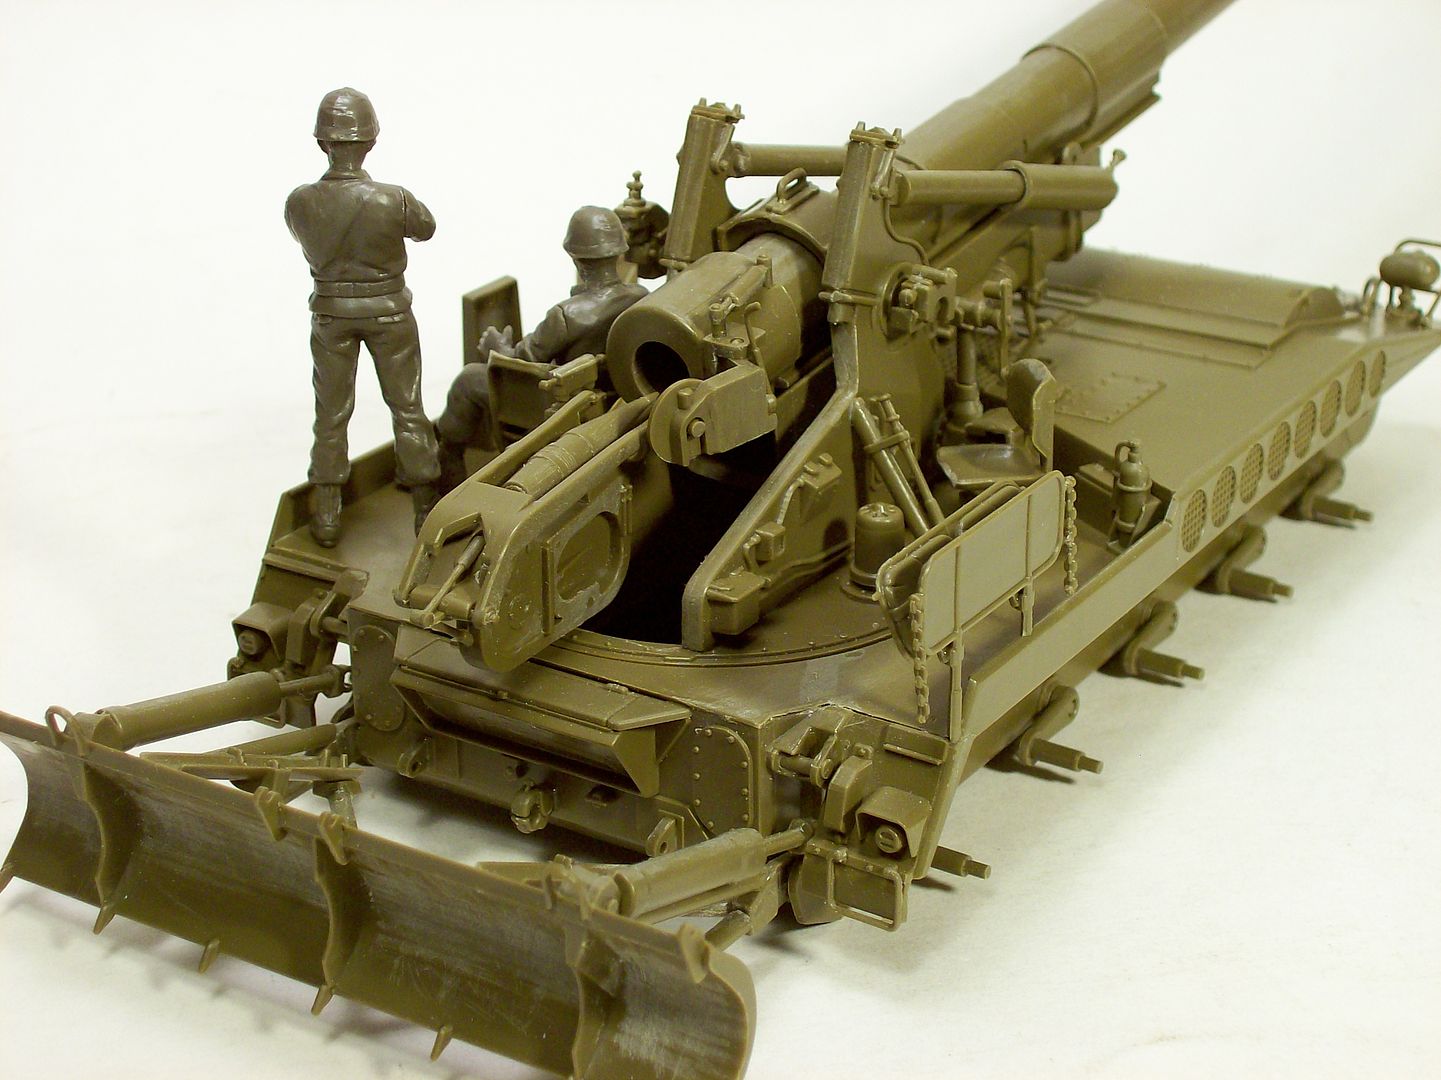
The seated soldier is holding a map that is printed on the side of the kit box.
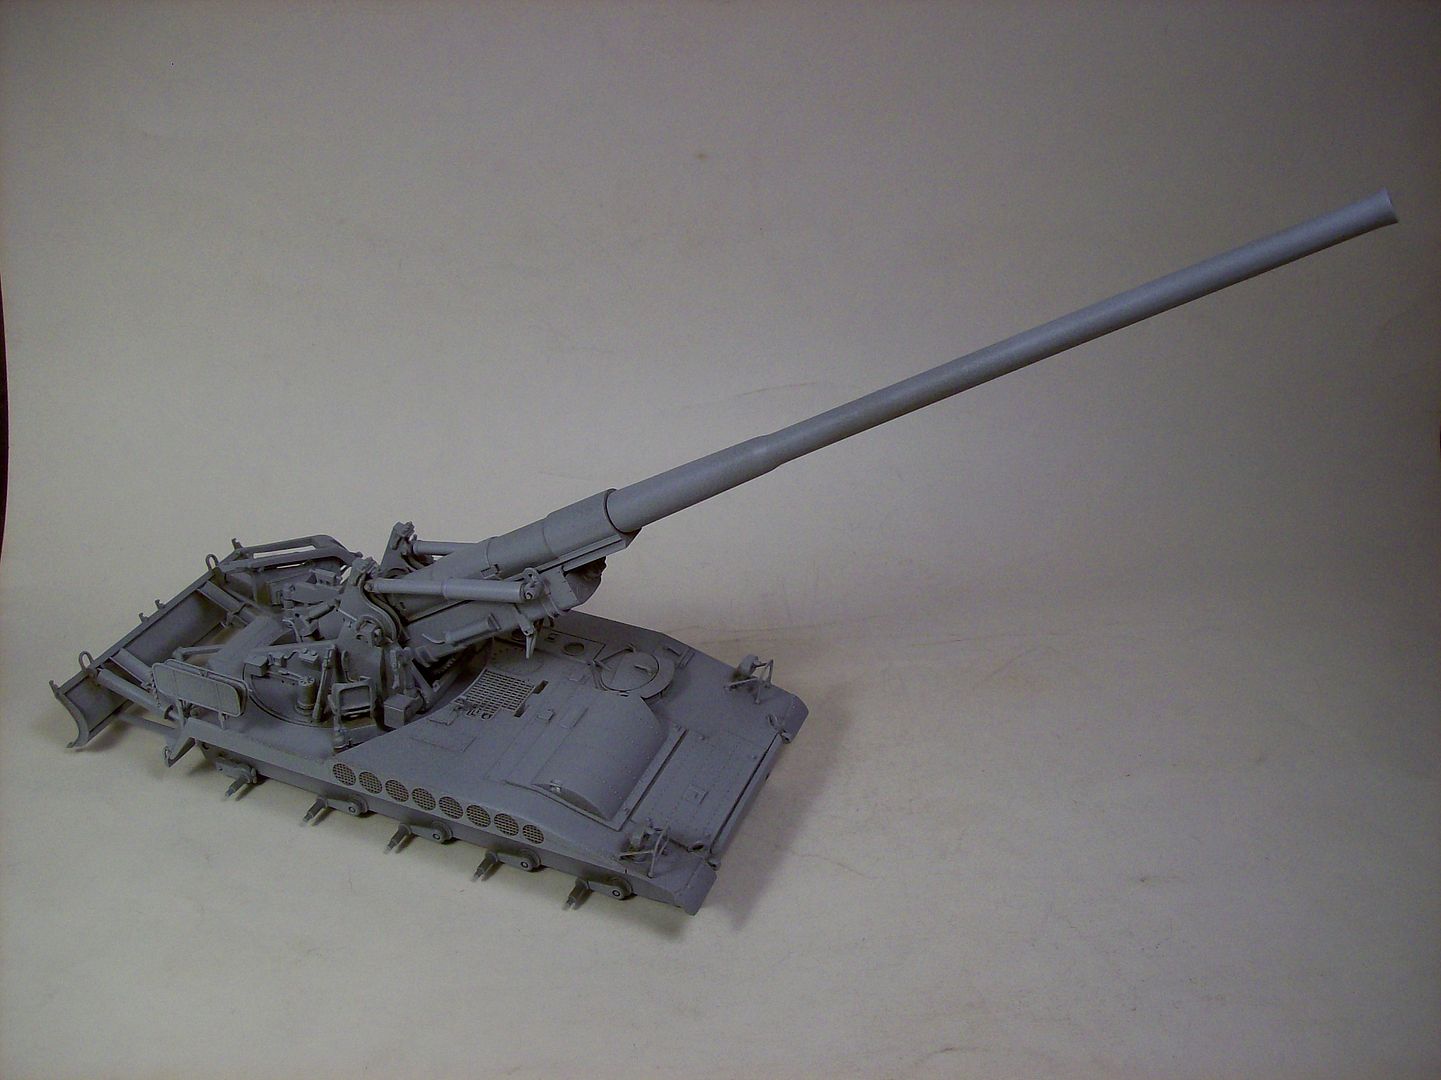
Primer:
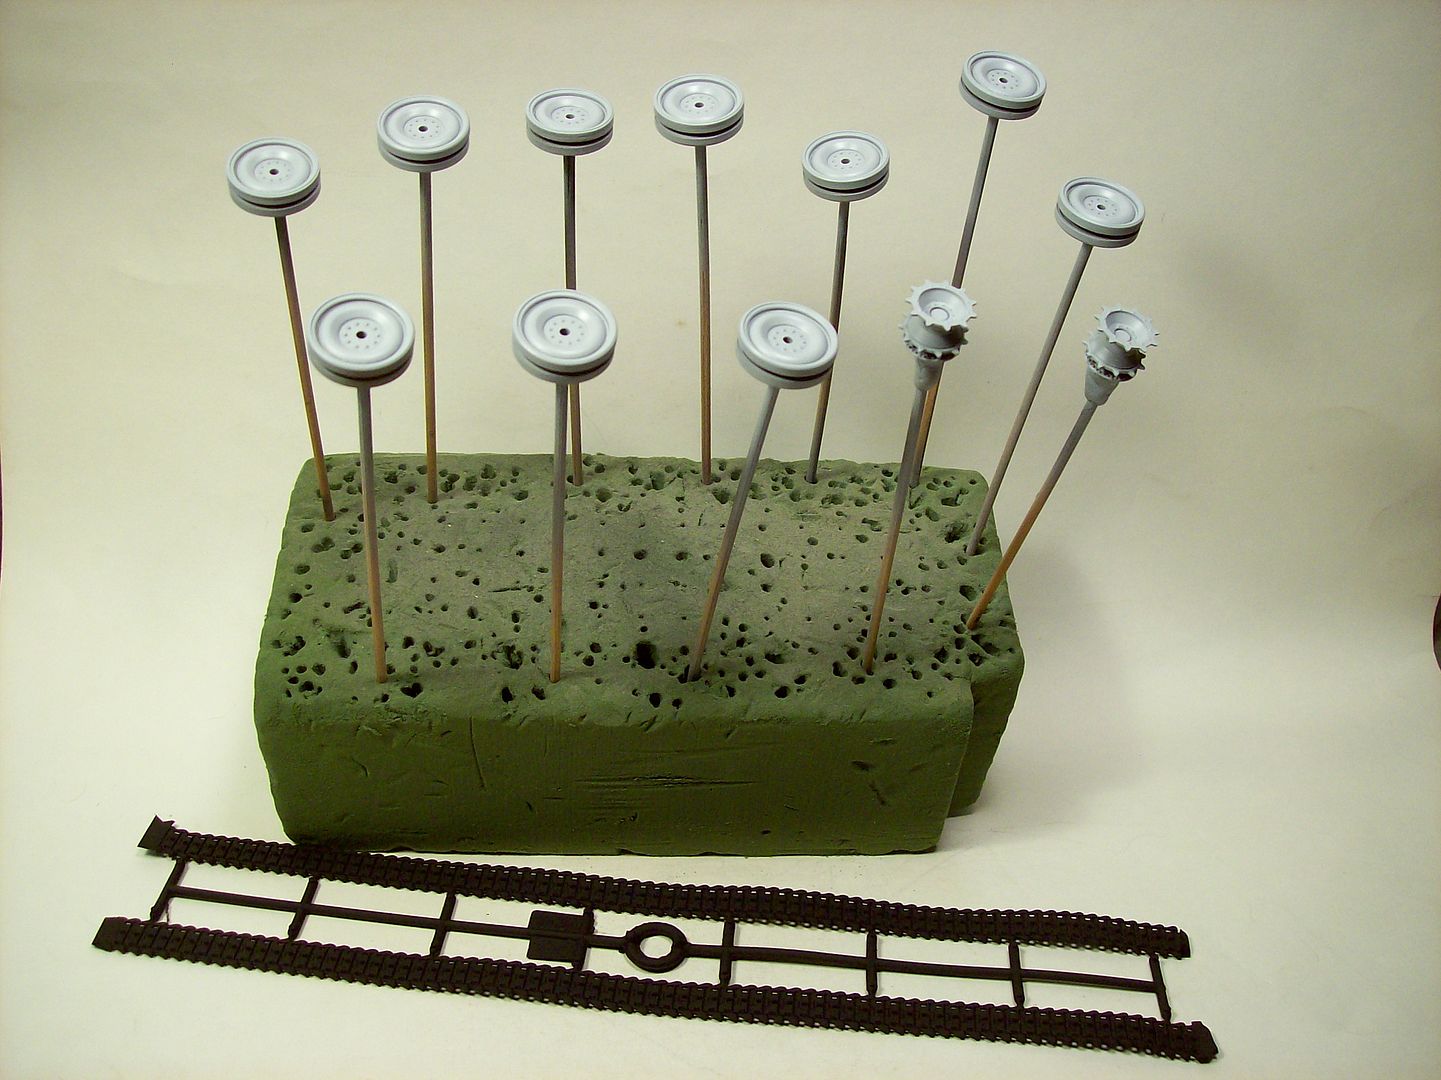
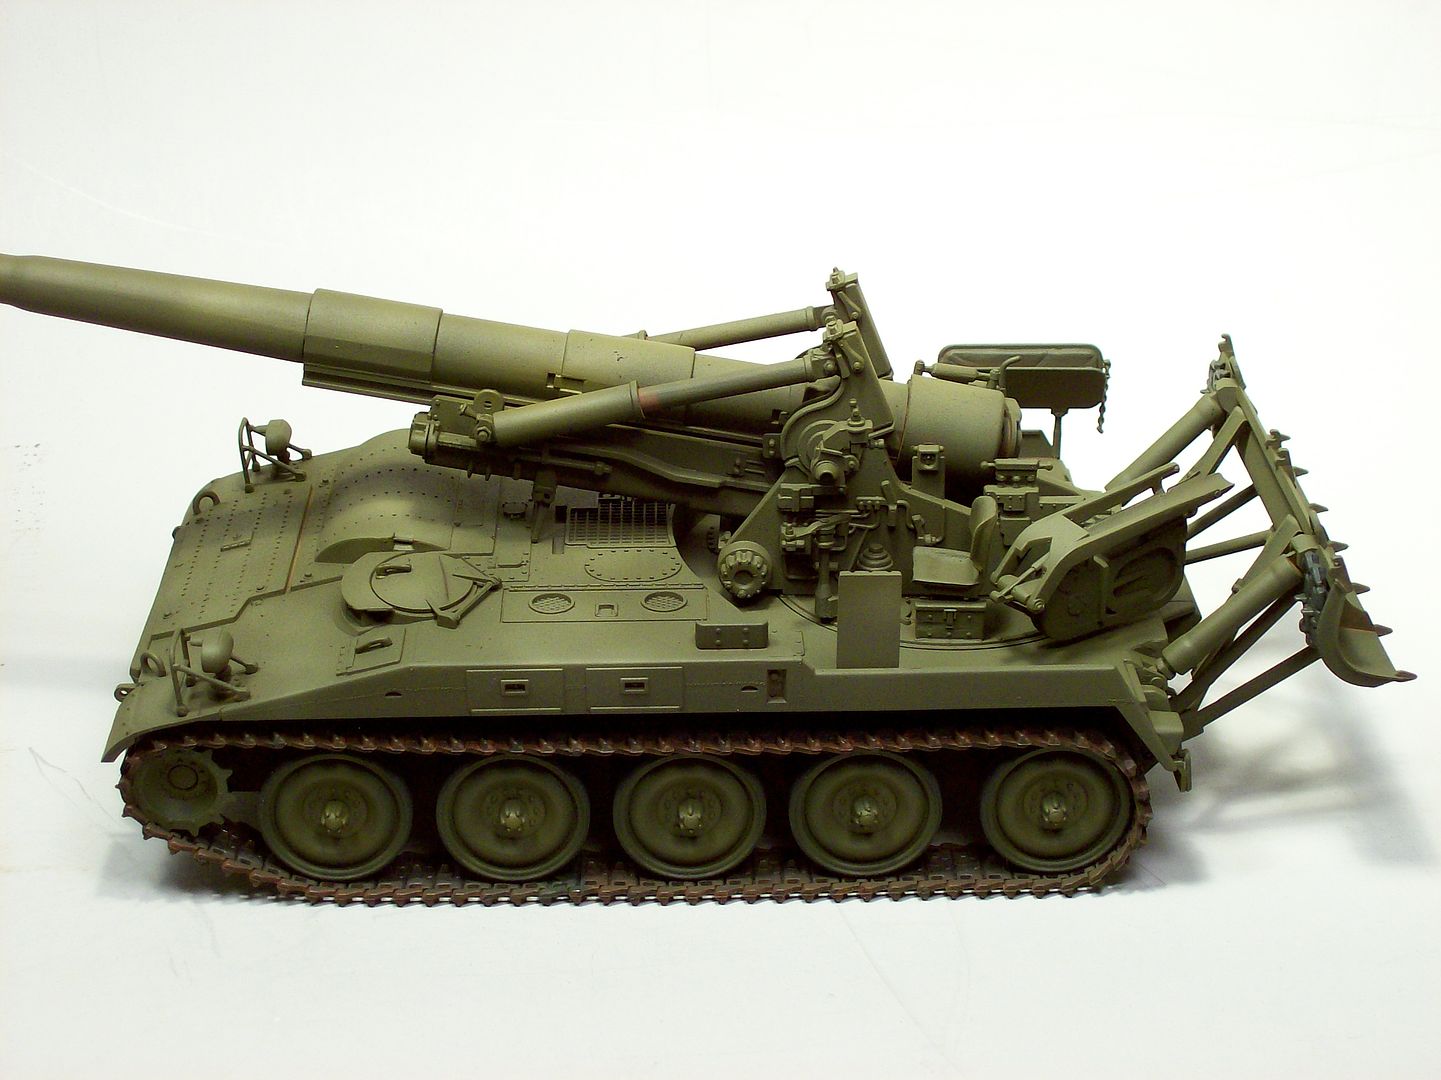
Tracks and Paint
Tracks installed and base color coat applied:
Detail painting up next.
Sealer coat next
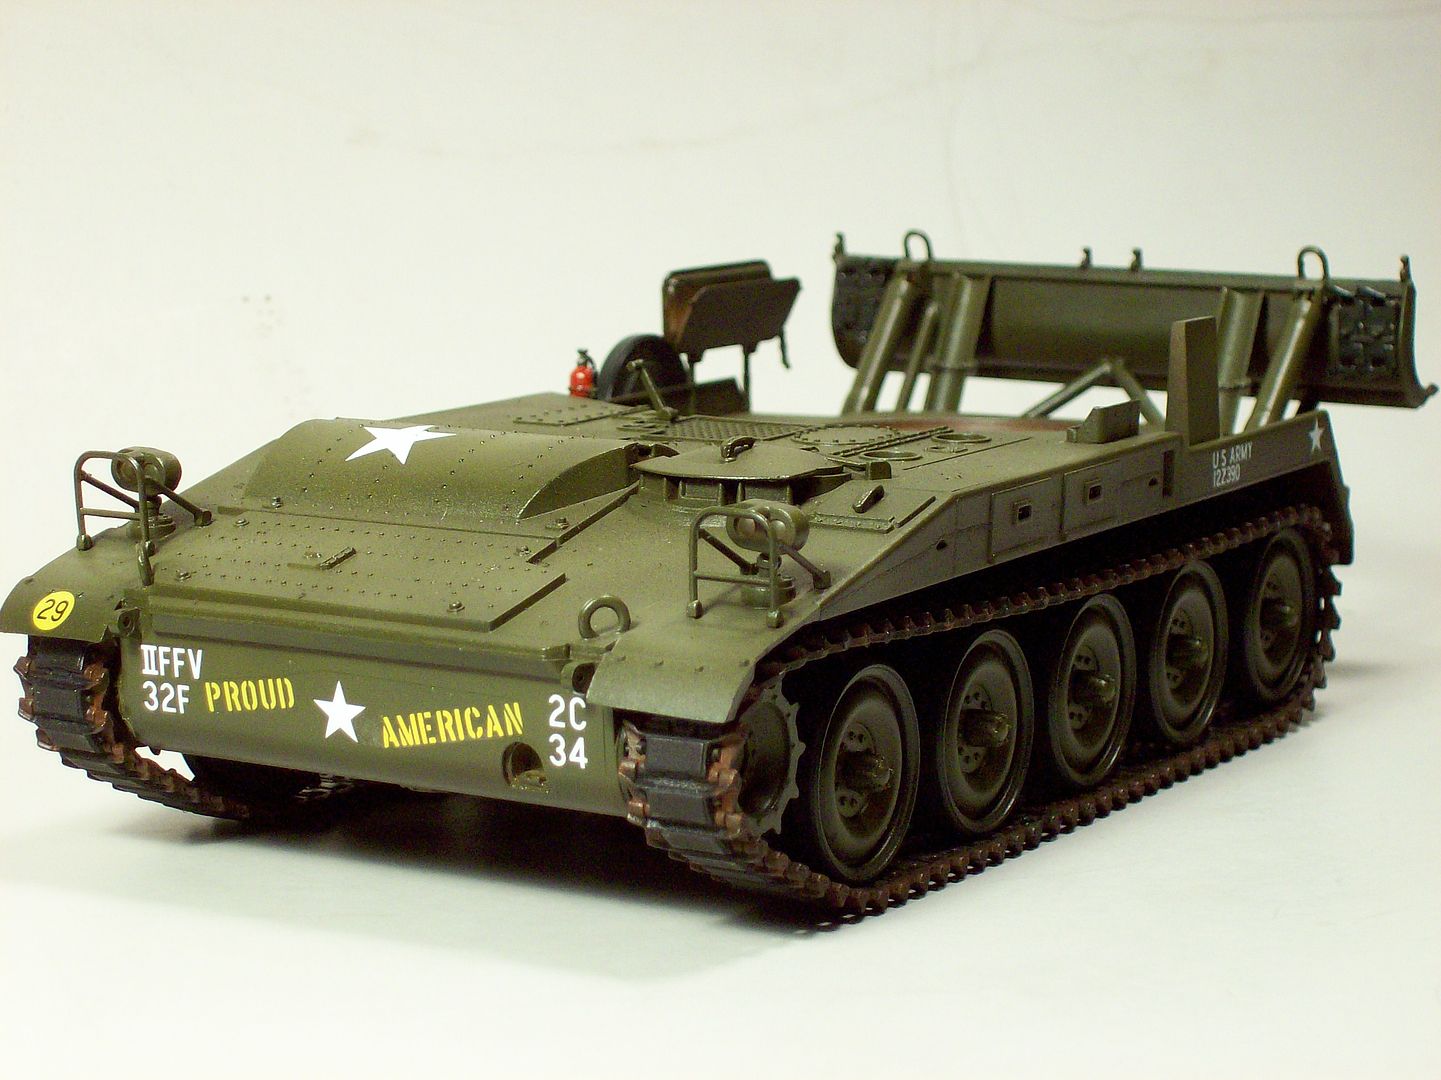
Decals:
You get decals for two units the 2nd Battalion,32nd Field Artillery Regiment 1969 and
the 7th Battalion,15th Field Artillery Regiment 1969.
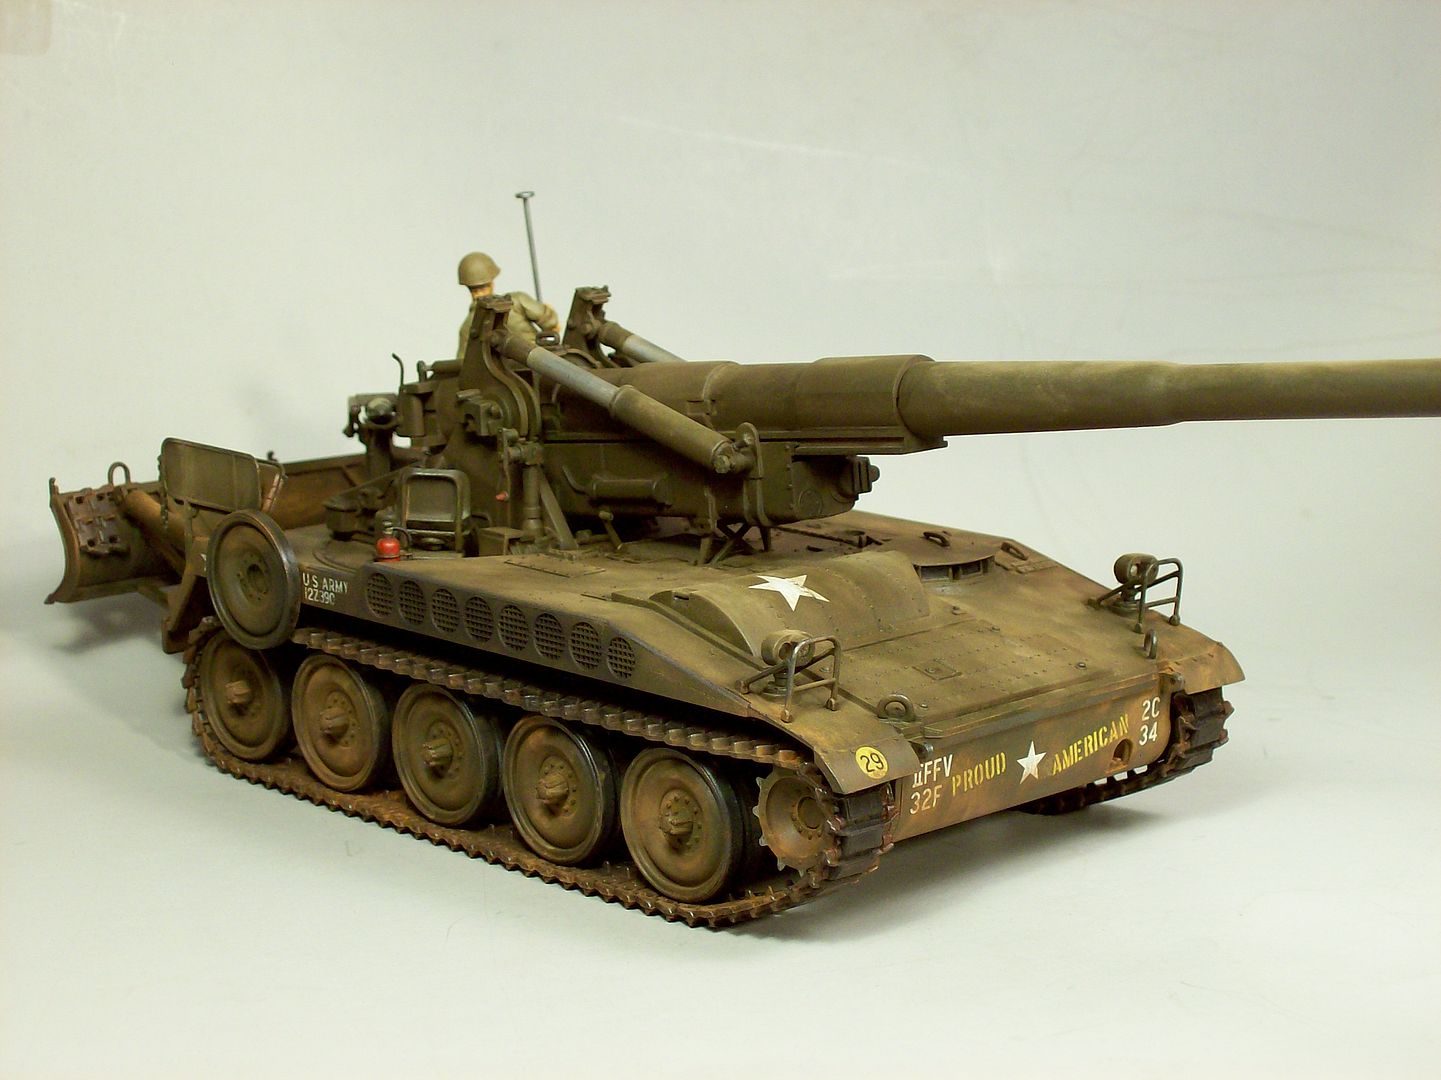
I used the 2nd"B" 32nd F.A.R. (more decals) 1969 was when I was there.
During the Vietnam era, the unit again saw considerable battle in the Counteroffensive Phases II through VII, Tet 69/Counteroffensive and the Consolidation I and II campaigns, earning credit for 12 campaigns and was awarded the Presidential Unit Citation (Army) streamer.
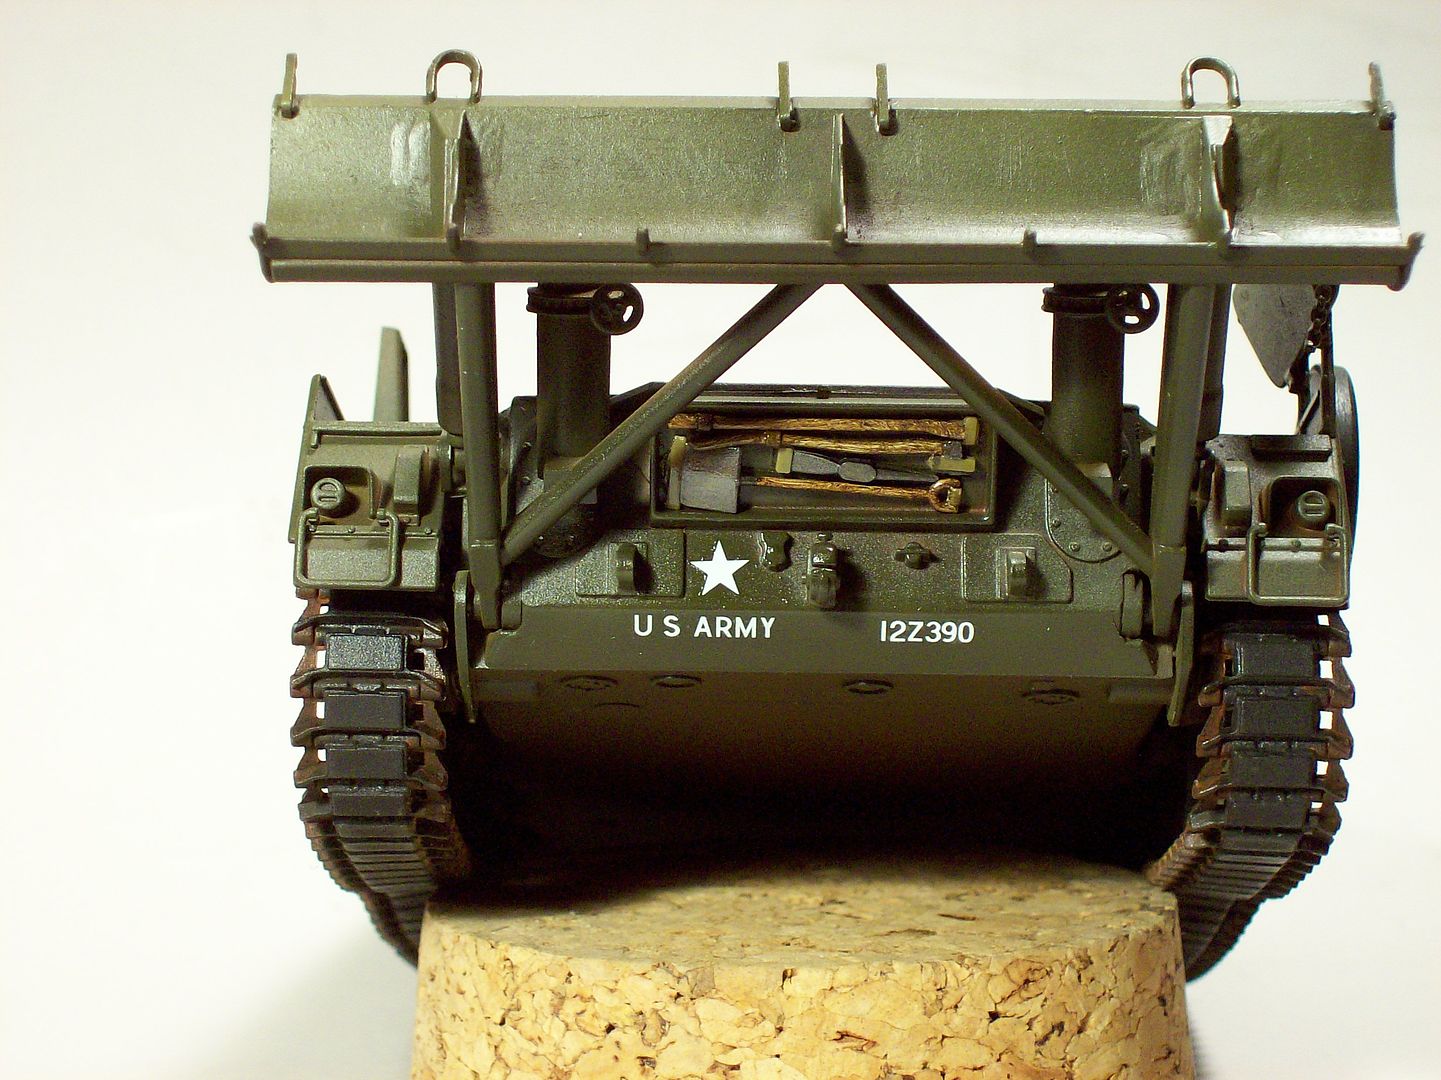
There's even a decal label for the FE, tools painted and installed.Tamiya supplies you with a section of black tubing to use as hydraulic hose that was installed on the gun.
Detail painting next.
Here's a photo of just some of the added items you get with the kit.
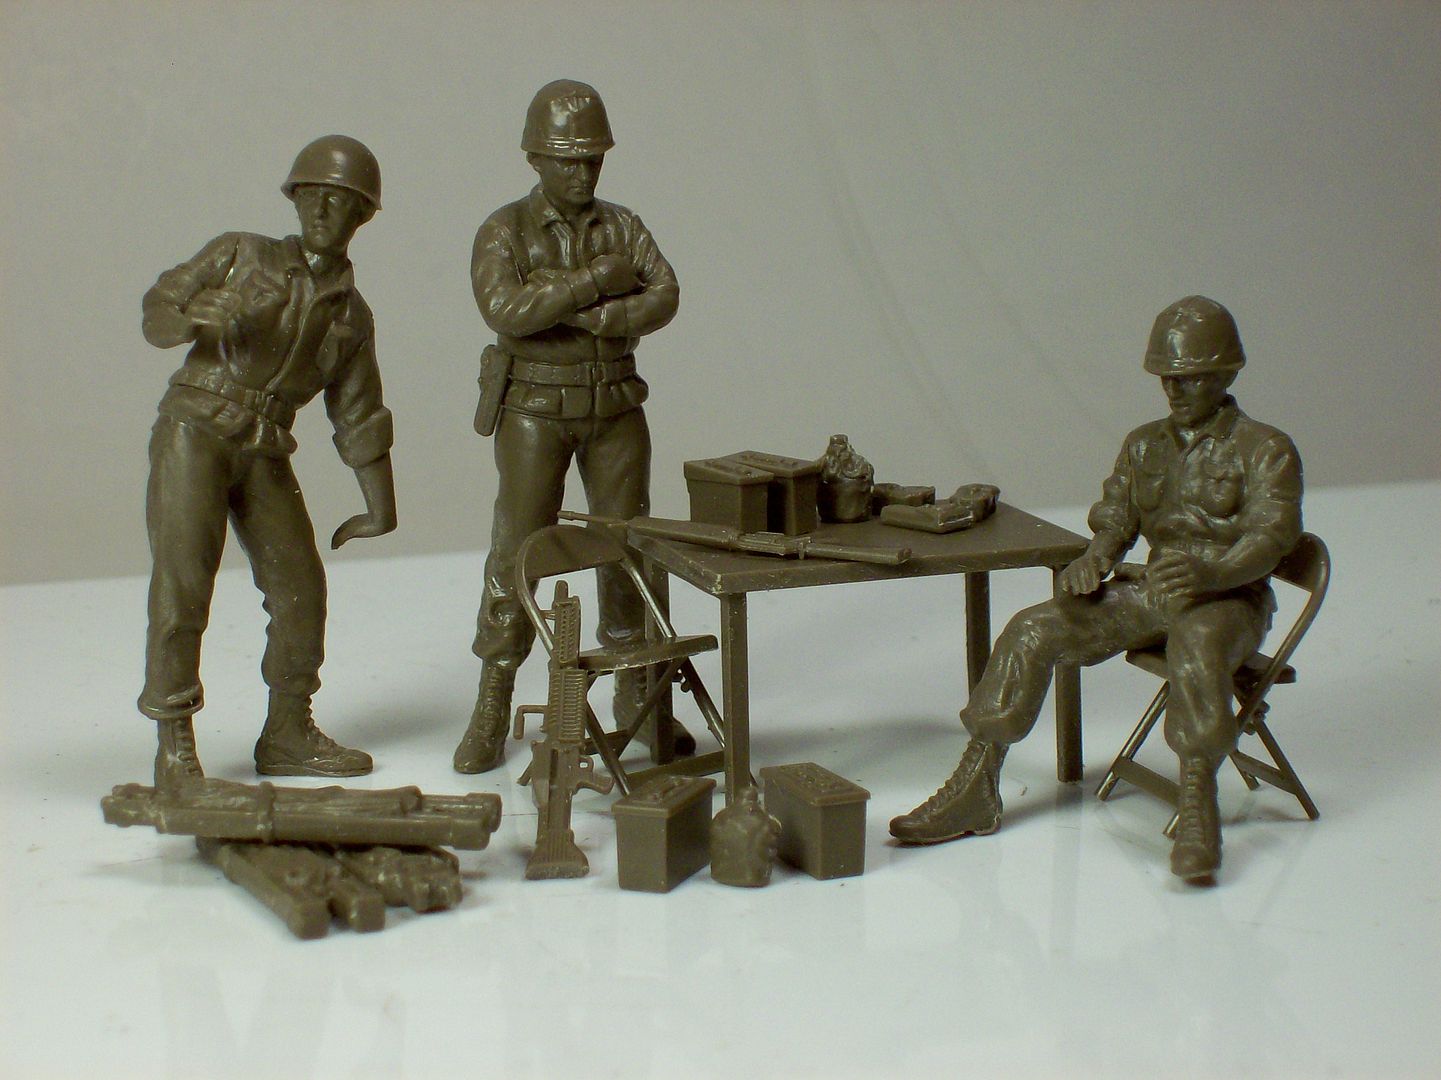
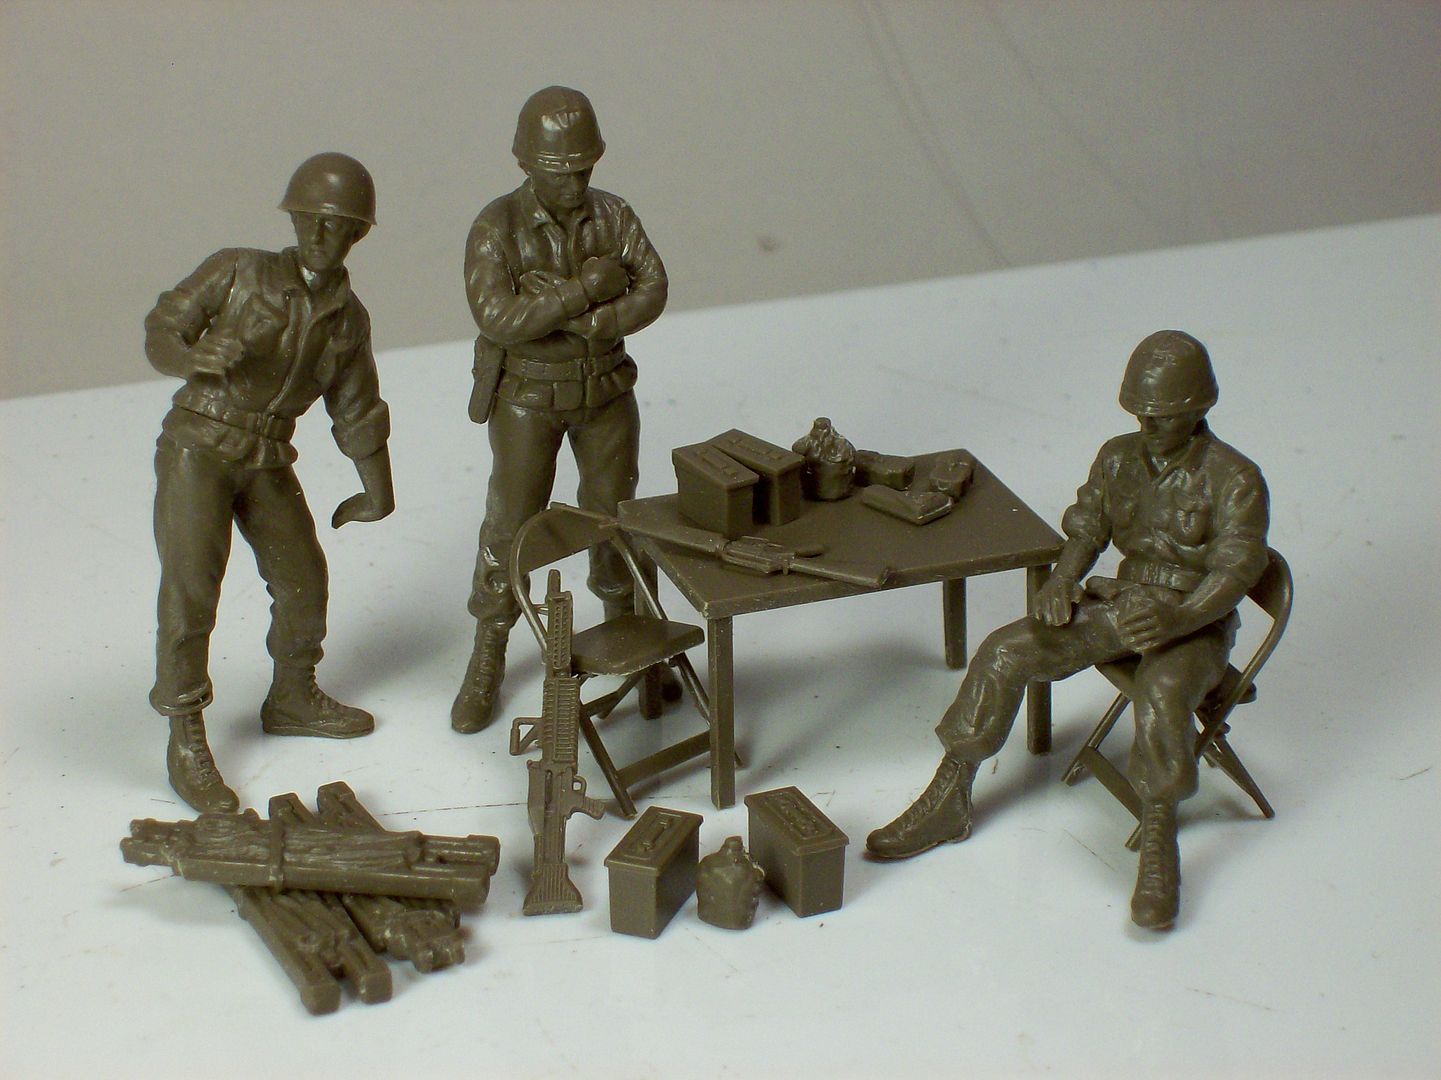
Two M-60s,one M-16,three folded stretchers or cots??,two canteens,two M-1911s,two jerry cans,four ammo cans,two 45cal mag pouches,three figures and one table w/two folding chairs.
Update
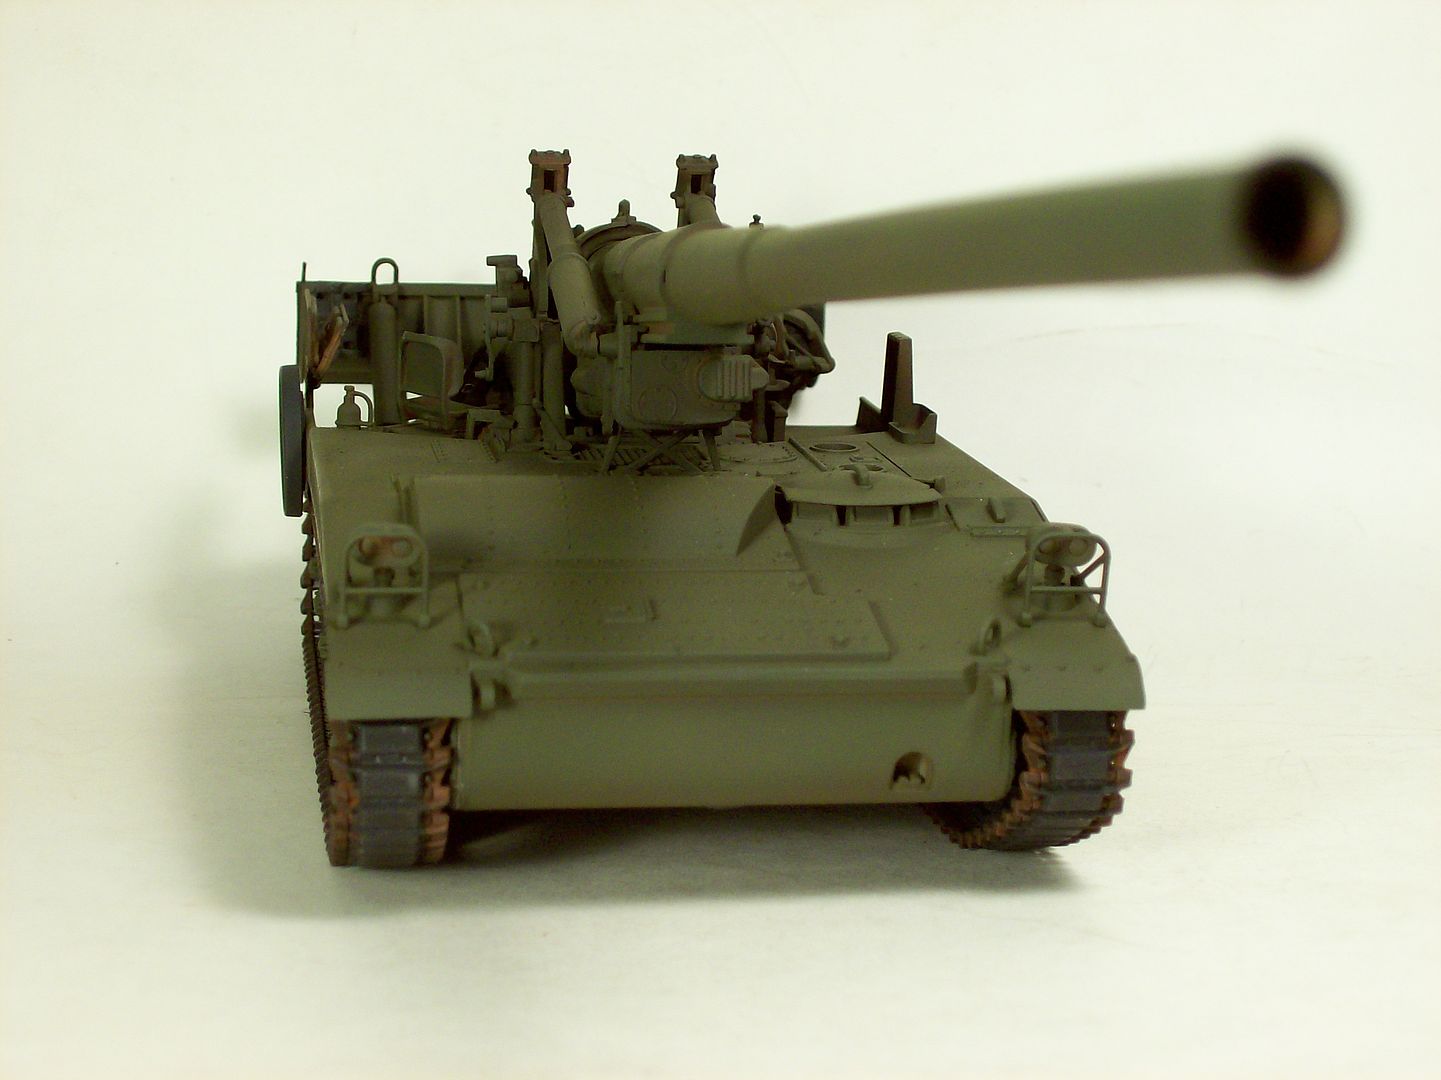
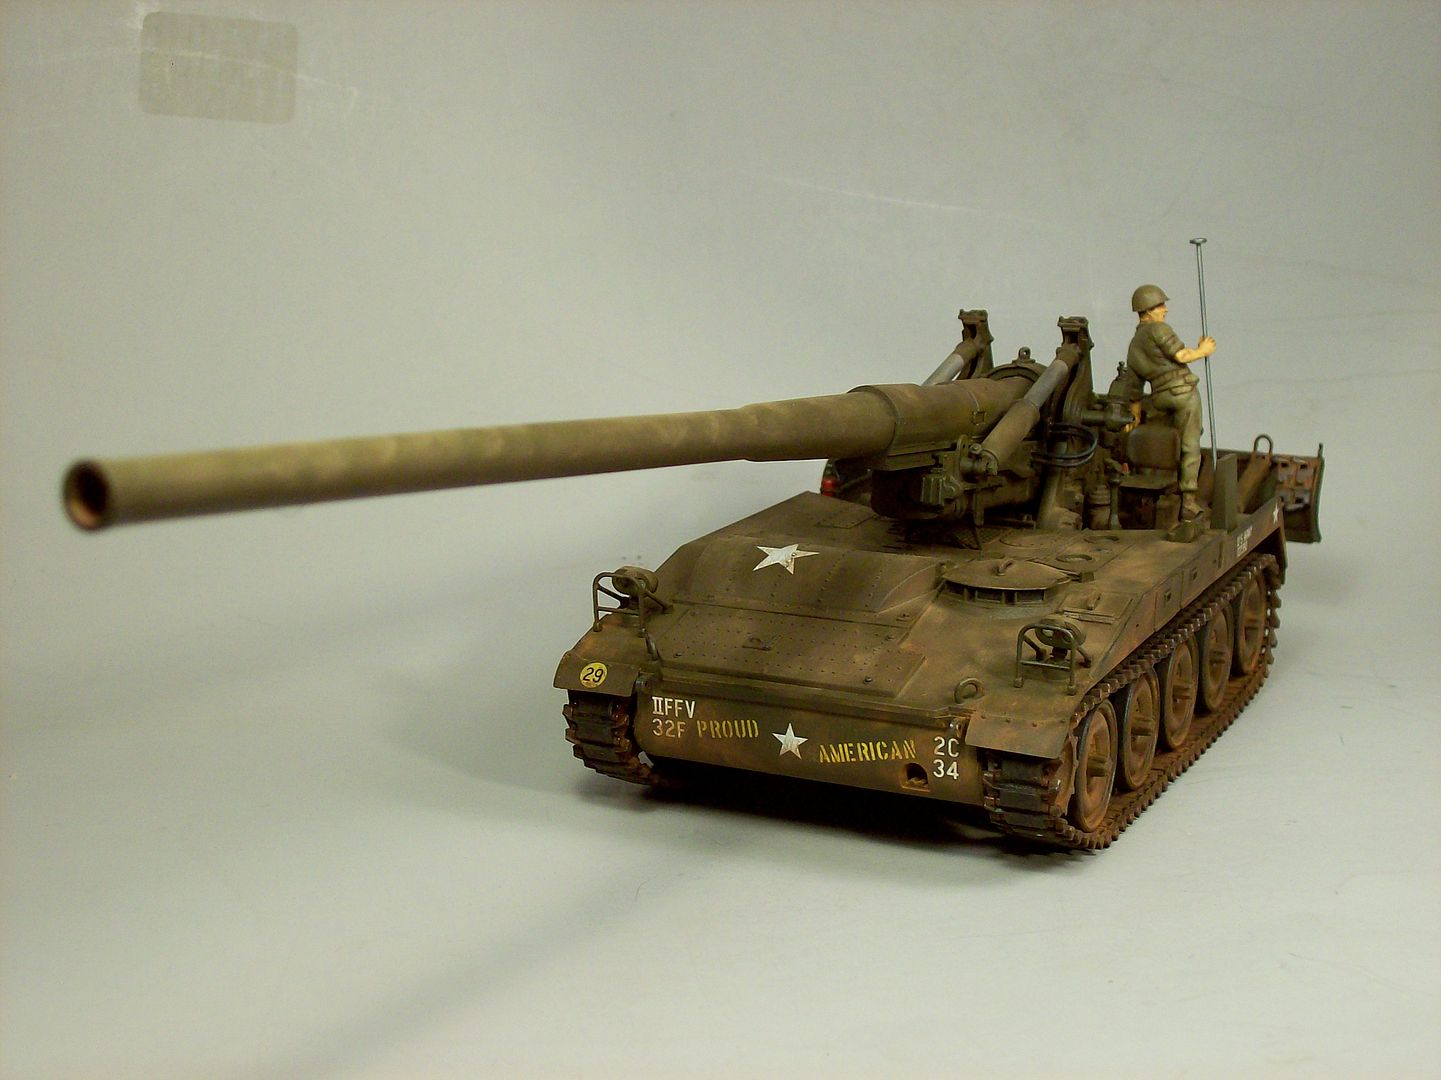
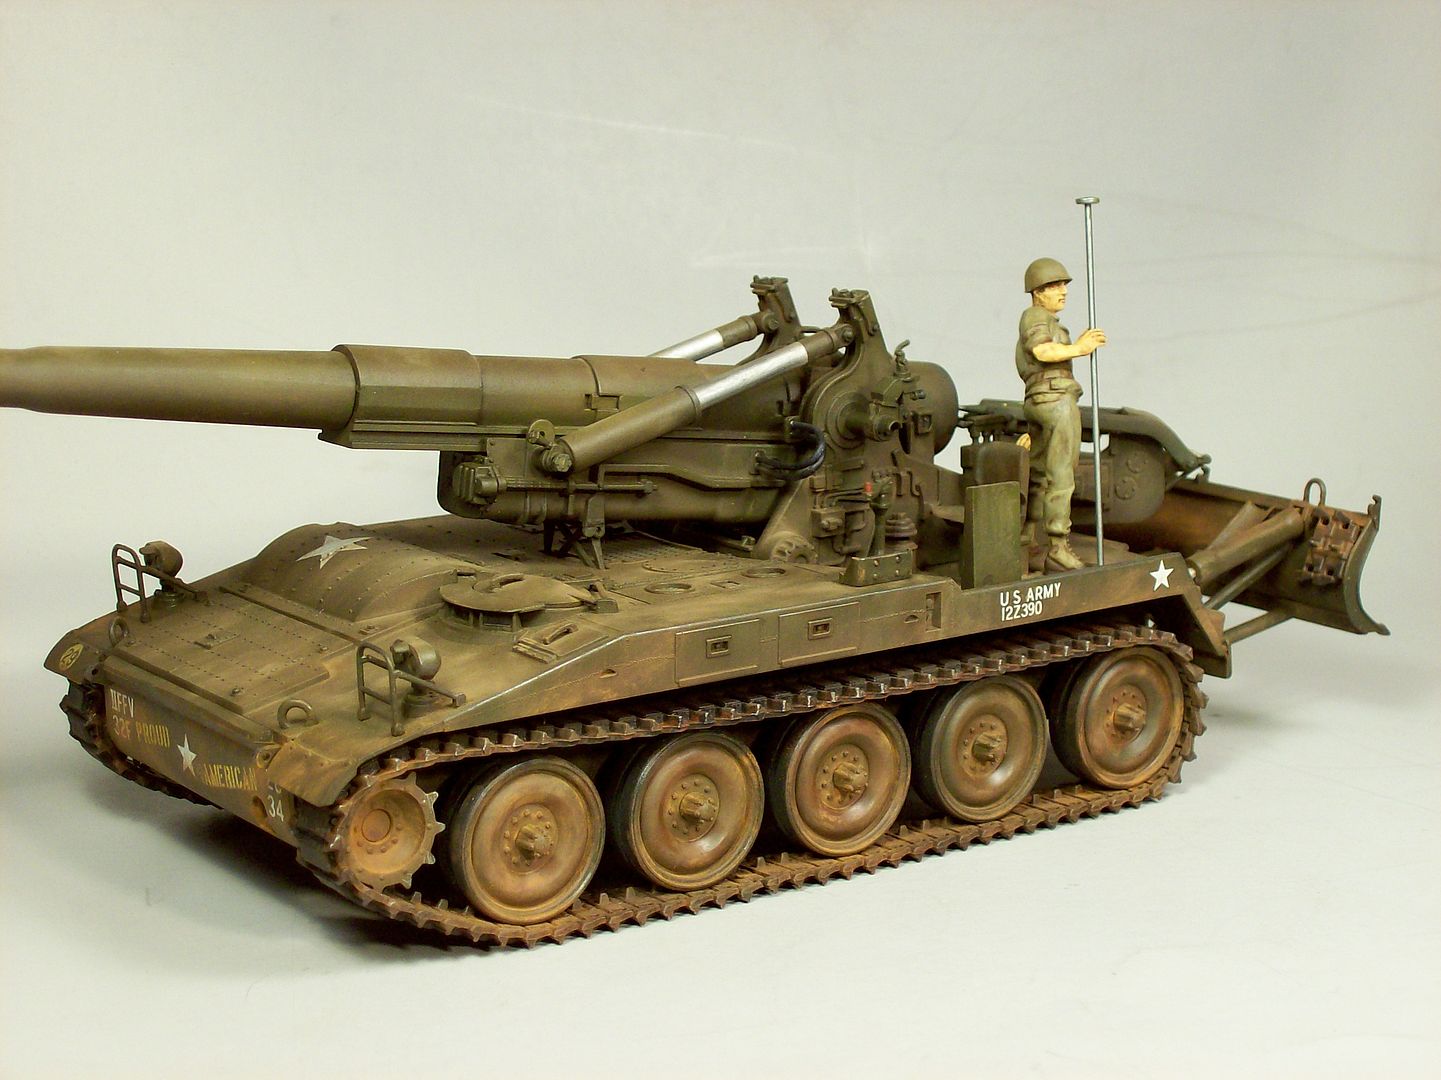
Detail painting and Wash:
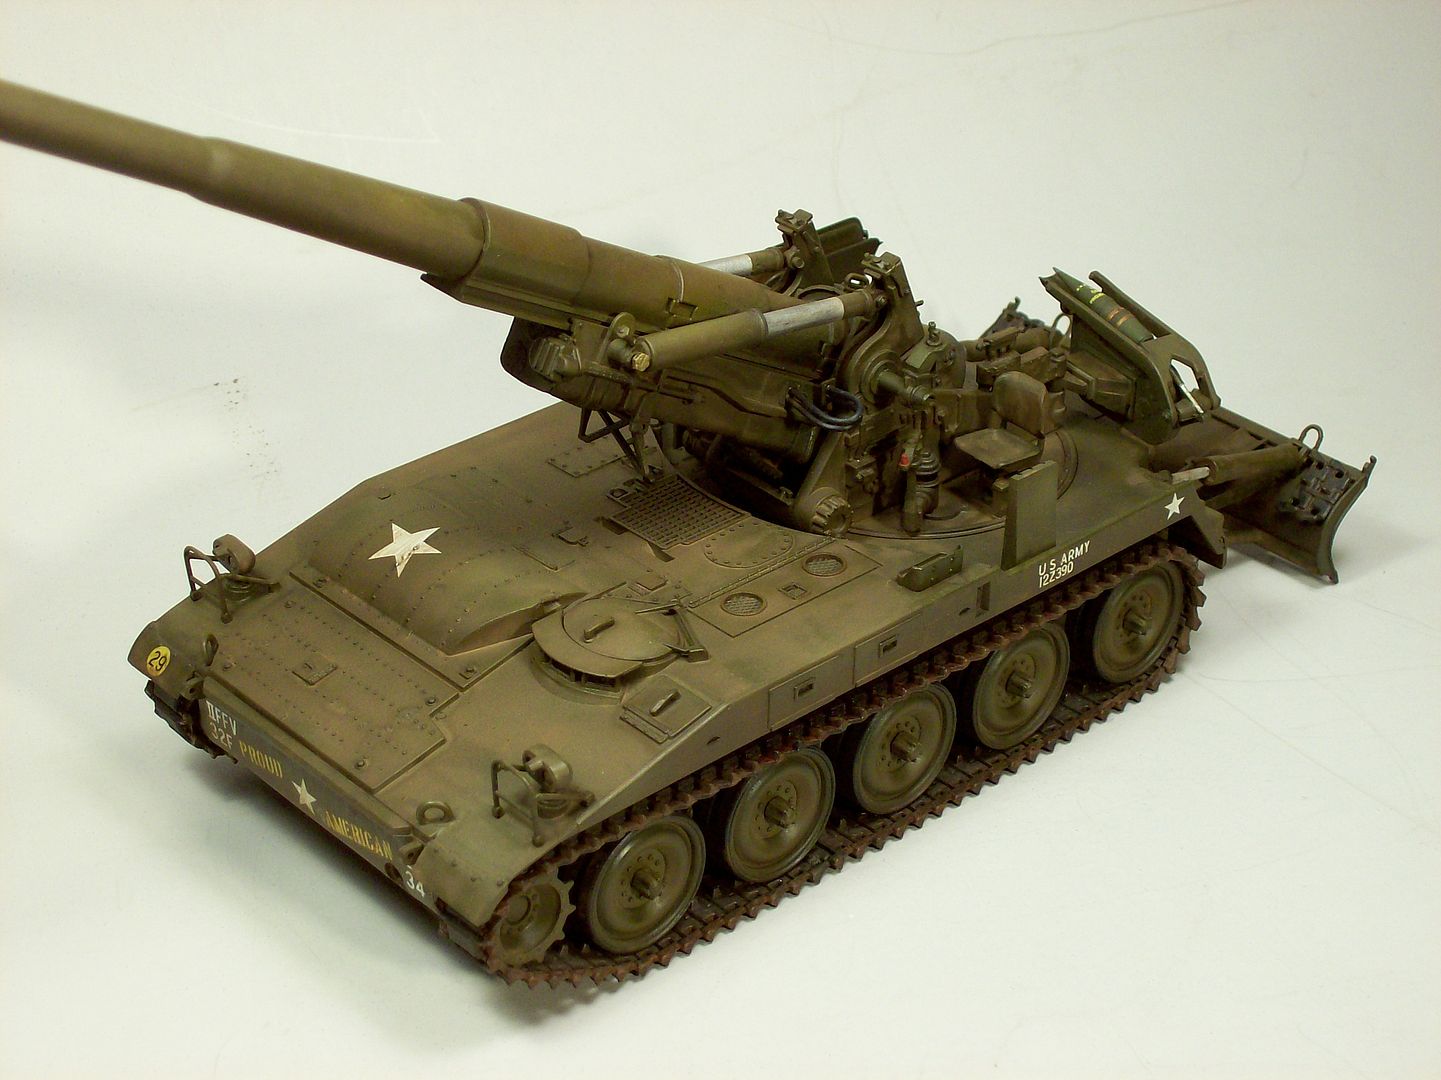
Next up is a Flat coat and some of that red Nam earth dust.
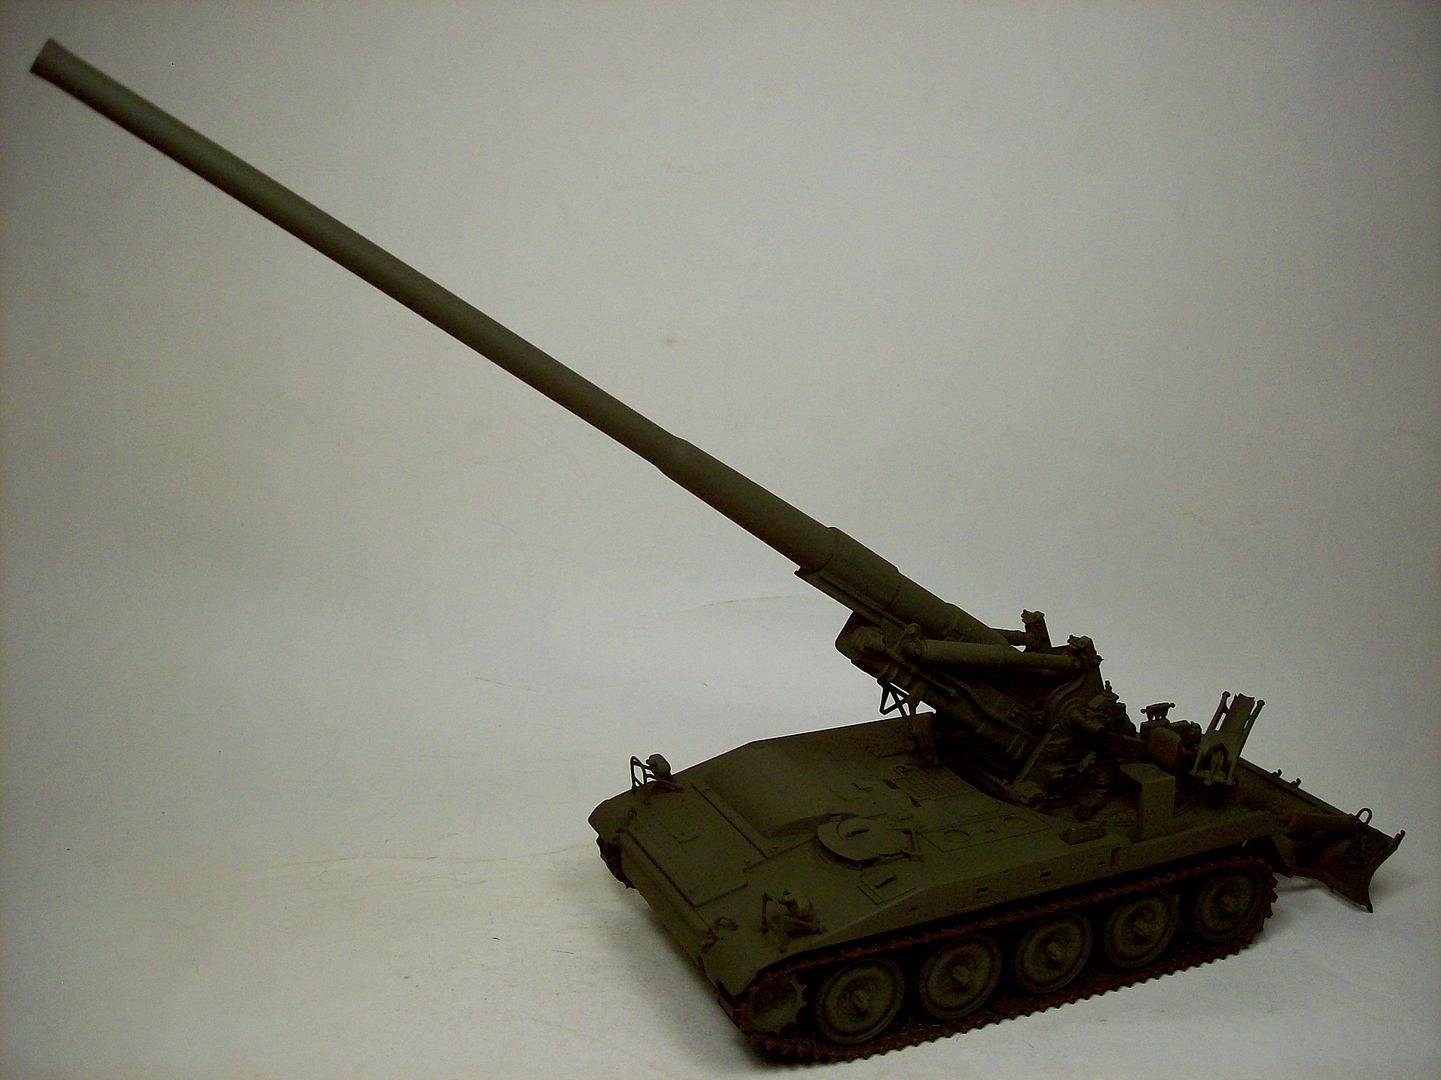
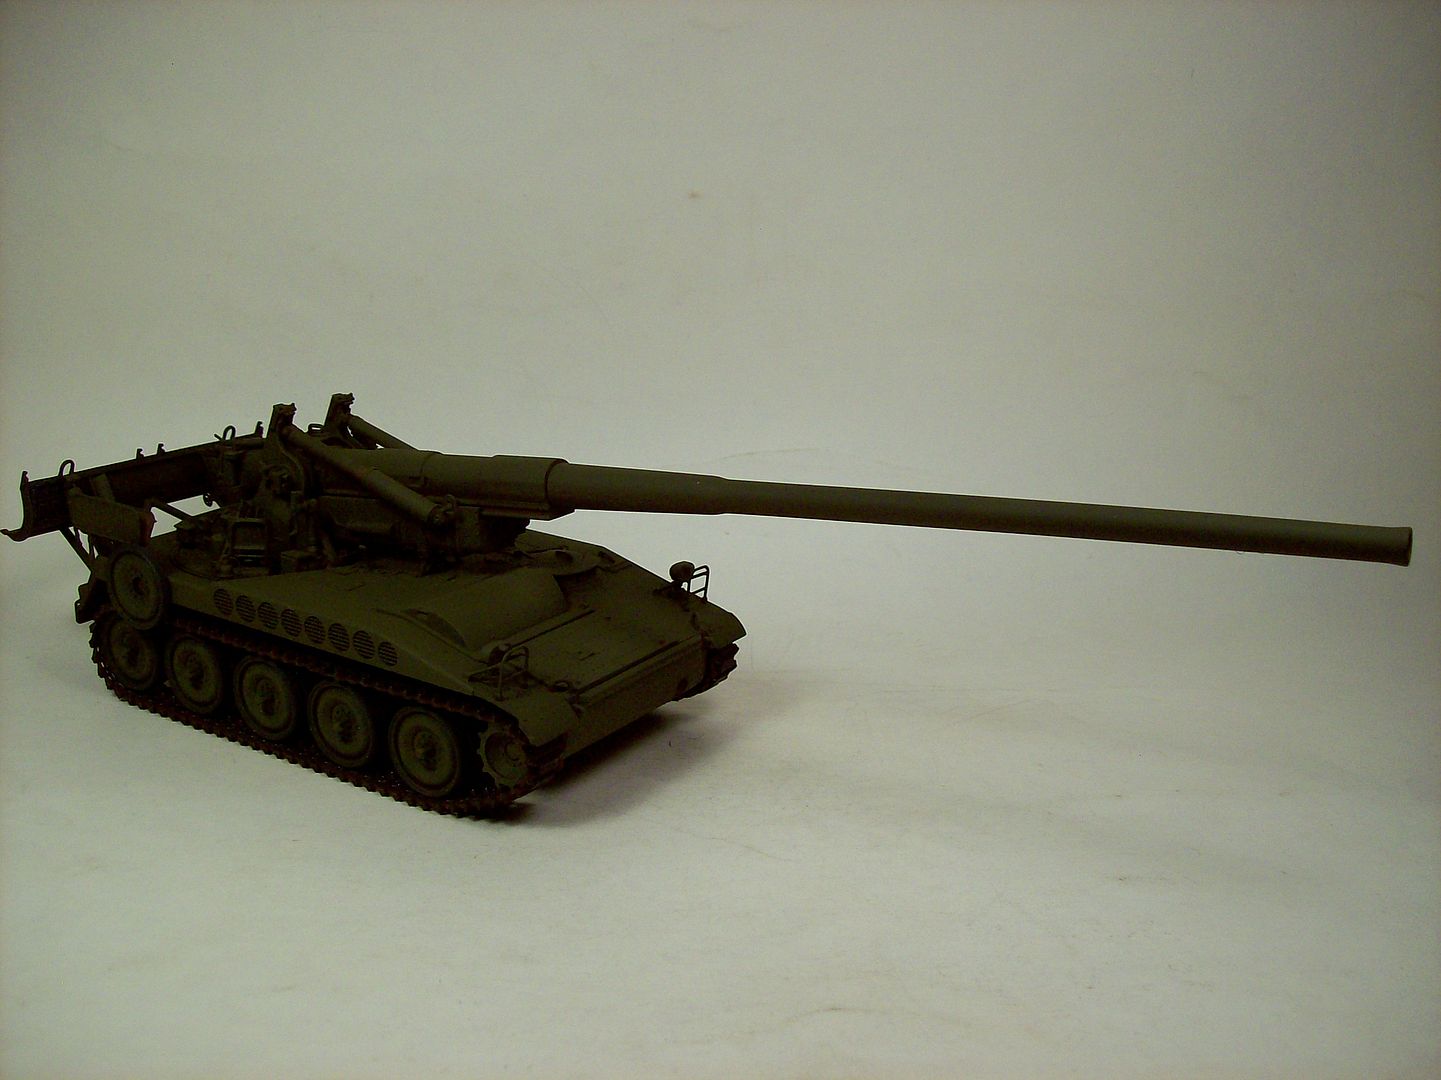
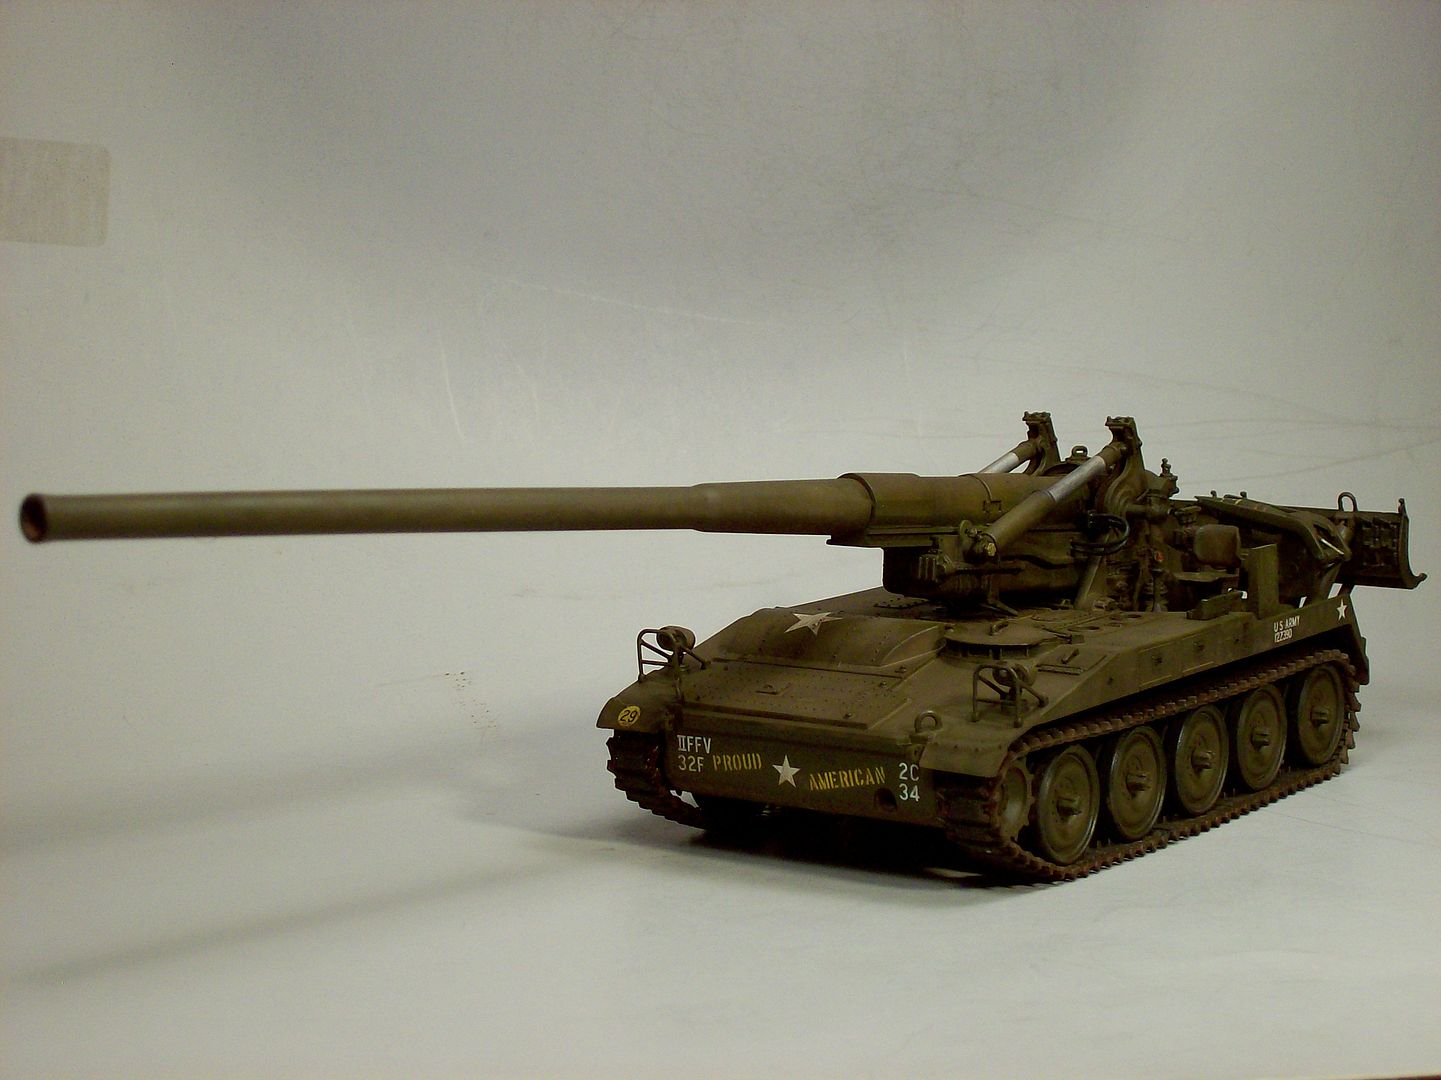
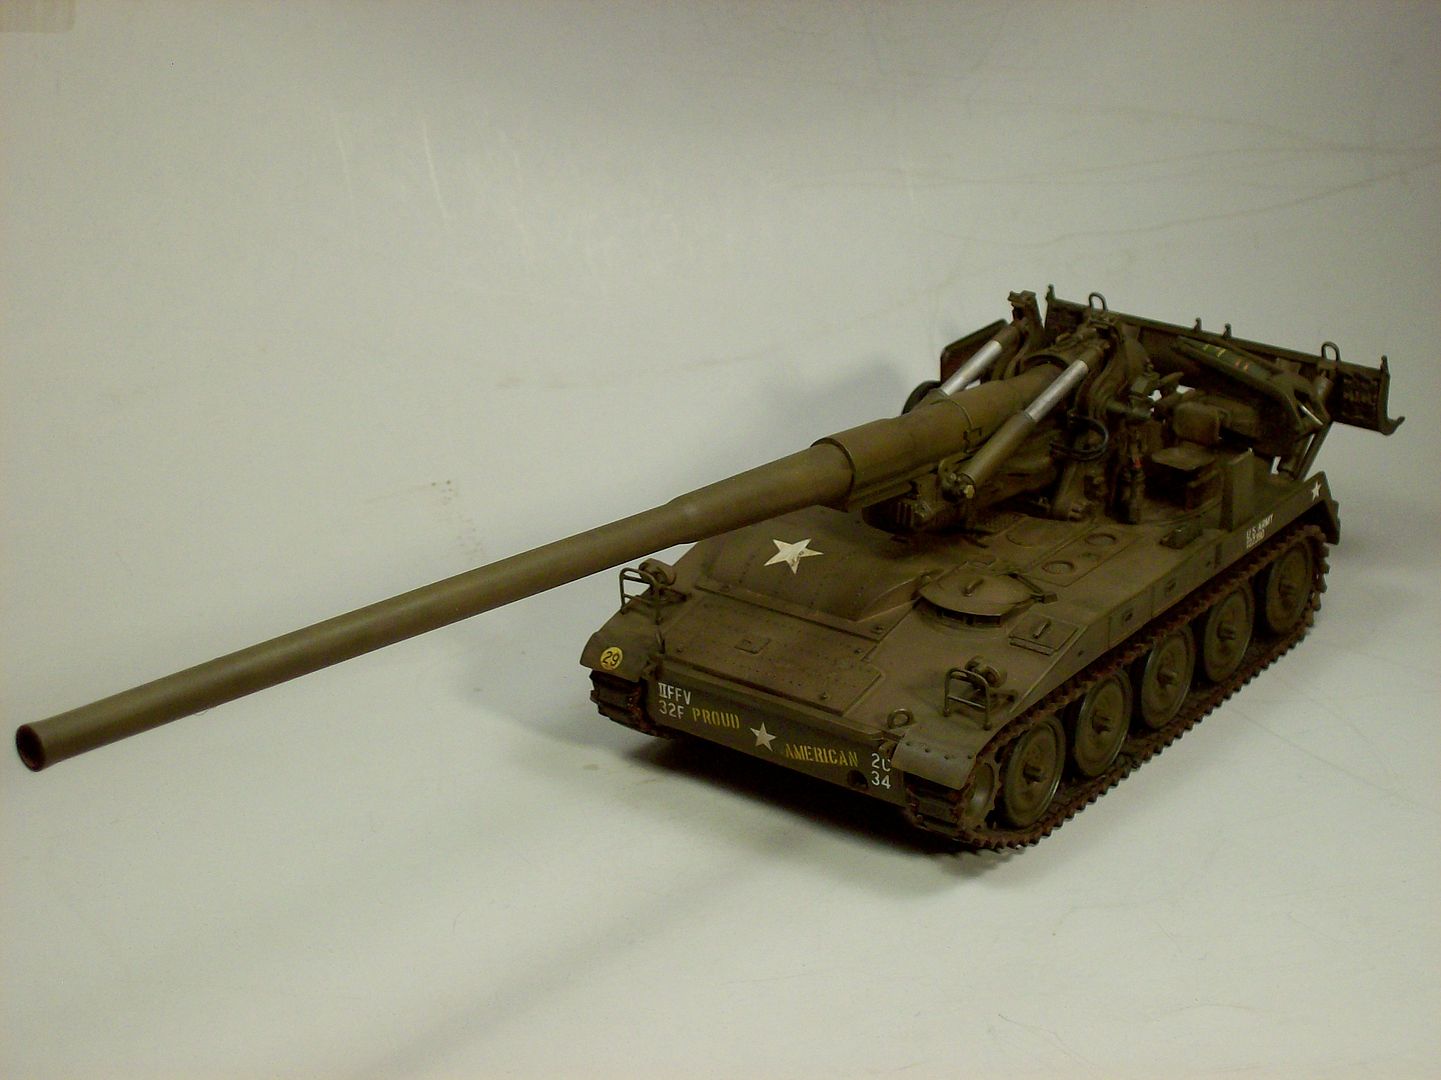
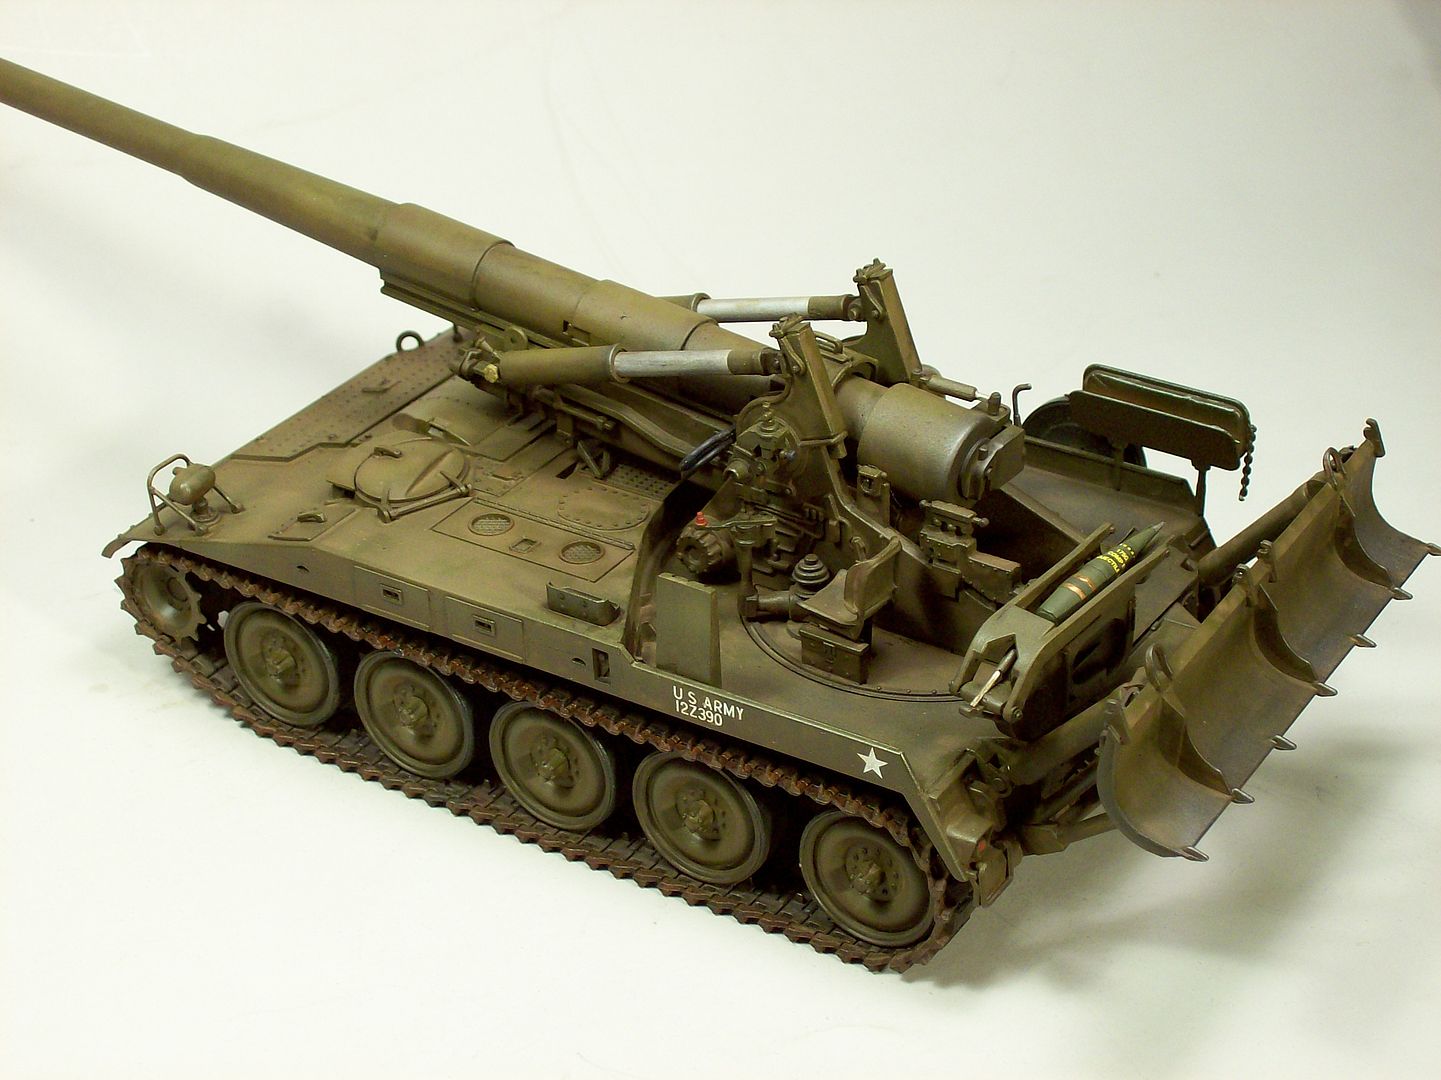
Final Sitrep:
Not a bad kit overall I would say. The only problem I had was getting the upper and lower hulls to fit at the rear but with many dry fittings along with filing here and there and some persuasion I was able to get a pretty good fit.
This one is right out of the box and finished the way I thought any average modeler could achieve.
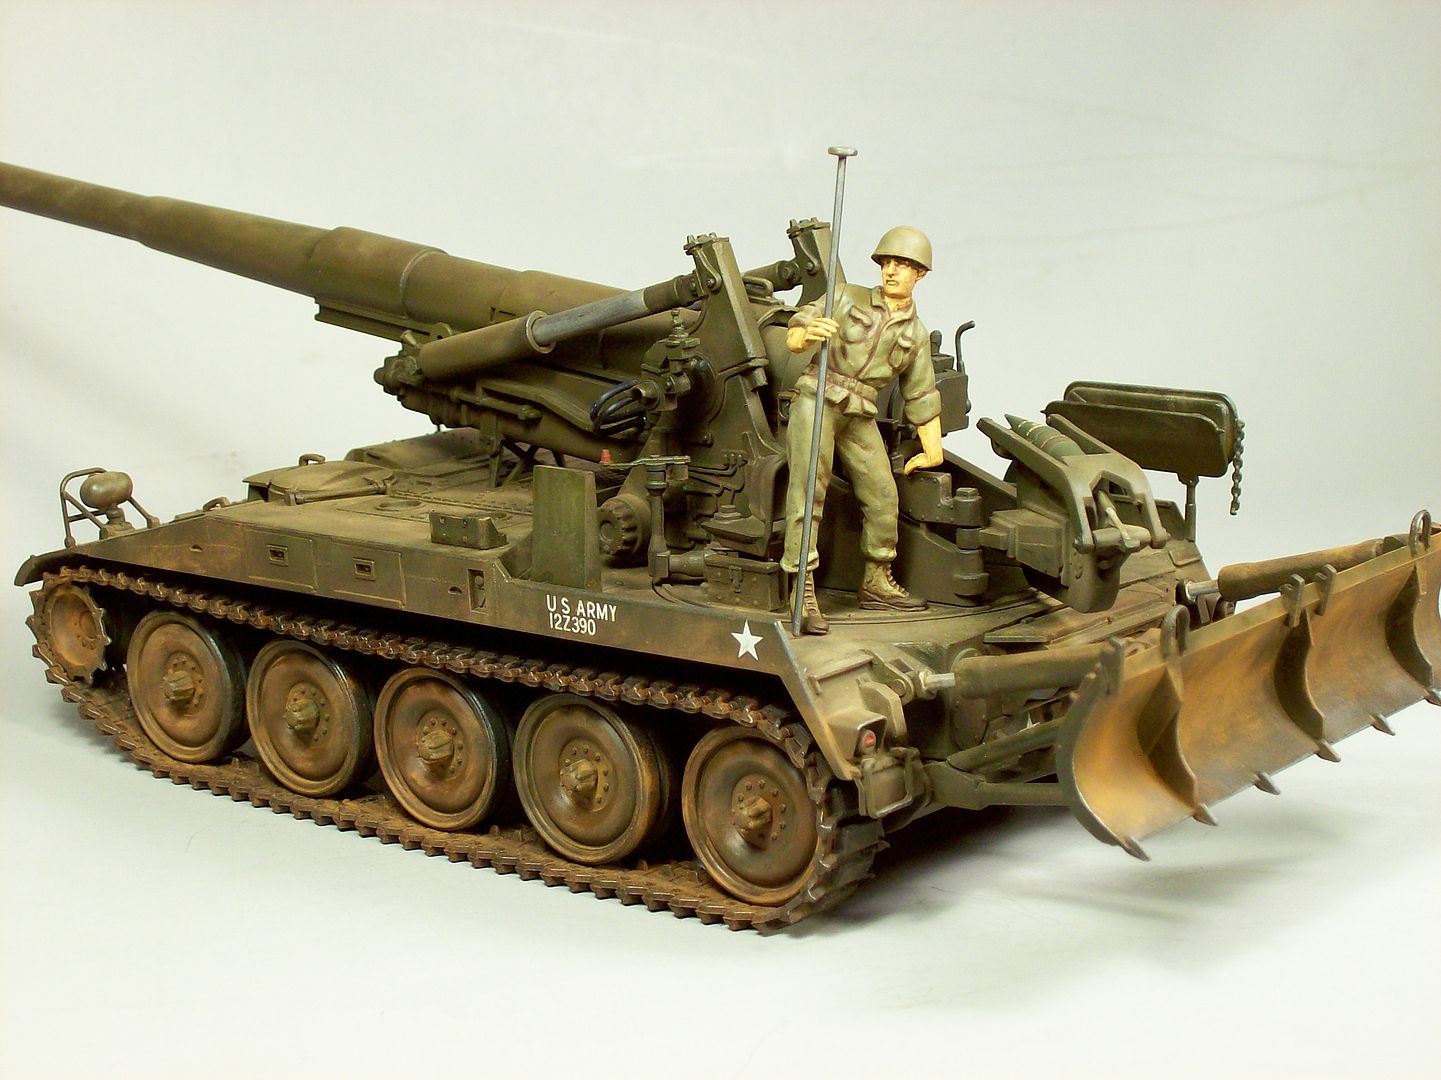
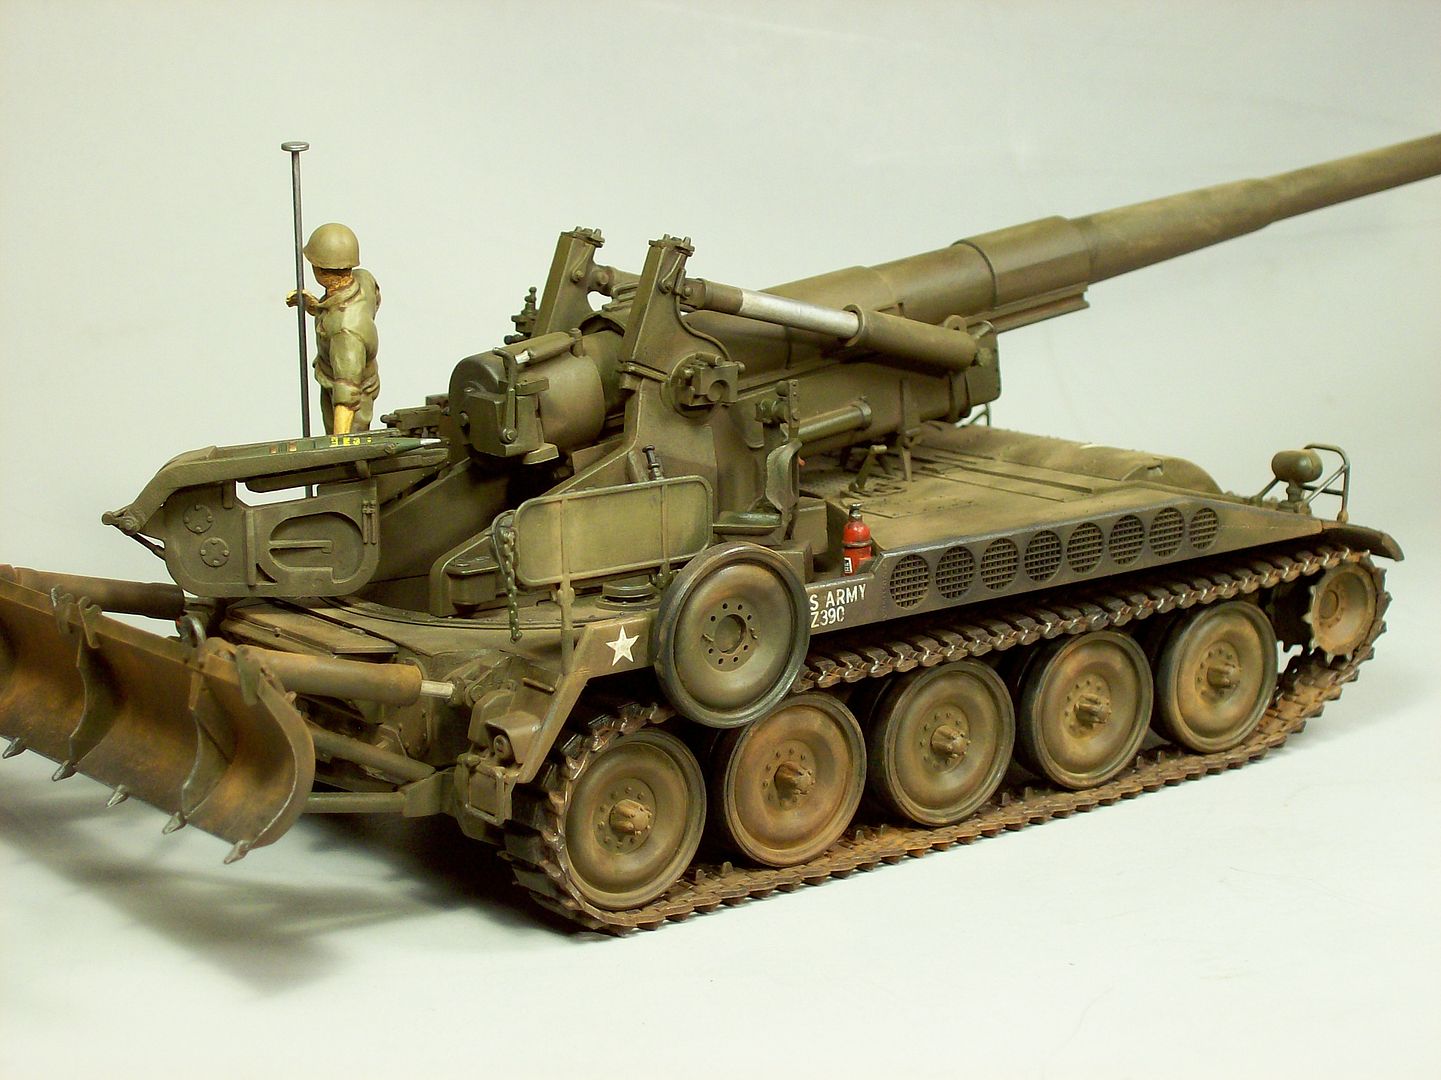
I'm happy with it and i'm sure others that build this reworked Italeri kit by Tamiya will be too.
Until we meet again
Uncle Tony

Full Build Review by: Tony Lee
Tamiya and Italeri have teamed up to reintroduce the M107 175mm Self-Propelled Gun from the Vietnam war era.
Tamiya claims to have updated Italeri's kit with more details,improved parts fit,softer band tracks that can be cemented and painted. Tamiya also included three figures and accessories such as a M16A1,two M60 machine guns,a folding table and chairs plus three folding cots and more.
Markings for two U.S. Army units:
Army 2nd Battalion,32nd Field Artillery Regiment,Vietnam 1969
Army 7th Battalion,15th Field Artillery Regiment,Vietnam 1969
I've not built the older Italeri kit but Sherman is building one for the Uncle Tony's SPG campaign
www.modelersalliance.com/forum/uncle-tony-s-spgs/151136-m107
and those that would like to compare the two kits may do so.
Looking over the Tamiya sprues this morning it appears the detail is crisper and knock out punch marks are shallower and easier to deal with if need be plus I didn't find a single sink mark anywhere.
OK People Lets Roll
------------------------------------
I went ahead and completed the first four steps with step one being the wheels.
I had troubles with the fit of the upper hull matching up with the rear hull plate and from what I was told is a known problem with the Italeri kit as well.
I spent a lot of time getting the fit as tight as I could and then used clips while the glue cured. It still needs a thin application of filler to close the small gaps.
The front fits up nice and tight:
Not so at the rear:
The remainder of the steps completed a walk in the park: BTW Tamiya did not supply you with the Jerry Cans for the new holders.
We need to back track for just a moment here with a heads up in regards to parts B-53 and 54 in step #7.
Don't install these just yet we'll do that in step #11 when you install the recoil spade.
Step #11, Installing Recoil Blade.
Now is the time to place parts B-53 and 54 on the lower brace arms of the recoil spade. If installed in step #7 it will be almost impossible to get the swivel pins in the holes.
Progress shots of work:
GOOD NEWS:
The two halves of the barrel snug up GREAT when glued together, NO FILLER required at least on my kit.
Placed more gun parts and stuck a couple of the figures together:
The seated soldier is holding a map that is printed on the side of the kit box.
Primer:
Tracks and Paint
Tracks installed and base color coat applied:
Detail painting up next.
Sealer coat next
Decals:
You get decals for two units the 2nd Battalion,32nd Field Artillery Regiment 1969 and
the 7th Battalion,15th Field Artillery Regiment 1969.
I used the 2nd"B" 32nd F.A.R. (more decals) 1969 was when I was there.
During the Vietnam era, the unit again saw considerable battle in the Counteroffensive Phases II through VII, Tet 69/Counteroffensive and the Consolidation I and II campaigns, earning credit for 12 campaigns and was awarded the Presidential Unit Citation (Army) streamer.
There's even a decal label for the FE, tools painted and installed.Tamiya supplies you with a section of black tubing to use as hydraulic hose that was installed on the gun.
Detail painting next.
Here's a photo of just some of the added items you get with the kit.
Two M-60s,one M-16,three folded stretchers or cots??,two canteens,two M-1911s,two jerry cans,four ammo cans,two 45cal mag pouches,three figures and one table w/two folding chairs.
Update
Detail painting and Wash:
Next up is a Flat coat and some of that red Nam earth dust.
Final Sitrep:
Not a bad kit overall I would say. The only problem I had was getting the upper and lower hulls to fit at the rear but with many dry fittings along with filing here and there and some persuasion I was able to get a pretty good fit.
This one is right out of the box and finished the way I thought any average modeler could achieve.
I'm happy with it and i'm sure others that build this reworked Italeri kit by Tamiya will be too.
Until we meet again
Uncle Tony