-
Modelers Alliance has updated the forum software on our website. We have migrated all post, content and user accounts but we could not migrate the passwords.
This requires that you manually reset your password.
Please click here, http://modelersalliance.org/forums/login to go to logon page and use the "Forgot your Password" option.
You are using an out of date browser. It may not display this or other websites correctly.
You should upgrade or use an alternative browser.
You should upgrade or use an alternative browser.
Truck 'Loading Bay' Diorama WIP
- Thread starter tiking
- Start date
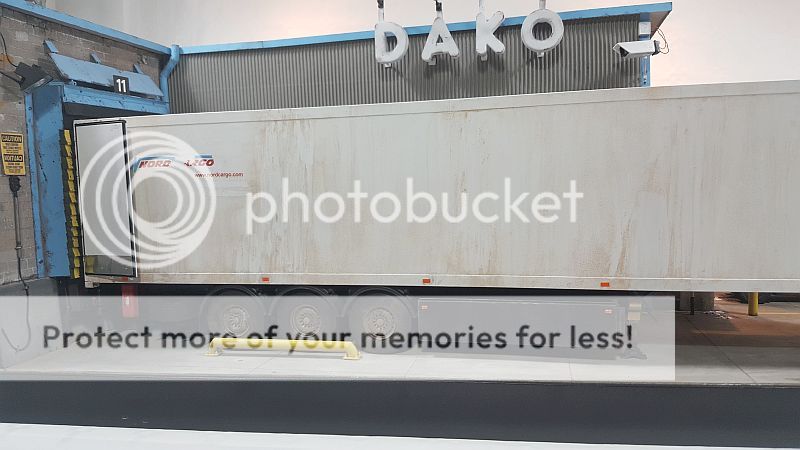
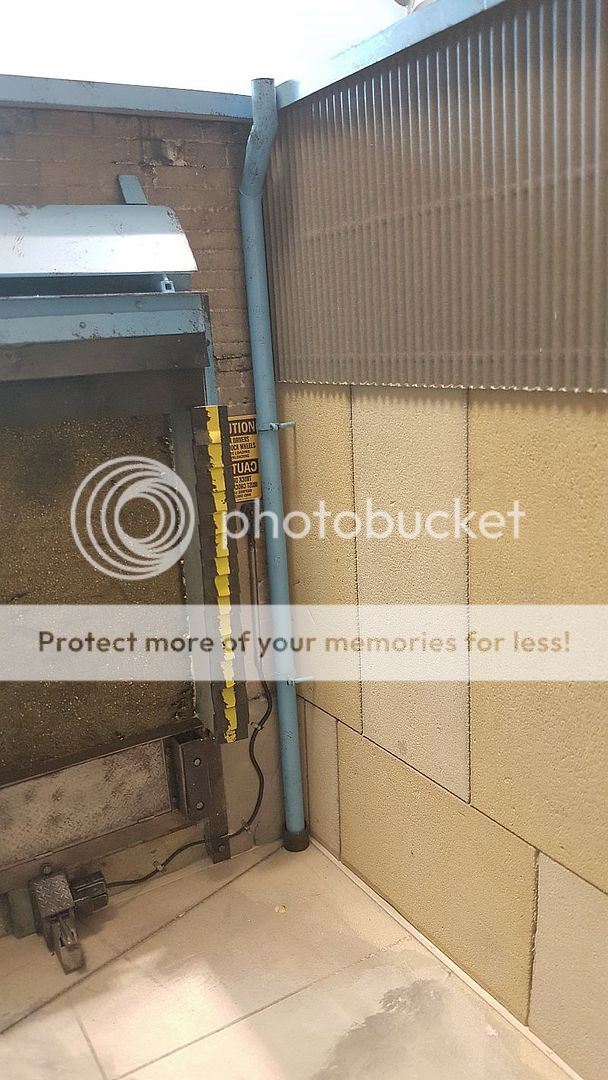
I got the drain pipe in place. Yes. It is a little tight fit but it works. I have seen such fittings in very tight places. So I am not outside the norm.
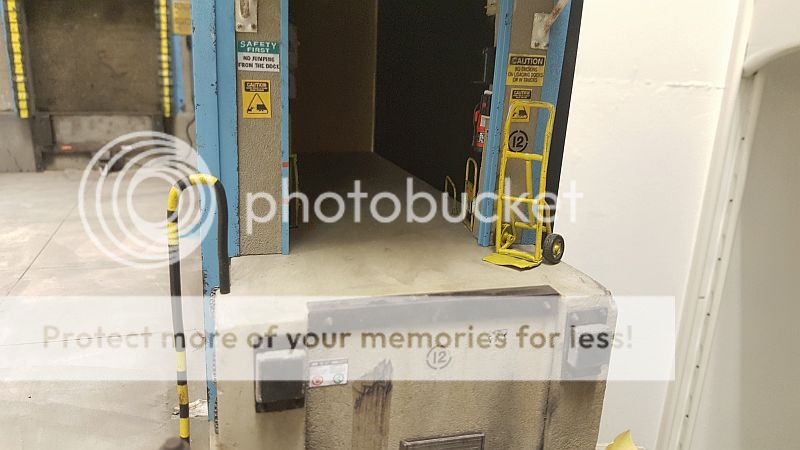
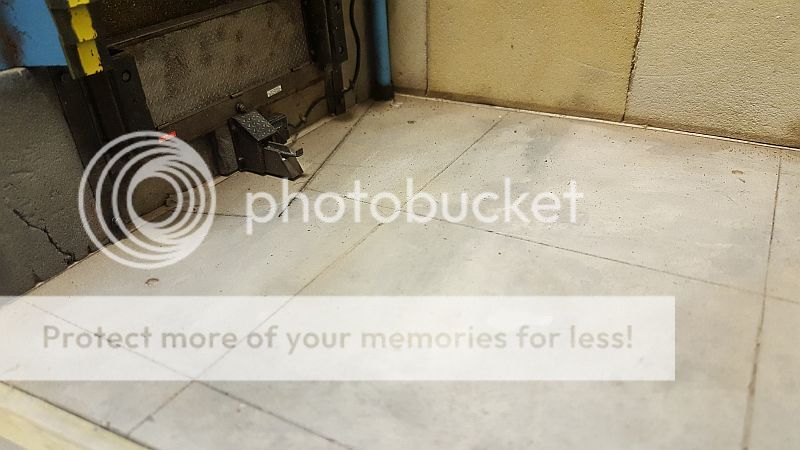
Starting to add the little details both inside and outside. the concrete bay. Addind signs and graffiti around the bay. Also starting to add small scrape here and there.
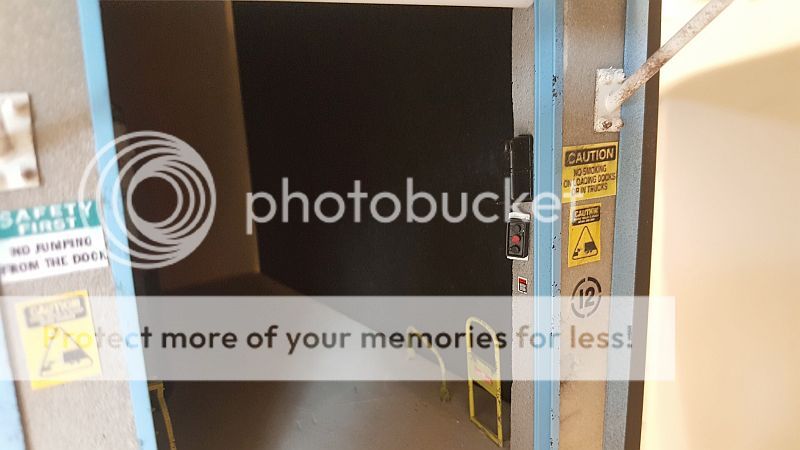
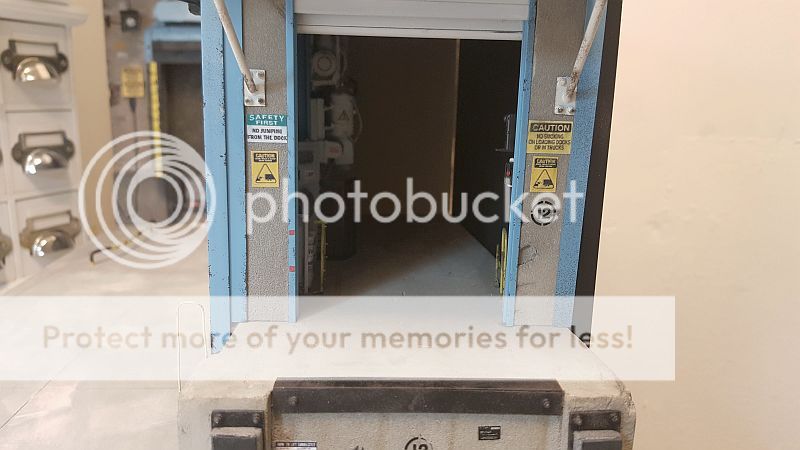
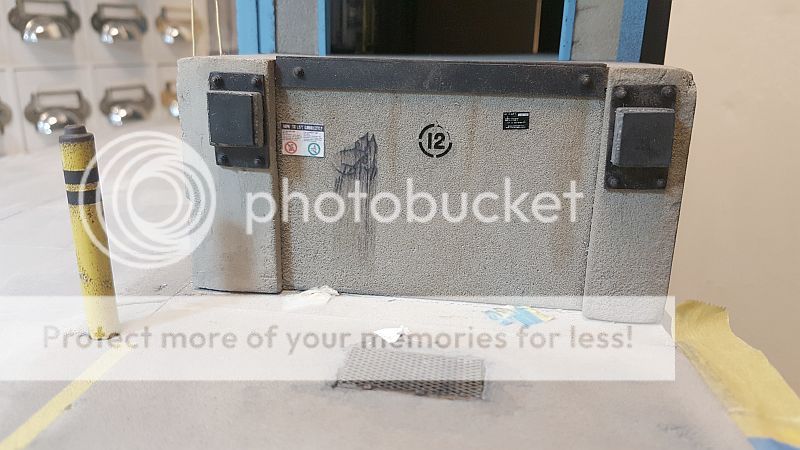
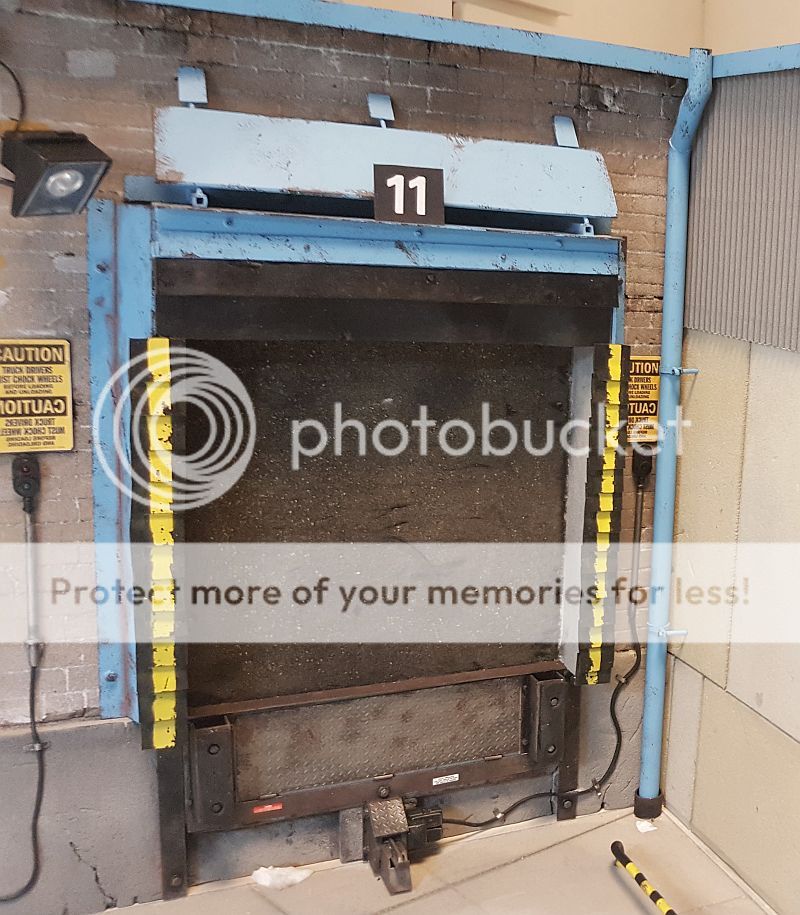
I added the Bay Dock numbers on both docks.
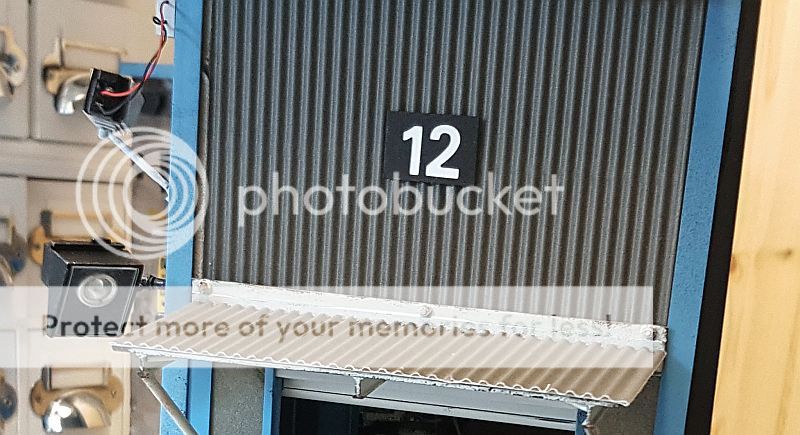
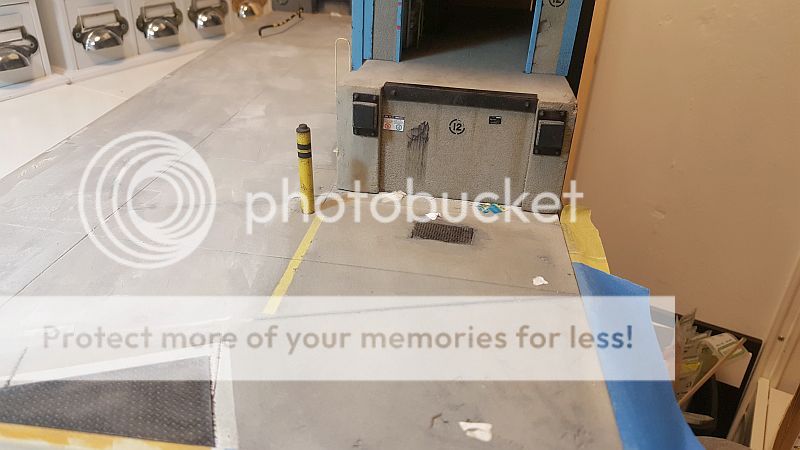
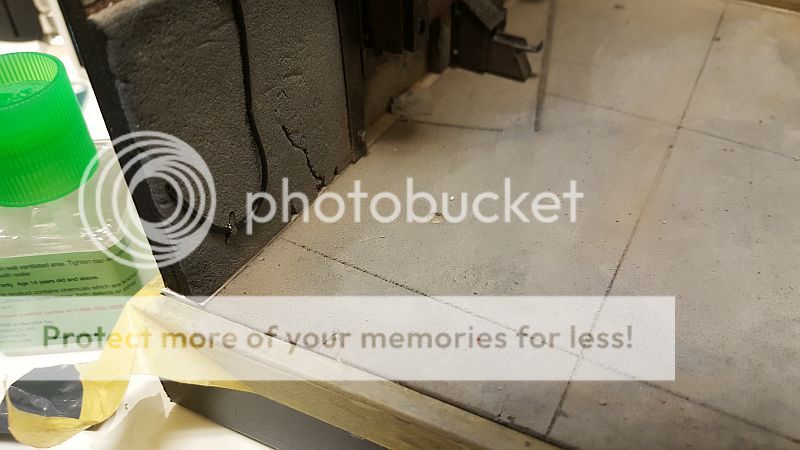
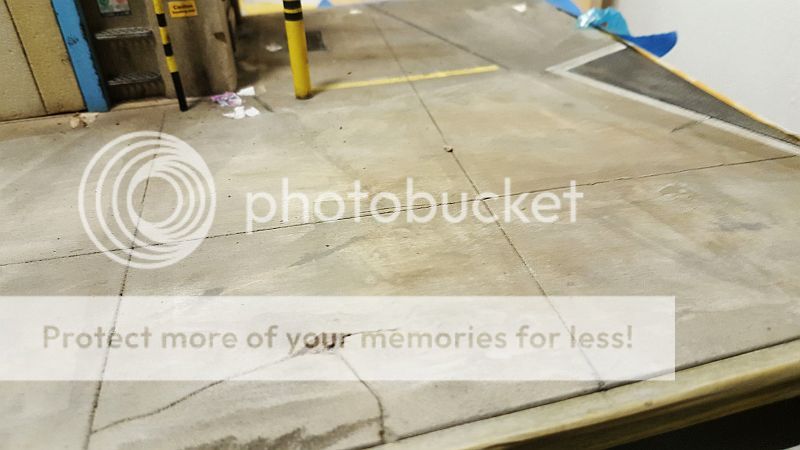
I have now corrected the concrete ground, so it is perpendicular to the buildings. Took some spackling but I got it there.

Starting to add the little details both inside and outside. the concrete bay. Addind signs and graffiti around the bay. Also starting to add small scrape here and there.
I added the Bay Dock numbers on both docks.
I have now corrected the concrete ground, so it is perpendicular to the buildings. Took some spackling but I got it there.

Duke Maddog
Well-known member
Oh yeah, that concrete ground work looks so much better lined up with the buildings. As for the rest, I still can't get over the realism. I'm trying to imagine how you do it and I just cannot wrap my head around it.
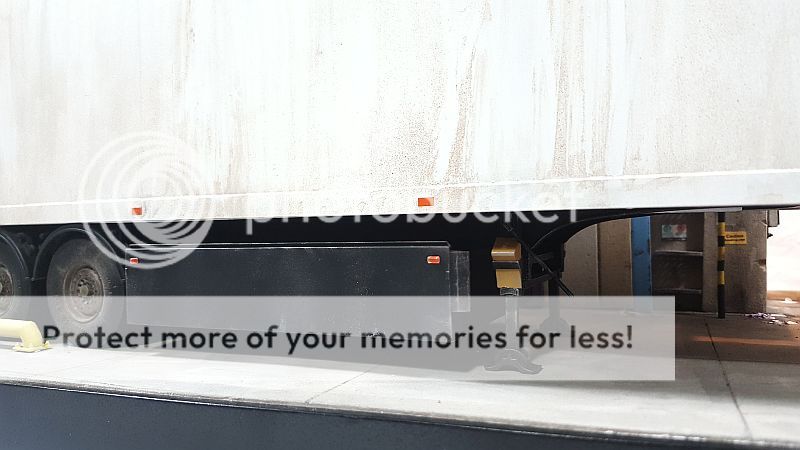
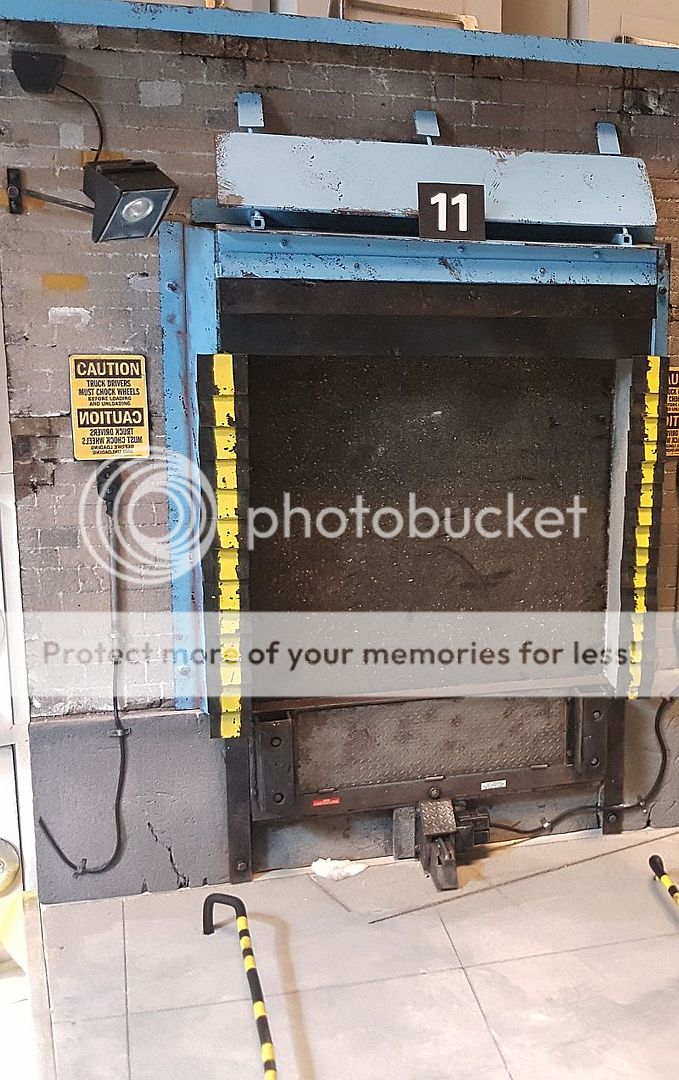
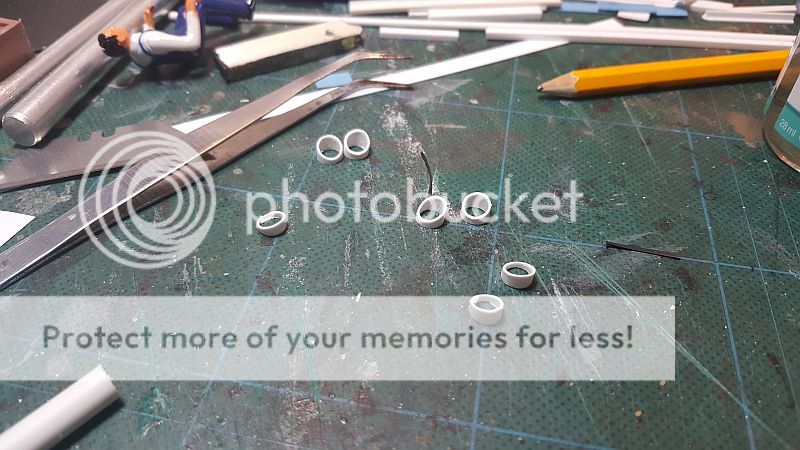
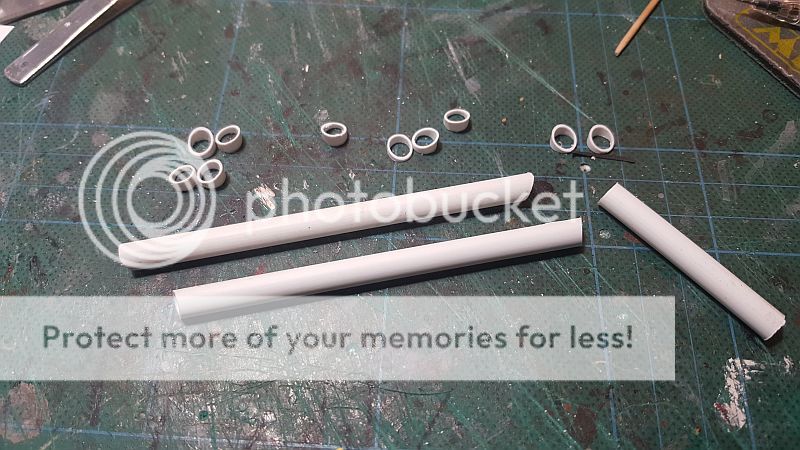
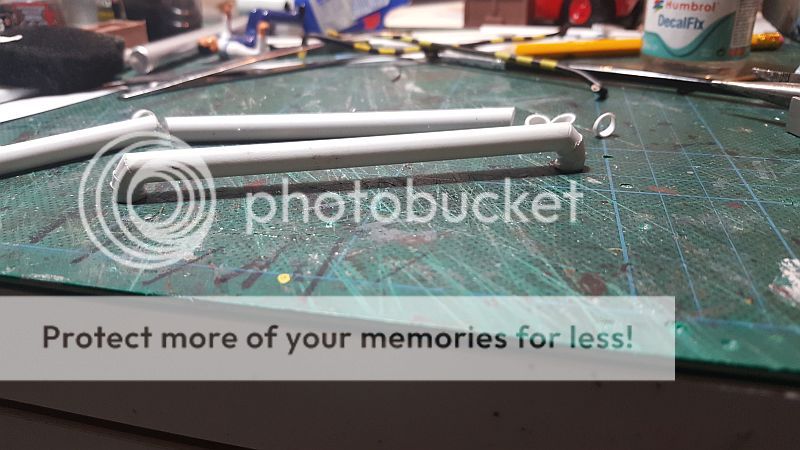
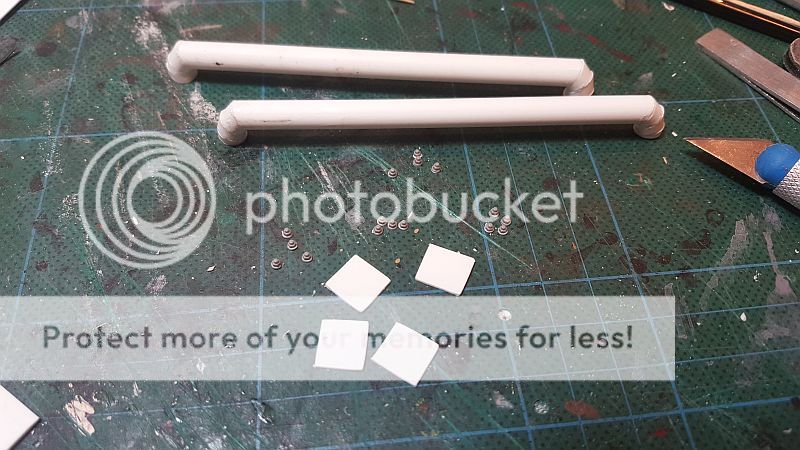
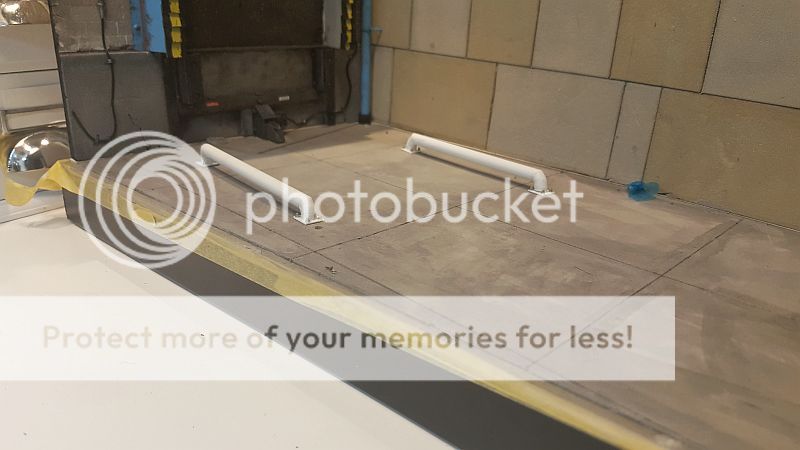
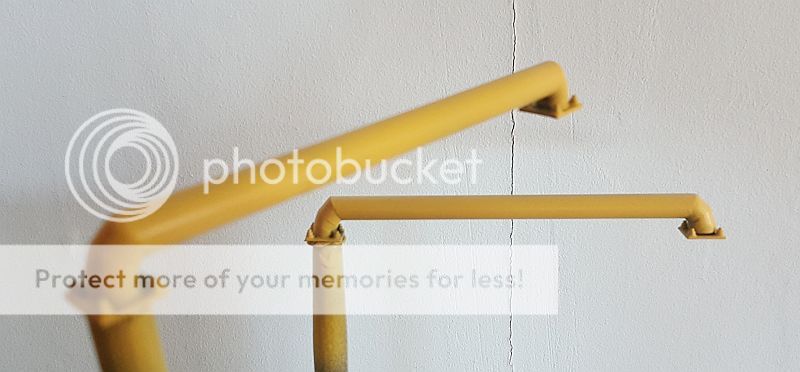
I decided to redo the wheel guides. I thought they were too small in diameter. So I decided I had to scratch built them from Styrene. There are several design types but the one in the picture I posted below, is the common one.

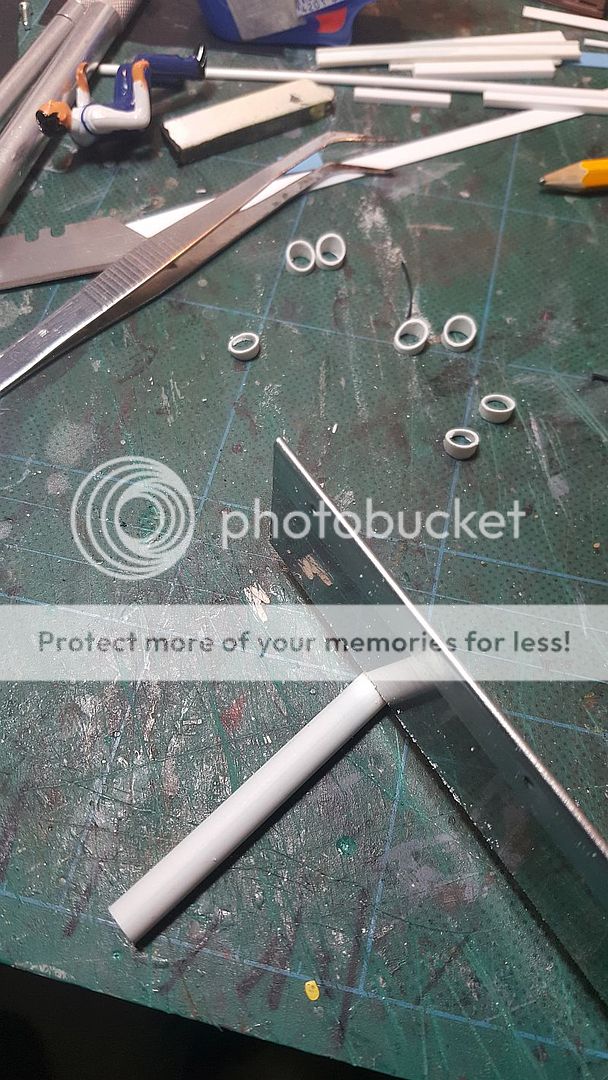
My version:
This is the design I am basing my version on:
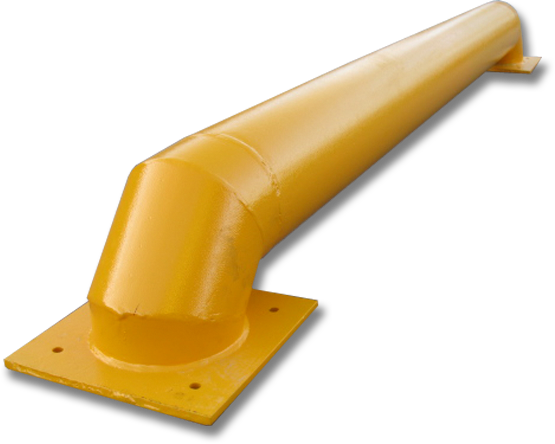
The most difficult in building this guide was getting the angle right. I had to cut three rod sections at an angle to get the curved 90 degree angle that you get in some of these guides. The one in the first prototype picture fortunately has a smooth one flow curve section all the way through. But I am modeling after the above, which has angle sections instead of the smooth curved version in the picture.
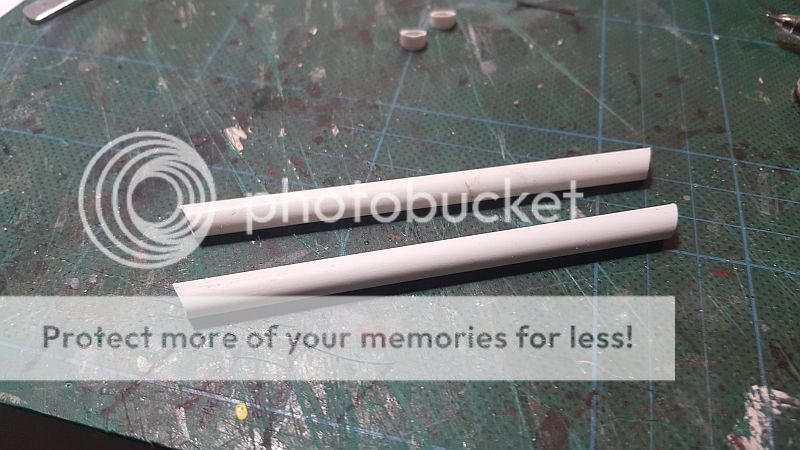
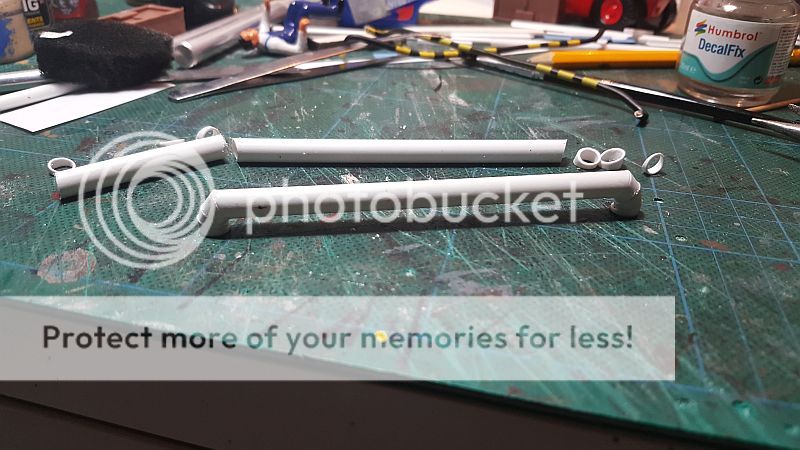
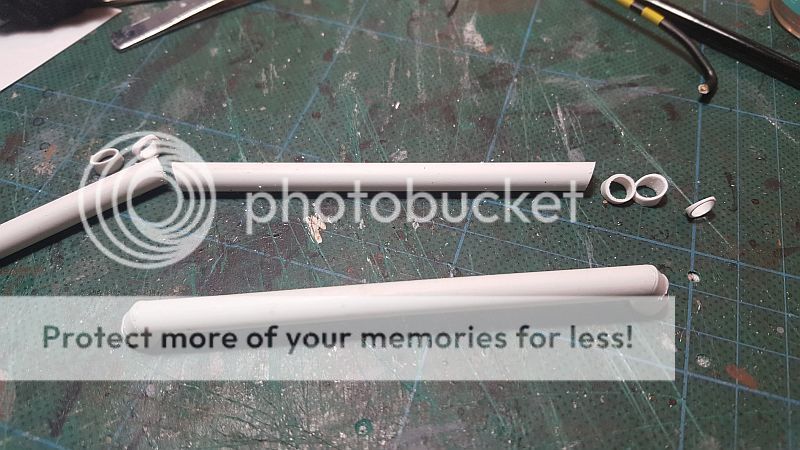
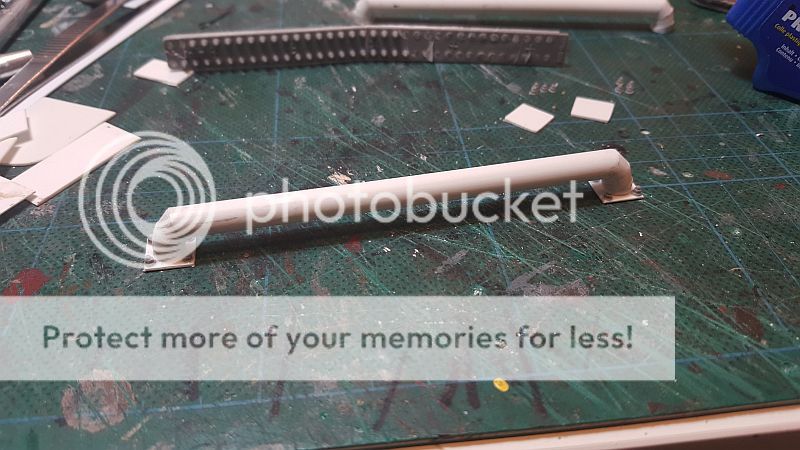
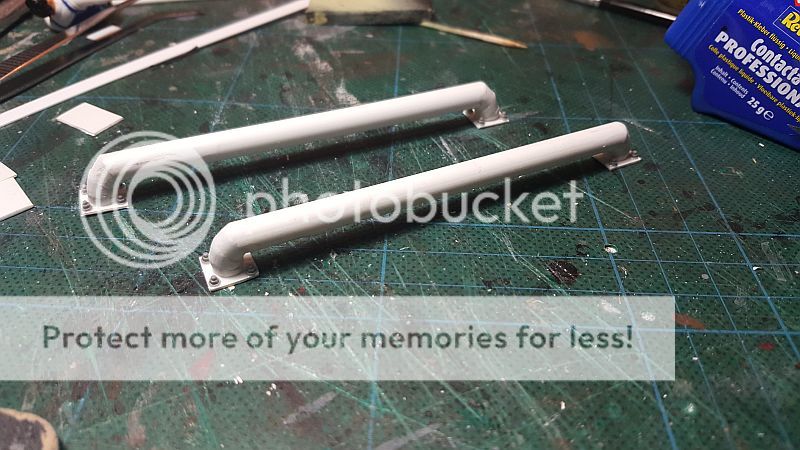
The finished model. I think it looks better than the one I had earlier:
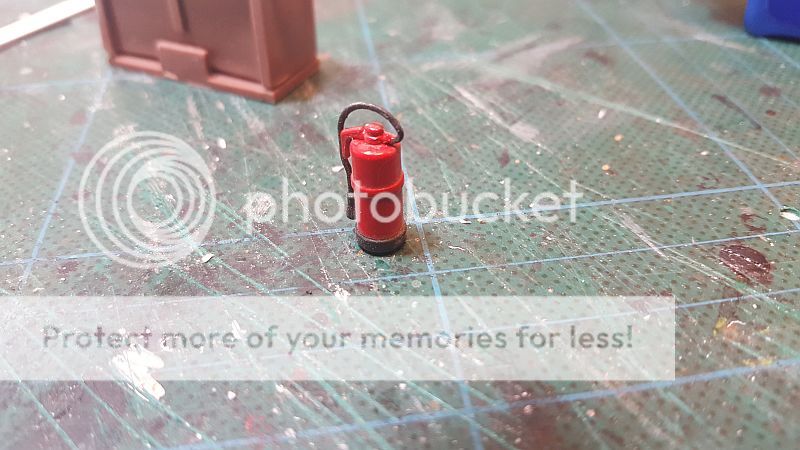
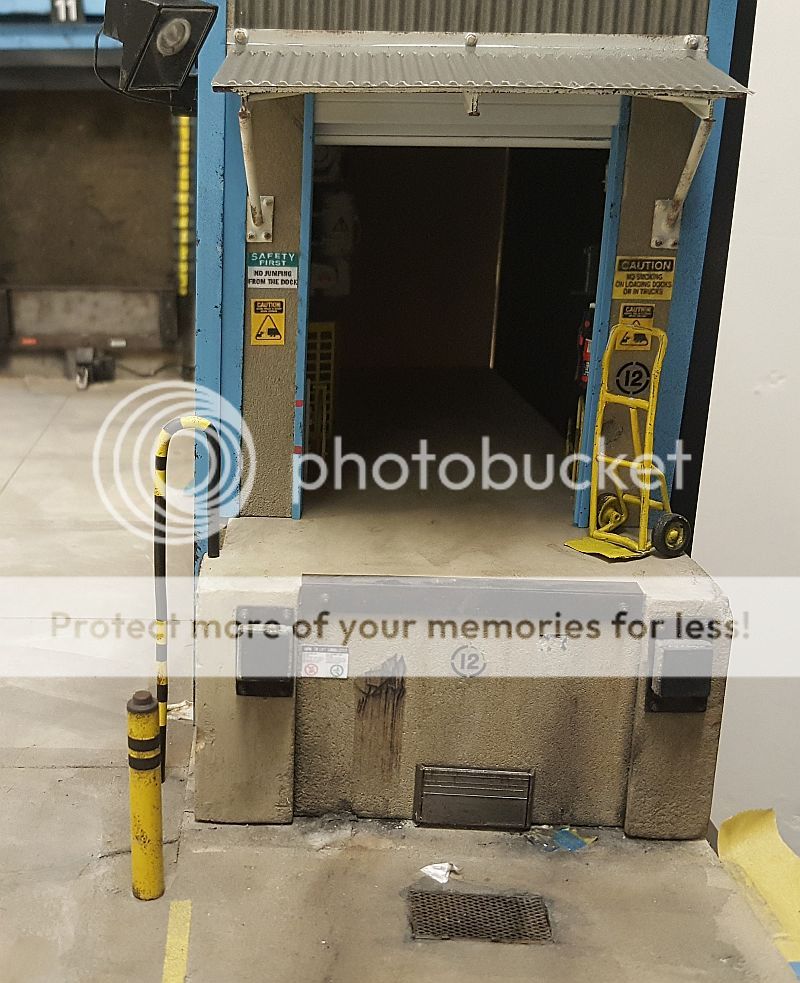
Still continue to add details. Added a fire extinguisher to the docking bay:
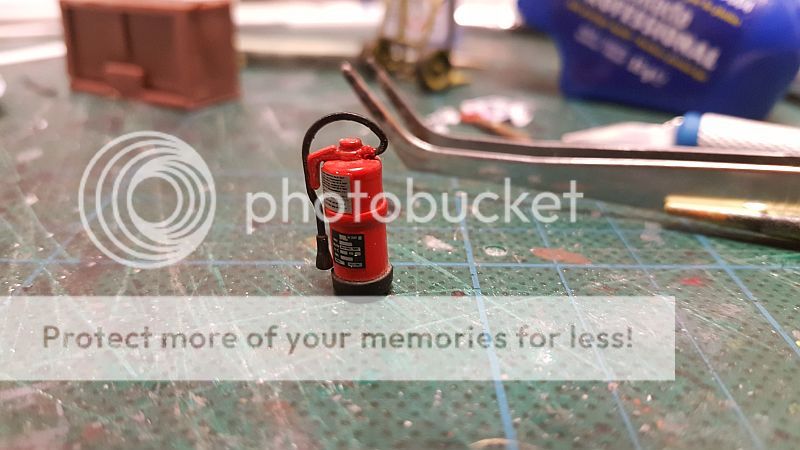
The mounted extinguisher on the side of the bay door:
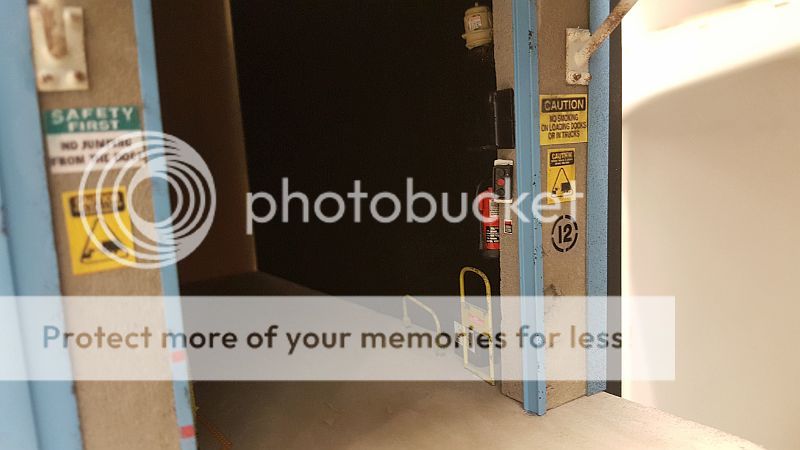
Decided to add an old two-wheel cart on the dock. Added interest:
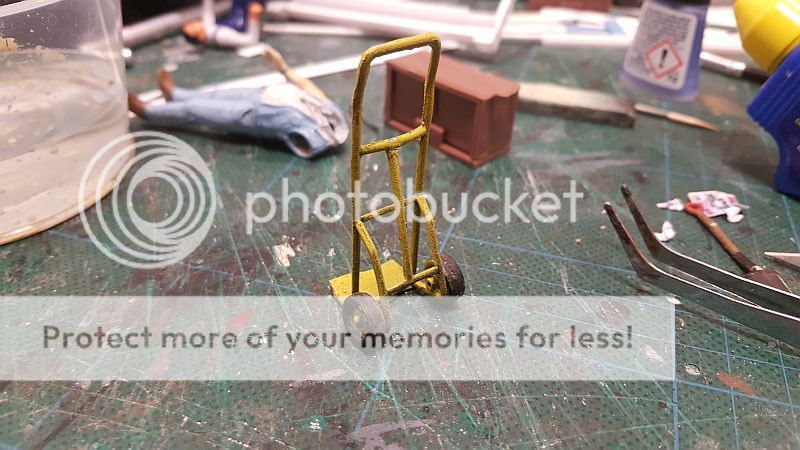
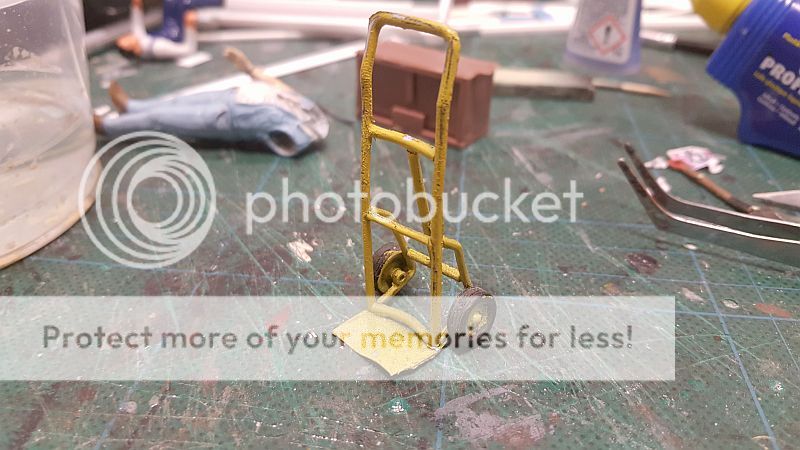
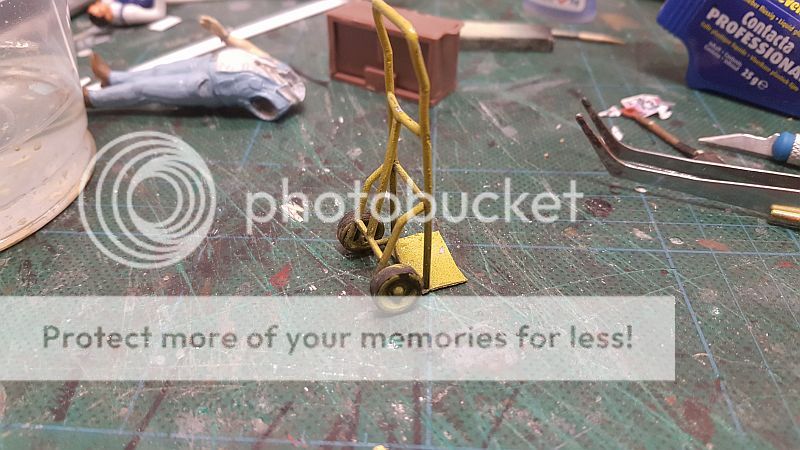
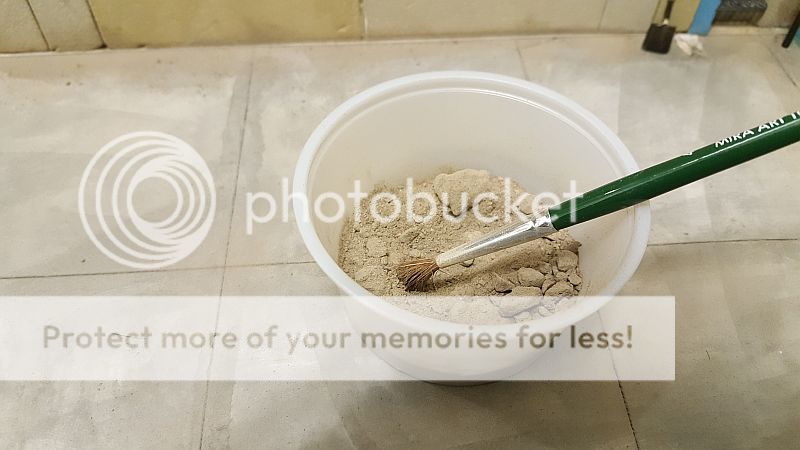
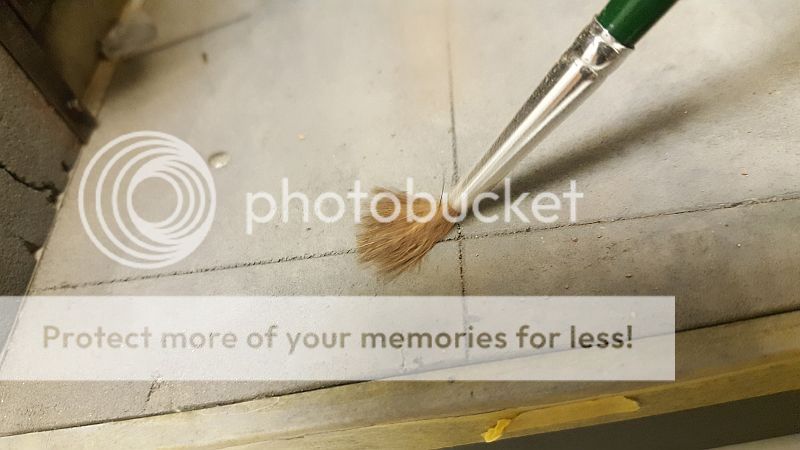
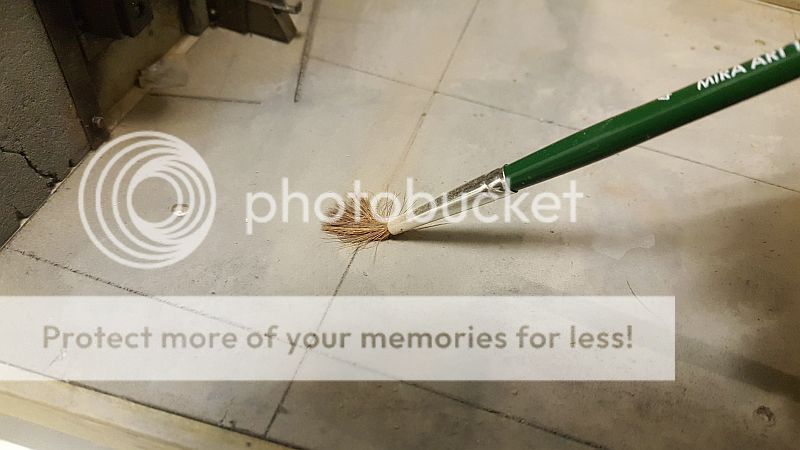
Most wonder how I weather certain normal areas in my dioramas. Well. Nothing new or fantastic. I use real dust or dirt that I gathered from the ground at my work place. I even used dried much from my neighbors farm yard. They are the best.
My version:
This is the design I am basing my version on:
The most difficult in building this guide was getting the angle right. I had to cut three rod sections at an angle to get the curved 90 degree angle that you get in some of these guides. The one in the first prototype picture fortunately has a smooth one flow curve section all the way through. But I am modeling after the above, which has angle sections instead of the smooth curved version in the picture.
The finished model. I think it looks better than the one I had earlier:
Still continue to add details. Added a fire extinguisher to the docking bay:
The mounted extinguisher on the side of the bay door:
Decided to add an old two-wheel cart on the dock. Added interest:
Most wonder how I weather certain normal areas in my dioramas. Well. Nothing new or fantastic. I use real dust or dirt that I gathered from the ground at my work place. I even used dried much from my neighbors farm yard. They are the best.
I'm in awe of the symmetry of the wheel guides. 
It looks great and you just keep making it greater!")
It looks great and you just keep making it greater!
I'm in awe of the symmetry of the wheel guides.
It looks great and you just keep making it greater!
Thank you. I surprised myself too. I thought it was going to drive me crazy.
Skinny_Mike
Well-known member
This is so cool! Love the attention to detail. Just amazing stuff.

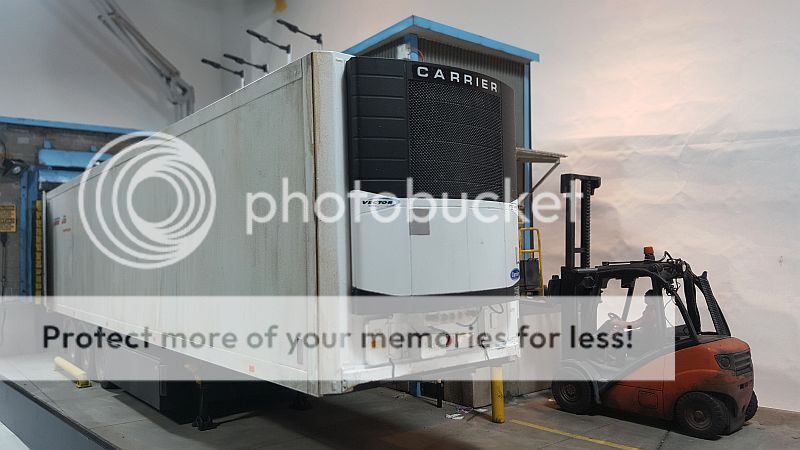
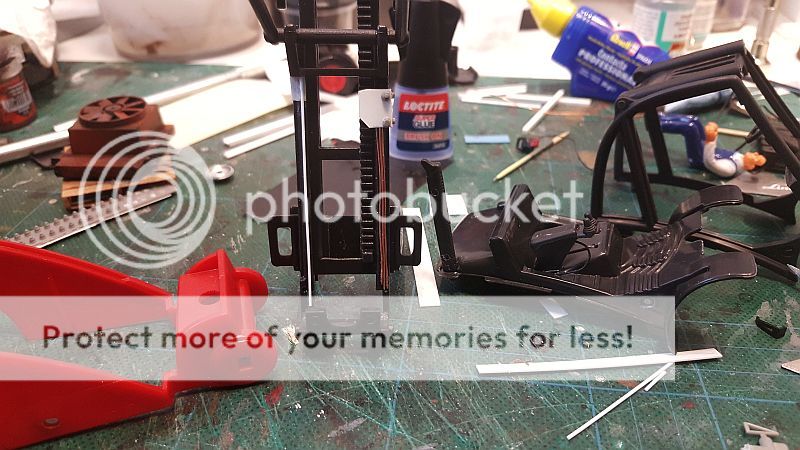
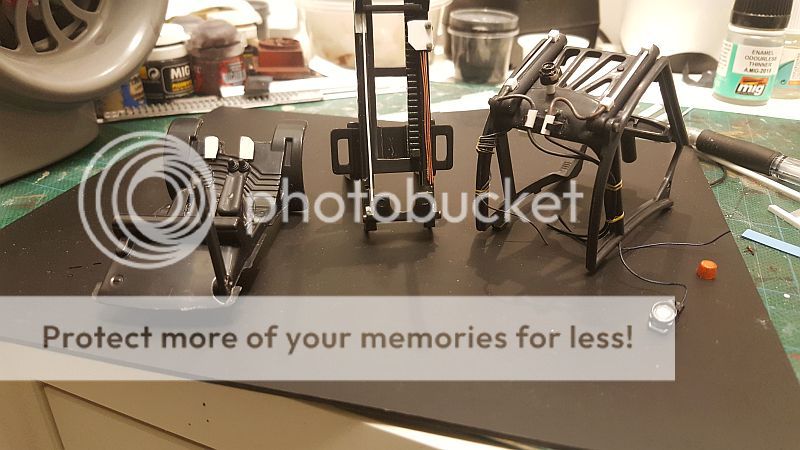
Forklift WIP:
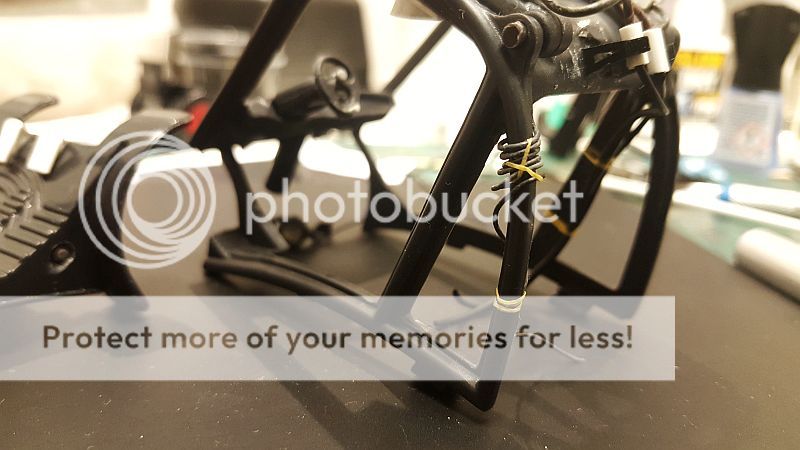
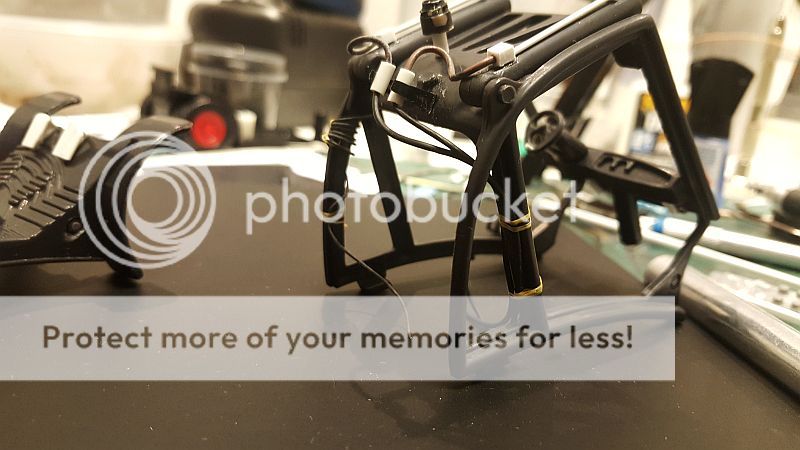
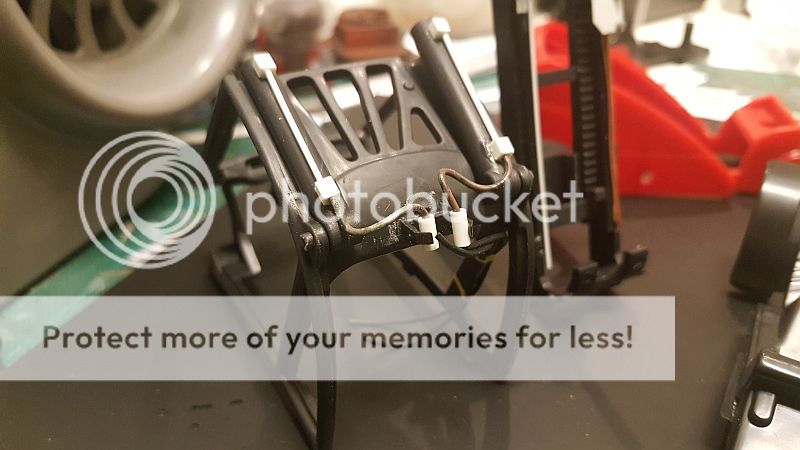
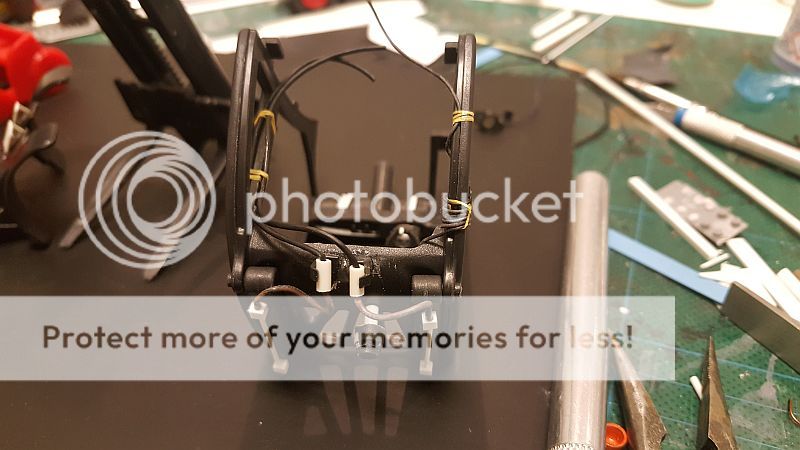
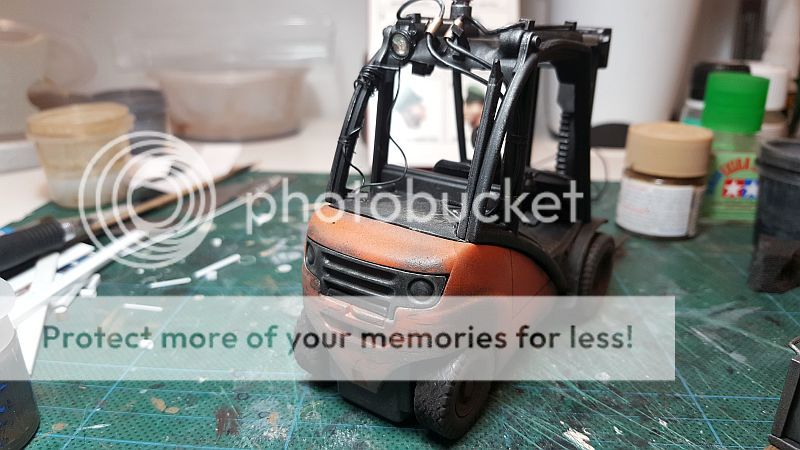
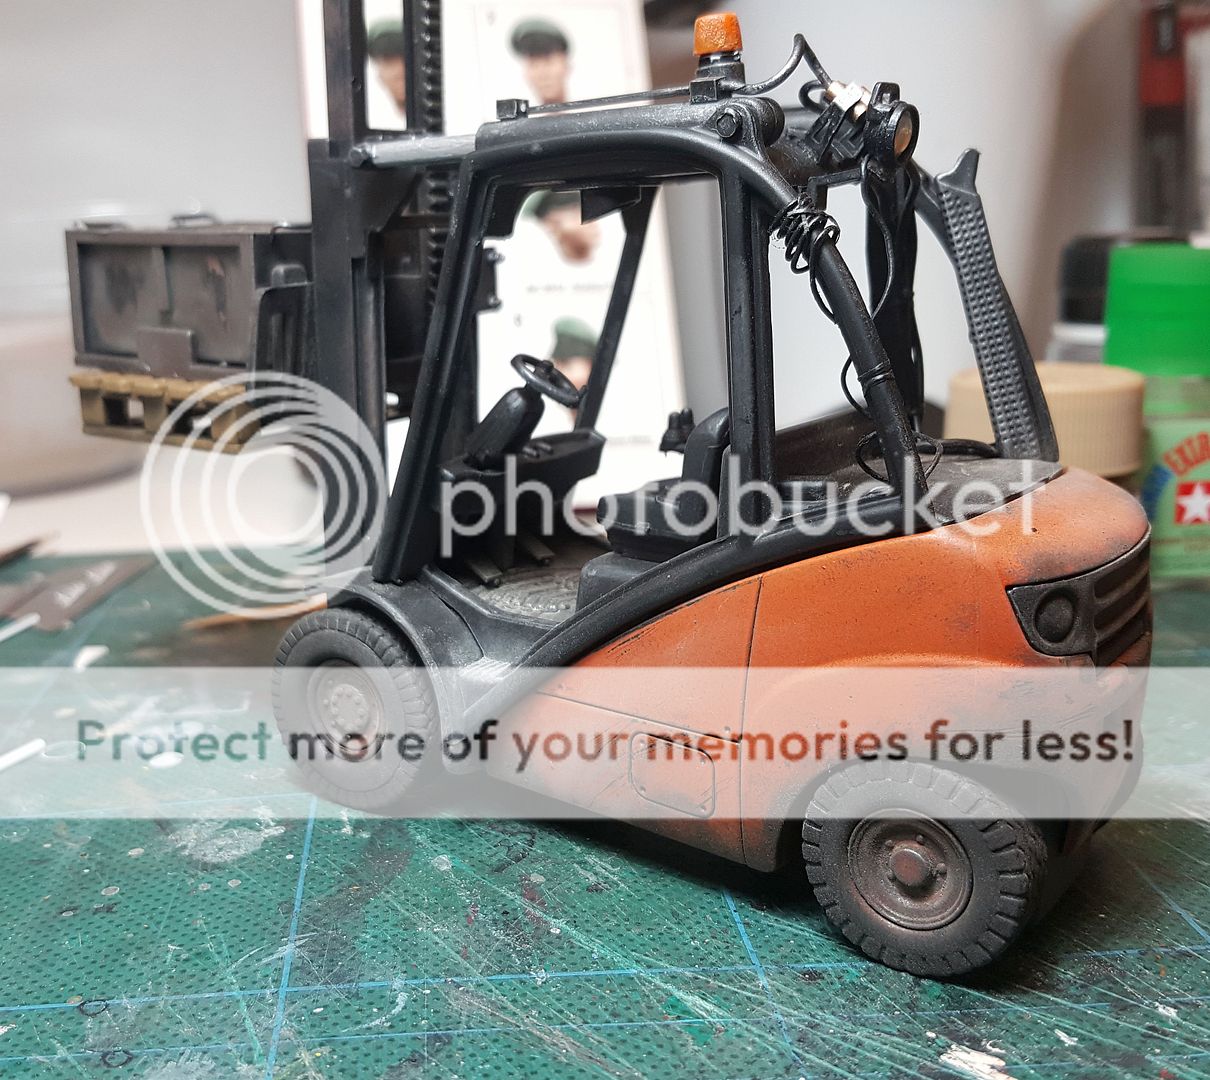
Did some detail work on the forklift to give it some character. This is a Dinky toy model I bought at my local grocery store. The price was 'ok' and on top of it, it is 1/24 scale. To my surprise this model is pretty close to the real thing in accuracy. So I did not have to do too much extra work to get it to look descent. I added the hydraulics, strobe, extra lighting and cabling bind to the framework of the forklift.

----------------------------
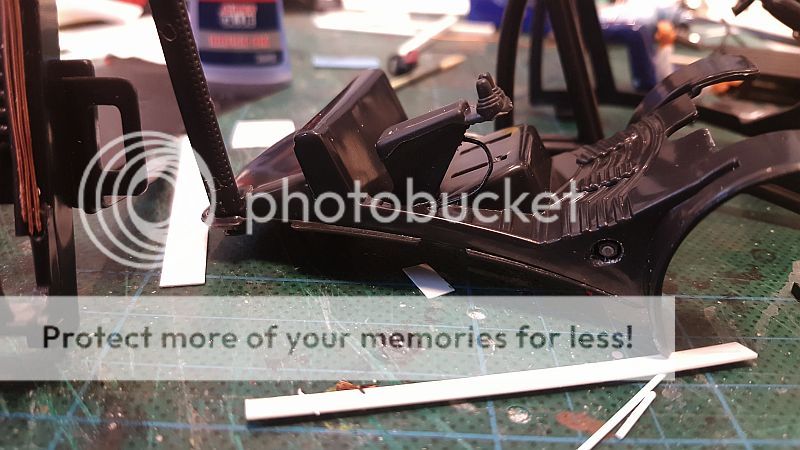
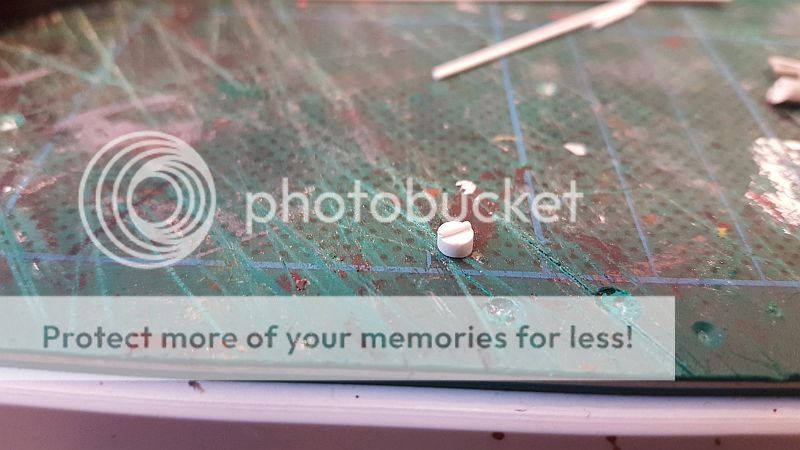
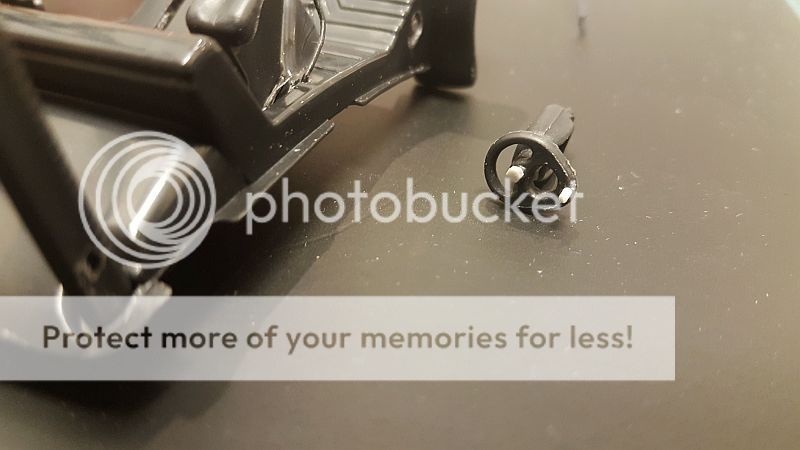
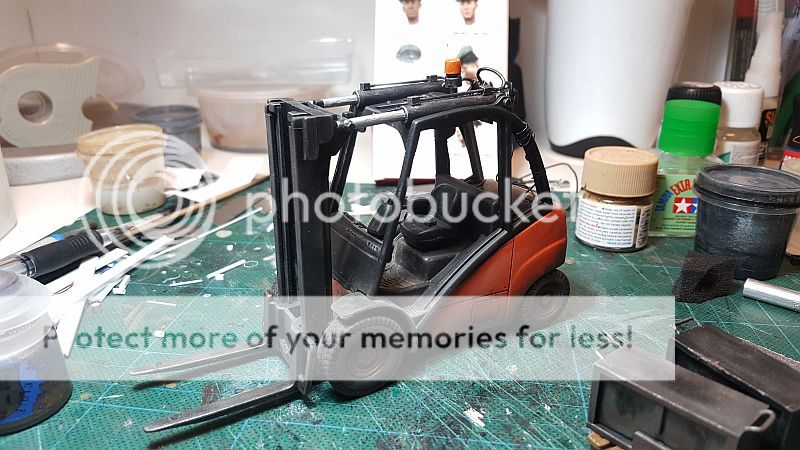
Made a lock for one of the opening, which I'not too sure what it is used for; but according to my prototype pic, it has a gas-tank lock on the right side of the chassis. So I made it to look like the one in my pic.
---------------------------------
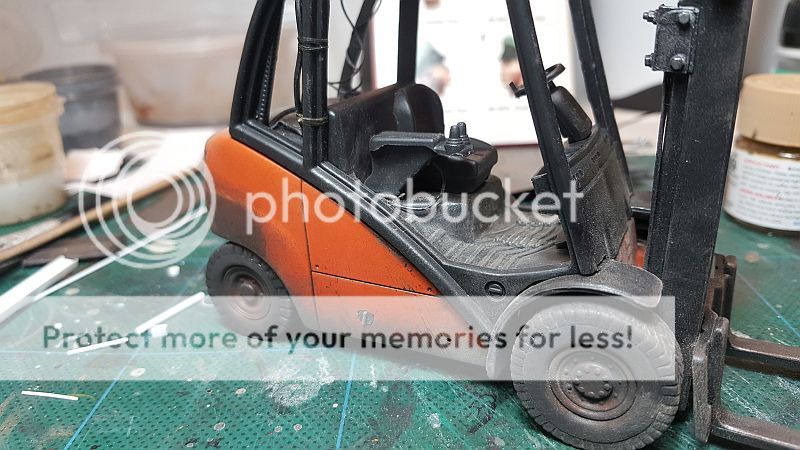
Added some small details to the steering wheel:
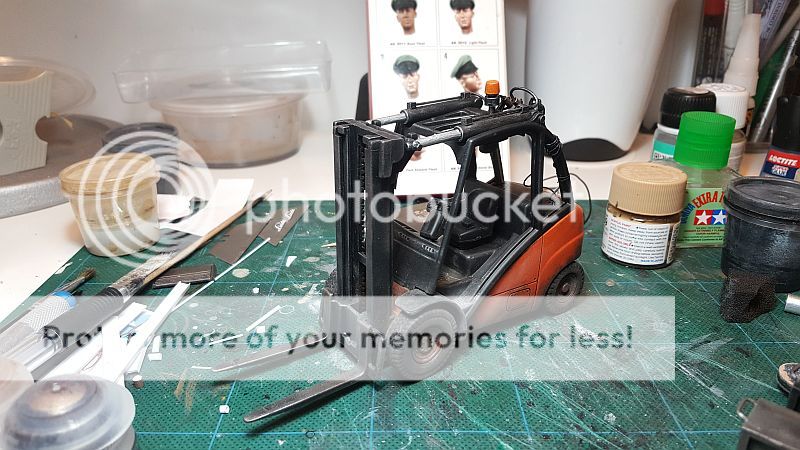
Scraped away the extra stud that was on the forks:
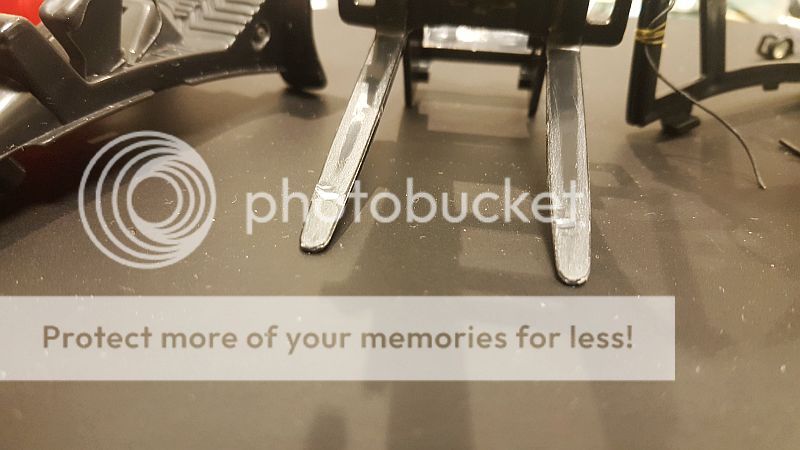
-------------------------------------
Added an extra link from the steering wheel to the base of the forklift floor:
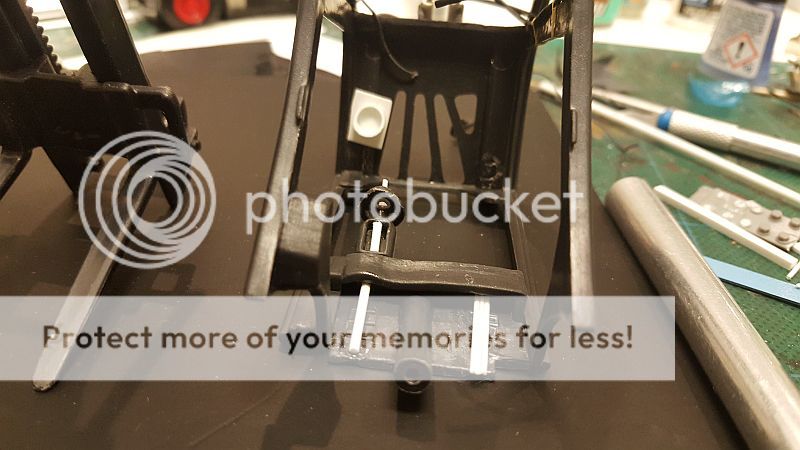
--------------------------------------
Since this forklift was missing peddles, I scratch built a pair:
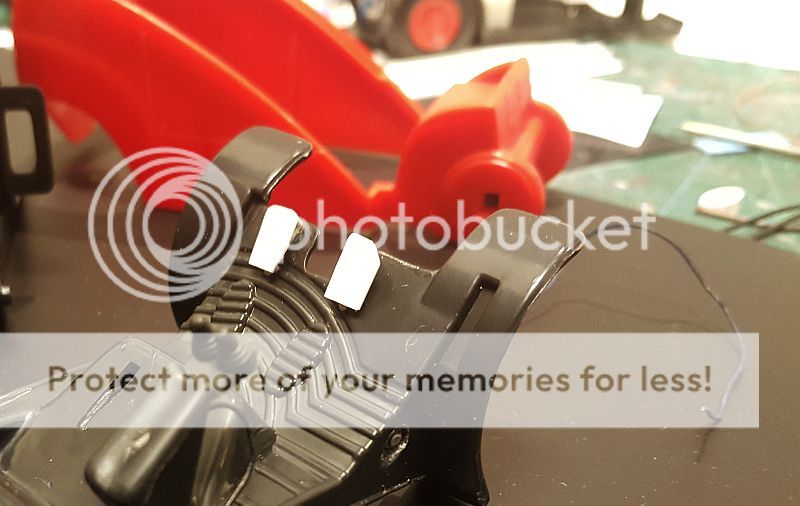
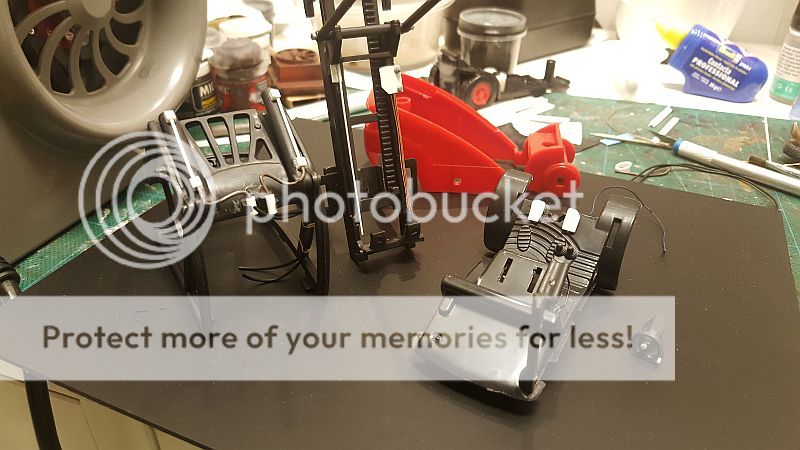
An over view of the forklift ready to paint:
----------------------------------------
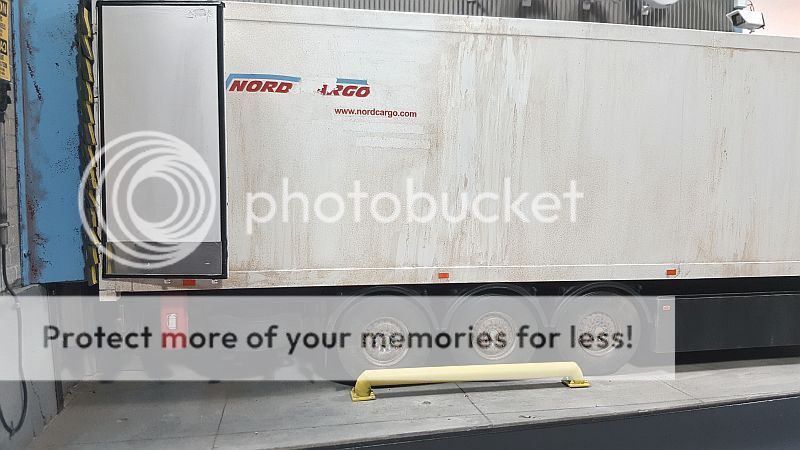
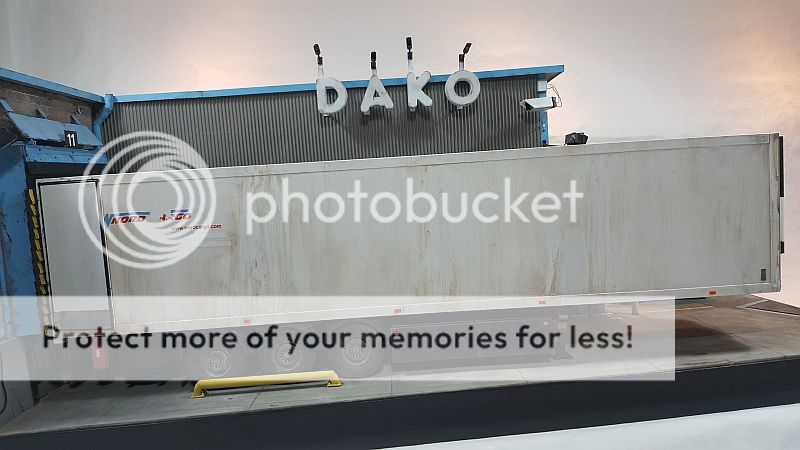
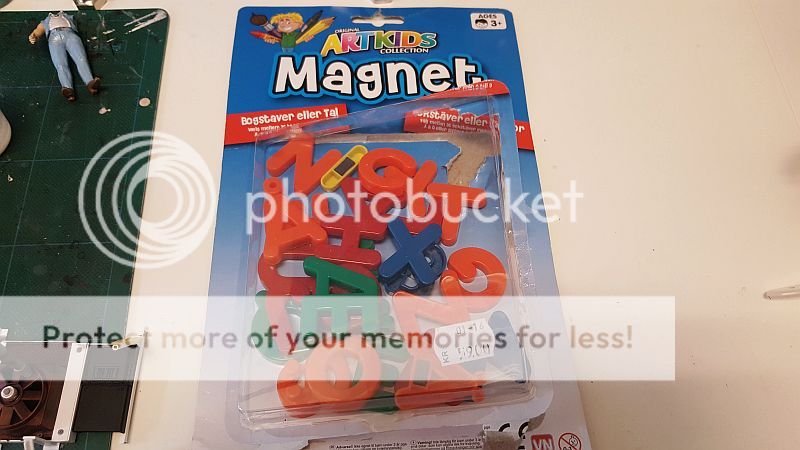
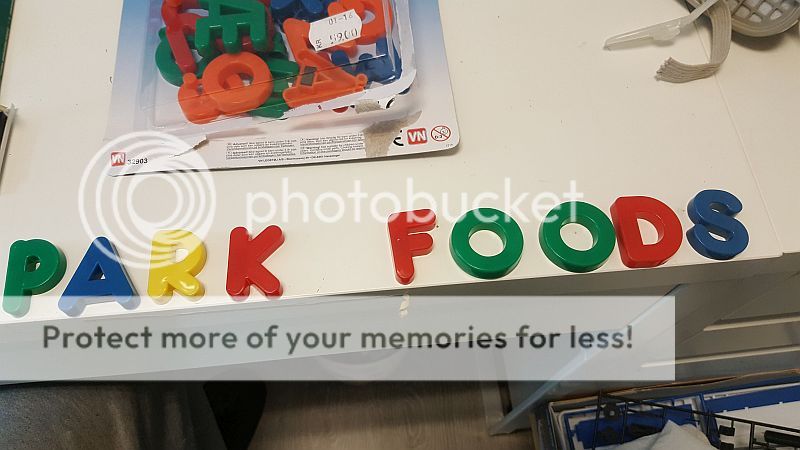
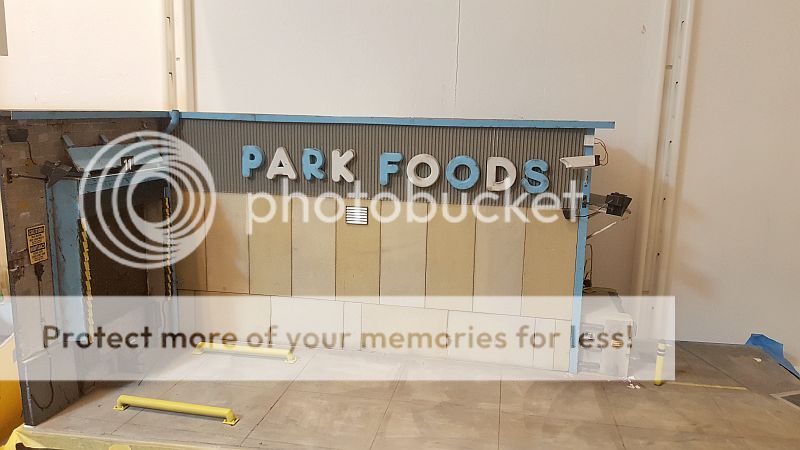
I decided I will be making a sign for this building. I saw this children's alphabet with magnets on the
back to be placed on a refrigerator. I chose the letters I wanted and removed the magnets from the
back.
-----------------------------------------
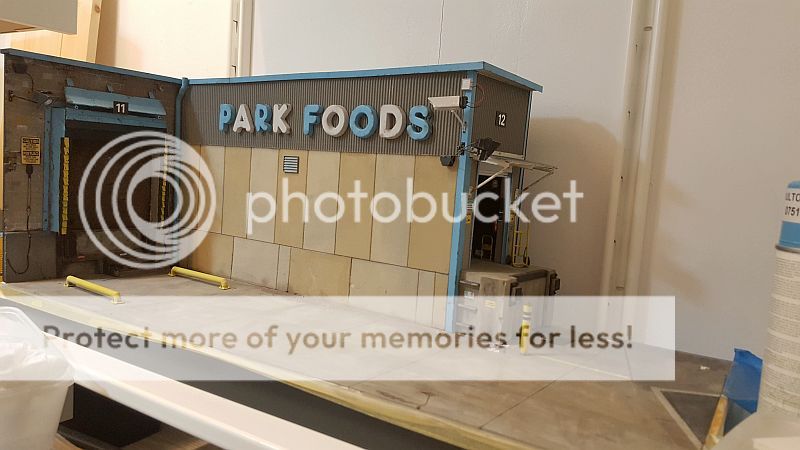
Letters painted, weathered and mounted. I am still contemplating if I should have done it any other way:
--------------------------
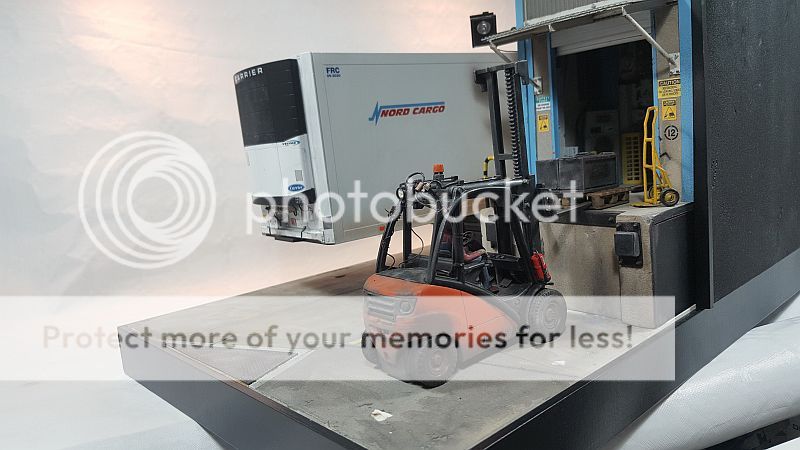
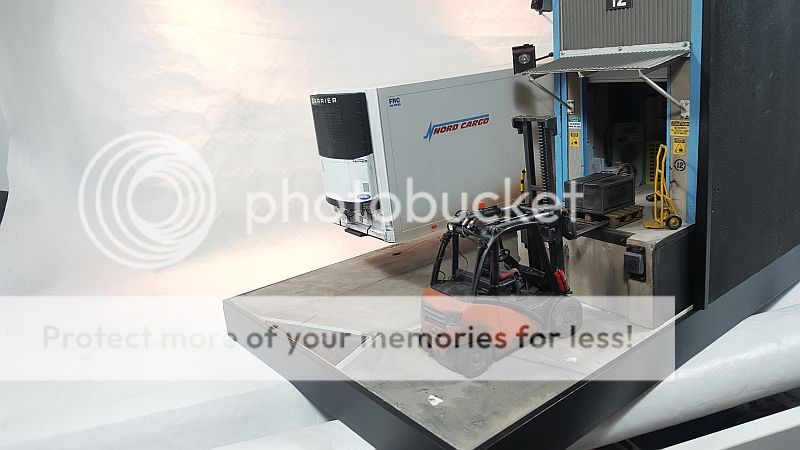
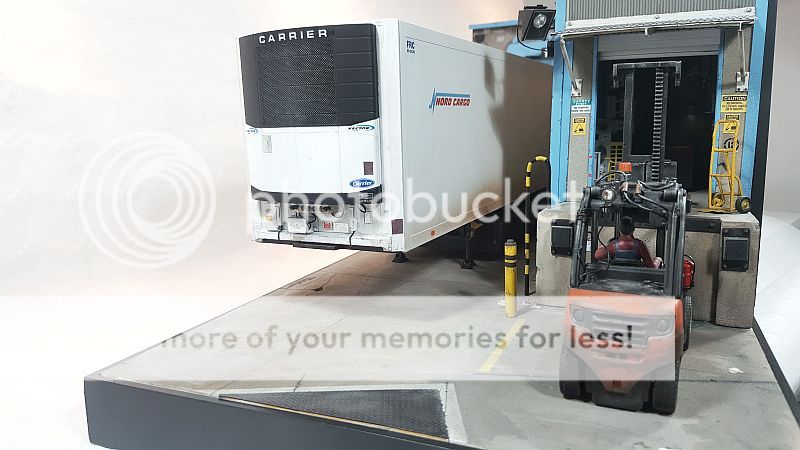
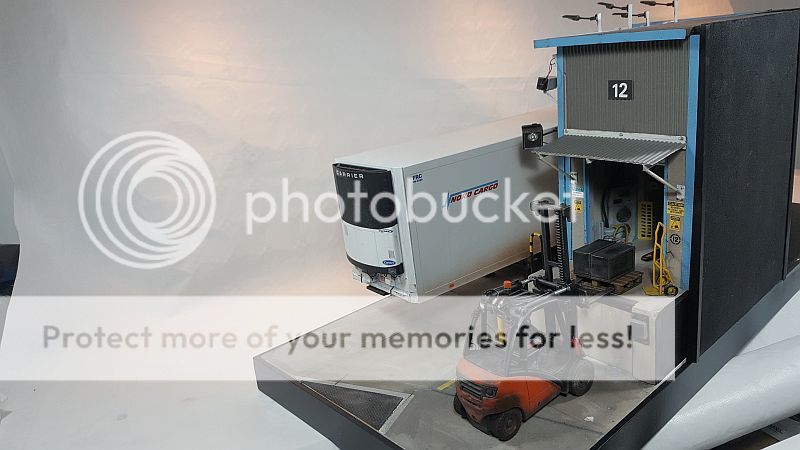
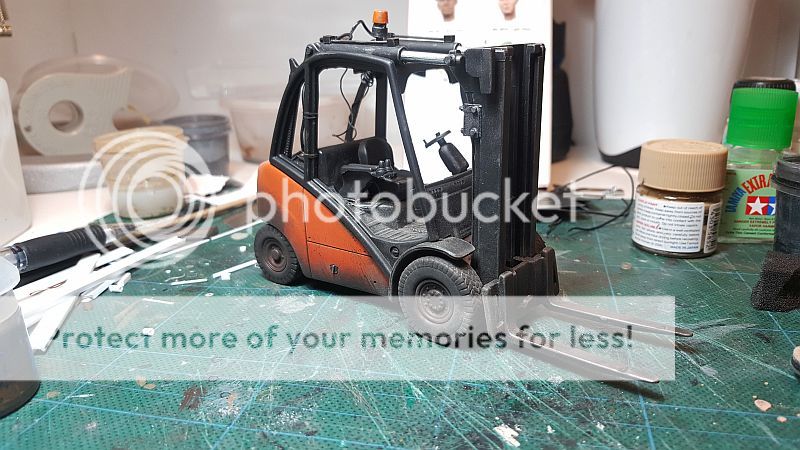
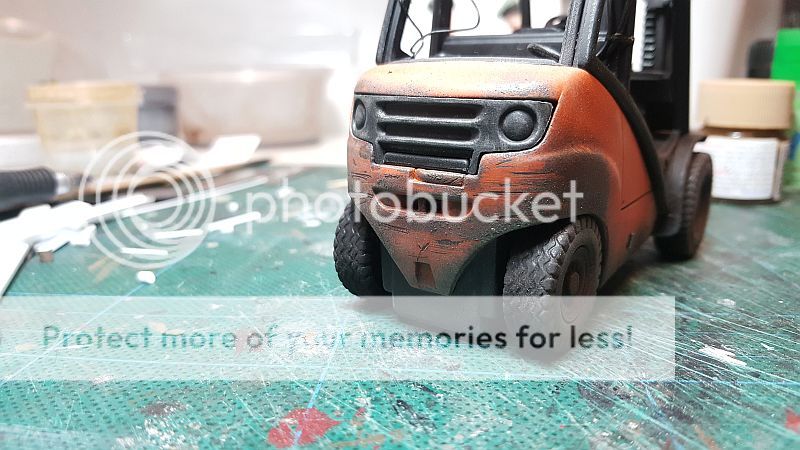
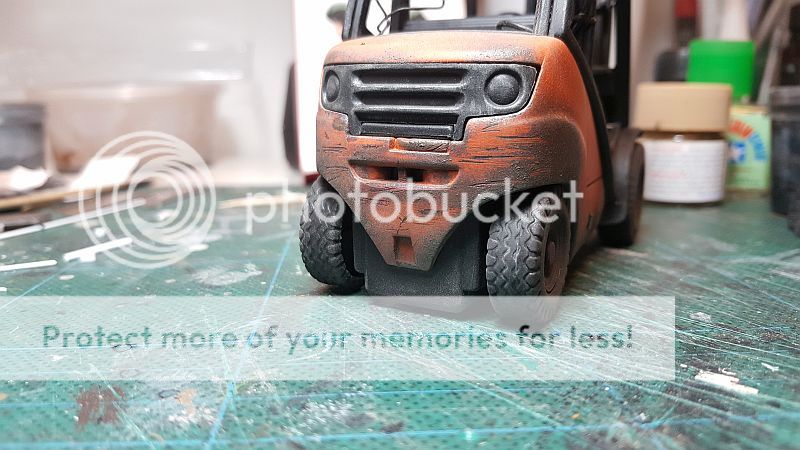
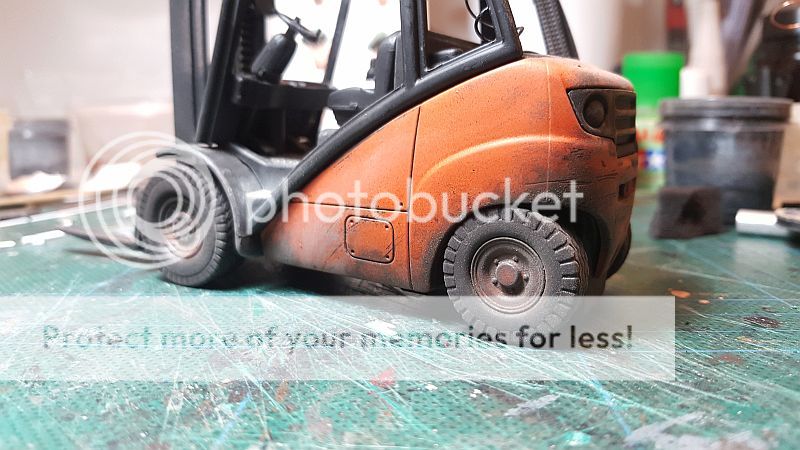
The forklift painted and weathered. Looks much better than in its original state. I see I forgot to add the logo before weathering(Darn it!!!) See if I can still add it.


--------------------------------
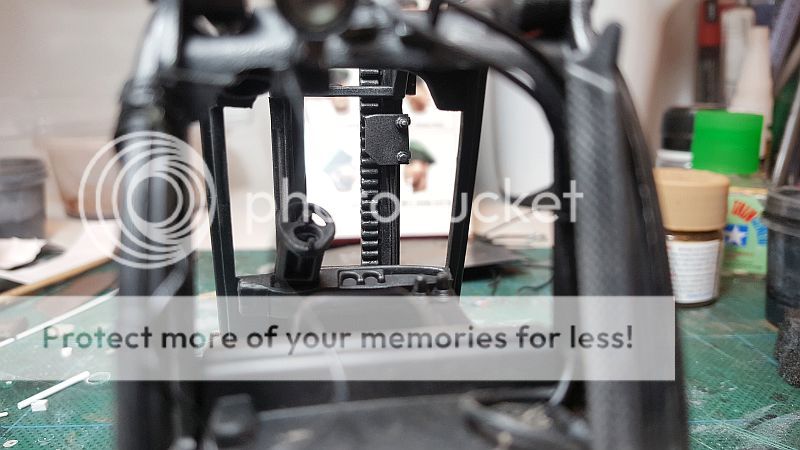
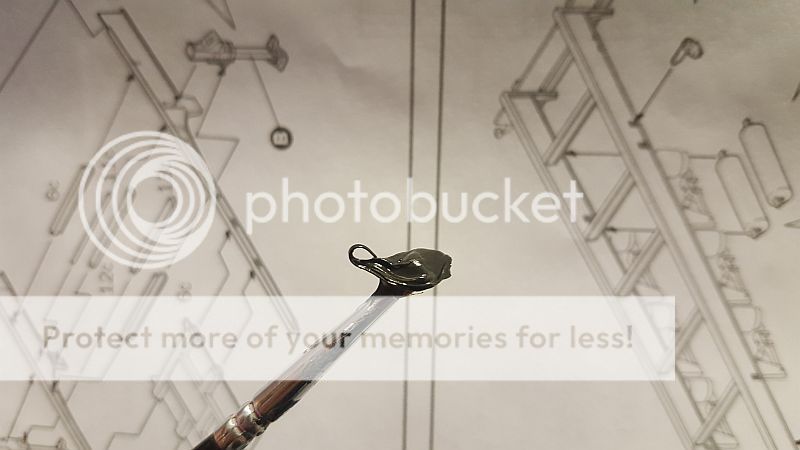
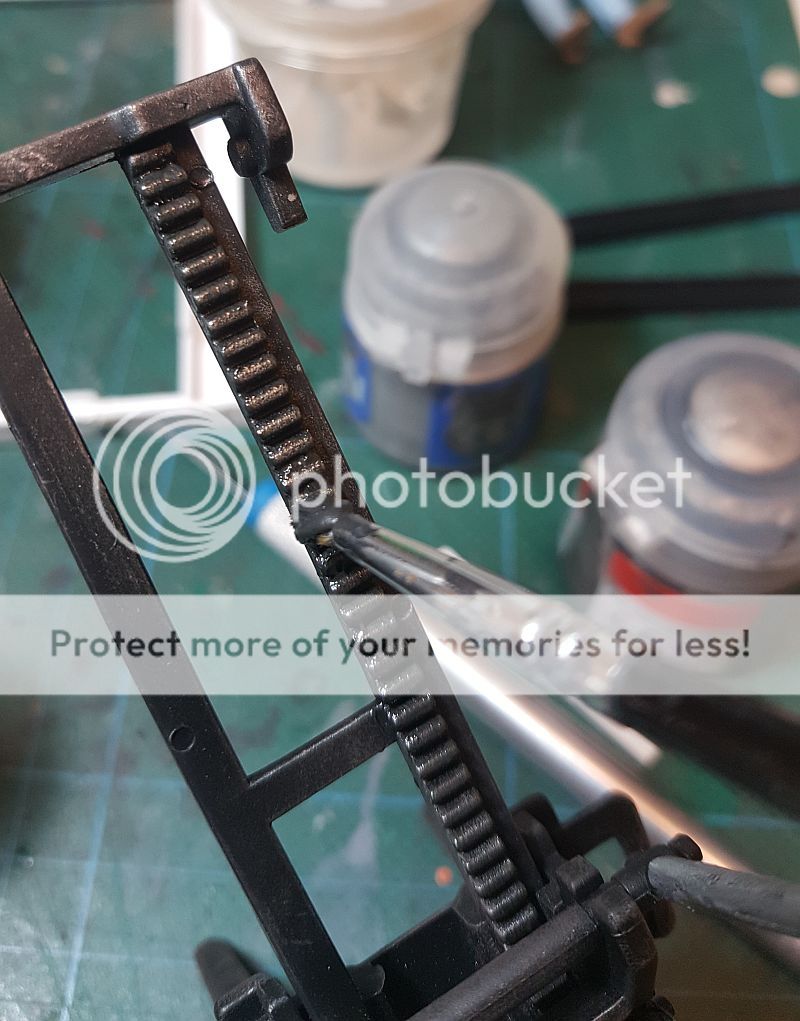
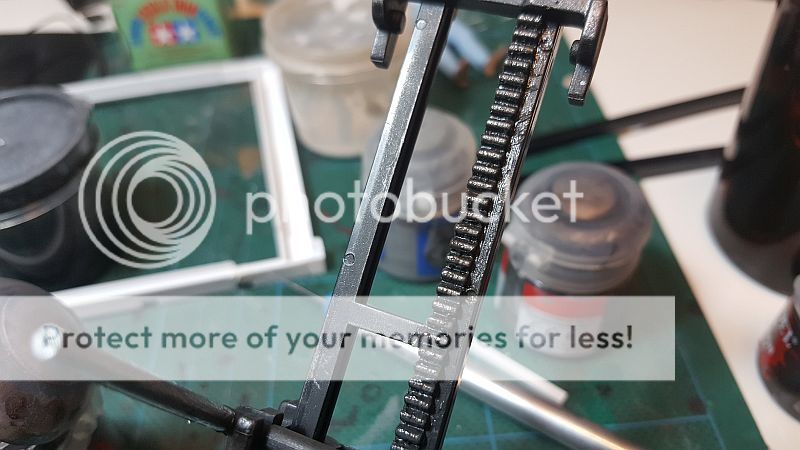
I used some kind of grease( don't know what kind) Otherwise, I usually use machine grease, mixed with black paint. Then I just apply it on the areas that has it on the real model. Like on the rack below:
Did some detail work on the forklift to give it some character. This is a Dinky toy model I bought at my local grocery store. The price was 'ok' and on top of it, it is 1/24 scale. To my surprise this model is pretty close to the real thing in accuracy. So I did not have to do too much extra work to get it to look descent. I added the hydraulics, strobe, extra lighting and cabling bind to the framework of the forklift.
----------------------------
Made a lock for one of the opening, which I'not too sure what it is used for; but according to my prototype pic, it has a gas-tank lock on the right side of the chassis. So I made it to look like the one in my pic.
---------------------------------
Added some small details to the steering wheel:
Scraped away the extra stud that was on the forks:
-------------------------------------
Added an extra link from the steering wheel to the base of the forklift floor:
--------------------------------------
Since this forklift was missing peddles, I scratch built a pair:
An over view of the forklift ready to paint:
----------------------------------------
I decided I will be making a sign for this building. I saw this children's alphabet with magnets on the
back to be placed on a refrigerator. I chose the letters I wanted and removed the magnets from the
back.
-----------------------------------------
Letters painted, weathered and mounted. I am still contemplating if I should have done it any other way:
--------------------------
The forklift painted and weathered. Looks much better than in its original state. I see I forgot to add the logo before weathering(Darn it!!!) See if I can still add it.
--------------------------------
I used some kind of grease( don't know what kind) Otherwise, I usually use machine grease, mixed with black paint. Then I just apply it on the areas that has it on the real model. Like on the rack below:
Strangeways
Member
Crazy good
The mundane becomes the spectacular- cheers, tiking! You've really got an eye and the skills for realsitic modeling. :drinks
Thank you for your kind words. So true about this scene being so mundane. The simple everyday stuff is what attracts me the most.
How more realistic can you get than using real grease?! This is fantastic Charles
How more realistic can you get than using real grease?! This is fantastic Charles
Thank you kindly. Yep! Nothing beats the real thing.