• Modelers Alliance has updated the forum software on our website. We have migrated all post, content and user accounts but we could not migrate the passwords.
    This requires that you manually reset your password.
    Please click here, http://modelersalliance.org/forums/login to go to logon page and use the "Forgot your Password" option.

Testors 1/48 F8F-2 Bearcat

Adam Baker

Active member
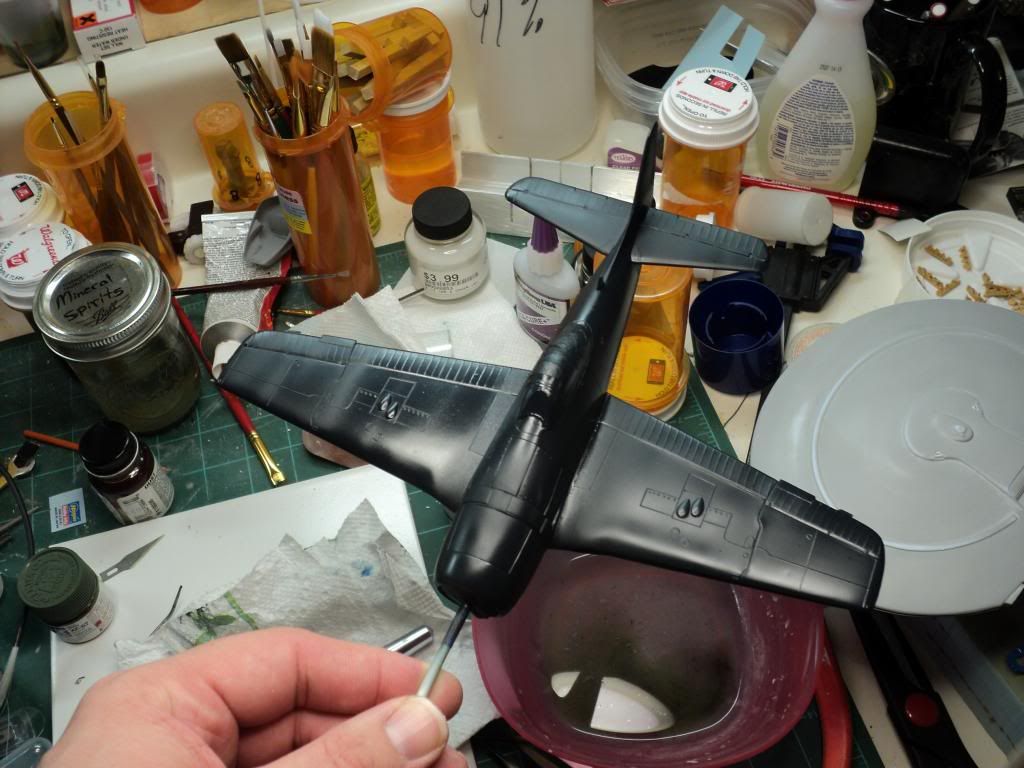
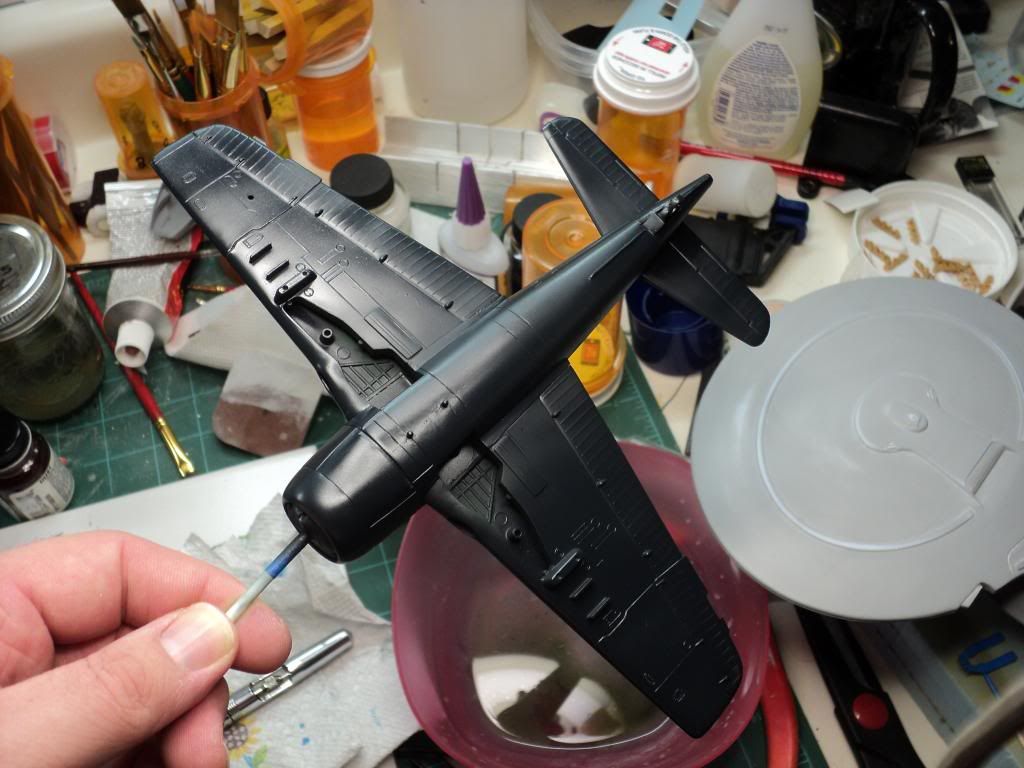
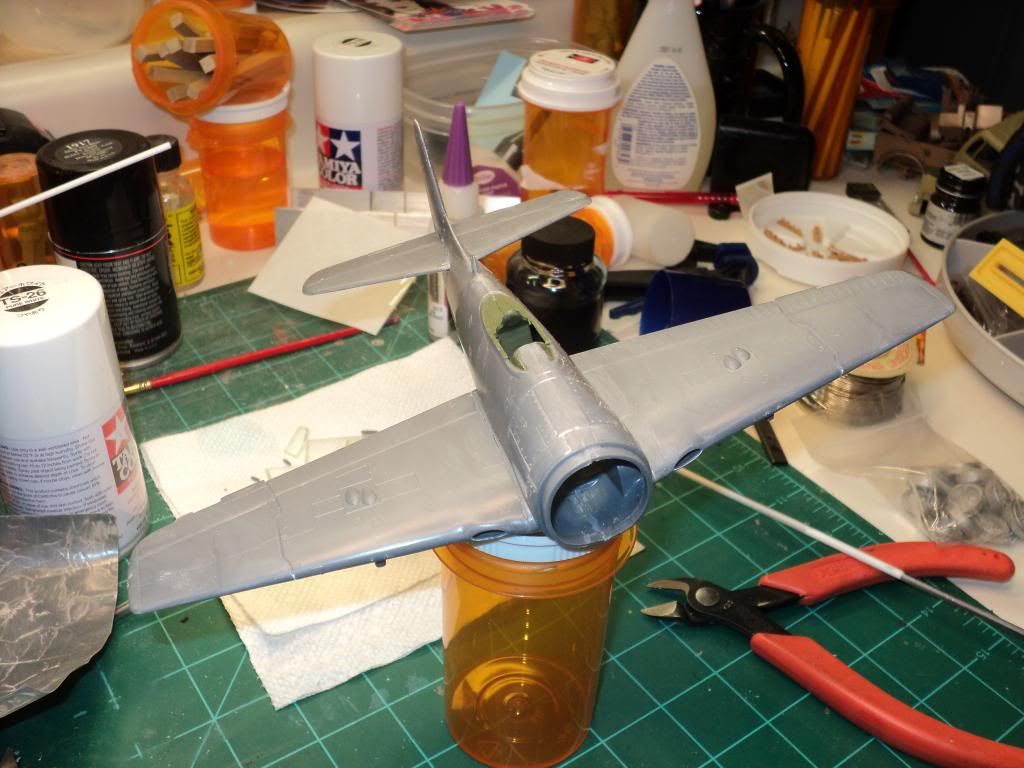
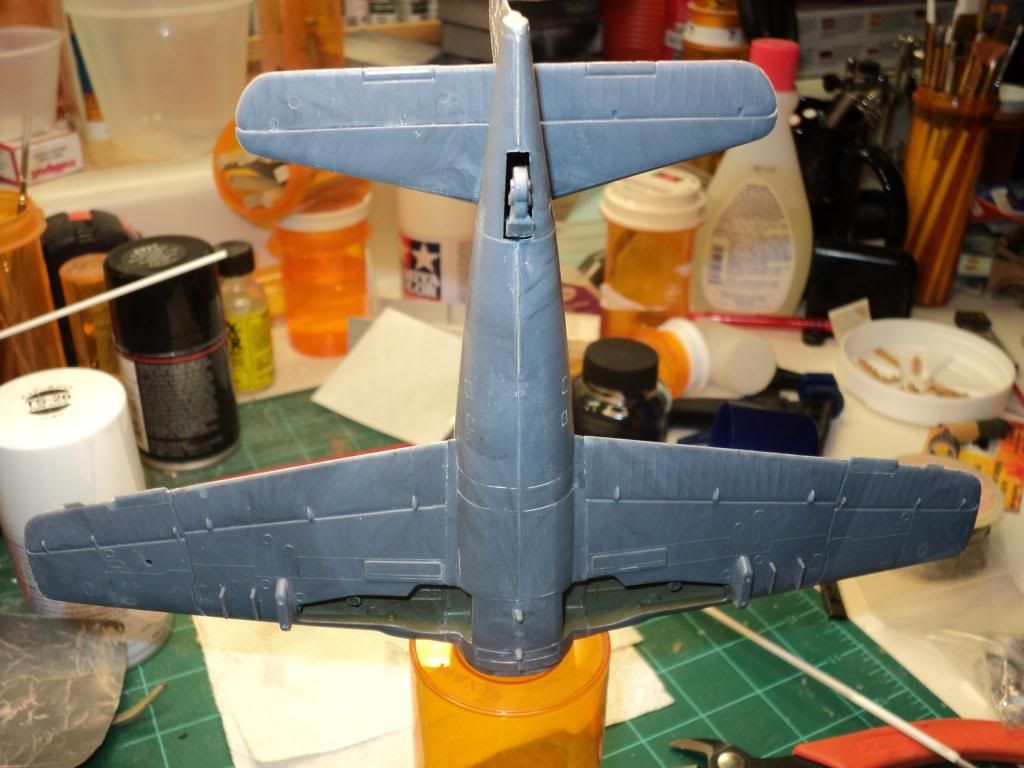
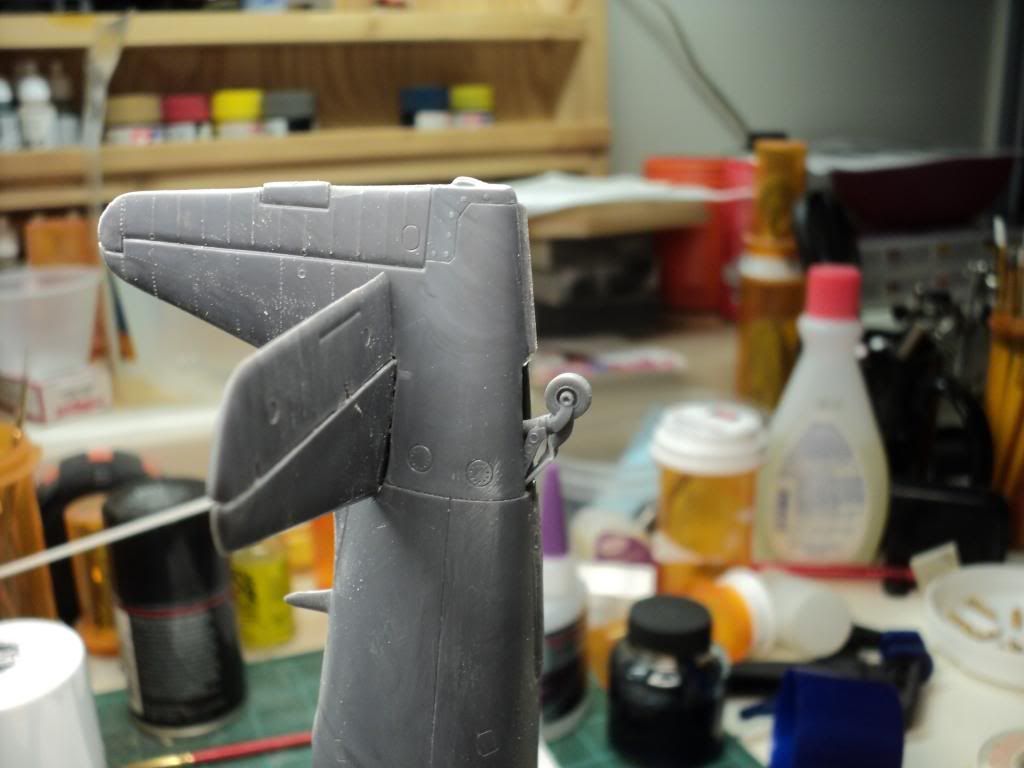
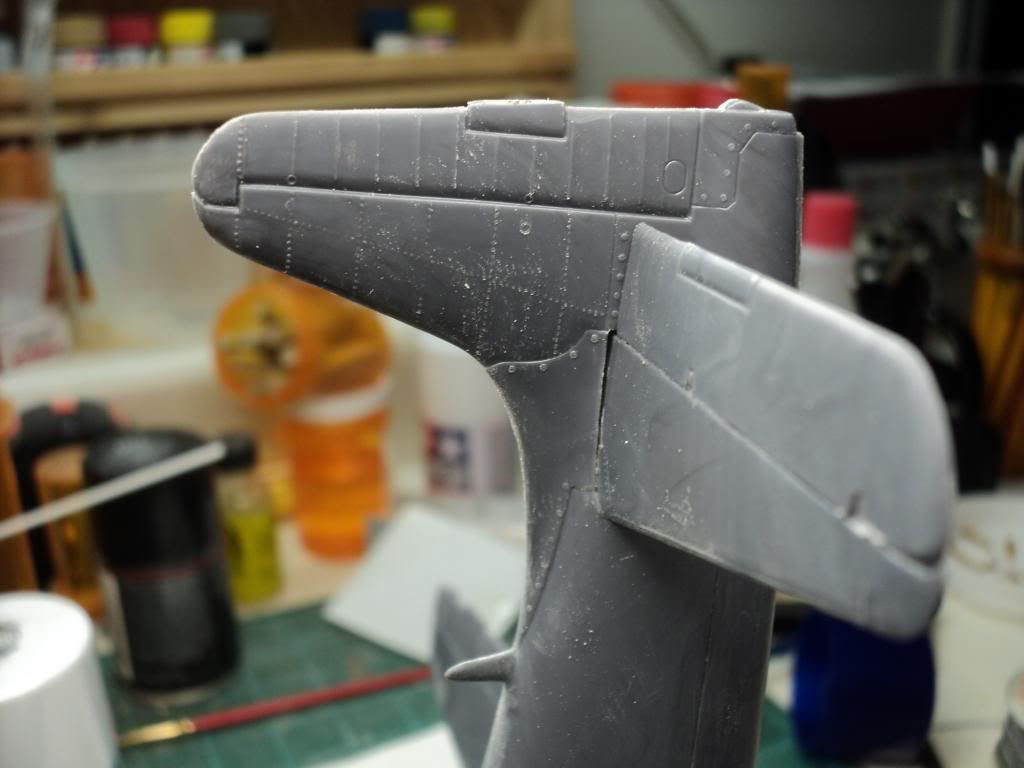
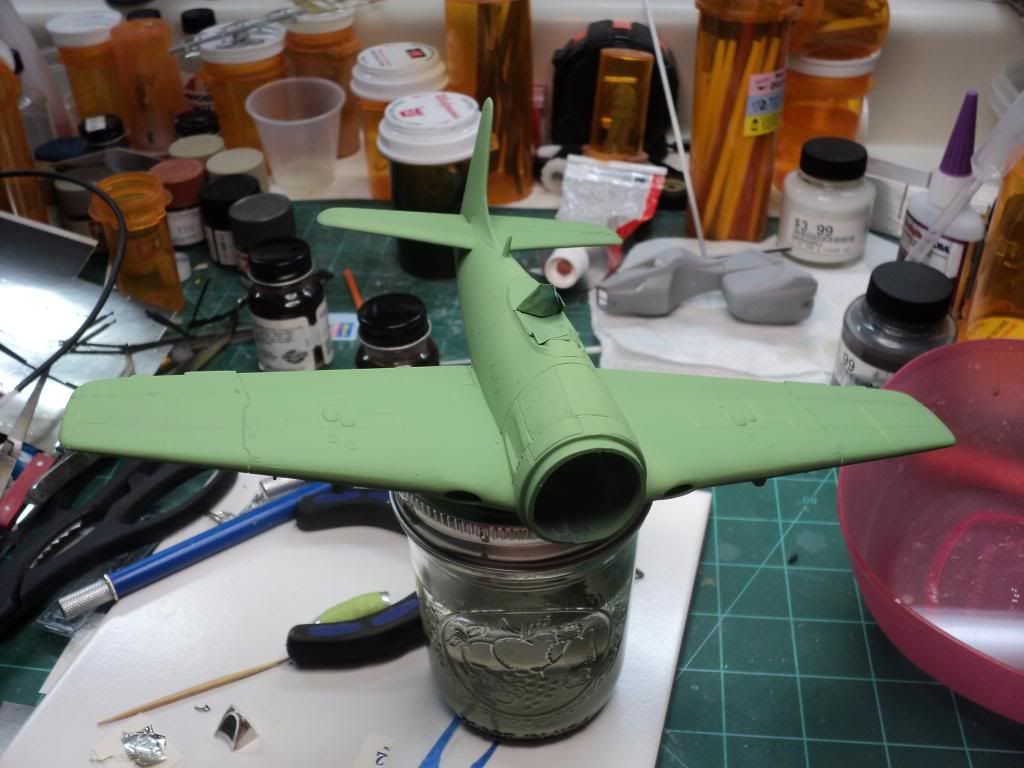
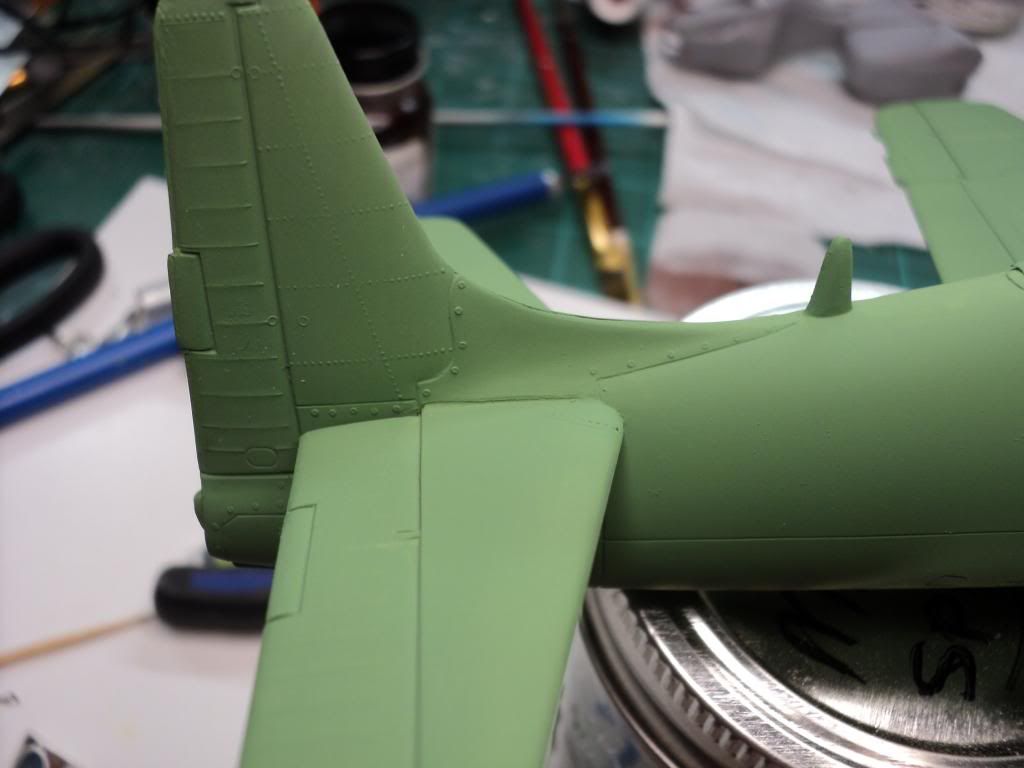
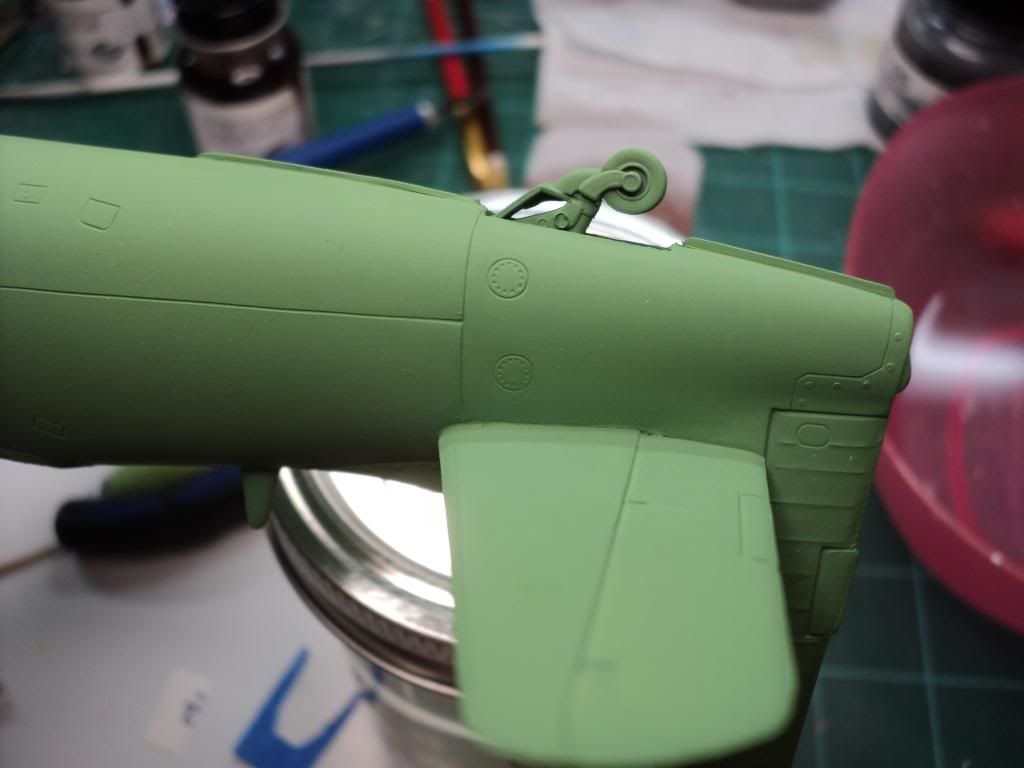
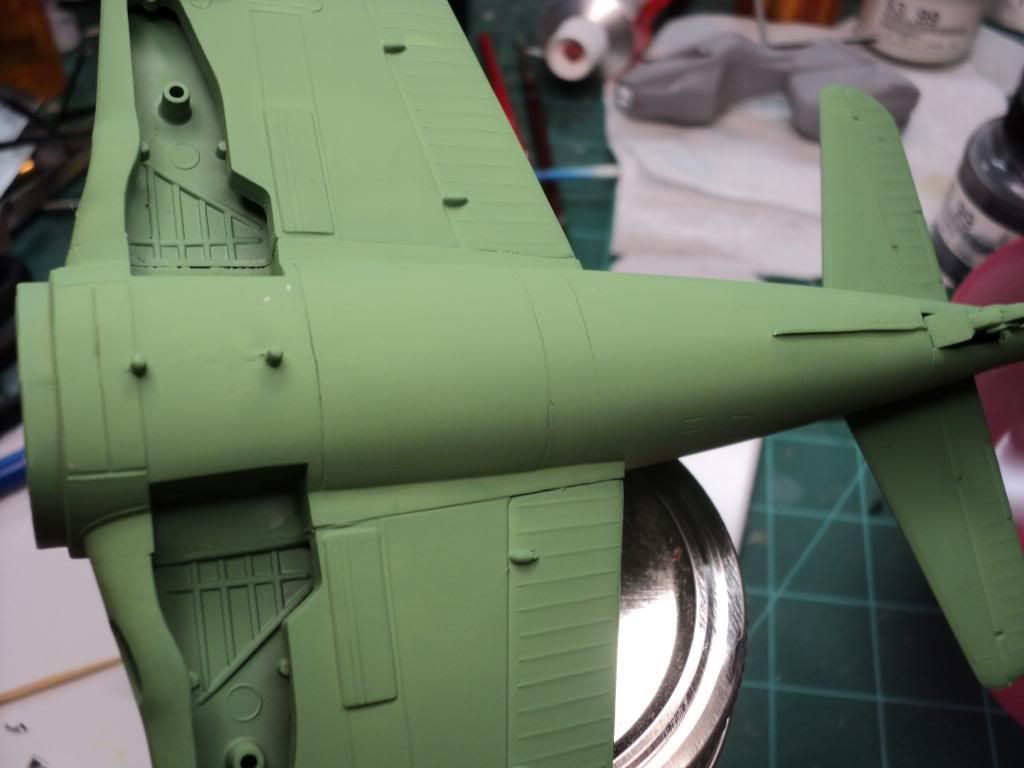
Here's my entry for this campaign. Testors 1/48 F8F-2 Bearcat. I looked at the box, and it lists 1984 on it, so its a bit of an old kit, haha, but so far fit has been pretty decent. I've sanded all the mating surfaces prior to assembly and it seems to have helped quite a bit.

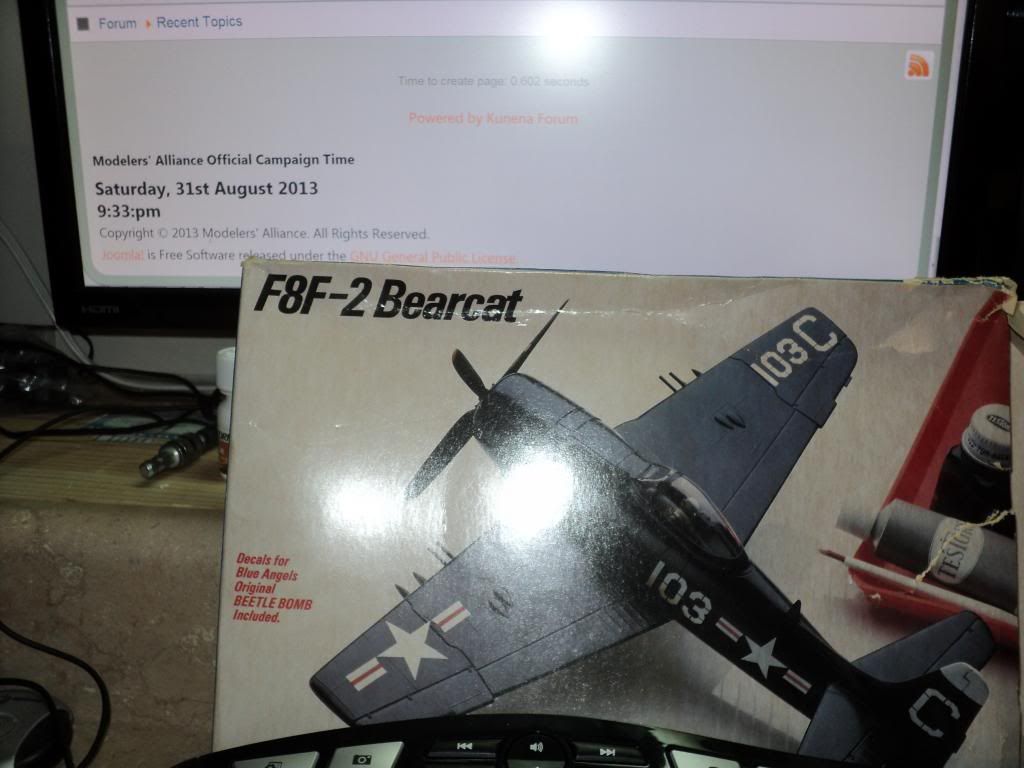
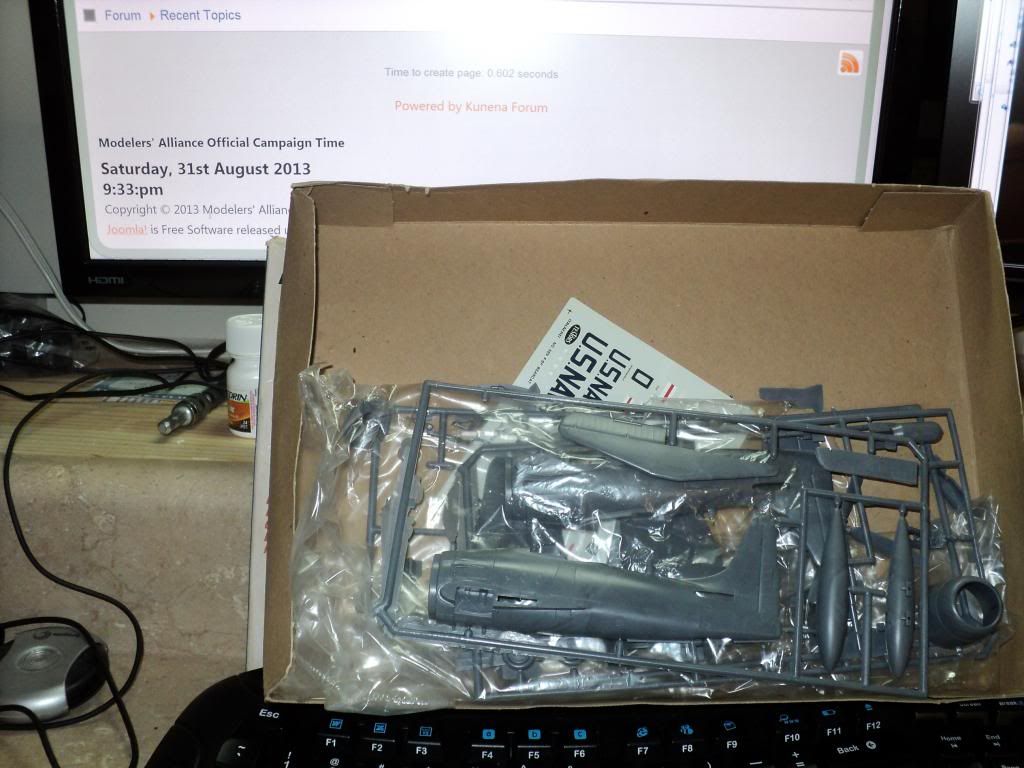
Here's the requisite time stamp shots.

F8-01_zpsdacf1270.jpg


F8-02_zps1145754b.jpg


Assembly has started already, but I dont have pic's of that yet. I'll get a bit more done, and then take pictures later today.
 
Well, most of what I've brought back up lately is stuff thats almost finished, and this one is a pretty easy build. I've actually got it almost half built. Last night I glued the wings together and about 10 minutes ago I glued the fuselage halves together. Depending on how today goes, I suppose I could possibly get the first coat of blue down tonight, but I'm not going to rush it.
 
Finally an update on this one. I had to open my mouth that it was smoothly sailing along. Got the fuselage halves joined together, fit was excellent, no problems. Got to the rear horizontal stabilizer, and it came to a screeching halt. The kit is set up where there are holes in the fuselage halves for the horizontal stab to slide through, and unfortunately, for what ever reason, the holes weren't aligned correctly. When I slide the horizontal stab through, it was sitting at a very noticeable angle, and it had to be corrected. There was no way I was going to leave it like it was. So out came the various files so that I could make the edge lower on one side and higher on the other. The results were workable, but not pretty. Unfortunately now I have to fix it, but at least the horizontal stab is positioned correctly.

Overall shot. I decided to remove the molded on gun barrels in an effort to make cleaning the wing joins easier. I'll glue them back on when I'm done.

F8F2-03_zps2df5f123.jpg


F8F2-04_zpsbedc71d5.jpg


And here's the issue w/ the horizontal stab. Gap below on one side and gap above on the other, in an effort to make it level. Probably start by filling the gap w/ sheet styrene and go from there.

F8F2-05_zps5d6cadc8.jpg


F8F2-06_zps3d488423.jpg
 
Adam, were the H stabs sided? They may have been keyed differently. Just asking as I have done something similar before and then found I had my stabs upside down and reversed resulting in a gap like you have.
James
 
The h-stab was a single piece side to side, w/ the port side of the stab having the moveable surface being a separate piece that had to be glued in place after the stab was slid through the fuselage.
 
Yup pretty well fool proof. That kind of sucks. If you put tape down on the hstab and vstab leaving just that gap you could put on some filler and use your finger to blend it in. Then when you remove the tape and let it dry you should only need a few swipes with some xtra fine steel wool to make it look good as new.
James
 
Yea, I was kinda thinking about maybe doing that instead of sheet styrene. See if maybe I could use some of my Milliput and blend it in w/ a damp finger tip. When I widened the hole, I got lucky and got it just wide enough to glue it on the top on one side, and the bottom on the other, and get it to be close enough to level that I was happy w/ it, so thankfully its not moving now, so that will make filling the hole a lot easier to deal w/.
 
A fairly small update. Was hoping to have this build long since done, but pretty much all my interest & motivation in modeling over the last month or more has been completely gone, so I've only worked on this sporadically.

I managed to get the holes around the h-stab filled in using the awesomeness that is Milliput. Rolled out small strips and put it in place w/ a tooth pick and then went back and smoothed it over w/ damp q-tips and it worked amazingly well. I'm extremely happy w/ the results. Still trying to decide whether to go back at it one more time to help smooth it over a bit more, but I'm leaning toward going w/ what I've got.

After filling, I finally got a primer coat down. Went w/ some Floquil Depot Olive railroad color, since its a decent flat color, and I've got 5 bottles of it in my stash, haha. Priming showed I actually did a pretty good job on all the fuselage seams w/ really no where that I can see that i need to work on more. I did notice along the wing root in a few places I could probably stand to do a bit more work, but I may just leave it along and move on.

And for the pics.

F8F2-07_zpsca768a4f.jpg


F8F2-08_zpsd538e2de.jpg


F8F2-09_zps463fd9a2.jpg


F8F2-10_zps64592a49.jpg


Trying to get motivated to work on it some tonight, but I don't know if i will or not. Guess we'll see.
 
Shalom Adam.

Sometimes we need to settle for excellent instead of perfect otherwise we'd never get anything finished. I really like the looks of that model. There seems to be a lot of nice dtail engraved on it.

Cheers from Peter
 
Agreed, for the age of the kit, and it being Testors (chances are its probably a rebox of someone else's kit) its pretty nice. Fit has been pretty good, w/o any real major issues except for the fit of the H-stab.

I just sat down at my bench and started painting the engine. I'm hoping to get it into the cowl in a bit, and get that glued on, and then hopefully I can get the first coat of the Dark Sea Blue down on it. I decanted it out of a rattle can a couple weeks ago, so that I could spray it through my airbrush. This will only be the 2nd time I've ever used decanted paint, so we'll see how it goes.
 
Think this was a Testors original but I may be wrong. Built this m'self a thousand lifetimes ago, those seams still give me nightmares, but it looks to me as you've got the better of it, Adam.

Ian
 
Tonight I managed to make some pretty major progress. I got the engine finished painting, just went basic didnt try adding any extra detail or even dry brushing it. Just the base colors and moved on. Once painted I got it glued into the cowl and then glued the cowl to the fuselage. I then got the interior color painted on the canopy and then using the 3M quick dry adhesive glued the canopy in place.

I then put down the base color. Color is Testors Dark Sea Blue that I decanted out of a rattle can about 3 weeks ago. Paint went down very very nicely. Poured it out of the bottle into my a/b and sprayed away, no need for any thinning at all.

F8F2-11_zps8ecb2c1b.jpg


F8F2-13_zpsb95a4a58.jpg


I'll get a 2nd coat put down tomorrow some time. While inspecting the paint I noticed a few places that I missed during the first coat, which wasnt a big surprise. I was very careful about not getting too much paint down and was happy to see I actually managed to do it, haha.

If I'm able to get the 2nd coat down tomorrow, tomorrow evening I might get a chance to paint the wheel wells, and then I'll let it sit for a few days, maybe a week, to let the enamel paint get good & dry, then I'll probably coat it w/ future, and then on to the decals.
 
Back
Top