
-
Modelers Alliance has updated the forum software on our website. We have migrated all post, content and user accounts but we could not migrate the passwords.
This requires that you manually reset your password.
Please click here, http://modelersalliance.org/forums/login to go to logon page and use the "Forgot your Password" option.
You are using an out of date browser. It may not display this or other websites correctly.
You should upgrade or use an alternative browser.
You should upgrade or use an alternative browser.
Tamiya M51 Sherman - ADDENDUM ADDED
- Thread starter iambrb
- Start date


I was wondering when you were going to post this.
Looks really sharp, nice and ugly...some of your best I think")
Looks really sharp, nice and ugly...some of your best I think
Skinny_Mike
Well-known member
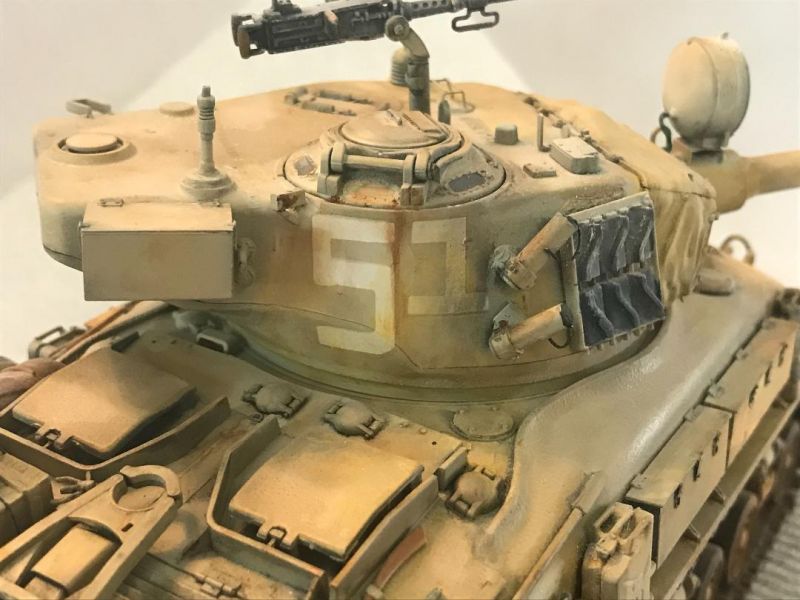
Oh wow! That is a scuzzy looking tank! Looks very natural I think.

iambrb
Well-known member
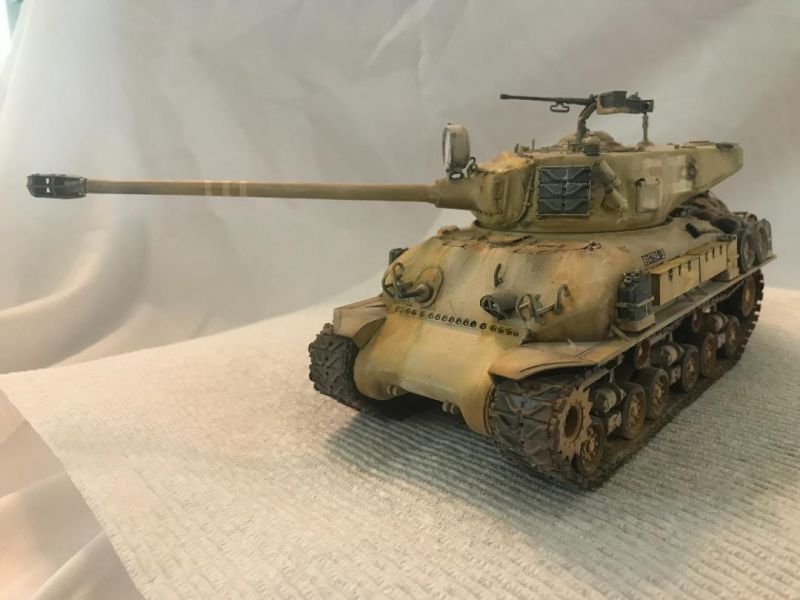
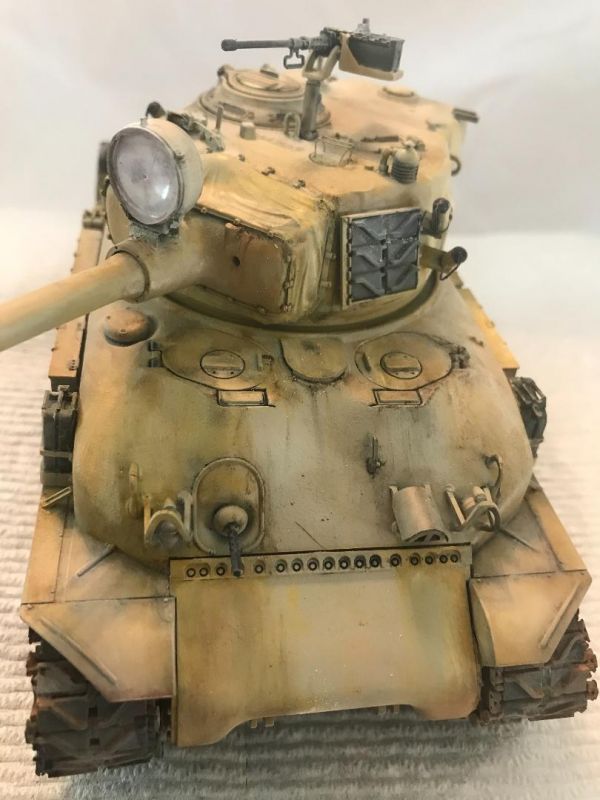
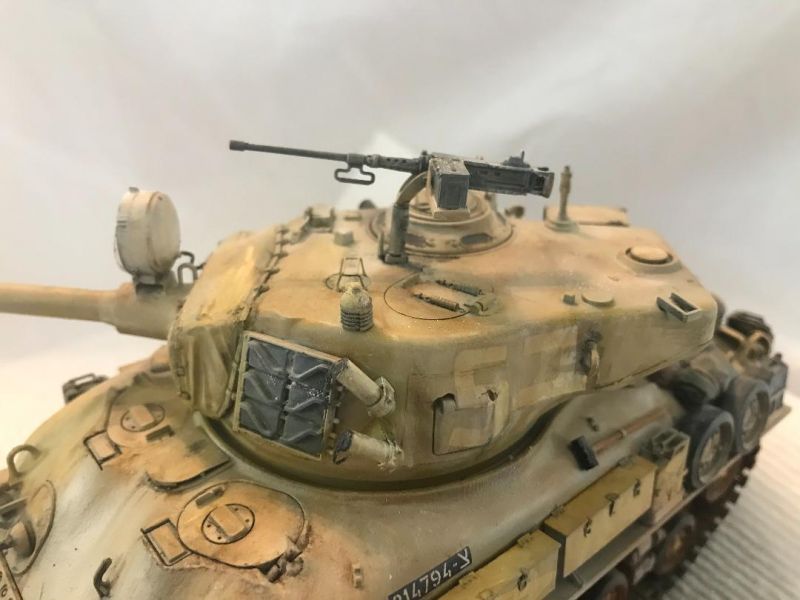
Tamiya M51 Sherman - FINISHED!
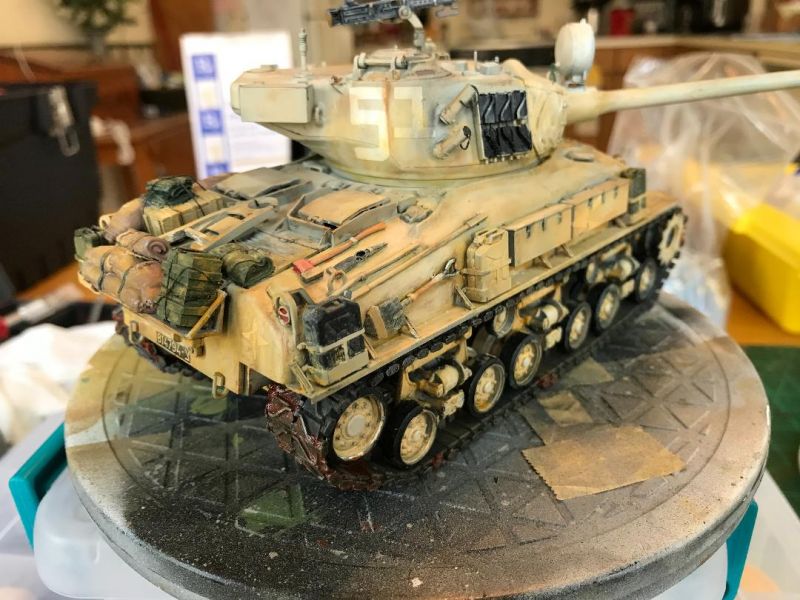
OK so calling this 'un finished! Intent is to build a base as practice for another model I have in the work que, but at the moment this will do!
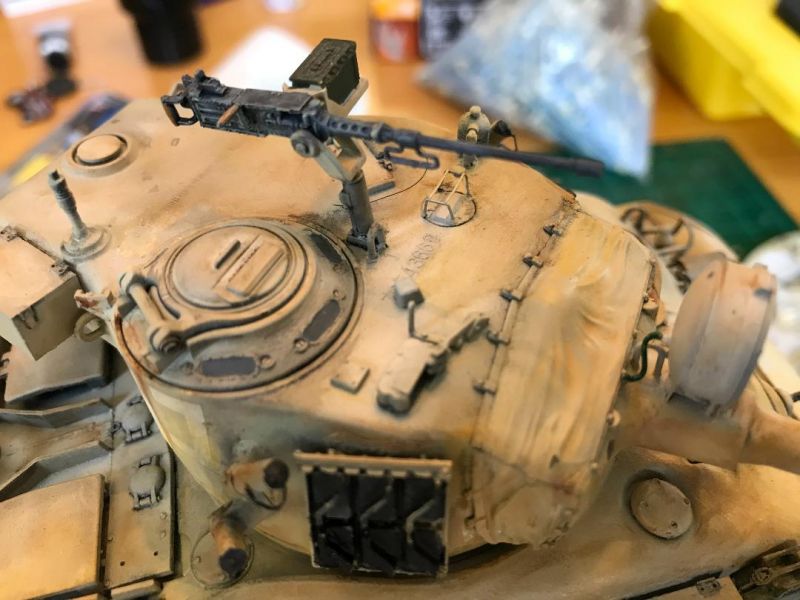
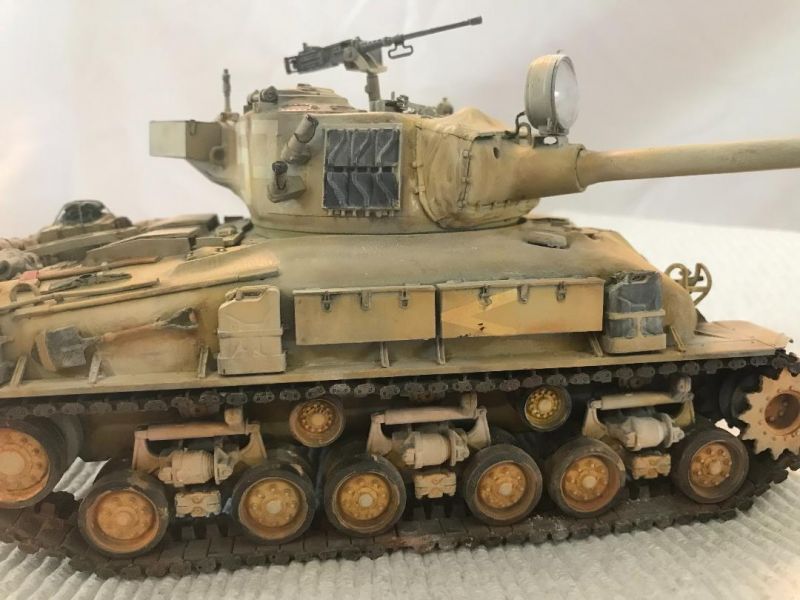
Hey all the weathering past what you saw above is done using pastels as described by Mr. Bob Letterman. Thanks to his influence, I feel like I am really learning how to do this...my best work yet!


OK so calling this 'un finished! Intent is to build a base as practice for another model I have in the work que, but at the moment this will do!
Hey all the weathering past what you saw above is done using pastels as described by Mr. Bob Letterman. Thanks to his influence, I feel like I am really learning how to do this...my best work yet!
Tamiya M51 Sherman - FINISHED!
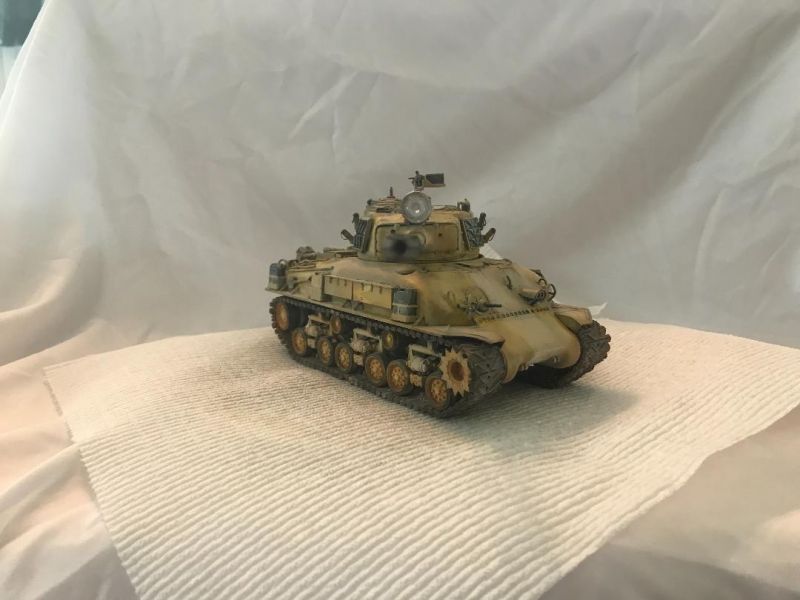
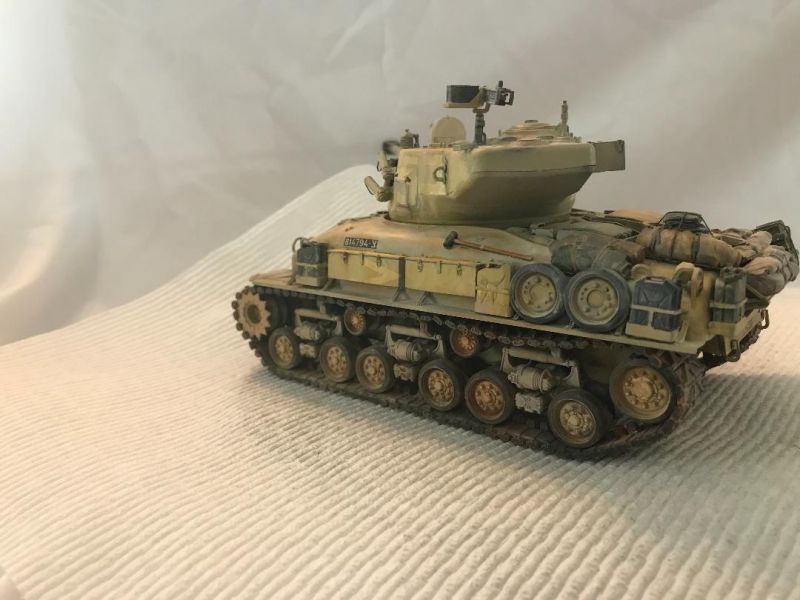
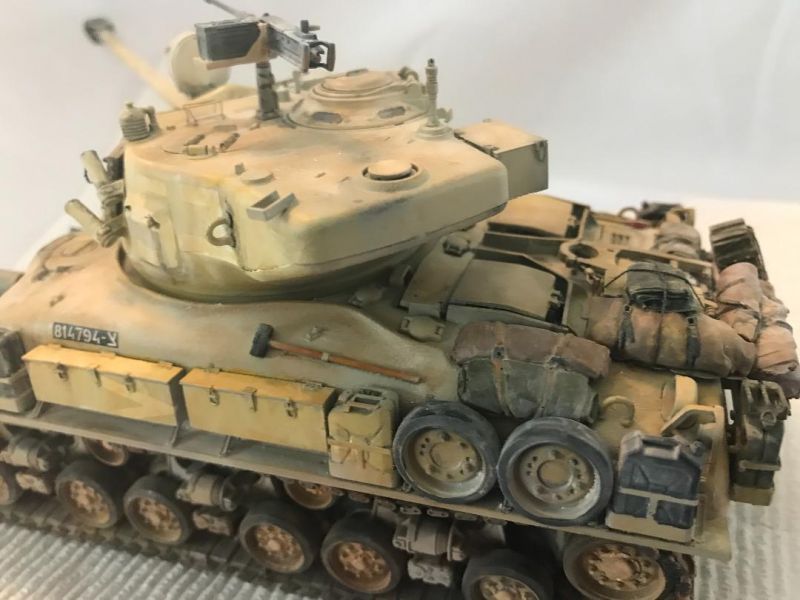
Great weathering Bruce! Really looks good. Get some dust up on that stuff on the left side rear, that yellow jerry can and spare wheels look a little too clean.
Great weathering Bruce! Really looks good. Get some dust up on that stuff on the left side rear, that yellow jerry can and spare wheels look a little too clean.
iambrb
Well-known member
OK so I decided to learn how to make a proper base of this. I like those stackable display cases you see at Hobby Lobby, so I got one. Eric Rains talked me into getting some Clay-Shay. I mixed it up and plastered it on in one small sections, and pressed the M51 into it to create track marks. The super-easy to work with Clay-Shay, along with some pebbles and dirt from my neighbor's driveway, plus some pigments sprinkled when dry, came out looking like this:

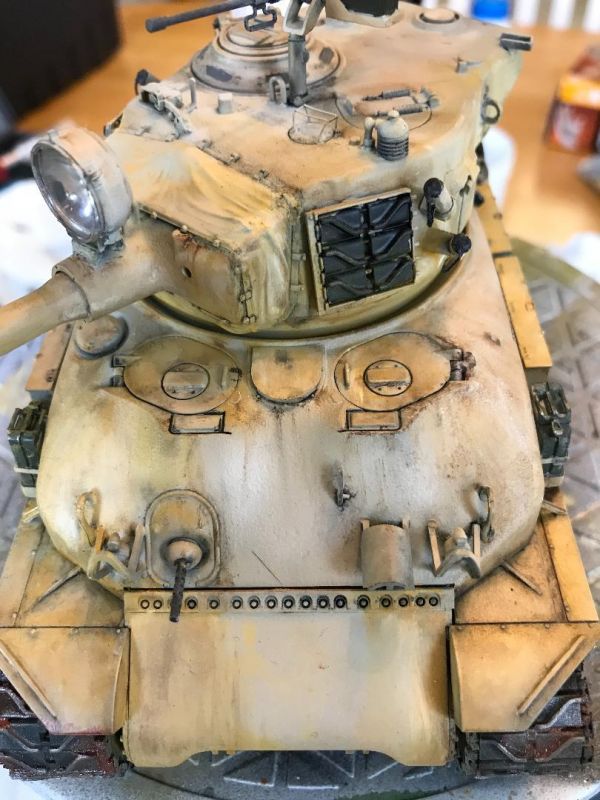
I then used some Model Master Sand color and lightly hit it with the Sotar 20/20

After that, I got some of the old reliable Tamiya Flat Black and a few index cards to prevent over-spray, and got the remainder of the base

Then I put the M51 on...only to find that it no longer fit! I fought with it a bit, only to damage the track...AGGGGGHHH!!!!!!!!! So I took a bit to calm down, then glued it to the base as best she'd fit, then mixed up a tiny bit of Clay-Shay, and working it under the spaces, along with some or that leftover sand and pebbles from earlier, and worked it up under there. May need some dry-brushing once fully cured, but I think it came out looking pretty good!


I then used some Model Master Sand color and lightly hit it with the Sotar 20/20
After that, I got some of the old reliable Tamiya Flat Black and a few index cards to prevent over-spray, and got the remainder of the base
Then I put the M51 on...only to find that it no longer fit! I fought with it a bit, only to damage the track...AGGGGGHHH!!!!!!!!! So I took a bit to calm down, then glued it to the base as best she'd fit, then mixed up a tiny bit of Clay-Shay, and working it under the spaces, along with some or that leftover sand and pebbles from earlier, and worked it up under there. May need some dry-brushing once fully cured, but I think it came out looking pretty good!
Heavens Eagle
Well-known member

Bingo!

