• Modelers Alliance has updated the forum software on our website. We have migrated all post, content and user accounts but we could not migrate the passwords.
    This requires that you manually reset your password.
    Please click here, http://modelersalliance.org/forums/login to go to logon page and use the "Forgot your Password" option.

LTV A-7B CORSAIR II - "SNAKES & NAPE"

I will post pics, but basically I decided to try and apply the opposite side, while at the same time cutting the huge decal into two manageable pieces. This worked great, so I ordered a 2nd set of decals and just went ahead and applied all other applicable decals. Just waiting for the reminder to come in, and I can finish this step!

I am not letting this little issue beat me!
 
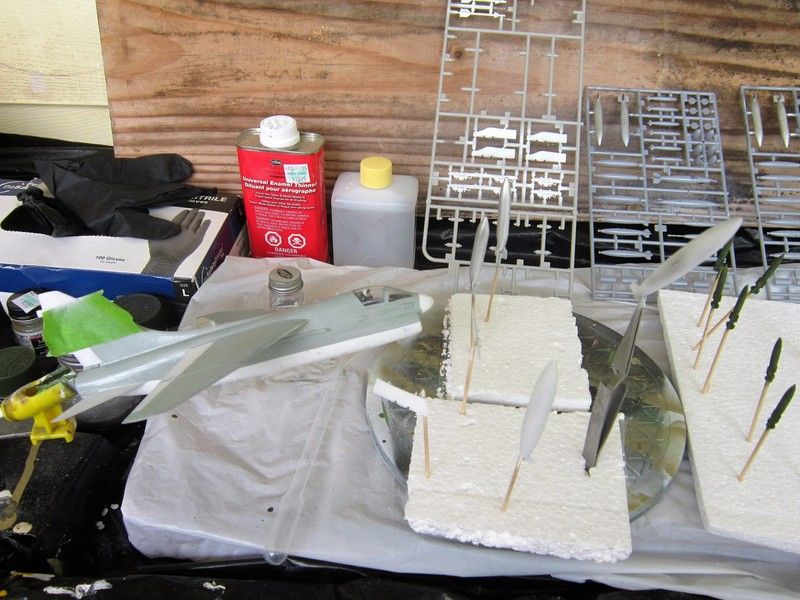
OK so here is where I left off.
First though, the fuels tanks and ordnance being painted:

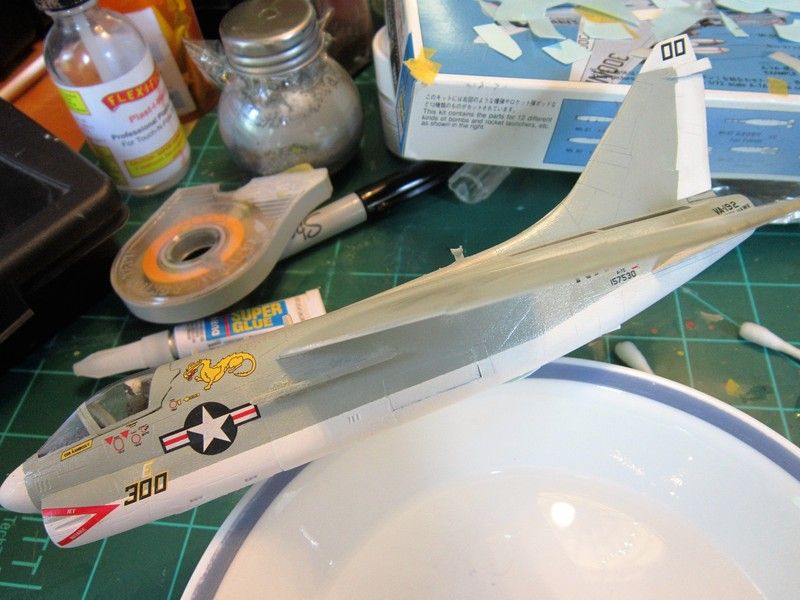
Now here we get to the decals. The Printscale decals were both very nice and really difficult to work with. You can see that they fit the front of the model very well! Sorry if the pic comes out upside down! Any way the dragon looks really cool, I think.

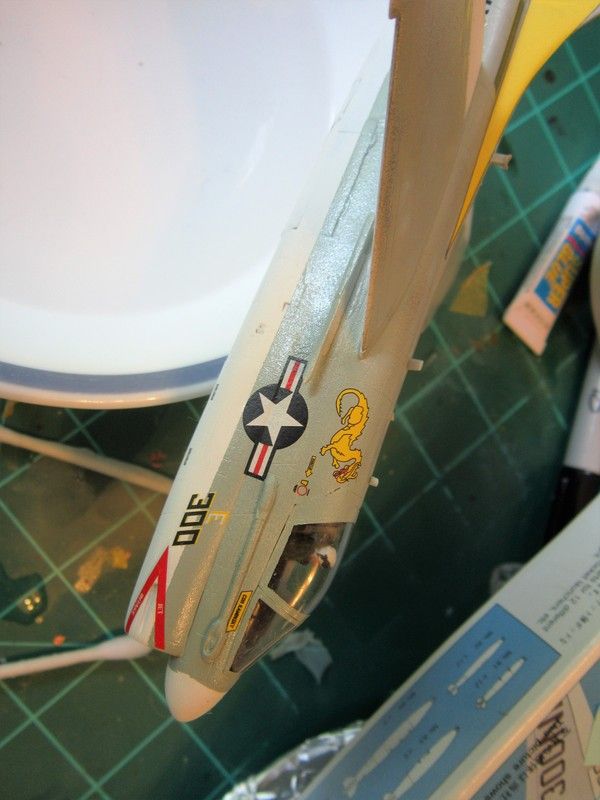
So like I said, the one side just messed up when I hit with the decal stuff…wonder if mine has just gone bad? It did sit idle for some years when I was out of modeling.

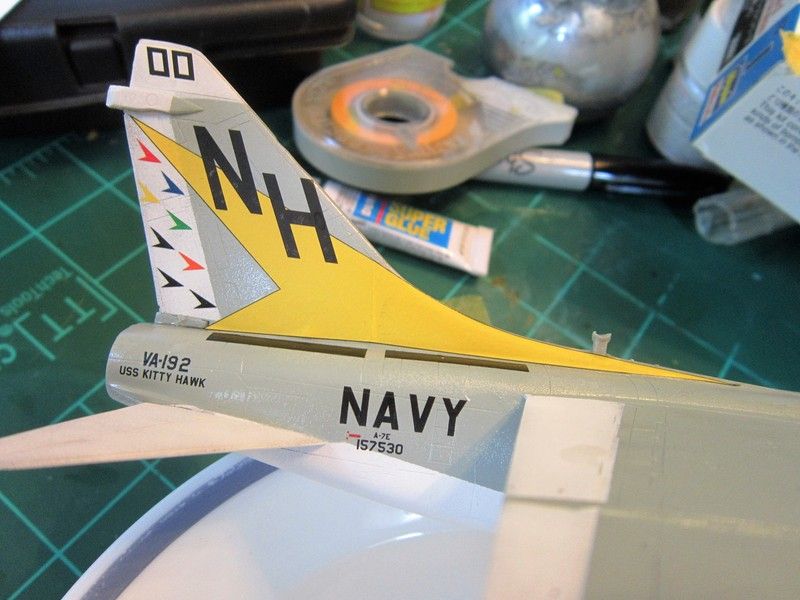
Now here you can see the tail. The decals are just beautiful, but that yellow tail decal, as huge as it is and the area it is going onto, on this one I Cut the decal in half with a sharp knife, and applied it in two sections, you can only juuuust se the tiny fraction of overlap. I think it looks great. What makes the Printscale decals tough are those chevrons on the tail…see them? They are INDIVIDUAL DECALS! Not at all easy to get them applied & set without disturbing the decals around it!

So I still do not have the wing decals on there, and have ordered a second set just to get the one tail decal, then production can resume! ‘Till then!
 
That rocks man! Those decals do look good. Congrats on getting them to lay down well; those individual ones look like a solid sheet.
 
Ok so here is my in-flight A-7 Corsair!


Not too bad, I got her on the stand today. I think I might go back and adjust the stand so she sits a bit farther nose down, polish the brass rod and clean up the base a tad, but I am otherwise calling this ’un complete! This 1970’s vintage kit built up nice, and the Hasegawa Weapons kit worked very well, as she is packing two hard-points with the Mk.82 Snake-eye high drag bombs and two hard-points each containing one of the massive silver napalm canisters, ready to pound down any potential bad guys trying to reach a downed pilot! The final addition of two hard-points each with Spare Fuels Cells would give her maximum dwell time over a given area as our would-be pilot is extracted.


As another person said of this early kit, it was pretty weak, and was at times a real struggle, but it was great practice kit. I still need to do a better job with panel washes and streaking. there is really no streaking on this kit. I think next time I will pay the extra Shekels & Rubles for a kit that is a bit more modern, but I will add that the Printscale decals, although a bit challenging for my skill level, were very pretty and a pleasure to work with, and I would not hesitate to buy them again.

So thanks far looking’, now onto to the Dark Side with my King Tiger & Ontos builds!
 
Excellent Bruce! Despite the issues you ran into, you still managed to bring about an excellent looking model.
 
Wow thanks guys! You are all too kind! Next up is the Airfix KATE in 1/72, I am thinking I am going to build it wings folded, just cause I think that is so neat!

Unlike this 'un, I did my research and the Airfix is supposed to be a super model, so I have high hopes for it. It cost 1.2 times the cost of the muuuuch older Hasegawa, but from what I have read is supposed to be worth it, so we shall see!
 
Back
Top