JamesOLeary
Master at Arms
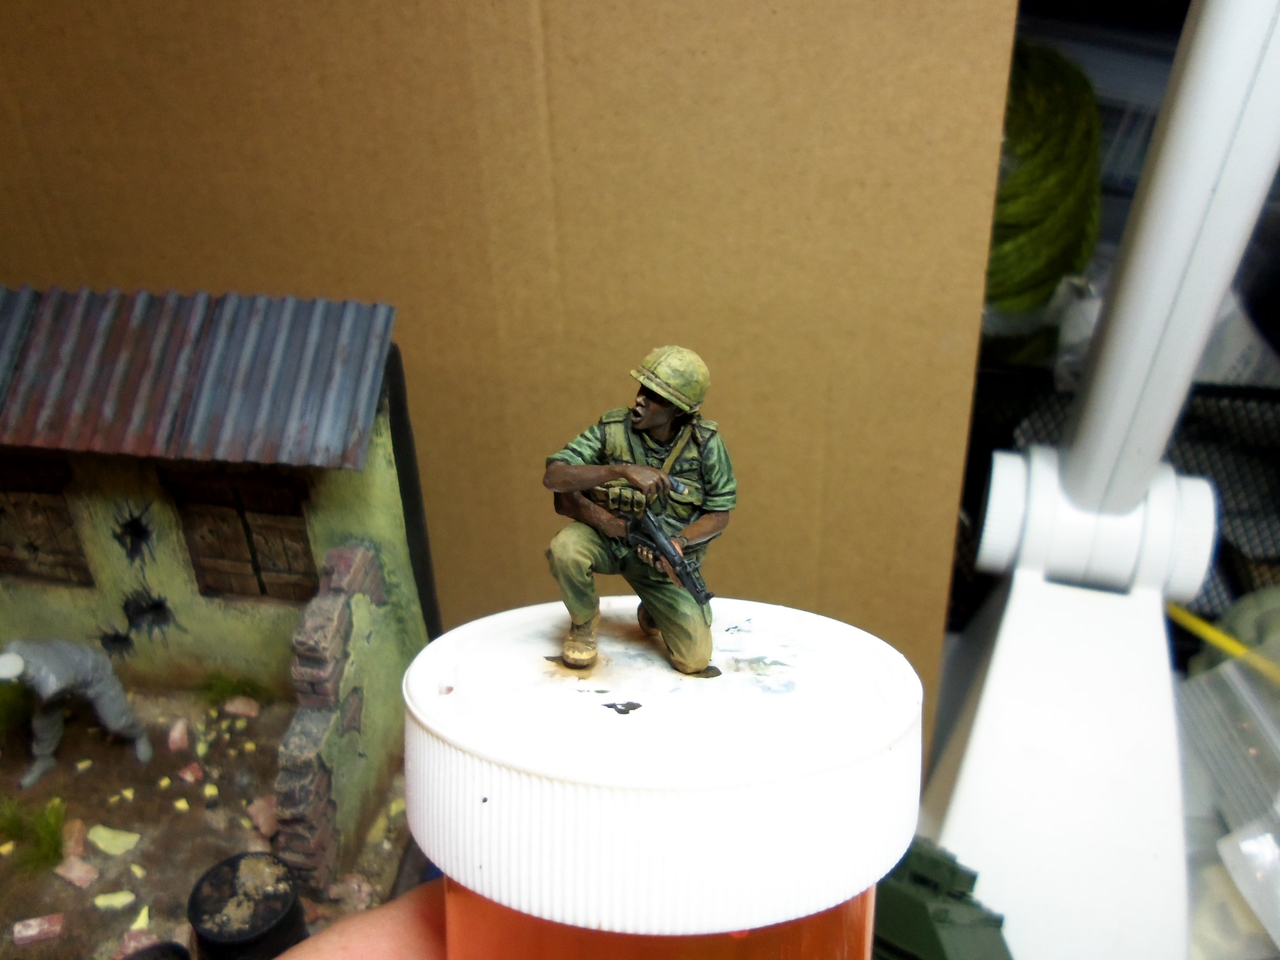
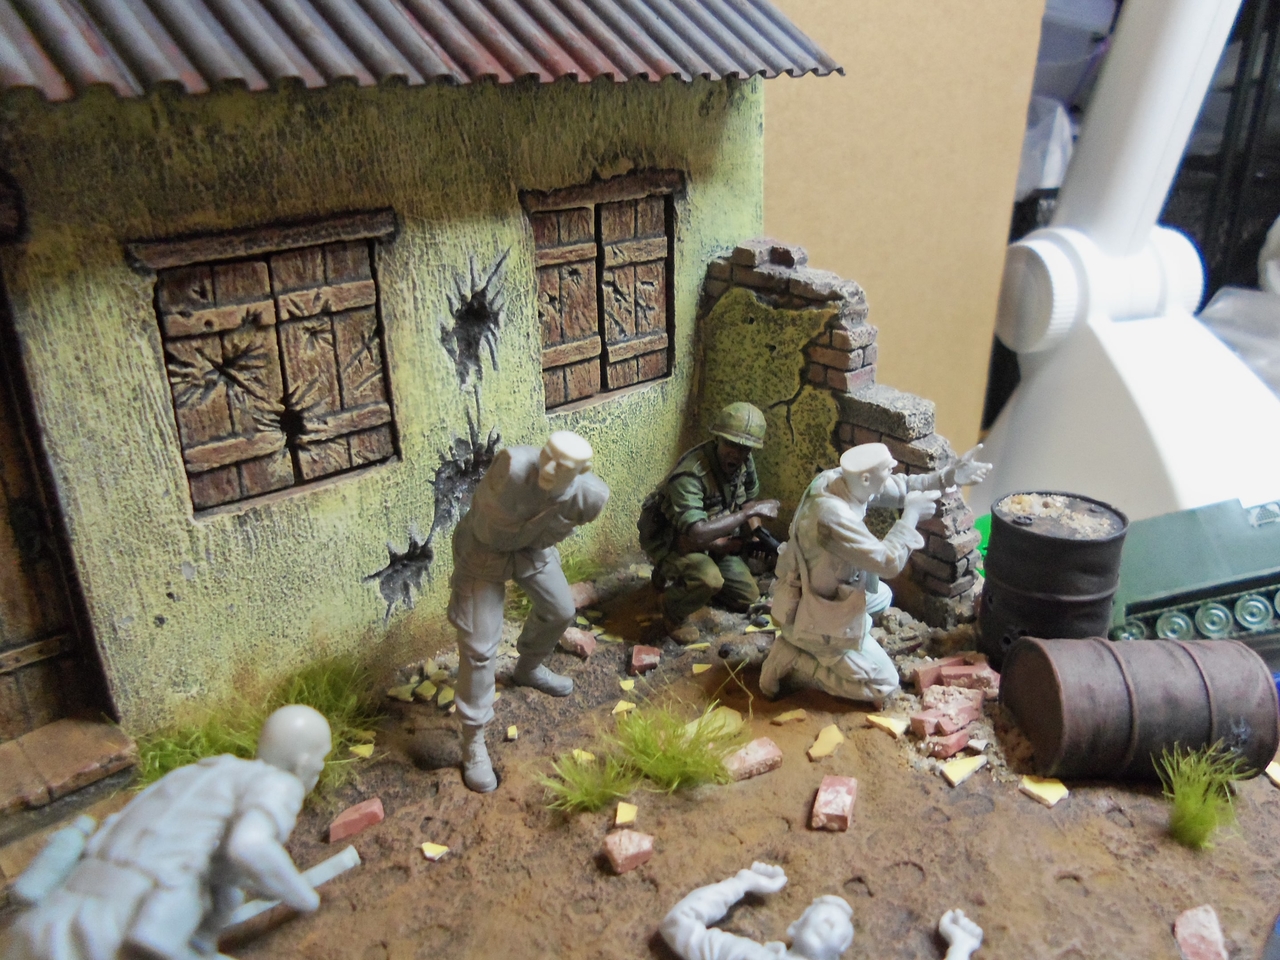
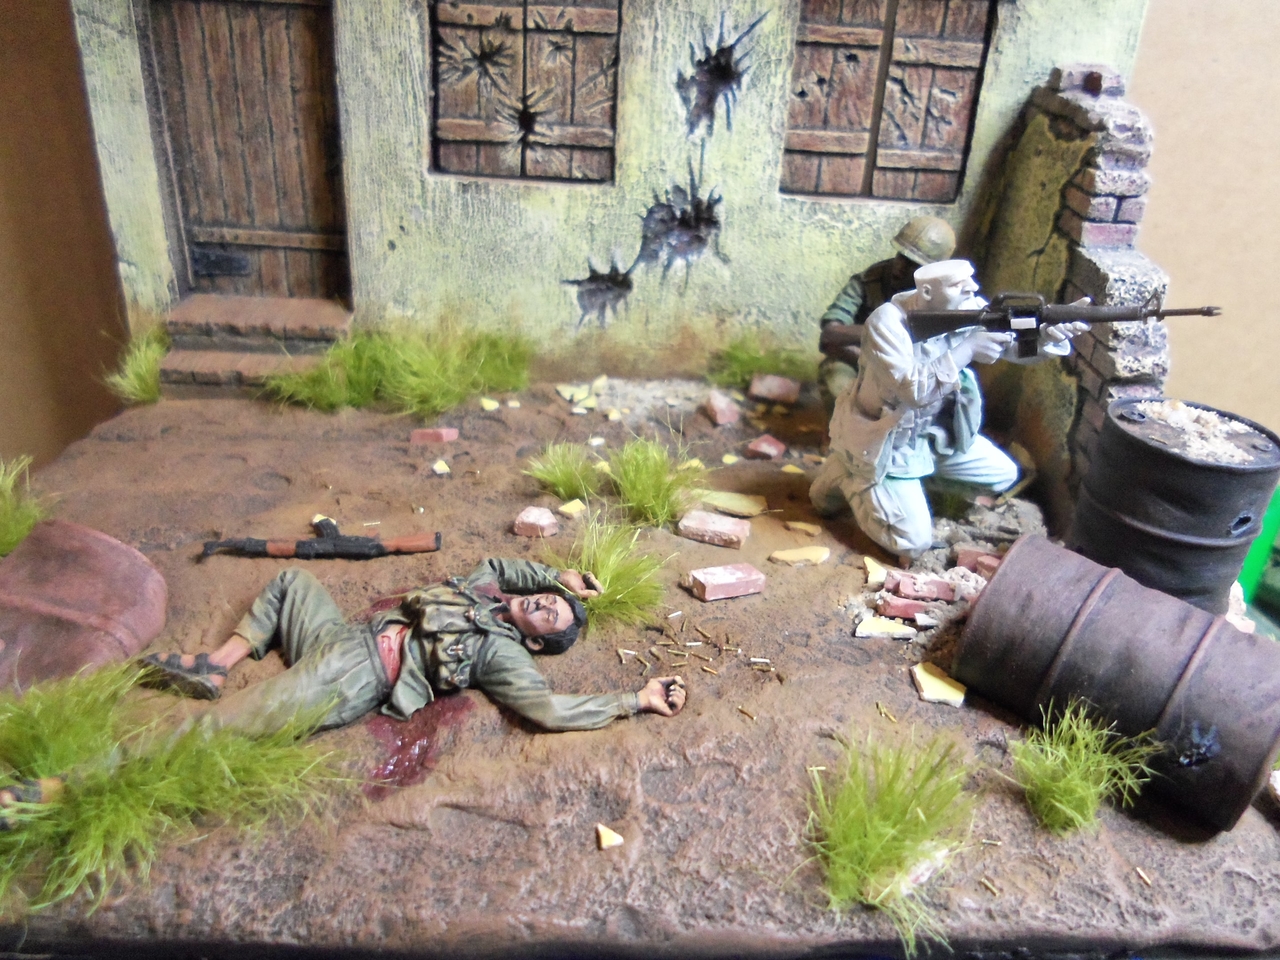
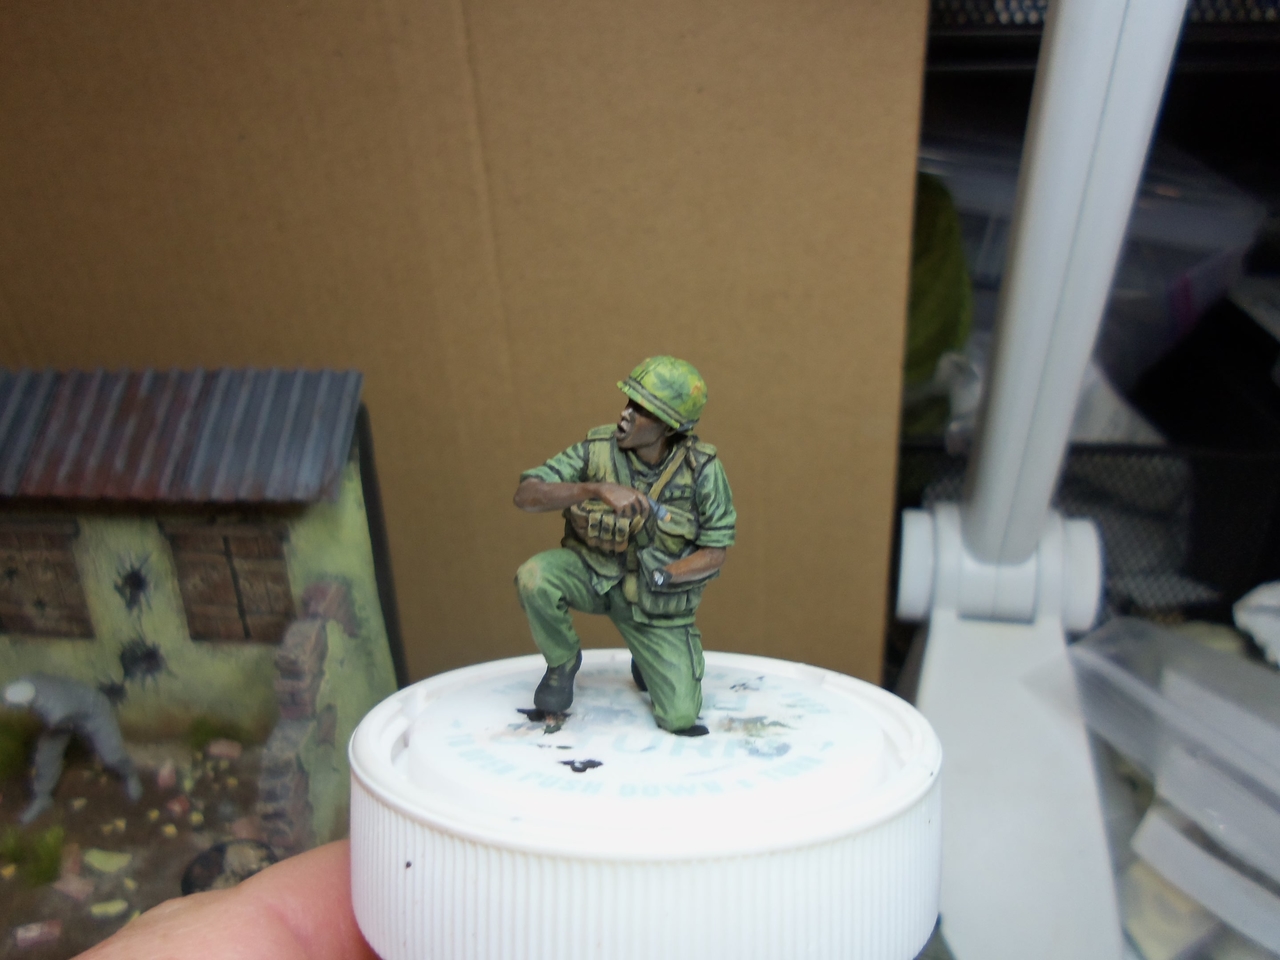
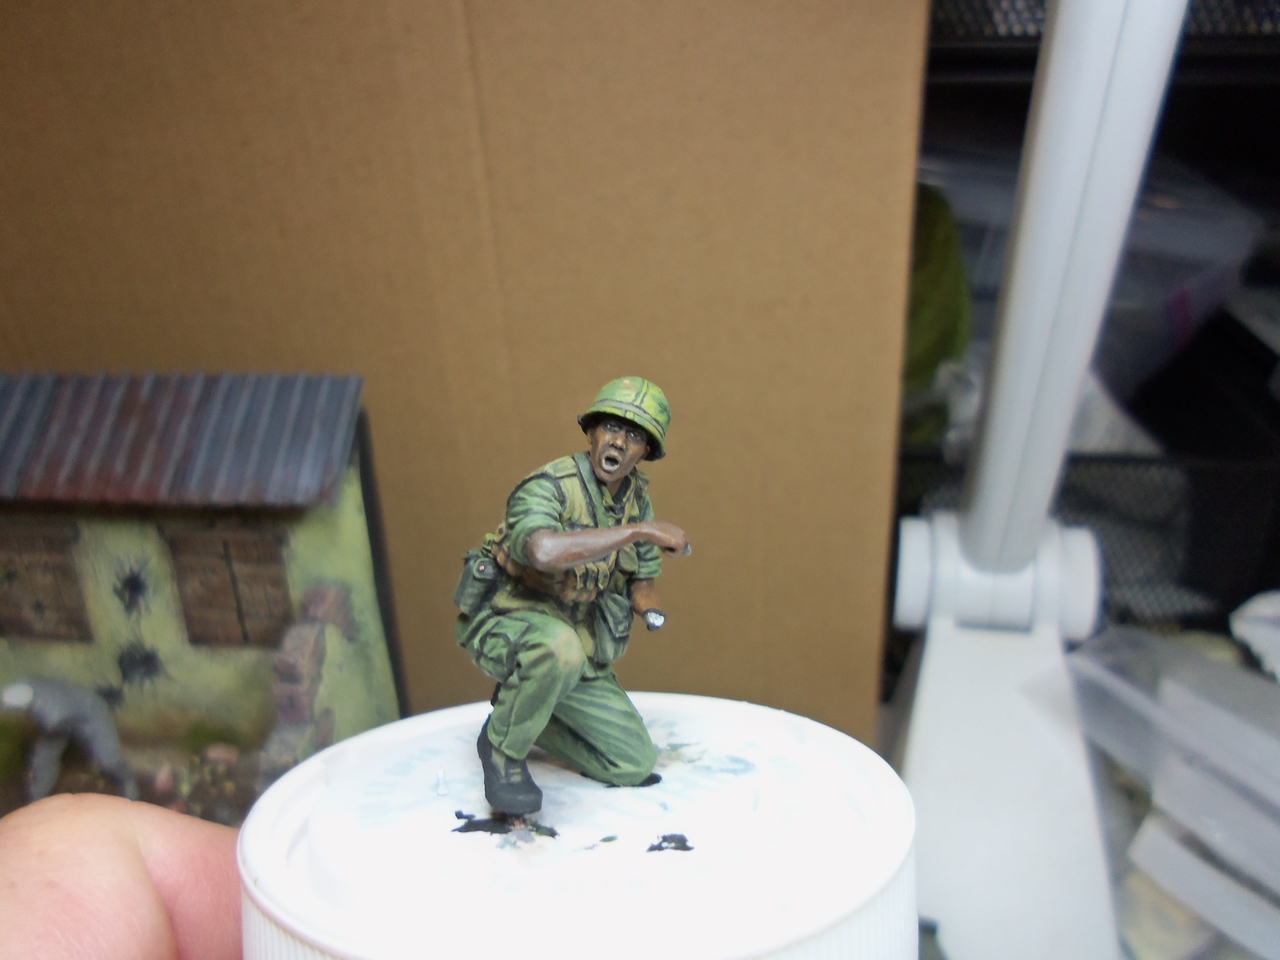
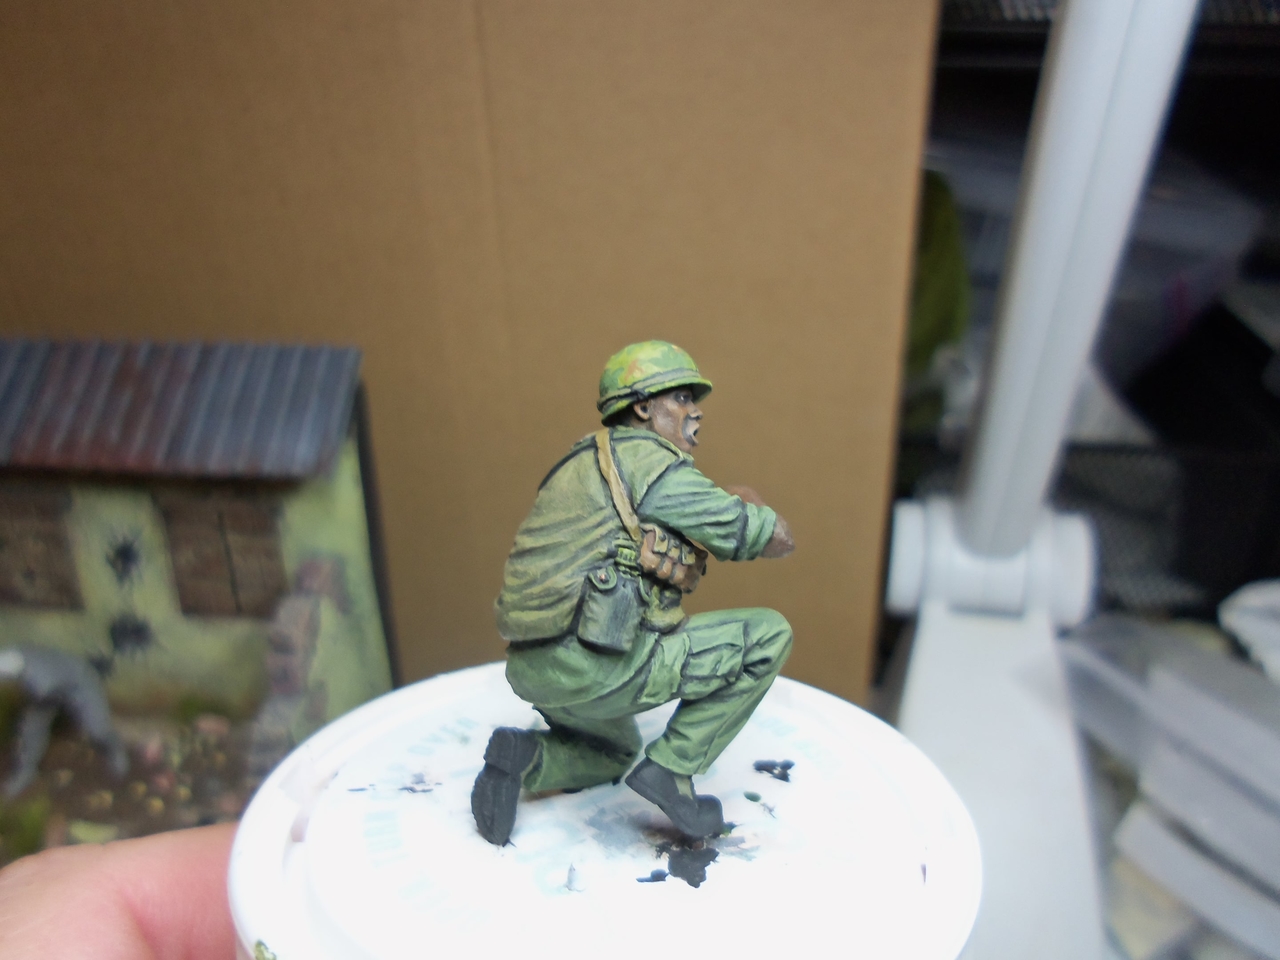
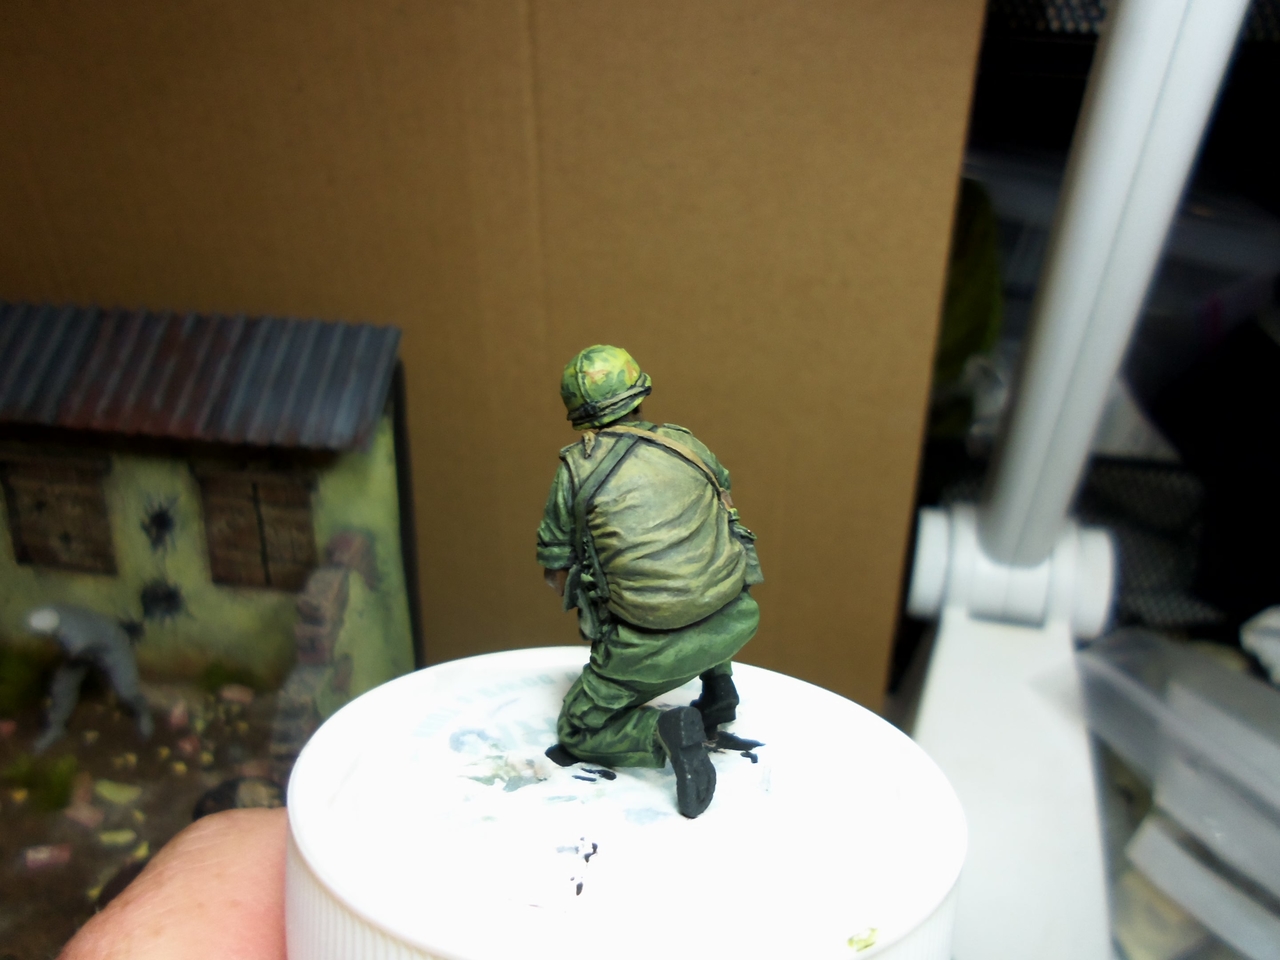
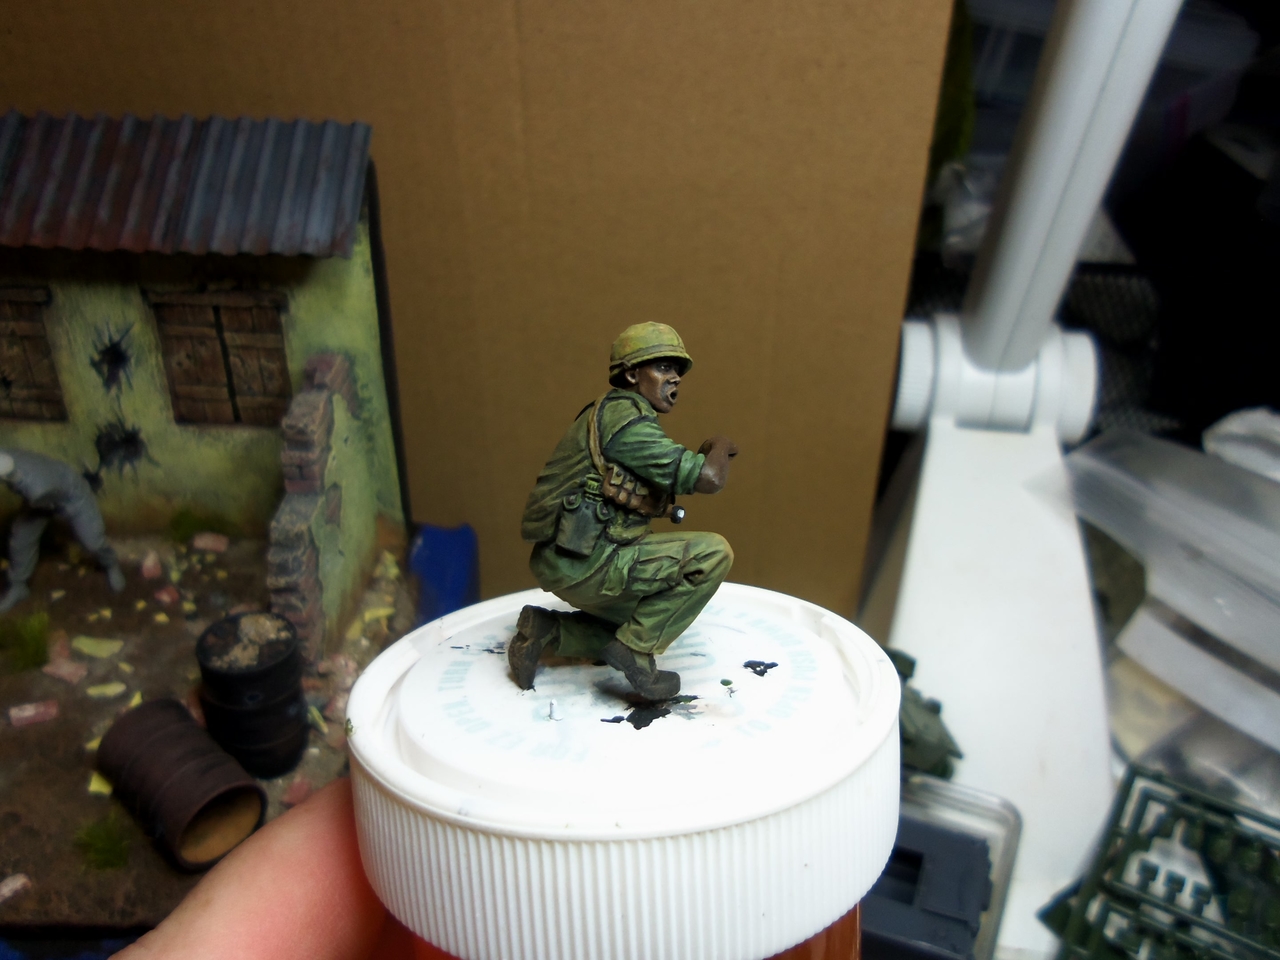
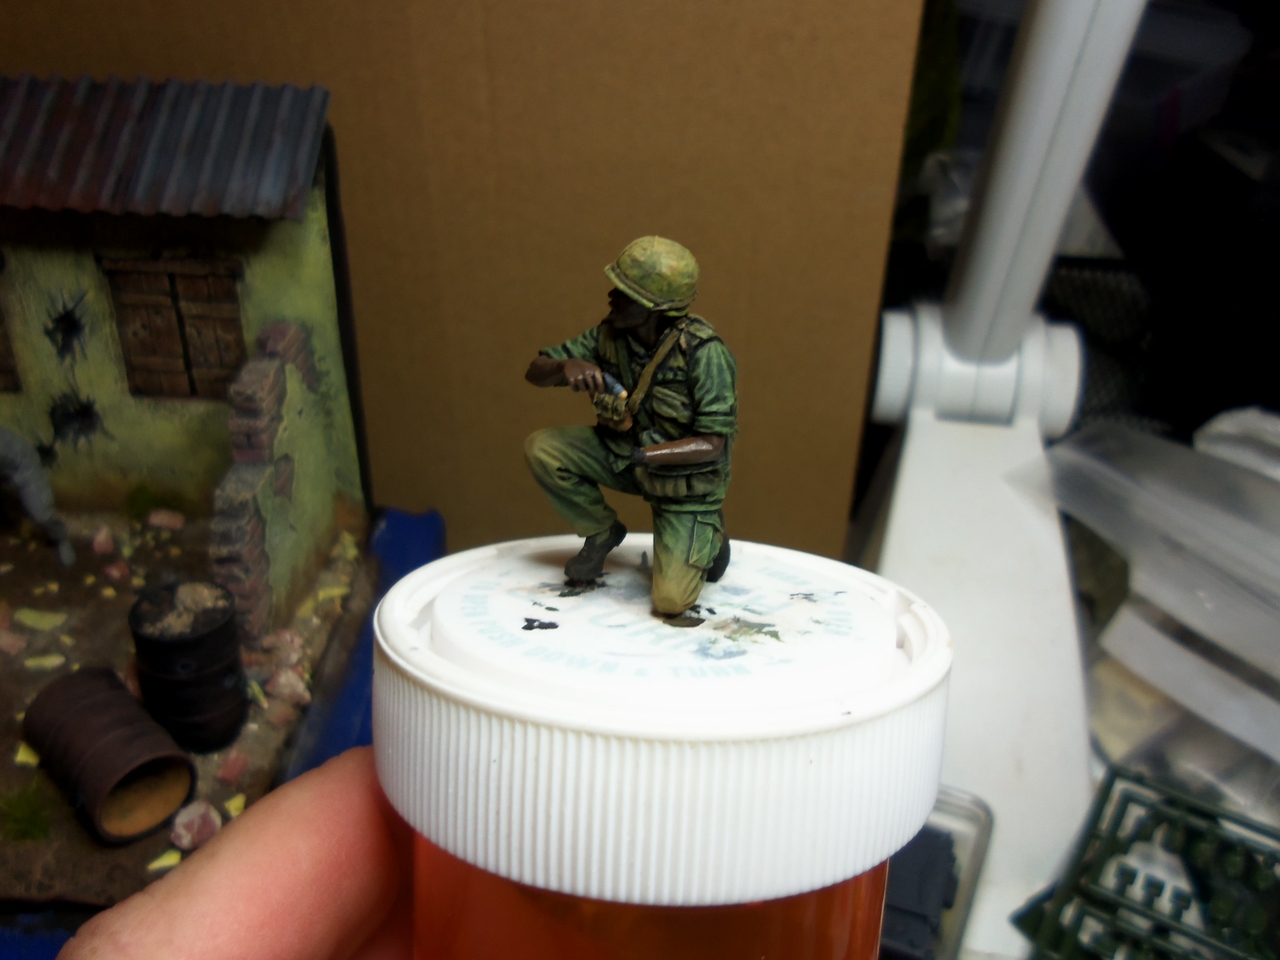
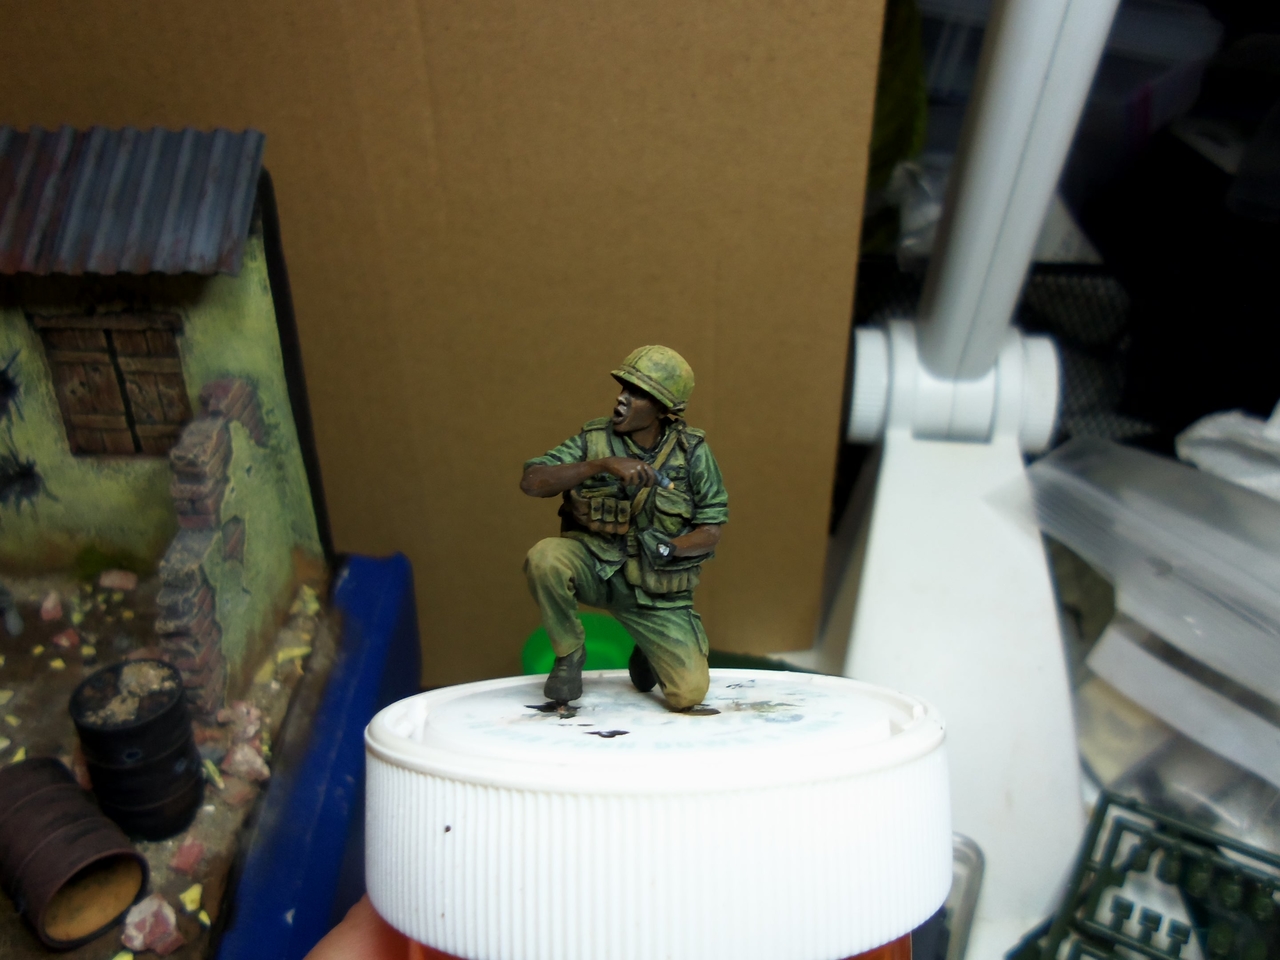
"Contact!" Tet Offensive Vignette
Thanks, guys.
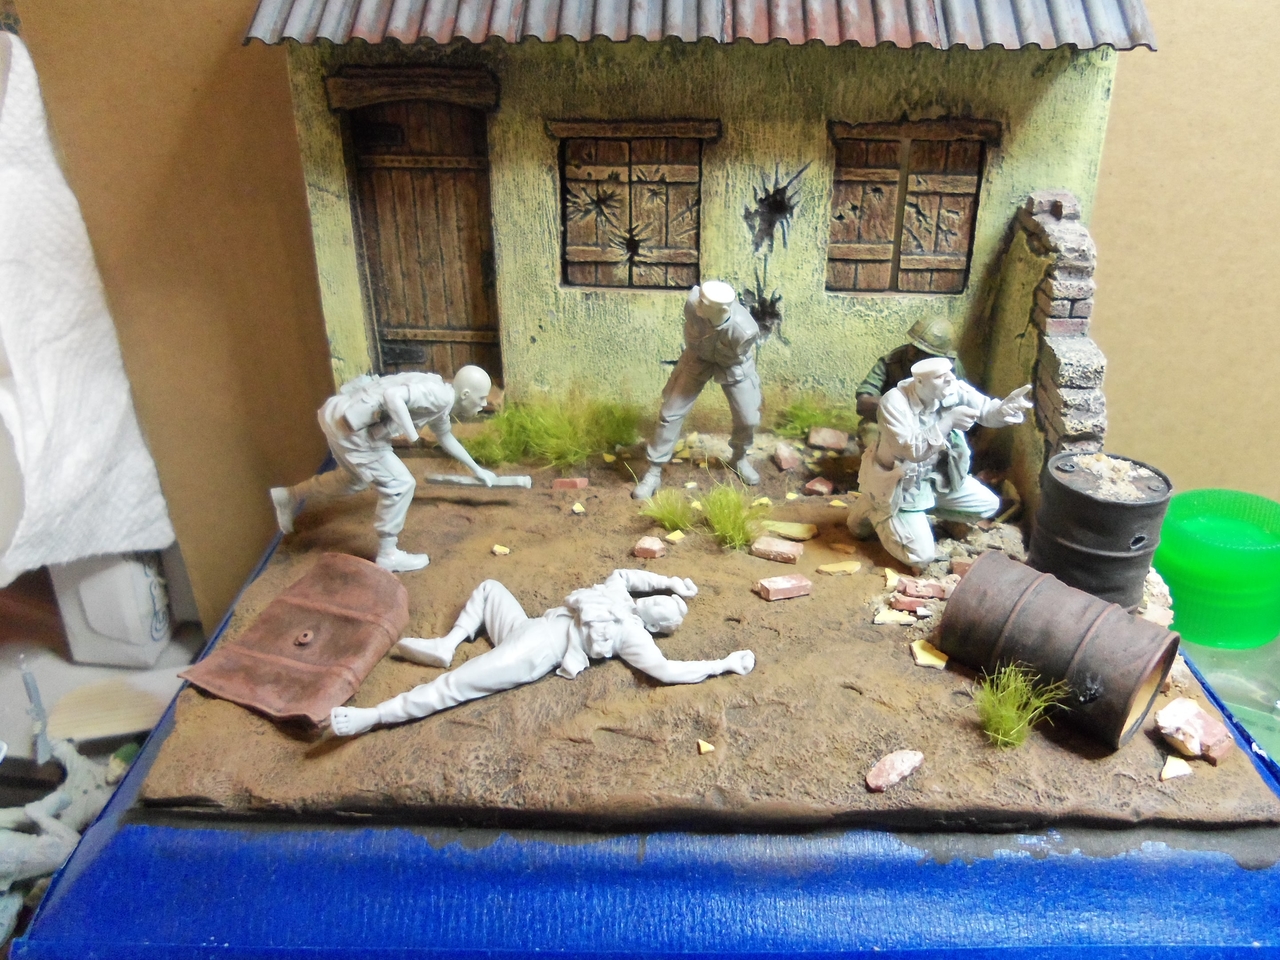
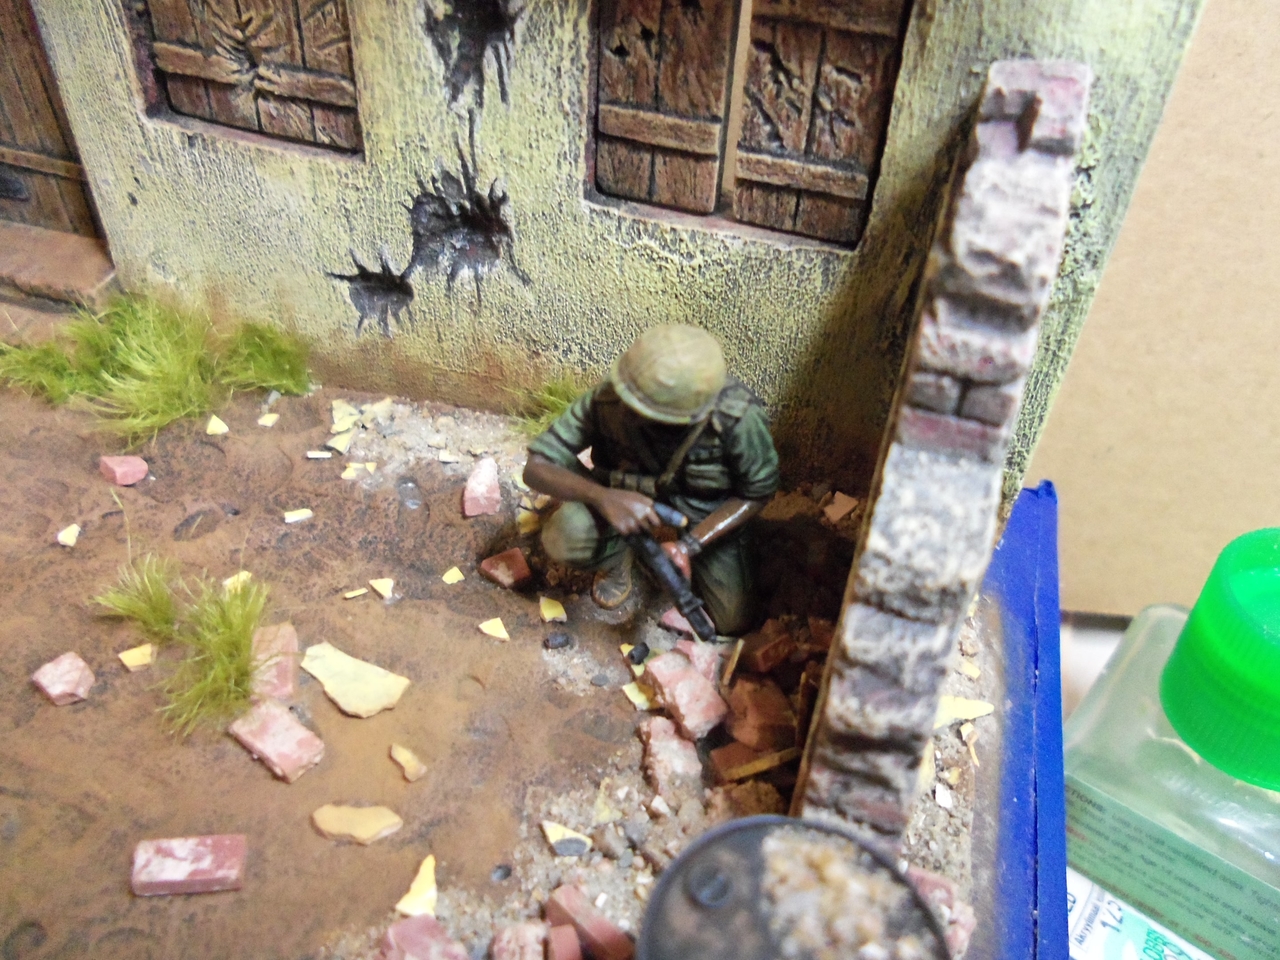
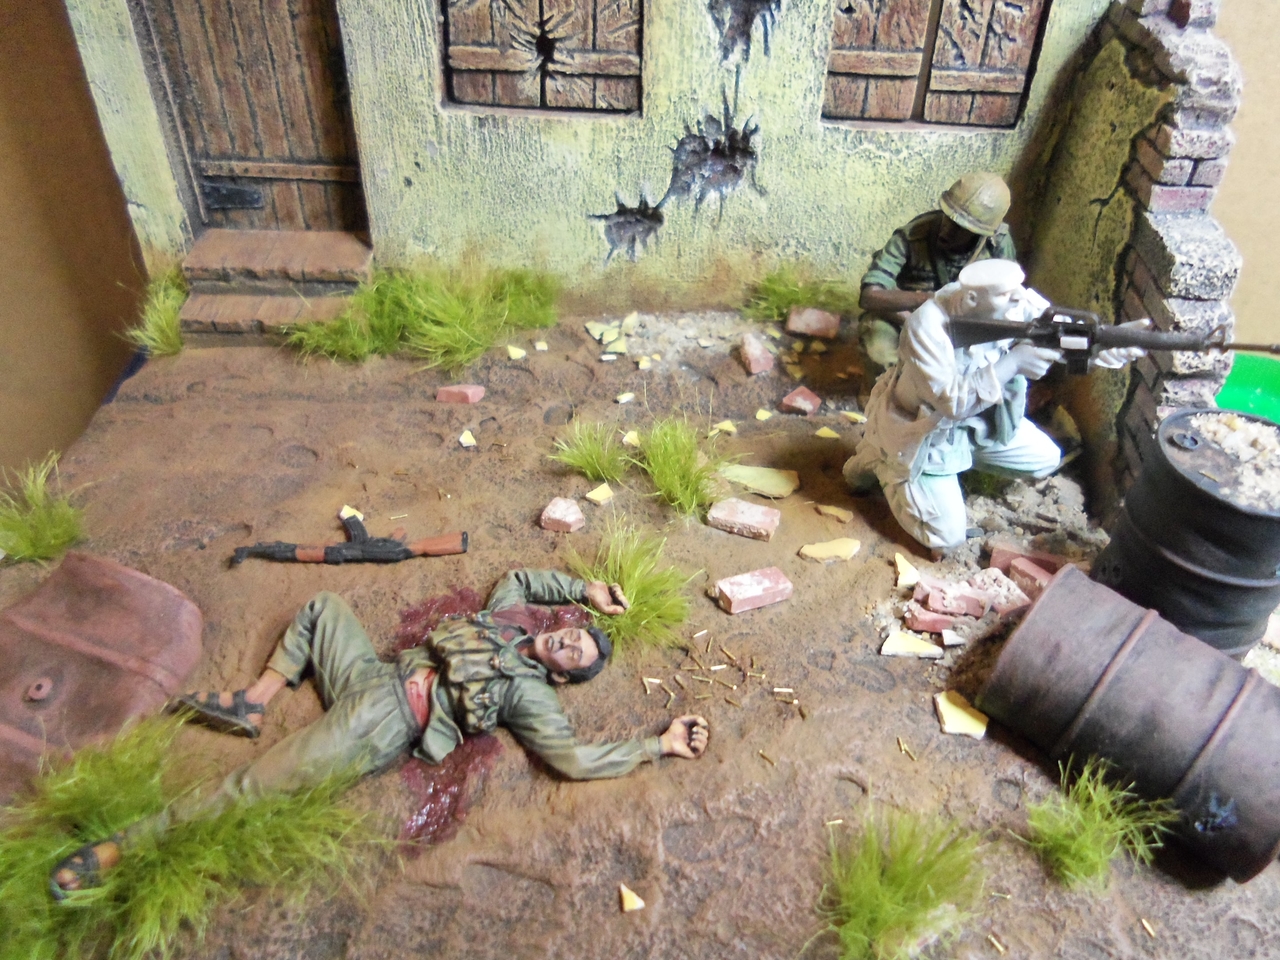
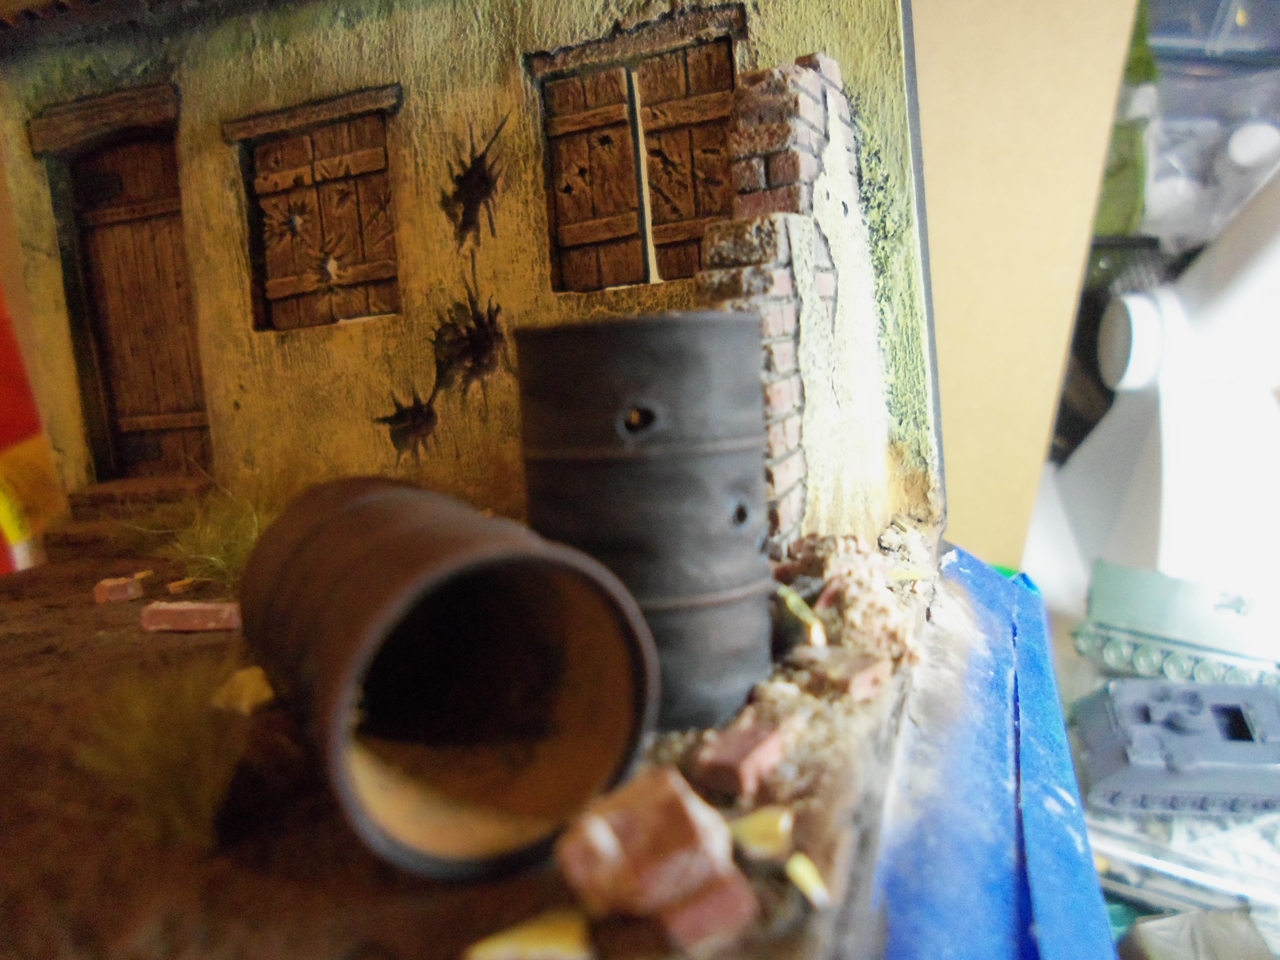
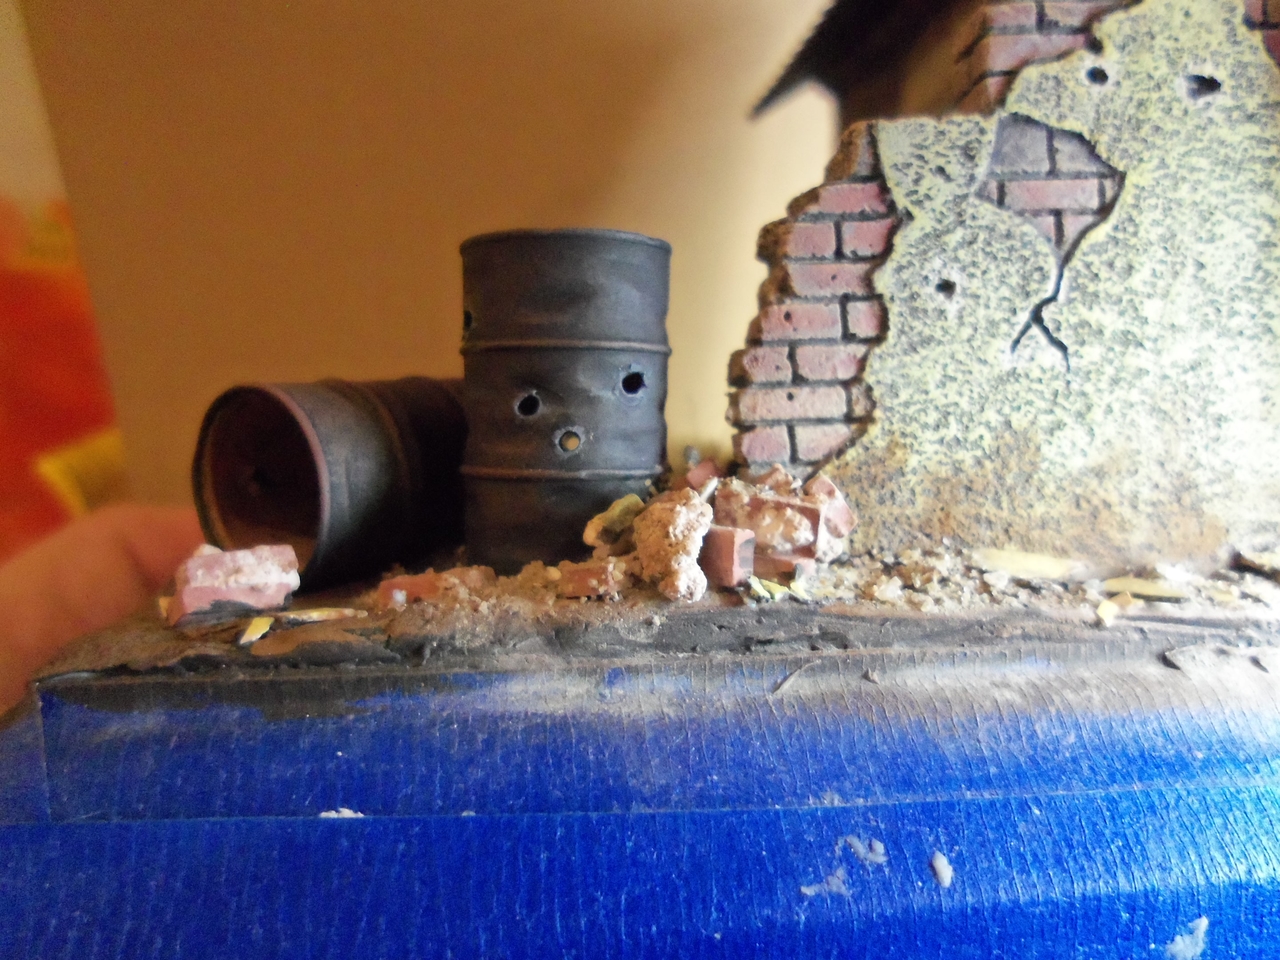
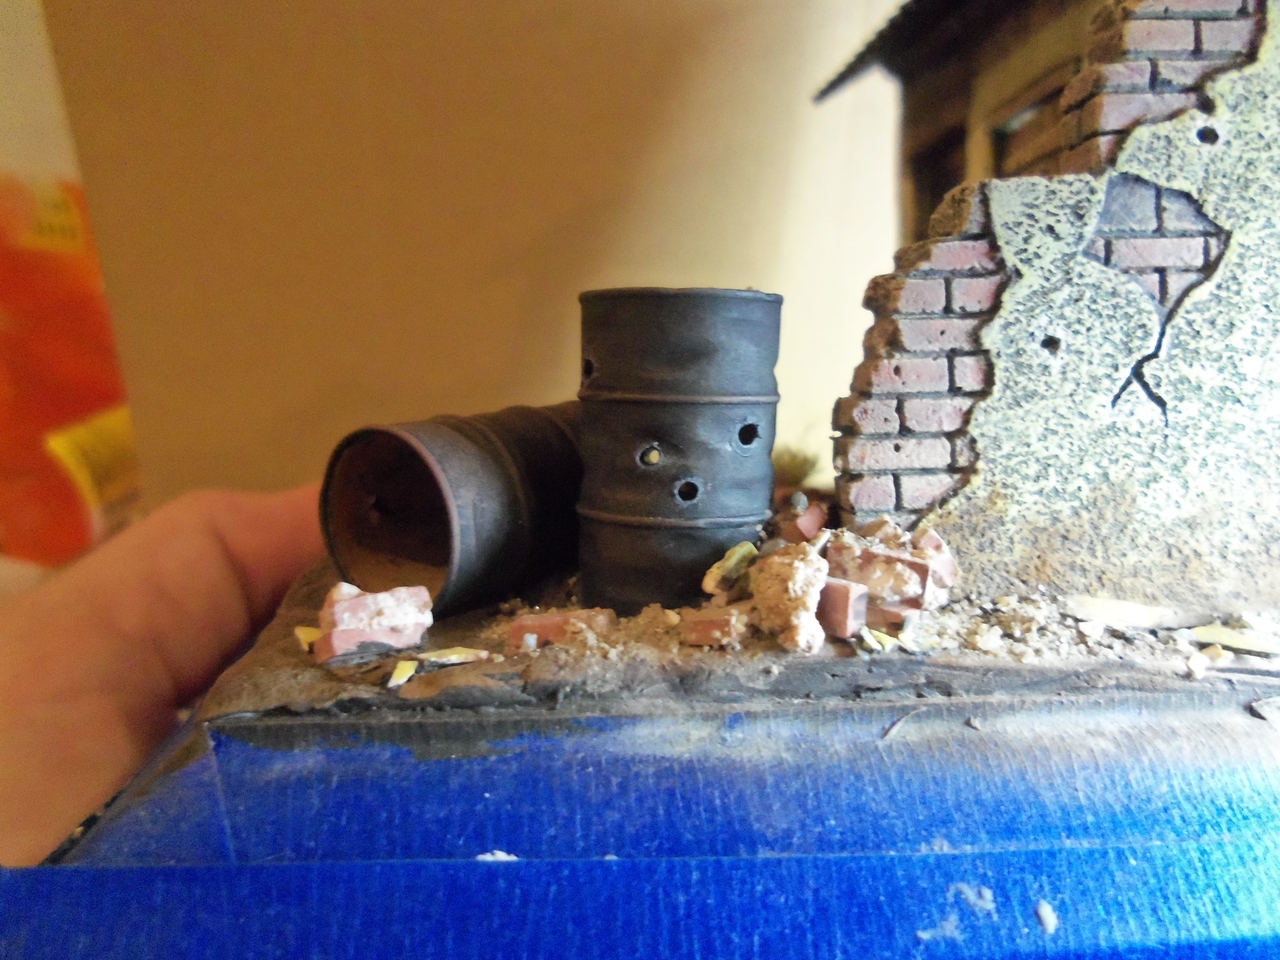
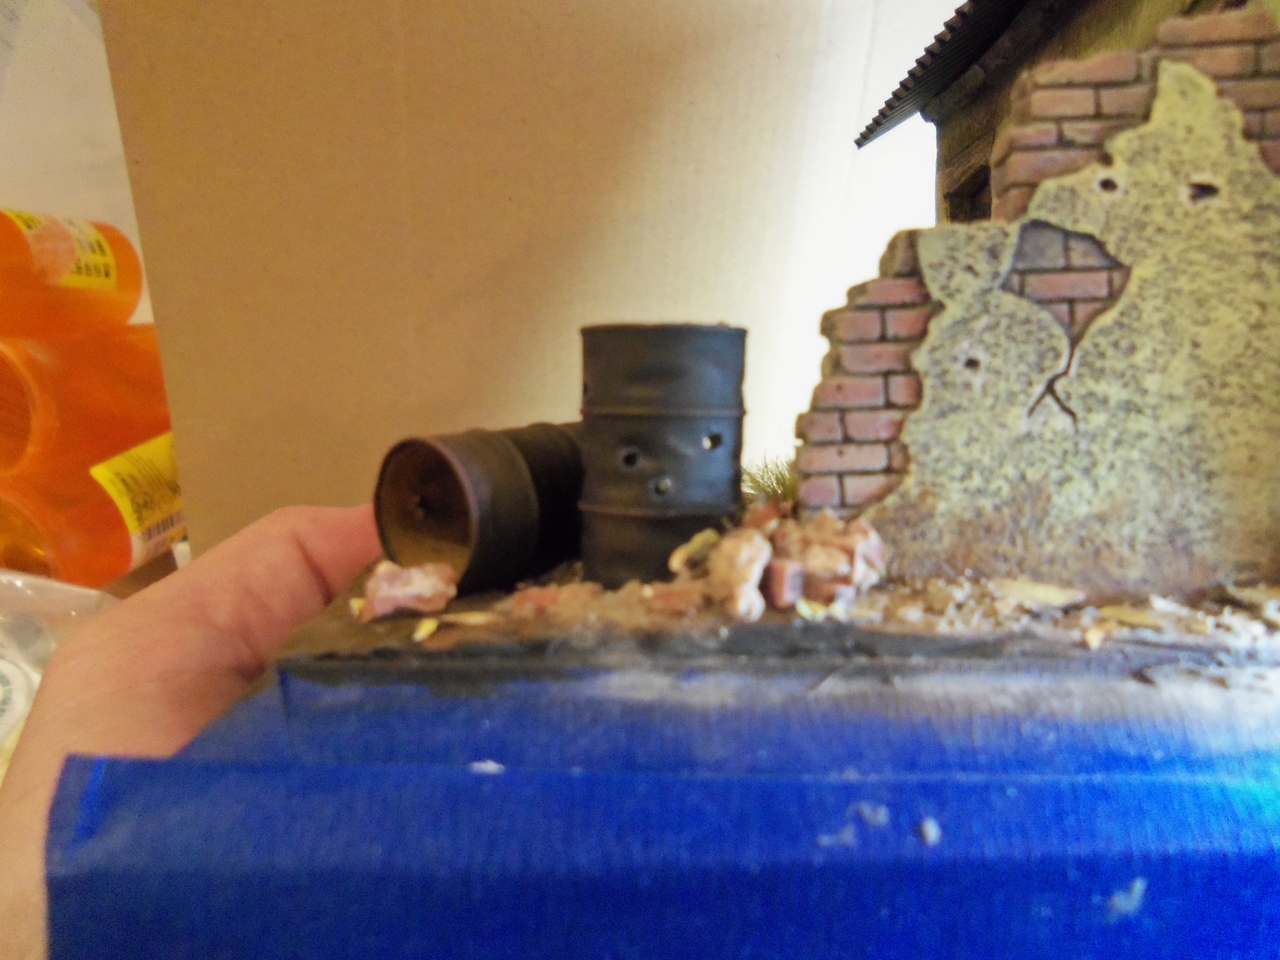
I had done some weathering on the crushed drum as well as the one knocked over, then I read Duke's comment about the bullet holes and added some. I was thinking there was something that still needed to be done to them. The standing drum is a solid resin piece from Armand Bayardi. I used a pin vise drill to drill holes all the way through, painted the hole black and outlined in grey. The shrapnel hole in the knocked over drum was drilled then roughed up with a knife.

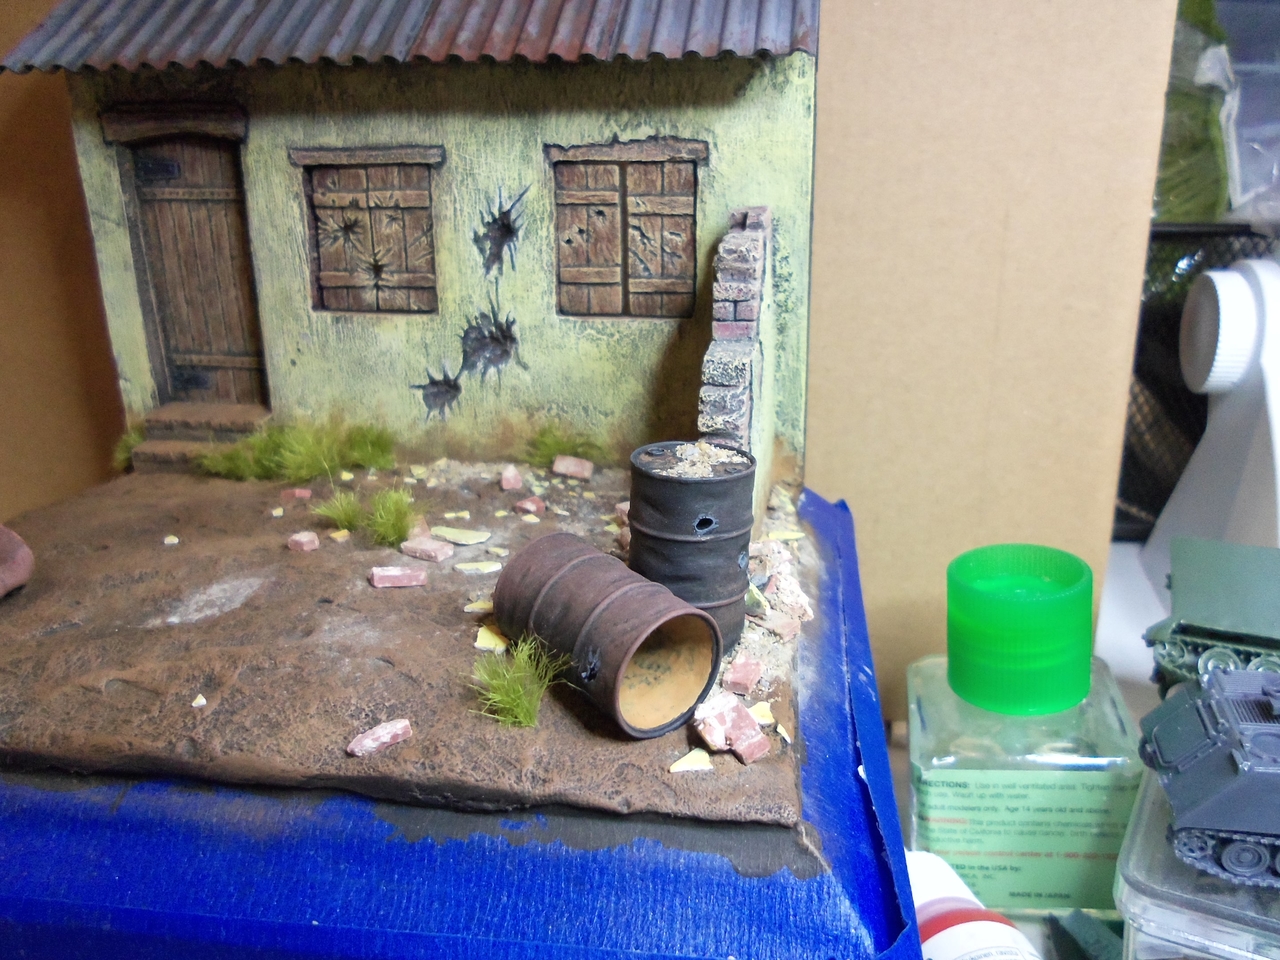
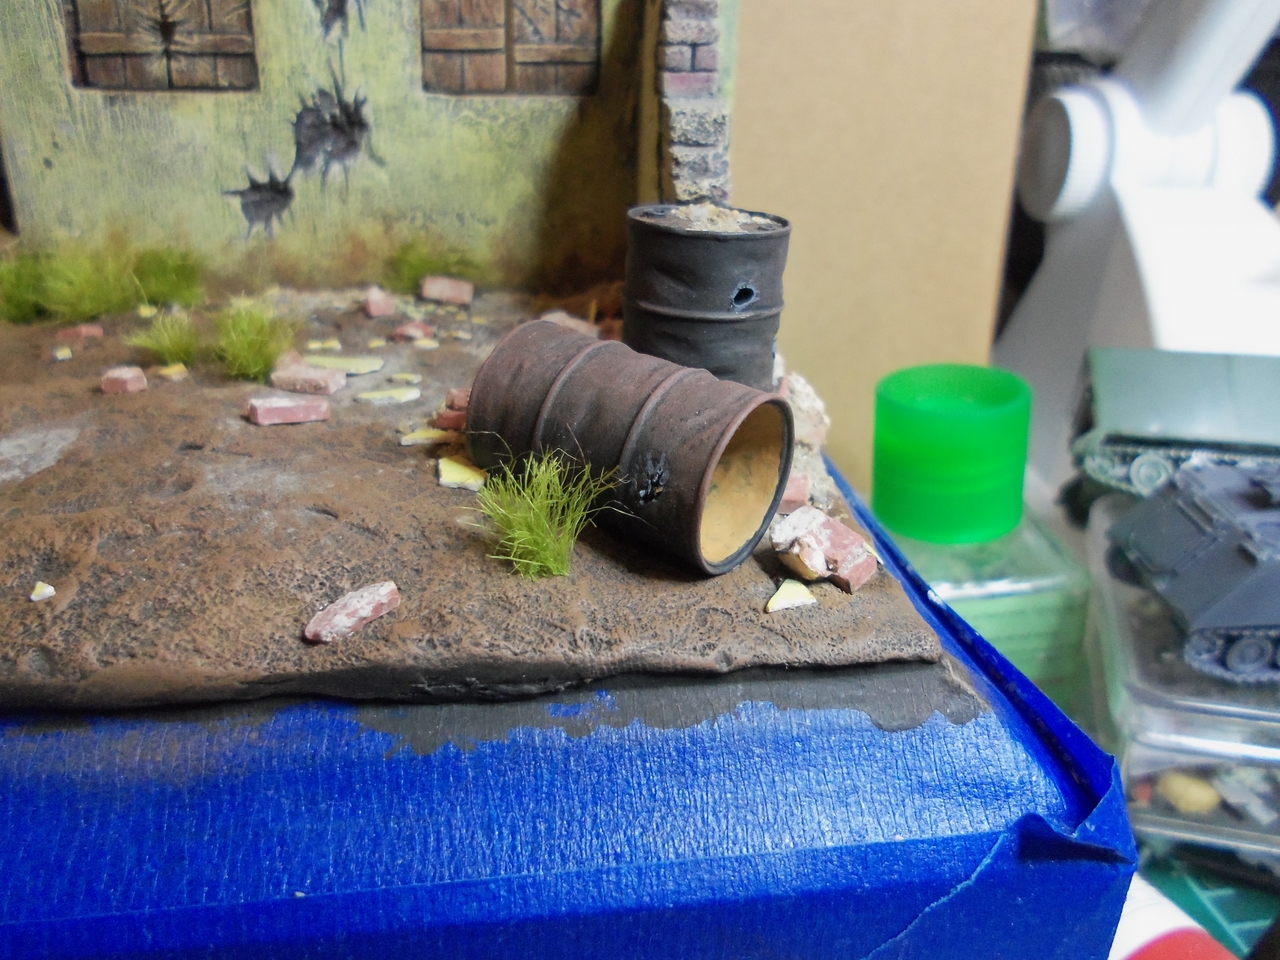
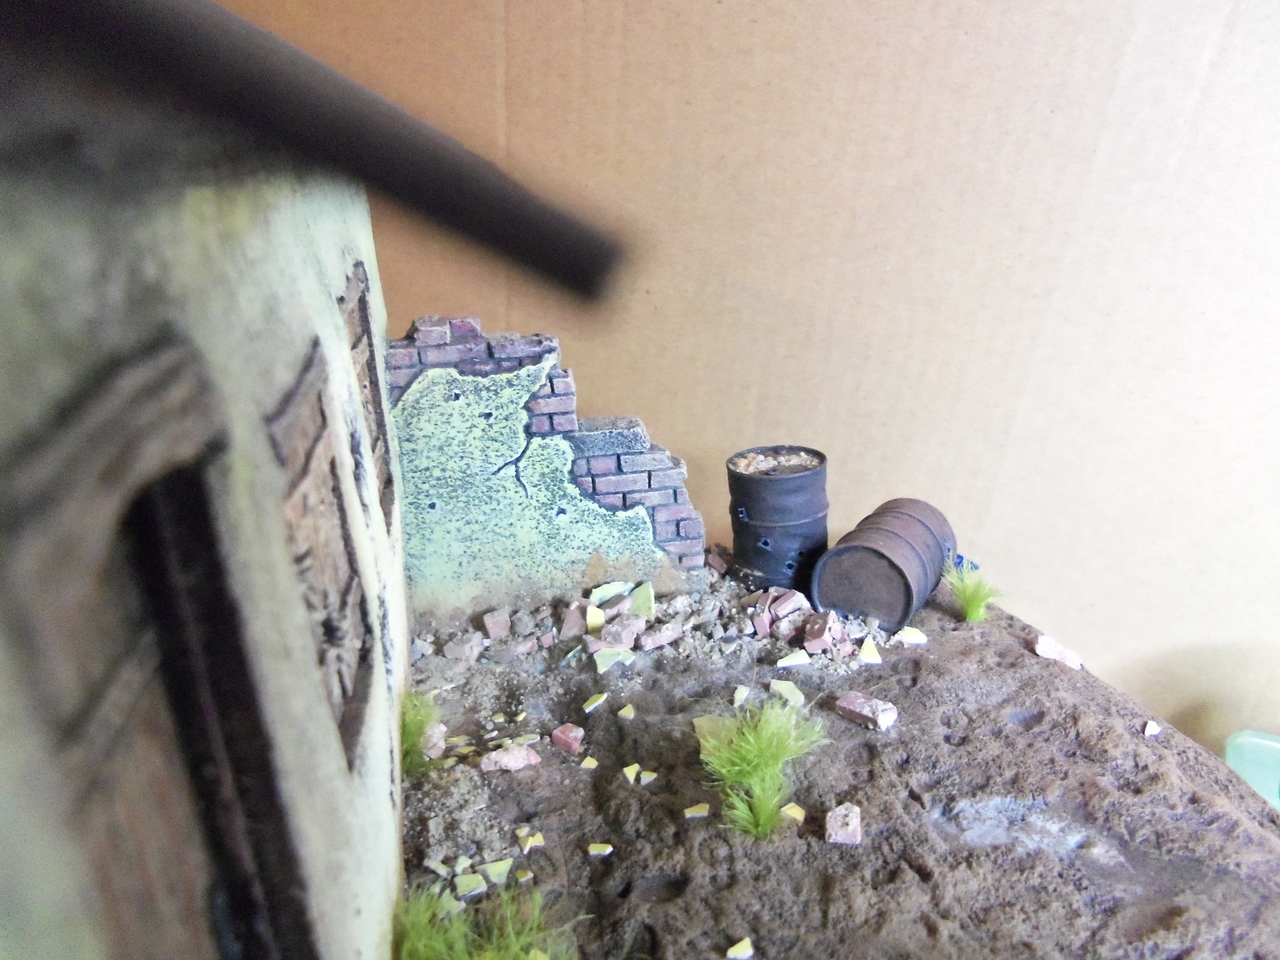
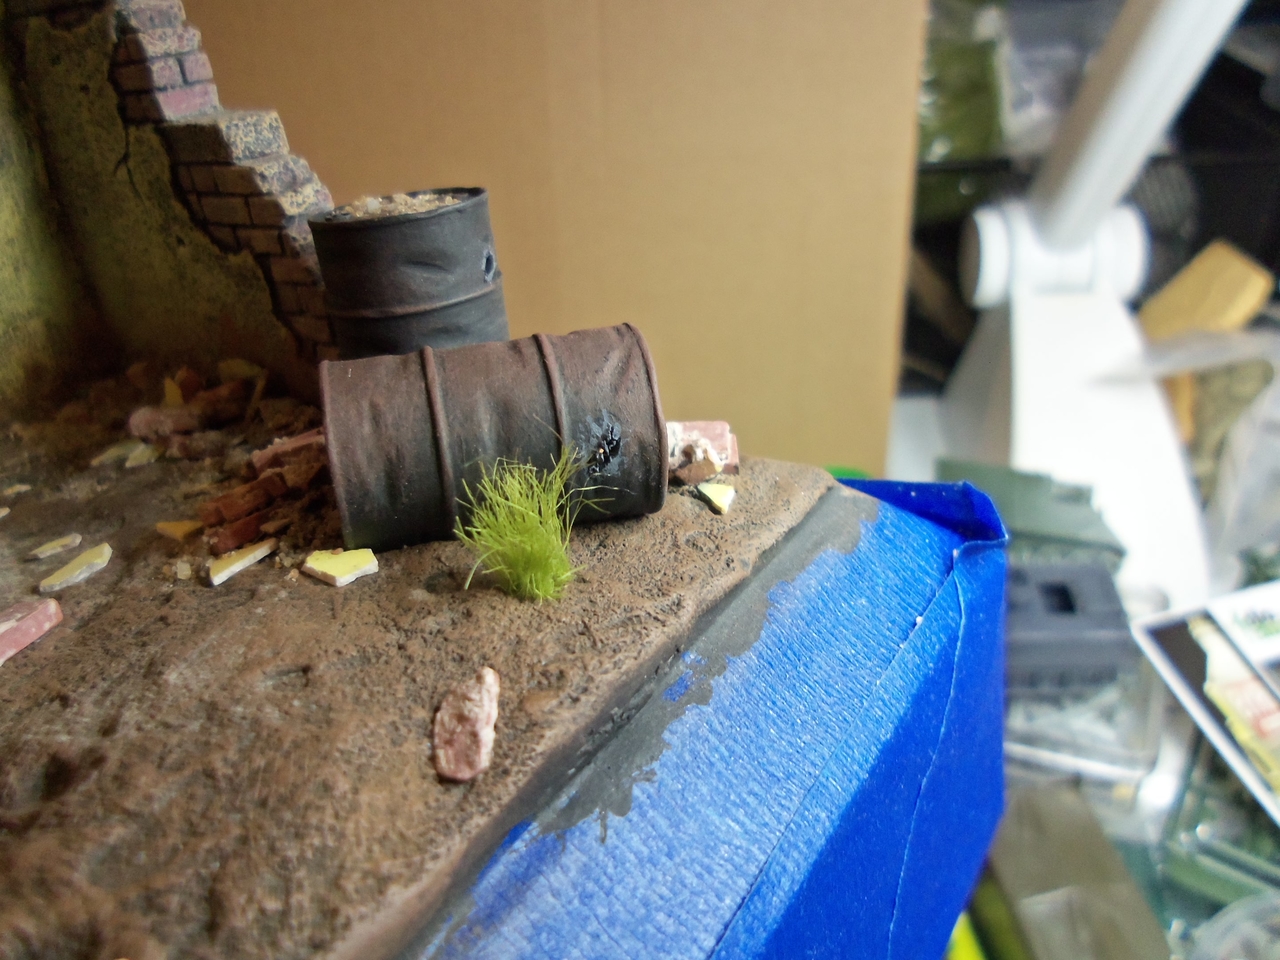
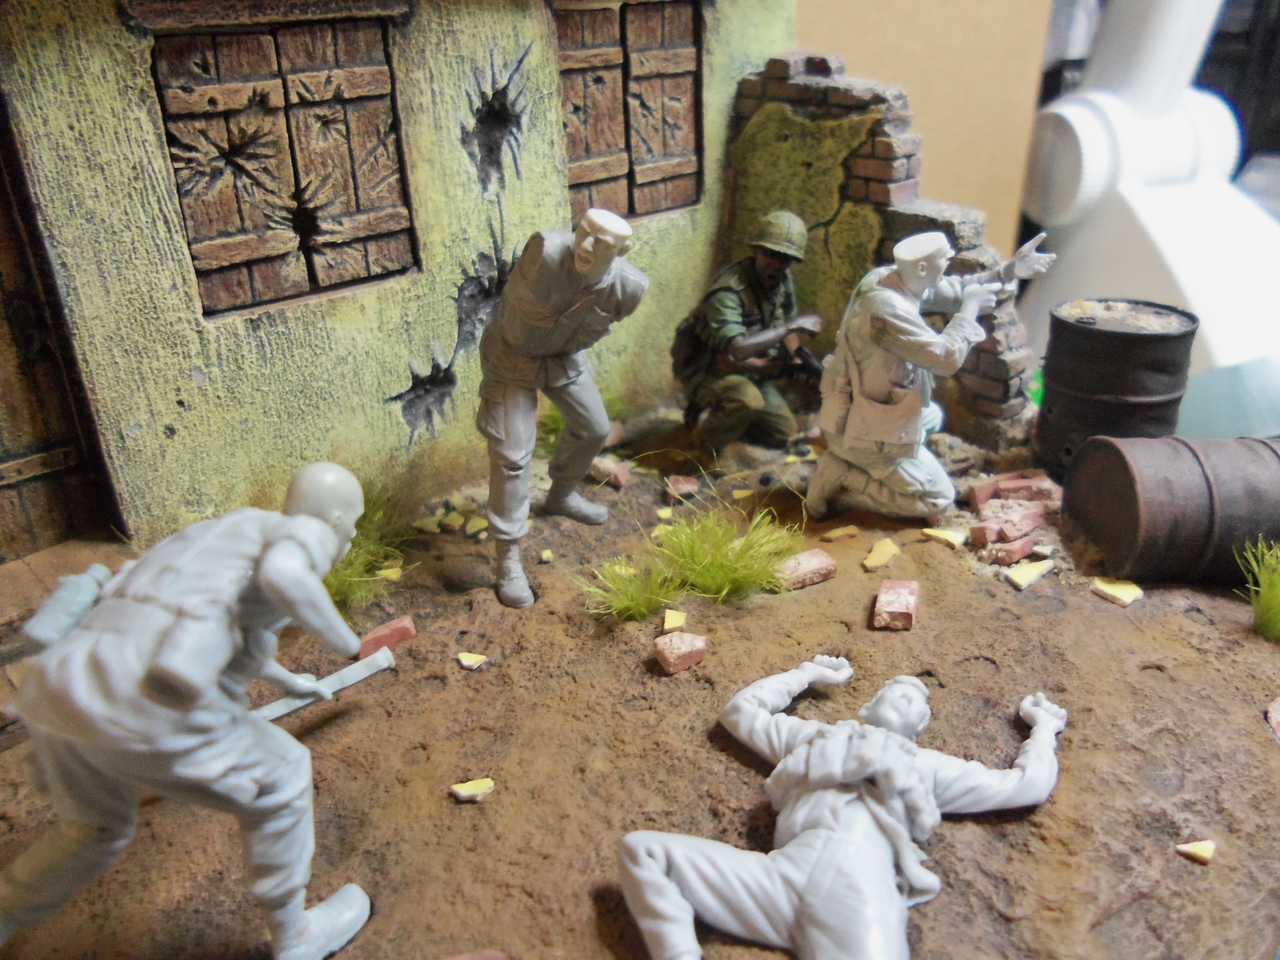
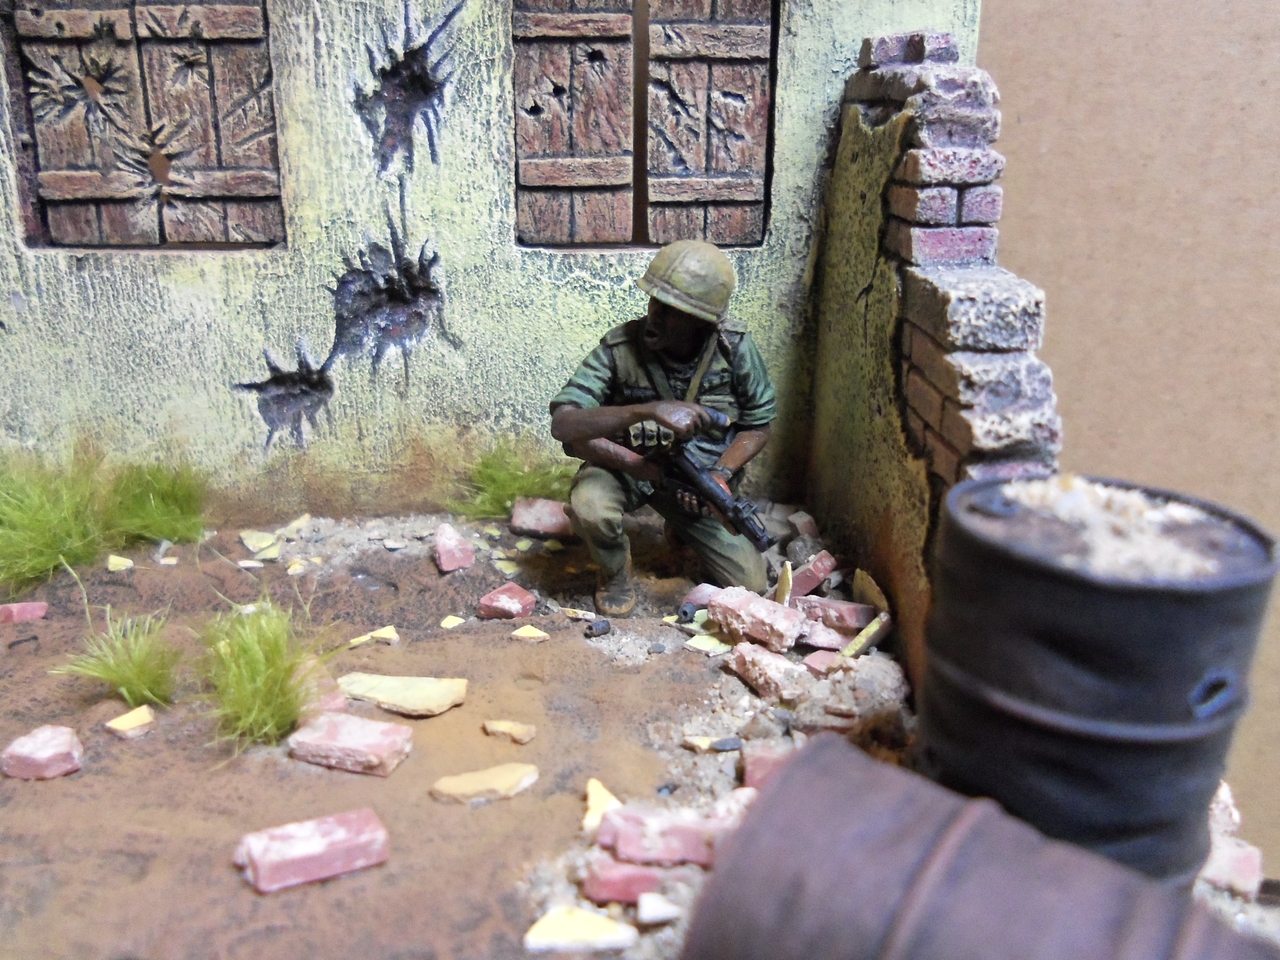
And here are some shots of the through and through bullet holes in the standing drum.
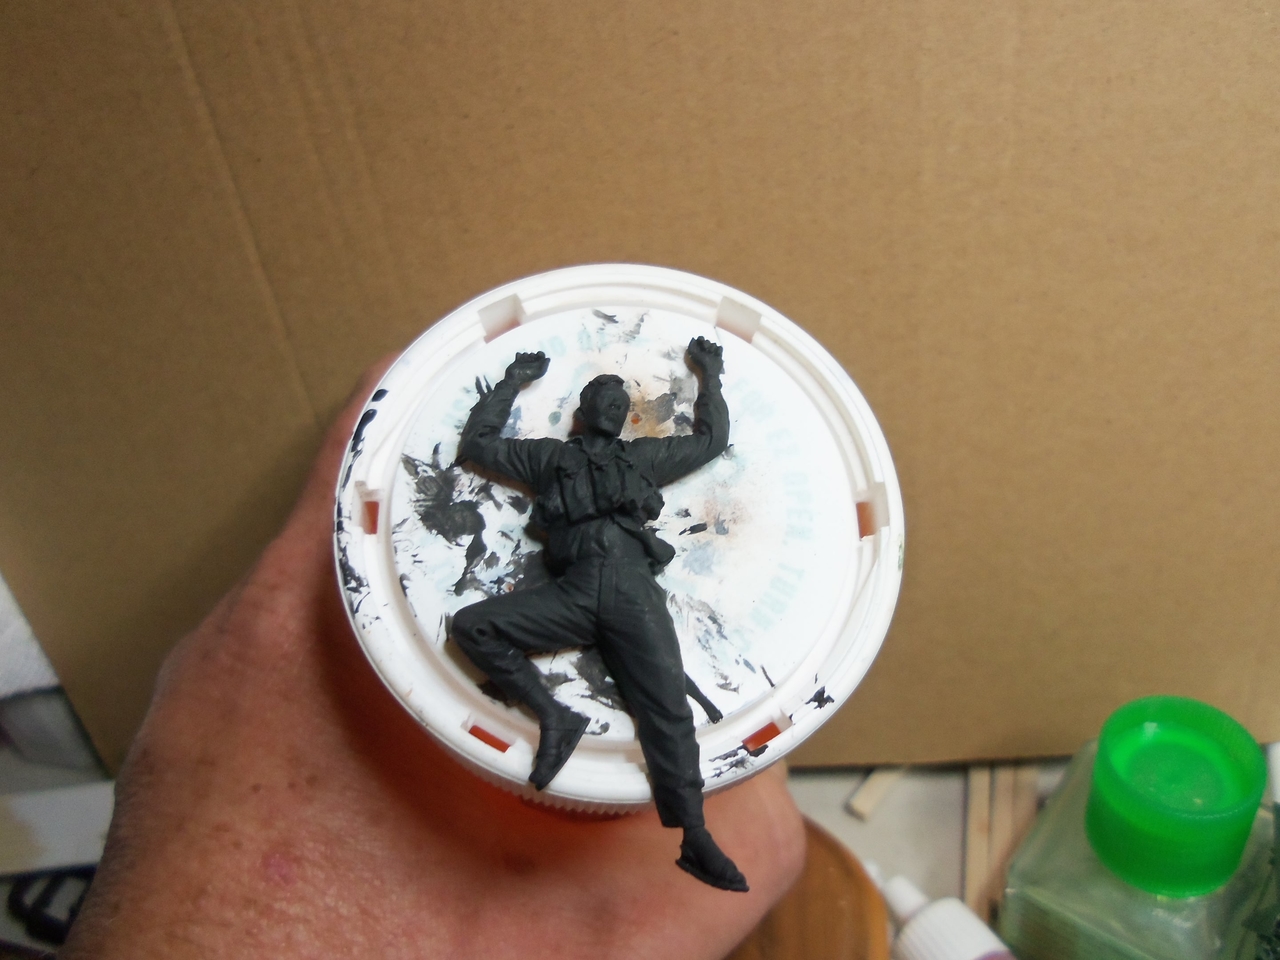
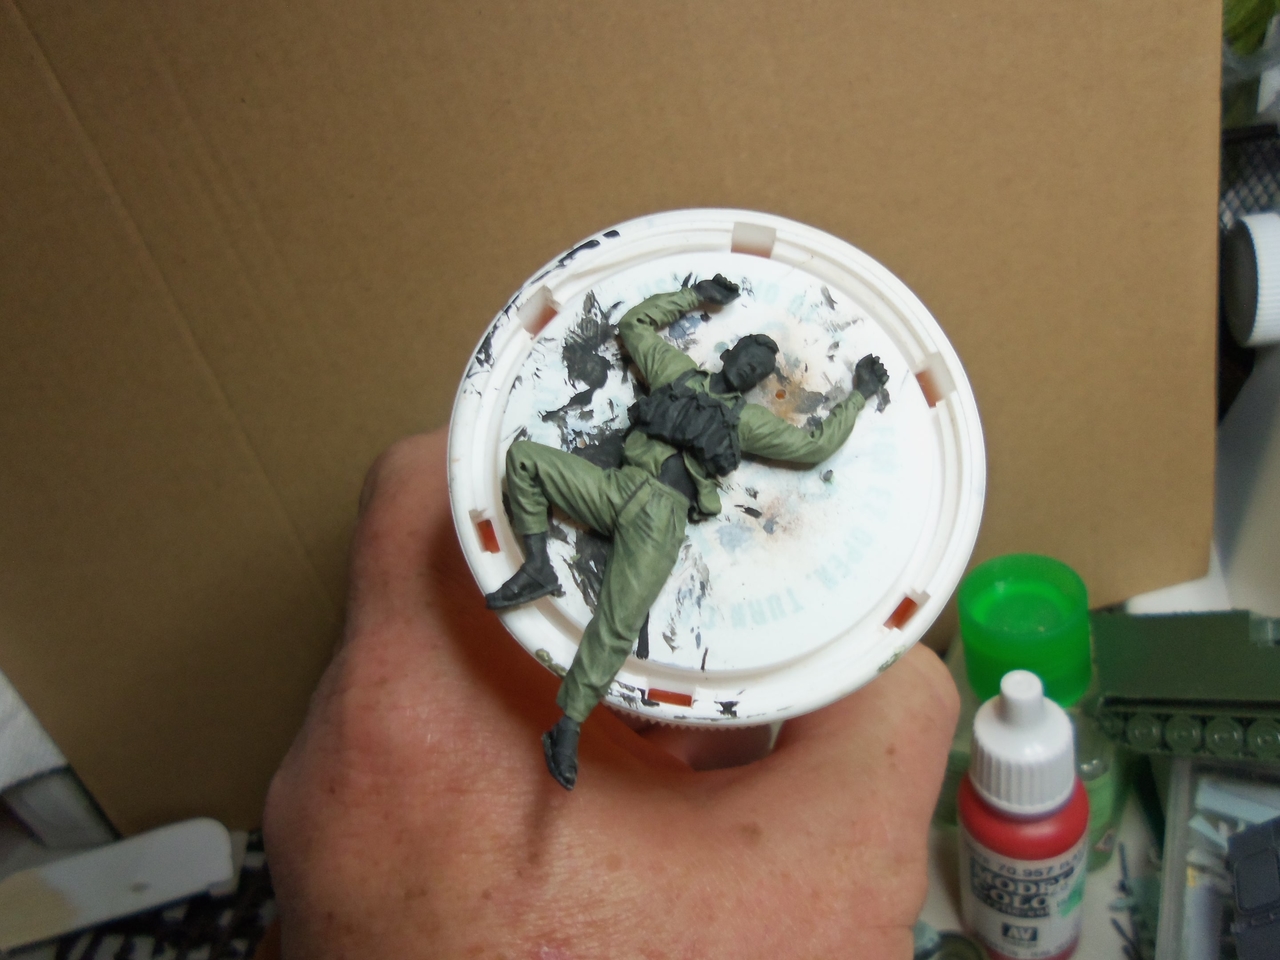
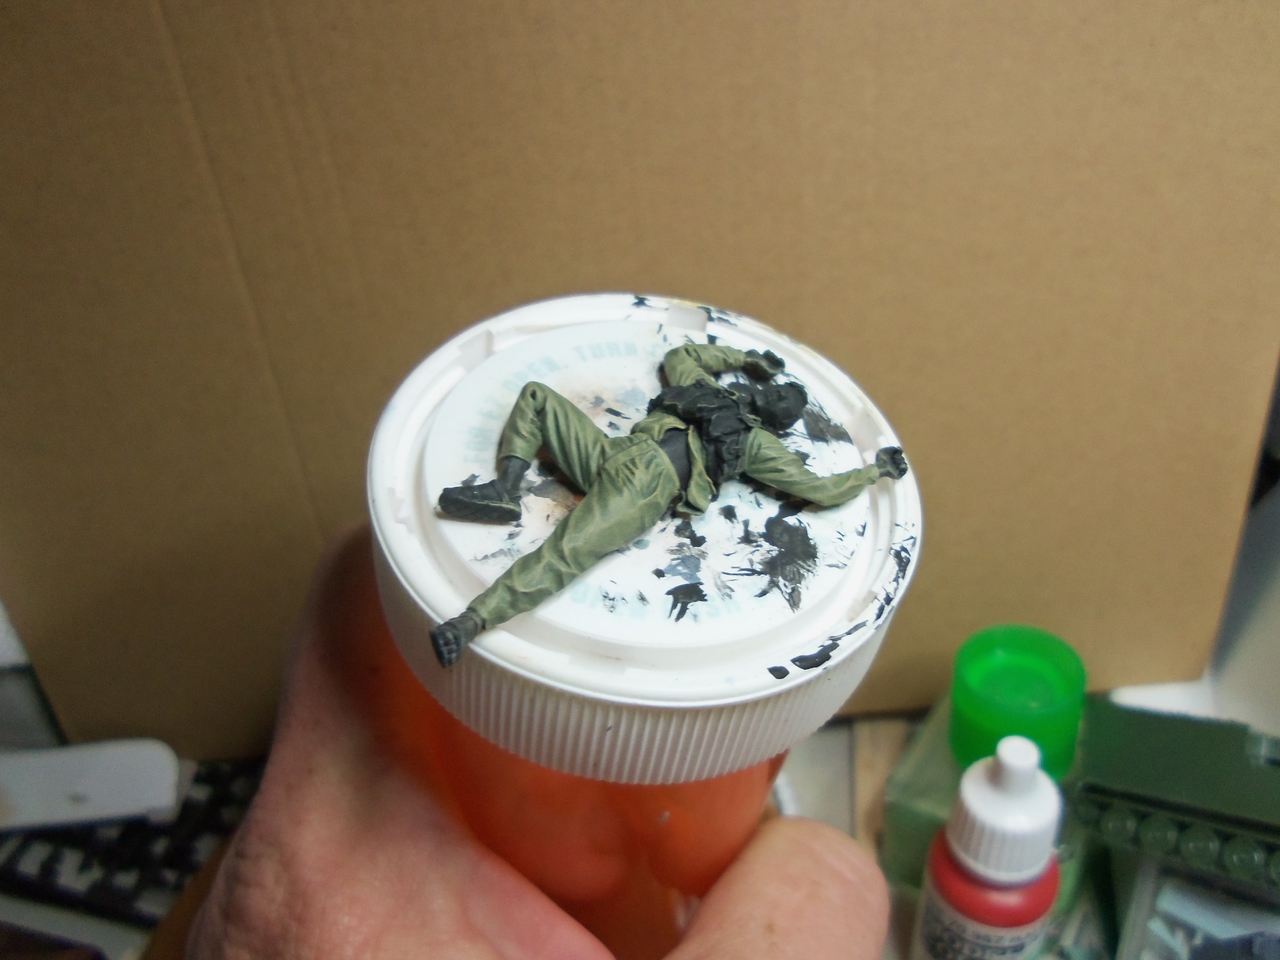
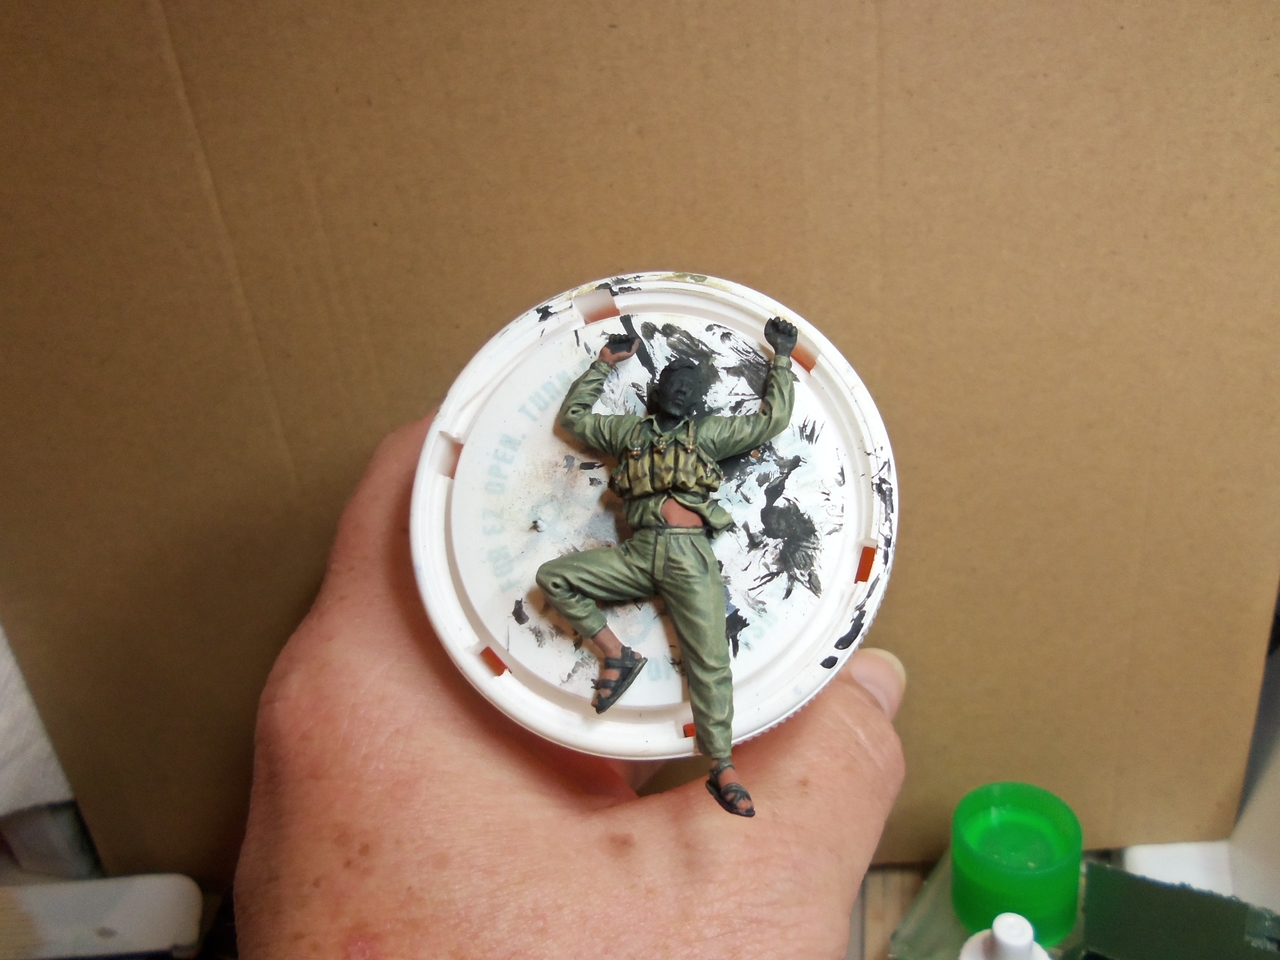
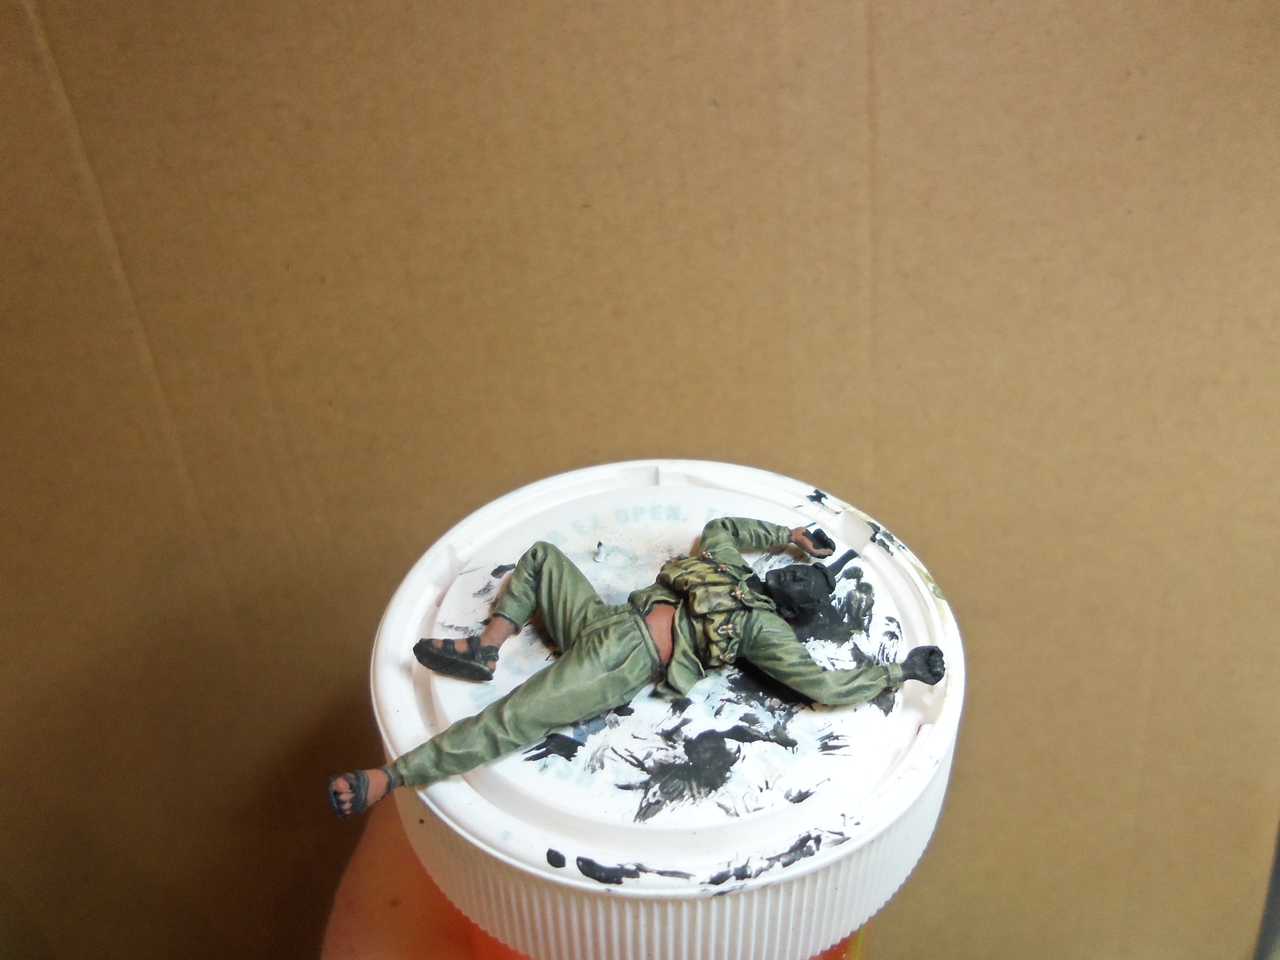
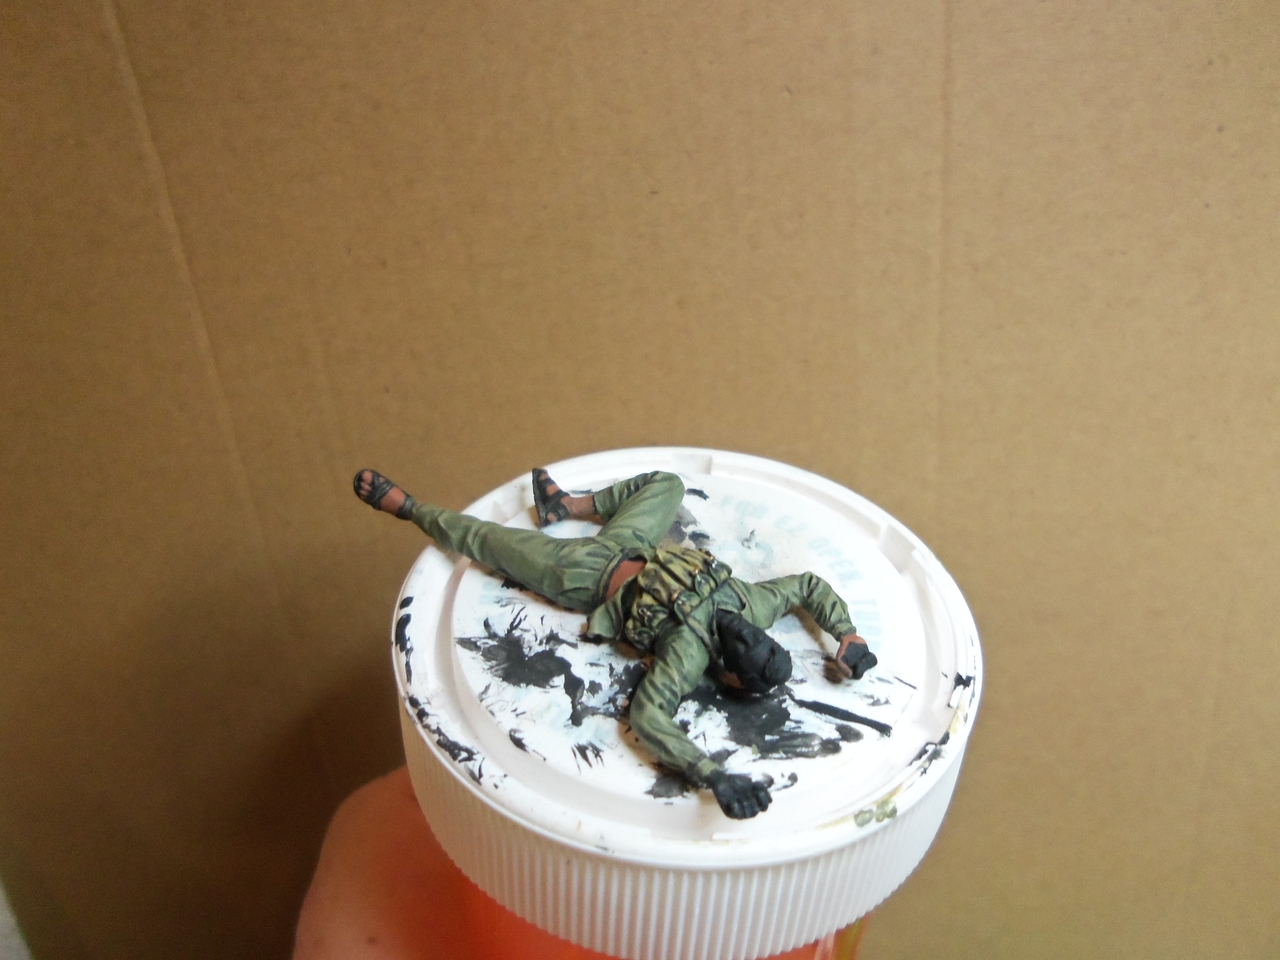
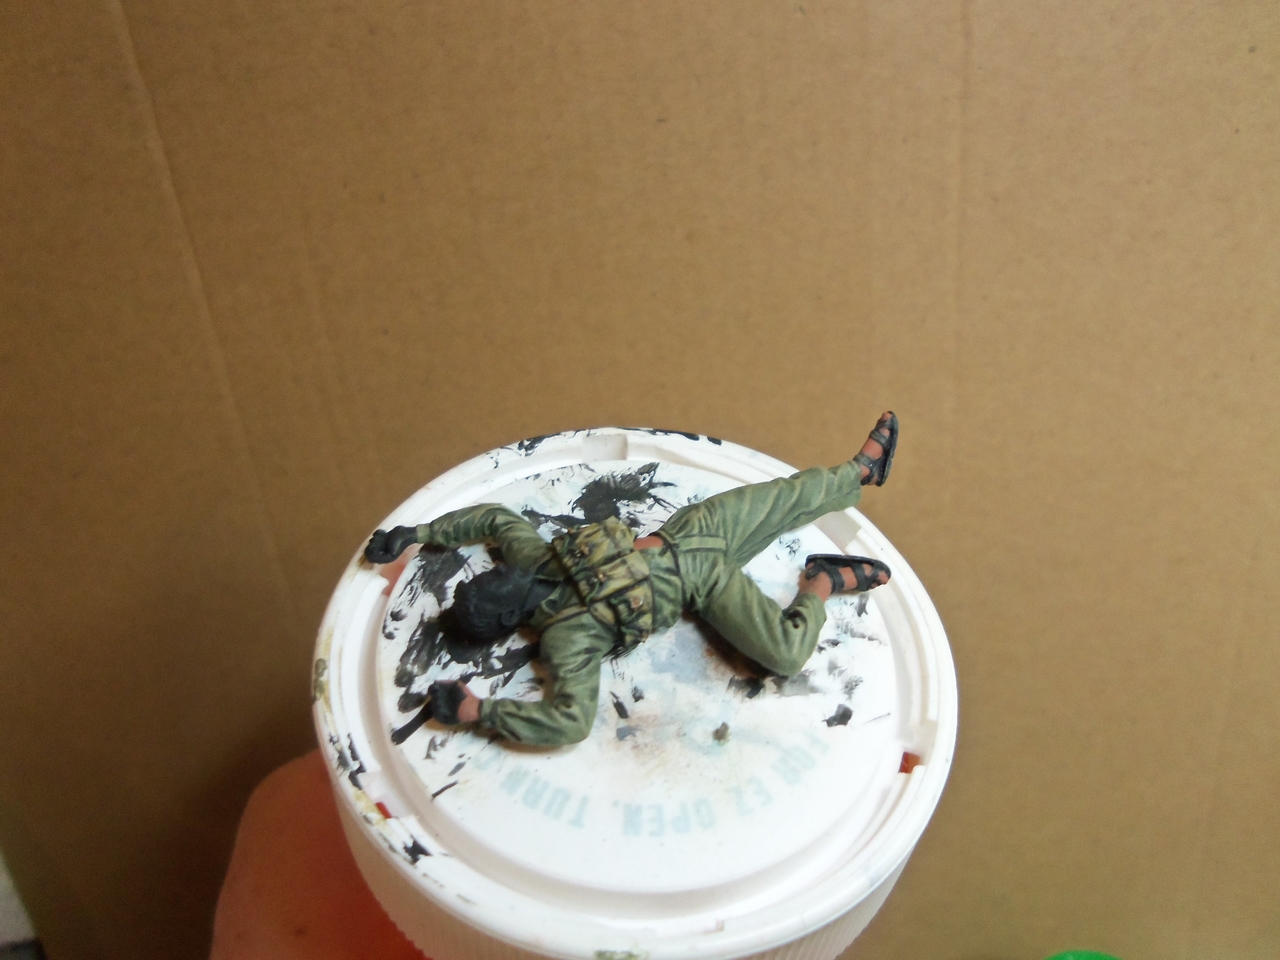
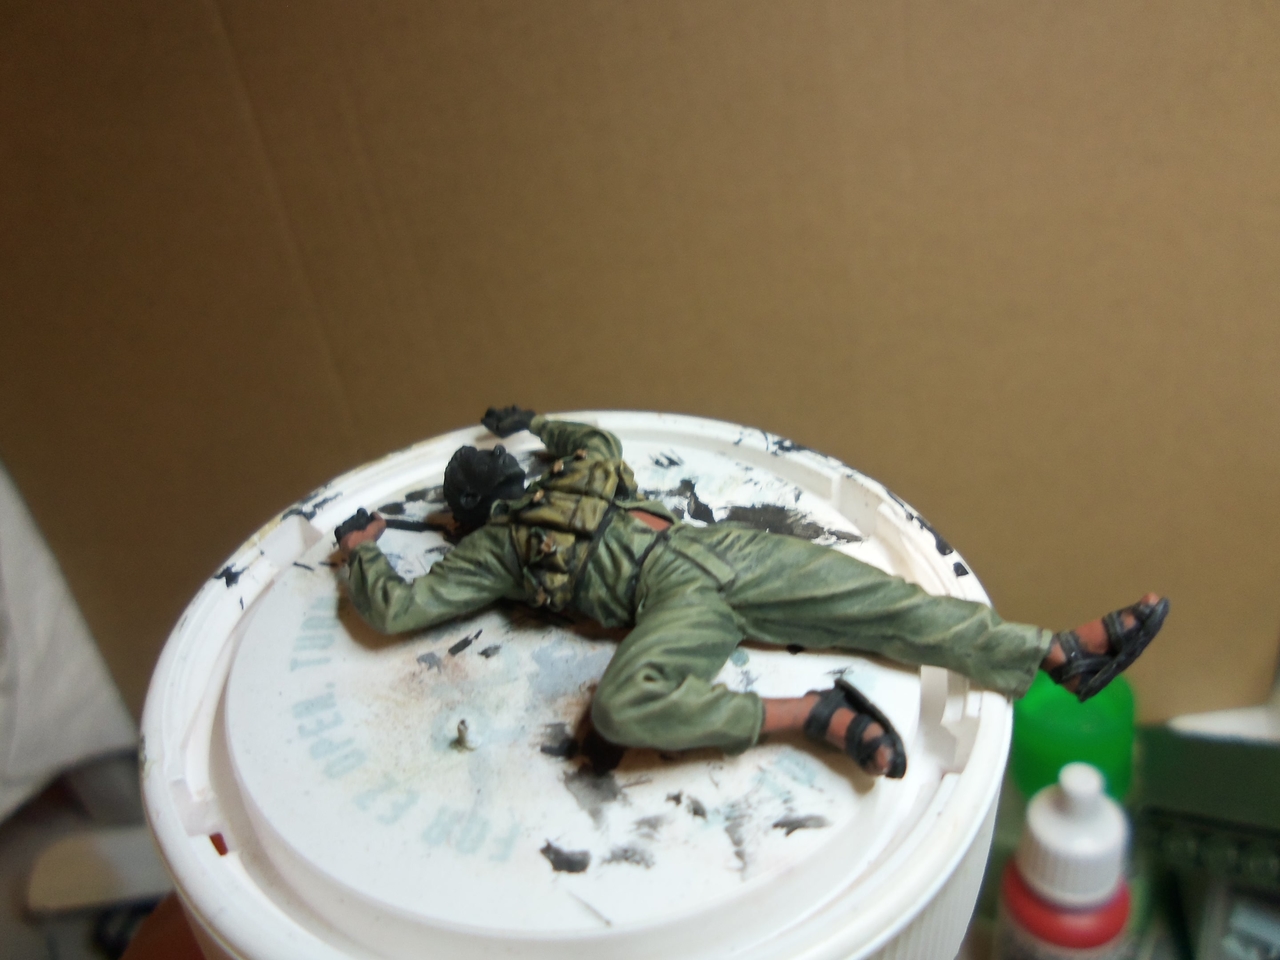
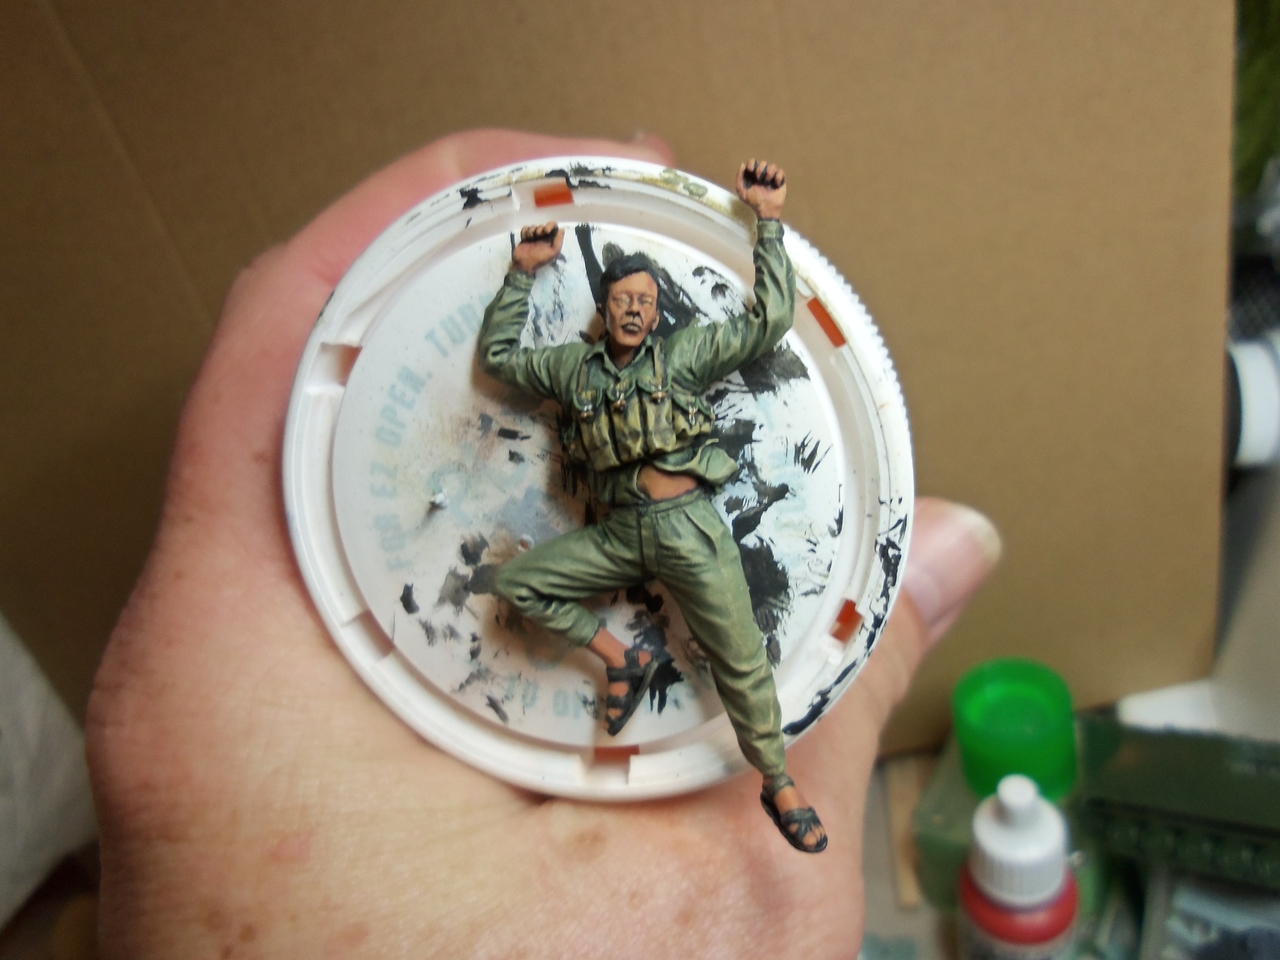
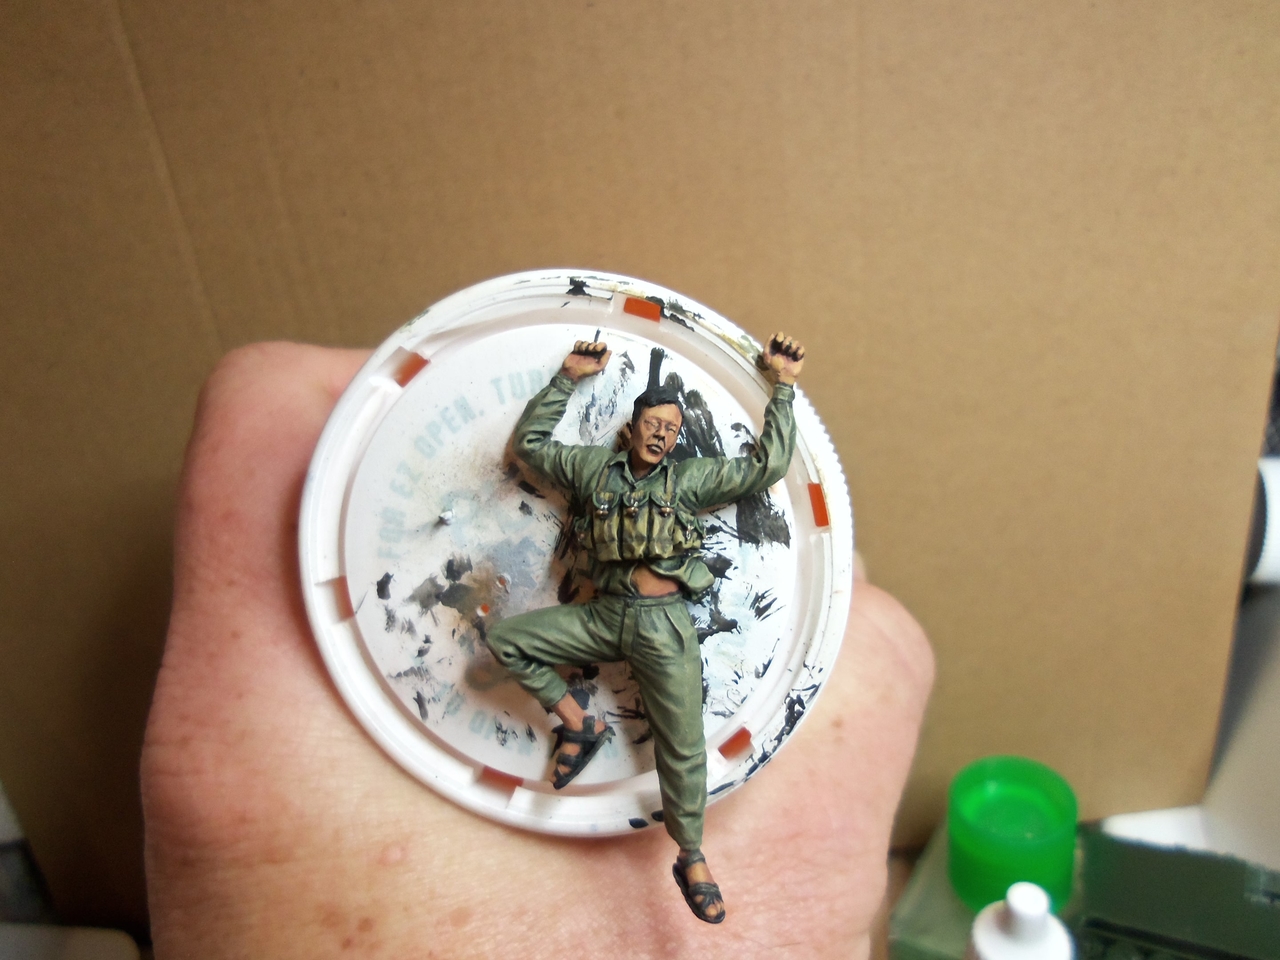
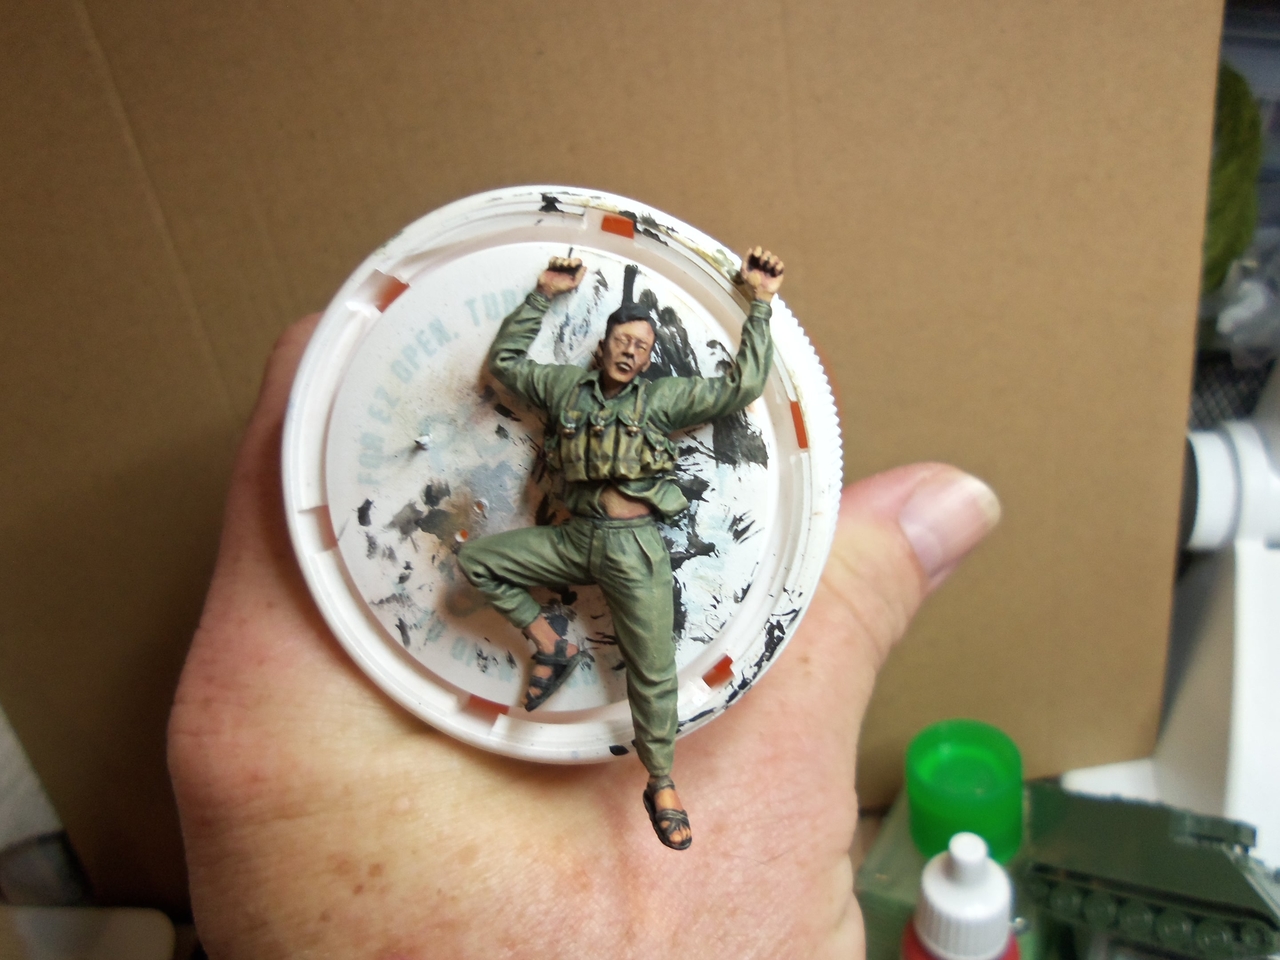
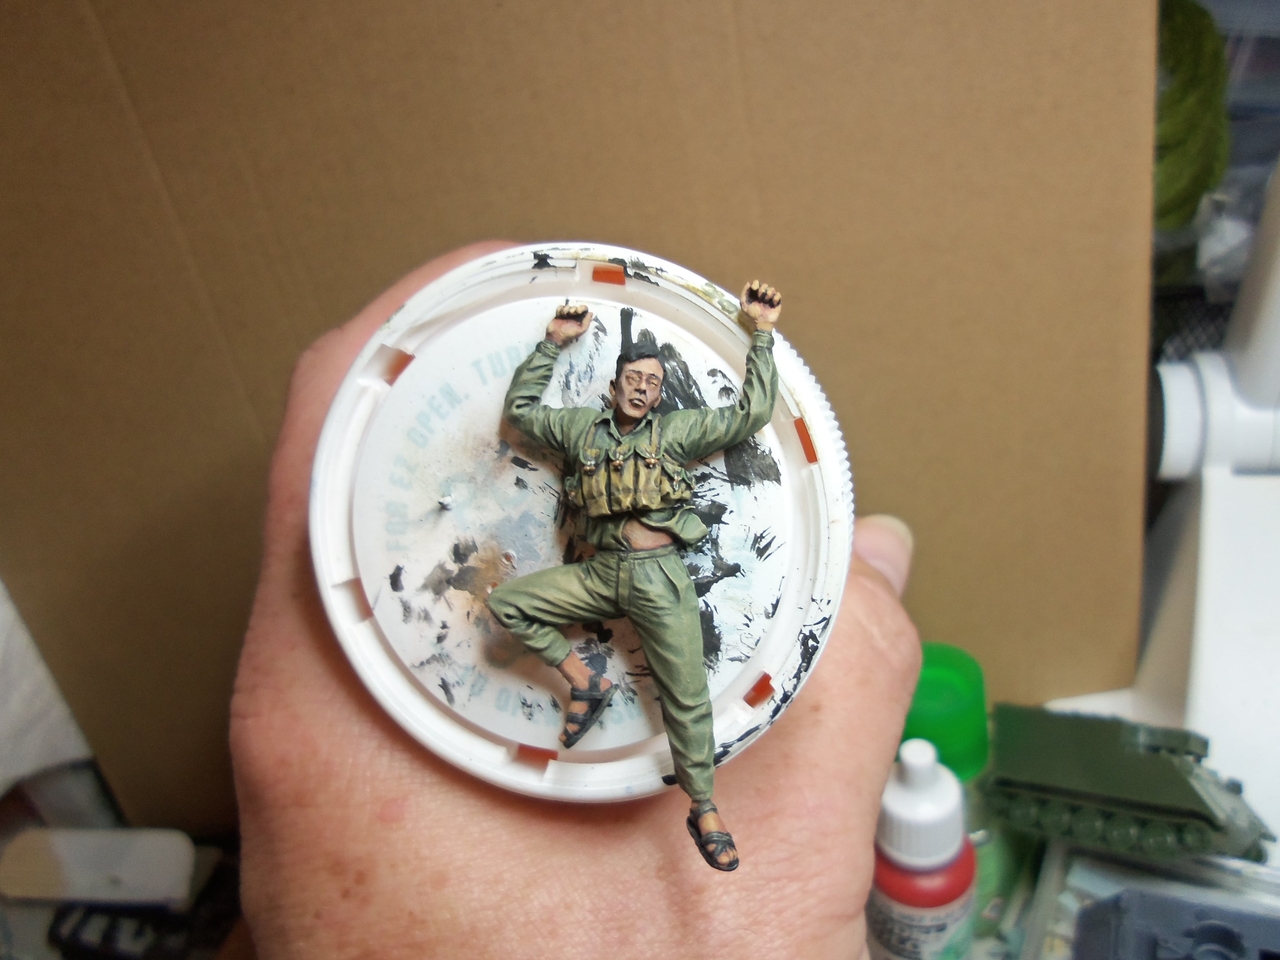
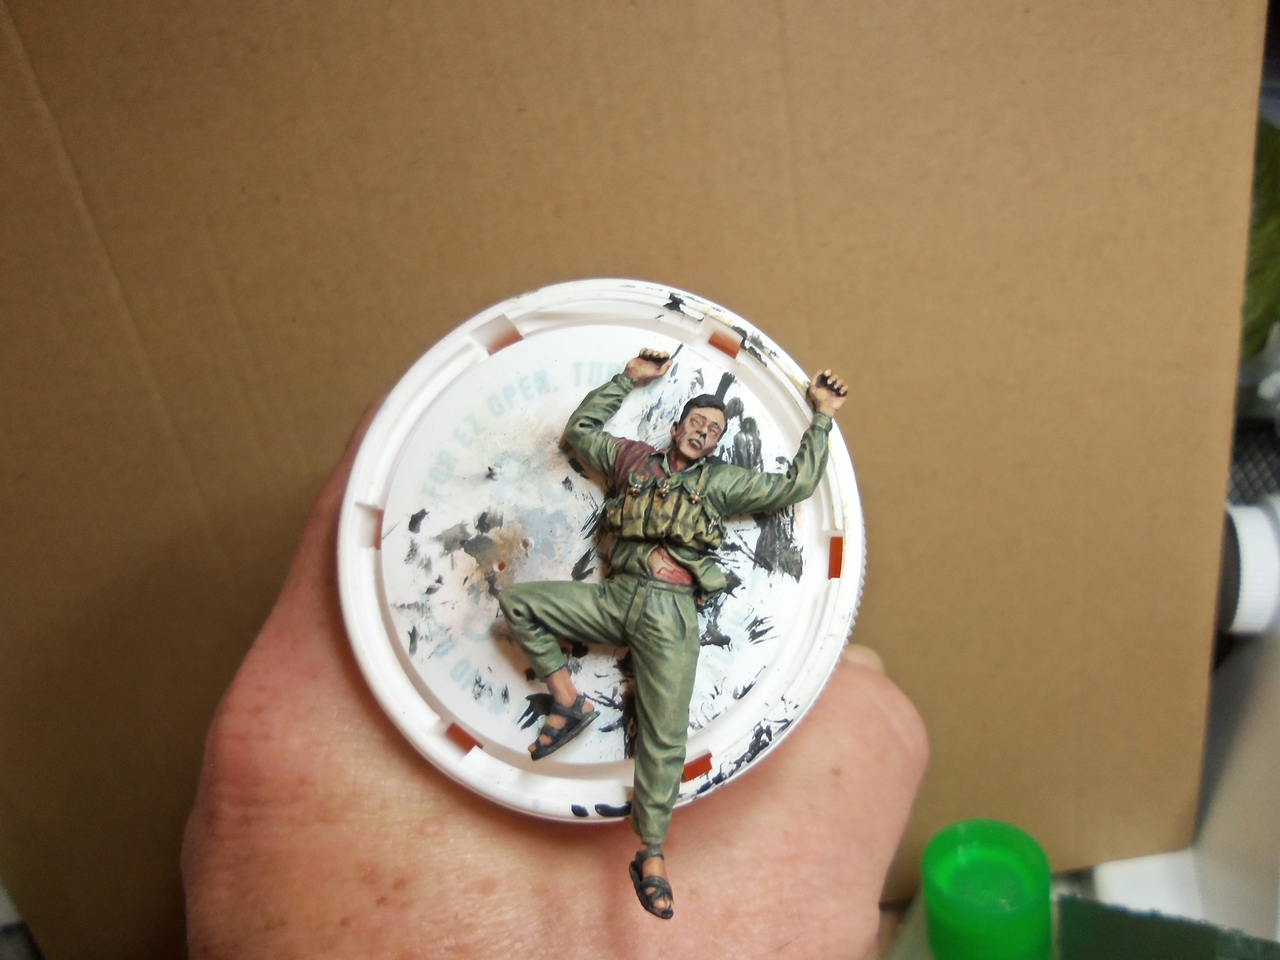
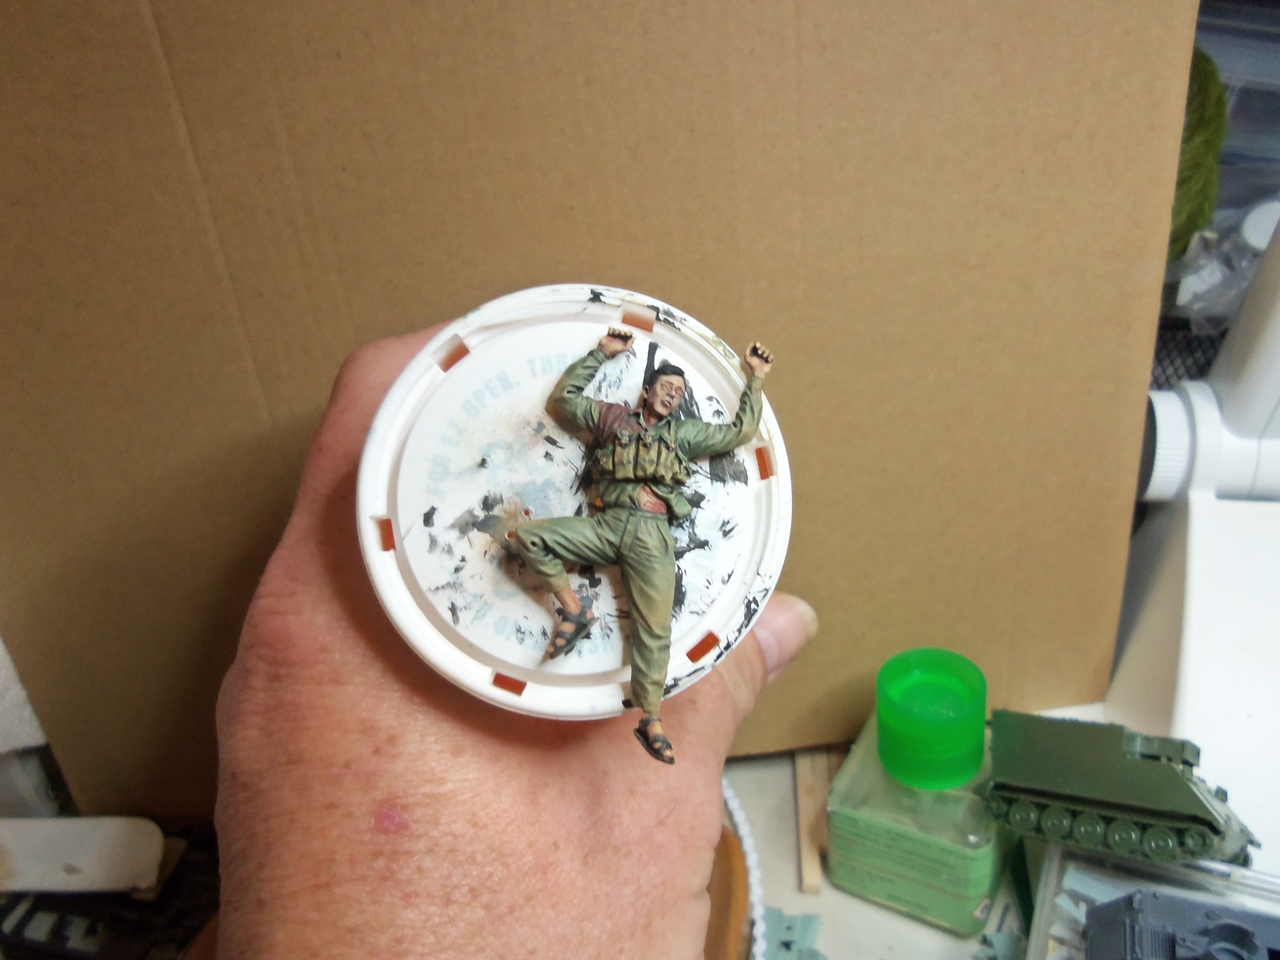
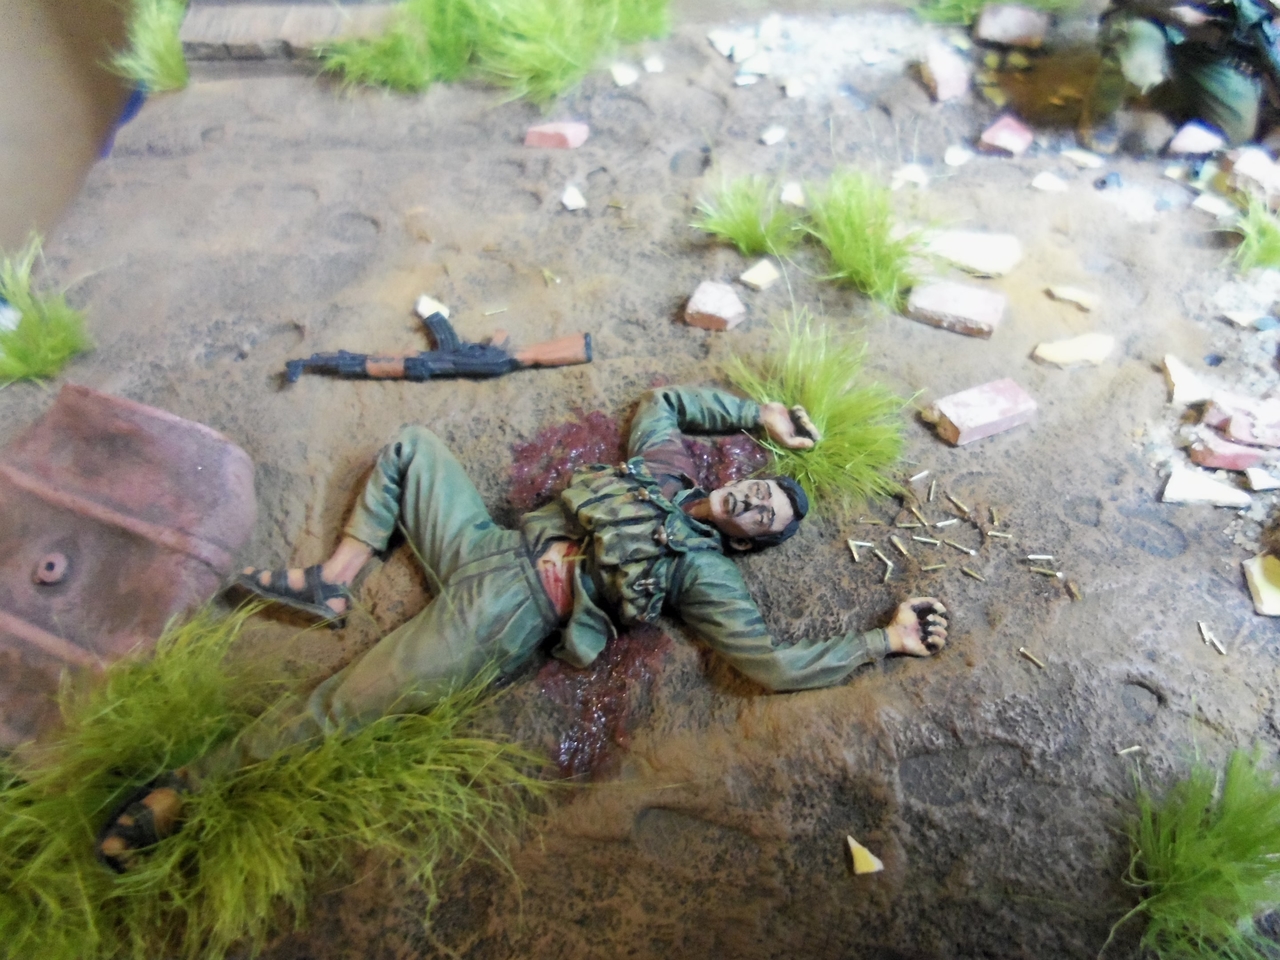
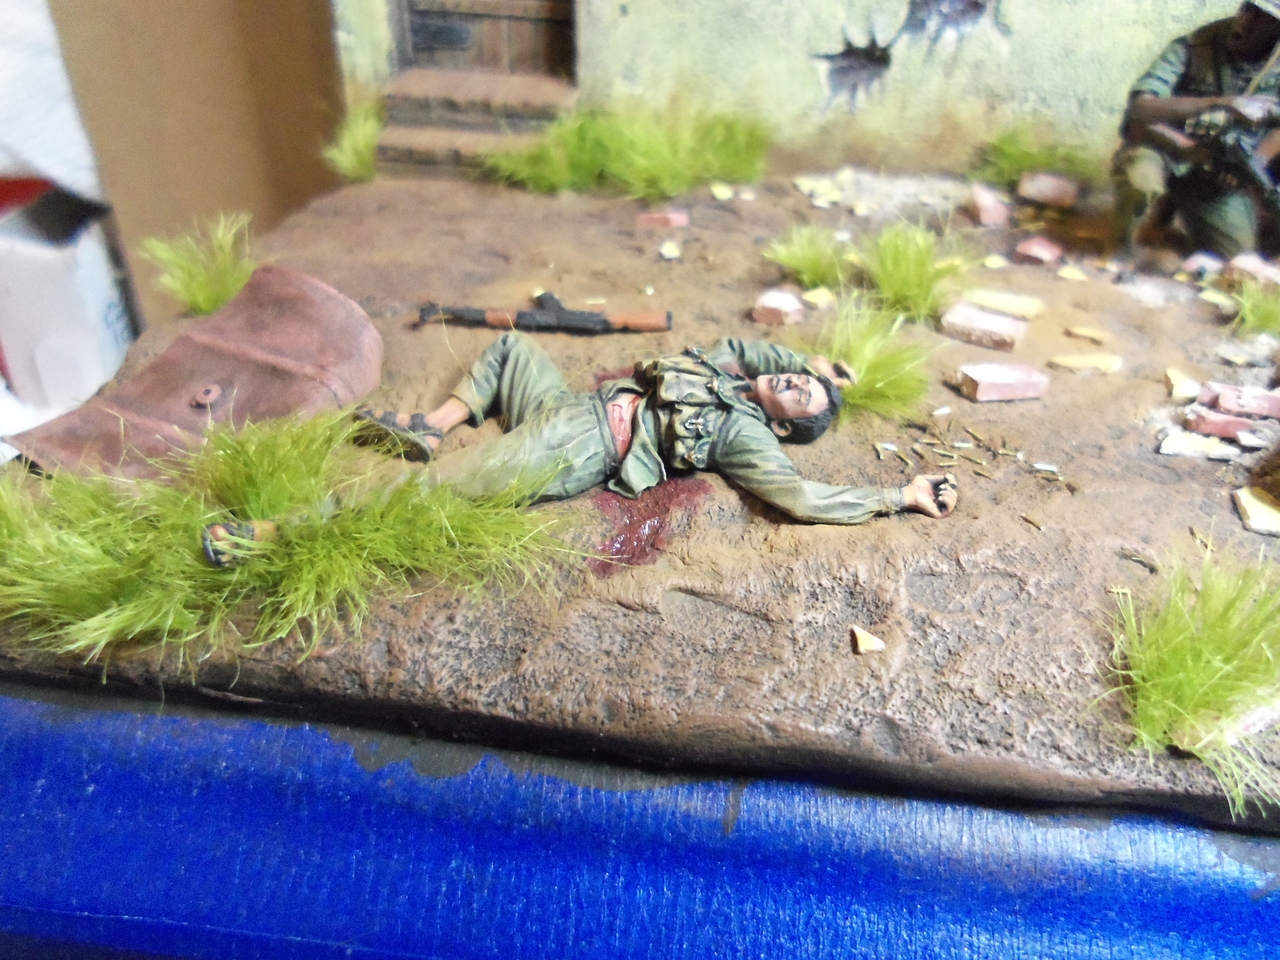
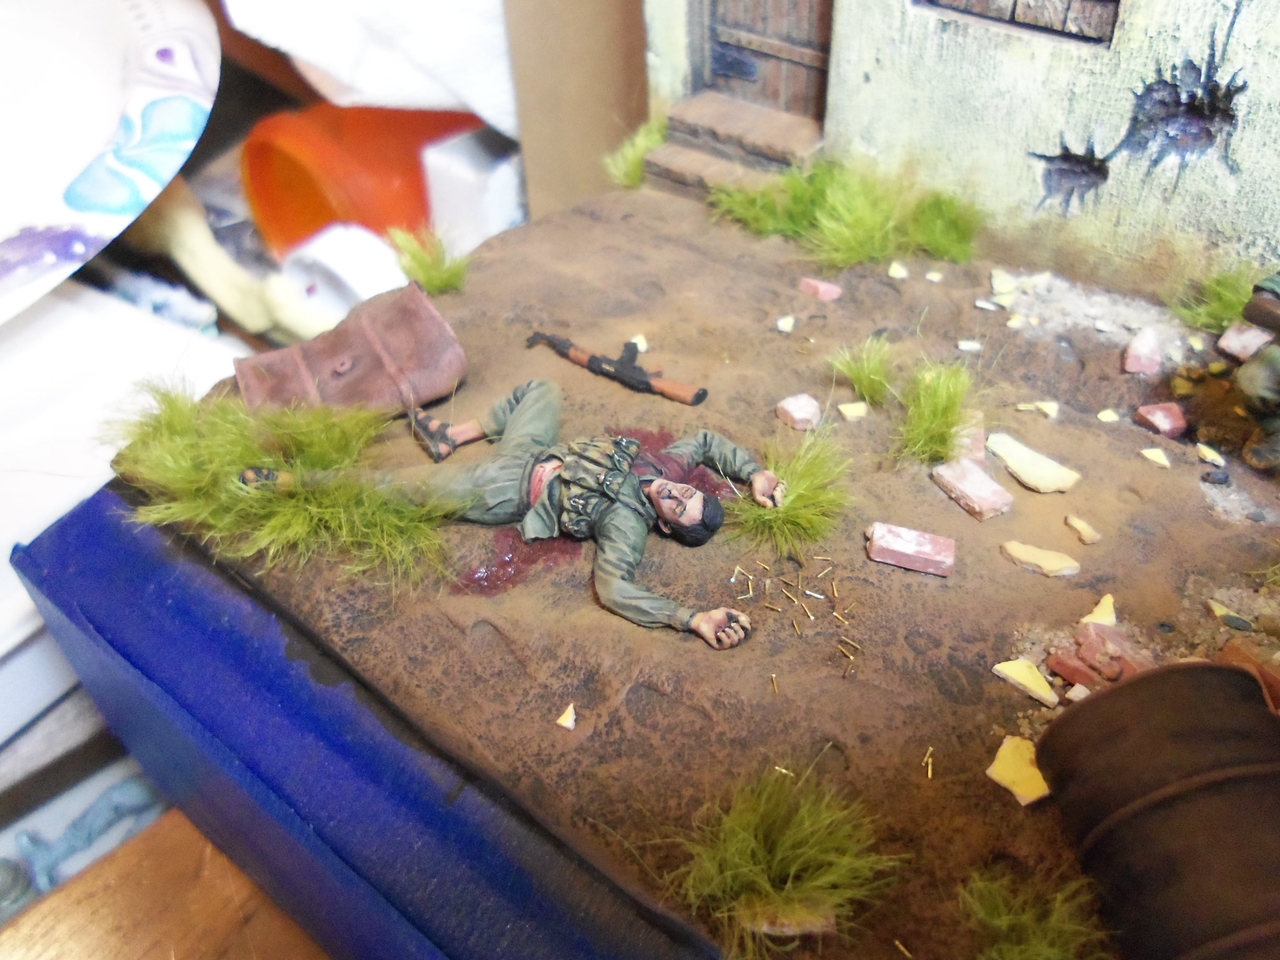
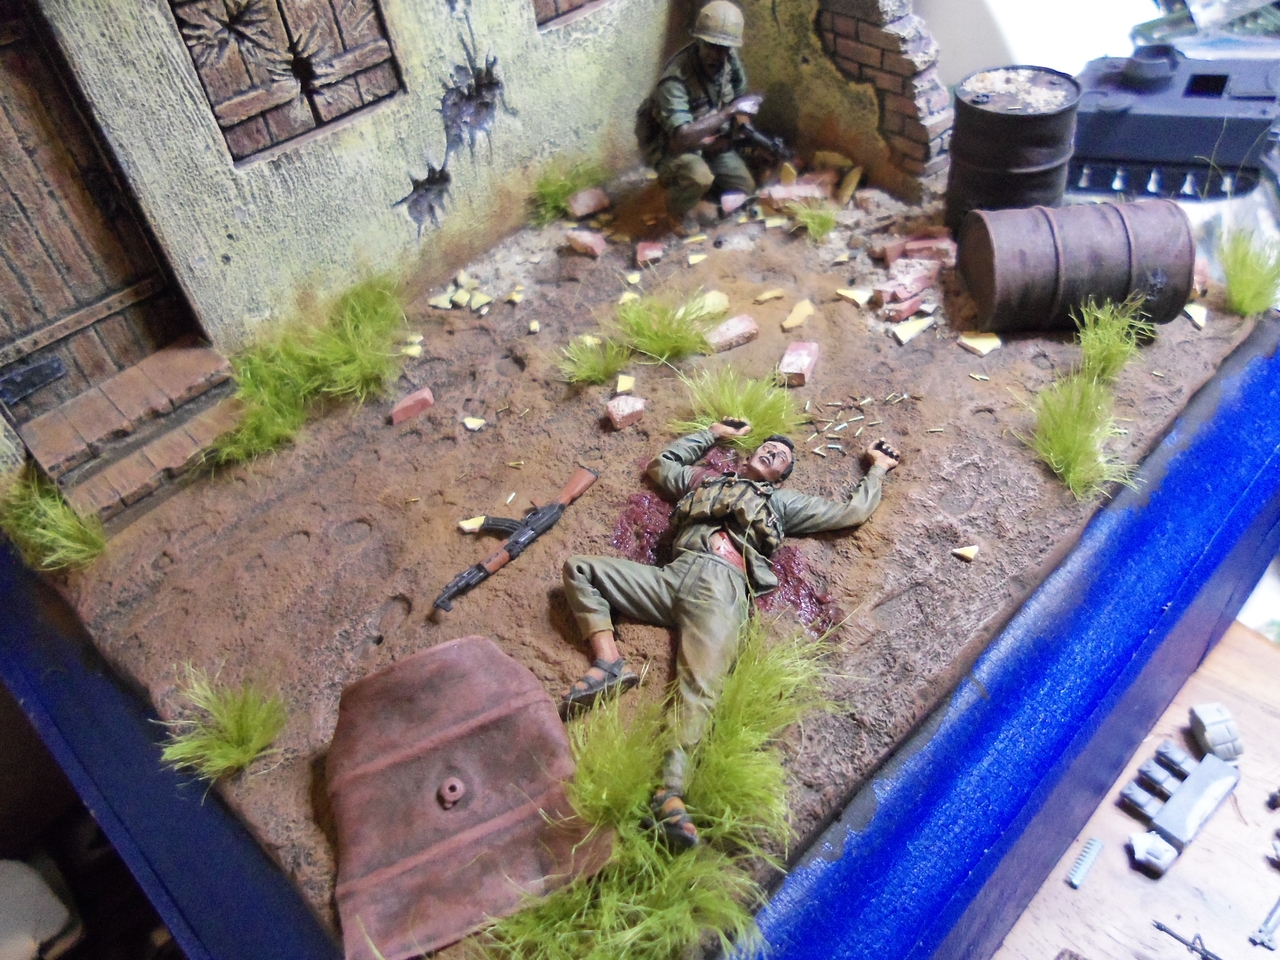
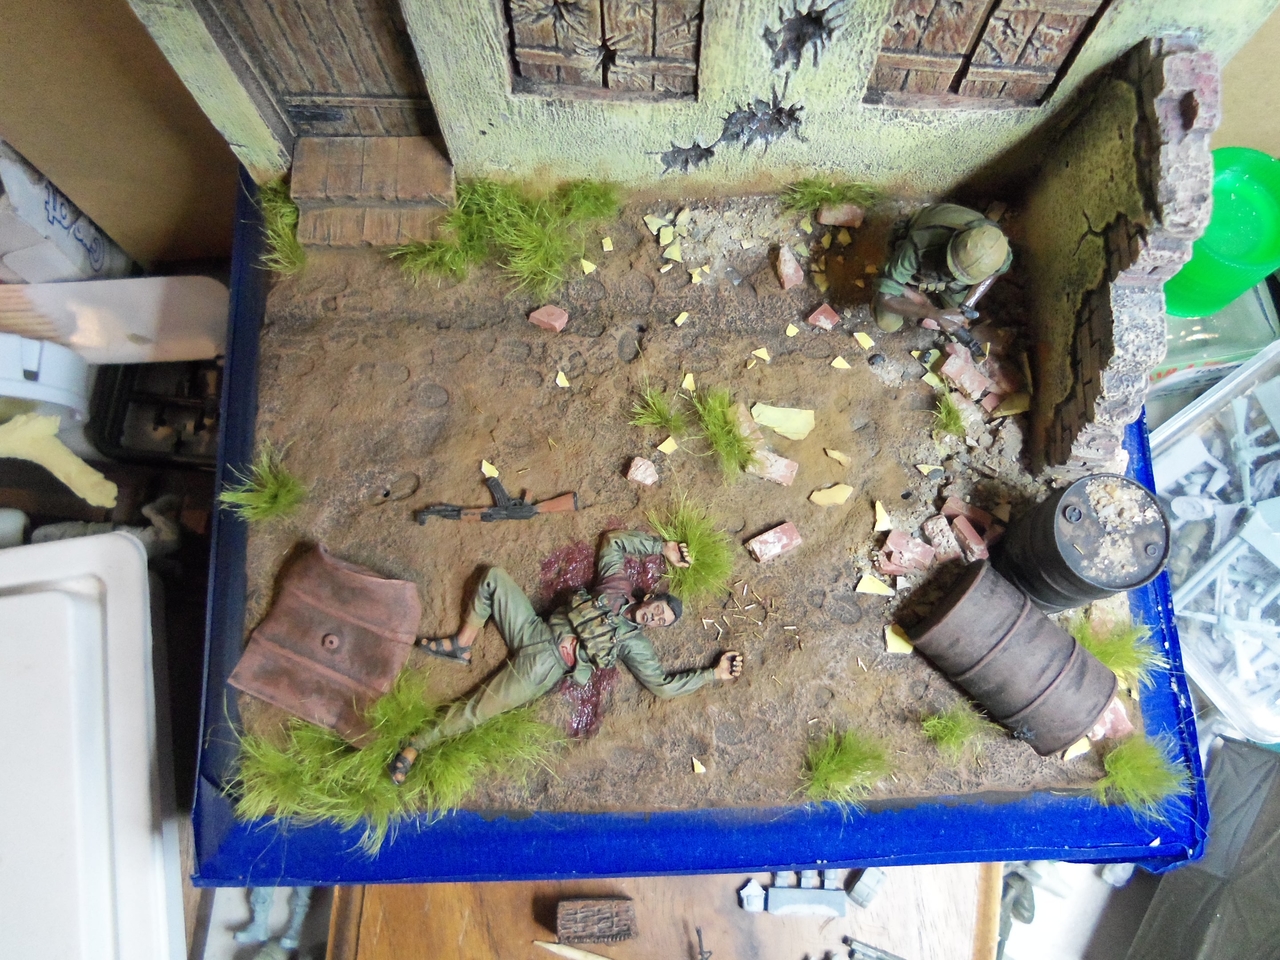
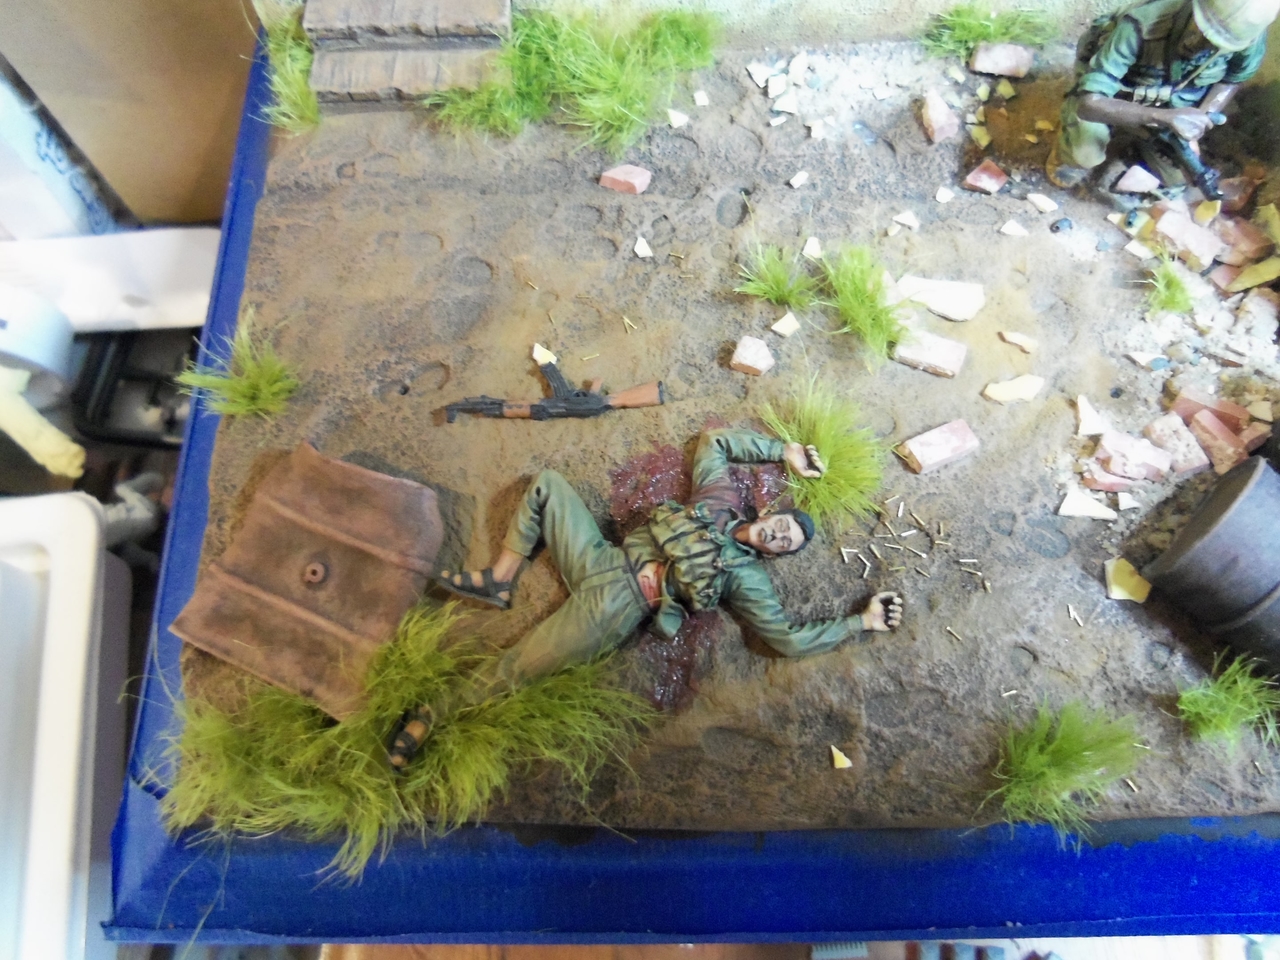
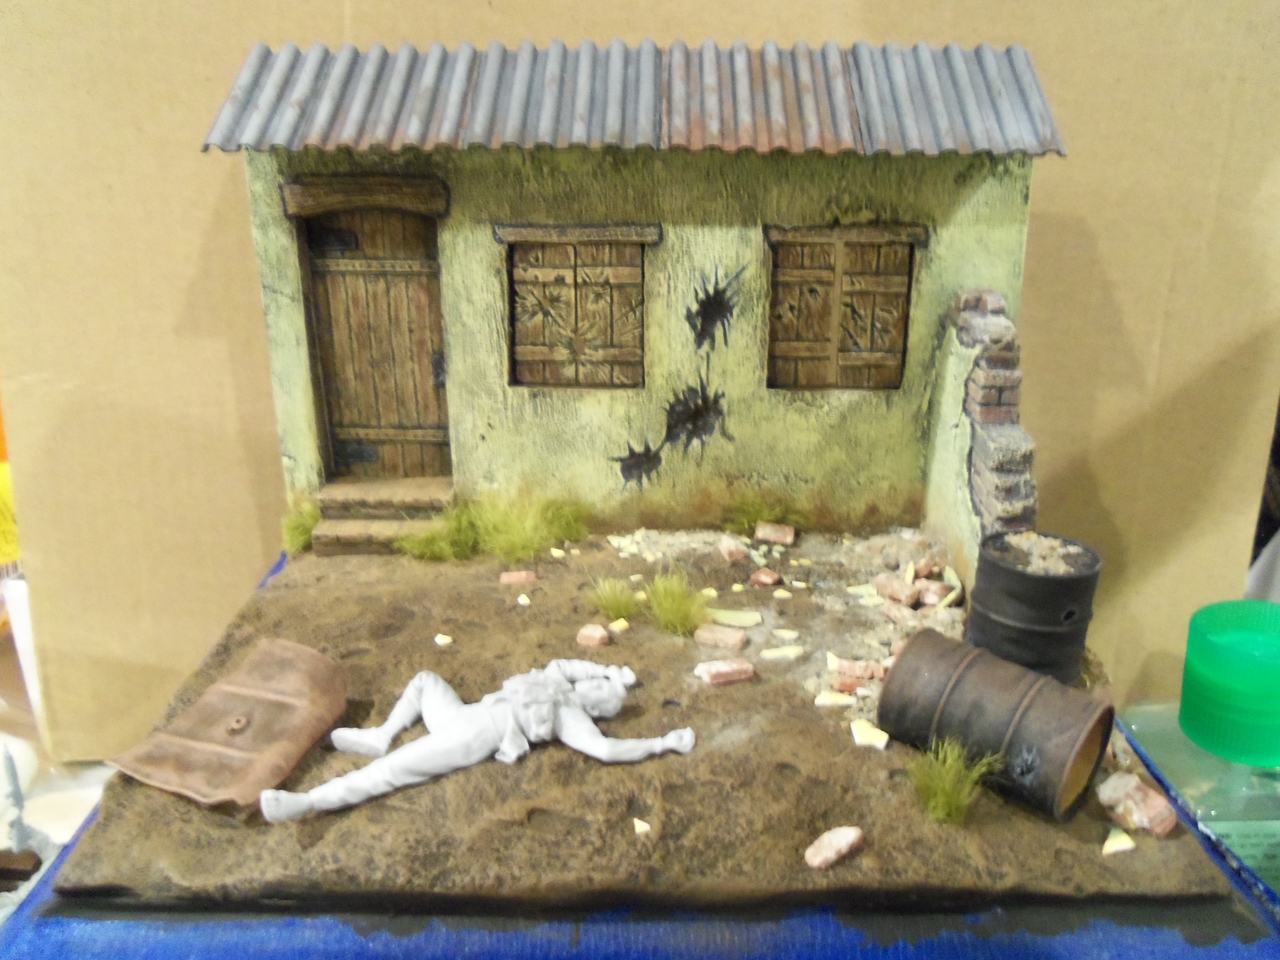
And here is a shot of what it looks like with the dead VC or NVA is in place.
That's all for tonight.
Cheers,
James
Thanks, guys.
I had done some weathering on the crushed drum as well as the one knocked over, then I read Duke's comment about the bullet holes and added some. I was thinking there was something that still needed to be done to them. The standing drum is a solid resin piece from Armand Bayardi. I used a pin vise drill to drill holes all the way through, painted the hole black and outlined in grey. The shrapnel hole in the knocked over drum was drilled then roughed up with a knife.
And here are some shots of the through and through bullet holes in the standing drum.
And here is a shot of what it looks like with the dead VC or NVA is in place.
That's all for tonight.
Cheers,
James

")