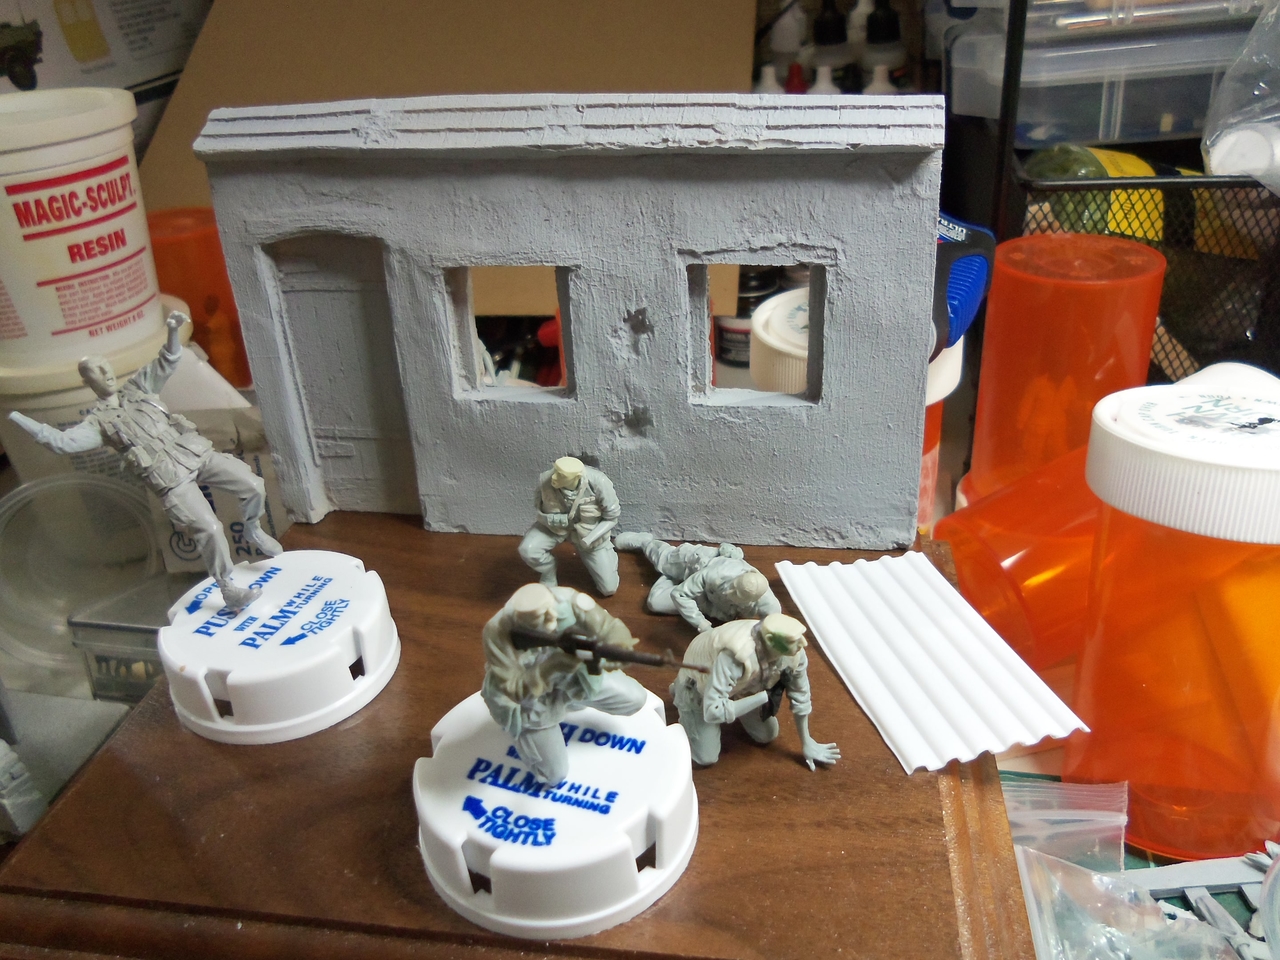
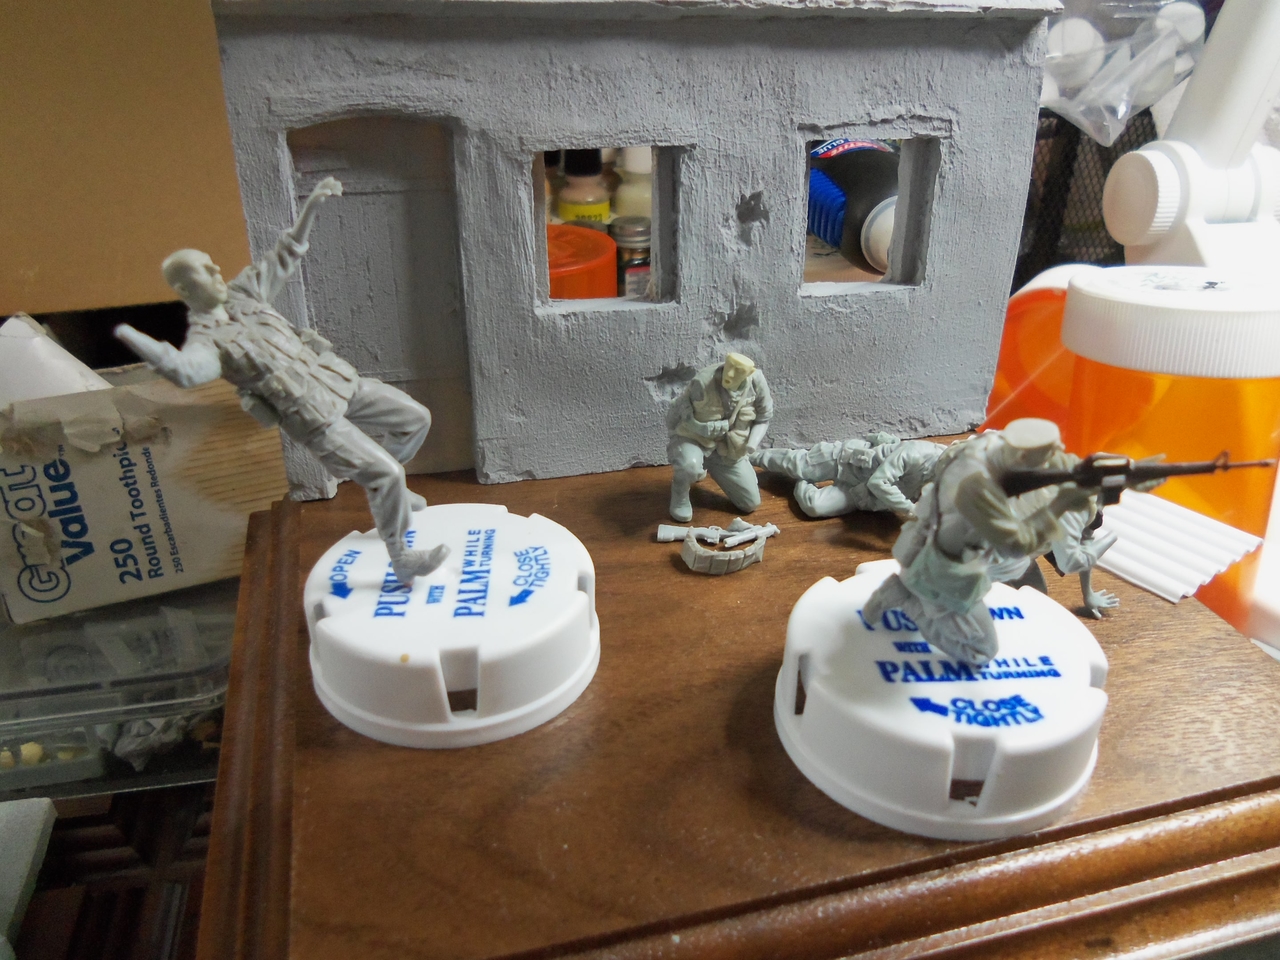
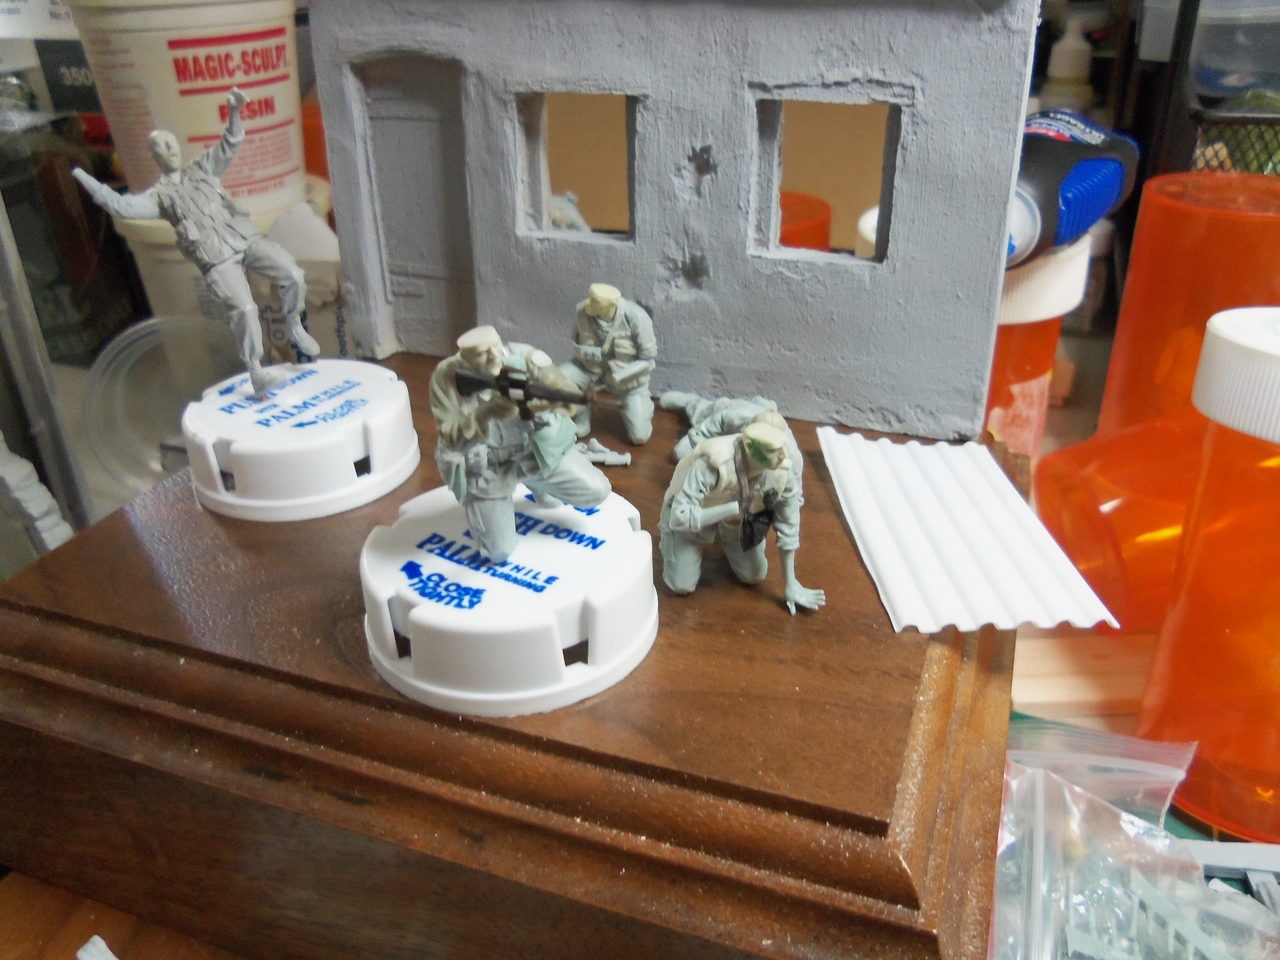
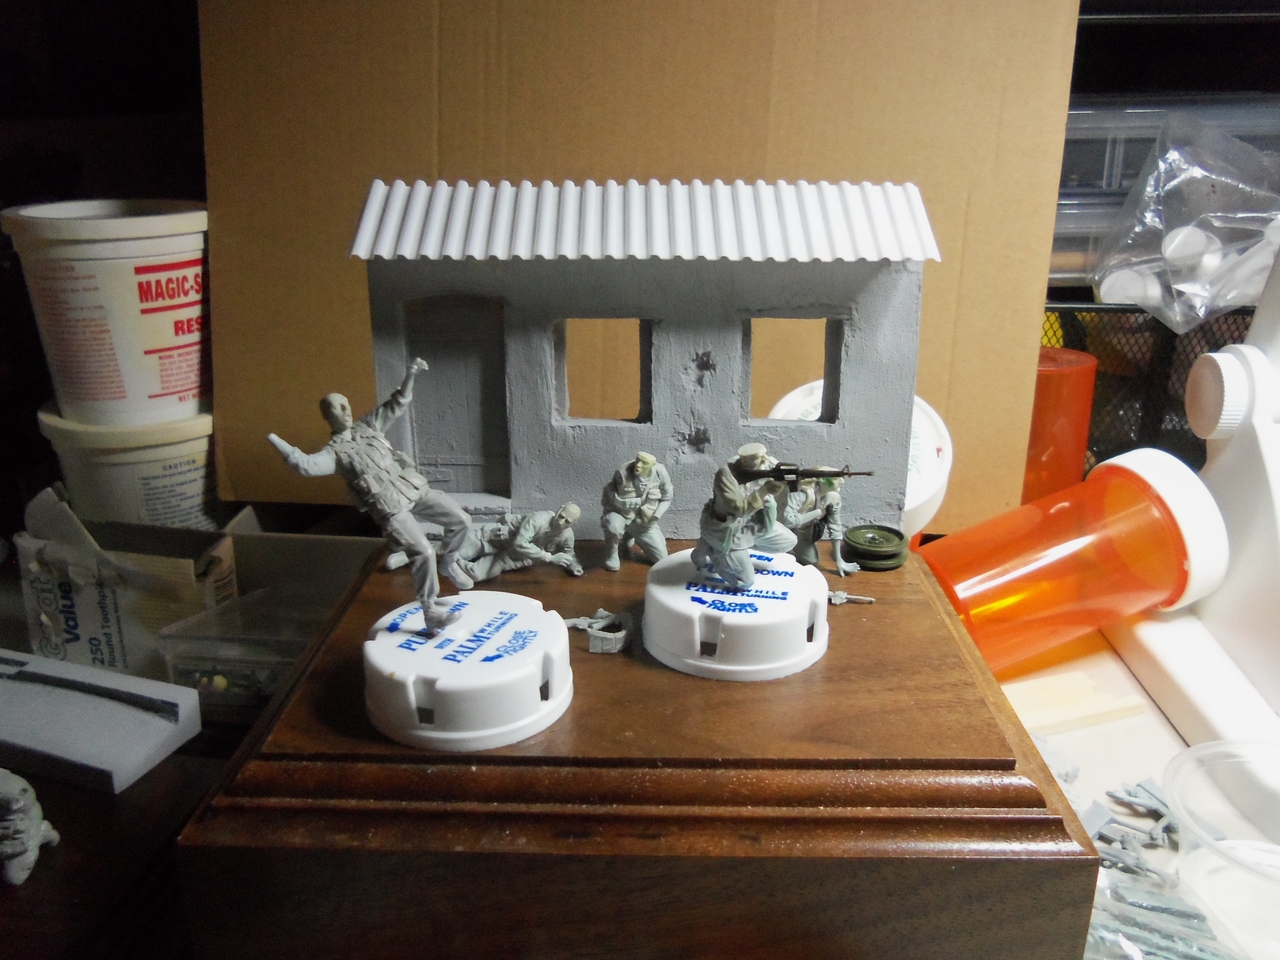
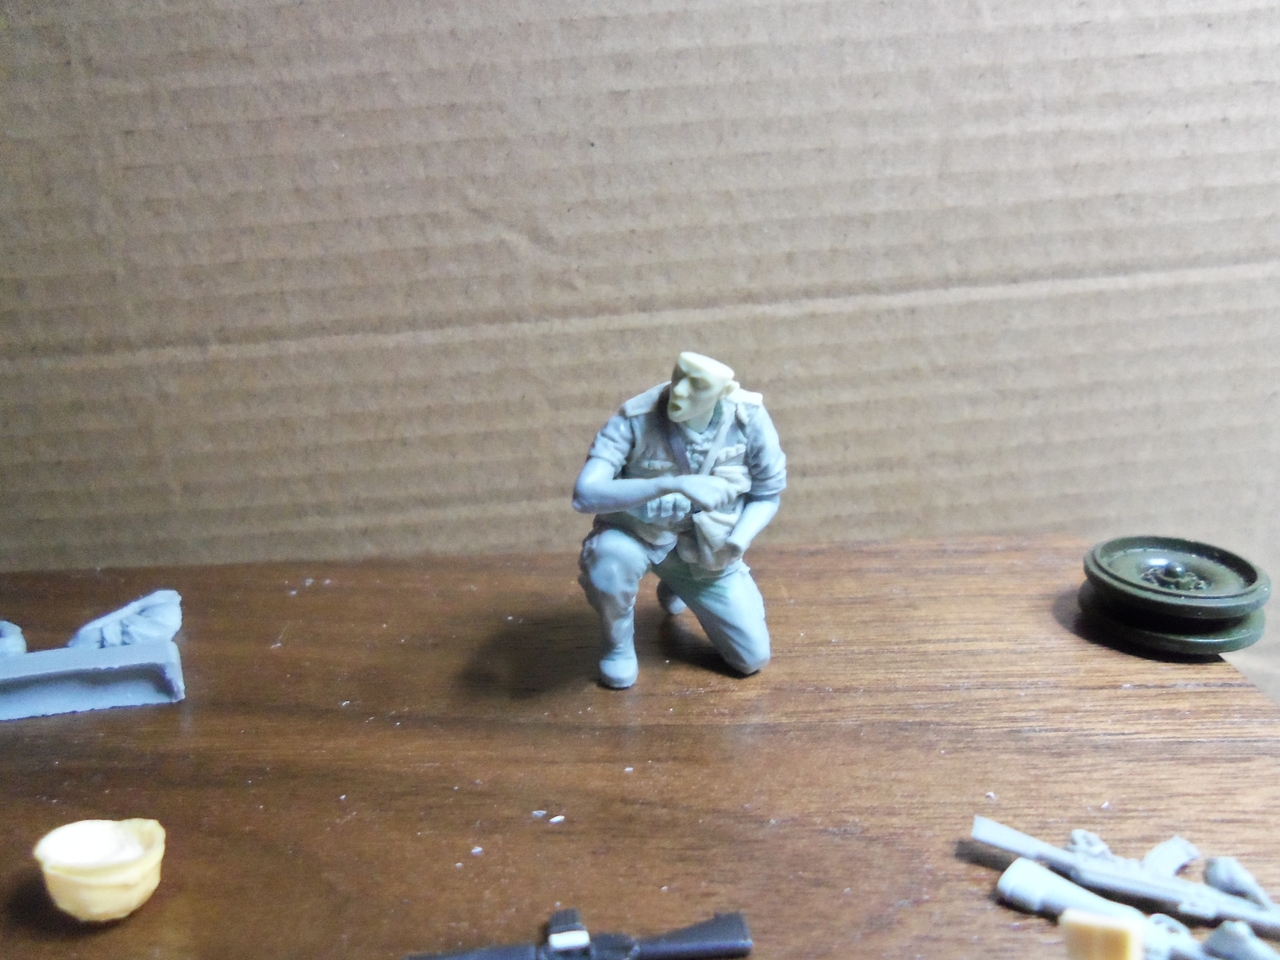
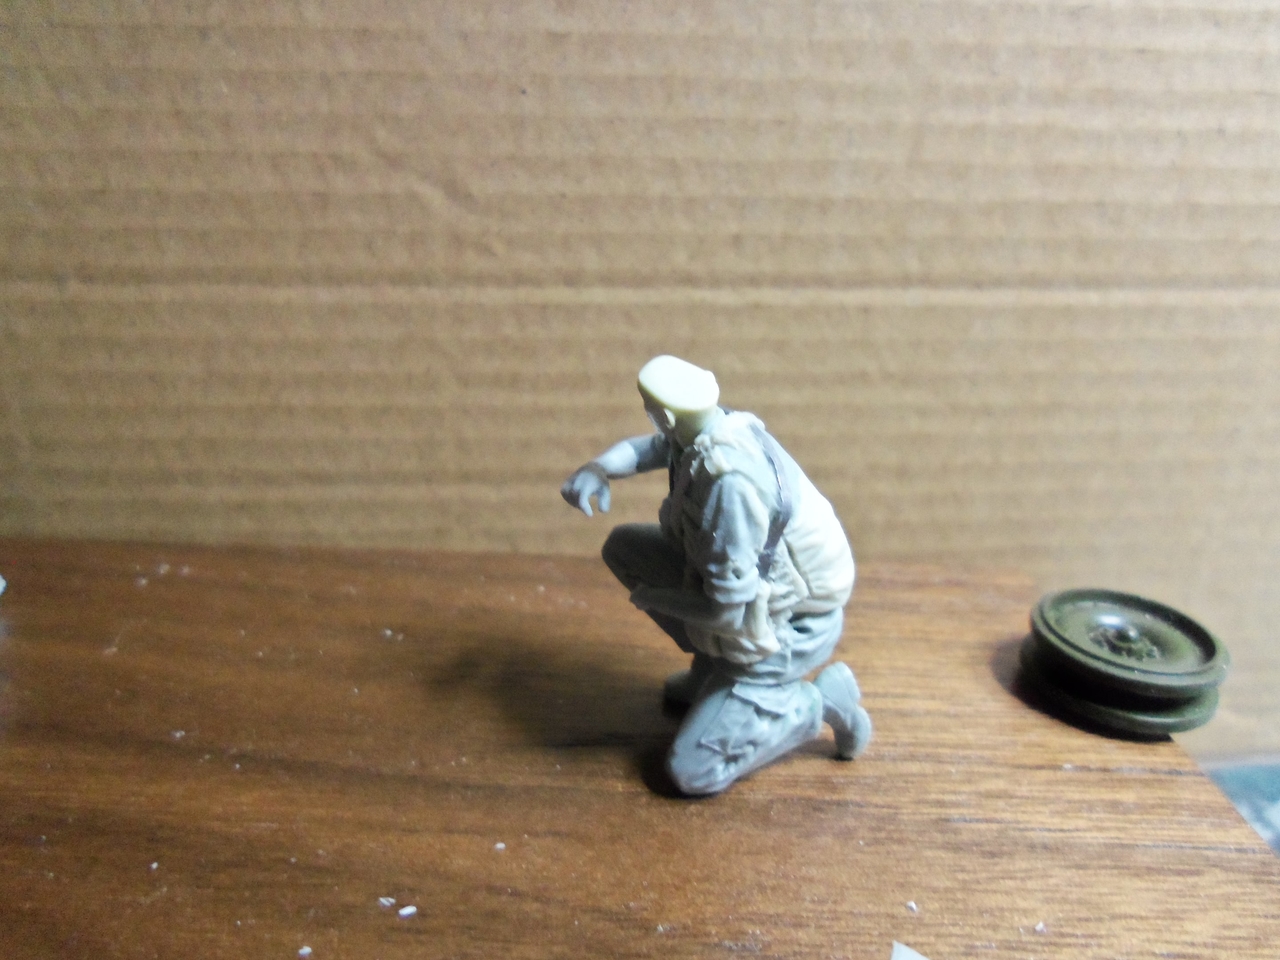
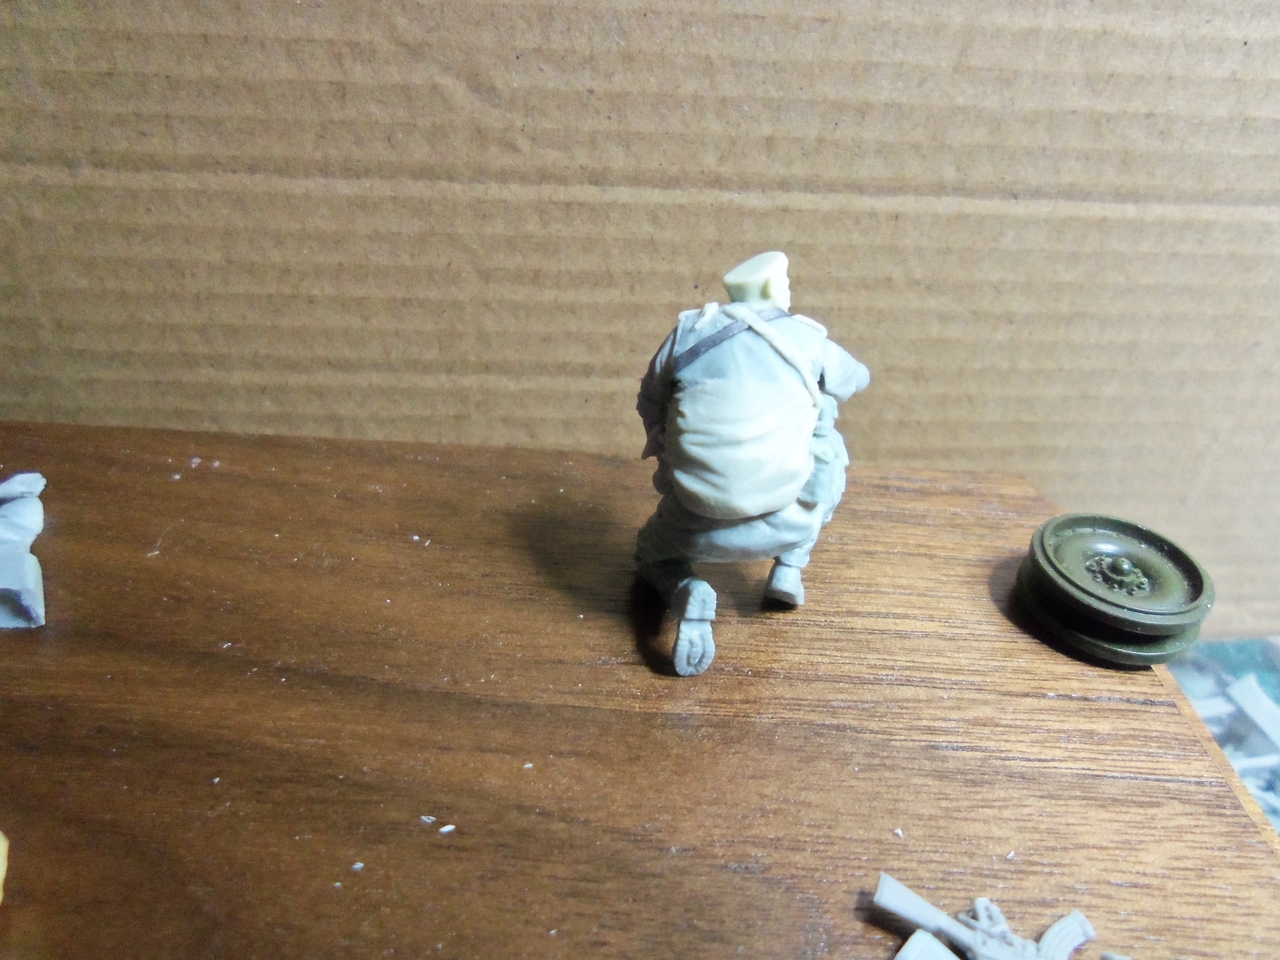
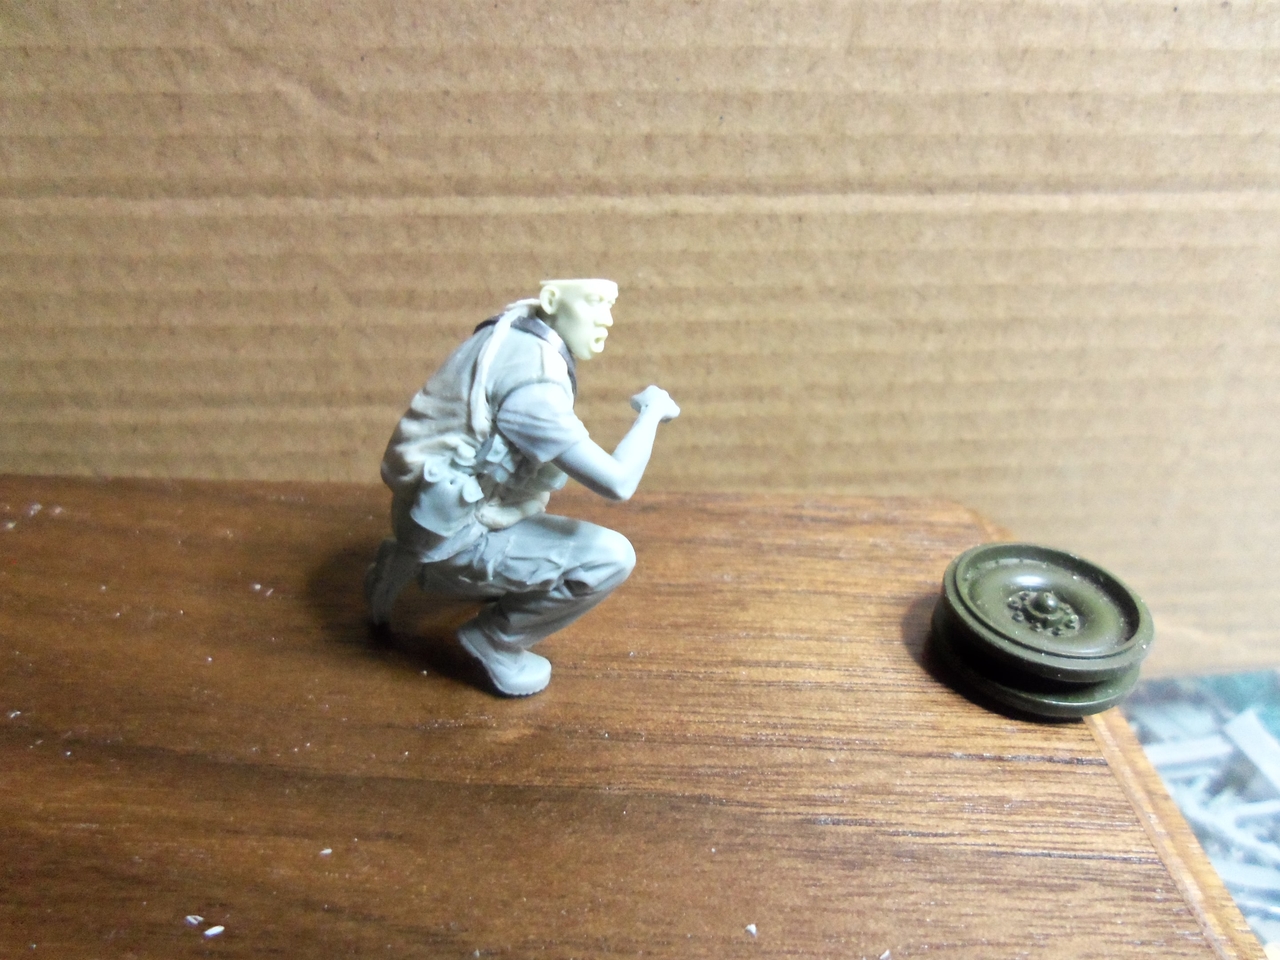
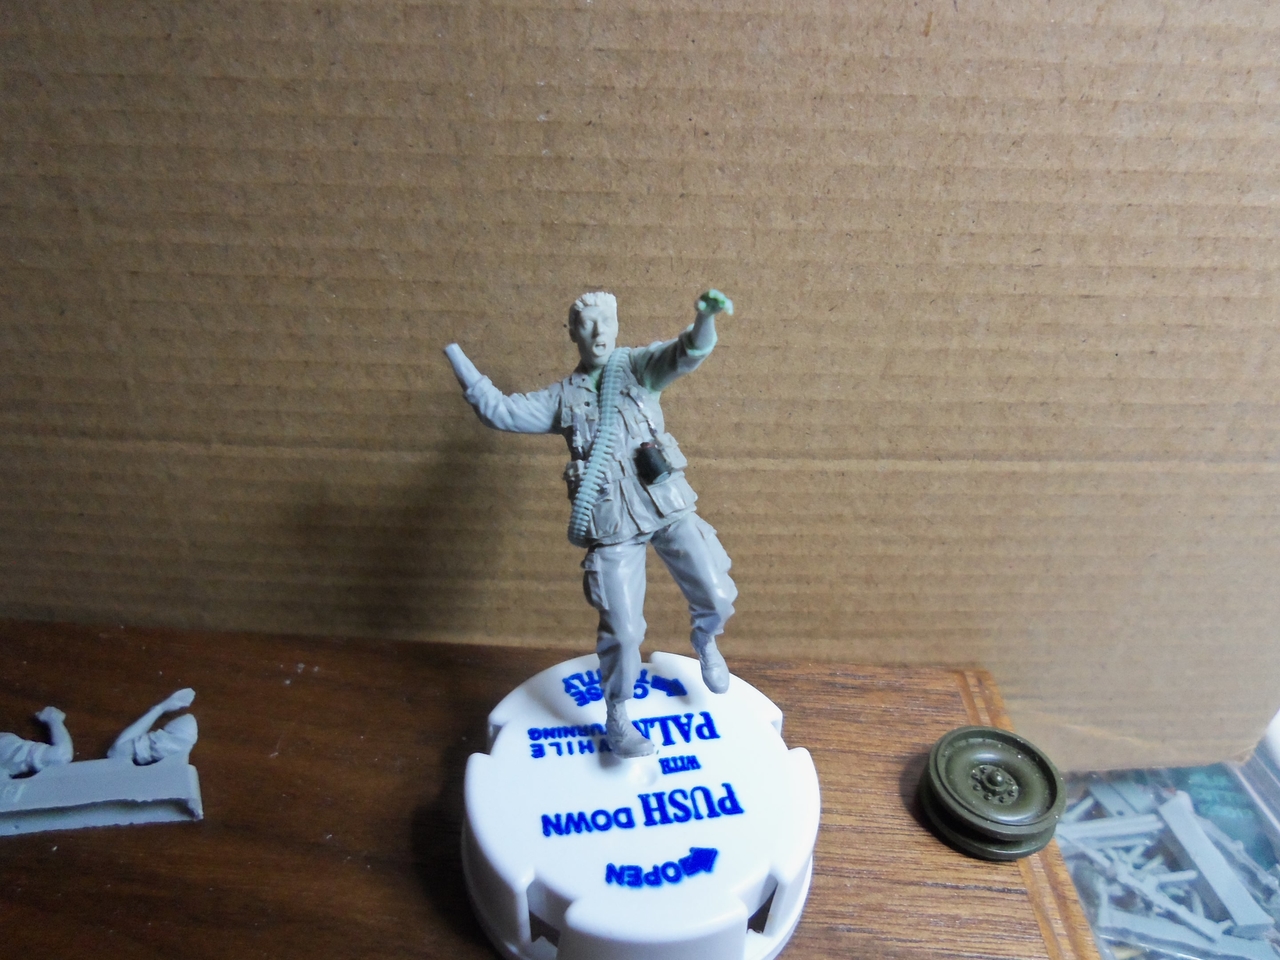
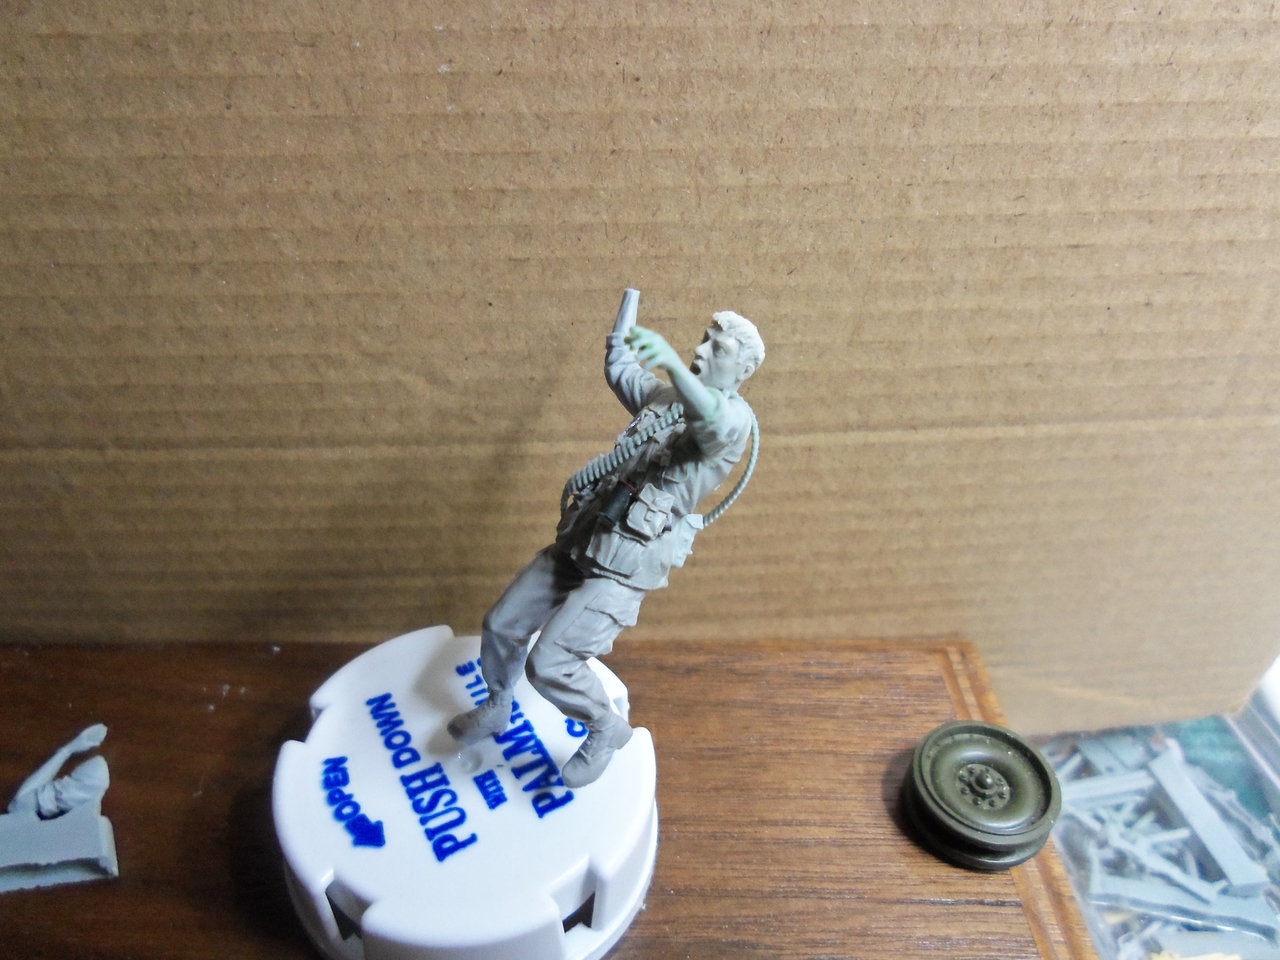
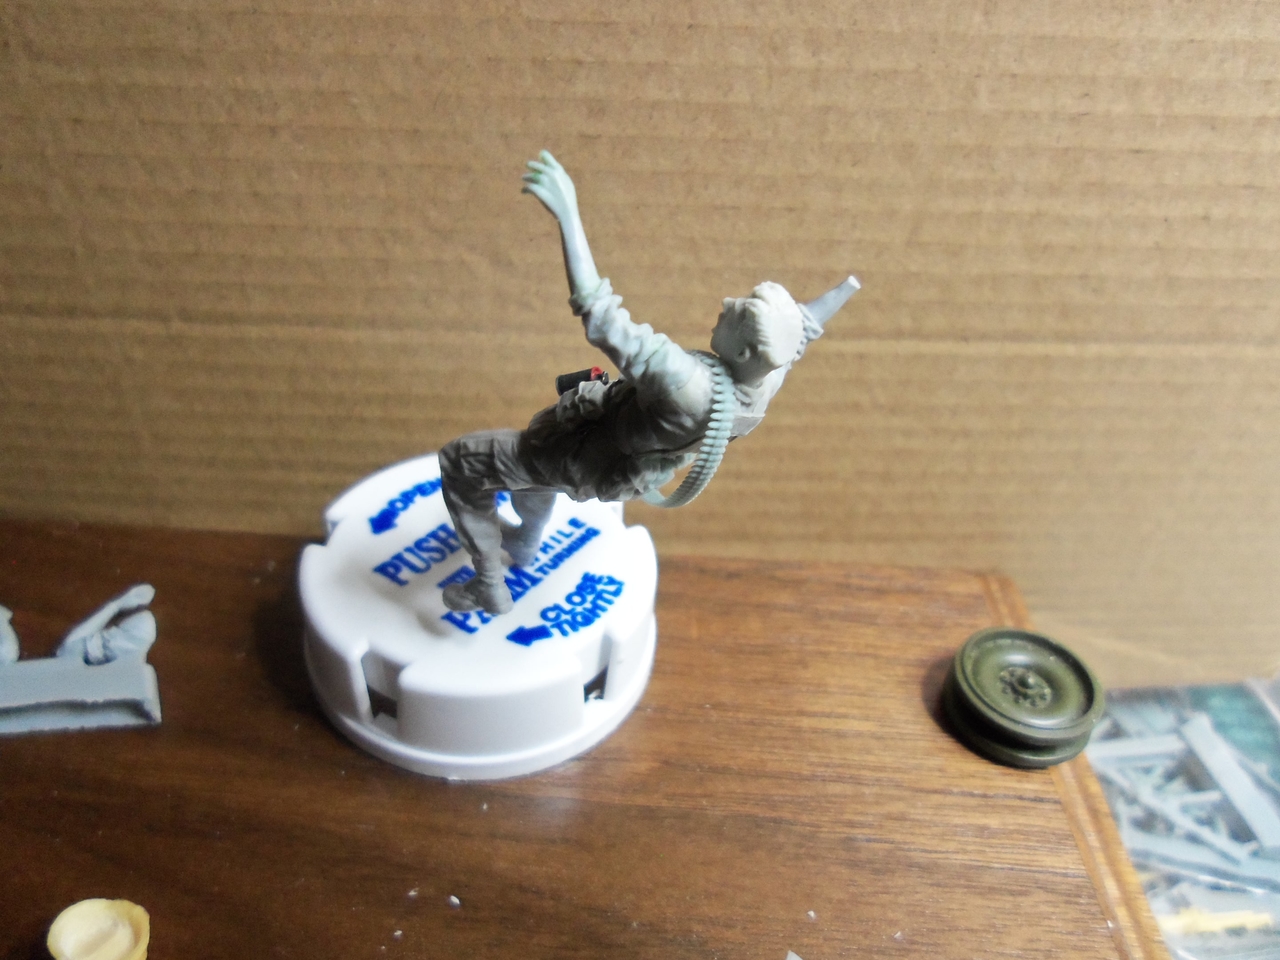
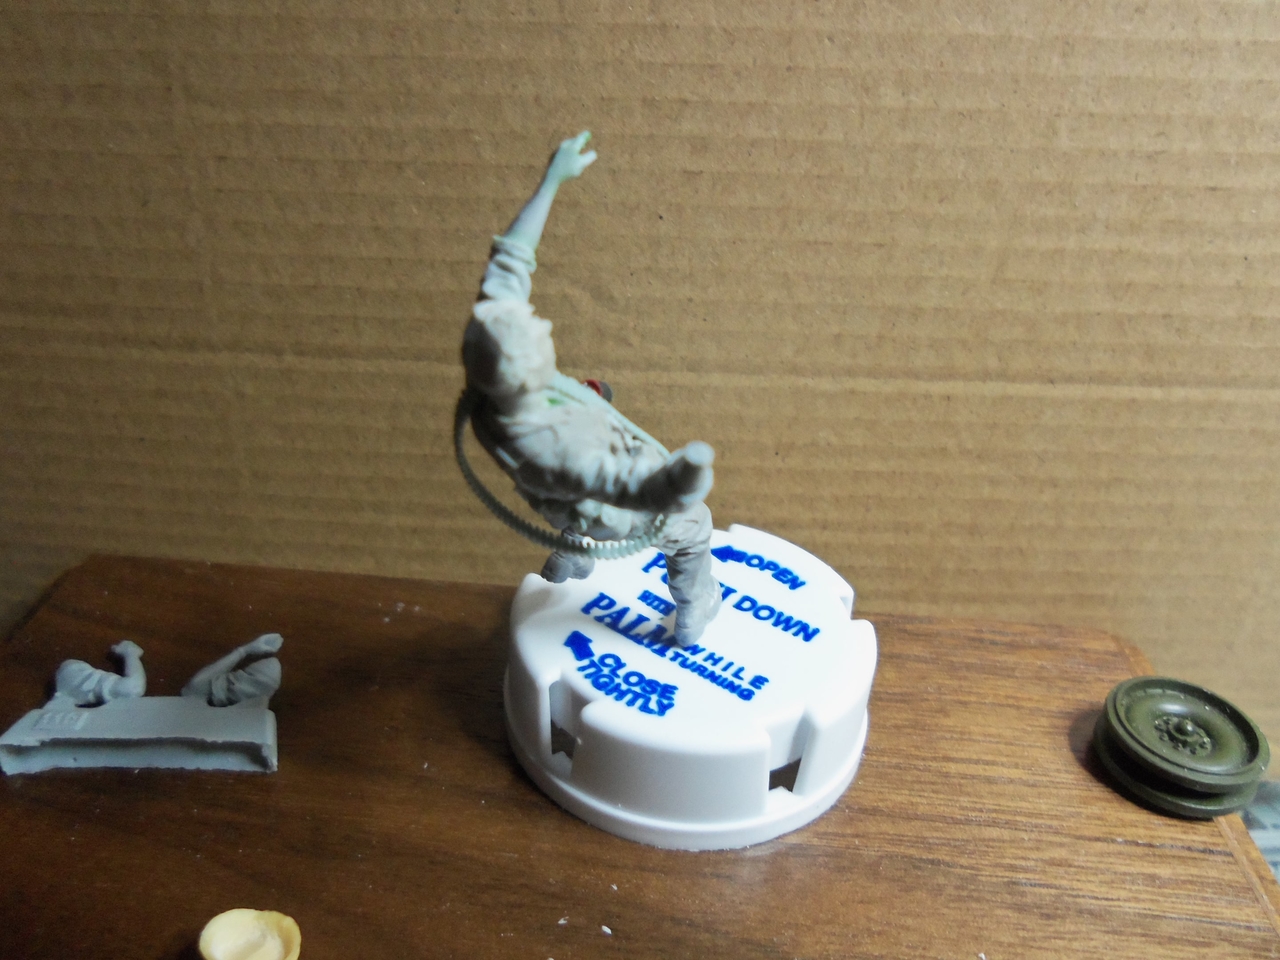
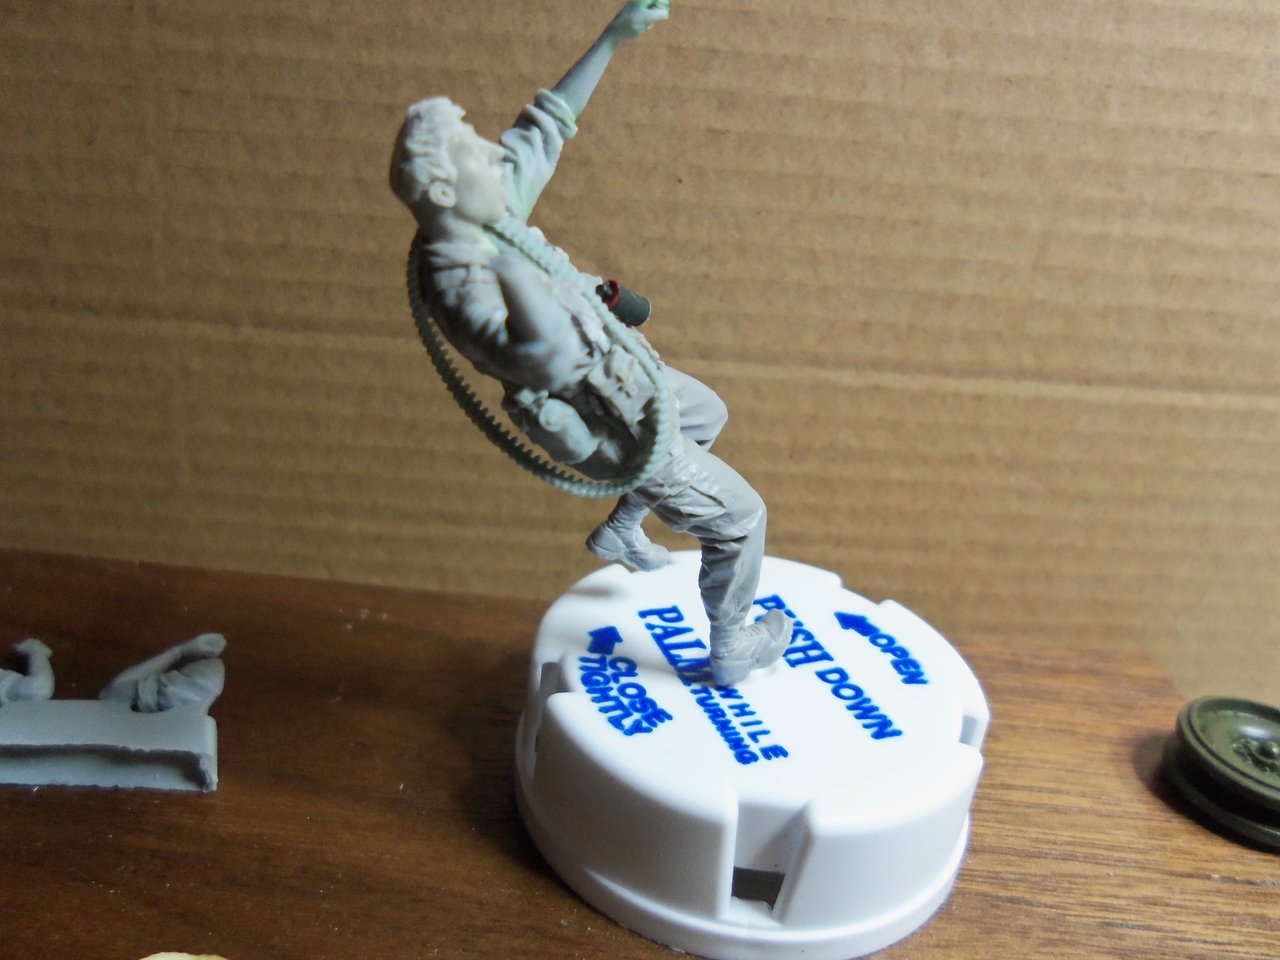
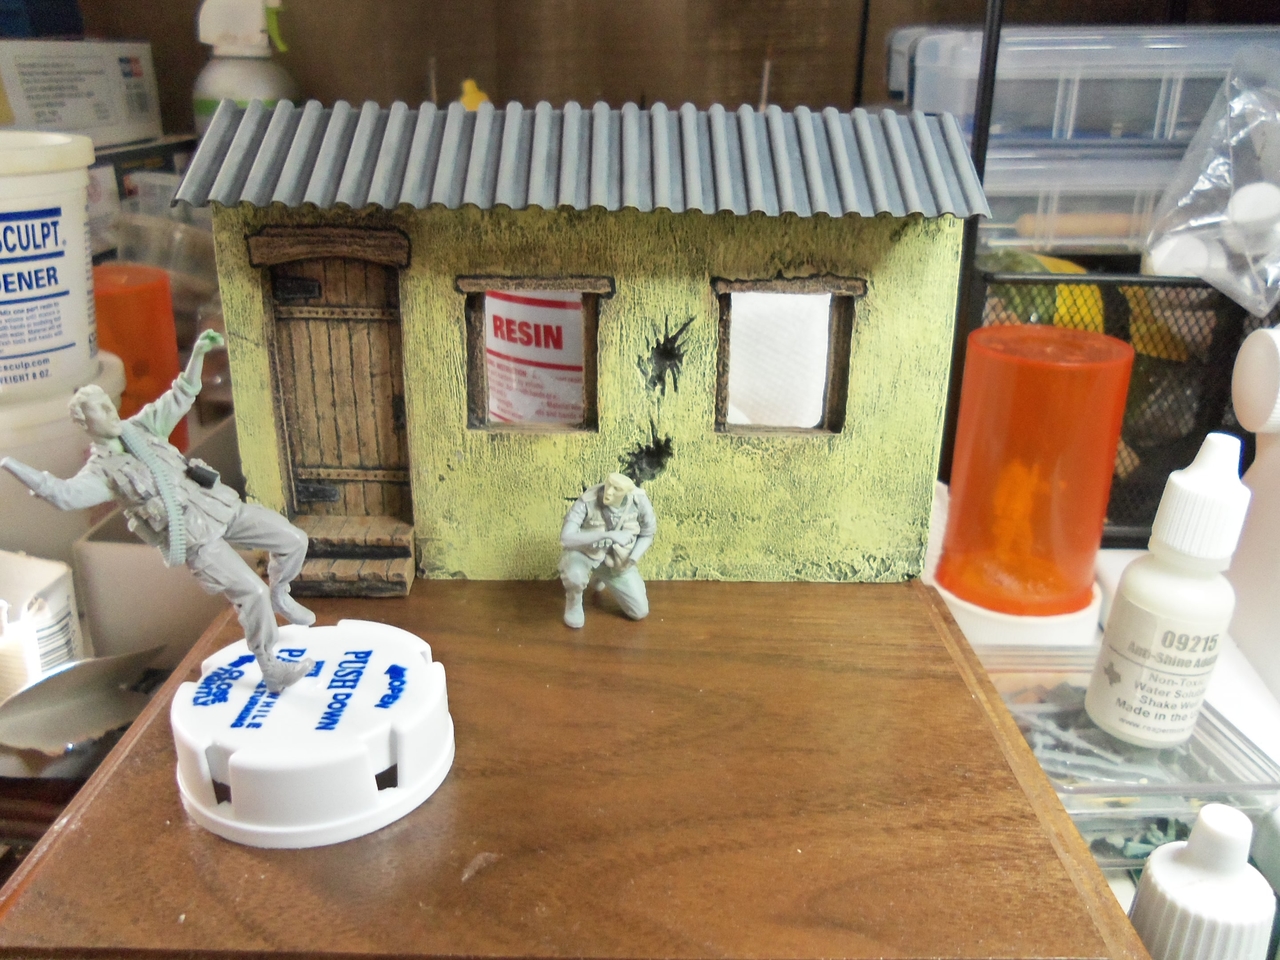
"Contact!" Tet Offensive Vignette
You really capture the action James.
You really capture the action James.

Modelers Alliance has updated the forum software on our website. We have migrated all post, content and user accounts but we could not migrate the passwords.
This requires that you manually reset your password.
Please click here, http://modelersalliance.org/forums/login to go to logon page and use the "Forgot your Password" option.

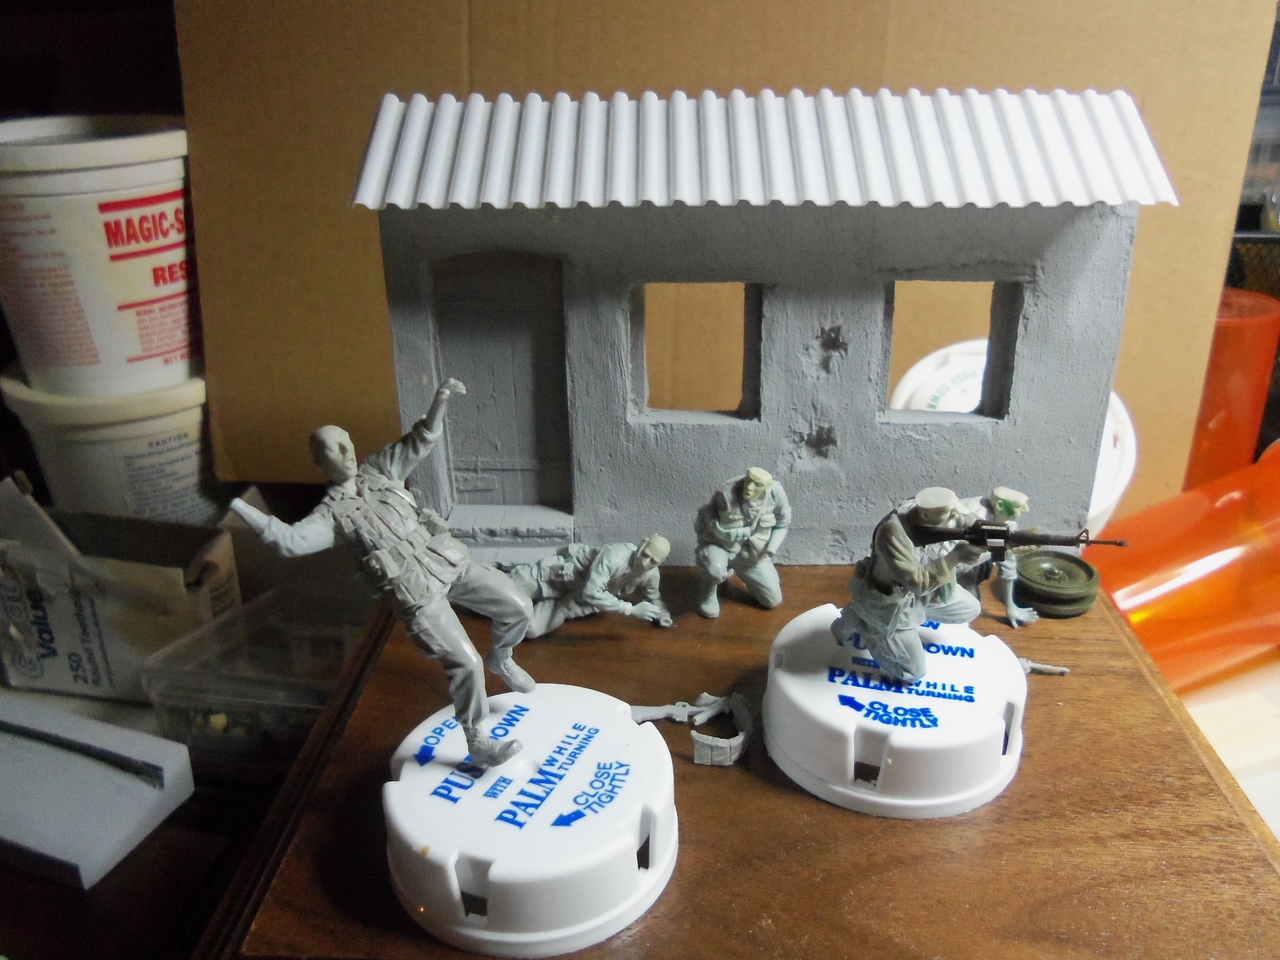
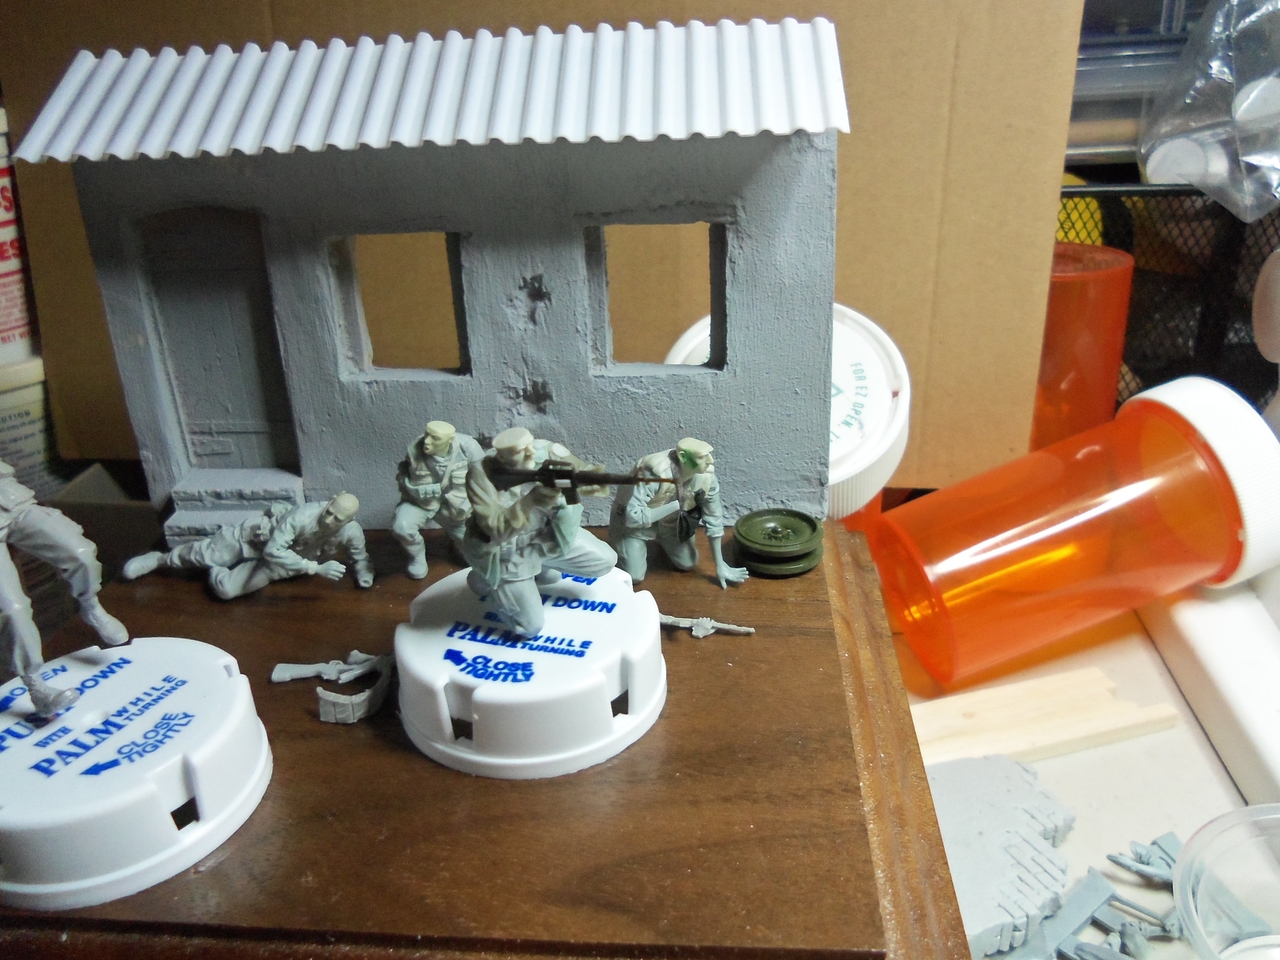
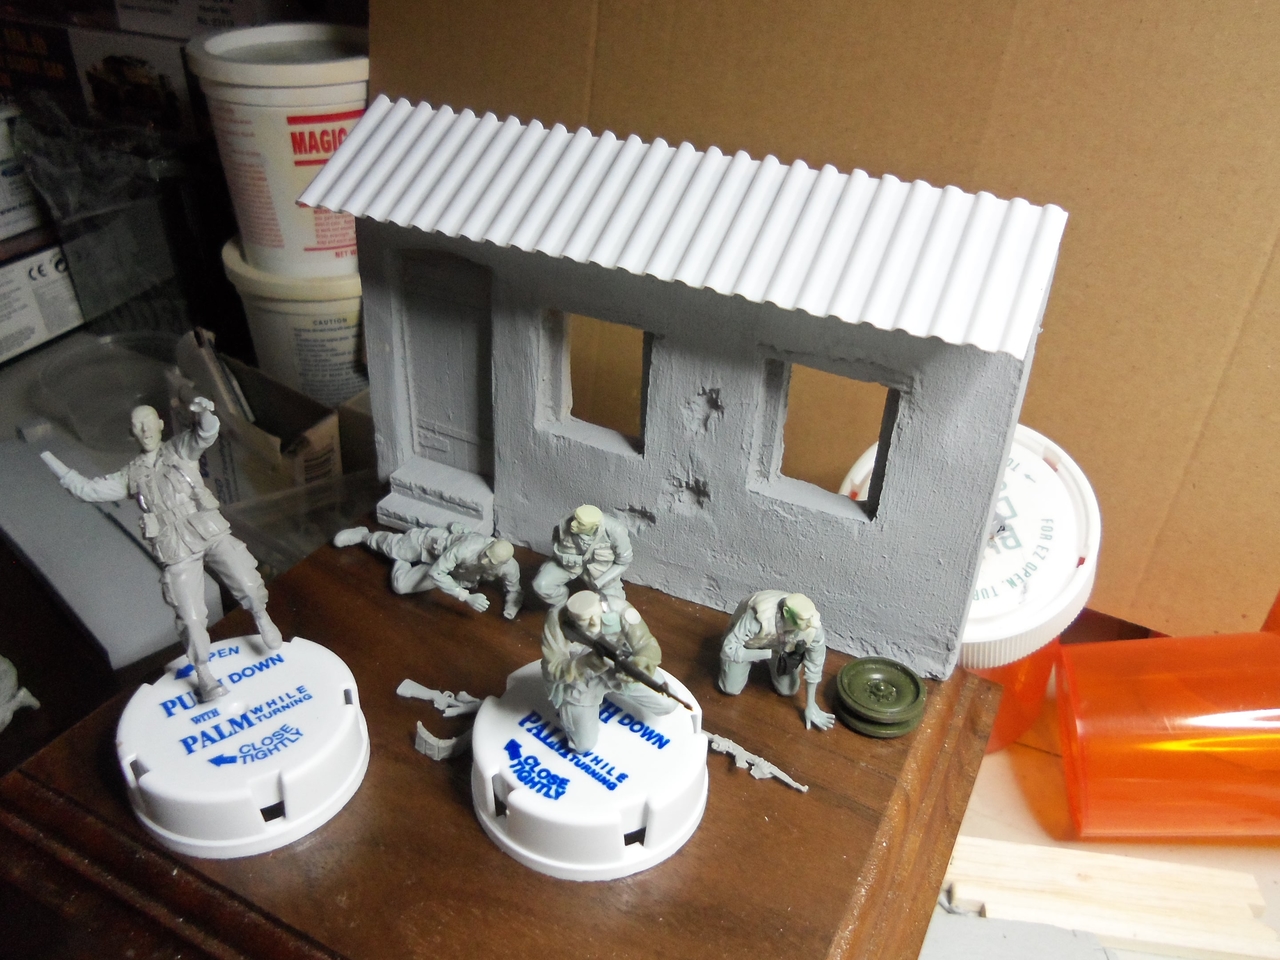
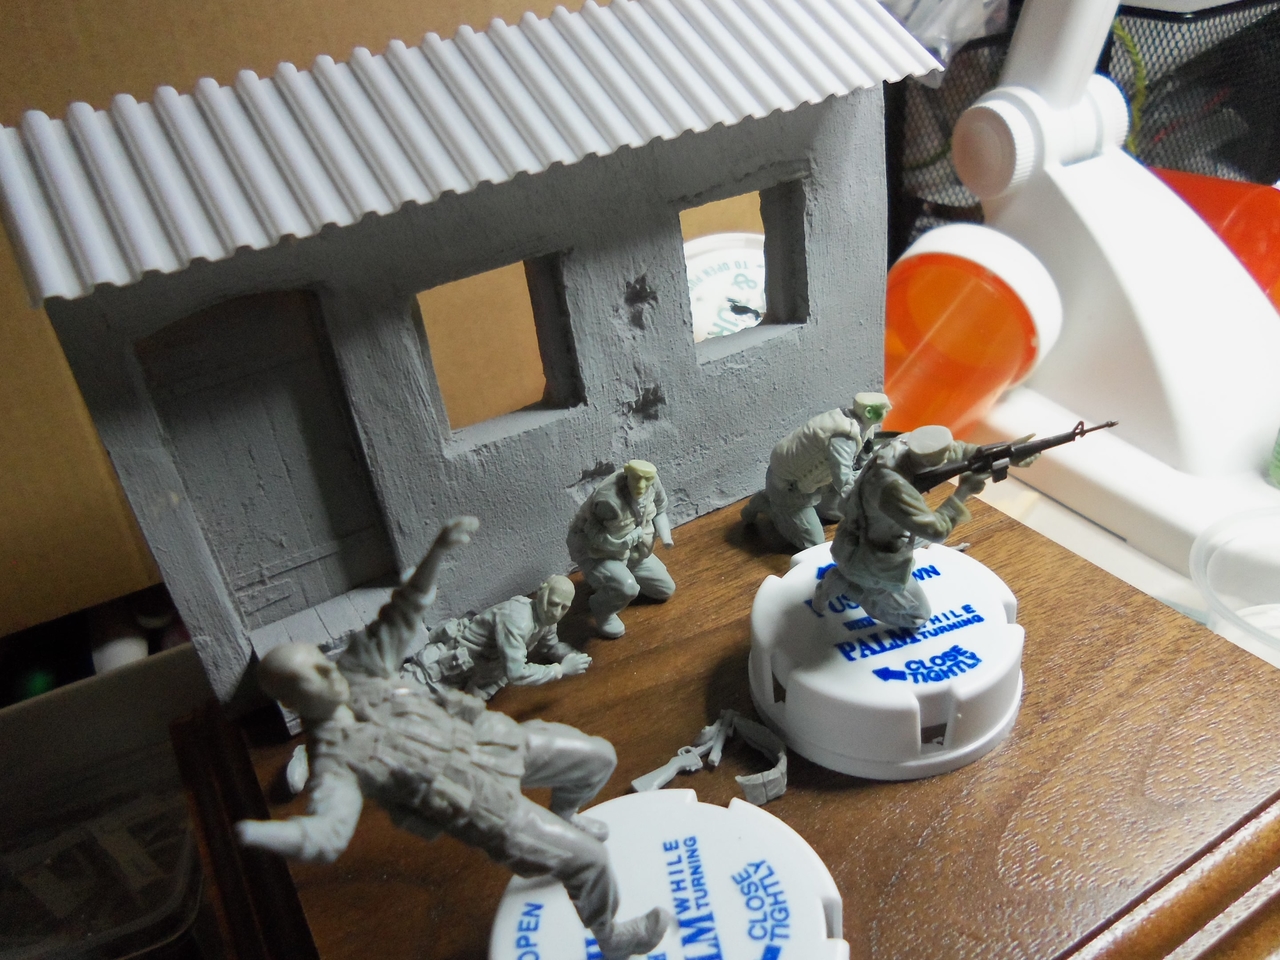


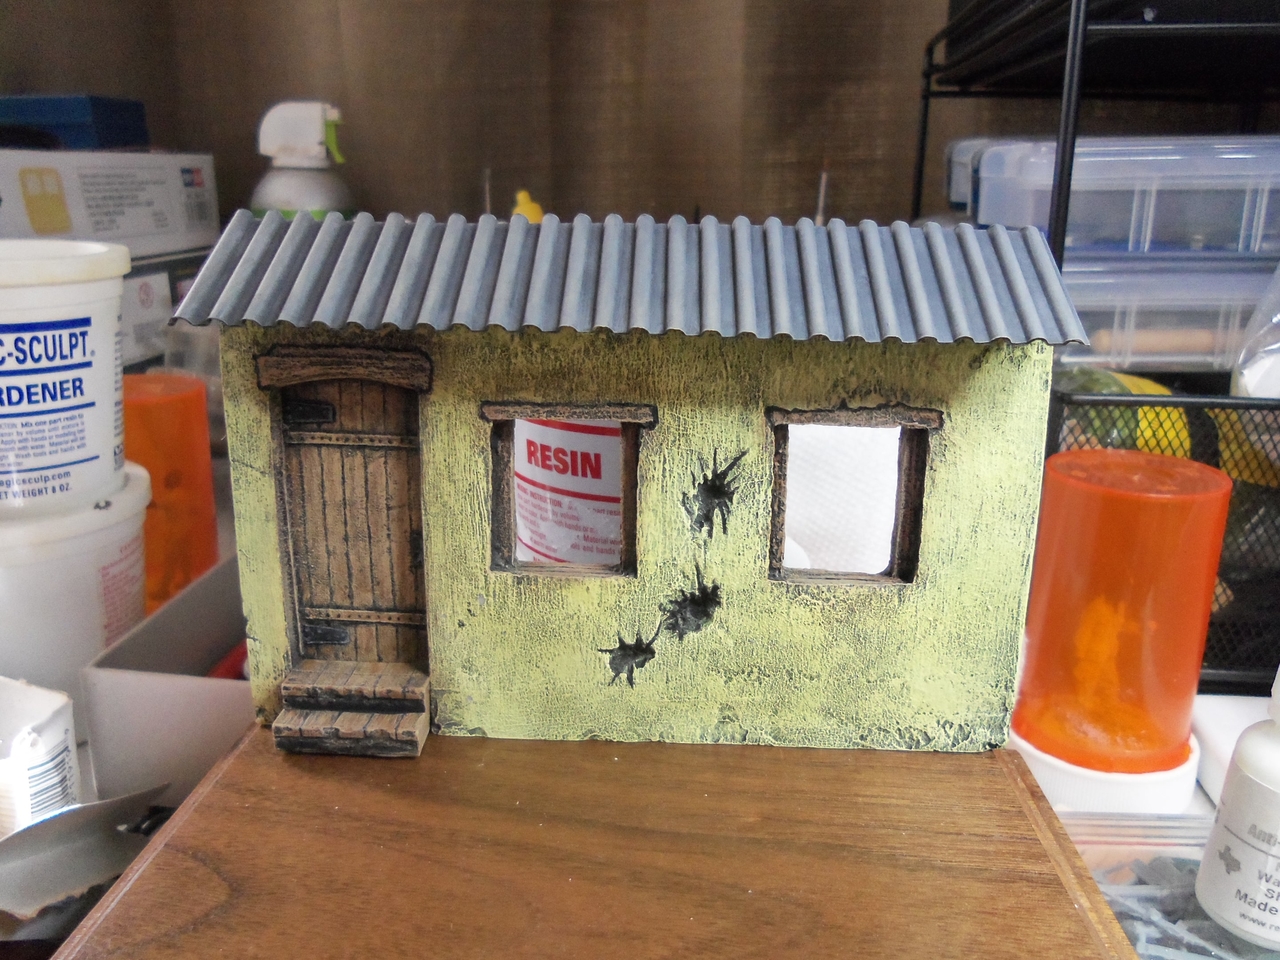
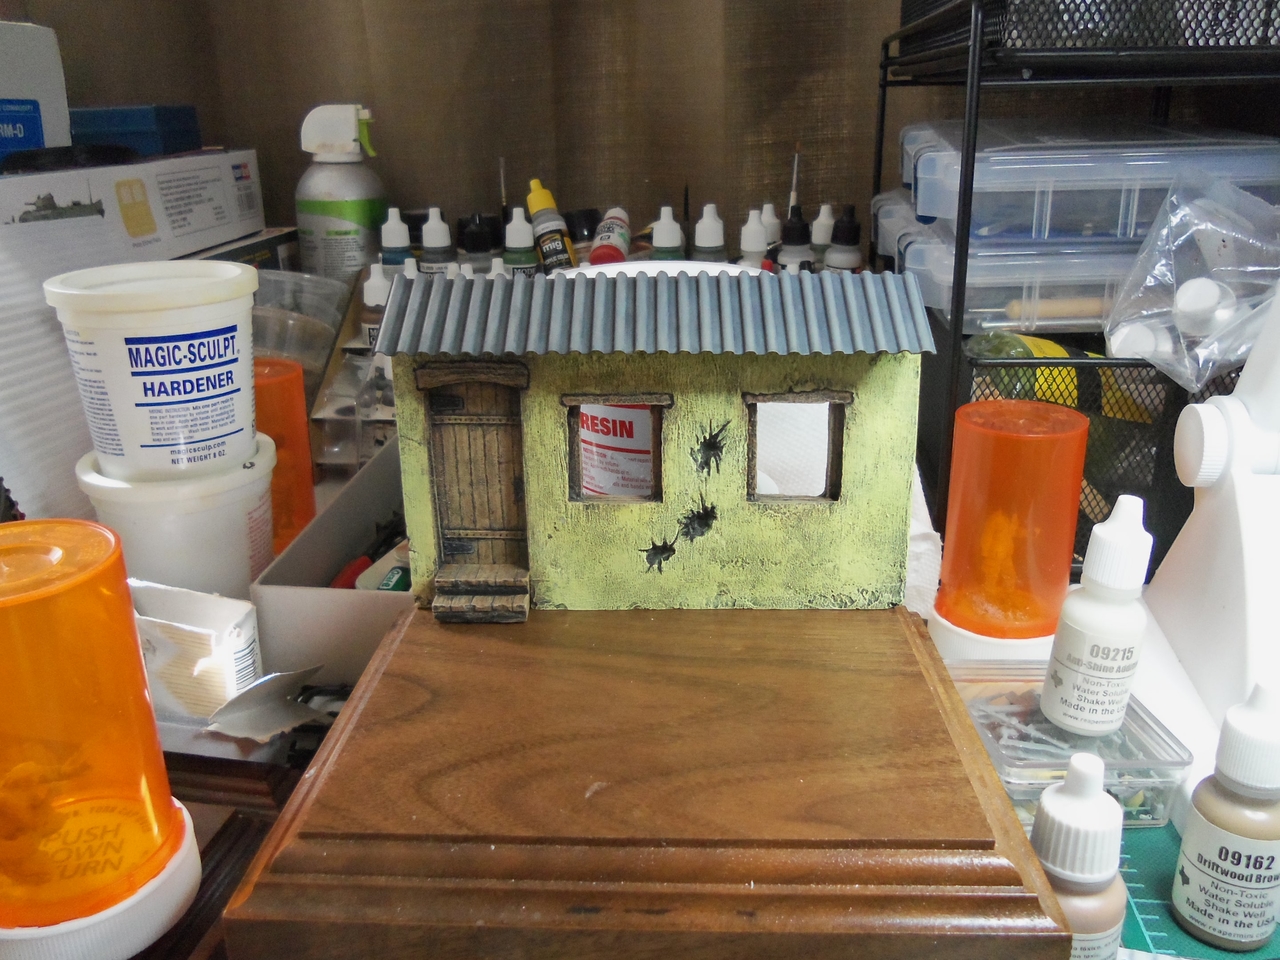

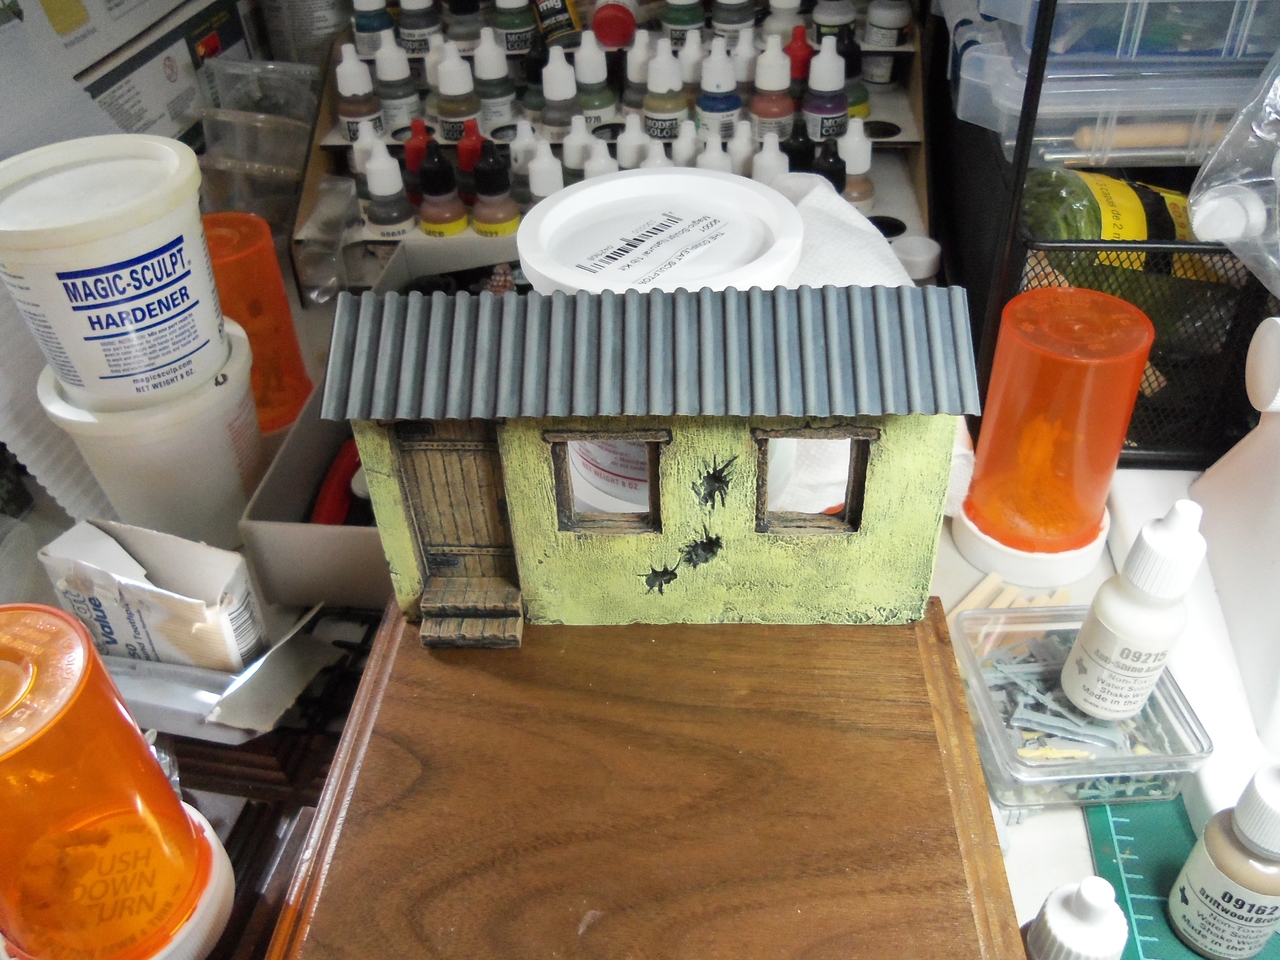
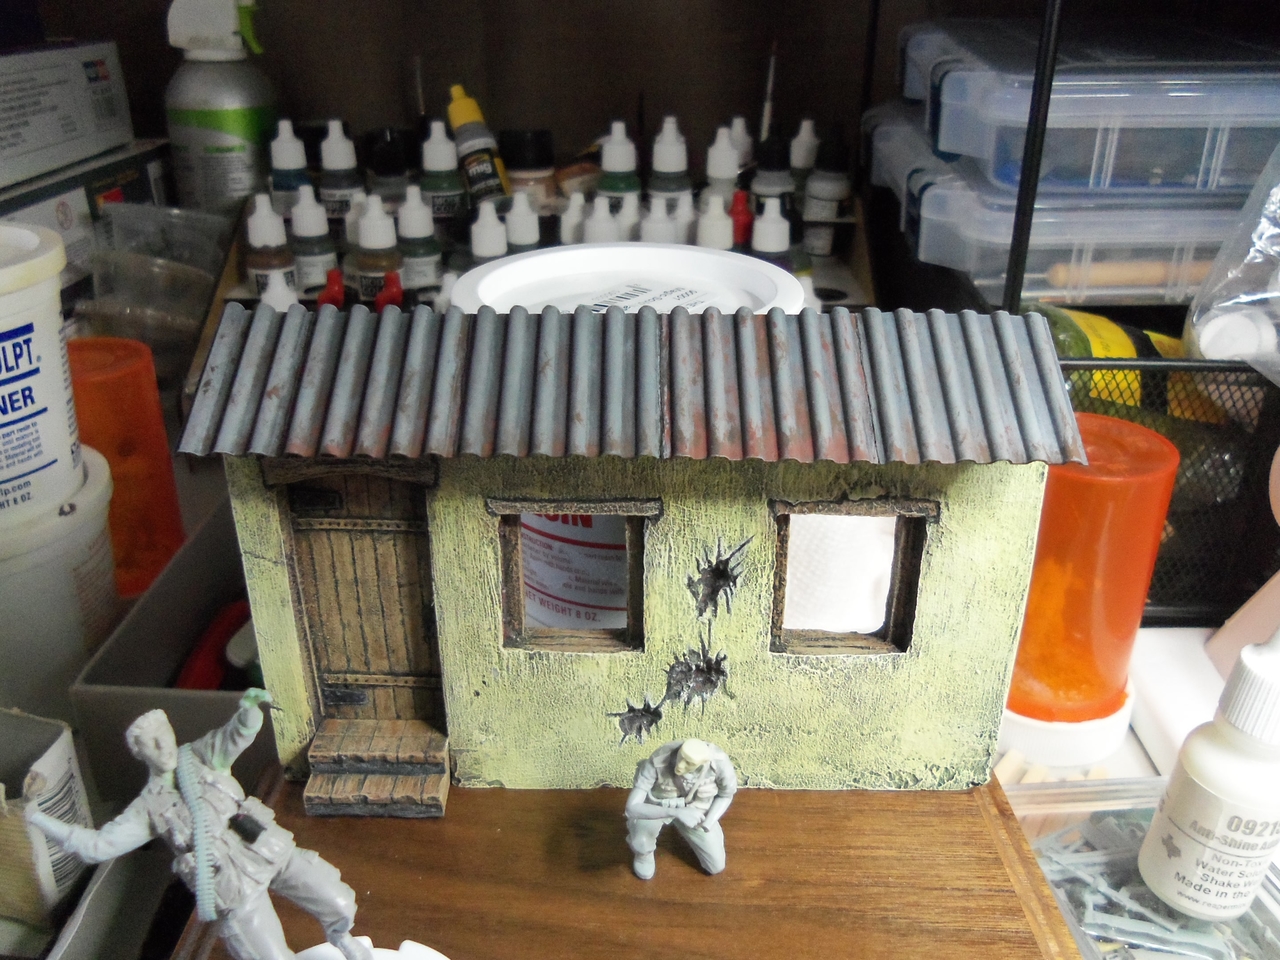
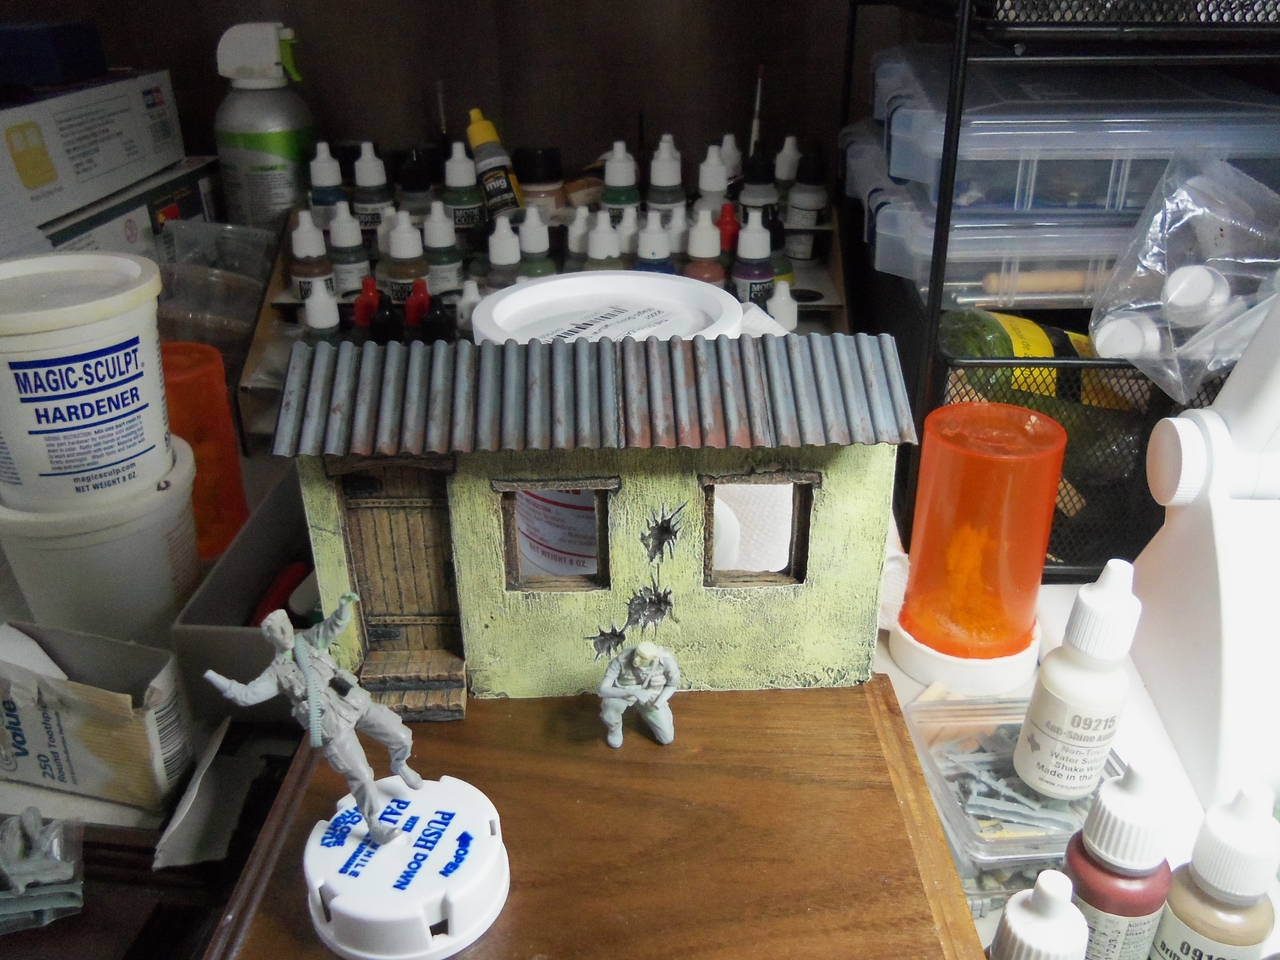

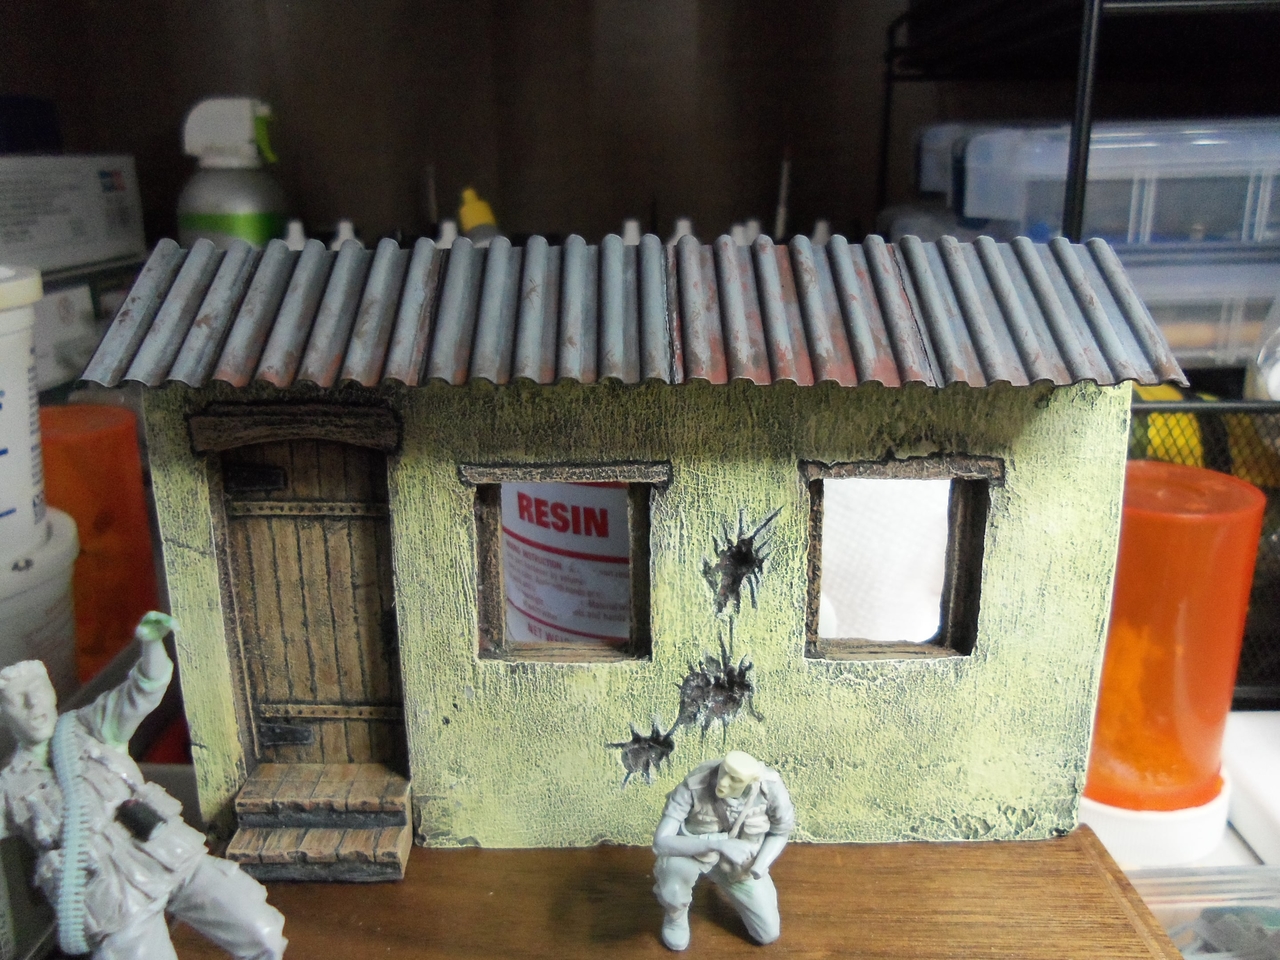
Here are some pictures of the weathered roof. Snipped
Snipped Images
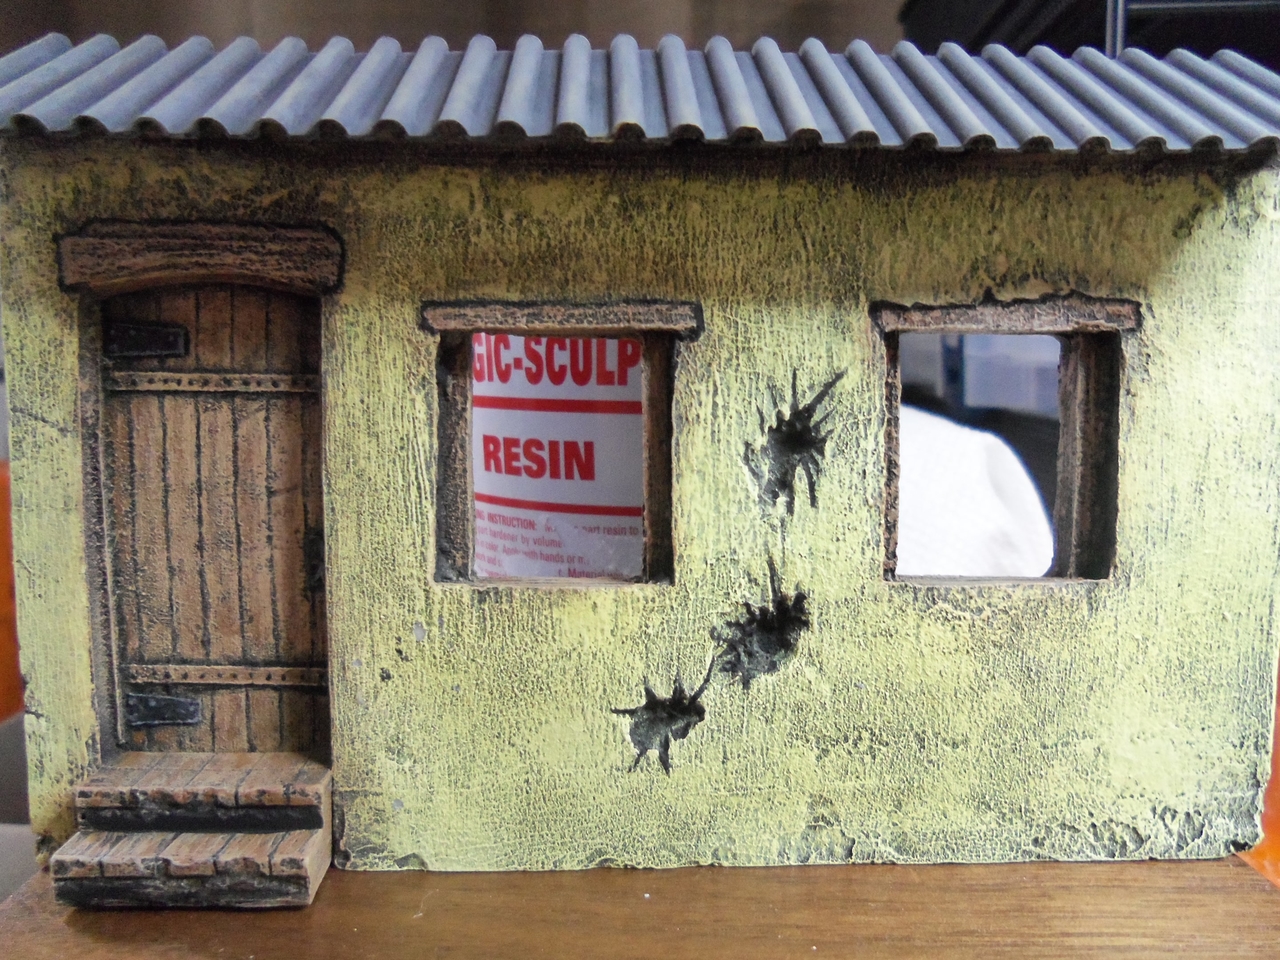
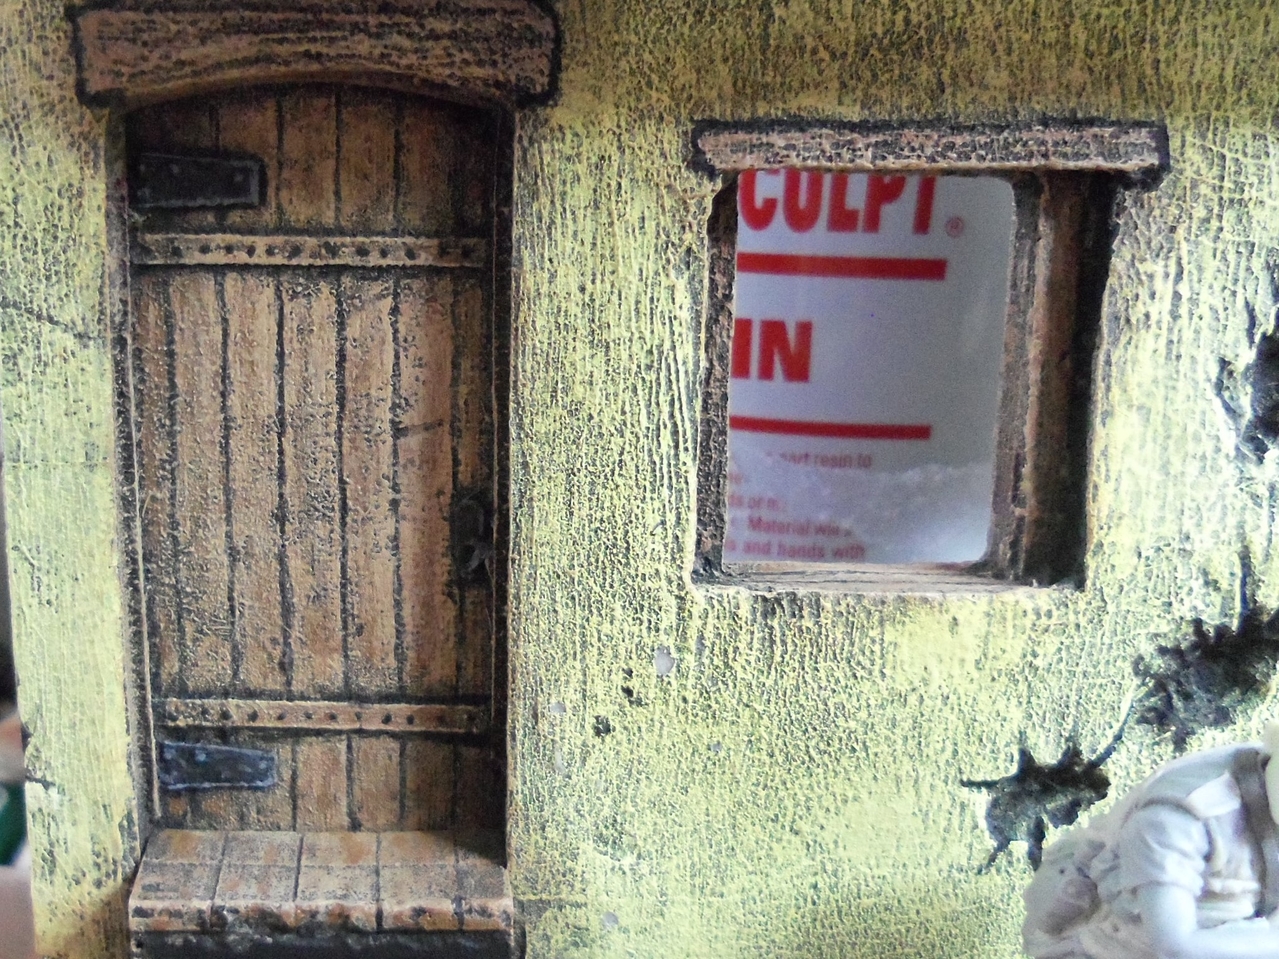
I don't have all of those aftermarket weathering products nor am I going to spend all of that money for stuff I might use once or twice, so whatever effects I can create with acrylics, oils, and the few pigments that I have will have to suffice.
That's what I have so far. Now to figure out how to make this look more realistic.
Cheers,
James
")