Skinny_Mike
Well-known member
Hey guys, here is my current update.
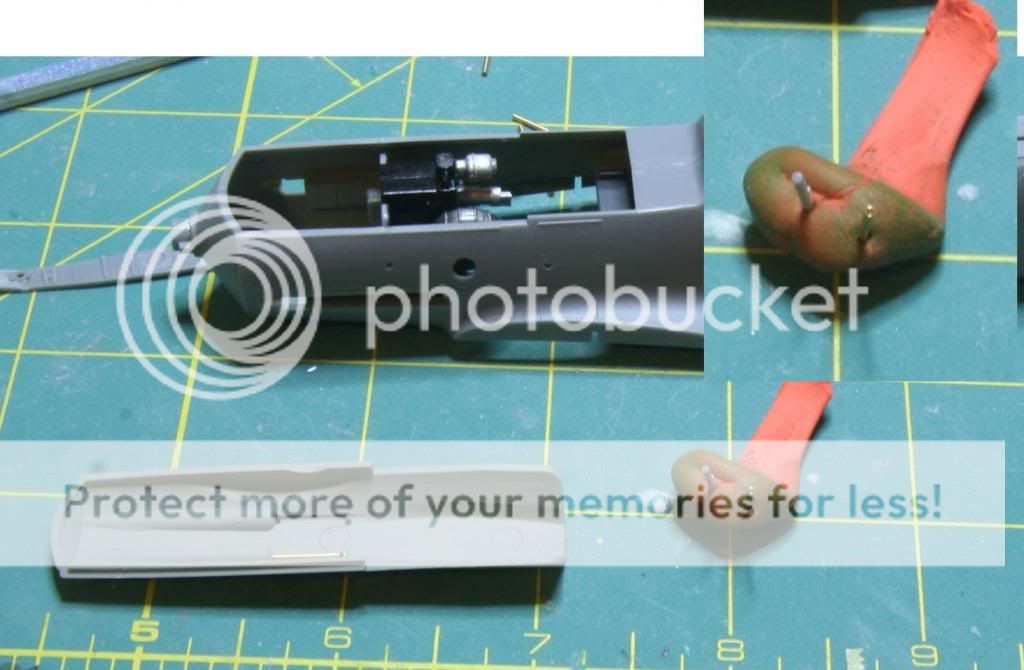
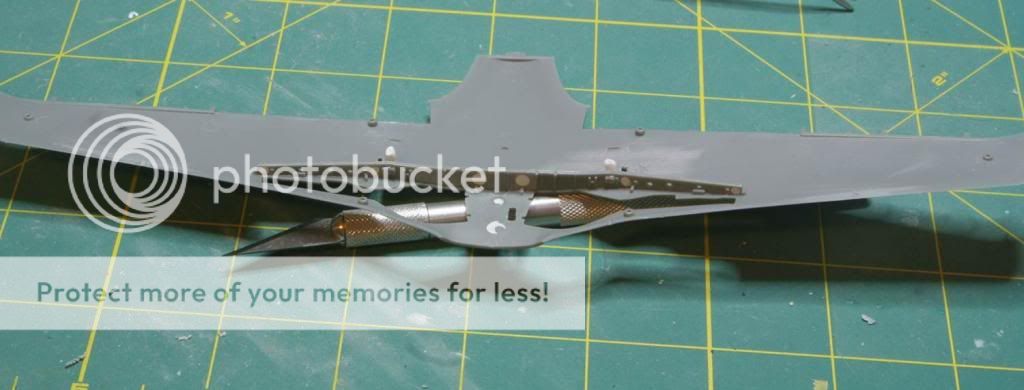
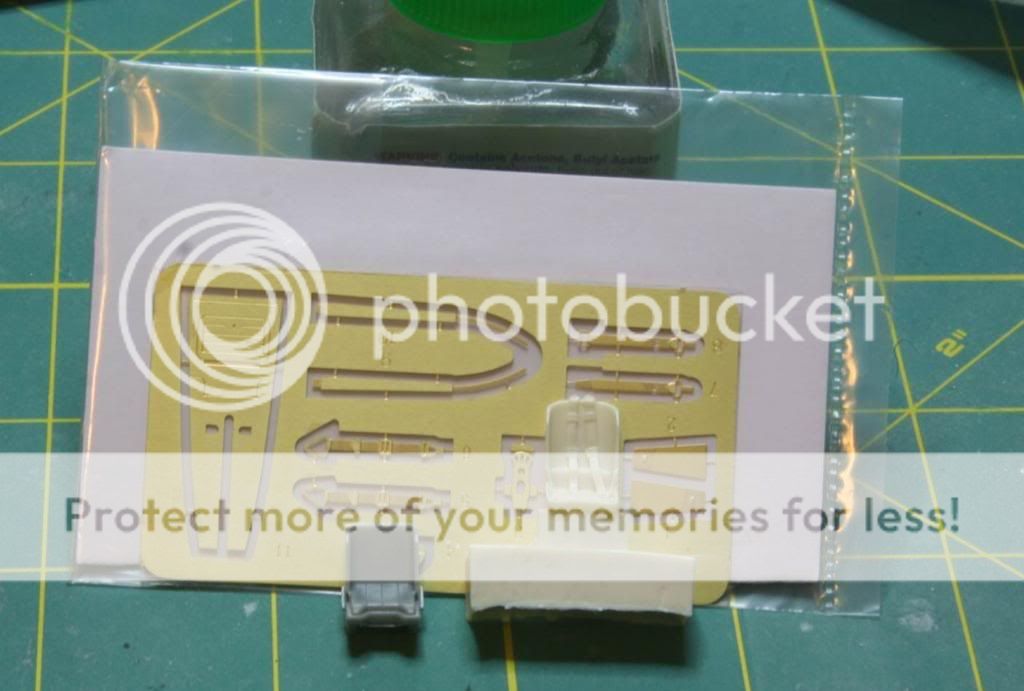
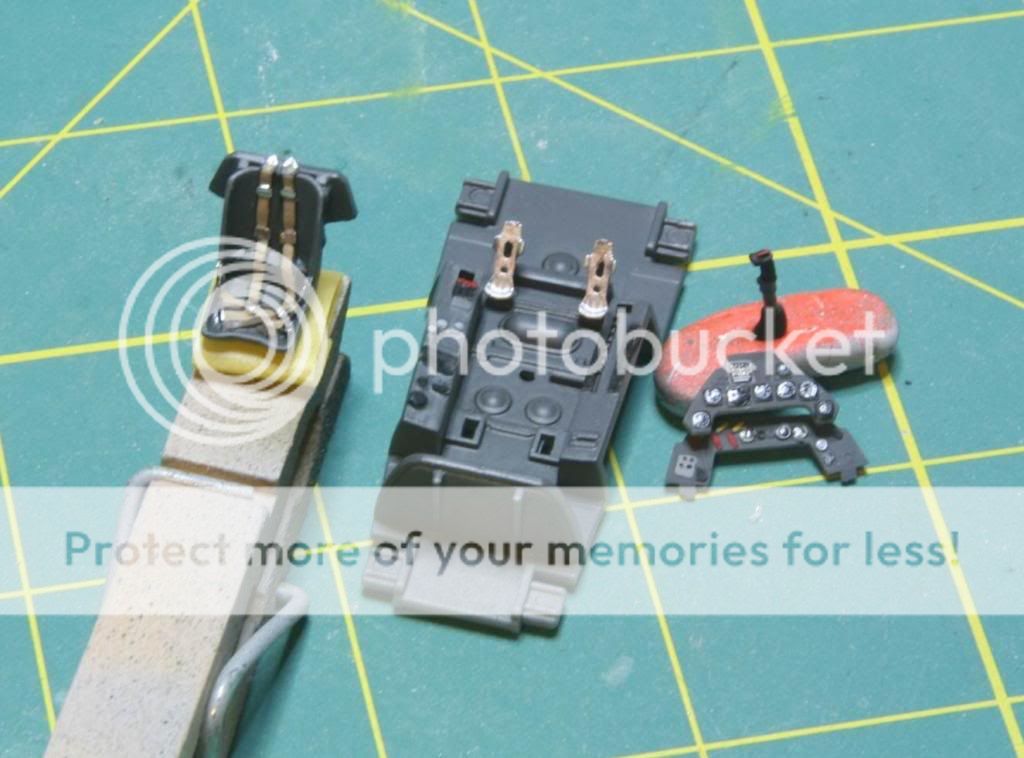
So first off I got some parts to help out with the kit. The kit seat was pretty poor, and the photo etch belts are not 1/48th scale. They are way too big. I don’t have any reference material to prove it, but I think it’s a pretty safe bet that the Ta-152C followed in the footsteps of the Ta-152H in that it had a lot of similar parts to the Fw-190s. So I replaced the kit seat with the Ultracast seat for the Fw-190. This seat has the molded on belts. I also ordered a Master Model set of brass gun barrels. Not sure if I’m going to use them or not, but they are fantastic.
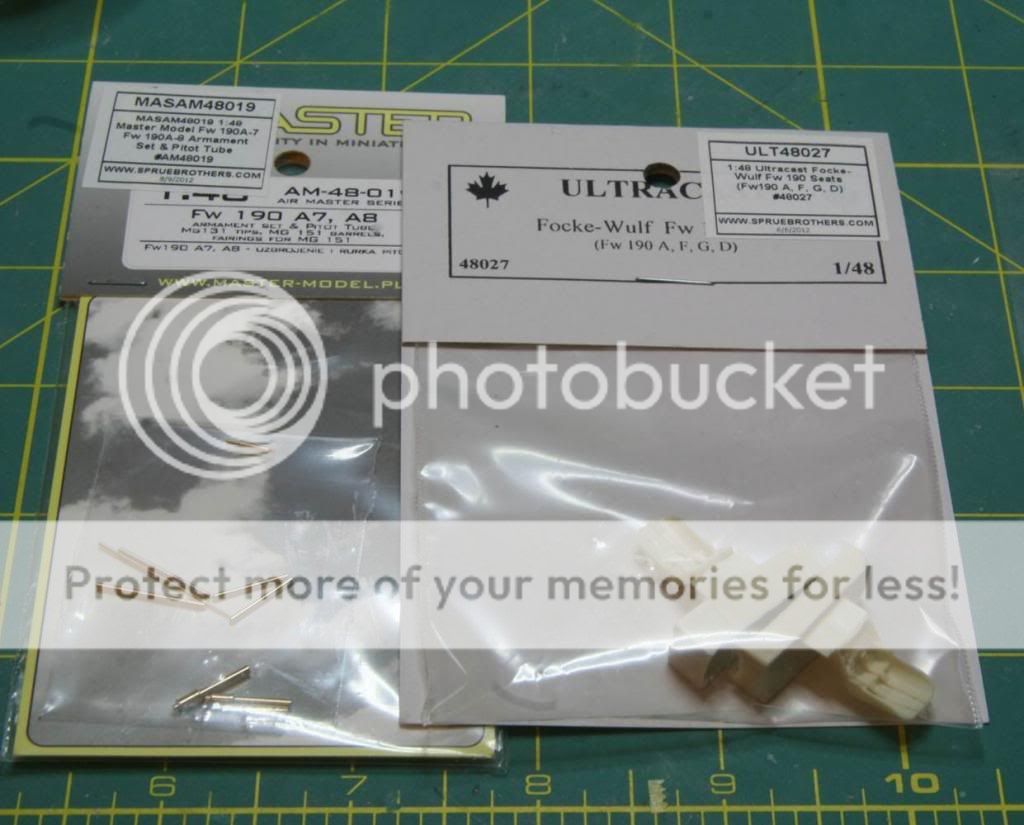
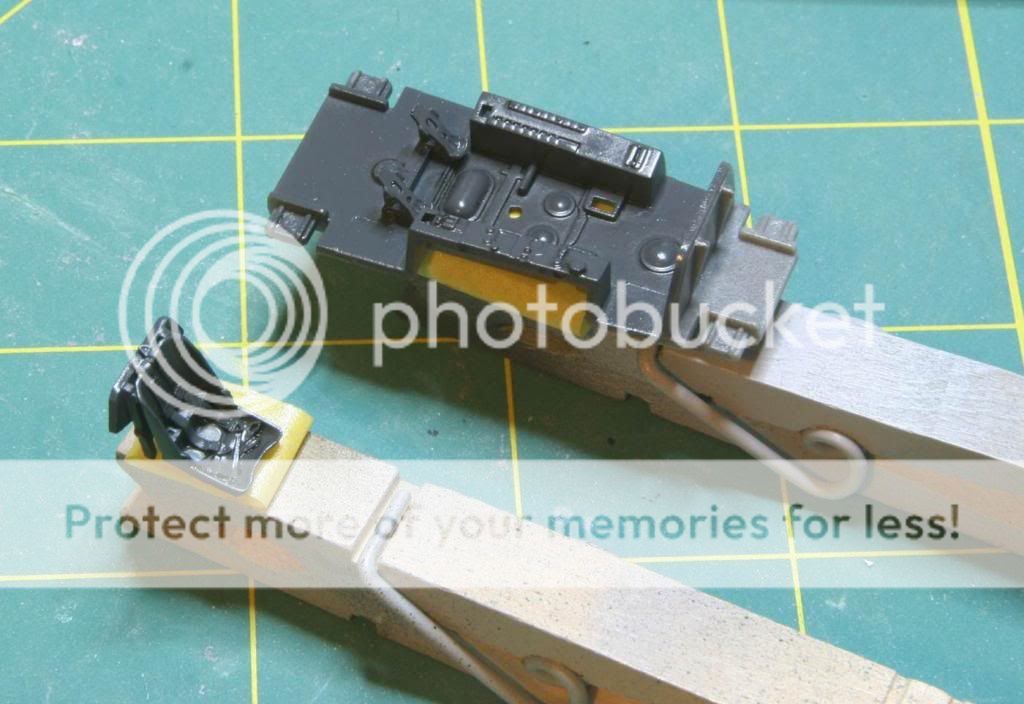
You can see how much of an improvement the Ultracast version is over the kit parts.
Next I painted up the cockpit using model master RLM 66. I gave the parts two coats of future followed by a wash of MIG dark wash. I sprayed the parts with acrylic flat and then a dry brush of lighter gray followed by detail painting.
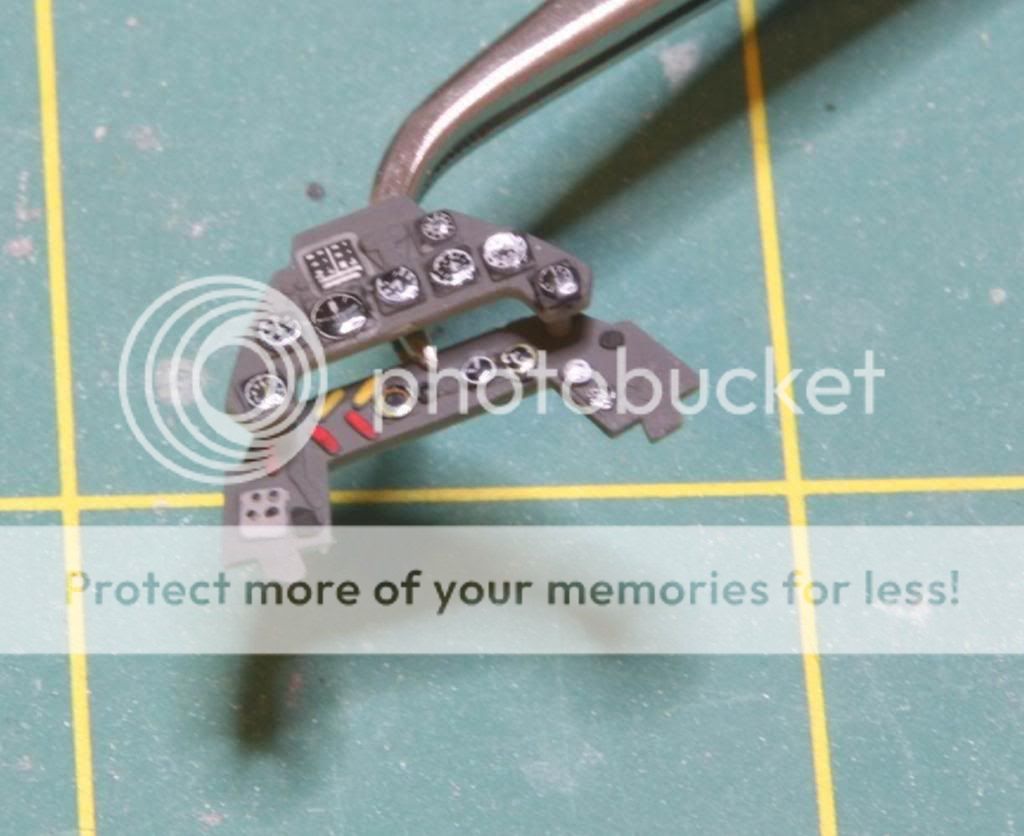
Then I worked on the instrument panel. It was sprayed in RLM 66 and the instruments were picked out in flat black.
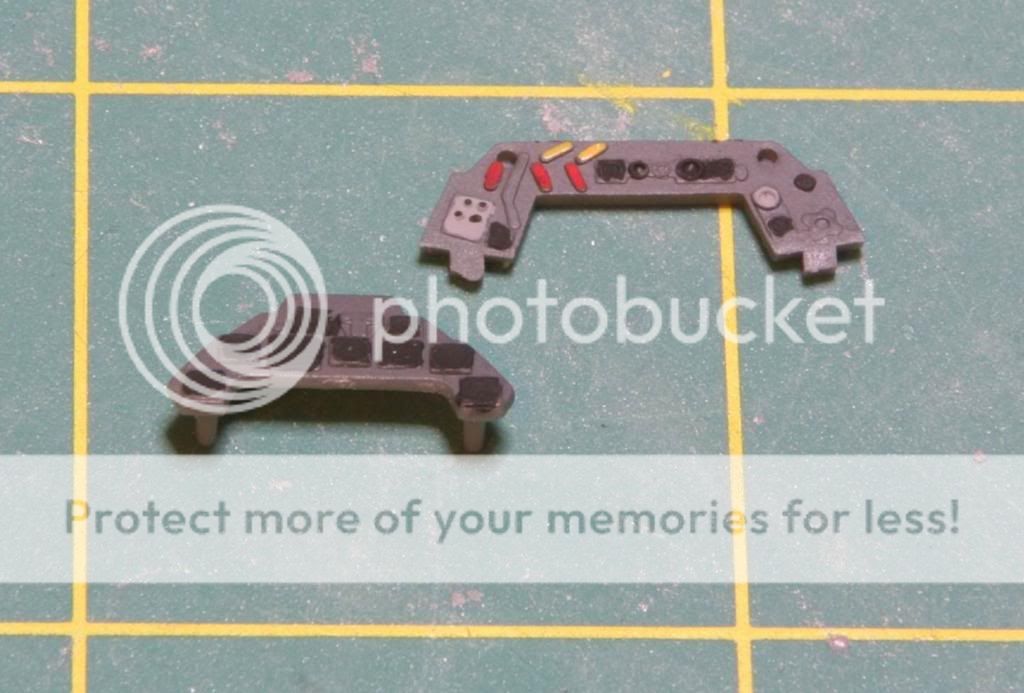
The kit comes with decals for the instrument panel. I got out my punch set and punched out the individual dials. I screwed a couple up so I used Mike Grant replacements and used some Airscale placards to augment the instrumentation panel.
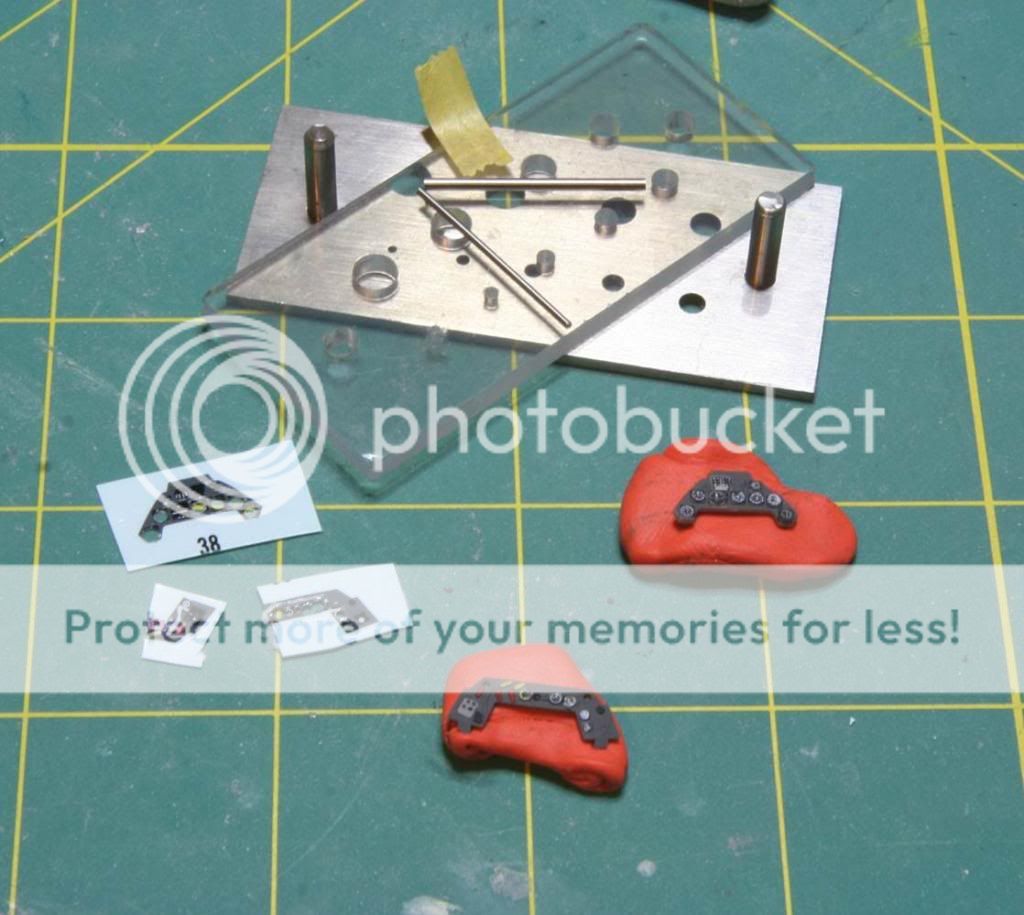
Last step was to add a drop of micro crystal clear to simulate the lens. Not perfect but pretty good. And as cramped as the cockpit in on this aircraft, it won’t be super visible.
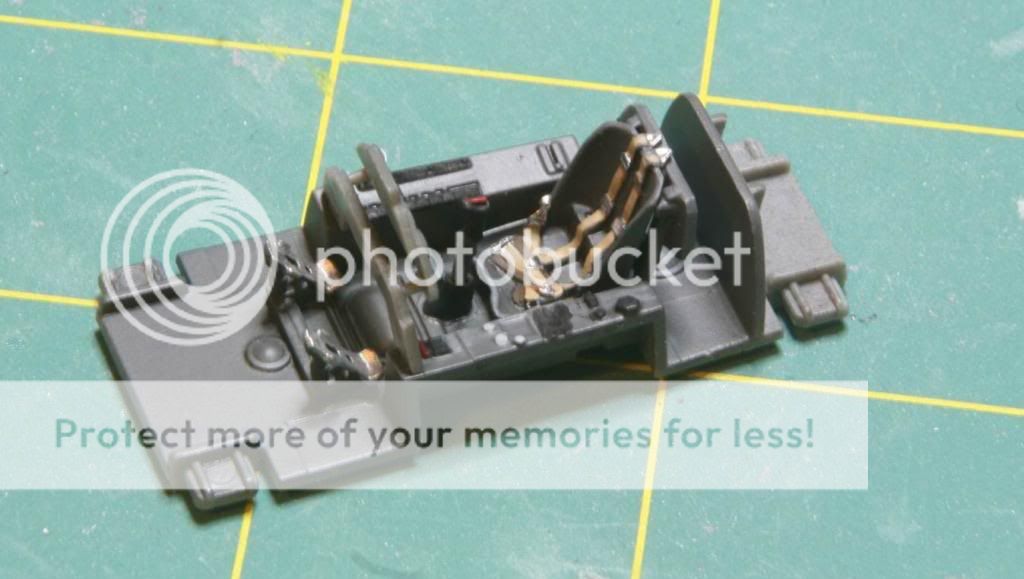
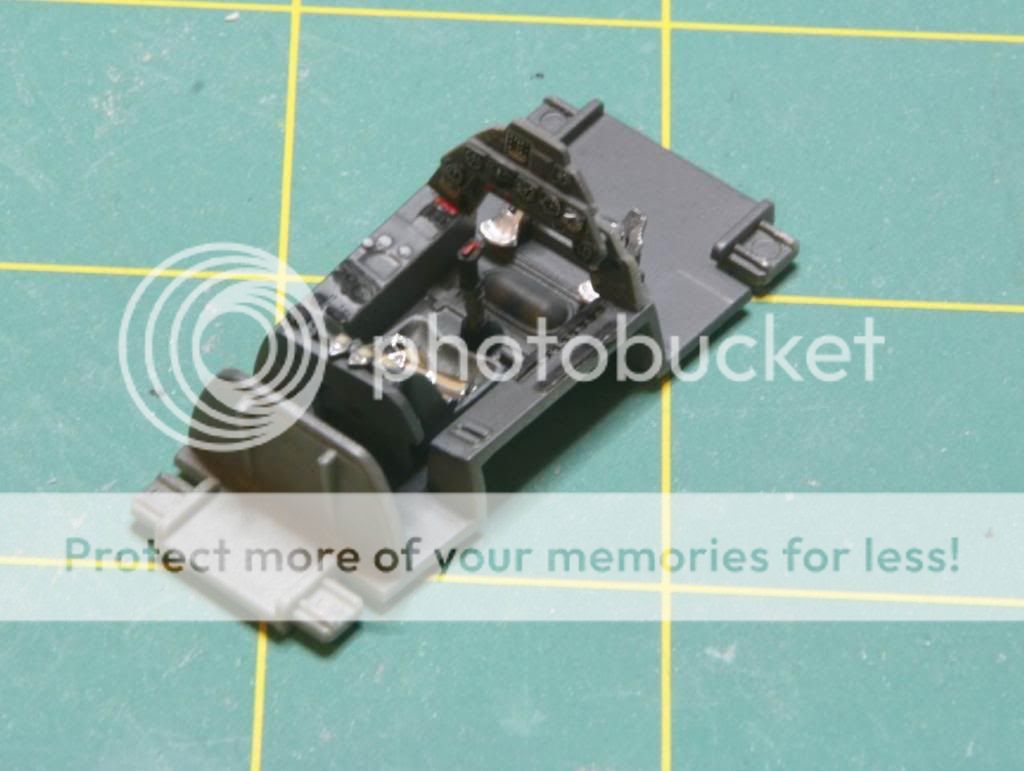
And here are all the cockpit components painted and ready for assembly.
The next step was to fit the seat. The kit seat had locating tabs in the bottom for placement. Since I used the aftermarket seat I needed to dry fit until I had the right position and then I glued it in place.
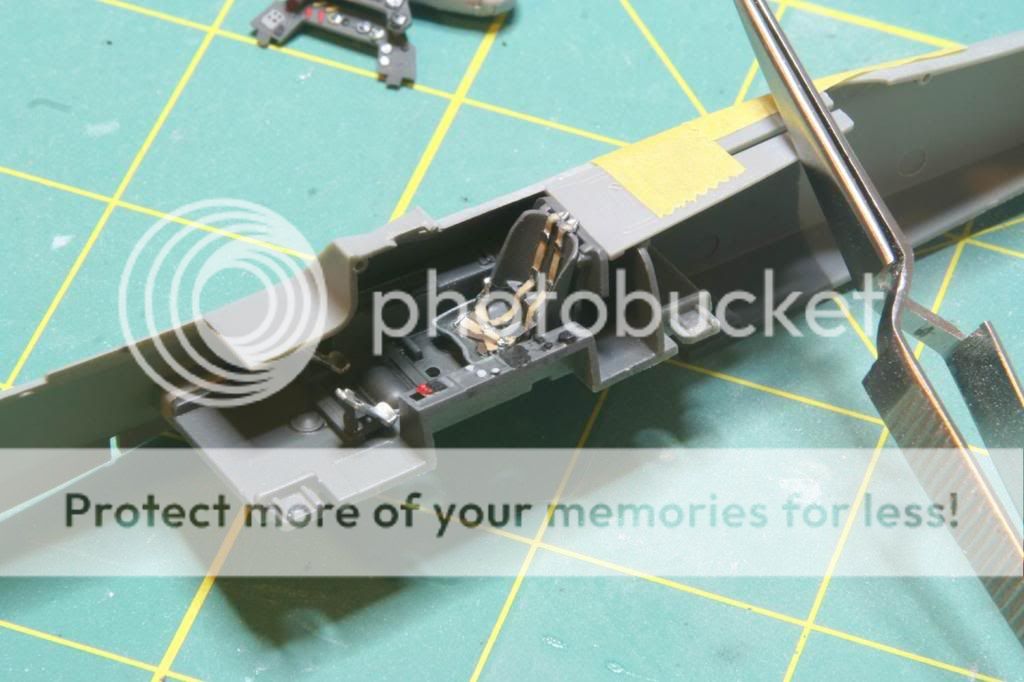
After the seat was in place I finished assembling the cockpit.
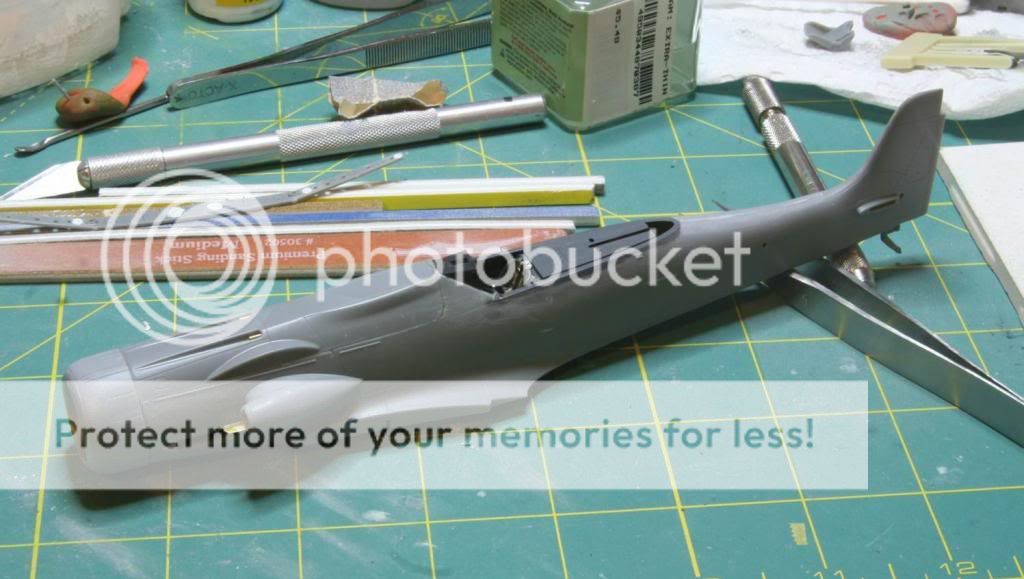
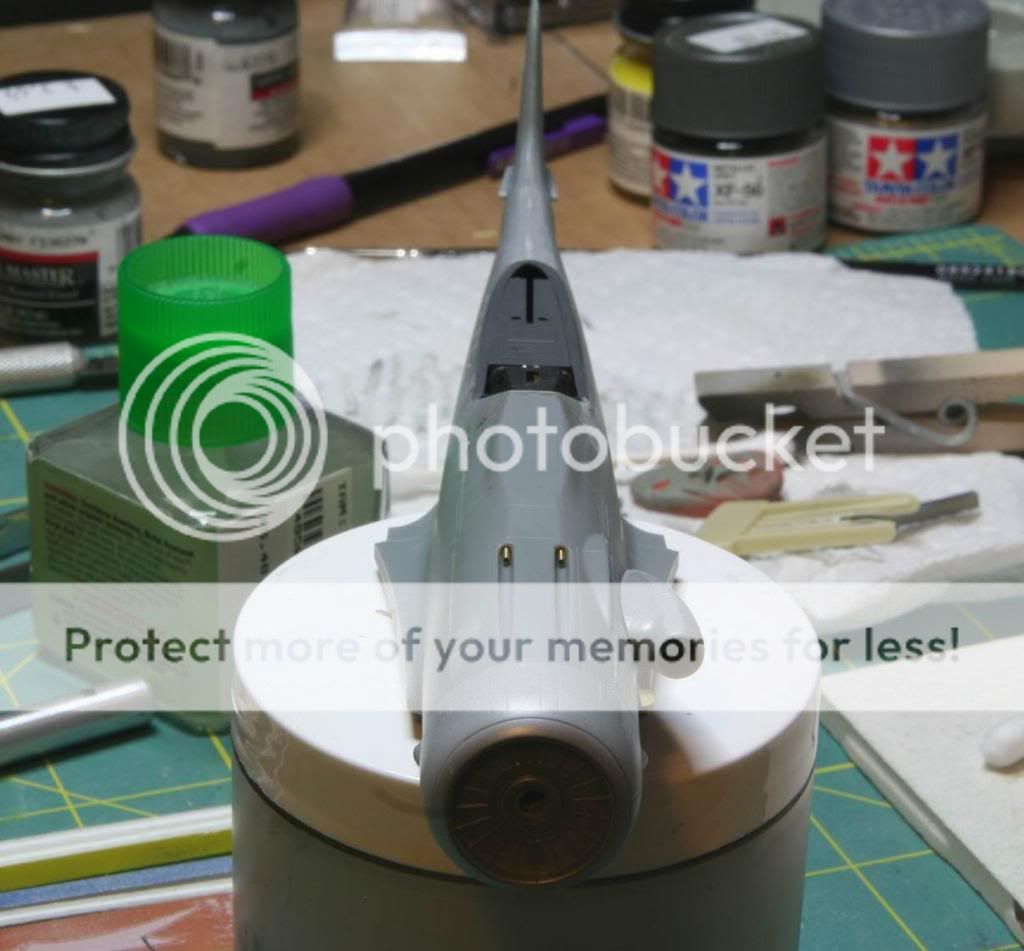
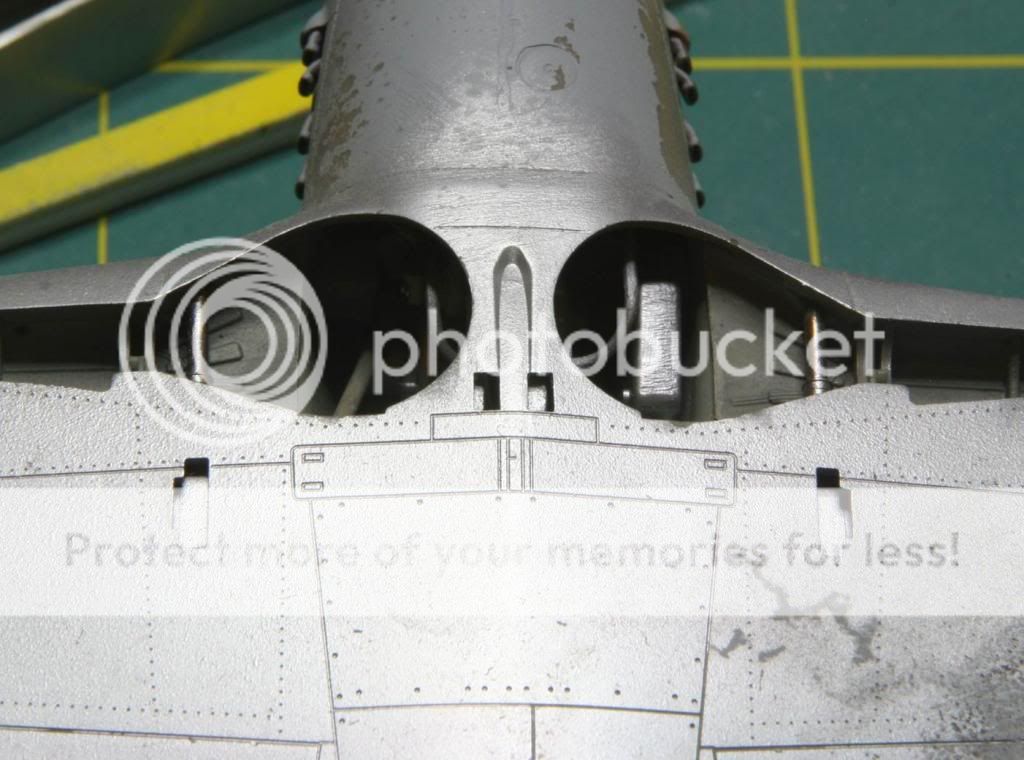
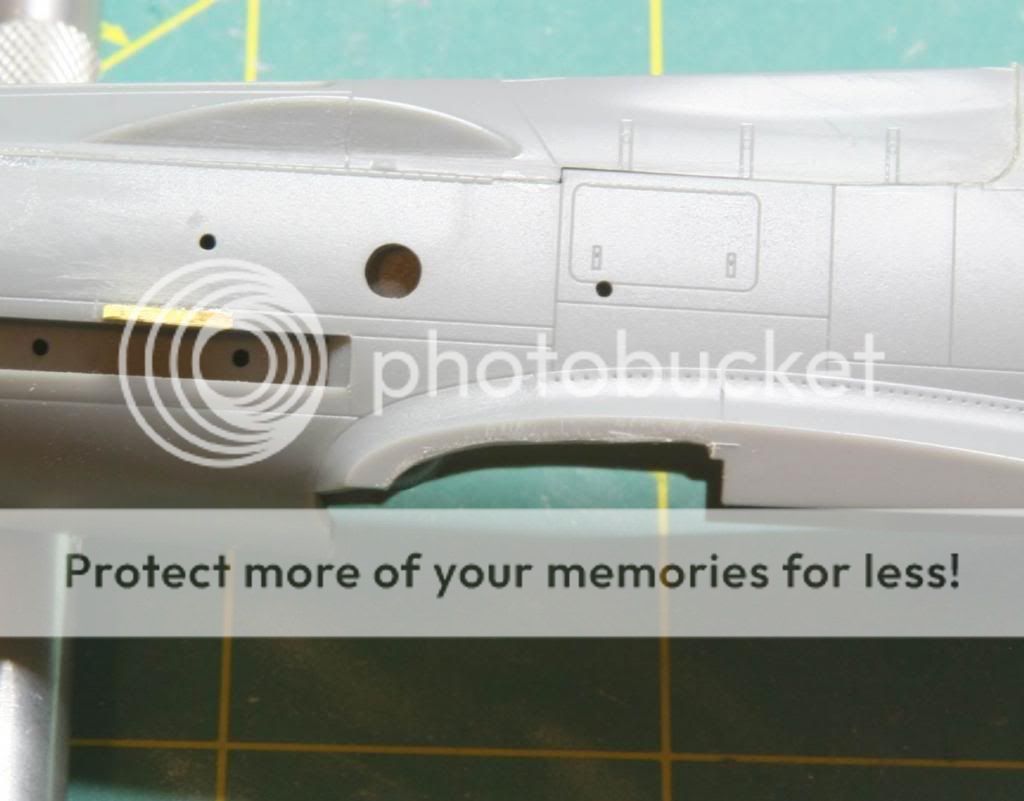
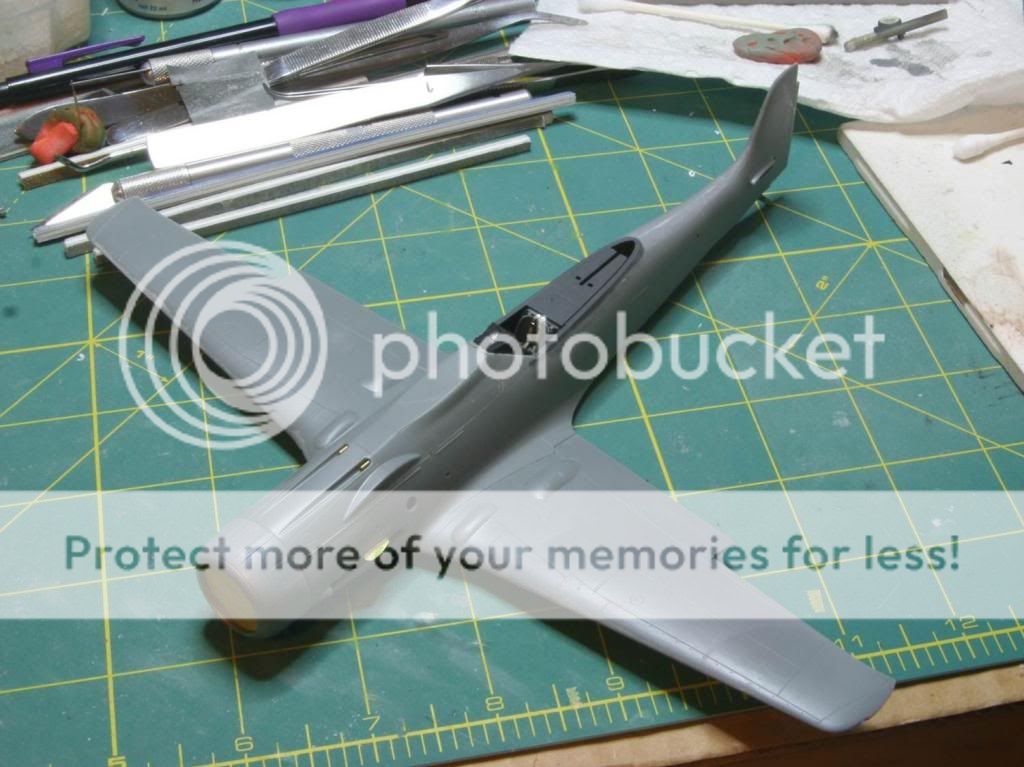
One thing to watch out for, the control stick has a half circle mounting tab on the bottom, if you install the stick following this, its backwards. So I drilled out the hole in the floor and installed the stick the right way. After I finished assembling the cockpit, I installed the tail wheel assembly, cockpit and the engine half into the fuselage. The kit has mounting holes for everything, which made alignment a snap.
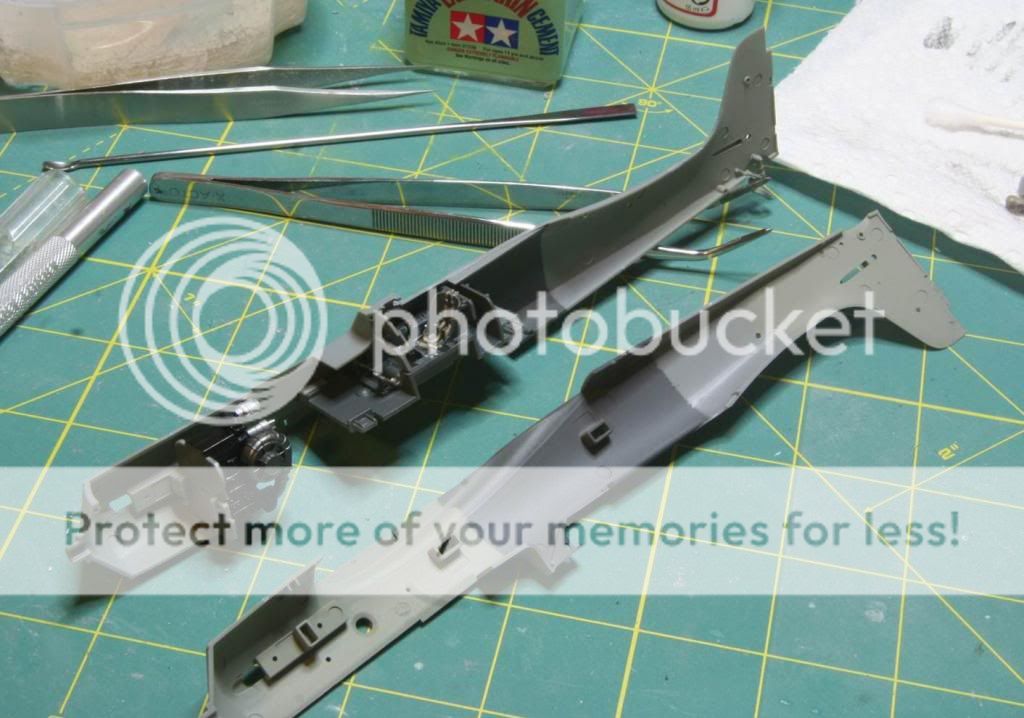
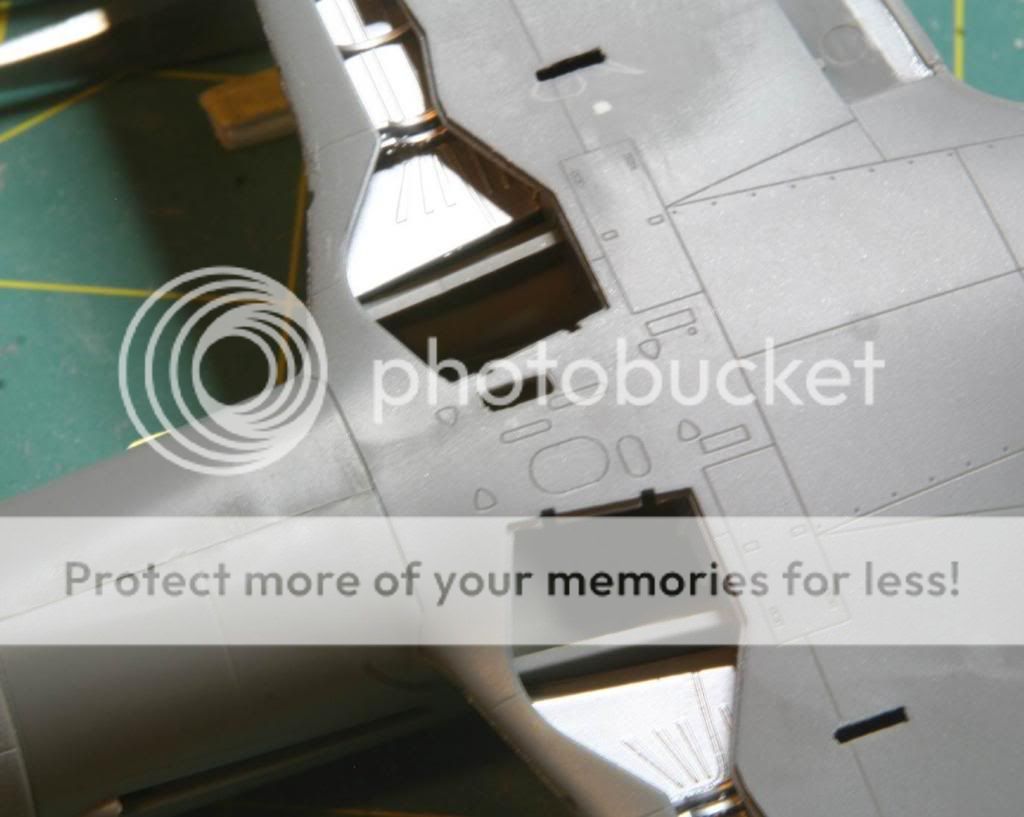
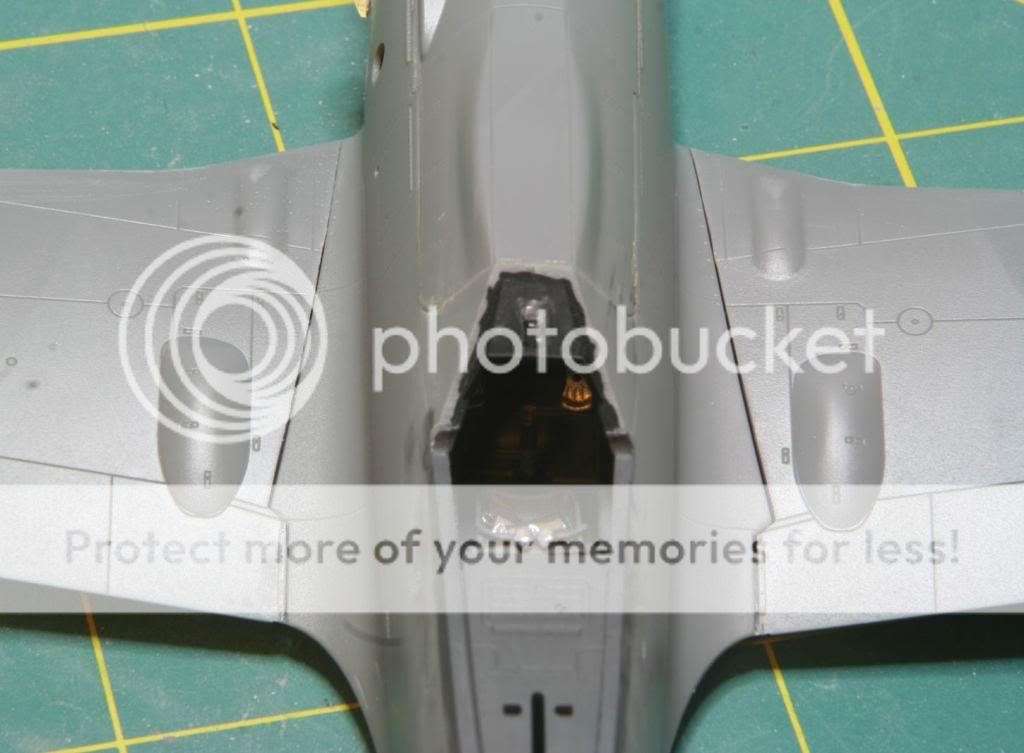
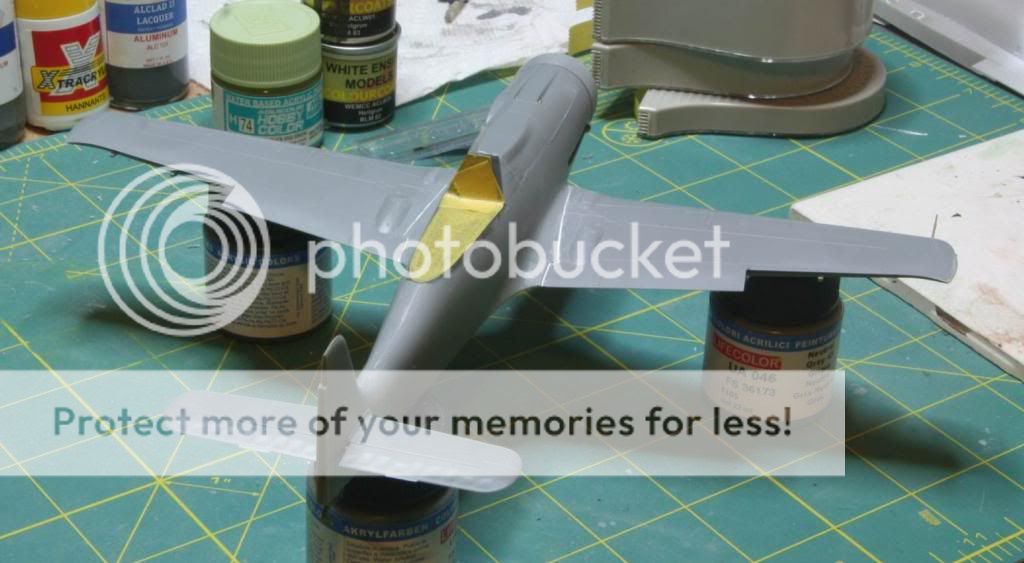
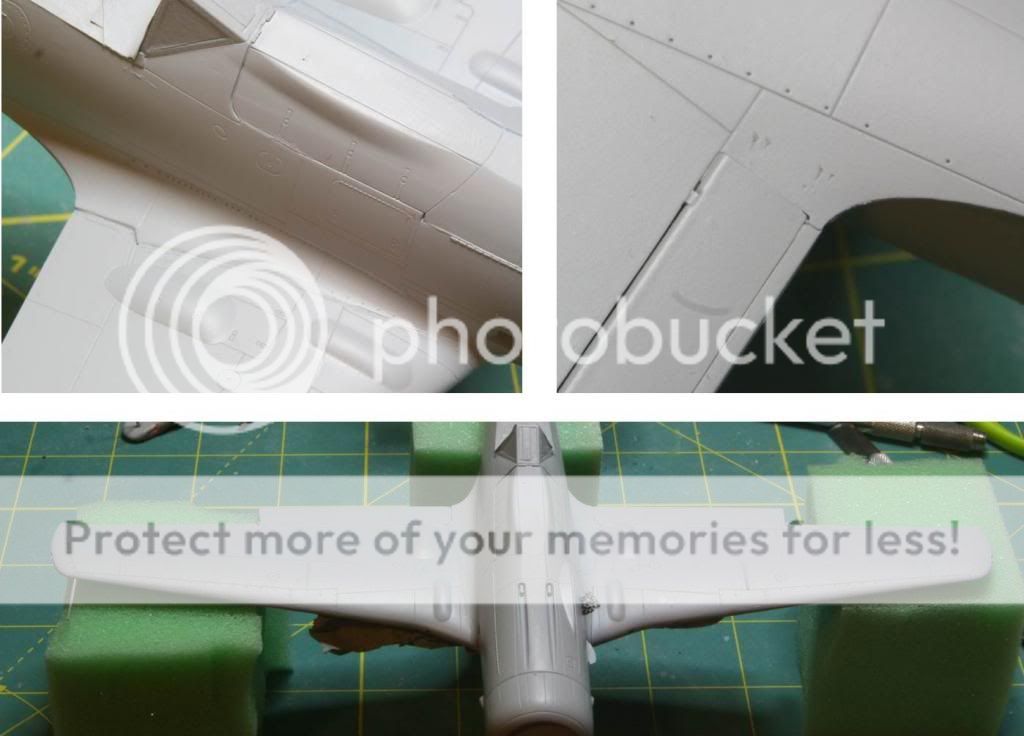
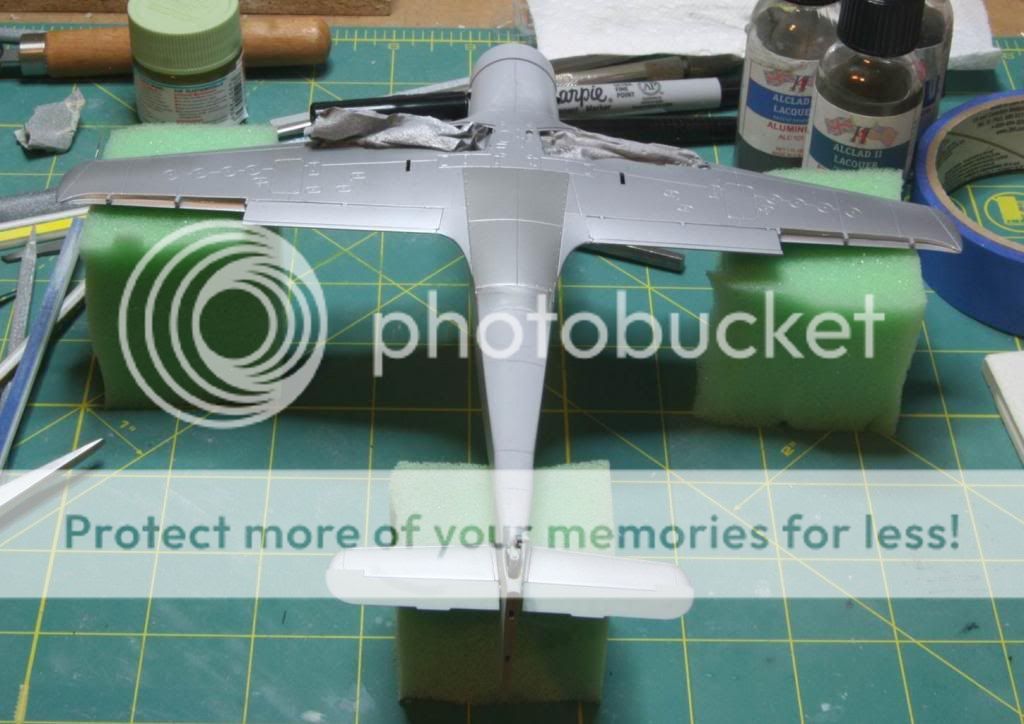
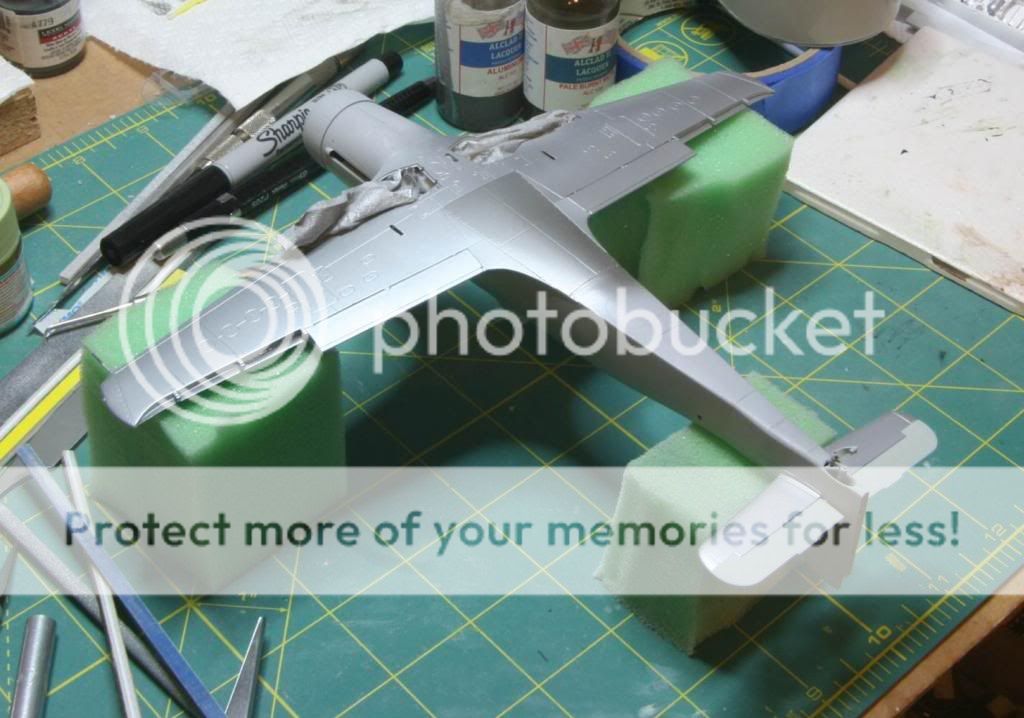
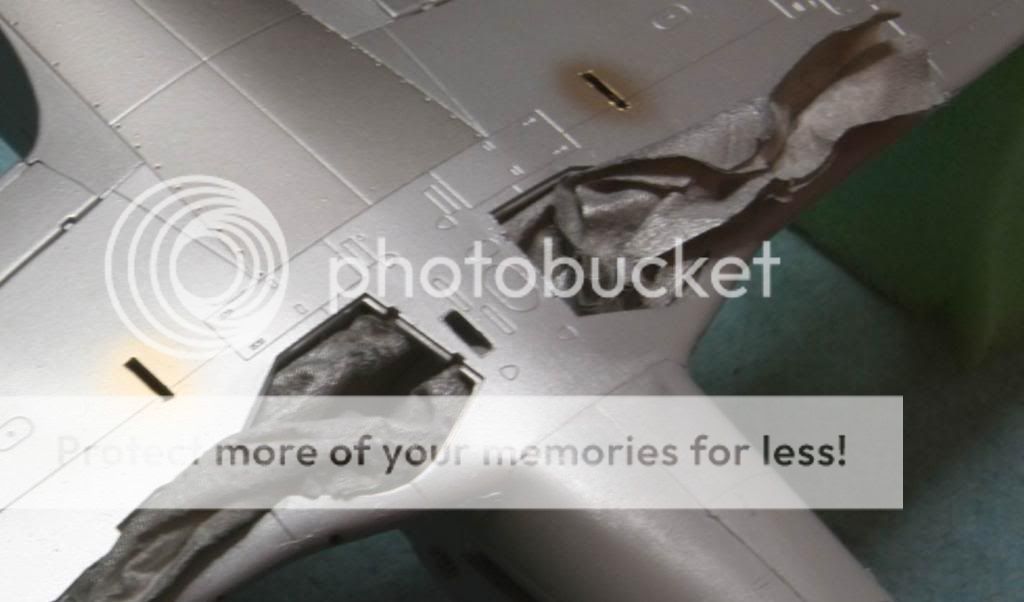
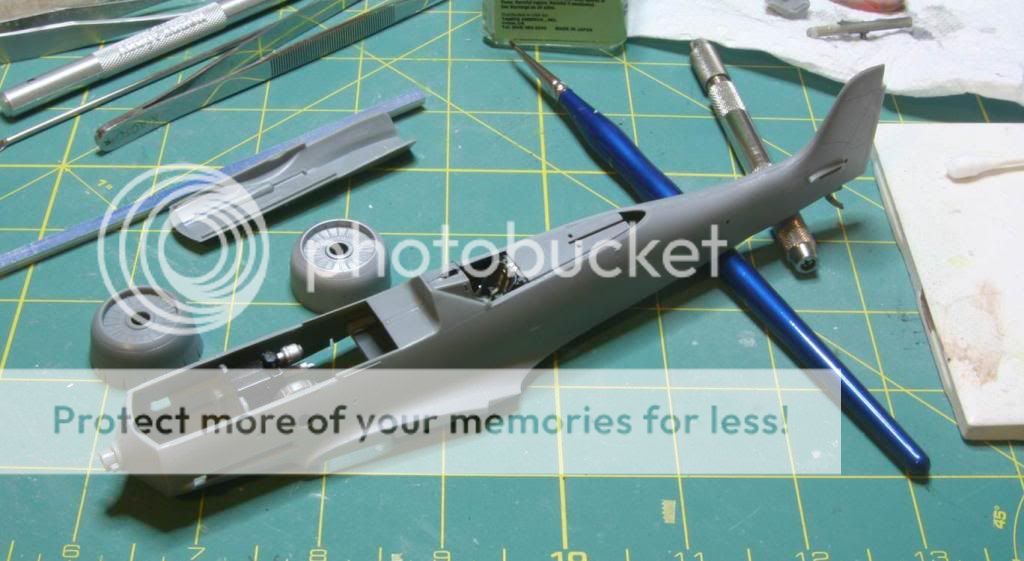
Then I closed up the fuselage halves. I added the rear deck behind the cockpit. As you can see, it doesn’t extend all the way to cover up the whole area. I’m not sure why Hobby Boss doesn’t provide a full piece. The photo etched option is the same length. Weird. Well I was trying to decide if I wanted to leave the canopy open or have it closed. I think this has given me the answer. Closed it is.
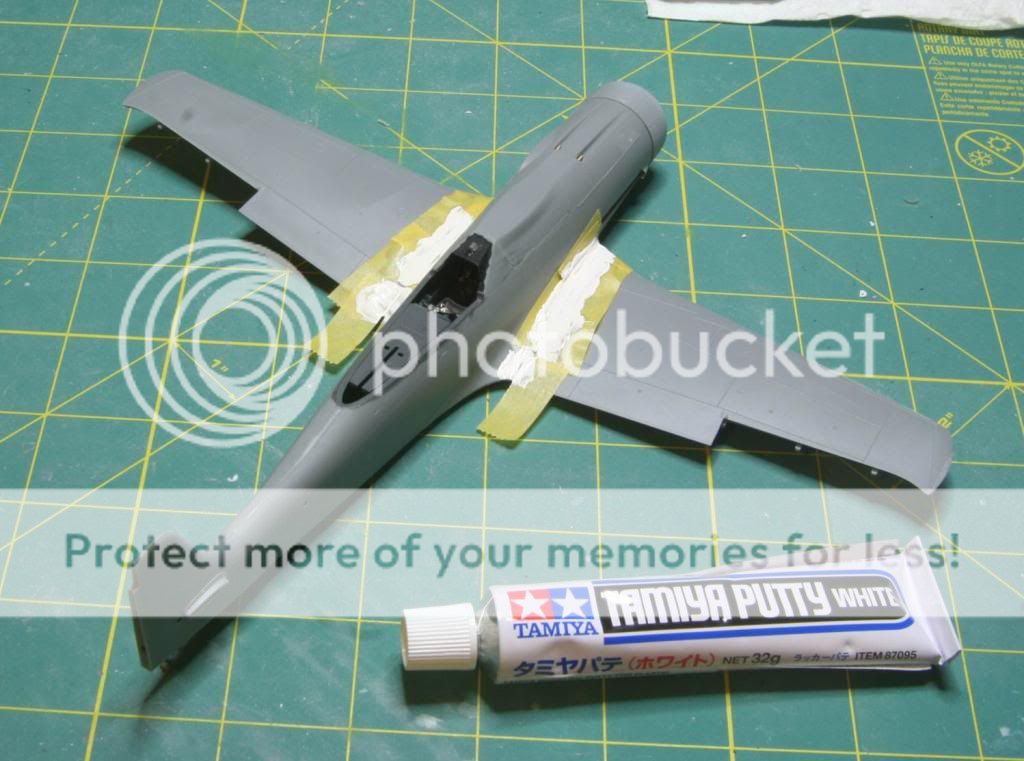
Well that’s all for now. I’ll work the seams and get it all closed up. The next decision is the cowl flaps. Open or closed? Anyone have any thoughts?
So first off I got some parts to help out with the kit. The kit seat was pretty poor, and the photo etch belts are not 1/48th scale. They are way too big. I don’t have any reference material to prove it, but I think it’s a pretty safe bet that the Ta-152C followed in the footsteps of the Ta-152H in that it had a lot of similar parts to the Fw-190s. So I replaced the kit seat with the Ultracast seat for the Fw-190. This seat has the molded on belts. I also ordered a Master Model set of brass gun barrels. Not sure if I’m going to use them or not, but they are fantastic.
You can see how much of an improvement the Ultracast version is over the kit parts.
Next I painted up the cockpit using model master RLM 66. I gave the parts two coats of future followed by a wash of MIG dark wash. I sprayed the parts with acrylic flat and then a dry brush of lighter gray followed by detail painting.
Then I worked on the instrument panel. It was sprayed in RLM 66 and the instruments were picked out in flat black.
The kit comes with decals for the instrument panel. I got out my punch set and punched out the individual dials. I screwed a couple up so I used Mike Grant replacements and used some Airscale placards to augment the instrumentation panel.
Last step was to add a drop of micro crystal clear to simulate the lens. Not perfect but pretty good. And as cramped as the cockpit in on this aircraft, it won’t be super visible.
And here are all the cockpit components painted and ready for assembly.
The next step was to fit the seat. The kit seat had locating tabs in the bottom for placement. Since I used the aftermarket seat I needed to dry fit until I had the right position and then I glued it in place.
After the seat was in place I finished assembling the cockpit.
One thing to watch out for, the control stick has a half circle mounting tab on the bottom, if you install the stick following this, its backwards. So I drilled out the hole in the floor and installed the stick the right way. After I finished assembling the cockpit, I installed the tail wheel assembly, cockpit and the engine half into the fuselage. The kit has mounting holes for everything, which made alignment a snap.
Then I closed up the fuselage halves. I added the rear deck behind the cockpit. As you can see, it doesn’t extend all the way to cover up the whole area. I’m not sure why Hobby Boss doesn’t provide a full piece. The photo etched option is the same length. Weird. Well I was trying to decide if I wanted to leave the canopy open or have it closed. I think this has given me the answer. Closed it is.
Well that’s all for now. I’ll work the seams and get it all closed up. The next decision is the cowl flaps. Open or closed? Anyone have any thoughts?
")