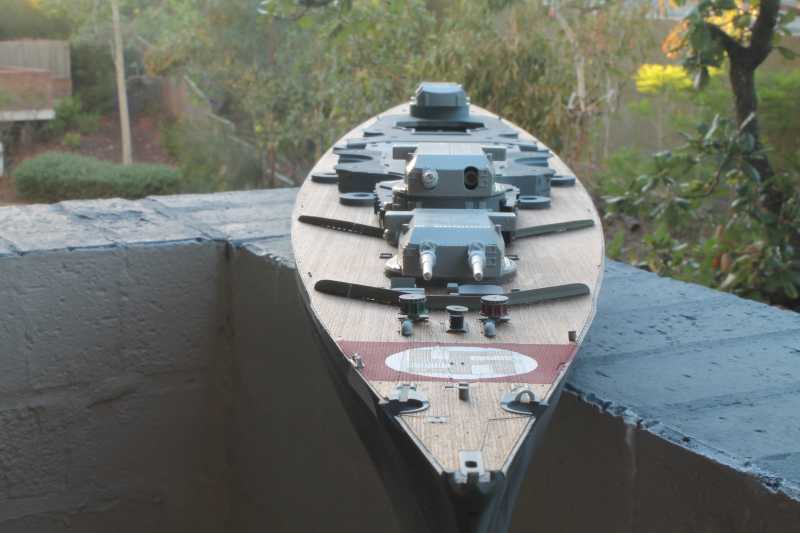
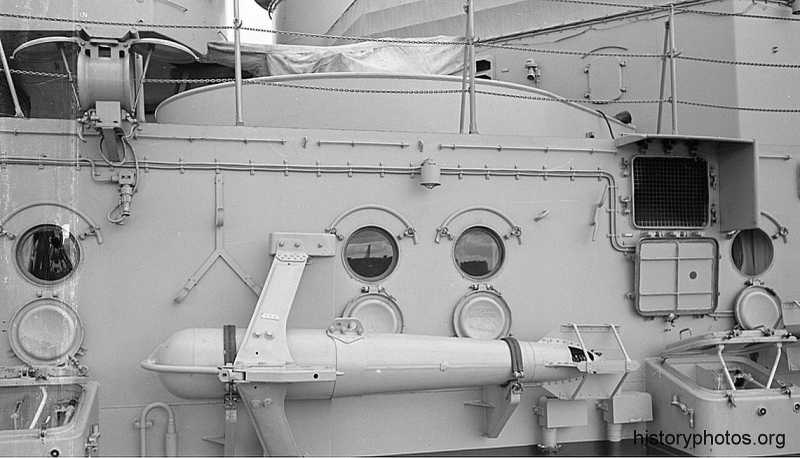
BAsed in the photo up top I was going to say the rods look a bit think, but the real photo shows it spot on. Outstanding...

Modelers Alliance has updated the forum software on our website. We have migrated all post, content and user accounts but we could not migrate the passwords.
This requires that you manually reset your password.
Please click here, http://modelersalliance.org/forums/login to go to logon page and use the "Forgot your Password" option.
BAsed in the photo up top I was going to say the rods look a bit think, but the real photo shows it spot on. Outstanding...

BAsed in the photo up top I was going to say the rods look a bit think, but the real photo shows it spot on. Outstanding...
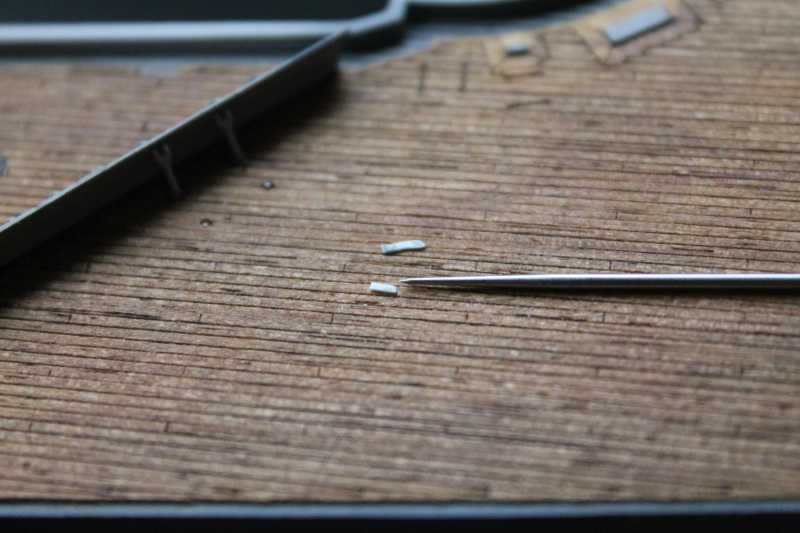
The railing was my downfall on the Graf Spee. I know it's not going to get you Laurence!
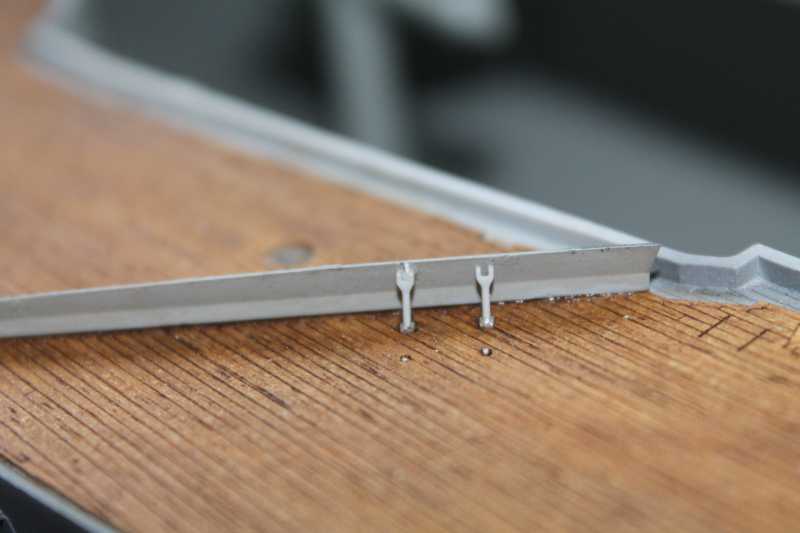
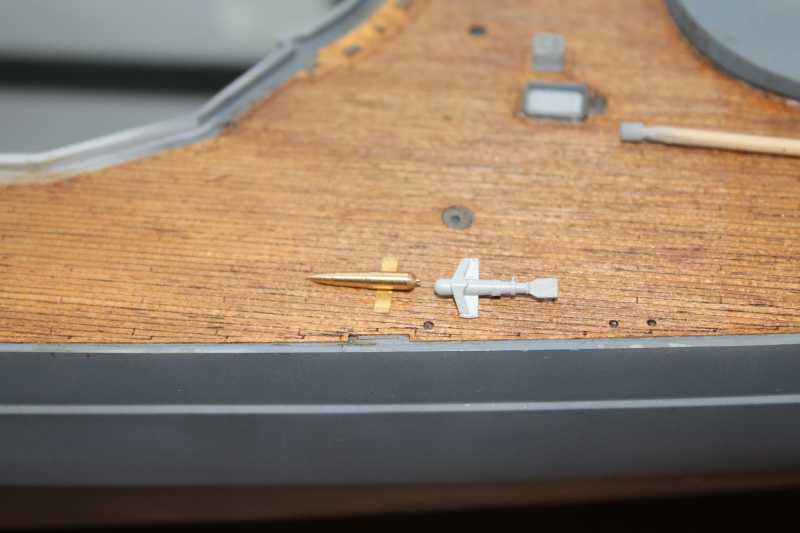
For fine PE you just have to have the fine tools to handle the parts. "Fine" tweezers, bigger square ended tweezers, something to clam and hold parts while bending the parts, and a little forethought on how you are going to attach the parts.
I know you can do it Laurence! I will be watching.
Stunning work man! Your first time too? Man, I've been building regularly since I was 7 and all this, plus the water effects on the Predator are still far beyond my skill set! I'll never be known as a Master that's for sure! Way to go man, that is looking magnificent!

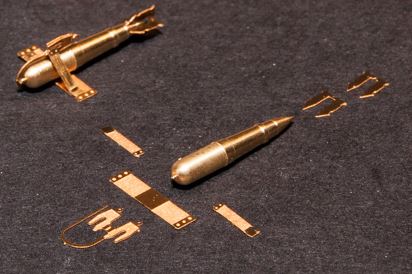
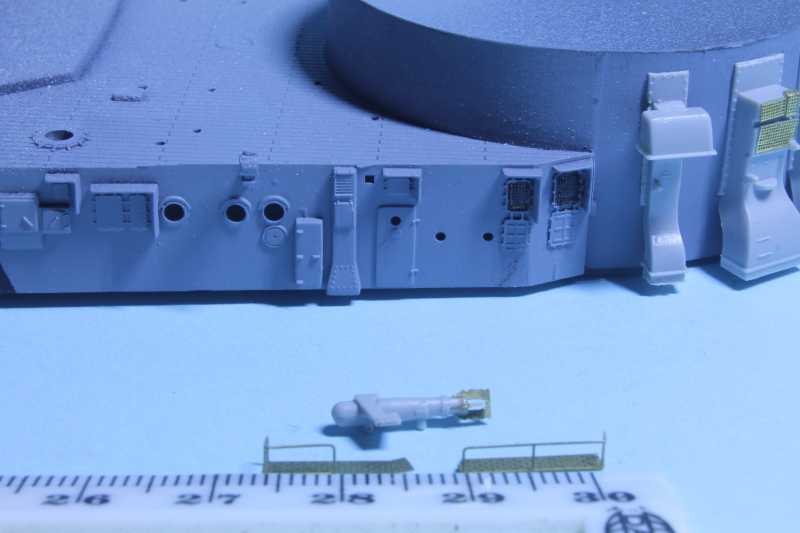
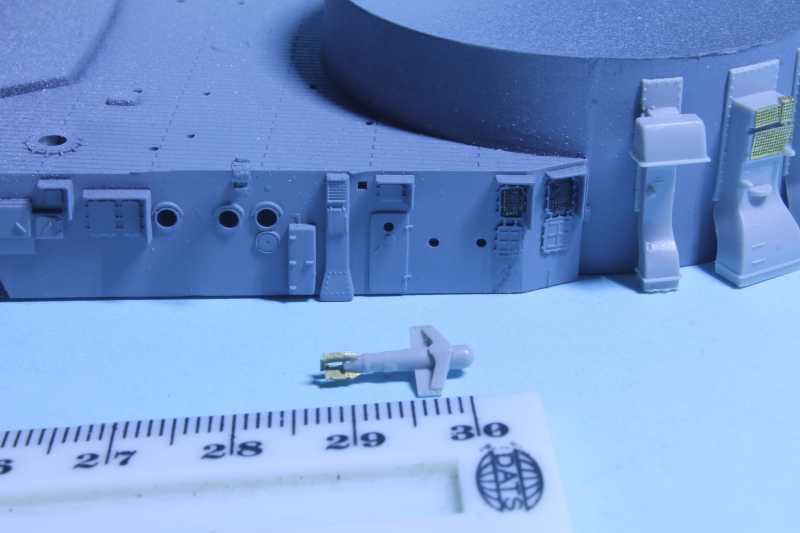
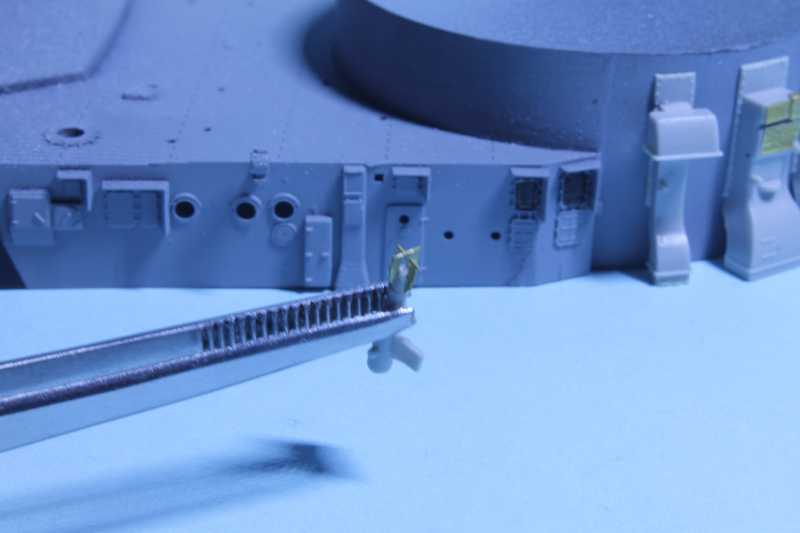
Those brass pieces really are an improvement.

