• Modelers Alliance has updated the forum software on our website. We have migrated all post, content and user accounts but we could not migrate the passwords.
    This requires that you manually reset your password.
    Please click here, http://modelersalliance.org/forums/login to go to logon page and use the "Forgot your Password" option.

All Righty ... What's on the bench today?

She found a place in the vignette, decided to skip the legs to give her a little "floating" feeling

P1110101~0.JPG


Not easy to hide the wire but i have to live with that i guess :drinks

If she is a ghost, you might try making a bush that has a lot of vivid colors and the upper foliage kind of pokes out of her coat as if she is standing partly in the bush.
 
She found a place in the vignette, decided to skip the legs to give her a little "floating" feeling

P1110101~0.JPG


Not easy to hide the wire but i have to live with that i guess :drinks

Perhaps some cotton batting (cotton ball) combed/brushed out to have wisps/tendrils so that it looks like fog?

Cheers
 
I've done a bit more work on the wooden fence and the base its going to go on.

I used some extremely thin water-like washes of crafter's type acrylic paints to weather the fence.


Those rows of tiny things are HO scale rivets I bought about 25 years ago. I've sanded the heads of them flat and painted them with Humbrol Rust paint. I'm thinking about using them as nails on the boards but ONLY if they're visible from a few feet away.

Here's the base with the fence temporarily in place. The tree is something I dug out of the ground a number of years ago and had on another diorama.


I'm going to be putting a T-34 tank on the road later when the tank is finished. Just for fun I put on a modified Tamiya cat, a modified Tamiya dog and a Tamiya crow. The cat has been treed by the dog and the bird would be mounted on the fence and watching. Right now the bird is getting a drink from a puddle on the road whilst the cat is occupied by the dog.

Modified Tamiya dog. I'm finishing up the tail as I had to modified it too.


The treed modified Tamiya cat. The cat is from the German Ammo Loading Set.


The unpainted crow on the road near the puddle. The crow is from the Tamiya German Tank Crew at Rest Set.


The crow removed and the partially finished T-34 on the road.


That's all for now. I'll be adding more mud near the puddles where needed and also some tall grass or dry wheat. Then I'll be adding a bit of snow as this scene will be either very late winter/early spring or early winter.

Cheers
 
Was going to work on my little Dornier this weekend and did a little saturday. Have really been feeling a little off the last couple of weeks and sunday and monday I really have not been up to doing much at all. Kind of light headed and when I eat it can get worse. Plus had total insomnia sunday night monday morning. Stayed home monday read and took a couple of short naps but still just feel blah. Looks like doctor visit time in the morning. :sick:
 
Paul, good luck at the Doc's. I hope and pray it ain't serious.


Here is my latest progress I was able to do a few days during this week, as well as at Hobby Day.

I'll start out with the Speed Racer car: I shot another coat of white over it. You can see how rough that coat is so there's going to be more sanding smooth and re-coating in my future:

WIP_Mach_5_IX.jpg


Now on to some of my Shelf Queens. Earlier this week I tried to shoot a new coat of Gloss Aluminum on the C-118. The paint cracked. I'm guessing I was shooting too close. It's kinda hard to see in these pics, but it's there:

WIP_CargoHaulersCampaign_XXVII.jpg


WIP_CargoHaulersCampaign_XXVIII.jpg


So, I sanded the cracked paint smooth again and then shot another coat. Since I'd gone down to bare plastic in some places, this coat turned out blotchy:

WIP_CargoHaulersCampaign_XXIX.jpg


Again, kinda hard to see in that pic; but it was very obvious in person. So, I sanded smooth again, then applied some Mr. Surfacer 1000 from the spray can. When it dried, I buffed it smooth and re-shot the Gloss Aluminum. Much better; I can move on with this now:

WIP_CargoHaulersCampaign_XXX.jpg


WIP_CargoHaulersCampaign_XXXI.jpg


While I was working on my large planes, I pulled out the B-377 and applied the decals to the fuselage. What a challenge that was! They broke a lot, and also didn't fit where they were supposed to so I did the best I could. Finally, I had them more or less acceptable. It even took a few applications of Solvaset to get these to lay down right:

WIP_B_377_VIII.jpg


WIP_B_377_IX.jpg


A few days and a clearcoat or two later, I applied the decals to the wings. Not nearly so difficult as the fuselage, but there were a few challenges. One frustration I had was the globe portion of one of the front decals disappeared. I have no idea where it went and I have nothing available to fix it so this will remain that way. Despite that, I'm thrilled with the way this looks now:

WIP_B_377_X.jpg


Now to shoot another clearcoat to seal everything once again and I'll be able to move on and finish this. I can't wait!

Speaking of models I can't wait to finish, I also applied the ancient Airfix decals to the HP Hampden in order to move forward on this. These took copious amounts of Solvaset to settle down well, but I'm happy with the results so far:

WIP_HP_Hampden_XVII.jpg


WIP_HP_Hampden_XVIII.jpg


Now this one is ready for a clearcoat before I start the finishing on this. That makes three clearcoats I have to apply; The C-118 will need another before I'm comfortable with any further handling of that model.


Finally, I felt the urge to start something new. Simple and easy was an appealing notion as well. With that in mind, I pulled out this Hobby Boss 1/72 scale Israeli Cobra and started it. I don't have one of these yet in my Israeli forces so it was time to fill that gap:

WIP_AH_1_Israeli_Cobra_I.jpg


I started with the cockpit and the exhaust shroud first. Easy stuff:

WIP_AH_1_Israeli_Cobra_II.jpg


Later on after painting everything, I closed them up inside the fuselage:

WIP_AH_1_Israeli_Cobra_III.jpg


Now that was set aside to dry a bit. Since I had a little more time, I started my 701st little vehicle. This is the Roden 1/72 scale FWD 3-ton ammunition carrier from WWI. I started with the Chassis:

WIP_FWD_3_Ton_Ammo_Carrier_I.jpg


That was pretty fiddly but looks great I think. I also got that assembled pretty fast ; much faster than I expected. I was on a roll so I kept going. Before I knew it, this little beastie was done:

WIP_FWD_3_Ton_Ammo_Carrier_II.jpg


I gotta say, I love the little hand crank in the front that starts the engine! This thing has a pretty funky camo pattern that will take some Silly Putty and patience to do so I'll have to wait till I have a long modeling day to work on that some more.

Until then, that's about all I have done so far in this short update. I hope you enjoy. Stay tuned for more; there's some rainy days coming that will allow me to get more done.

Thanks for looking in, comments are welcome.
 
Good work with the silver, i've had paints like that, usually black and its almost like something comes out of the plastic and reacts for no reason. I was told cracking is when you get two layers of paint on and they dry at different speeds? sometimes you see on cans , spray second coat within 10 mins or leave for 24hrs.
Well done for sticking with it :)
 
Love Speed Racer. My favorite show when I was a kid, I have them all on DVDs.

Here's my bench today:

I was placing an Amazon order and they recommended I get a Weird-Ohs kit. It was $7. I thought it was going to be a few inches total, I wasn't prepared for that. It fell together, better fit than some $70 kits I've seen.

I'm also doing another Creature and animating a repop of the old '64 Aurora Frankenstein's Monster via Arduino.


h4fc8303.jpg
 
Good work with the silver, i've had paints like that, usually black and its almost like something comes out of the plastic and reacts for no reason. I was told cracking is when you get two layers of paint on and they dry at different speeds? sometimes you see on cans , spray second coat within 10 mins or leave for 24hrs.
Well done for sticking with it :)

Thanks! I think the Lacquer based Tamiya reacted with the Aqua Clear since I shot too close. It was a fairly easy fix. Things are looking much better. Gonna see if I can add another clearcoat to this now.

Ausf, those models are looking great! I really like the idea of animating the Frankenstein. Cool!
 
Got tired of all the seam work on the Piaggio so thought I would take a little break and do this little kit that I picked up a week ago while traveling.

00DaimlerMKII.jpg


Construction went very quick. It only took a couple of hours but I screwed up the placement of the top front hull plate so had do some quick thinking to make it work. Still have a couple fiddly parts to put on and the wheels are not glued yet but should shoot some paint tomorrow.

01DaimlerMKII.jpg


02DaimlerMKII.jpg

That is 1 very tiny model...
 
Sweet job man! I built one of those too, and it's one of the more fun and enjoyable models I've ever done. You've got this looking fantastic; she's really going to shine under paint!
 
Hello everyone and welcome to my newest small update and another exciting episode of "One Step Forward, Two Steps Back"! Yes, in trying to finish these two large aircraft I'm working on, I have encountered even more setbacks. It's as if these two refuse to be completed.

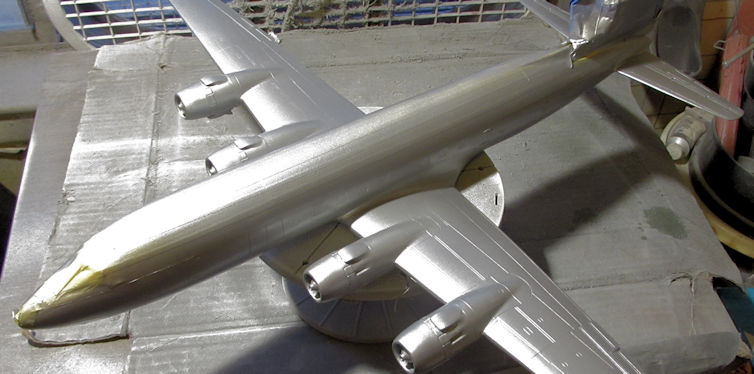
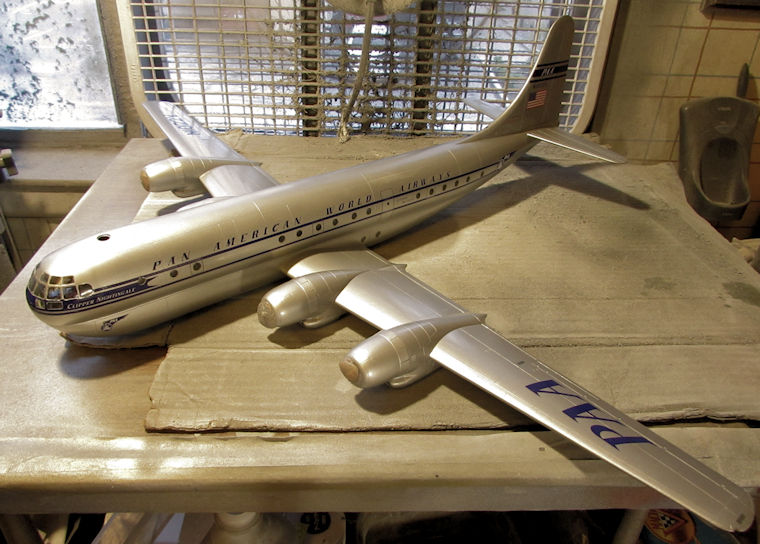
Let's start with the big B-377...

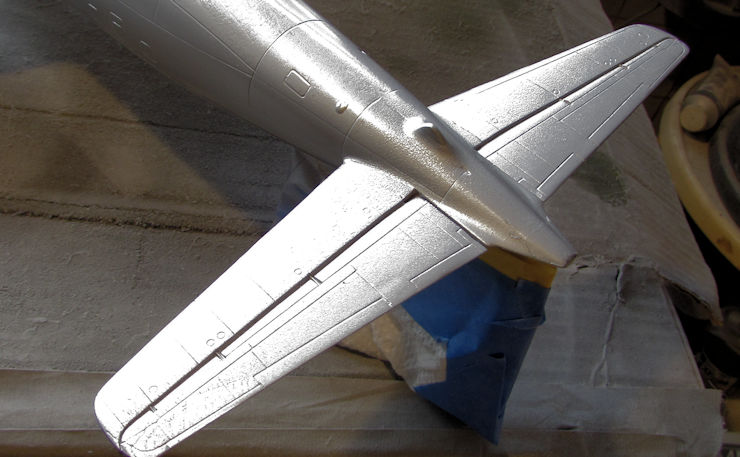
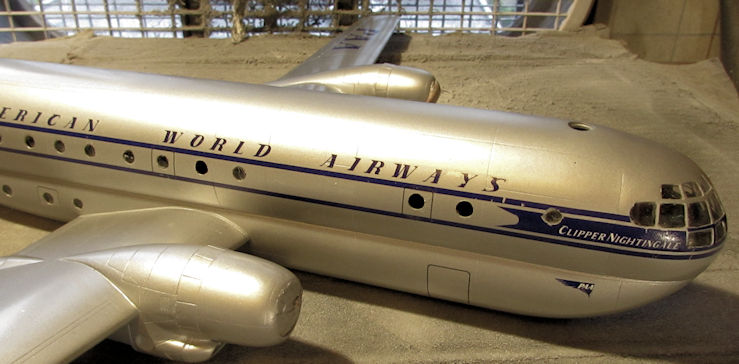
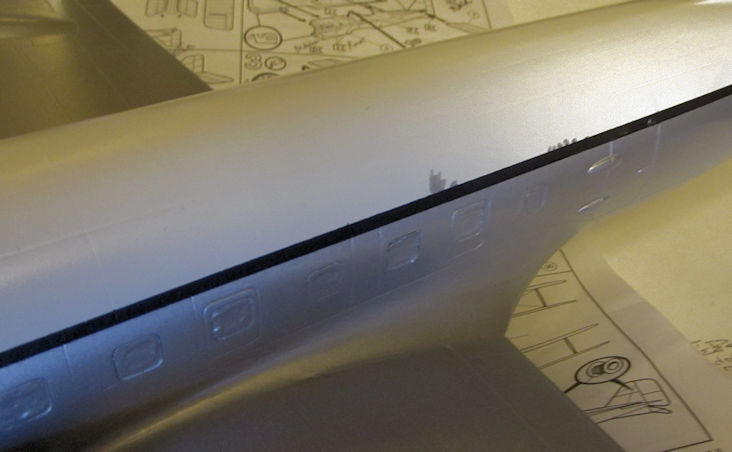
I had finished re-coating this and set it aside to dry and later picked it up to start removing the window masking. That's when I found this. It's hard to see in the pic, but it is a blemish on my perfect upper fuselage from running clearcoat:

WIP_B_377_XI.jpg


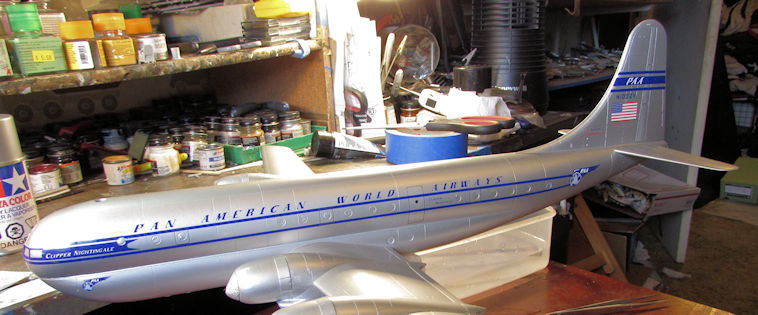
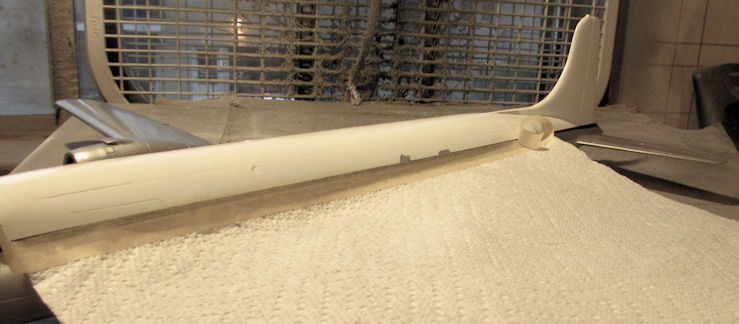
So, after masking as seen in this previous pic; I sanded this smooth and re-shot it with the now-decanted Tamiya Gloss Aluminum. I think I got it close enough to how it was before:

WIP_B_377_XII.jpg


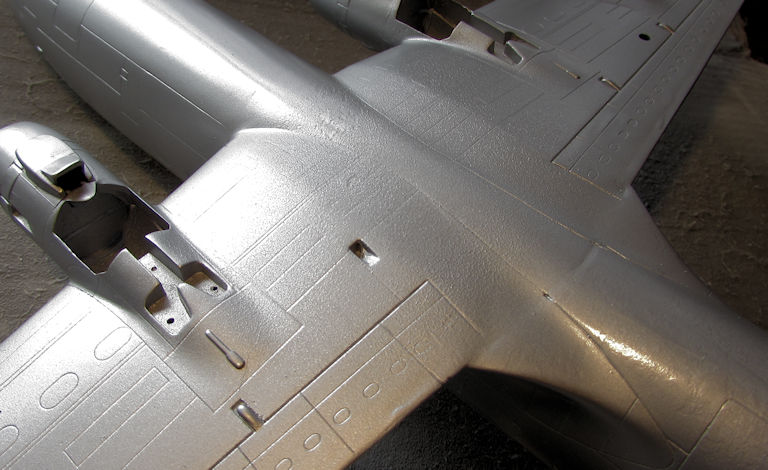
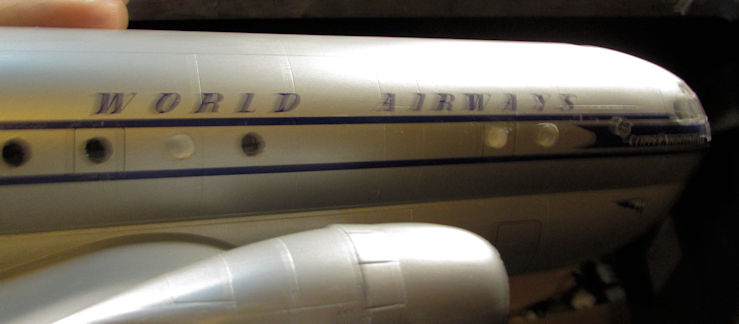
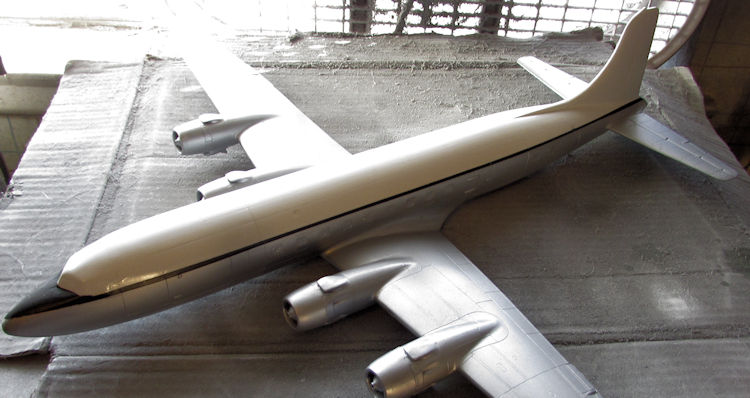
Finally, I felt I could move along on this. I decided to remove all the window masking to prevent my breaking the landing gear and gear doors (among other things) later on. It seemed to go pretty well at the start:

WIP_B_377_XIII.jpg


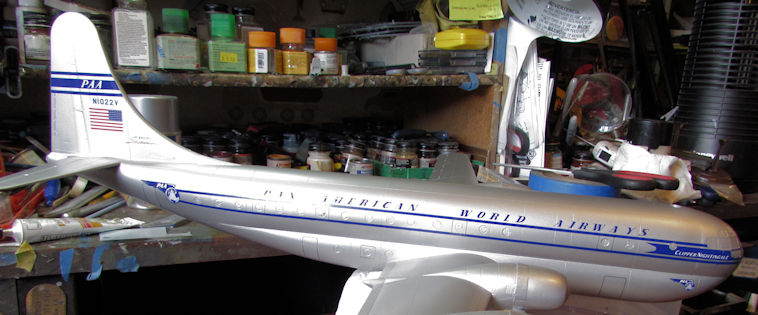
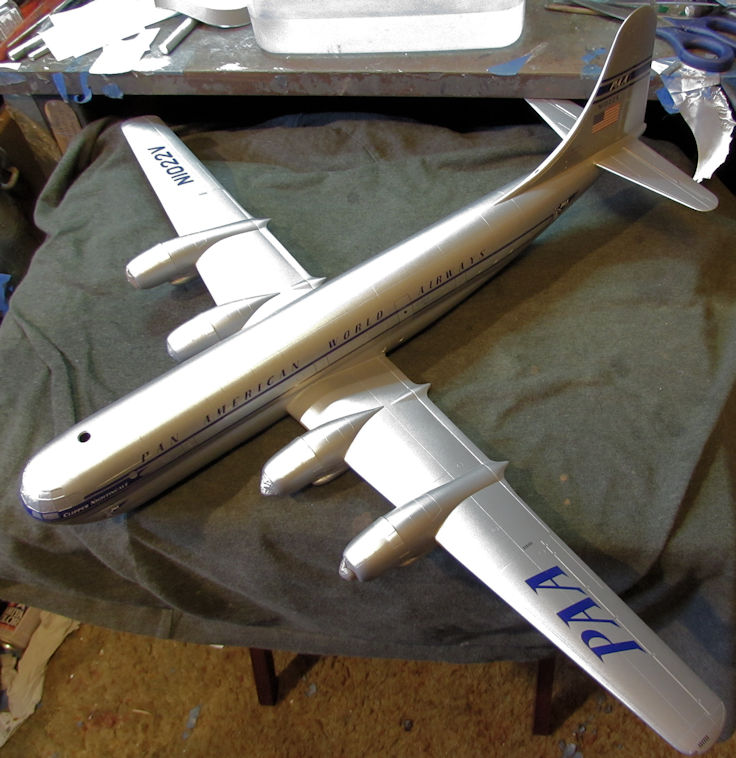
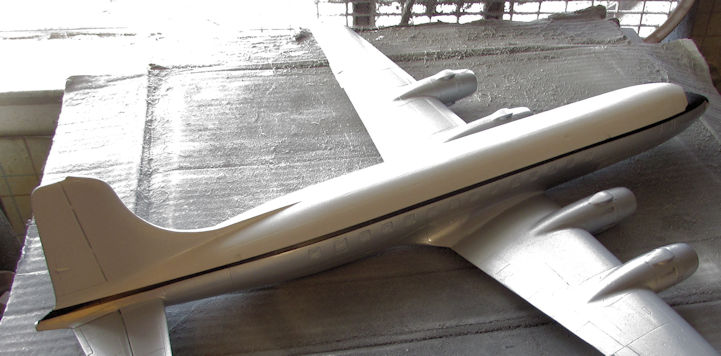
Then I got to the other side. You can see how windows 1,2 and 4 fell inside the plane. Now I have a wonderful little high-pitched rattle inside this plane! Yippee!

WIP_B_377_XIV.jpg


Well, they weren't coming out so I did the only thing I could. Out came the window making fluid and now I have new windows:

WIP_B_377_XV.jpg


My apologies for that poor pic, I was so frustrated with those three windows!

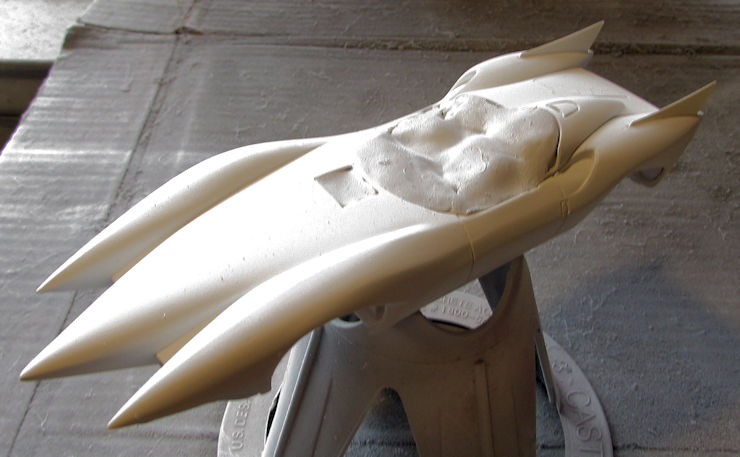
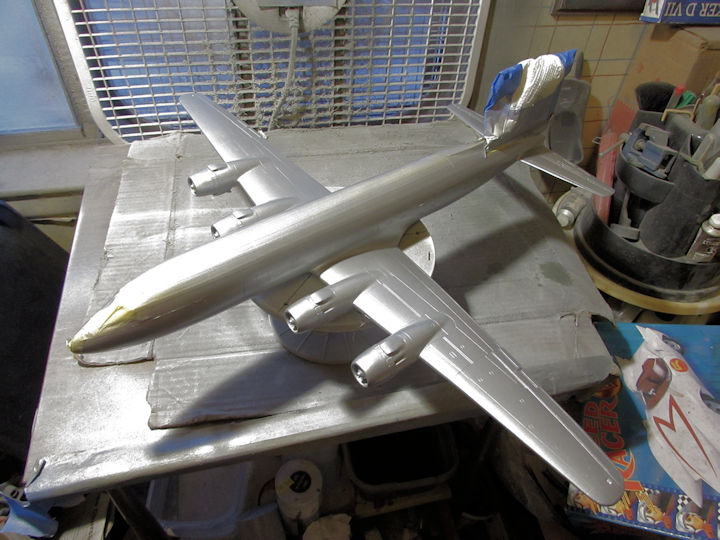
Moving on to Episode Two of "One Step Forward, Two Steps Back", we have my efforts to fix the aluminum coat on the C-118 which cracked. As you recall, I had shot the plane thusly:

WIP_CargoHaulersCampaign_XXXII.jpg


WIP_CargoHaulersCampaign_XXXI~0.jpg


Later I peeled off the Tamiya tape and lo and behold; it pulled a little of the white off with it, despite my clearcoating efforts! Okay, no problem; I was able to hide most of it under the 'cheat line'. Still some of it remained visible:

WIP_CargoHaulersCampaign_XXXIV.jpg


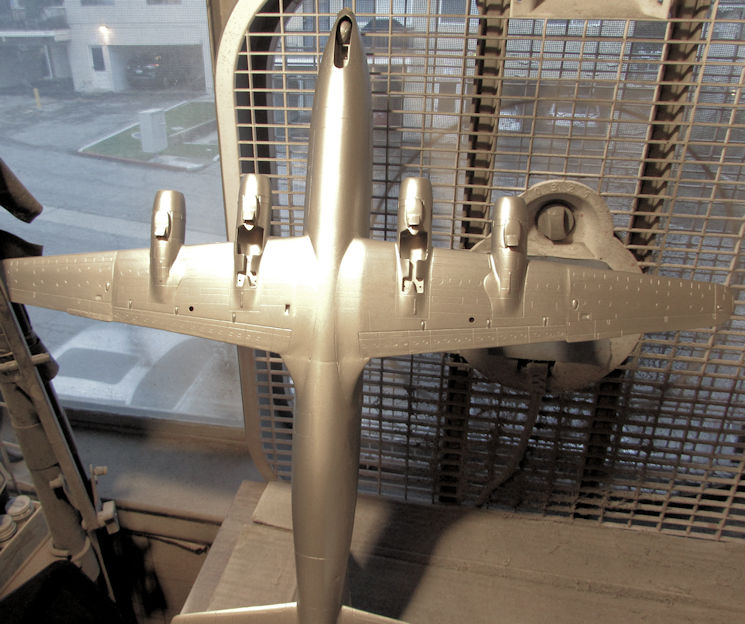
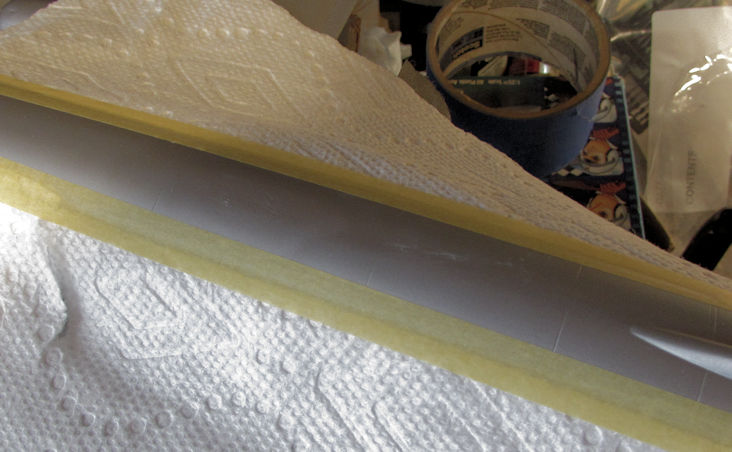
I primed it with a brush, masked it off again using the same technique with the B-377 and then decanted some white again. Here it is ready for me to spray:

WIP_CargoHaulersCampaign_XXXV.jpg


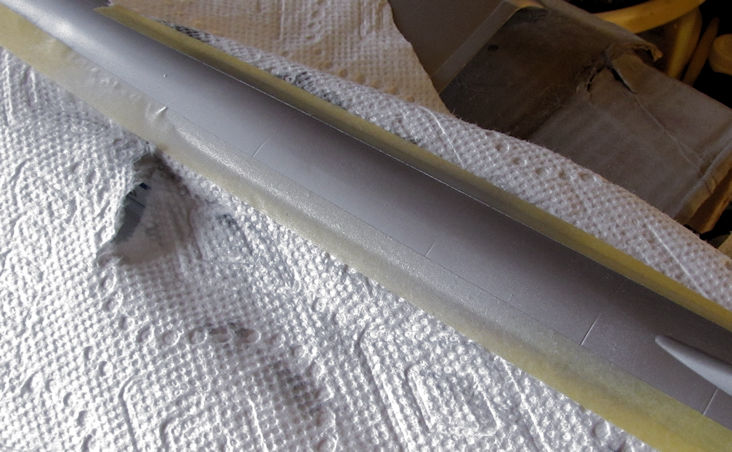
Later on after spraying a couple coats of white and clearcoat; I pulled the Tamiya tape off and was gifted with a pain free and complete finish:

WIP_CargoHaulersCampaign_XXXVIa.jpg


WIP_CargoHaulersCampaign_XXXVIb.jpg


Finally! Now I can move forward on this.... again! Given the difficulty I've had in the past with this and with the B-377 decals, I pulled the decals for the C-118 and applied Liquid Decal Film to them. I just don't want to take any more chances!


Time to move on....

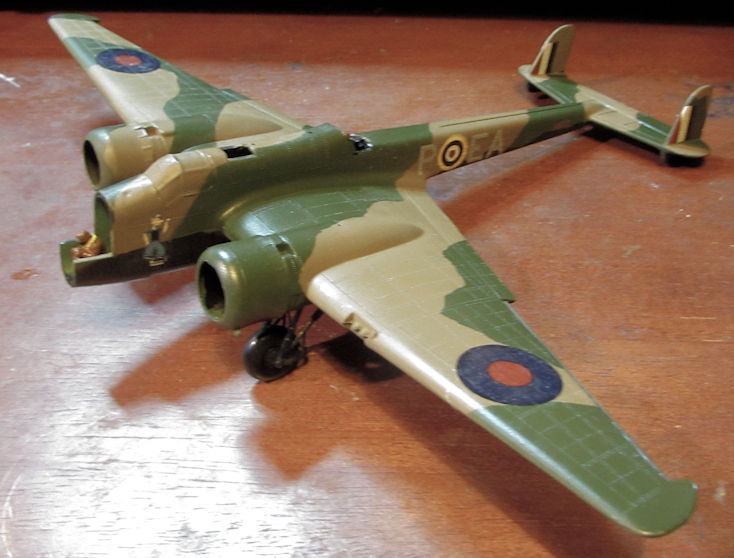
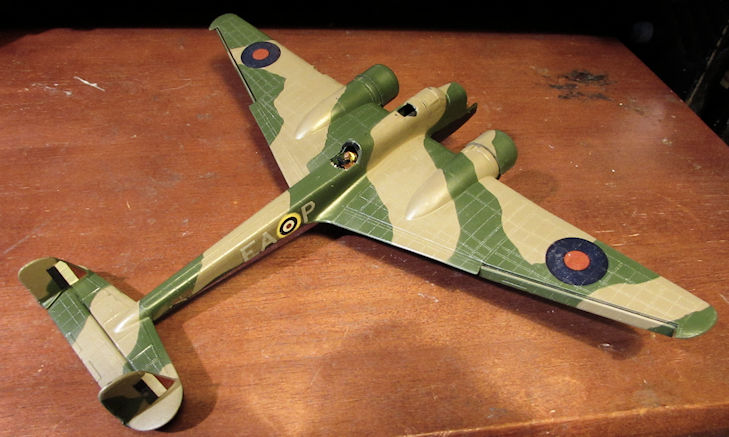
I added the remaining clear parts to the Hampden after dipping them in Future, along with the guns that are supposed to stick out from them:

WIP_HP_Hampden_XIX.jpg


WIP_HP_Hampden_XX.jpg


Later on, I'll be masking them, dullcoating this plane and then painting the clear parts. Maybe then I can call this thing done.

After all those frustrating issues with all these previous models; I wanted to work on something more easy and fun. I pulled out the AH-1 Cobra and completed almost all the assembly on it. Now I'm ready to mask off the canopy and start painting this:

WIP_AH_1_Israeli_Cobra_IV.jpg


After this, I still wanted to work on something fast and easy. I then saw my Hasegawa 1/72 scale A-37A/B kit and decided to do that since I still have no Dragonfly in my collection. I started with the 'cockpit', such as it is. Since there wasn't much (not even control sticks!) I added the pilots to give this more eye candy:

WIP_A_37A_Dragonfly_I.jpg


After awhile, when they were dry I painted everything:

WIP_A_37A_Dragonfly_IV.jpg


I had also built the wings while the cockpit glue was drying:

WIP_A_37A_Dragonfly_II.jpg


Since this little bird needs some weight in the nose; I added some cut up fishing weights to the inside of the nose:

WIP_A_37A_Dragonfly_III.jpg


Later on, when everything was dry, I closed up the painted cockpit inside the fuselage; added the wings and the tail, as well as some other detail bits and finally the canopy after I dipped it in Future:

Just need to mask those windows and then this will also be ready for paint.

That's all I got done for now. I hope you like it. Thanks for looking in, comments are welcome.
 
I love your builds Duke, whatever these kits throw at you it doesnt seem to faze you and you just get on with it and what's more you seem to get a whole heap of fun out of it all as well which is exactly what it's all about.
Funnily enough i just had the same problem with tamiya masking tape on tamiya paint with my Corsair. I did a respray save just like you :)
 
Thanks Paddy! It actually does faze me, but I'm determined not to let a mere model defeat me! If I can pound a Maquette model into shape; then I can do this! I am really getting tired of having to go back and re-mask and re-spray every time I try to move forward.

The other models have been fun; nice and easy and quick to build. Good luck on your Corsair; you'd think Tamiya would make their tape compatible with their paints!
 
Hmm, I wonder if i should start a thread of its own about this diorama?

I've done a lot more thinking and experimenting with stuff and then proceeded the other day with the fence for this diorama.

I took some of the moss I'd bought at a Dollarama store and ground it up in my small electric coffee bean grinder (BIG advantage of being single = no SWMBO to tell you not to do that) for a couple of minutes until the moss was a very fine powder. You can see it here in this imnage along with another section of fence and a 1/35 scale figure.


Another view.


A view of the fence with some greenery added to the bottom of it. the taller plants are small bits of Air Fern and the clumps of greenery at the bottom are slightly ground up bits of moss.


A couple of other views with the fence still not attached to the diorama base.


This will be either a very late fall/early winter ora early spring scene and as such i still need to tone down the greens of those plants.

Comments are appreciated and welcomed.

Thanks and cheers from Peter

P.S. Let me know if I should start a build theread for this.
 
Back
Top