EJ, that truck is looking fantastic! Your boy's model will be the hit of the show!
Okay, I finally have some time to post some of my own progress here. I'll start with a few simple models that I only got a little done with.
This Panzer II was finally completed up to the wheels and tracks. I even painted the muffler before I enclose it behind the P/E screen that goes around it. After that, I can get it painted:
Next I started a Russian Aircraft Carrier for the Shipbuilder's Campaign here as well as the Aircraft Carrier Group Build on another Forums. I added all the tiny fiddly bits and decks along both sides of the carrier island:
I left all the forward deck parts off since I was concerned they'd break when I finally added this to the main deck.
Next I cemented the interior hull pieces that needed to go on and then I added the main deck to the top of the hull. Since parts of the deck didn't line up with the upper hull too well, I took my time lining up the edges and hitting them with Tamiya Extra Thin as I went around the edges of this ship. Here's a couple shots of the deck completed. I placed the island on the deck to show how it will look when it is finally glued onto the deck. Right now, I'm leaving it off until it's time to paint:
After this, I got down to business and moved further along on the C-118. I painted the cockpit and then added the decal sheet for the instrument panel:
I'm not sure why I bothered, that won't be seen through the cockpit windows anyway. Oh well, I know it's there.
The instructions called for about 40grams of weight in the nose. This looks about right:
Actually, it's a little more than I need. I used the converter on my phone to convert 40 grams into ounces and it came up to 1.4 ounces. I put three half-ounce bullet weights and one 1/4-ounce bullet weight. This puppy won't be sitting on her tail!
Once that was secure, I closed up the fuselage halves and then added the main wings:
The fuselage on this bird was slightly warped so I started at one end with some Tamiya Extra Thin and slowly glued around the edges section by section. Once the one section was secure, I used the twist ties to pull the fuselage together some more; added more Tamiya Extra Thin and tightened it up. On and on until all the edges had been glued. I used tape to hold together parts that twist ties couldn't hold; and clamps on the flat tail surfaces. Then I added the wings....
There are some pretty serious gaps at the wing roots of this bird so I will try out some Tamiya putty I found on my workbench the last time I did that major cleanup. I didn't even know I had any, but I found it and I will try that on the wing roots to see if I can get a smooth transition. You can see how big this bird is on my workbench, I have no space to work on this:
The final thing I did to this was to add the main windscreen/canopy:
This way I can hopefully blend that into the rest of the fuselage so it looks like it is one complete piece after painting. Another lesson learned from the DC-6....
Now the Liftmaster War begins.......
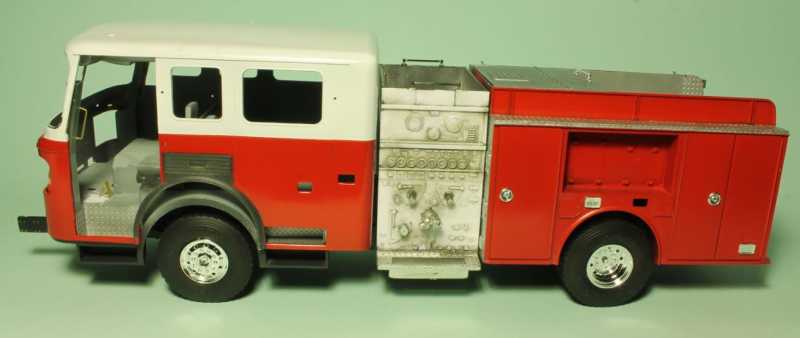
Moving on to my small scale armor, I pulled out the little Russian Fire Truck and finished building the rear tank and the hose and ladder holder. The bench behind the cabin looks crooked, but I checked it and it is on there straight. That is one interesting optical illusion there:
After that, I took some time to add the photo-etch to one of the two armored trains I'm building. For fun, here's the one engine without any photo-etch:
Compare that with the engine that is complete with all the photo-etch attached:
Well, I was on a roll so I started adding the Photo-etch to one of the armored cars for this train. After another hour and a half, it got done:
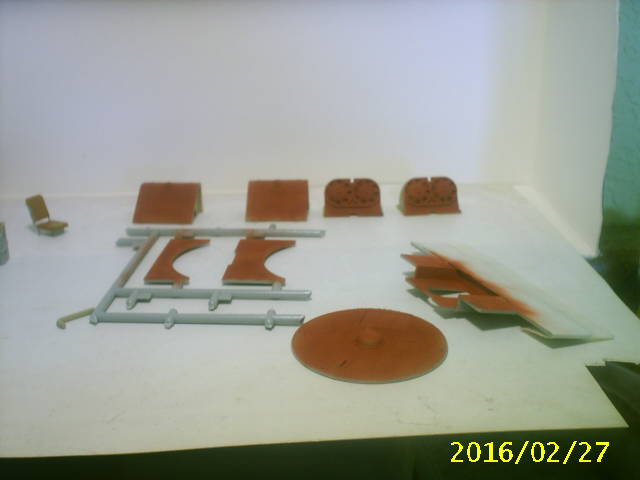
By this time I was going stark raving mad, so it was time to calm down with a nice relaxing, simple build. I found that with this set here which I decided to start for another Group Build on another Forums:
I figured: I need one for the other; and I have a V-2 already built that needs to be transported so I'd build both.
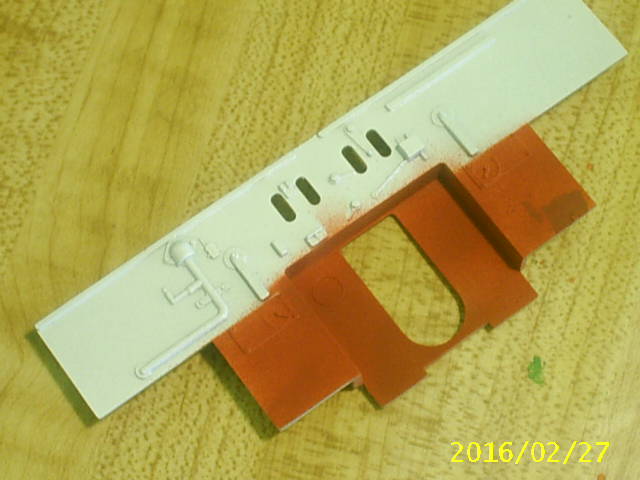
It was a good start. I did the chassis on the SS-100 Gigant first:
Wow, what a great fit! Moving on I added some more details and the fenders on this:
I finished that part up with a few more parts on top:
Later I started on a part of the cab. I assembled the interior and the forward engine cover. I stopped there so I could paint the interior before completing the assembly of the cab:
That was fun! After that I set everything aside and went to work on the Meilerwagen. I started, of course, with the wheel assemblies:
I realized later that those two single wheels were supposed to be double wheels. Easy fix taken care of later. Next I assembled the lower part of the trailer and added the wheel assemblies:
After that, I only had to assemble the rocket cradle and add it to the trailer:
Now I just have a bunch of tiny fiddly bits to add to that and it'll be done and ready for paint. That was quick! I'm looking forward to seeing this carrying my V-2 Rocket!
Okay, that's all I have for now. I have a lot to do next week so I don't know how much I'll be able to get done beyond this. Until then, comments are welcome; thanks for looking in.


 :woohoo:
 ")