• Modelers Alliance has updated the forum software on our website. We have migrated all post, content and user accounts but we could not migrate the passwords.
    This requires that you manually reset your password.
    Please click here, http://modelersalliance.org/forums/login to go to logon page and use the "Forgot your Password" option.

Adria inex DC-6

Thanks guys!

Made some progress on this one. Wings are finished and glued to fuselage. I made some changes to intakes on the wings and reatached ailerons. I have to do some work on flaps, but i'm leavig this for later.
20171018_172821_zpsmgvxaqnn.jpg

20171018_172906_zpszsocqd5u.jpg

20171018_173728_zps2qoh7eut.jpg

20171018_173741_zpsssq5we89.jpg

20171018_173755_zpslnkc8m4j.jpg

20171018_173805_zpsm7ujkzuu.jpg

20171020_194918_zps7g5zxd0r.jpg

20171020_194933_zpsncoe9wnw.jpg

I've been working on the wingroot join today an have it almost tamed. Don't have any pictures jet, so till nex time!

Thanks for looking!
 
Great stuff Uros, love what you did to those tank vents. (y)

There was a couple of inflight fires with the DC-6 early on and at least one hull loss. There was a tank vent too close to the heater air scoop, and if the tank was overfilled during a crossfeed procedure the vented fuel entered the heater and caught fire. Nasty. :blink
 
Thanks everyone!
Jim. thanks for another lesson. It really sounds nasty!

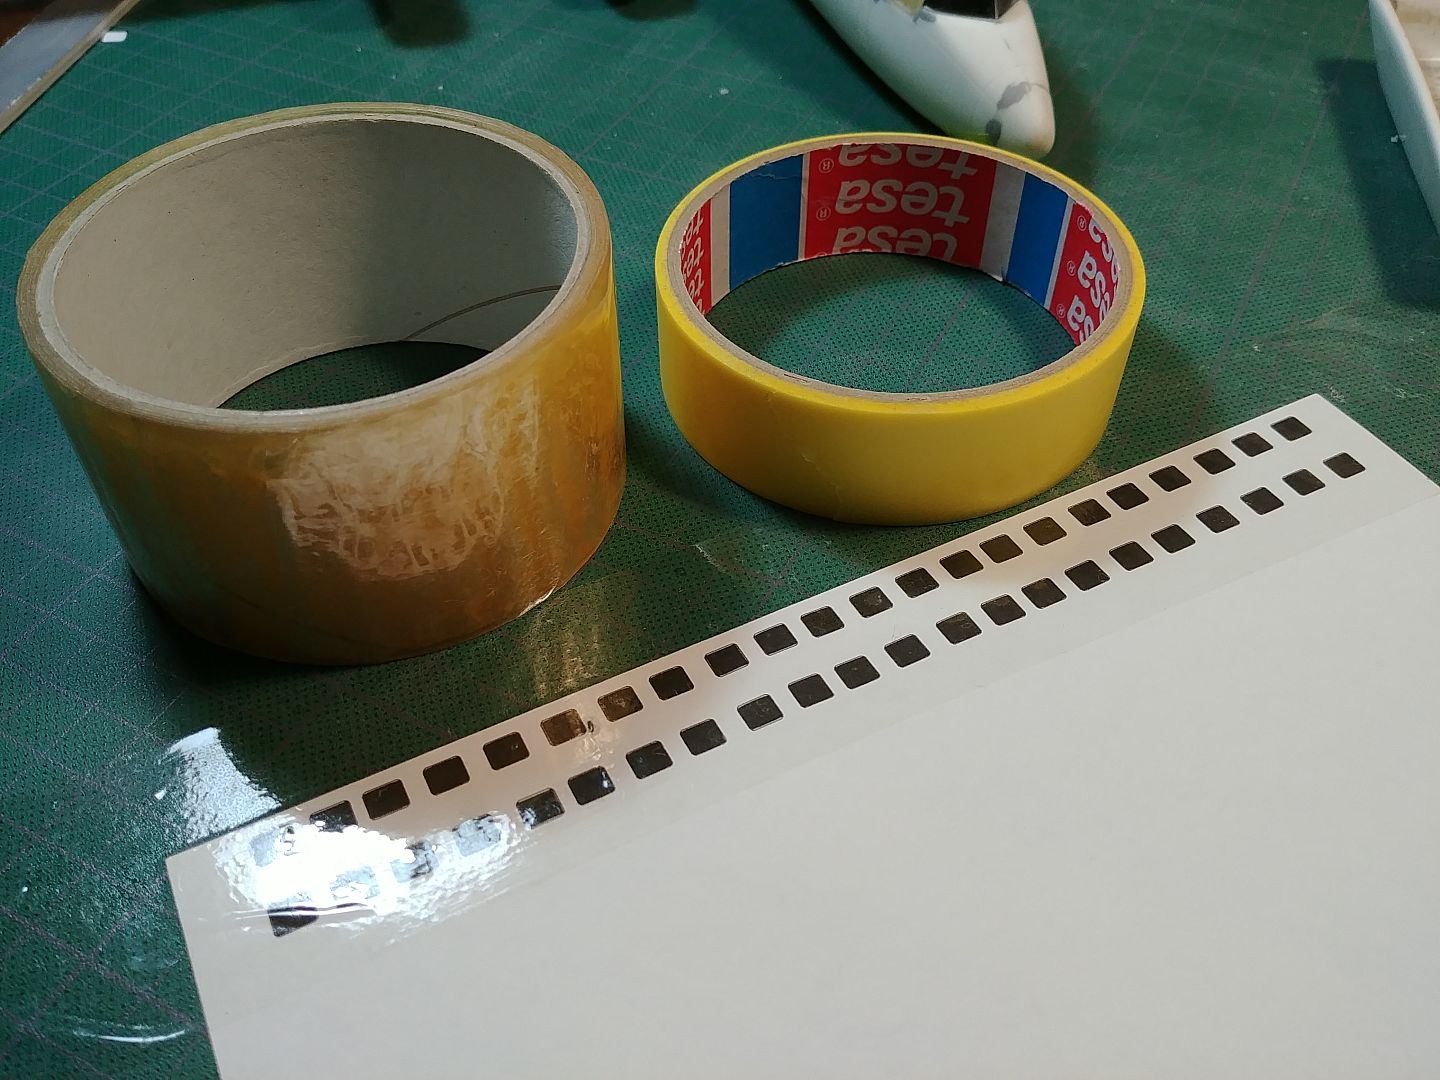
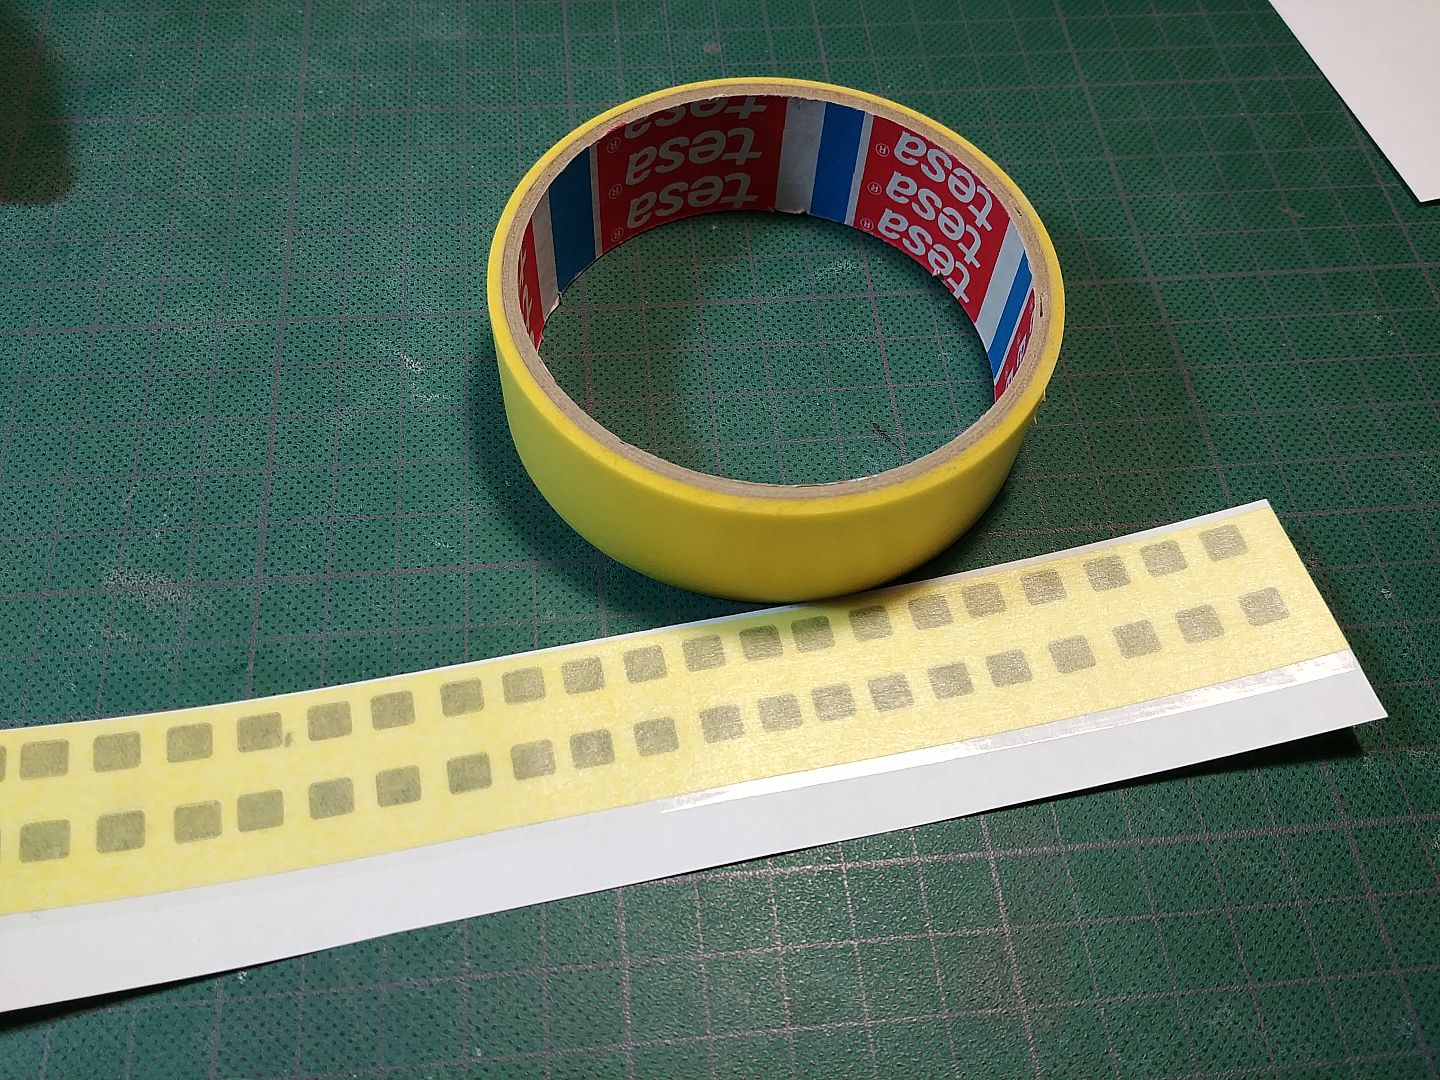
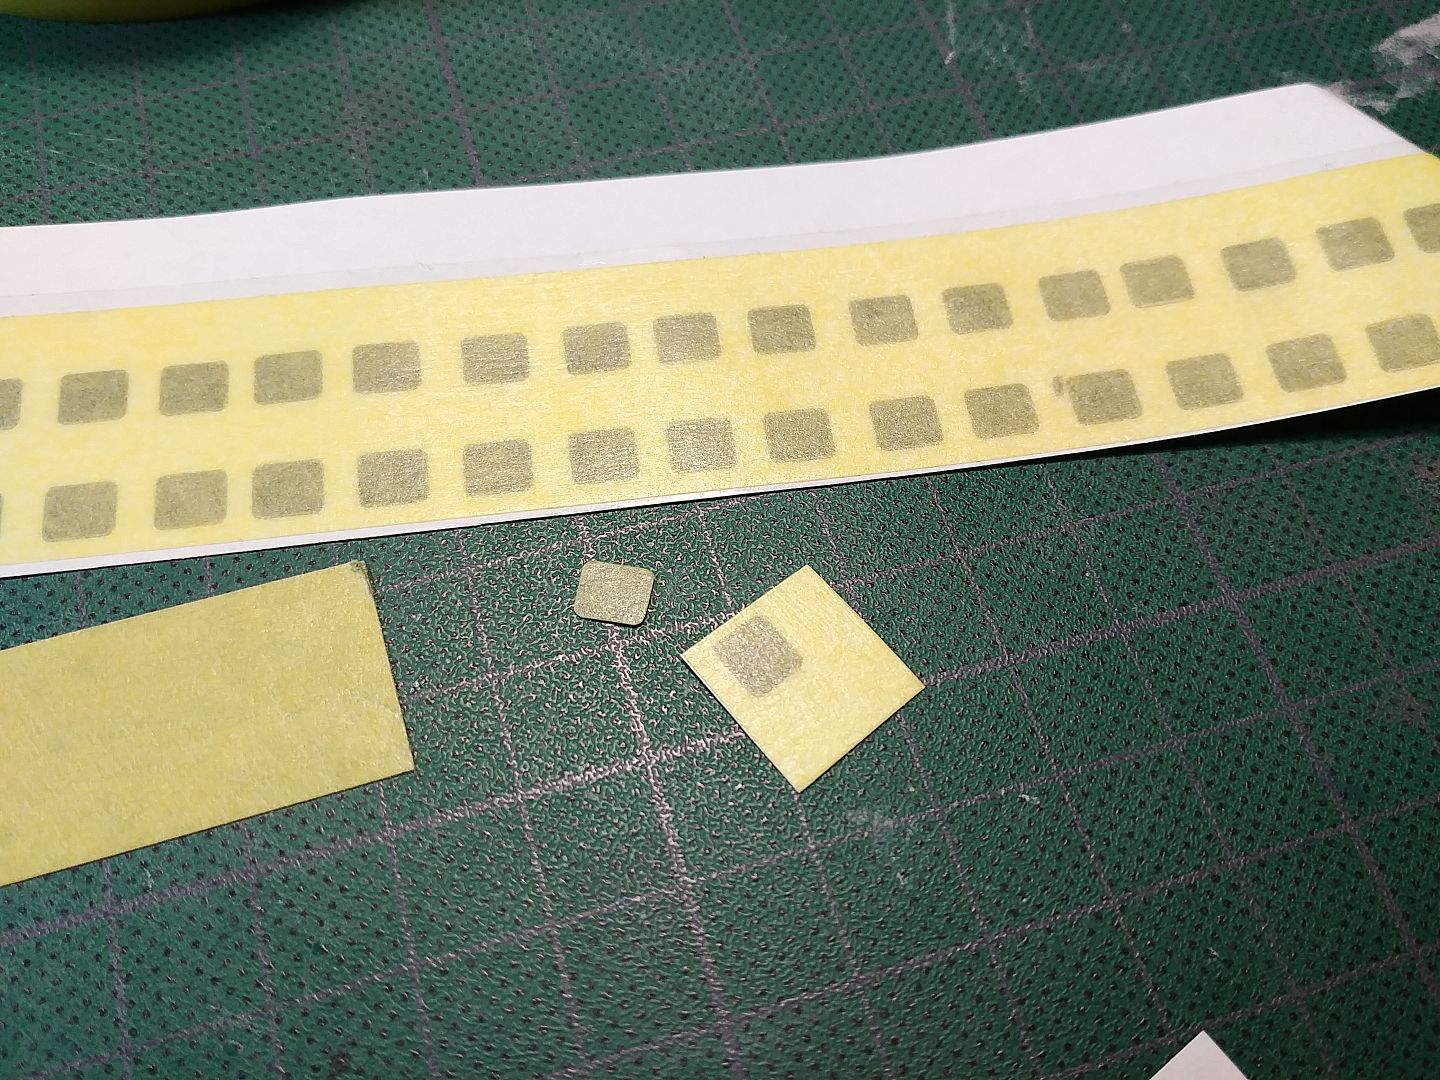
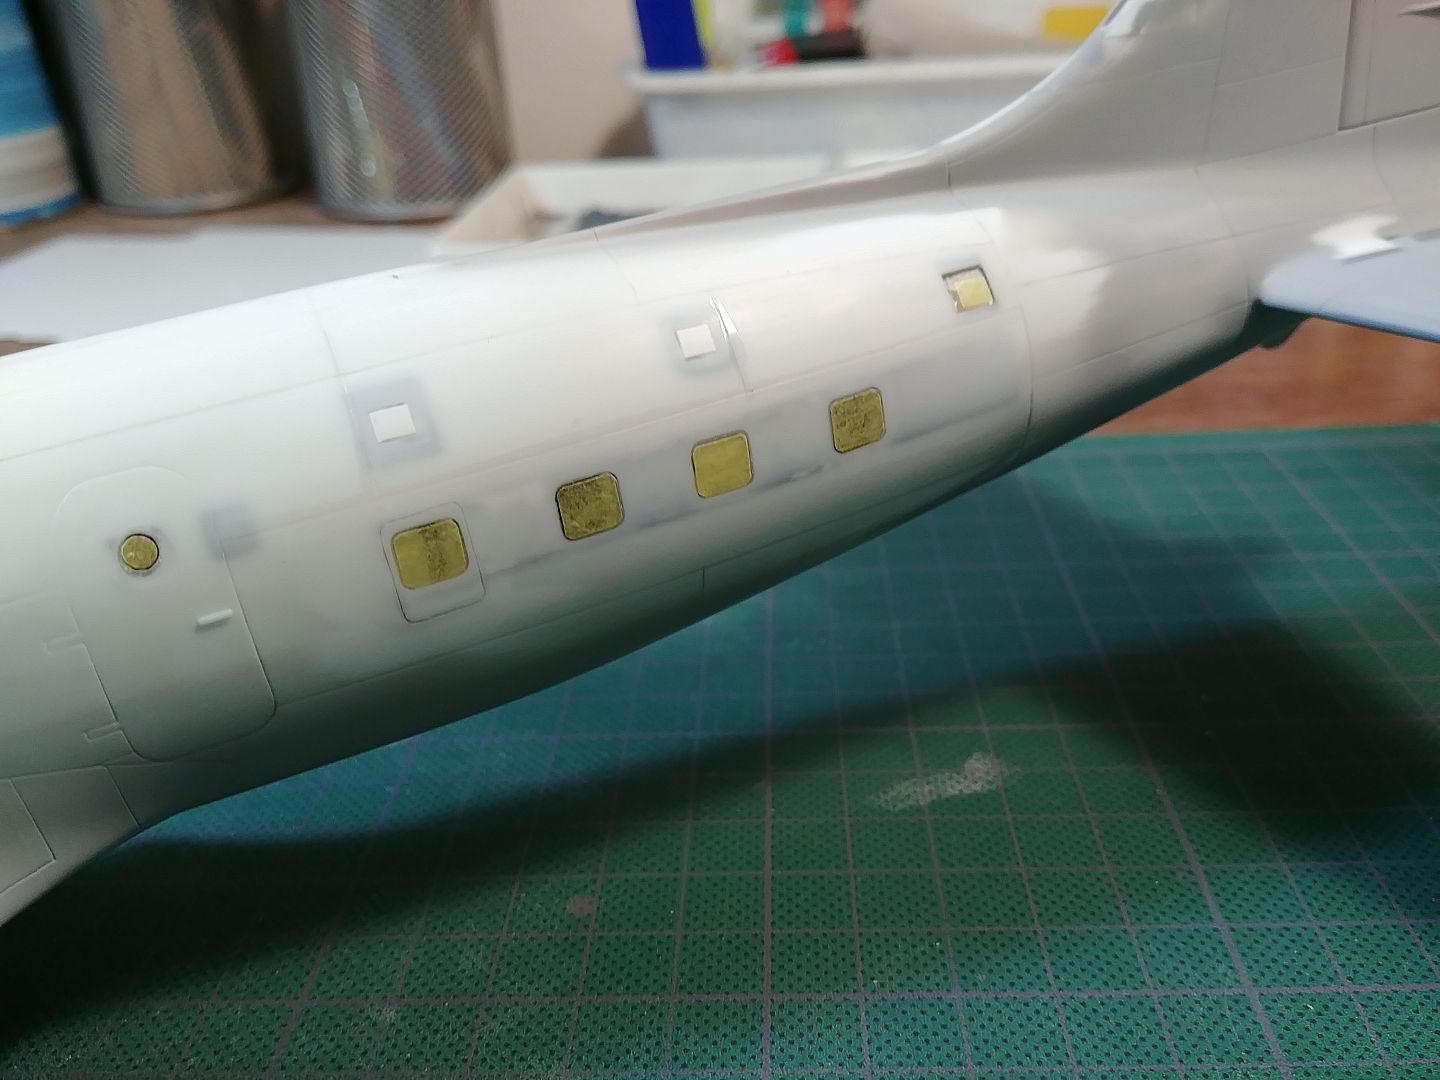
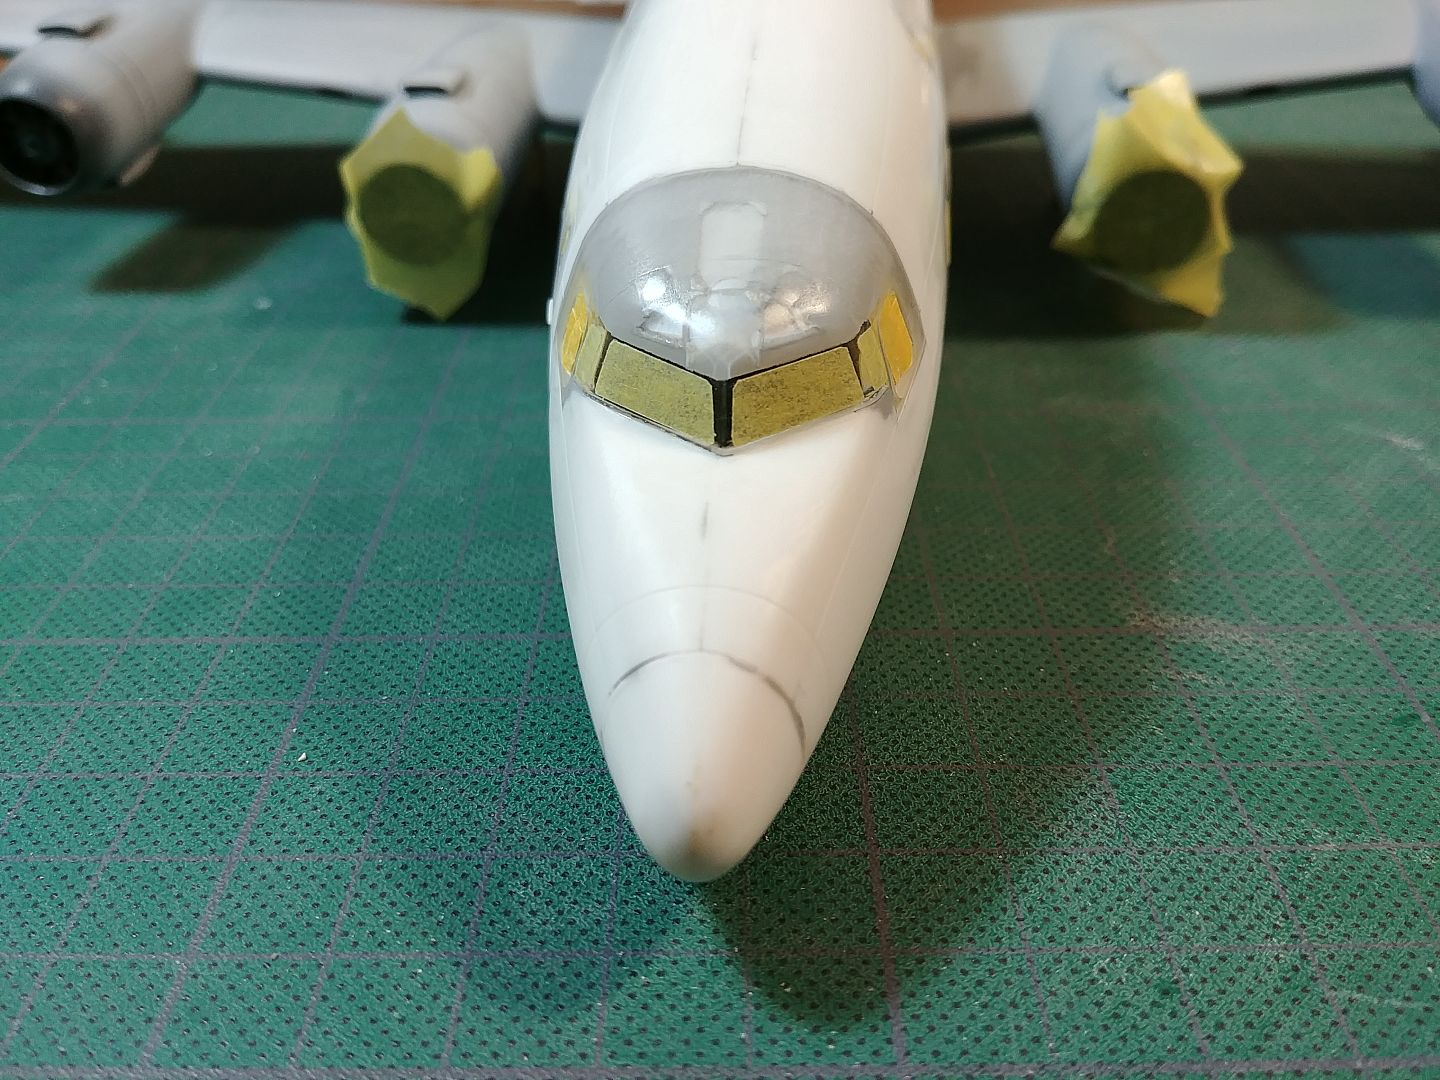
I shot some colur on this one. But first some masking needed to be done. I have precut vinyl masks from 26decals. Unfortunately they don't fit well and I don't trust vinyl anyway. I think it is not sticky enough. I came up with a plan to make my own masks. First I printed window shapes on paper, put some clear tape over it and then masking tape. With scissors I then cut them out one by one. Here are some pictures. I hope they will make more sense.
20171024_104912_zpsraqbjy2o.jpg

20171024_105042_zps5lhfb4ye.jpg

20171024_105335_zps0zncuqfh.jpg

20171024_151636_zpsfog4hykt.jpg

For cockpit windows, I just made copies of vinyl masks.
20171024_151654_zpsudpk2yfv.jpg

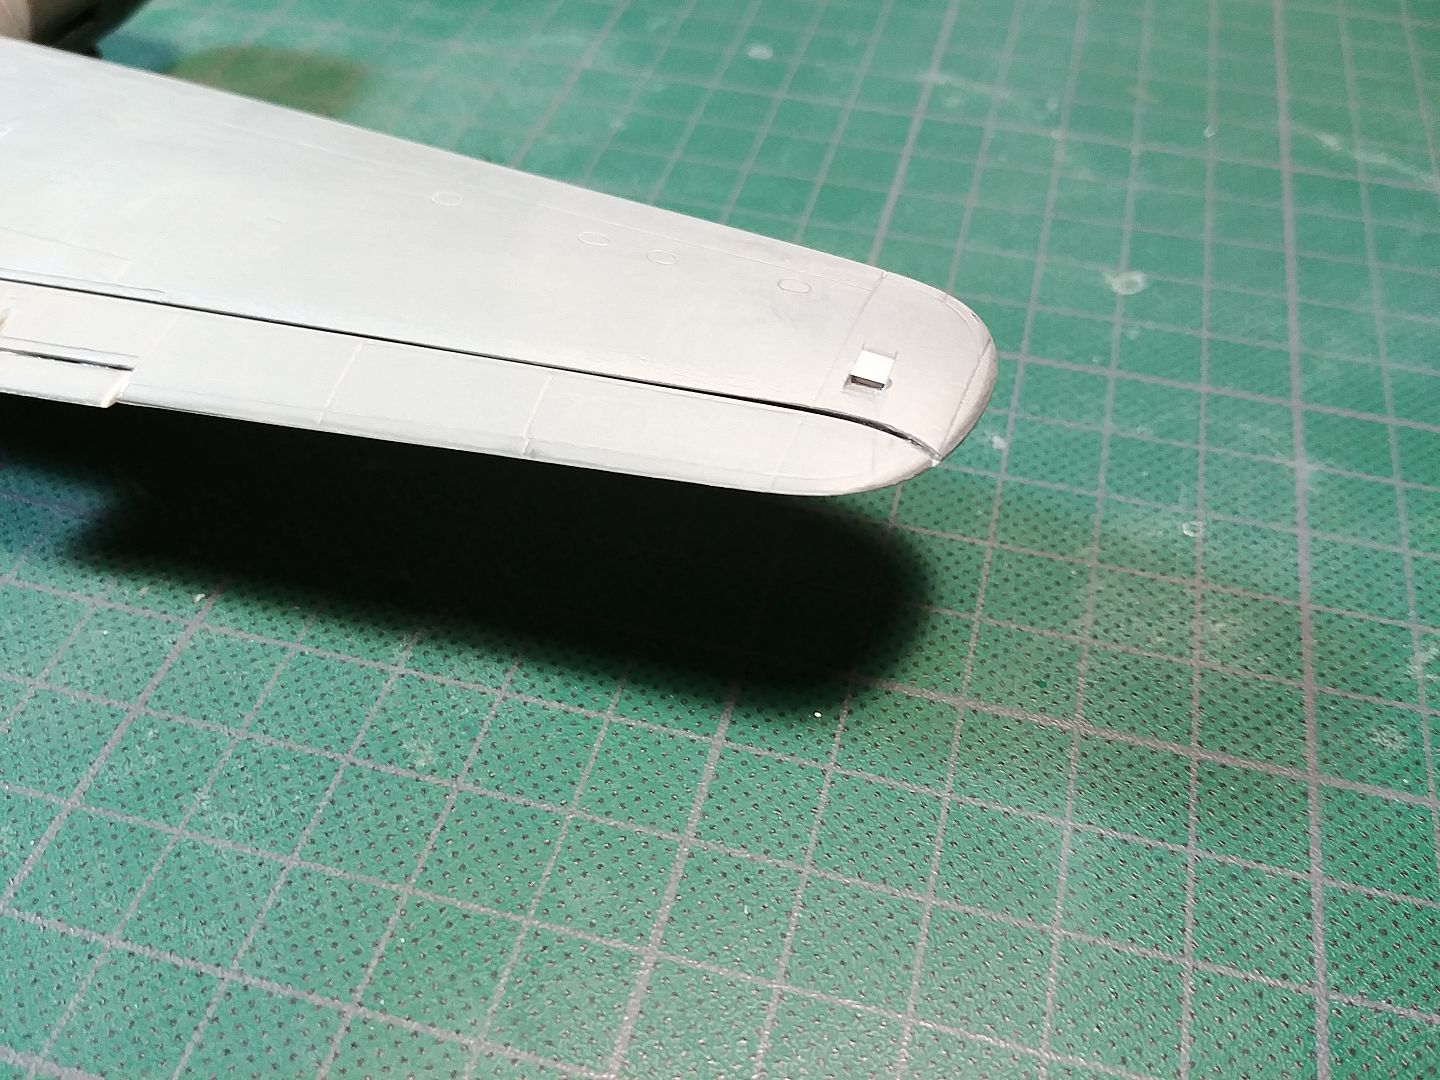
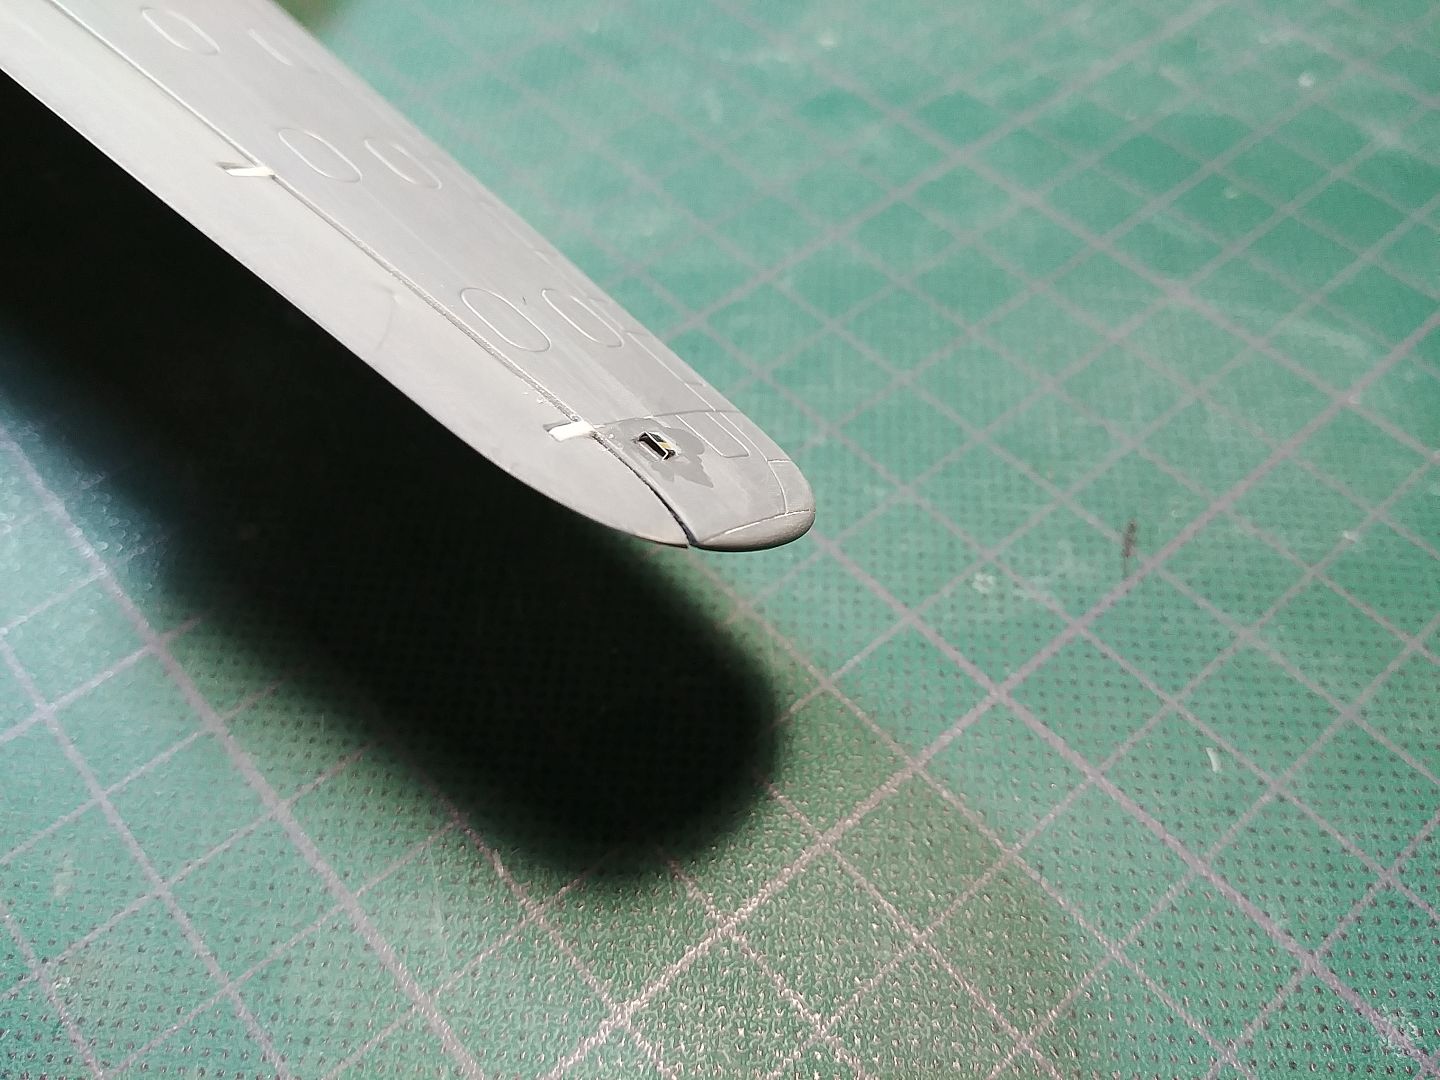
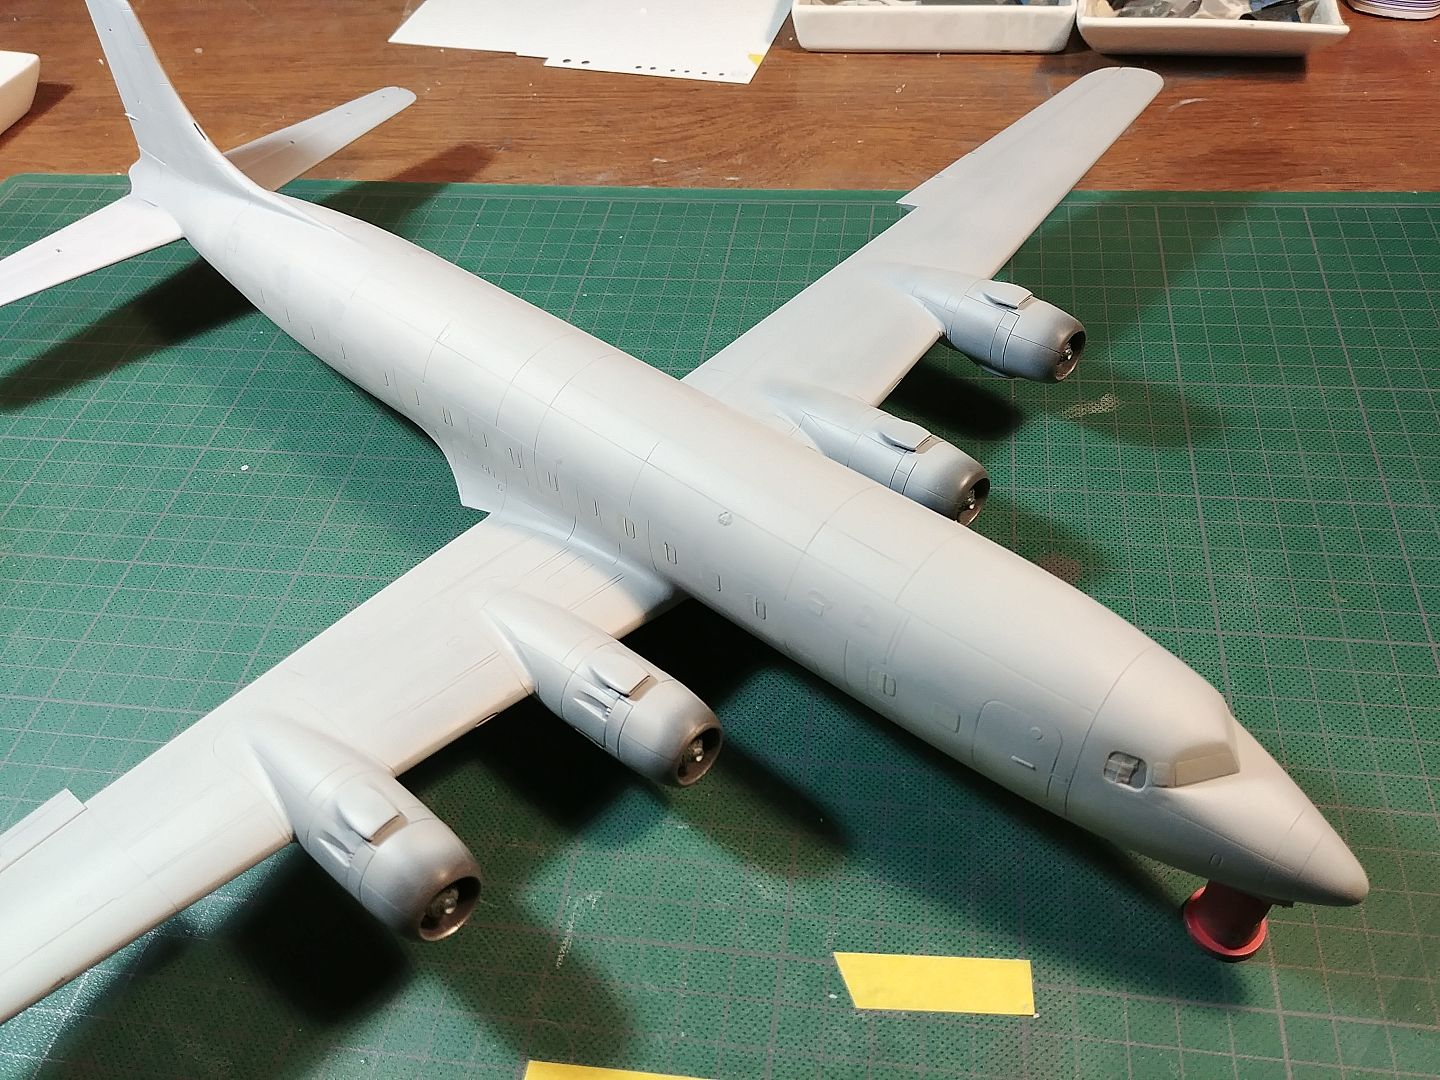
First layer of primer, foloved by a few more.
20171024_164630_zpsoymrrxhz.jpg

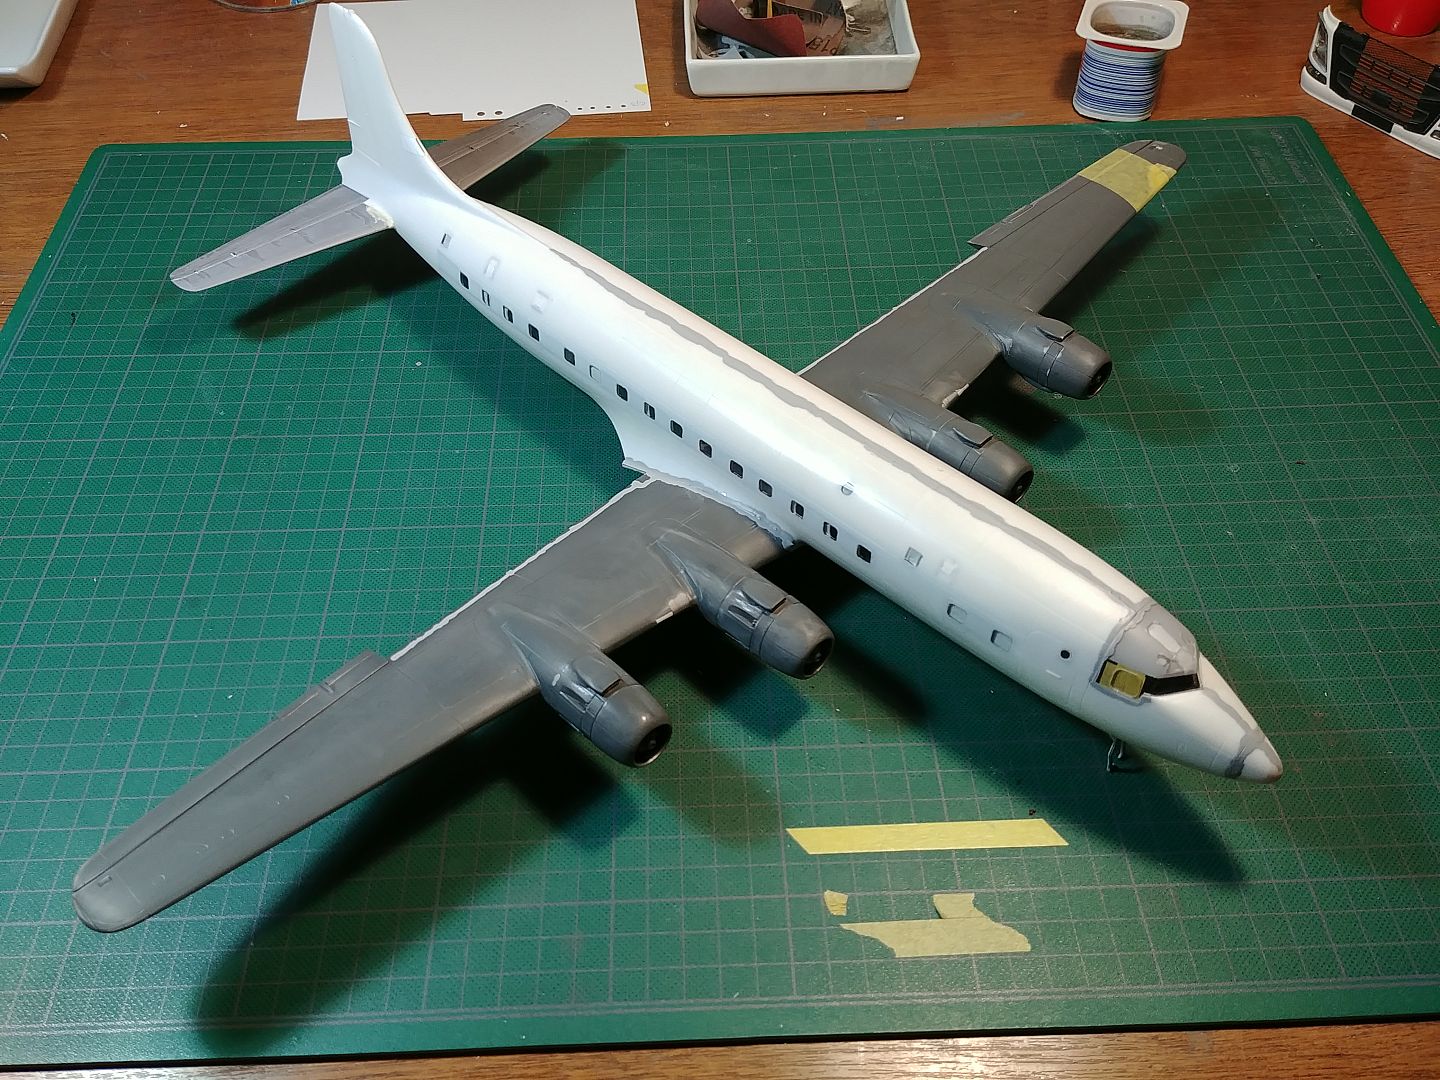
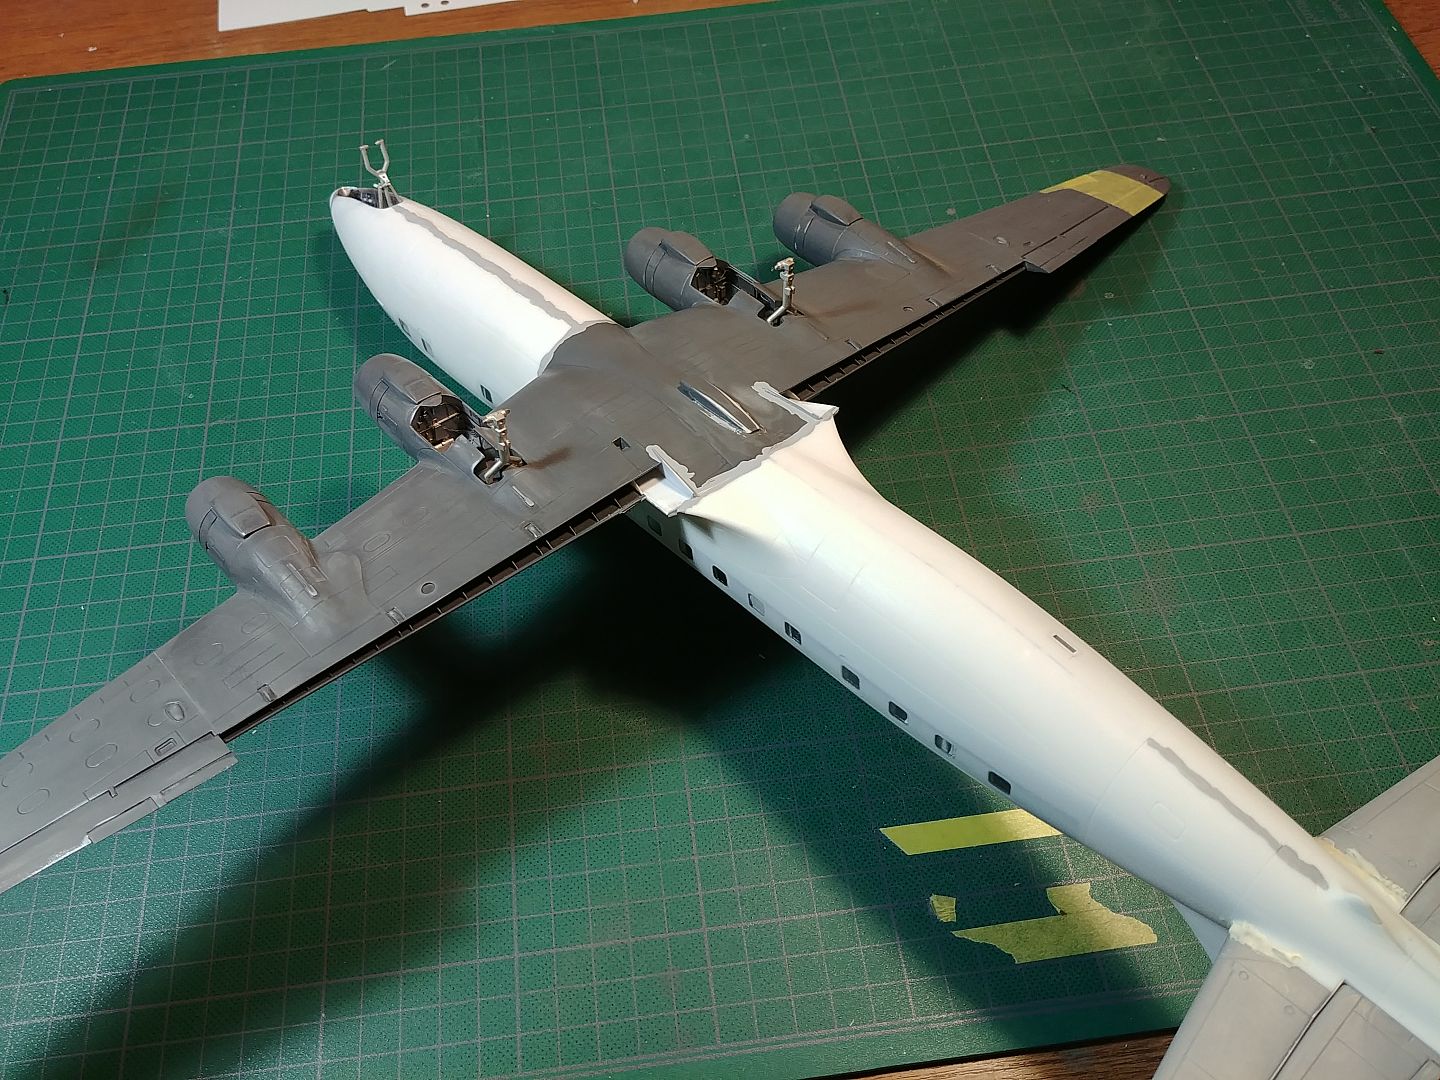
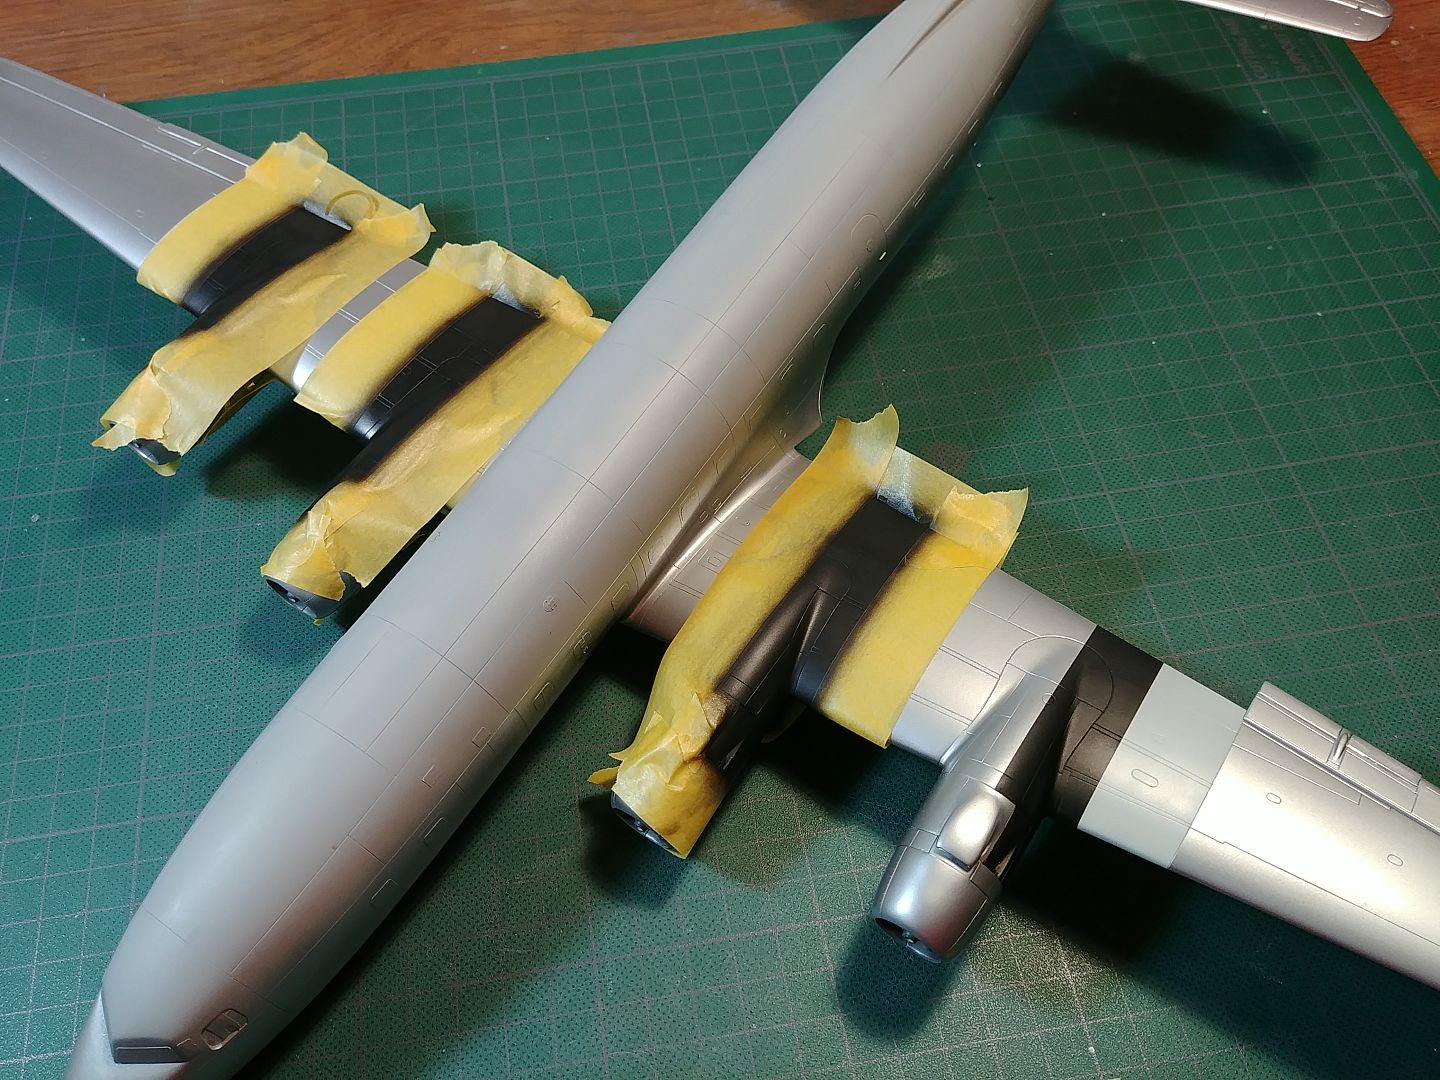
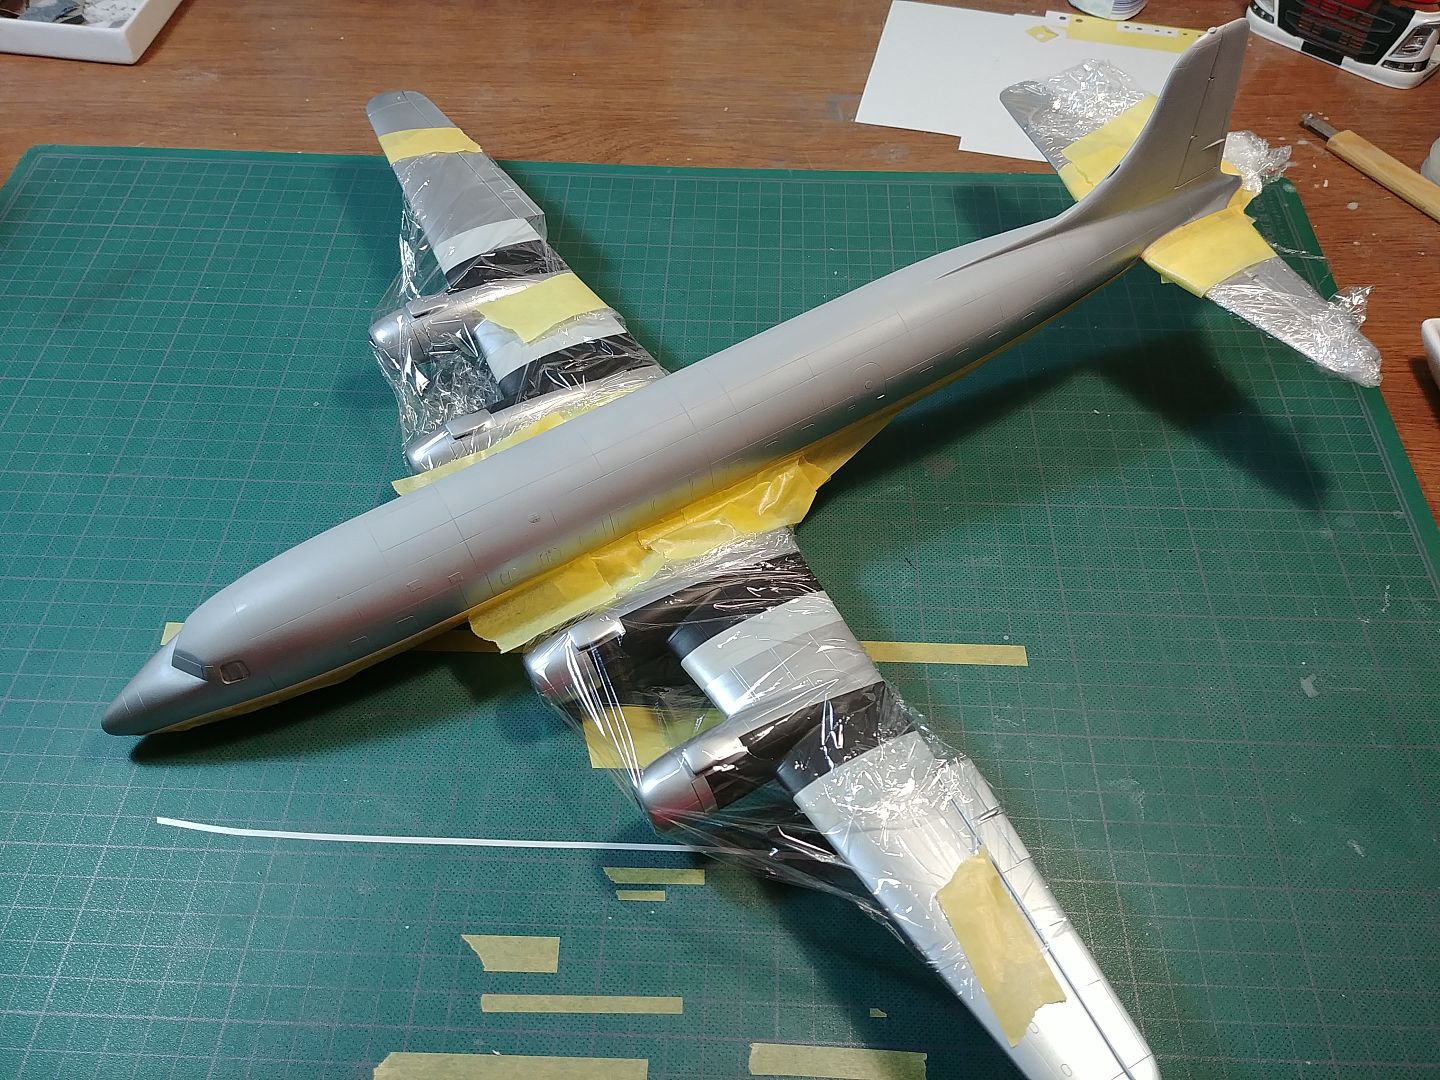
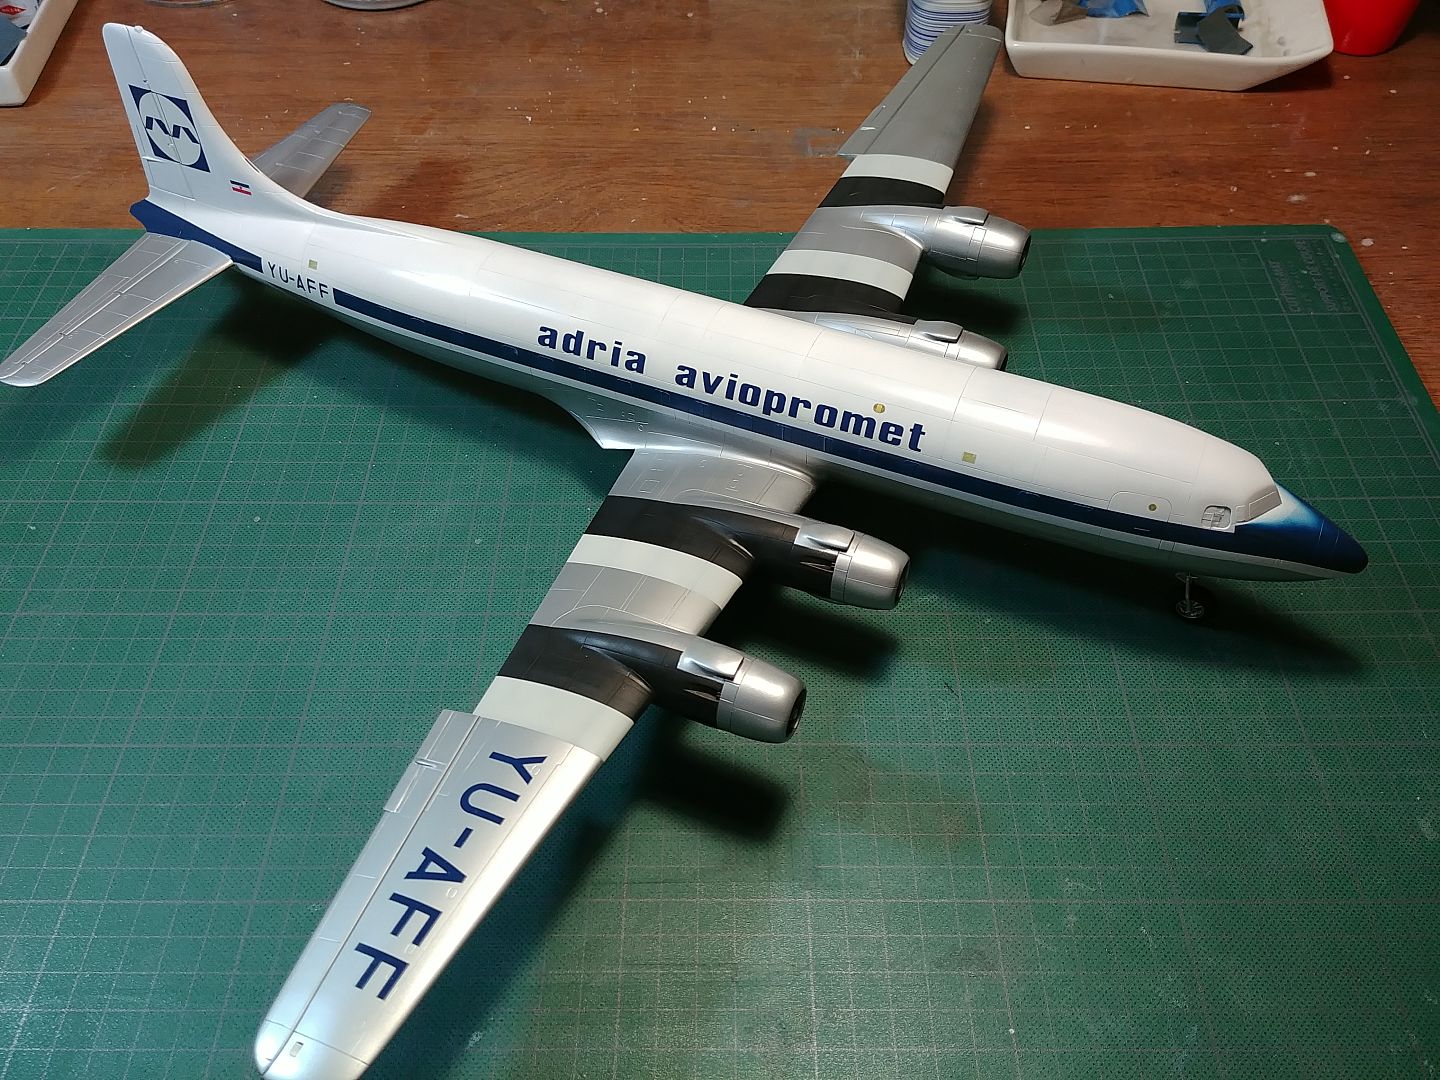
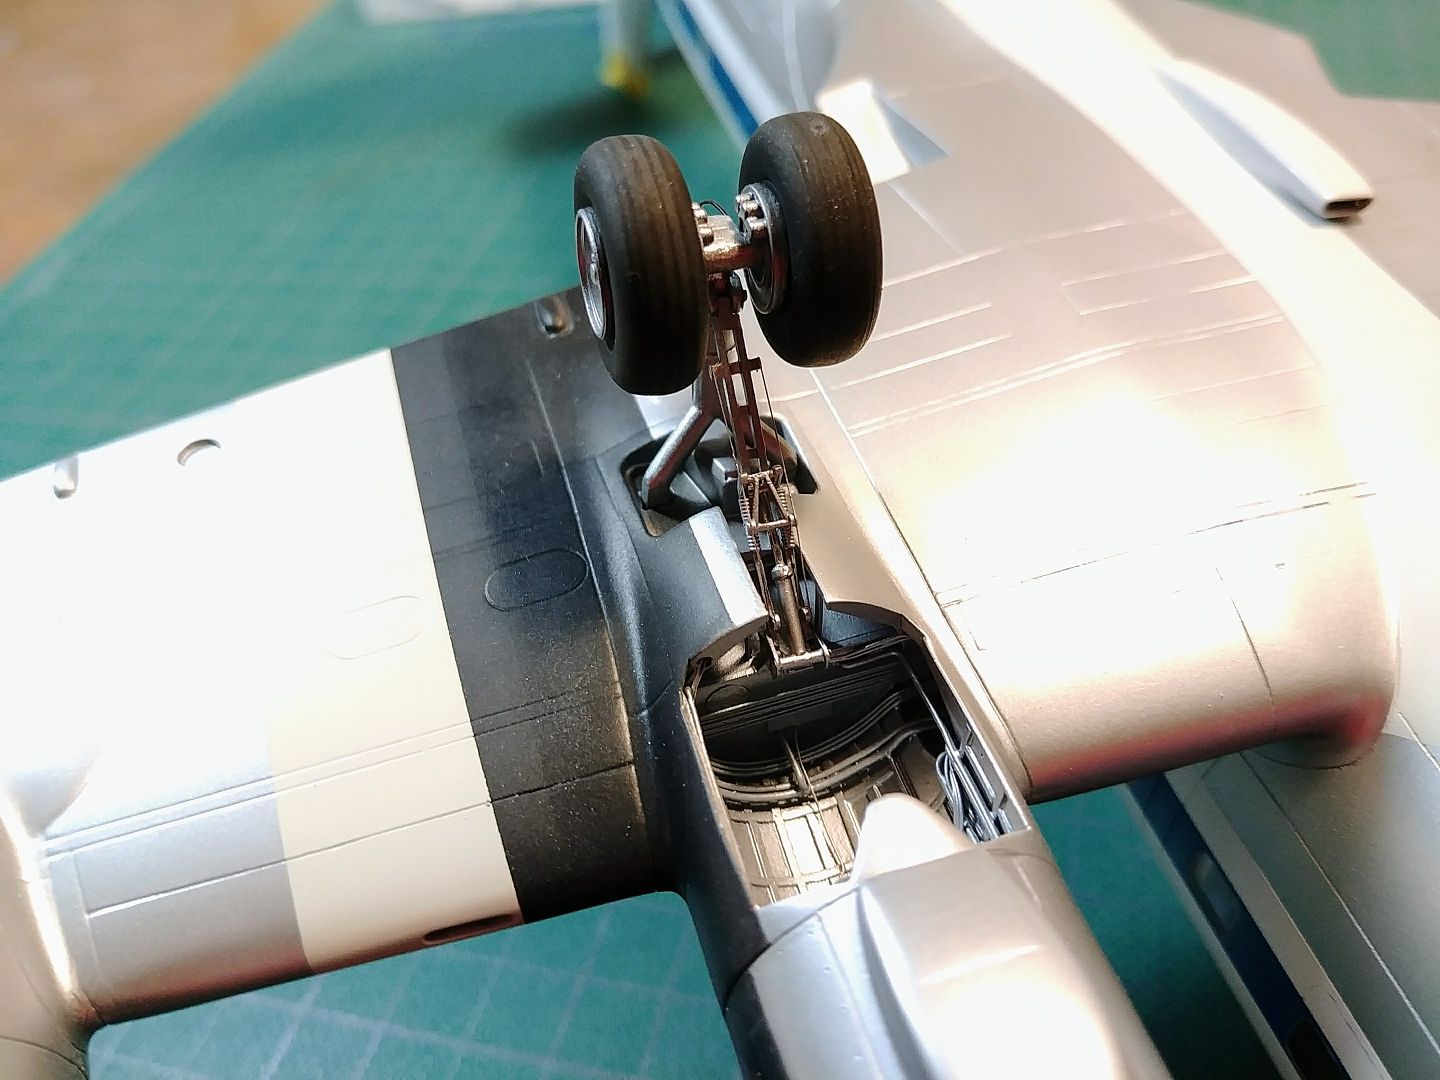
I then sprayed a coat of alclad aluminum and begun with masking for other colours.
20171027_135957_zpsiicwloya.jpg
20171028_104849_zpseky2rloz.jpg

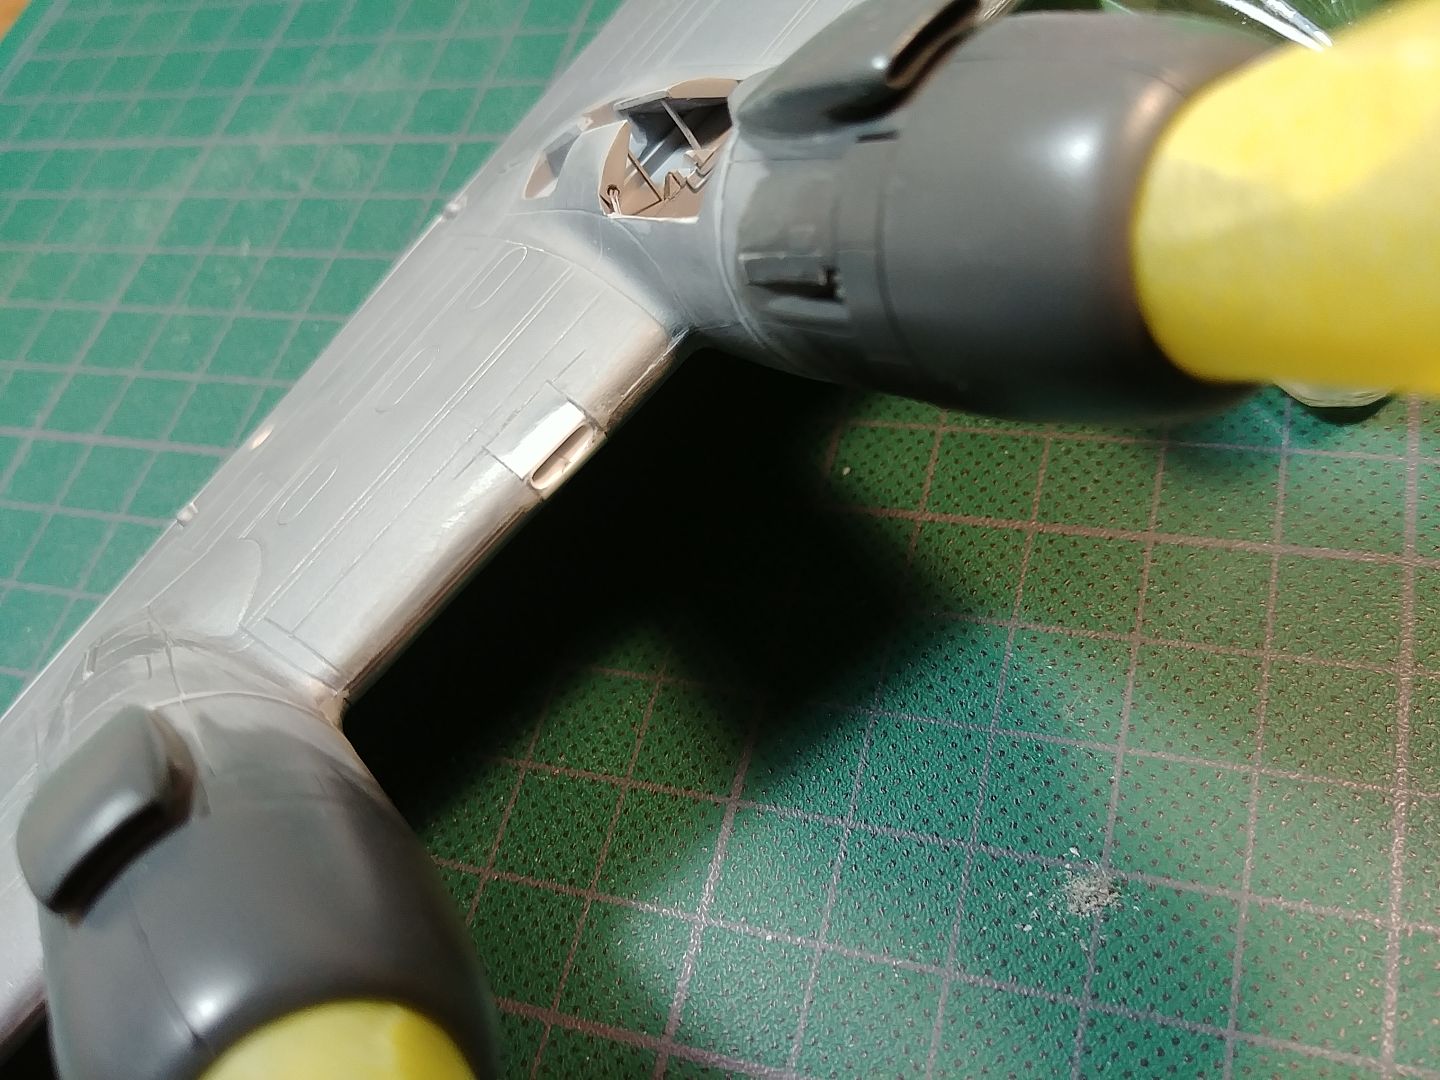
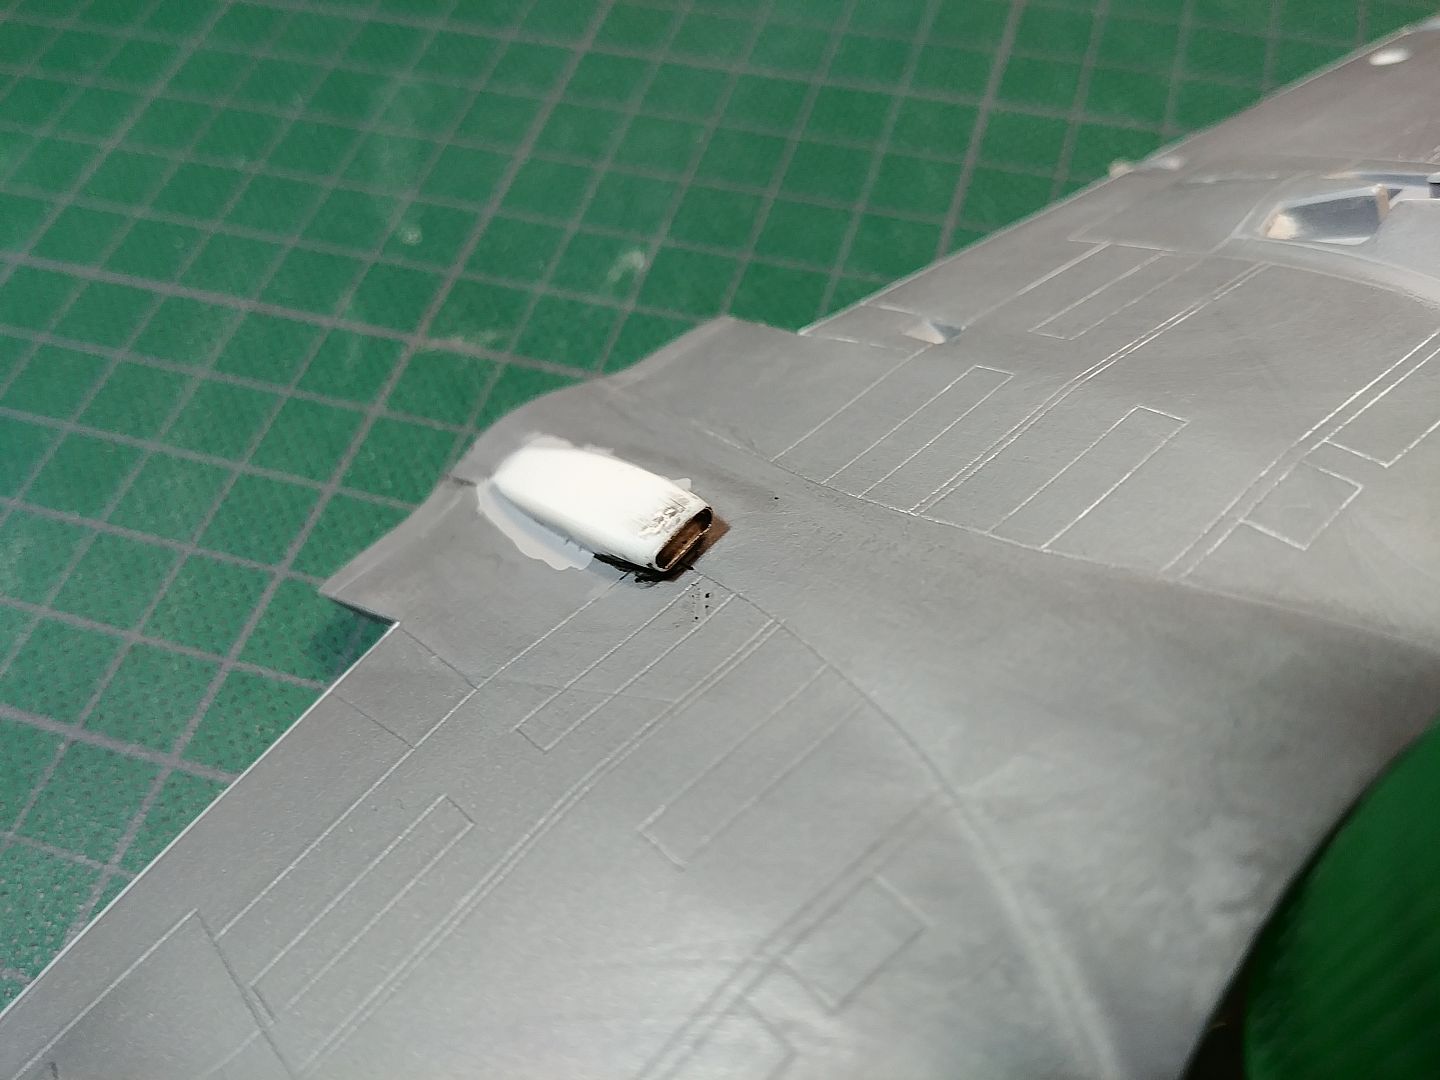
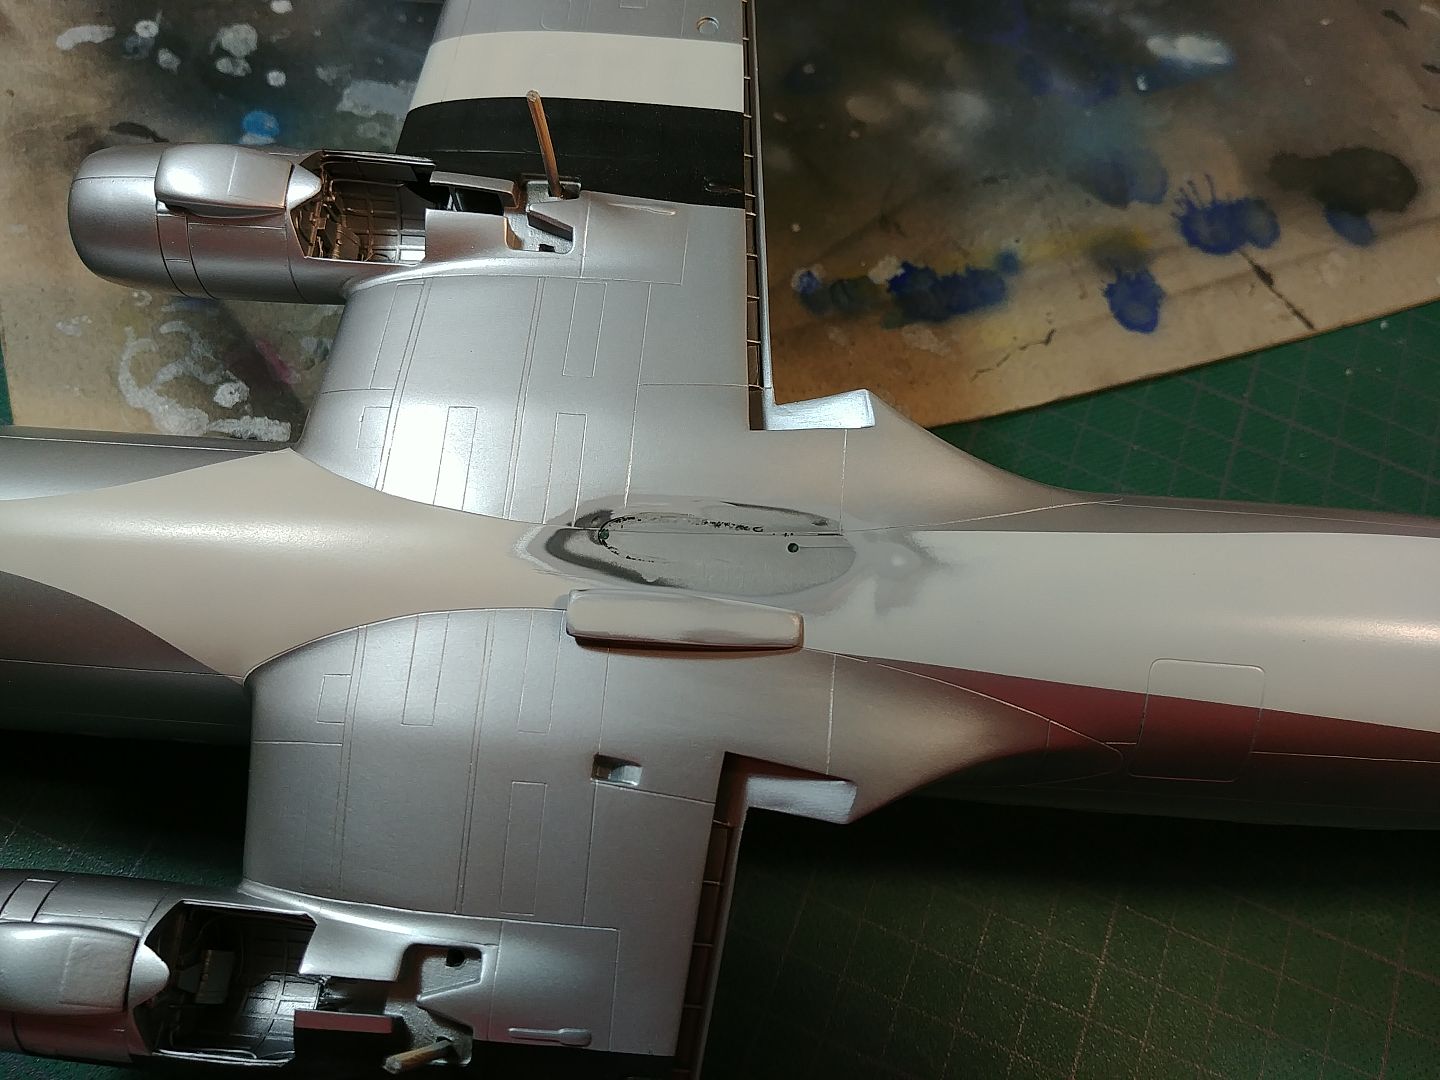
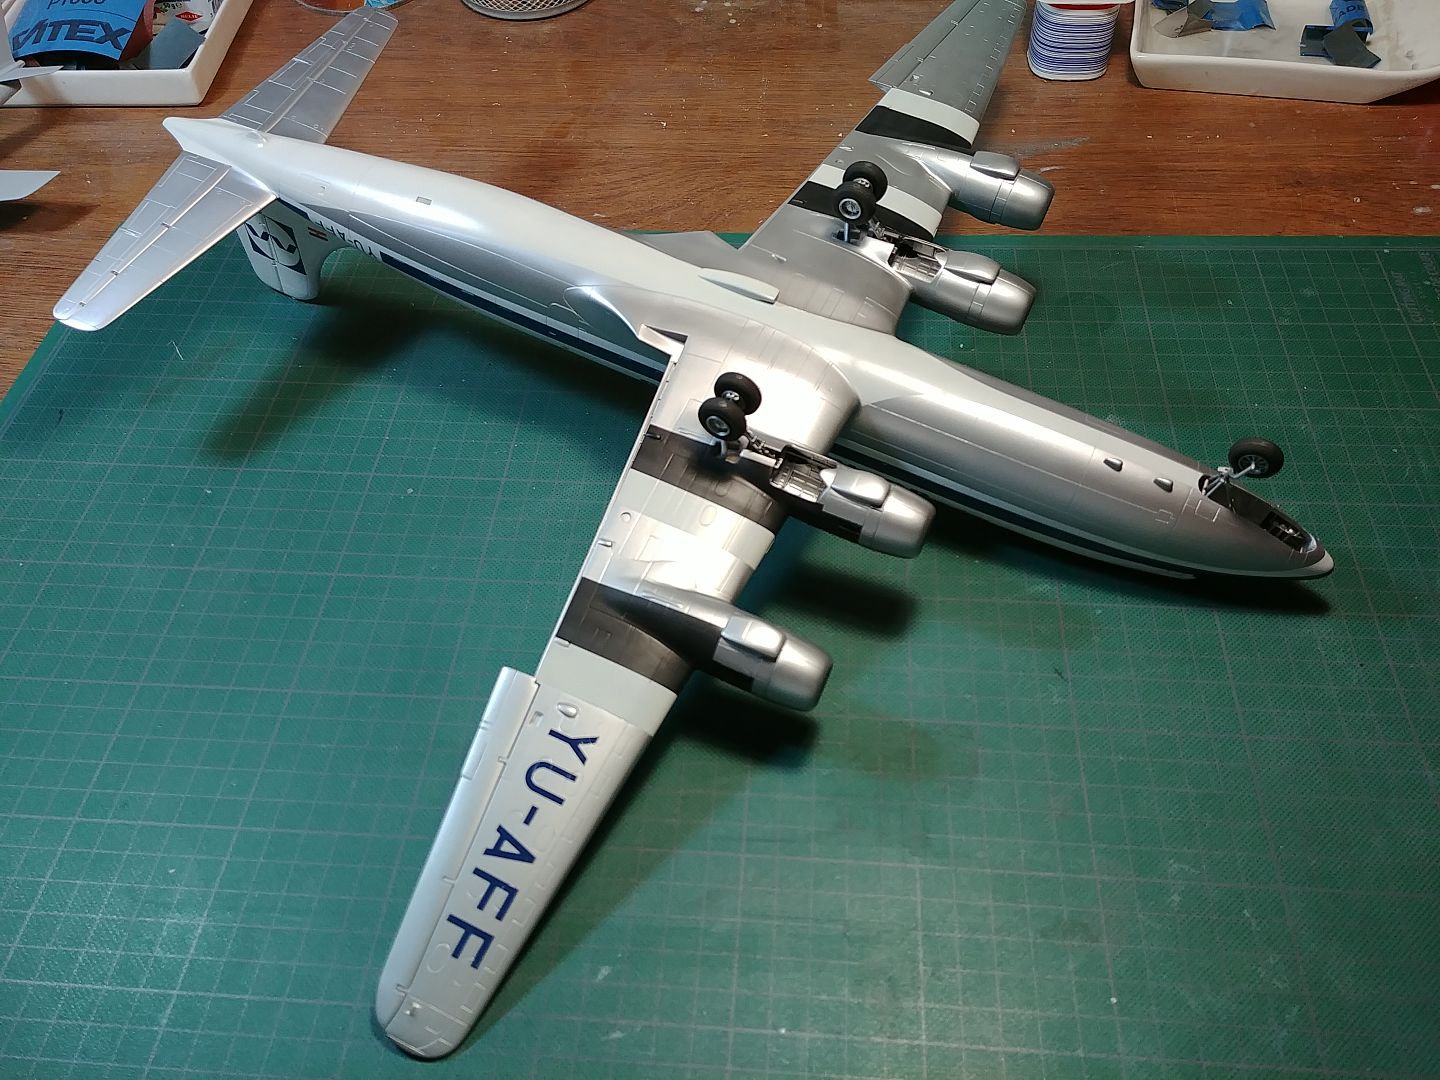
Just when I was ready to spray white on the top, felow modeler noticed a mistake. Air scoop in the belly was on the worng side. I thought for a second if I should leave it as it was, but then decided to move it.
20171028_123109_zpsqy6fgwrj.jpg

I'm waiting for primer to dry, then I will repaint this area.
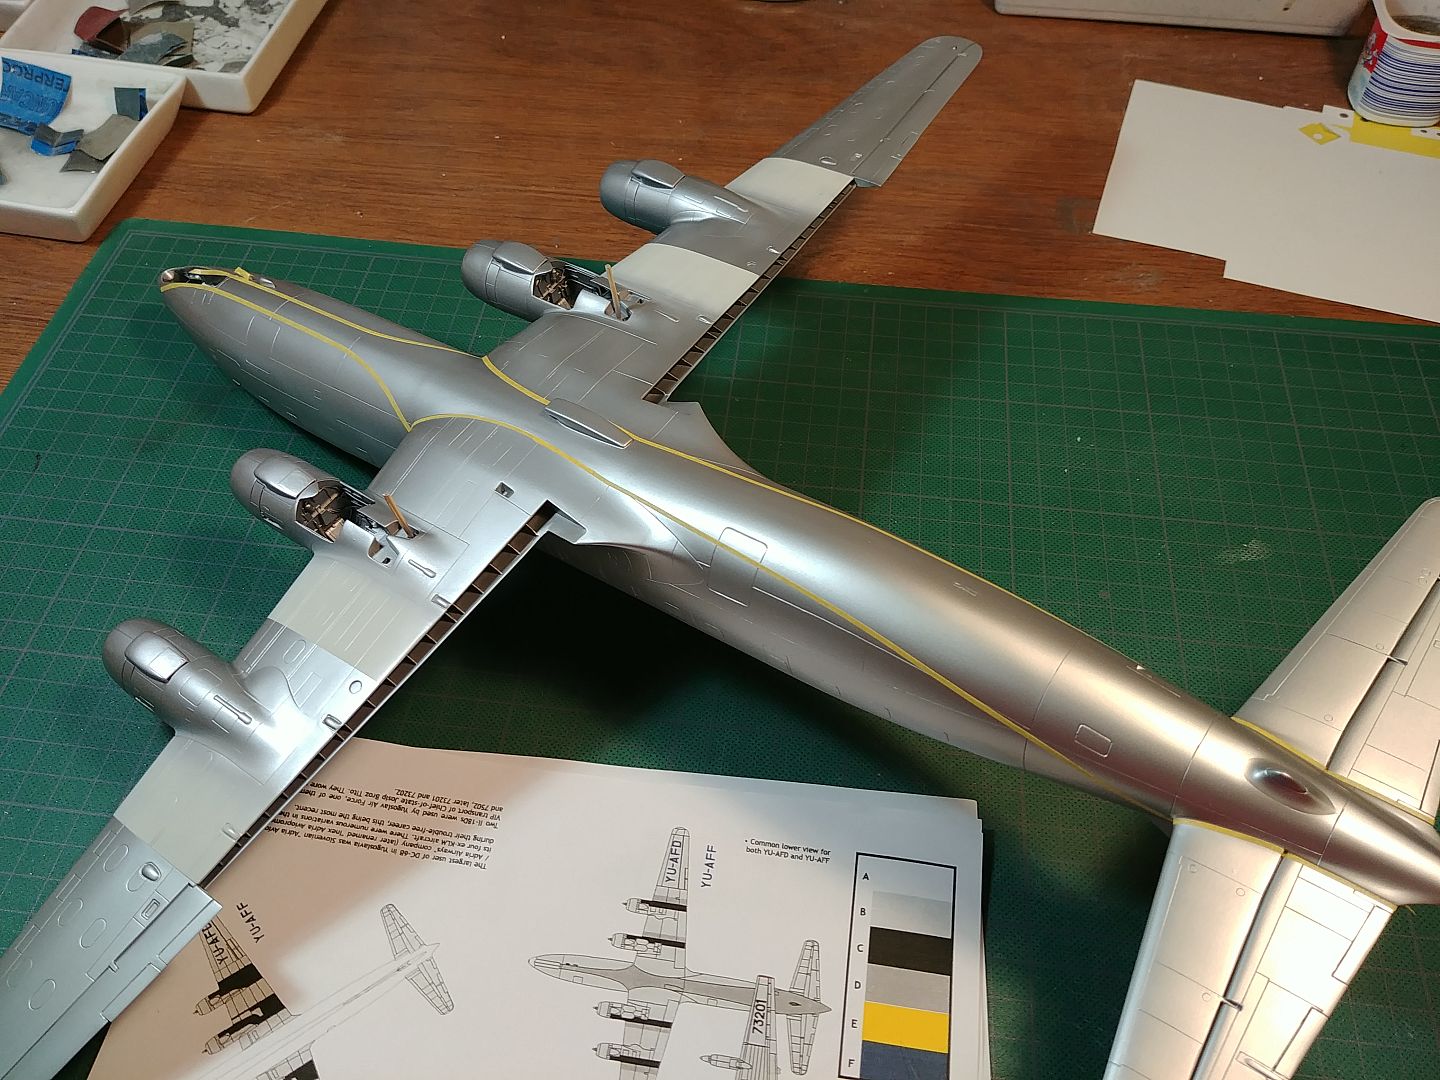
At last, I then sprayed white on top.
20171028_143232_zpszuqdilfj.jpg

20171028_165112_zpstmbaeukw.jpg

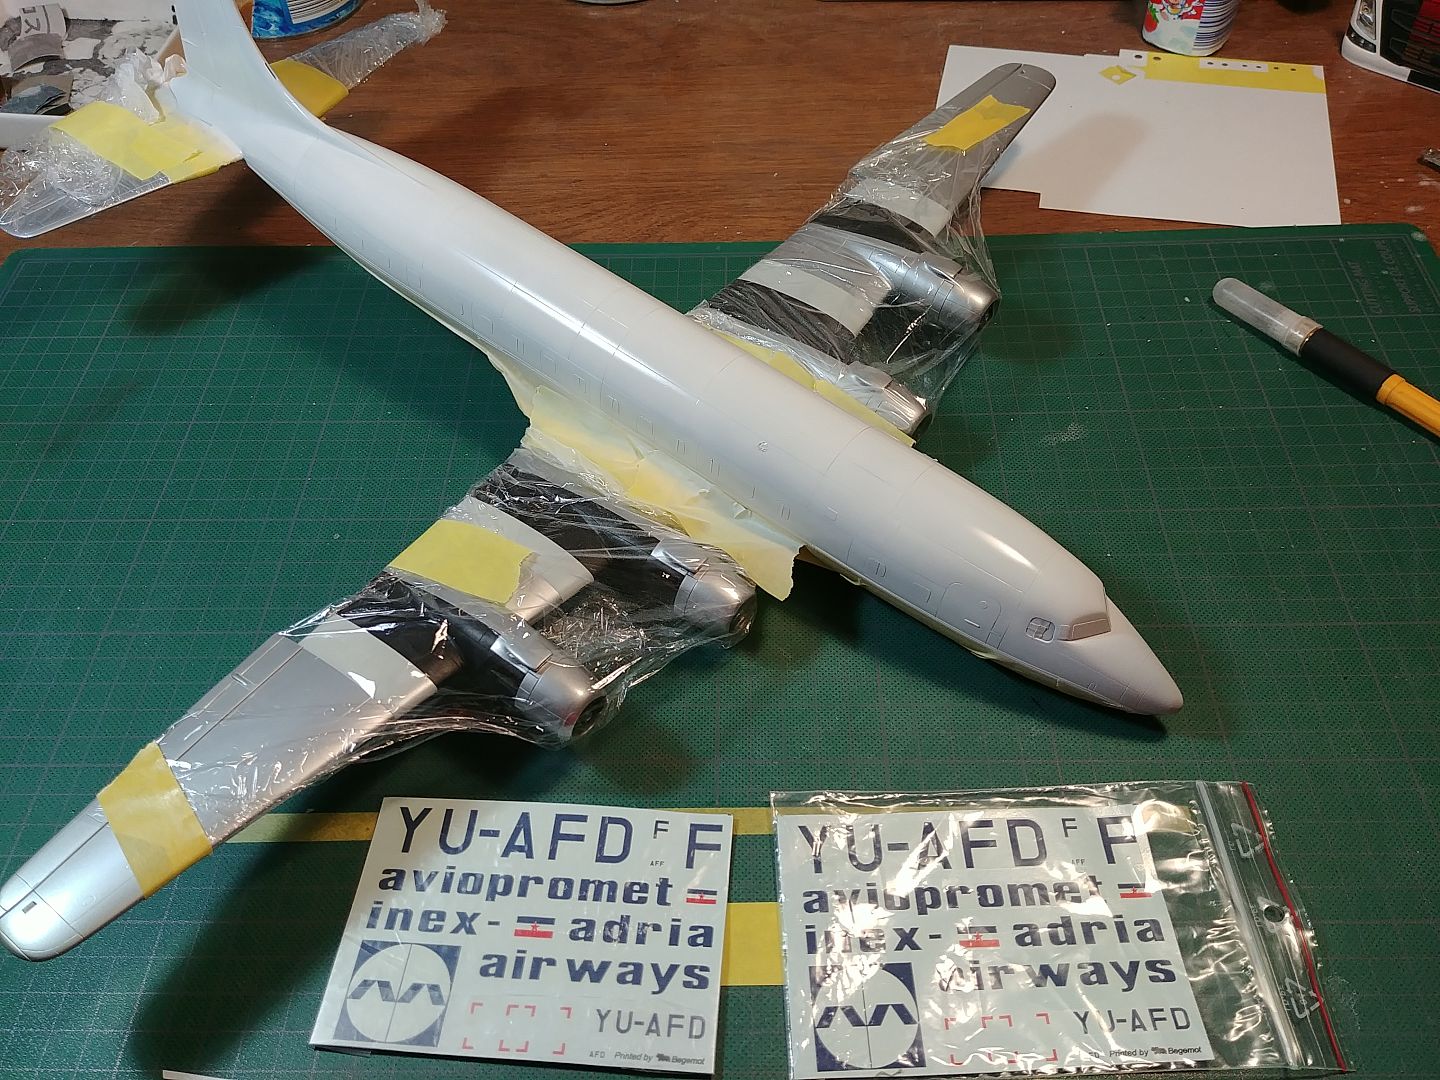
Decals were very yellowed, so I taped them on window and left them(actualy I forgot them) there for a month. They are clear now, I just hope they won't fall apart when I put them in water.

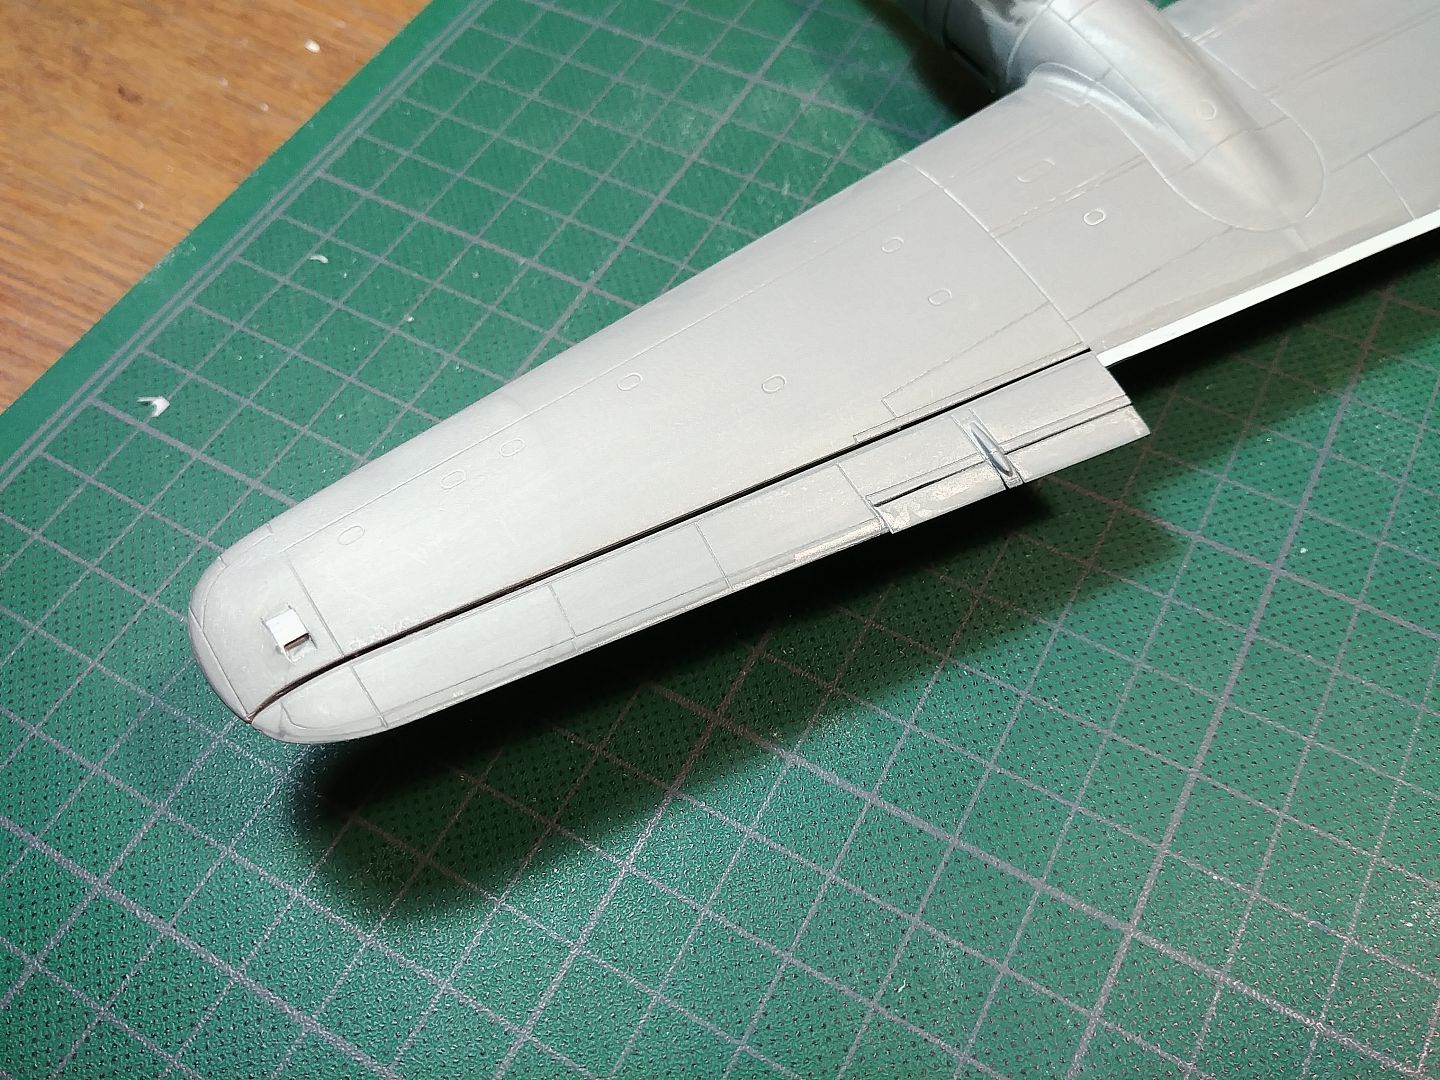
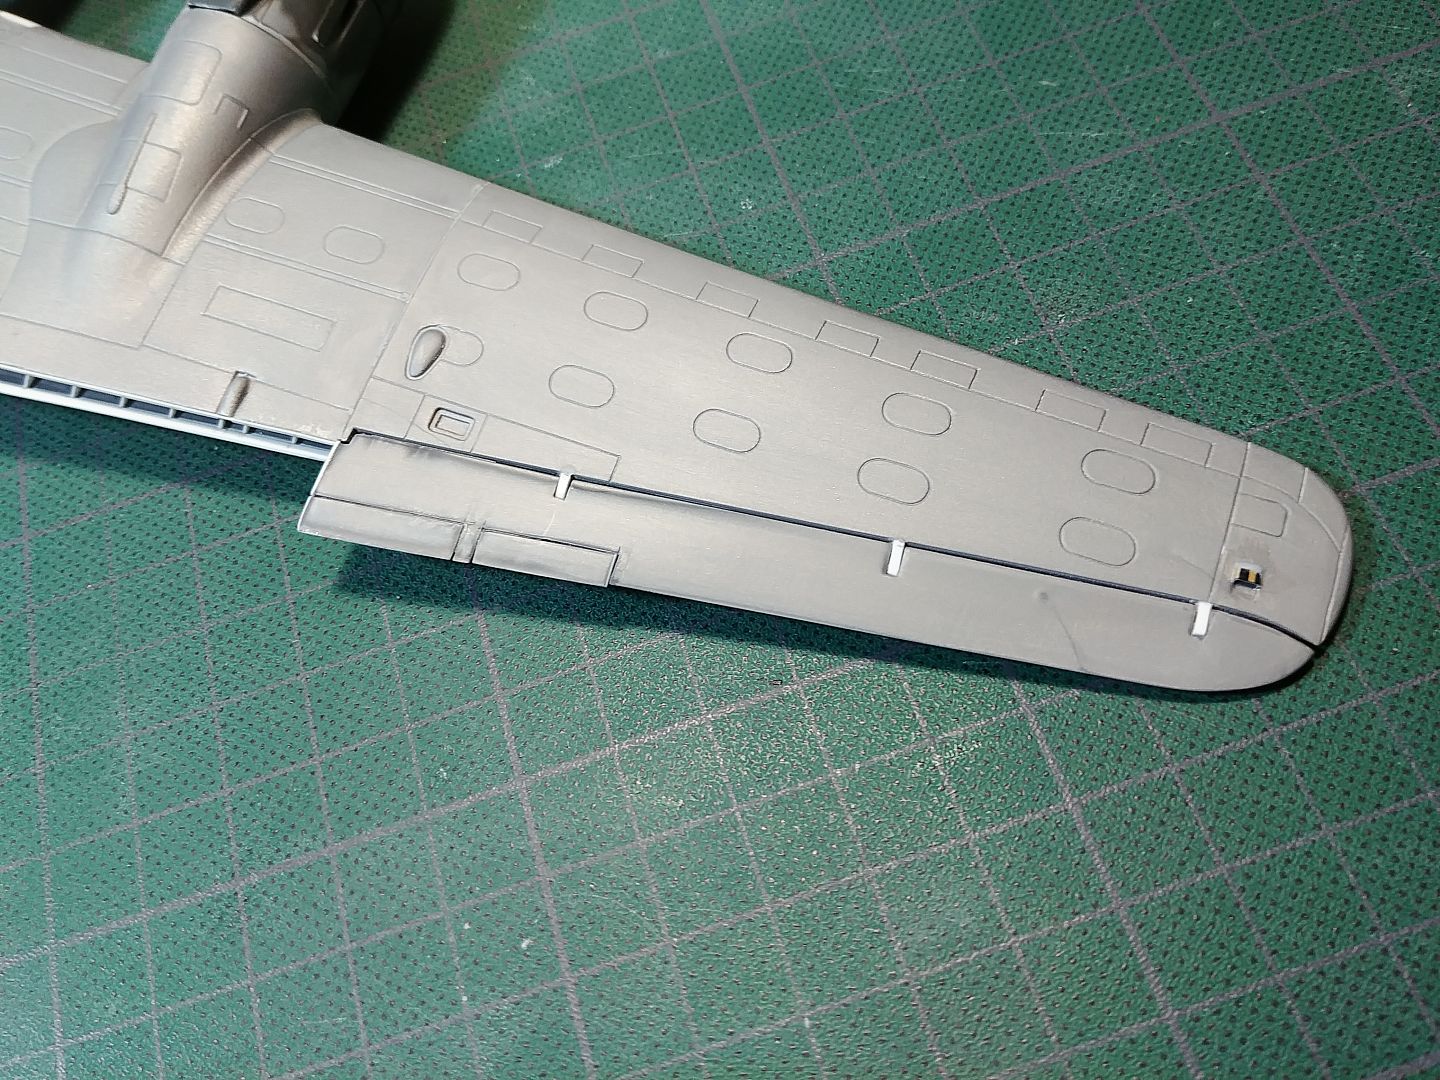
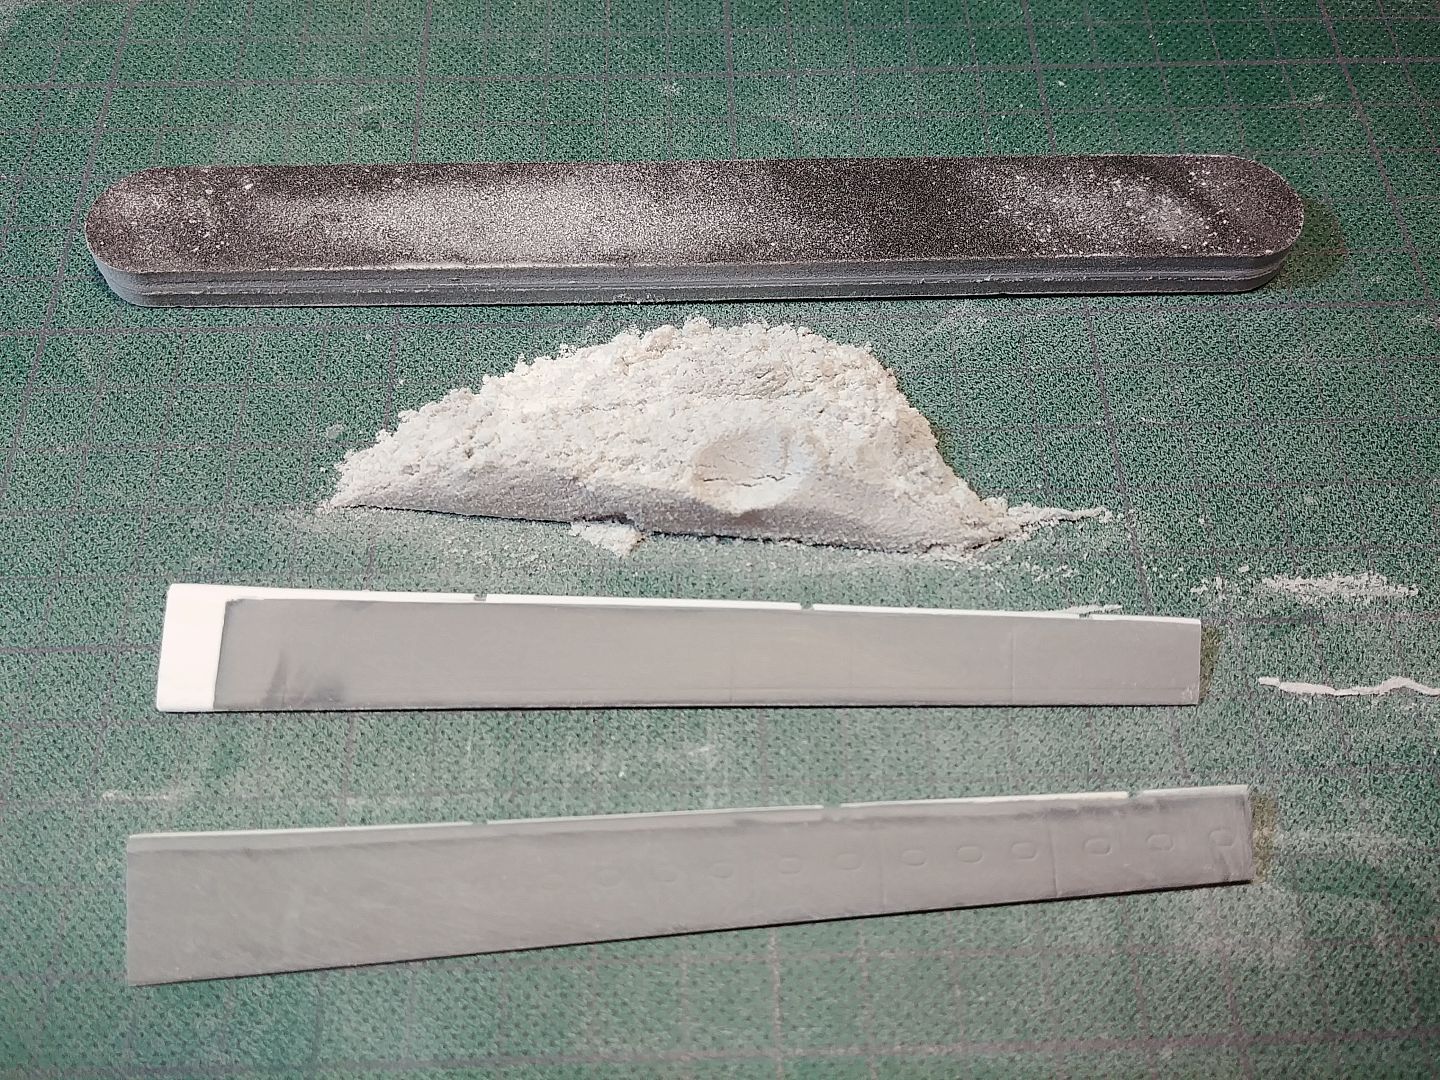
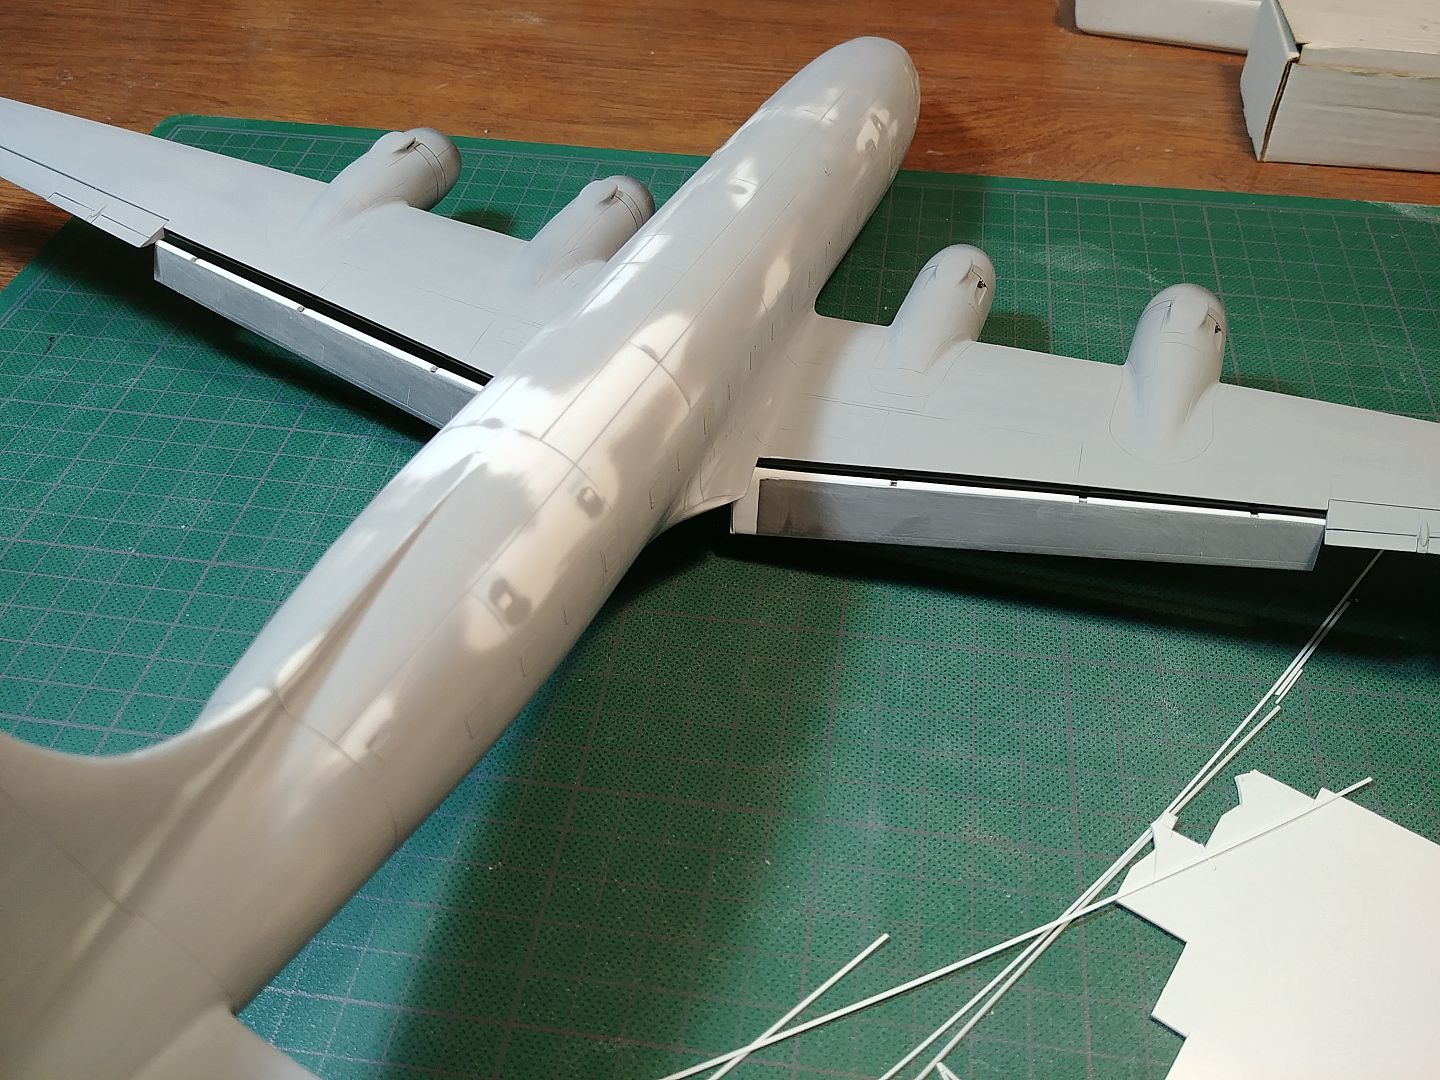
I started with flaps also. This is something I've been putting of as it requires some serious work.
20171025_102118_zpswoqn3aef.jpg

A bit of sandig was needed...
20171025_122741_zpsccepy5w8.jpg

Dryfit.
20171025_181937_zpscfptsdfc.jpg

With flaps started, I hope this project is not going to stall :)

That's it for now. A bit longer post this time, with a lot of I's in it. :) Hope I didnt' bore you.
Thanks for looking!
 
Excellent work and great attention to details. Love the exhaust stack idea .

Those flaps look exhausting :blink


Cheers, Christian B)
 
What patience to cut out all those mask. :notworthy

The black along the nacelles. is that some prep for another color of Alclad or part of the paint scheme? :popcorn
 
Like the rest of the guys have said, attention to detail and quality of work here is exemplary.


Ian.
 
Man, I wish I could lay a coat of paint as smooth as yours and as simply as you did it. I had to spray and mask and respray and sand and respray about nine times on my C-118. I still need to re-spray the wings on mine since my metal coat cracked. I just wish I knew how you did this!
 
Hey guys! Thanks everyone!
MP, black paint is part of painjob. I only use black base when I want a super shiny metal finish lke chrome.
Duke, It's not dificoult, it just takes time. I start with a thin coat of surfacer 1200 aplied with an airbrush. This way I can see all inperfections and fill them also with surfacer 1200, but applied with a thin brush. I let it dry overnight than sand it and spray another coat of surfacer. This is then repeated until I'm satisfied. Usualy it takes 5-6 coats. after 3rd coat I spray only on parts where I sanded. This way I hope to avoid paint build-ups. For white colour I do the same with white surfacer and in the end spray it with tamiya gloss white. I hope this is helpful.

And here is some progres... Cheatline painted and decals applied :yipee
20171105_195247_zpslxl2k27m.jpg

20171105_195306_zpszvqikl5v.jpg

20171105_195323_zpsrv5zog2k.jpg

Landing gear is also finished. I added some details.
20171029_102018_zps0grnyqwd.jpg

20171029_172155_zpsfnjgddz7.jpg

20171029_183335_zpsxhar5two.jpg

2017-10-30-17-54-21_zps64641g2j.jpg

20171030_174423_zps67eopk6g.jpg

20171030_174443_zpswbl76cem.jpg

I'm working on flaps and props now. I'll show them when I have them finished.

Thanks for looking!
 
I can see that it is coming close to the end and what a good looker! I will bet that you couple put that in to a forced perspective photograph and not tell the difference from an actual aircraft.
 
Thanks for the tips. I'll give them a try, although I have already done at least seven coats already. I appreciate it and I am most impressed with this incredible model so far.
 
Back
Top