• Modelers Alliance has updated the forum software on our website. We have migrated all post, content and user accounts but we could not migrate the passwords.
    This requires that you manually reset your password.
    Please click here, http://modelersalliance.org/forums/login to go to logon page and use the "Forgot your Password" option.

Adria inex DC-6

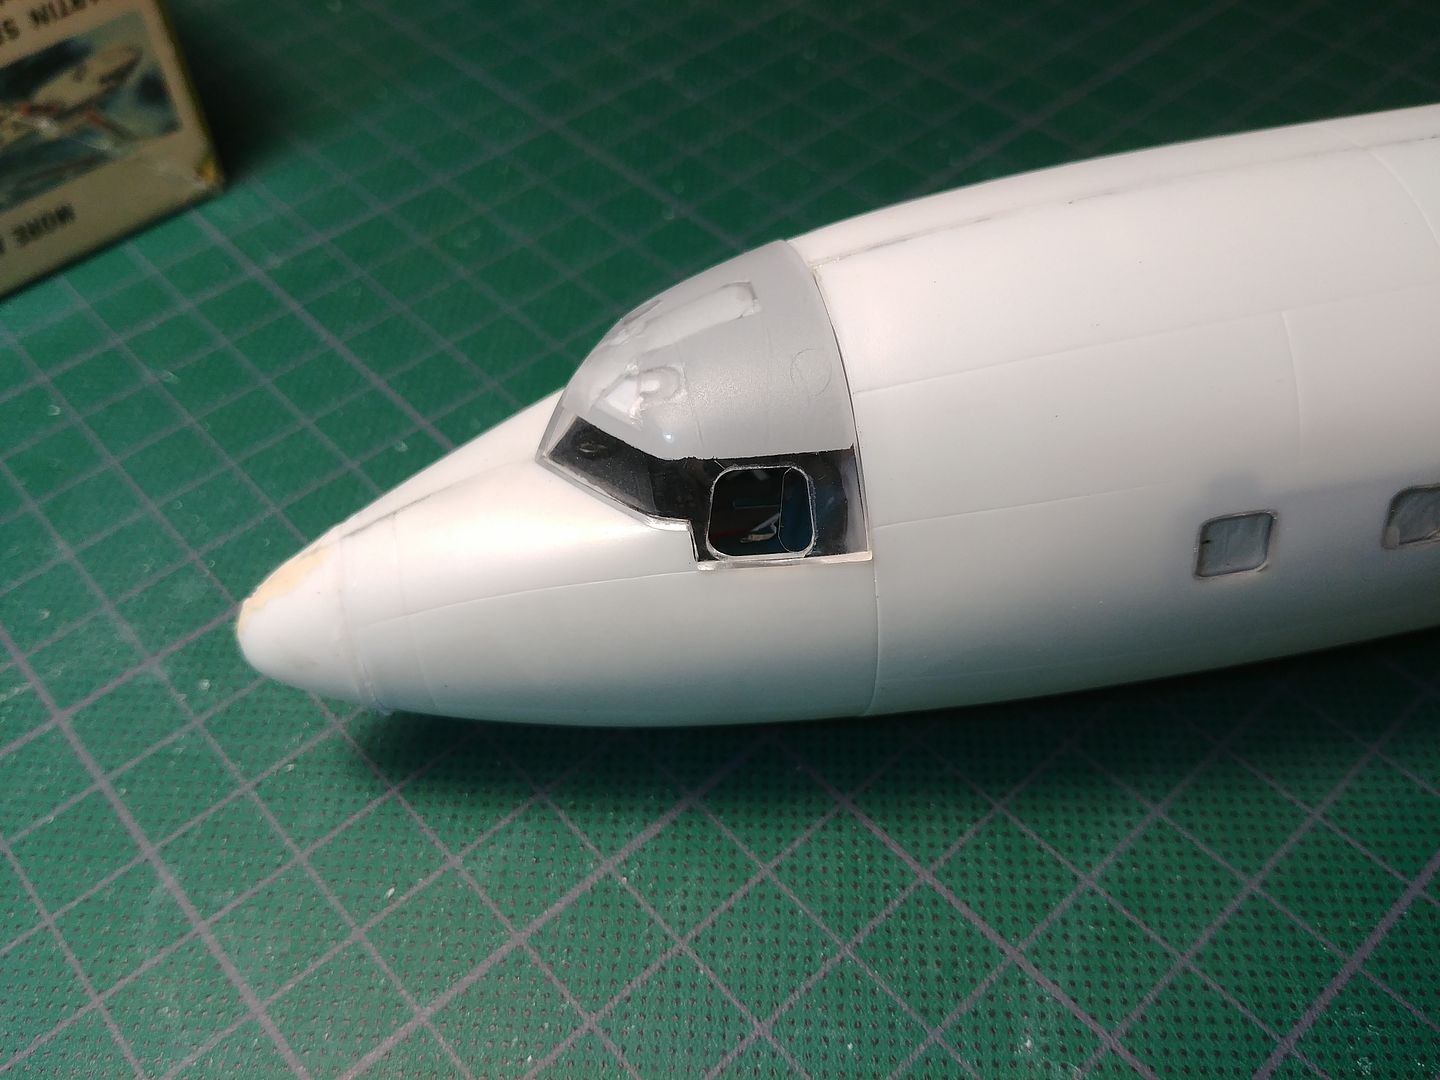
Wonderful work, Uros. I hope you decide to open both sliding windows, work like that shouldn't be hidden.
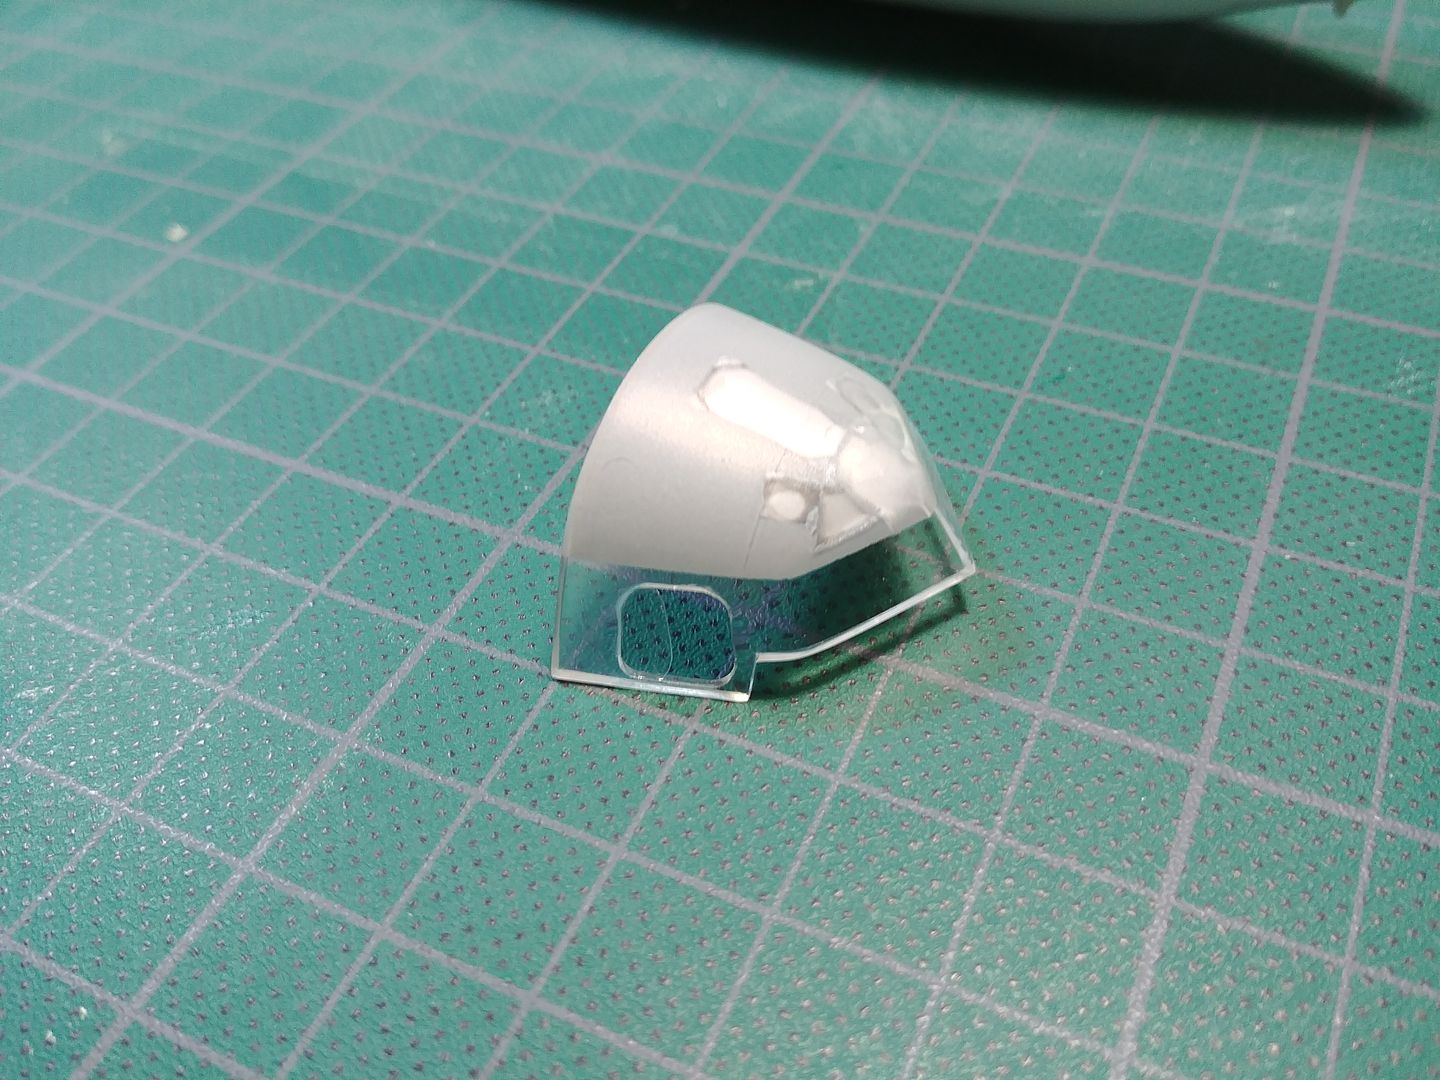
How about if you cut out the sliding windows, then make a new, thinner window out of some clear styrene, then cut the new window in half and attach the front part to the rear of the opening so the window looks half open?
 
Thanks everyone!
Jim, that is a great idea! I had something similar in mind and will be trying your idea first. I've been working on cabin windows. They were glued from inside and filed with superglue from outside. Then I sanded and polished them from both sides. I forgot to take photos of the proces. I lost some panel lines, which will be rescribed later. On the inside, I added curtains made from white decal paper, painted very light shade of beige colour. Now I need your oppinion guys. What do you think? Do they look OK, or should I make some changes. I can't decide if I like them or not.
20170803_200439_zpstmxhmnop.jpg
20170803_200357_zps6wpl8jwm.jpg
20170803_200431_zpsouxihybc.jpg
20170803_200645_zps0fginvwg.jpg
 
Those windows look sensational. I had a hard enough time getting the bare metal finish to go on smooth and I still didn't succeed at that so this already far surpasses what I could do. Bring it on man!
 
Thanks everyone for your opinions, they are much apreciated!
I left everything as it was and finished other side the same.
20170806_115454_zpsbggydgp6.jpg

Nose wheel well is done too...
20170812_143646_zpslfxkhsaf.jpg
20170812_172941_zpsmlgmoitx.jpg

I ran out of lead weights, so I used an empty paint jar. Luckily there is enough space.
20170812_173010_zpsgrsp0c7h.jpg

And fuselage halves are glued together...
20170812_201644_zpseqtmheww.jpg

Next, Cockpit windows. They were cut out and replaced with thin styrene, just like Stoneboat had sugested.
20170814_185905_zpsy4zzfe3f.jpg
20170814_204951_zpstz5j5dwi.jpg

20170814_205331_zps7okhseew.jpg


Last weekend, I went to see the real thing and take some reference photos. Here she is...
20170806_153004_HDR_zpsxsy2spfe.jpg


As always, thank you for looking!
 
Fantastic! (y)
What do you use as polish for the windows? I have some stuff called Peek but try as I will I can't seem to get as clear a job as that. I had some polish from Italy, something called Weenol Plus K that worked well but can't find it anywhere any more.
 
Thanks everyone!

That's for crusin and picking up chicks.
:laugh: Just needs a crew with their elbows sticking out.

Jim, I'm using diferent sandpapers, polishing cloths and polishing paste. I usualy start with 600 or 800 grit sandpaper, continue with 1000, 2000 and 5000, then with 6000 and 8000 grit polishing cloth. In the end I use polishing paste from Tamiya labeled FINE and FINISH. For smaler surfaces I use sanding and polishing sticks for nails and finish with Future floor wax. Be sure to take your lady with you when shopping for those sticks. It feels much less awkward, especialy when you come to mascara stand and cosider using it for weathering your models :laugh:

I picked up a couple of these kits a while back. I don't do it often but you can get this finish with these products.

http://micro-surface.com/index.php/products-by-application/hobby-industry/plastic-and-painted-models/kits.html
 
Hijack in progress
whistle.gif


Fantastic! (y)
What do you use as polish for the windows? I have some stuff called Peek but try as I will I can't seem to get as clear a job as that. I had some polish from Italy, something called Weenol Plus K that worked well but can't find it anywhere any more.

Try Johnsons Baby Powder on a damp Qtip, cleaned up an Amodel canopy to almost Tamigawa standard, for me anyway.....

regular programming shall now resume
bow.gif

Never head this one before. Neat! :ro:
 
A bit of progress over the weekend...
Tail section is finished. It needs a bit more sanding, but I'll do that later, when I spray some primer. I've cut away all control surfaces and added a bit more detail.
20170806_115347_zpscrxr3eir.jpg
20170817_201633_zpsm4pytzzt.jpg

20170820_160026_zpszuh3ibwu.jpg
20170820_155803_zpsehxig6ra.jpg

20170820_160204_zpswmqe836b.jpg
20170820_155835_zpspmvhx42k.jpg

Also did this intake. Is a piece of styrene roled into tube and sandwiched betwen two thicher pieces.
20170819_174446_zpse3fb4vp7.jpg

20170820_155635_zpsp4nhz0qp.jpg

And this. I have no idea what it is, but I know its there. Mesh is from an oil filter.
20170820_155851_HDR_zps0o0kcgqh.jpg

I need to finish nose wheel well next, then I'm of to wings. So far it's comming together pretty quick. I hope its stays that way.
Thanks for looking!
 
Fine work Uros. (y)

I always find that cutting away the controls adds an extra element of realism. I generally do it, but with the Beech I don't know if I will or not. The way the controls are molded onto the fixed portion of the airframe looks to make it an impossible job. Are you going to paint the controls as a separate item before attaching them?
 
This looks great! You're certainly having an easier time with it than I am with my C-118. Looking forward to seeing more.
 
Back
Top