Frank
Well-known member
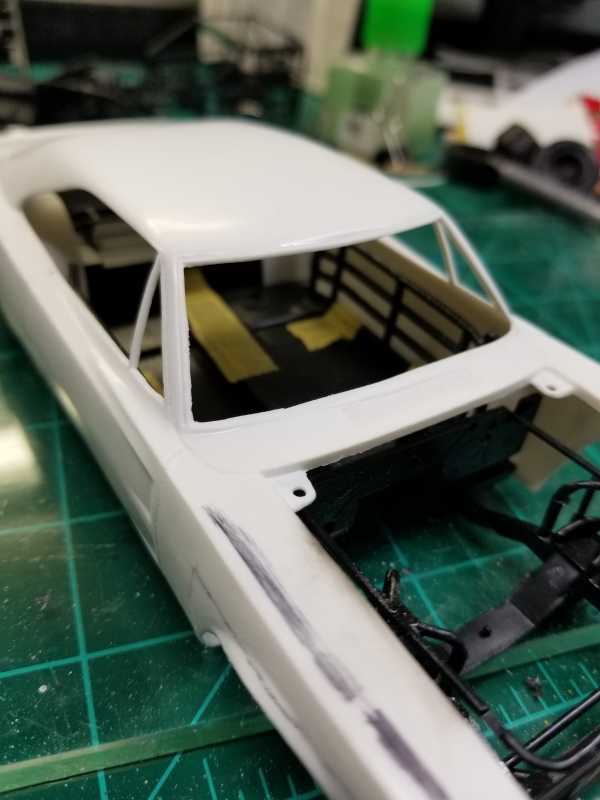
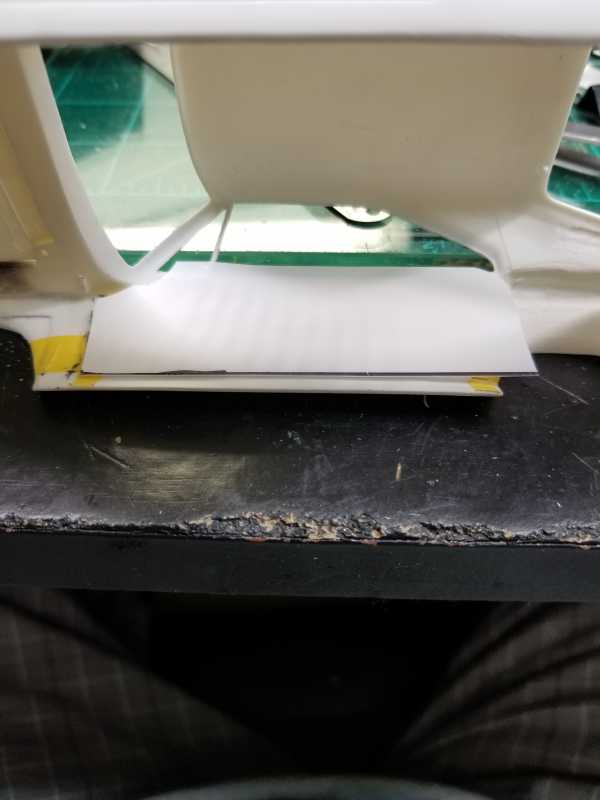
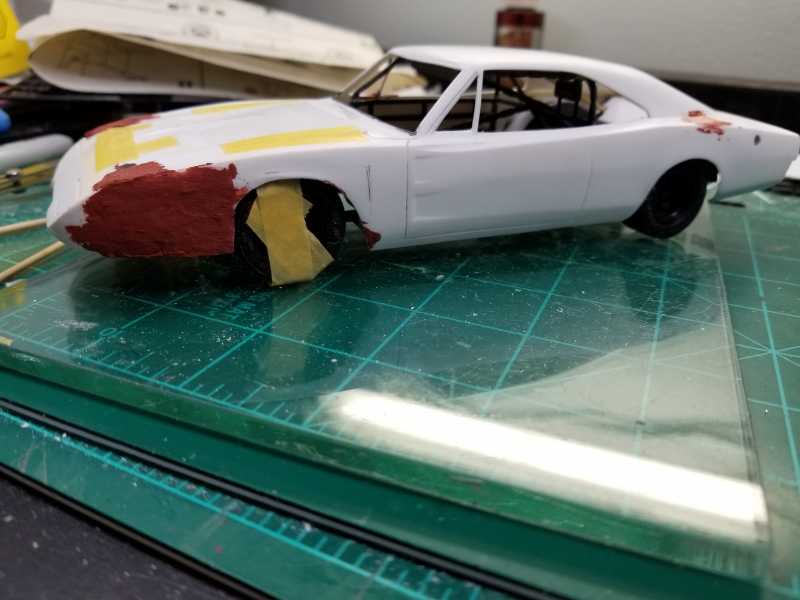
I am only working the right side for now.
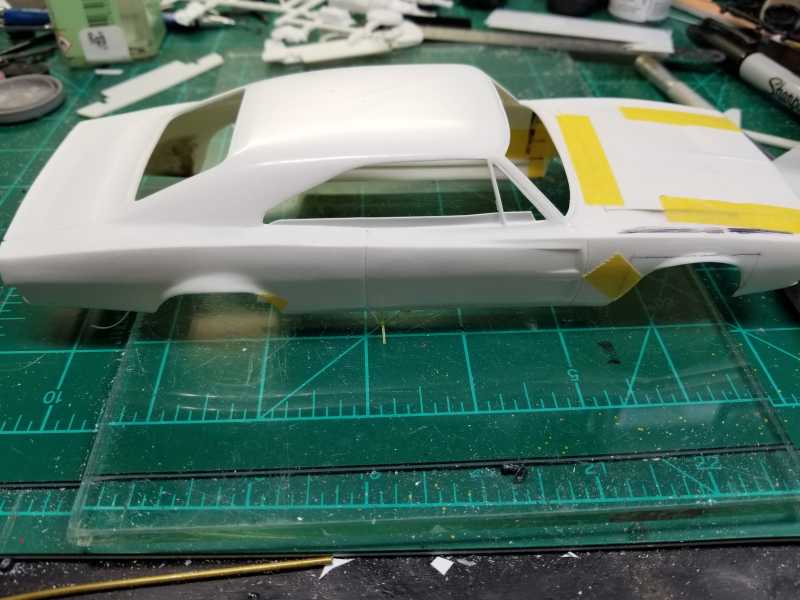
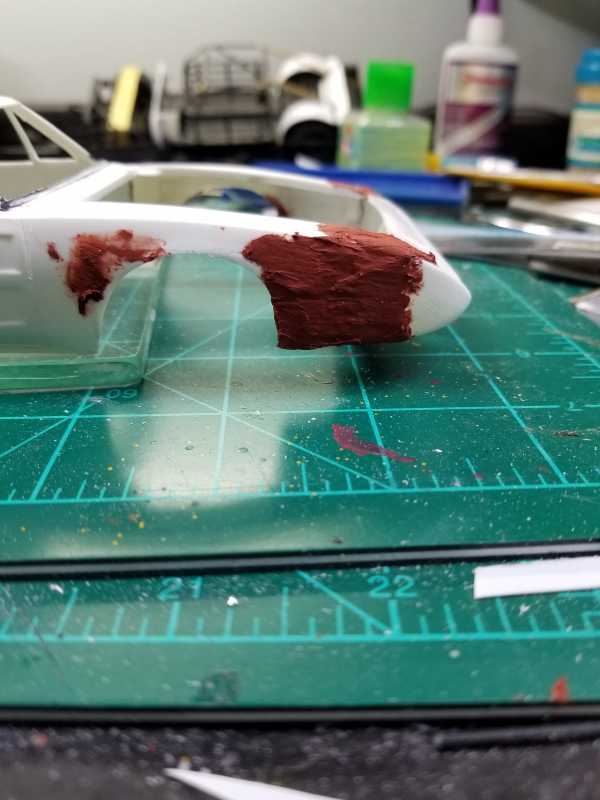
Now comes working the nose area.
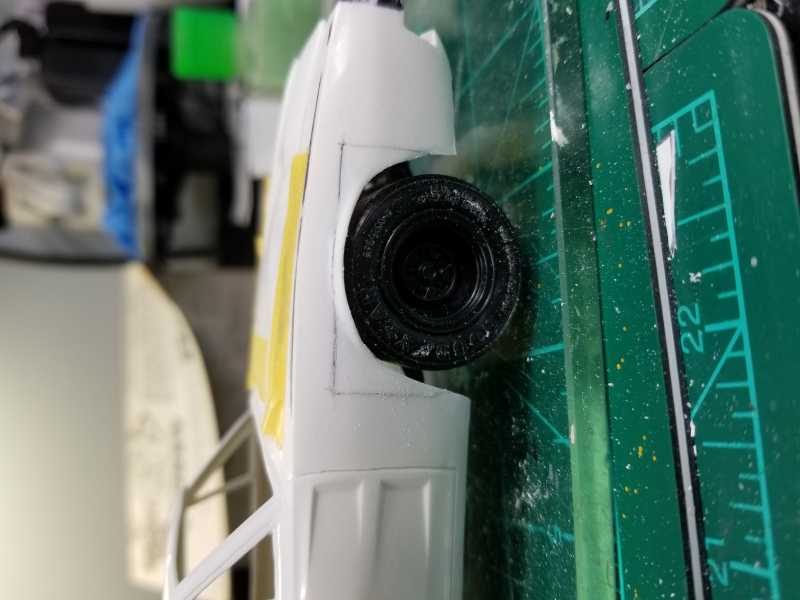
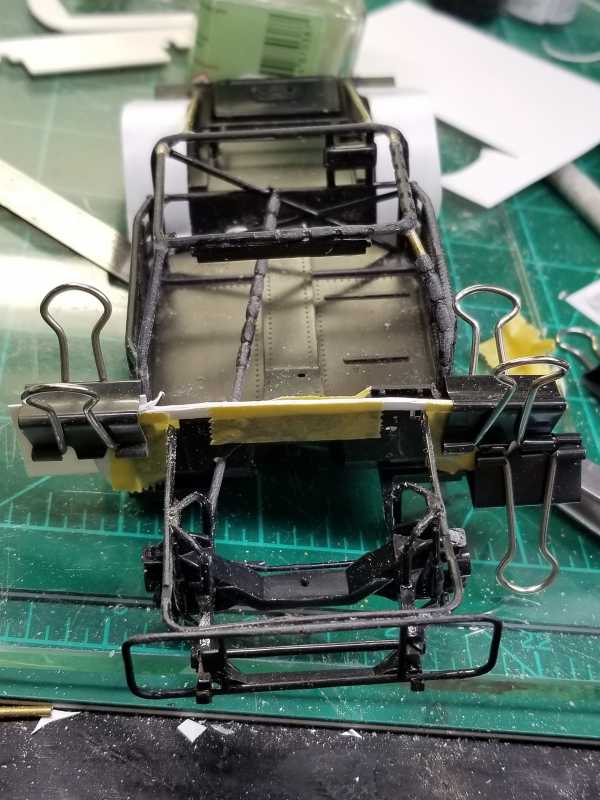
Large gap between the hood and nose piece.

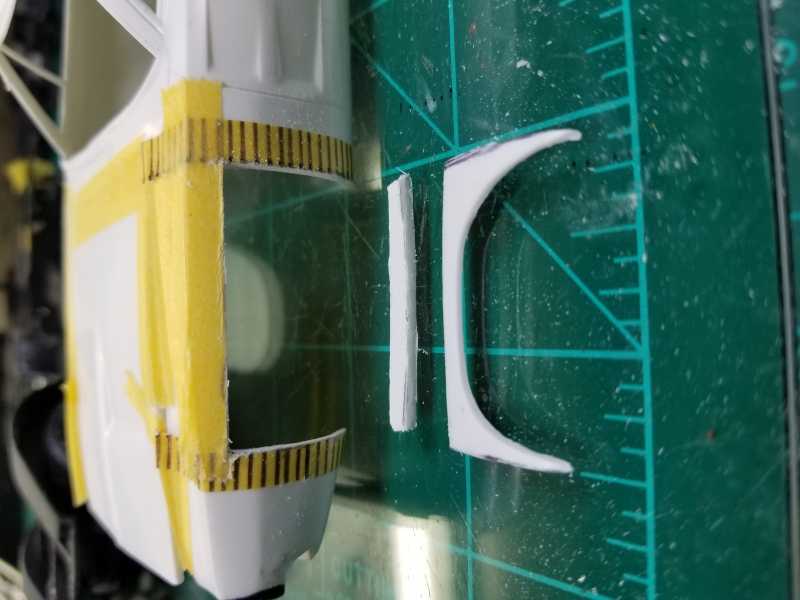
There is also a fillet piece that is needed to correct the nose attachment profile.
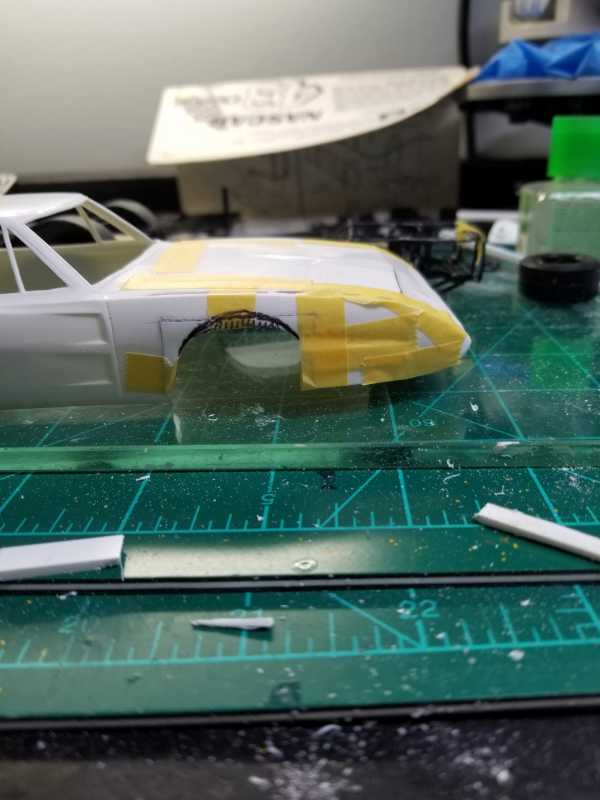
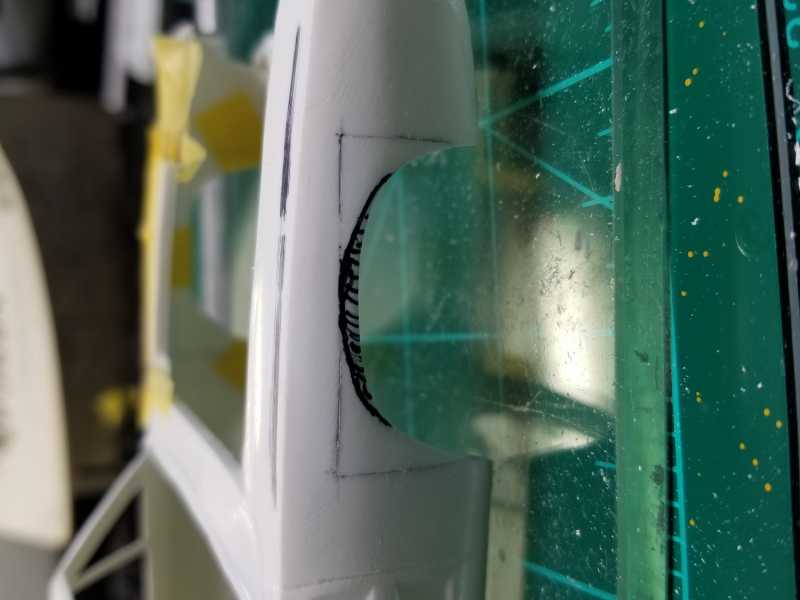
The black marker will be the fine tuning of the wheel well opening.
Thanks for looking in.
Frank
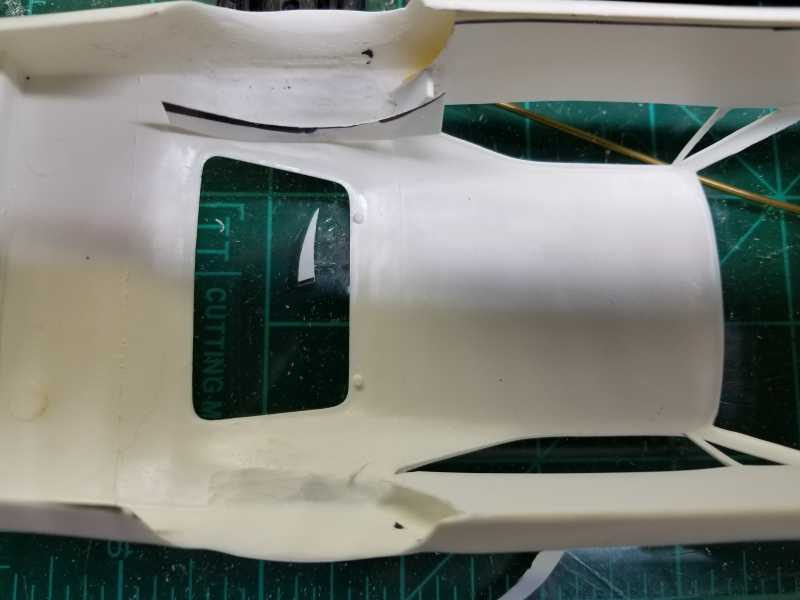
Now comes working the nose area.
Large gap between the hood and nose piece.
There is also a fillet piece that is needed to correct the nose attachment profile.
The black marker will be the fine tuning of the wheel well opening.
Thanks for looking in.
Frank