
-
Modelers Alliance has updated the forum software on our website. We have migrated all post, content and user accounts but we could not migrate the passwords.
This requires that you manually reset your password.
Please click here, http://modelersalliance.org/forums/login to go to logon page and use the "Forgot your Password" option.
You are using an out of date browser. It may not display this or other websites correctly.
You should upgrade or use an alternative browser.
You should upgrade or use an alternative browser.
1/200 Trumpeter Bismarck with Pontos 27001F1
- Thread starter Trogdor
- Start date
Nice work but I have a question. Would a larger washer not give your mount the support it needs?
I think you would have had to epoxied the washer in place if this thing weights anything. That plastic would start giving after some time. Doing good! :captain

Looks good from here. :captain
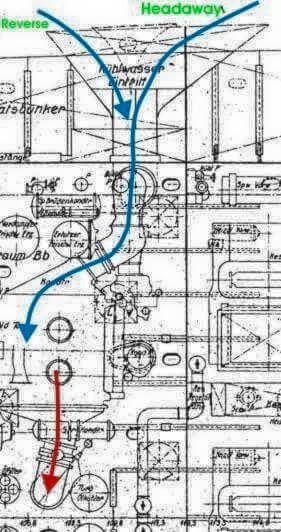
Sorry To everyone Ive been Busy as Hell at work and at home to work on the Bismarck But i managed to sneak in a little progress Got the Water Intakes Installed and they look Great You probably will never see it but i know its there lol< I also got a 200mb File of everything on the Bismarck you could think of Photos Drawings Etc.. if anyone need it just email me and ill give you my DropBox Info, And on a Side note this isnt 100% accurate Just me having fun Scratch Building, I just like adding little things in the Background to add to the Ship So im Sorry to the Rivet Counters out there lol.
Here is a Hans Gally Drawing of the Water Intake
Got it Roughed In
A Dark Coat of Hull Primer

And Added the Top of the Intake
Turned Out pretty Good :cheer:

Here is a Hans Gally Drawing of the Water Intake
Got it Roughed In
A Dark Coat of Hull Primer
And Added the Top of the Intake
Turned Out pretty Good :cheer:
Never knew there were so many holes in the hull like this. 
Yeah its Crazy how many Holes there are, Im Trying to find the Full Hans Gally Drawings but form what i can tell there are a Additional 30 holes for intake and out-take of sea water etc..
 hmy: :gogo
 ... :skipper
 Sherman 18
Master at Arms
Nice work! :skipper
As long as they are plugged off or else she would not be floating too longYeah its Crazy how many Holes there are, Im Trying to find the Full Hans Gally Drawings but form what i can tell there are a Additional 30 holes for intake and out-take of sea water etc..
Thanks Everyone For the Great Comments it helps me Keep going  , I find this Stage of the Build the Hardest for me, Its alot of Sanding and Putty to get the Shape of the Hull Right. Now an Update (sorry its been awhile LoL so busy)
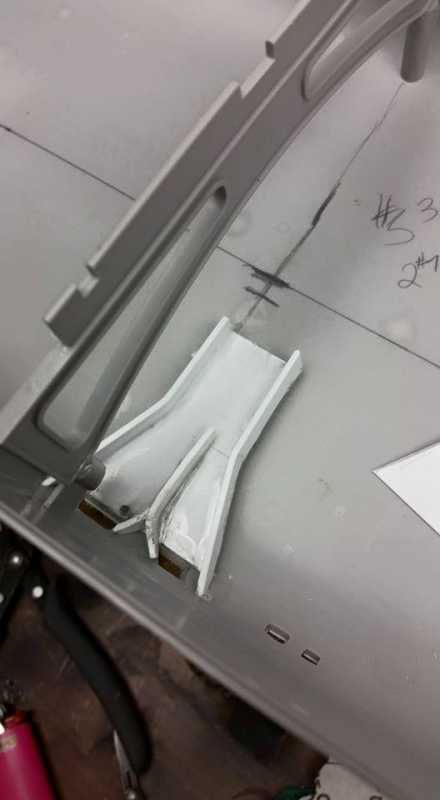
So I Finished all the Intakes Channels inside here is my Process (if you got any Questions just ask ill be galde to give more details on Materials Etc.. i did to make this
I started with the 2 Larger Intake Using Thin Plastic Card< Using a Template for the Other Side
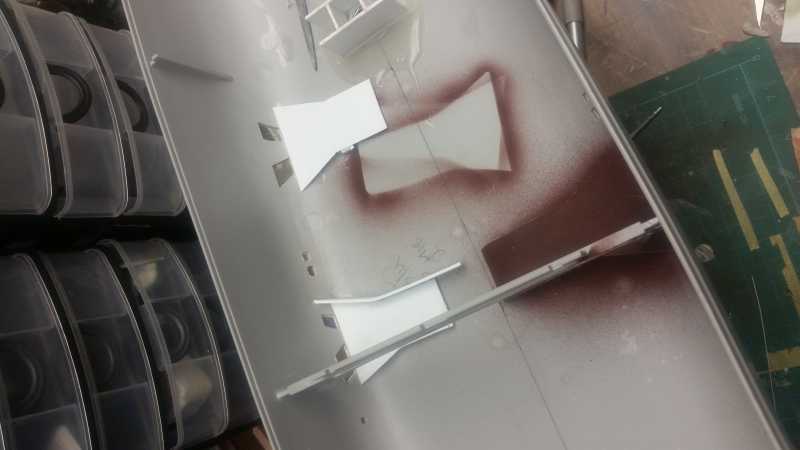

Then I got Crazy :gogo and Said lets do them All lol, I used all my Scraps Up for this, its a Great Way to recycle and Clear my Junk Pile :yipee
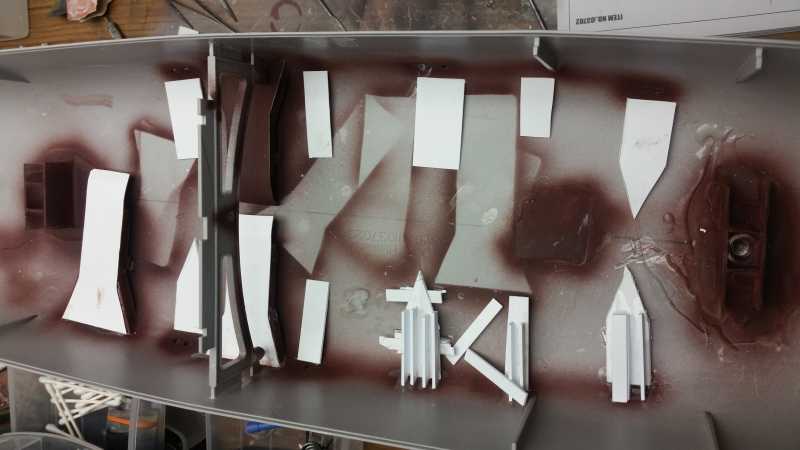
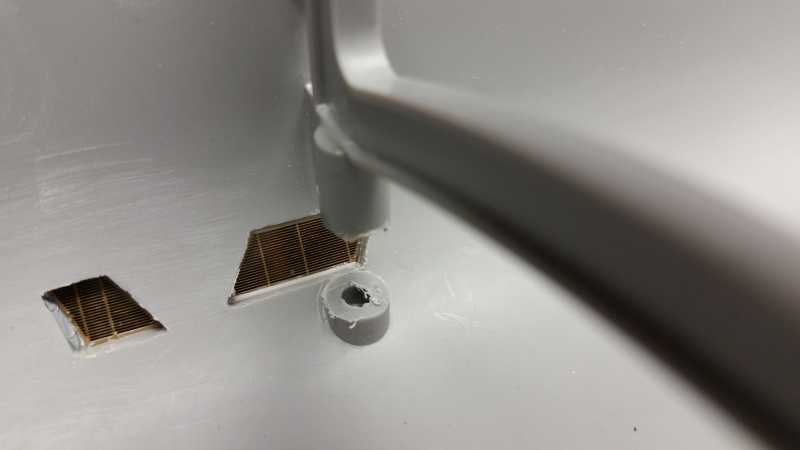
Close Up of one of the Vents
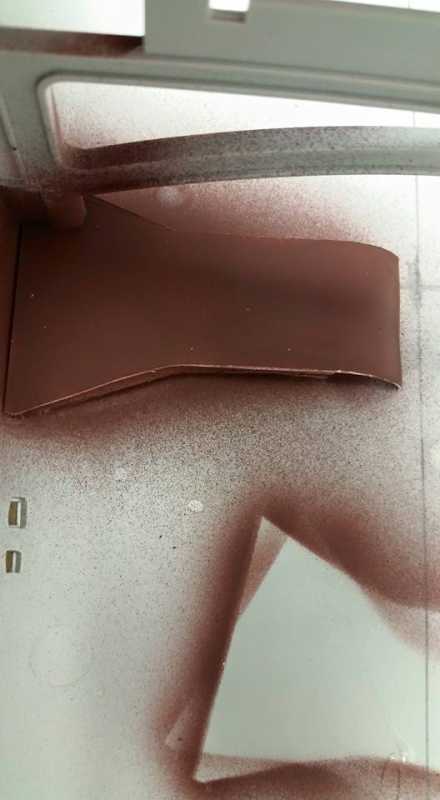
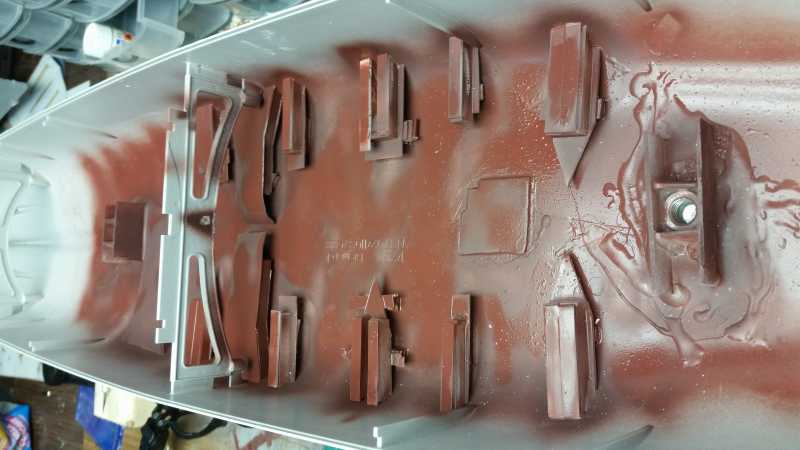
Painted Using Tamiya Hull Red

Lucky No one will see this part once is Closed up lol
, I find this Stage of the Build the Hardest for me, Its alot of Sanding and Putty to get the Shape of the Hull Right. Now an Update (sorry its been awhile LoL so busy)So I Finished all the Intakes Channels inside here is my Process (if you got any Questions just ask ill be galde to give more details on Materials Etc.. i did to make this
I started with the 2 Larger Intake Using Thin Plastic Card< Using a Template for the Other Side
Then I got Crazy :gogo and Said lets do them All lol, I used all my Scraps Up for this, its a Great Way to recycle and Clear my Junk Pile :yipee
Close Up of one of the Vents
Painted Using Tamiya Hull Red
Lucky No one will see this part once is Closed up lol
OK 2nd Update of the Day
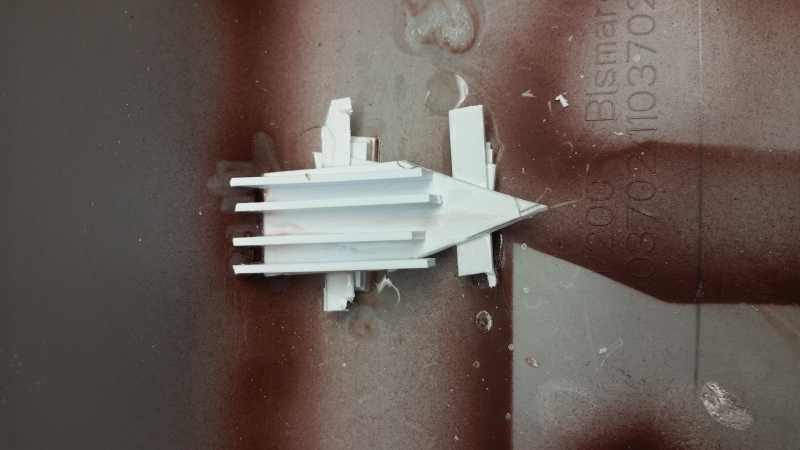
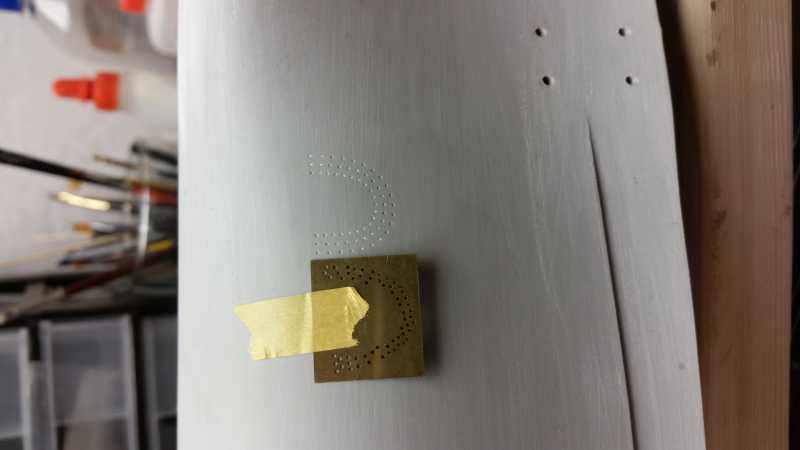
So i Started Work on the Hydrophone, The Design on this Kit is Incorrect, Pontos Gives you the Template for the Correct Pattern
Here it is on the Hull you can see the Rainbow Shape Trumpeter Did :laugh: (i Also Marked Center Line so i can Position the Template on Better

Here is the Template on the Fret
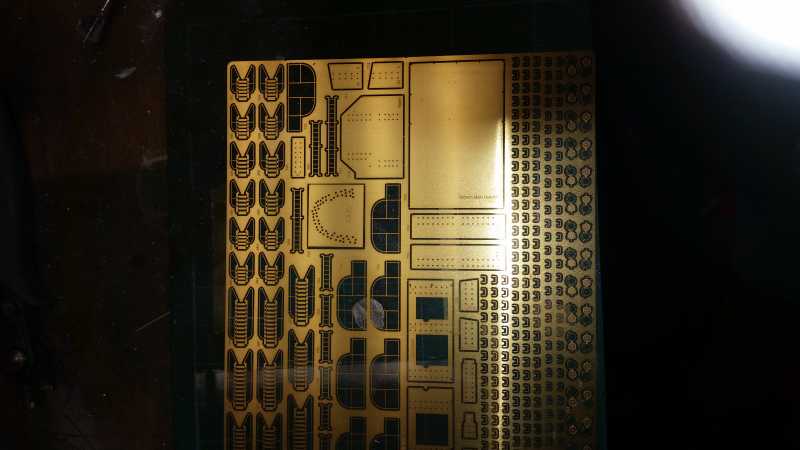
You can see the Weird Patern very Random sorda

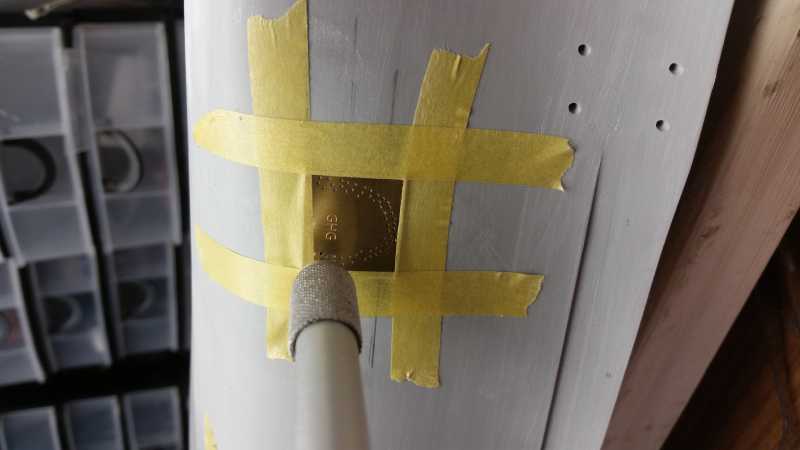
I forgot to take a Pic of it before i Taped it but Putty and Sanded to Remove the old Hydrophone
So i Started Work on the Hydrophone, The Design on this Kit is Incorrect, Pontos Gives you the Template for the Correct Pattern
Here it is on the Hull you can see the Rainbow Shape Trumpeter Did :laugh: (i Also Marked Center Line so i can Position the Template on Better
Here is the Template on the Fret
You can see the Weird Patern very Random sorda
I forgot to take a Pic of it before i Taped it but Putty and Sanded to Remove the old Hydrophone