
Old Dog
Well-known member
I have made my donation and this will be sort of a one man group build. Now before anyone gets their shorts in a knot I did discuss this with Bob back in August and he seemed OK with it at that time, however, he was experiencing some sort of an air conditioning failure so he may deny it :gogo I will be building five kits, one stock kit with a lot of AM and one each of four different conversions and it will all be contained in this thread. So as not to cause any issues with the drawing I will excuse myself from that. Be my luck I'd get one of the kits I donated anyway :facepalm
Also as an added incentive to myself to finish all five of these I will pledge an additional $10 each for any kit I don't complete by the deadline. So for the good of the cause you can pull for me to fail
OK, here is the stack of what I will be using...

And the obligatory time stamps


Please note the three boxes in the background are still in their factory shrink wrap so I didn't open them.


I was originally going to do these in the soft skins campaign but felt it would better the cause here. And for Bob who, back when I mentioned joining the soft skin campaign, said he never saw me build anything like this before... back when I reentered the hobby about 8 years or so ago I built a soft skin which each new kit I started so I had something to do while paint was drying and so on, eventually I stopped doing these but not before doing these...
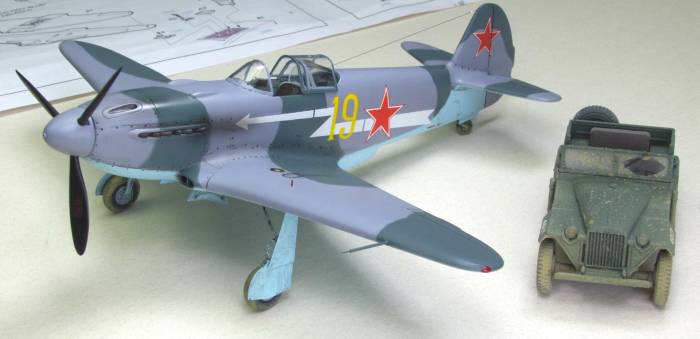
GAZ-67
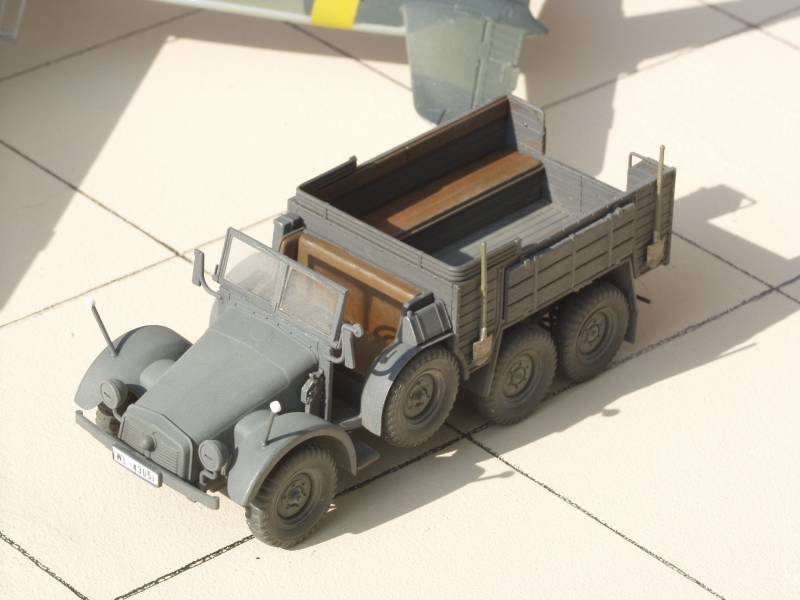
Krupp Boxer
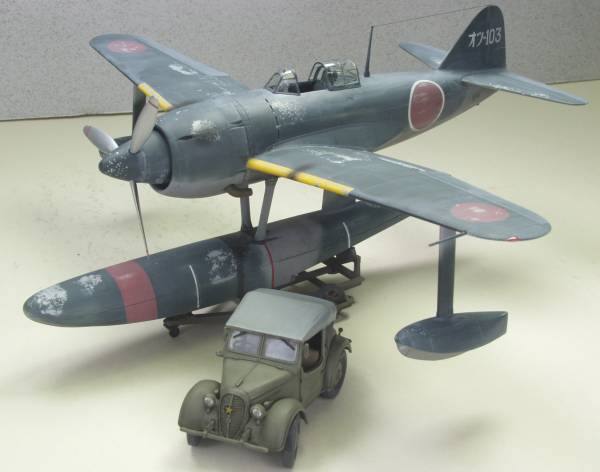
Kurogane
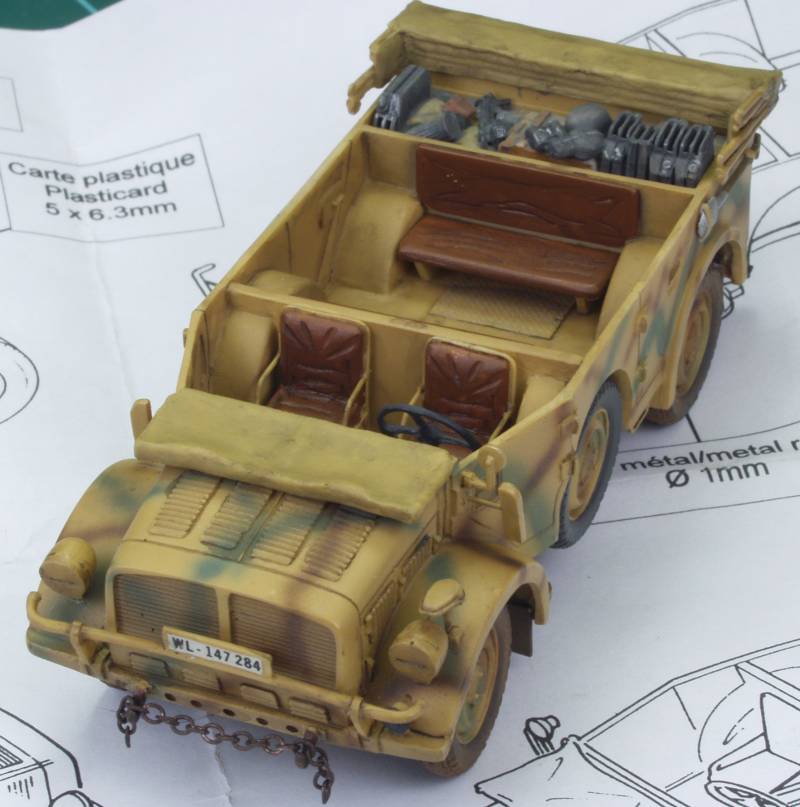
and this all resin Horch
I will detail all of the various parts of this build over the next few days, wish me luck (or not)
Also as an added incentive to myself to finish all five of these I will pledge an additional $10 each for any kit I don't complete by the deadline. So for the good of the cause you can pull for me to fail
OK, here is the stack of what I will be using...
And the obligatory time stamps
Please note the three boxes in the background are still in their factory shrink wrap so I didn't open them.
I was originally going to do these in the soft skins campaign but felt it would better the cause here. And for Bob who, back when I mentioned joining the soft skin campaign, said he never saw me build anything like this before... back when I reentered the hobby about 8 years or so ago I built a soft skin which each new kit I started so I had something to do while paint was drying and so on, eventually I stopped doing these but not before doing these...
GAZ-67
Krupp Boxer
Kurogane
and this all resin Horch
I will detail all of the various parts of this build over the next few days, wish me luck (or not)

 ...good luck :coolio


