-
Modelers Alliance has updated the forum software on our website. We have migrated all post, content and user accounts but we could not migrate the passwords.
This requires that you manually reset your password.
Please click here, http://modelersalliance.org/forums/login to go to logon page and use the "Forgot your Password" option.
You are using an out of date browser. It may not display this or other websites correctly.
You should upgrade or use an alternative browser.
You should upgrade or use an alternative browser.
The latest Something I 've been doing.........MENG WW1 A7V and MKV Male - Jan 10 2025
- Thread starter Brokeneagle
- Start date
Brokeneagle
Master at Arms
Brokeneagle
Master at Arms
While I try to complete the 2 Mando figures, my Russian T-80U and my 2 subs, I have to get a few commission jobs done as well as as I have posted my other commission work under this blog I thought I would continue the trend............
2 WW1 TANKS - British MkV MALE and a German A7V

I will be starting on the MkV Male

This should be an interesting build for me, as I have never built a WW1 tank but are very much looking forward to the subject change. Both are Meng kits,, which should mean that will have great detail and be a reasonably good fit.
The detail on the inner and outer armour sides is excellent and come up treat at the paint and weathering stage.

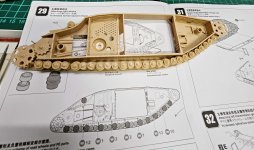
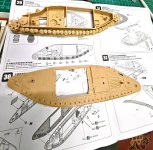
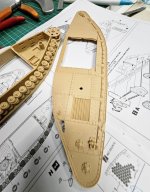
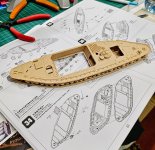
The wheels are plentiful but easy, the hardest part being in the sanding of them and fitting the other side. Each wheel pin needs to be lined-up precisely with the opposing hole on the matching outer armour piece. Be careful to line them up correctly and use a thin tweezer arm to pop them in when they are not lining up. I also glued the wheels on the pins to stop them falling off every time I picked up the assembly - this didn't effect the build as the tracks will be fixed anyway.


Next up is the central compartment where the tank is operated from. There is a lot of detail in this section and I will need to sort out the parts that are key to the structure and the interenals that I do not need as it will be 'buttoned-up'.


2 WW1 TANKS - British MkV MALE and a German A7V
I will be starting on the MkV Male
This should be an interesting build for me, as I have never built a WW1 tank but are very much looking forward to the subject change. Both are Meng kits,, which should mean that will have great detail and be a reasonably good fit.
The detail on the inner and outer armour sides is excellent and come up treat at the paint and weathering stage.


The wheels are plentiful but easy, the hardest part being in the sanding of them and fitting the other side. Each wheel pin needs to be lined-up precisely with the opposing hole on the matching outer armour piece. Be careful to line them up correctly and use a thin tweezer arm to pop them in when they are not lining up. I also glued the wheels on the pins to stop them falling off every time I picked up the assembly - this didn't effect the build as the tracks will be fixed anyway.
Next up is the central compartment where the tank is operated from. There is a lot of detail in this section and I will need to sort out the parts that are key to the structure and the interenals that I do not need as it will be 'buttoned-up'.
Last edited:
sharkman
Master at Arms
Looks cool!
Gotta ask though, what are all the little round bits on the track wall just behind the fighting compartment opening??
Is that shell storage?
Brokeneagle
Master at Arms
You got it! Spot on...Looks cool!
Gotta ask though, what are all the little round bits on the track wall just behind the fighting compartment opening??
Is that shell storage?
Brokeneagle
Master at Arms
I thought it was time to start the A7V and keep building them in tandem.....
I started on the tracks....
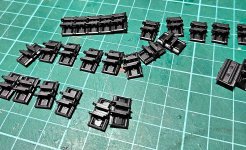
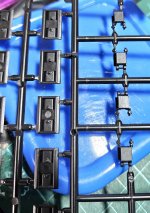
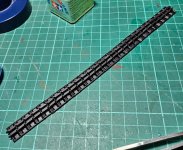
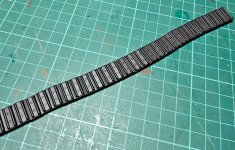
They go together pretty easily and are simple to construct.
I then put the superstructure together without the interior, as it will be bolted-up tight. Only up to the point where I need to attach the tracks.
Love it, you made it back to the bench. 

Brokeneagle
Master at Arms
Yep, finally made it back(only just though) but now I am feeling the love and getting some modelling done again.Love it, you made it back to the bench.
Brokeneagle
Master at Arms
Thanks Steve, most of it will be covered by plates but the highlights won't be done until I have it on the base.That mud work looks great, Ian!
Brokeneagle
Master at Arms
Further progress.............
The hull 2 side panels are handed but look exactly the same so make sure you test fit them before the glue goes down, the differences are very slight and come down to the fit of the inner braces into T shaped slots.

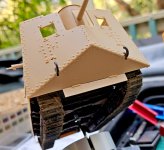
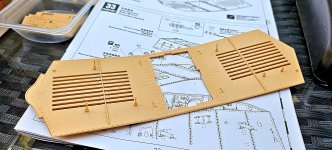
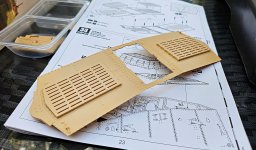
The detail is great but the fit of the panels is terrible..........this kit is about $120 AUD, so I was very disappointed with that aspect of the quality.

Strip Plastic from Evergreen is the only answer for this kind of terrible.....its like the Roden of WW1 tanks kits.


The hull 2 side panels are handed but look exactly the same so make sure you test fit them before the glue goes down, the differences are very slight and come down to the fit of the inner braces into T shaped slots.


The detail is great but the fit of the panels is terrible..........this kit is about $120 AUD, so I was very disappointed with that aspect of the quality.
Strip Plastic from Evergreen is the only answer for this kind of terrible.....its like the Roden of WW1 tanks kits.
fledermaus
Master at Arms
Ian love the track mud, nice work so far, are both models going to be together?
Abdin
Abdin
Brokeneagle
Master at Arms
Thanks Abdin, the mud needs more highlighting efects to create better contrast but I can't complete that until it goes on the base,after which I blend them in together as the final stage.Ian love the track mud, nice work so far, are both models going to be together?
Abdin
The models will be displayed on seperate bases with a figure on each.
Last edited:
Brokeneagle
Master at Arms
A little more progress on both kits.......
I fixed the gap issues on the A7V and attached it to the base, which only has the basics of ground work and texture at present. I started with a simple foam sheet for both bases
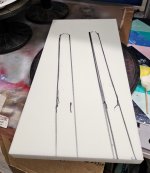

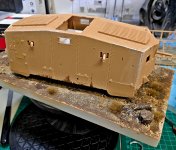
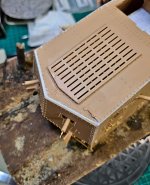
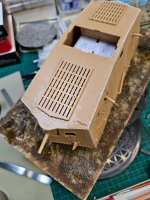
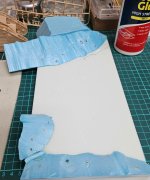
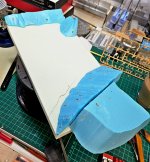
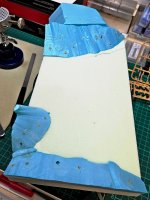
The MkV Male has had some more progress as well, with the base beginning to be trimmed and built up before covering it with modelling clay...
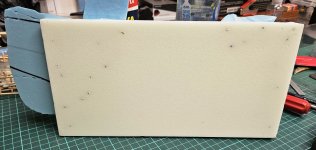
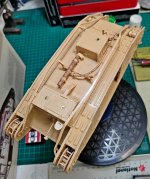
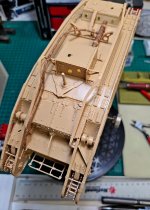
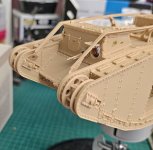
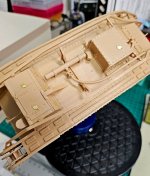
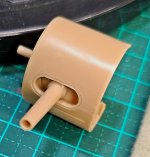
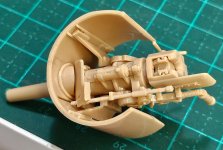

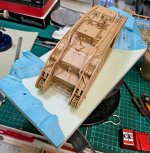
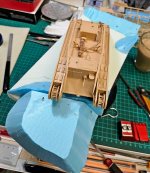
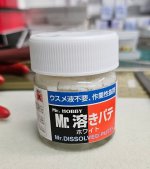
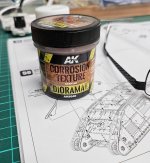


I fixed the gap issues on the A7V and attached it to the base, which only has the basics of ground work and texture at present. I started with a simple foam sheet for both bases


The MkV Male has had some more progress as well, with the base beginning to be trimmed and built up before covering it with modelling clay...


Inspirational! 


