Panzerfaust
Member
A good mate from the local modeling club recently gave me a couple of Gundam kits, and this one was amongst them. Thanks Shane!
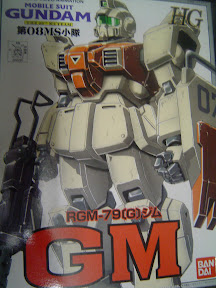
t was interesting upon opening the box, as he told me this one was already built. I examined the kit and decided to see what I could do with it as far as a paint job was concerned.
I have never build and painted a gundam kit before (although I must admit I have thrown a few together for my 2 boys) so I was keen to see what a good paint job would do for the kit.
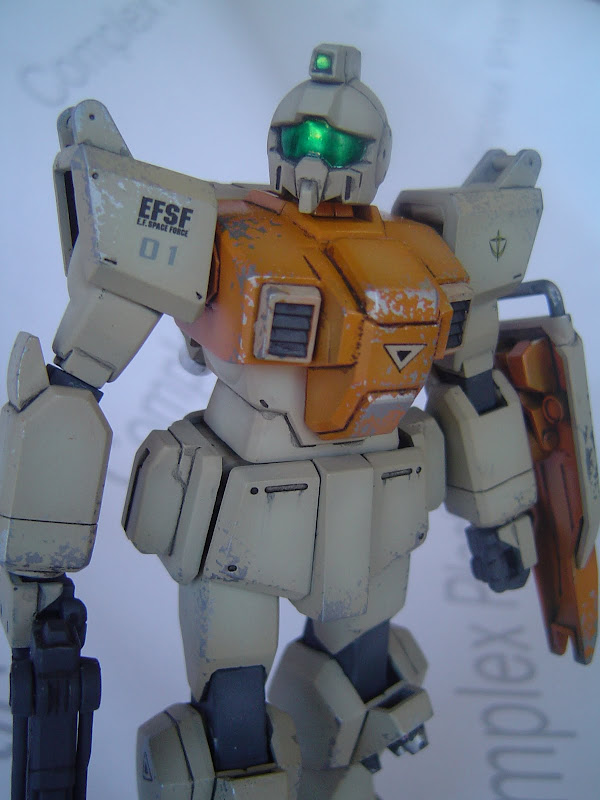
It also helped that I was quite partial to the orange and cream colour scheme on this unit.
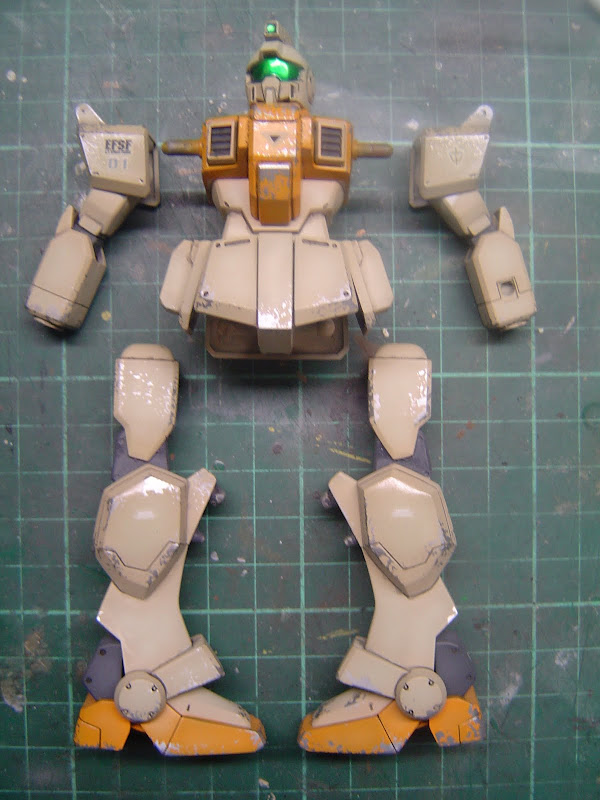
First up I filled all of the seams with super glue and sanded them flush to a good finish. I then disassembled the kit as much as possilbe for painting.
The concept I had for this kit is I wanted to have paint chipping as though the unit had seen some action. I wanted in essence to paint the gundam like I would an armor subject but have the chipping as would be applicable to an aircraft.
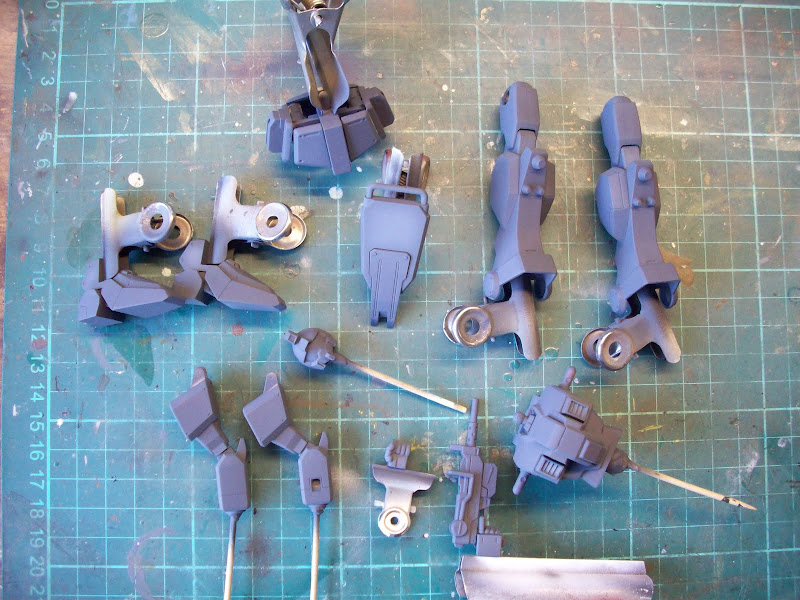
The first step in the paint process is of course primer, I used floquil grimy black laquer for this. This also allowed me to check the work I had done on the seams. The dark grey would also be good for the internal parts that might end up being visible.
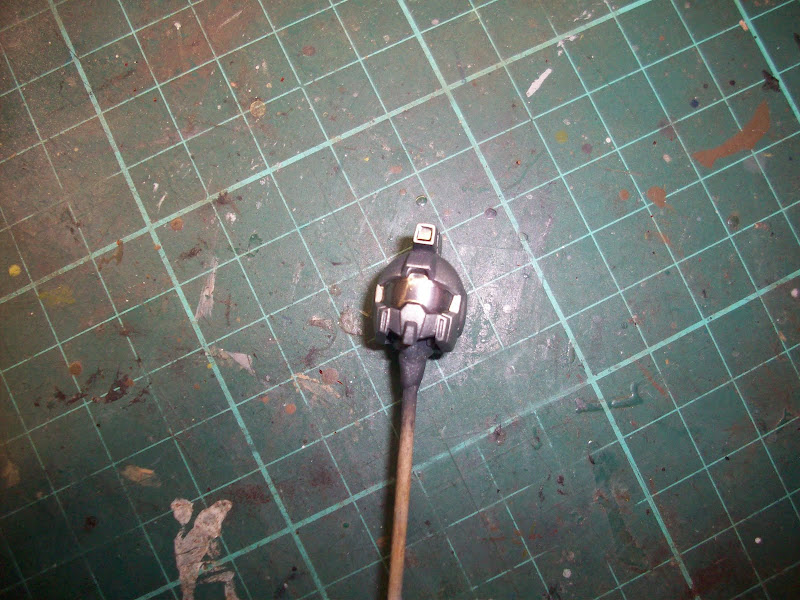
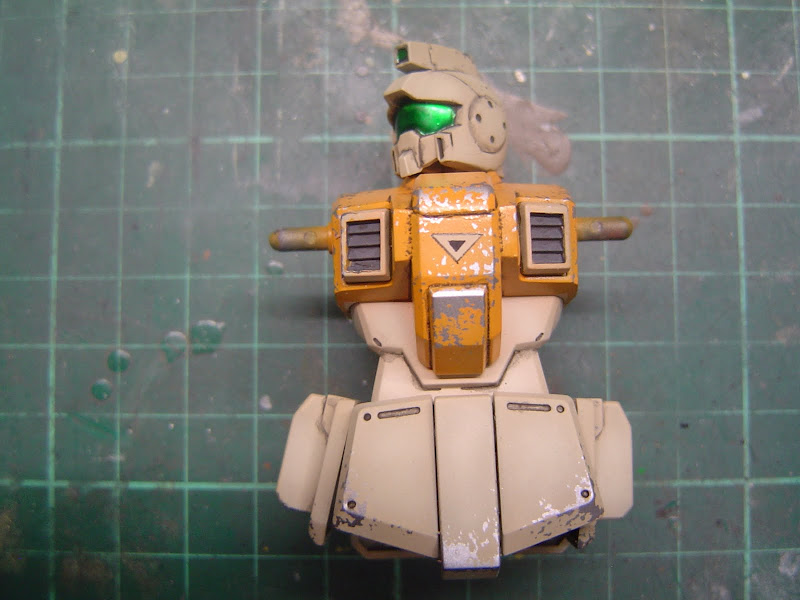
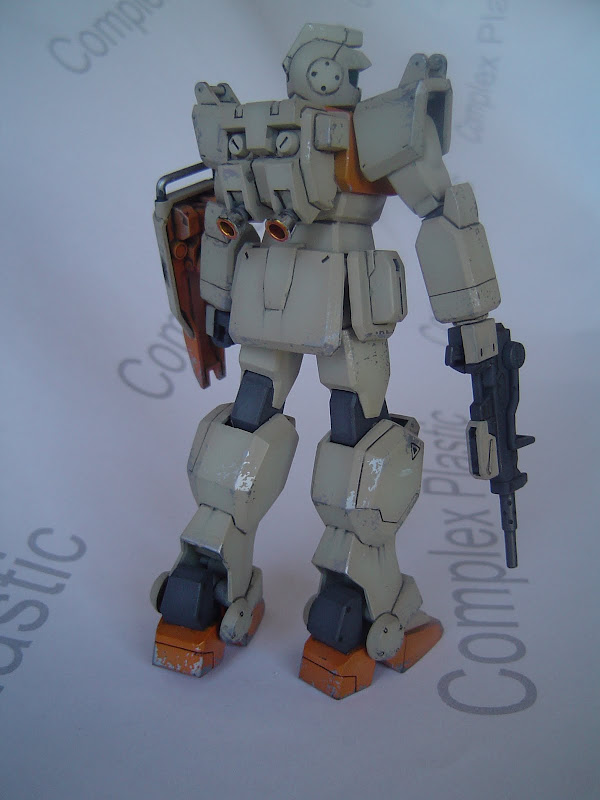
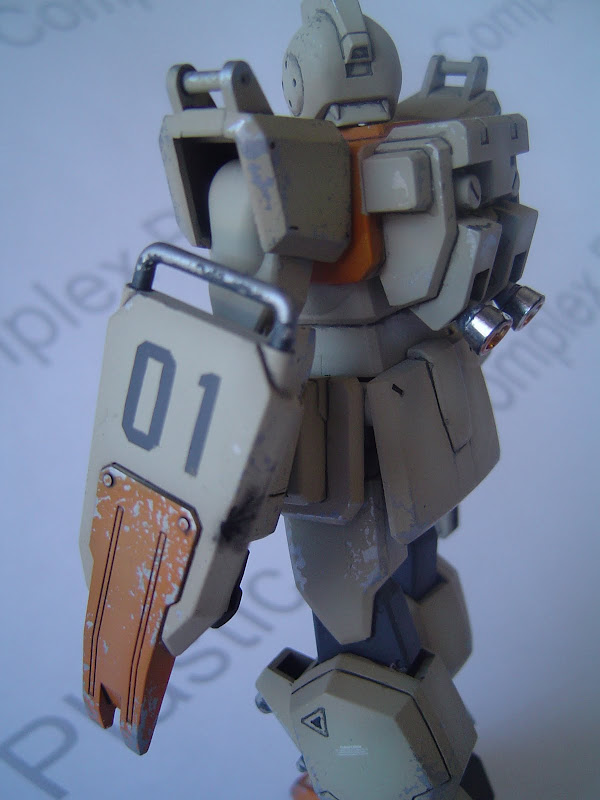
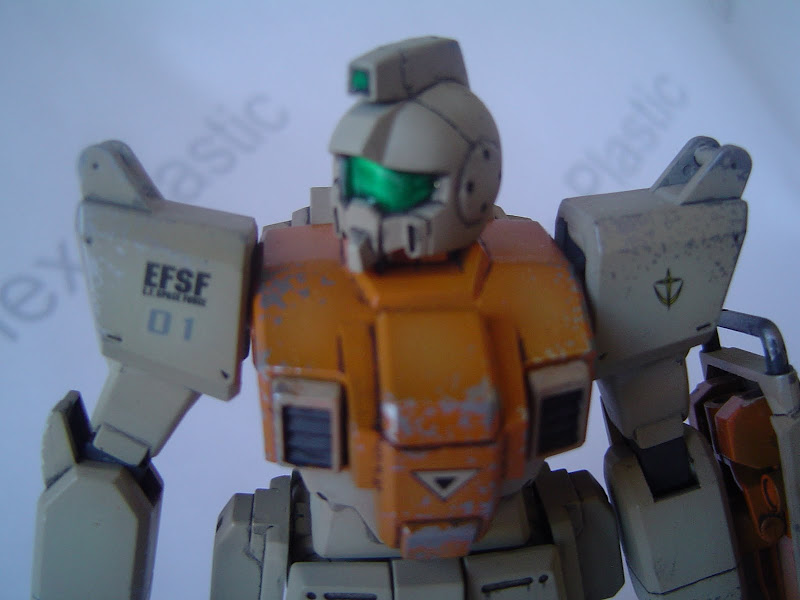
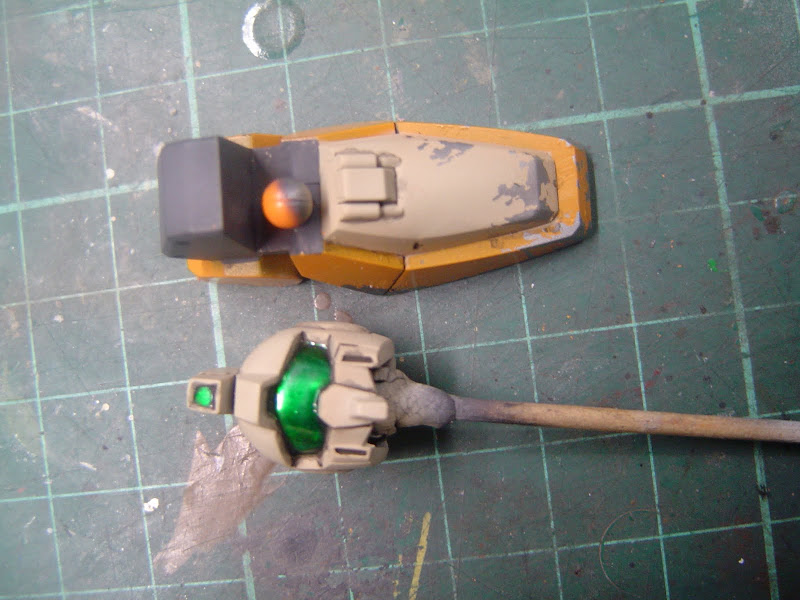
Next up was the visor on the head, I wanted to have a nice shiny reflective surface. Alclad polished aluminum was the choice here, this was applied over a coat of Gloss black enamel ans looked great. I also applied the alclad to the thrusters on the back as well.

The visor was then given a good goat of Tamiya Clear Green by brush. A great looking visor resulted.
The next step involves choosing a nice base metal colour for the Gundam. I built a Star Wars Trade Federation Hover Tank last year and did a chipped and battle damaged finish in the same method that I would do say a WWII tank. Comments were made at my club that in the future surely the metals used would not rust... which is a fair comment I thought.
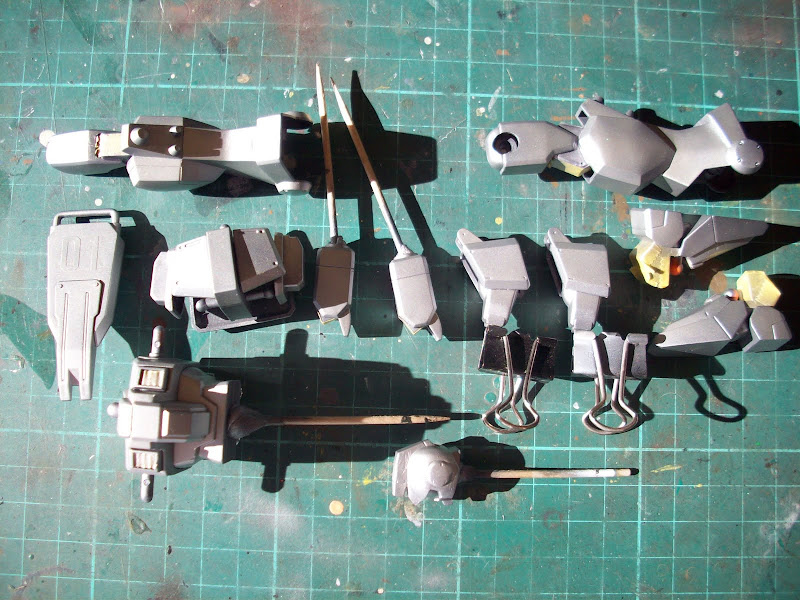
Bearing this in mind I looked through my acrylic metalic colours and decided upon Tamiya Titanium Silver as the base metal colour. I masked up the parts which were to remain grey then I airbrushed titanium silver on the entire outer surfaces of the robot.

The thrusters on the back then received a brush coat of Tamiya clear orange to the insides. The next technique used was to enable me to replicate paint chips due to heavy wear and combat damage. To do this I used Humbrol maskol applied to the model using a small square of packaging foam rubber. I concentrated on external corners and areas of likely damage and wear.
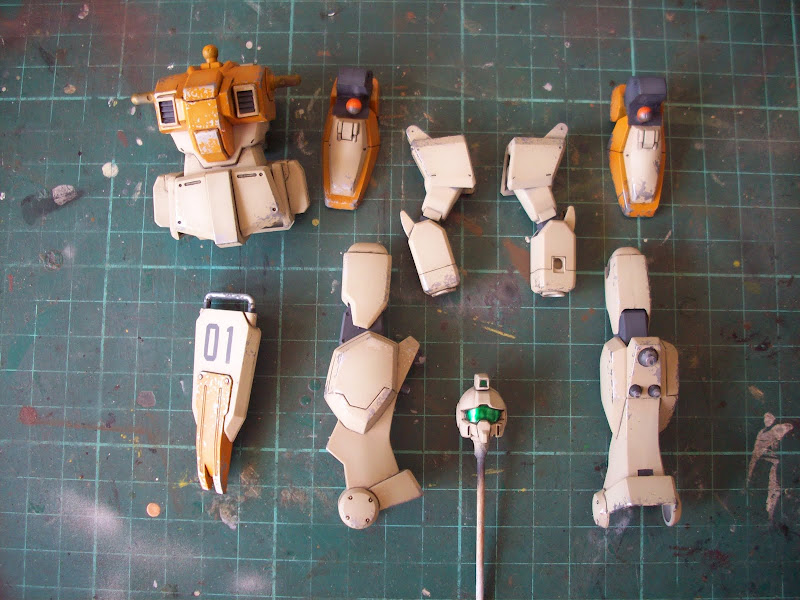
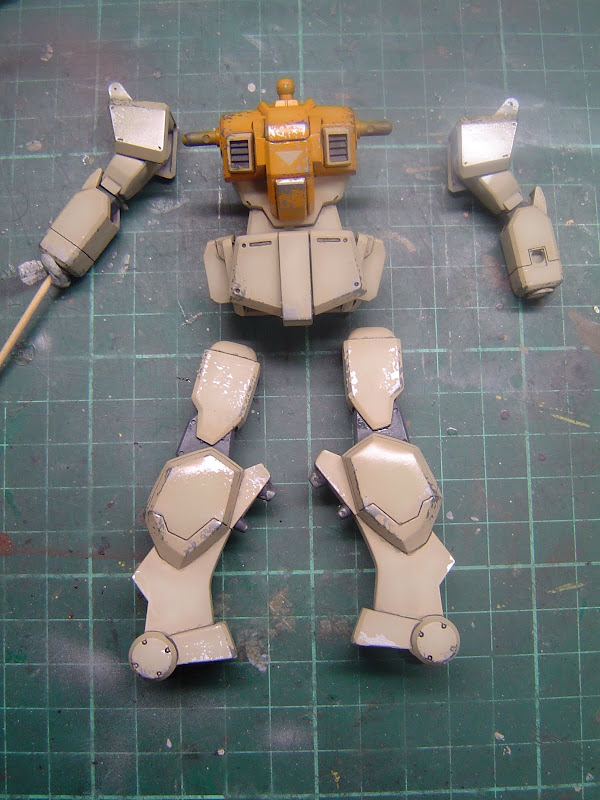
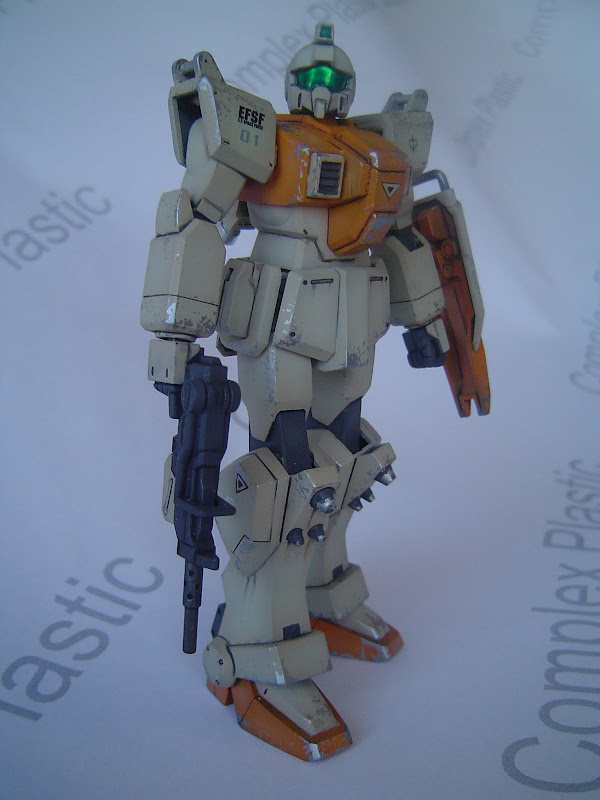
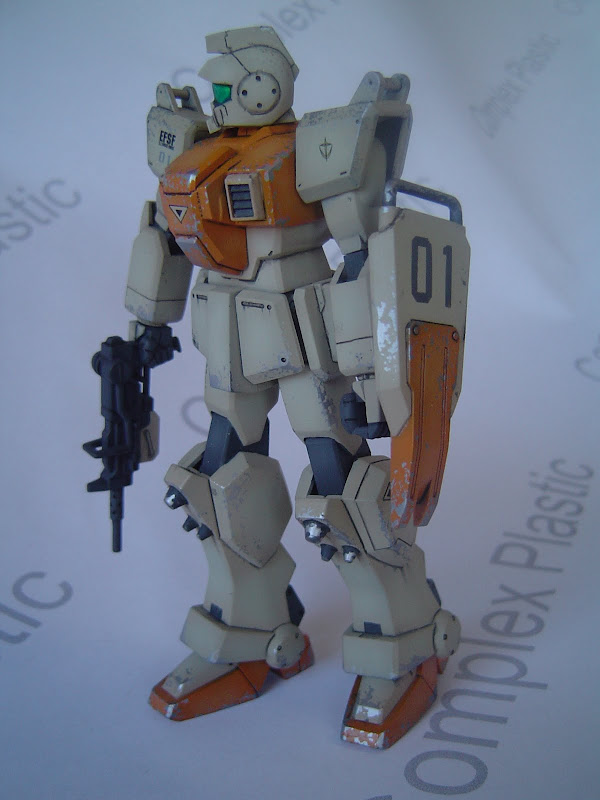
More masking ensued and the orange was sprayed on those areas. I used Tamiya gloss orange for the base colour that was evenly sprayed on then the orange was lightened using deck tan and highlights were sprayed into the center of each panel.

When this was all dry I masked the orange and unmasked the other areas. For the tan colour I chose Gunze Sangyo sail colour as the base colour. Highlights of this colour were made by adding deck tan and spraying the center of each panel.
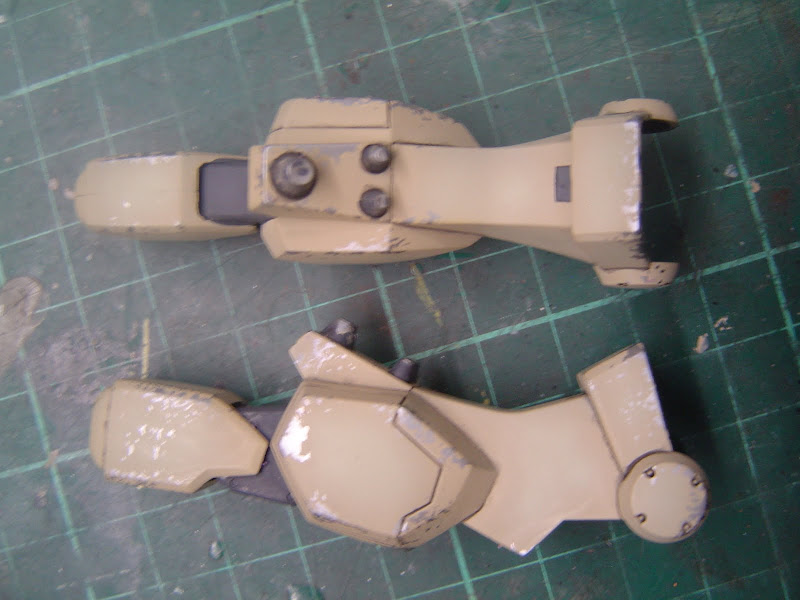
Then all could be un-masked and the Humbrol maskol could be picked off to reveal the titanium silver beneath.

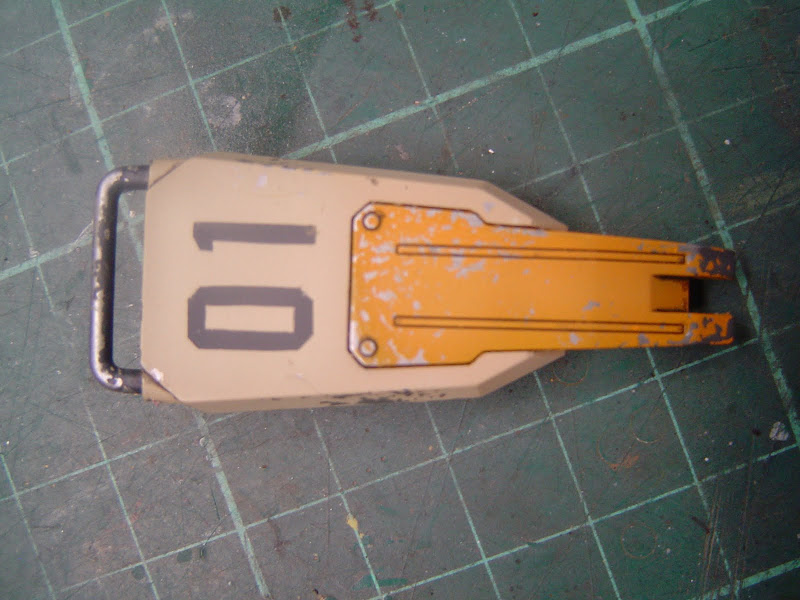
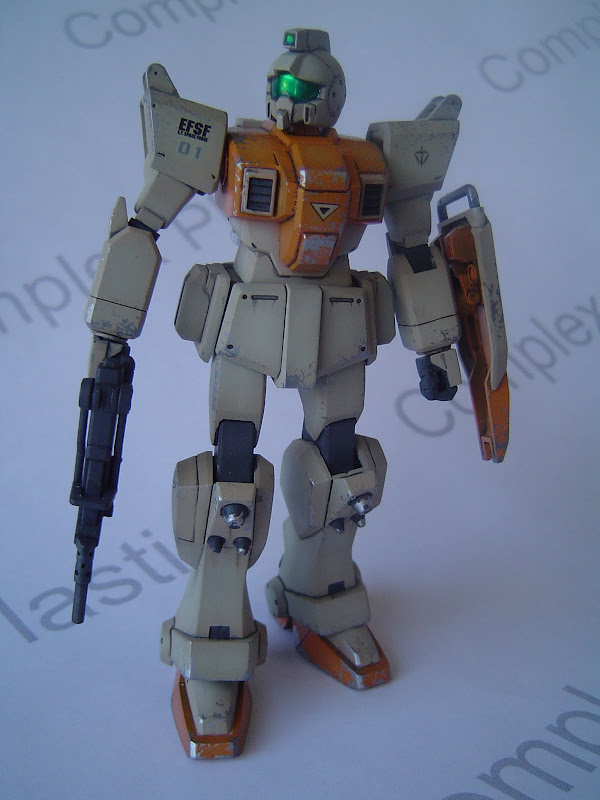
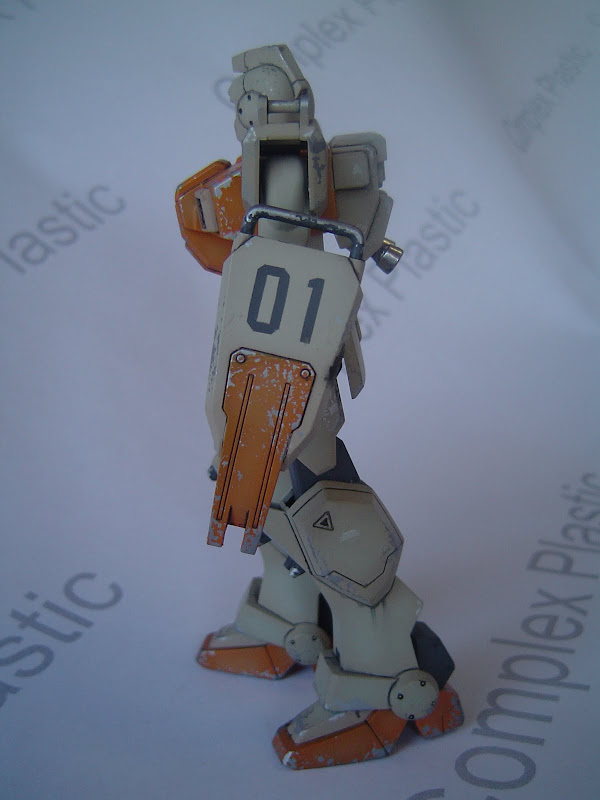
I neglected to mention that the for numerals on the shield as I had no decals to use, I had to paint them on using the kit supplied stickers as masks. I cut out the numerals from the stickers and used them as masks, the results of which can be seen below.
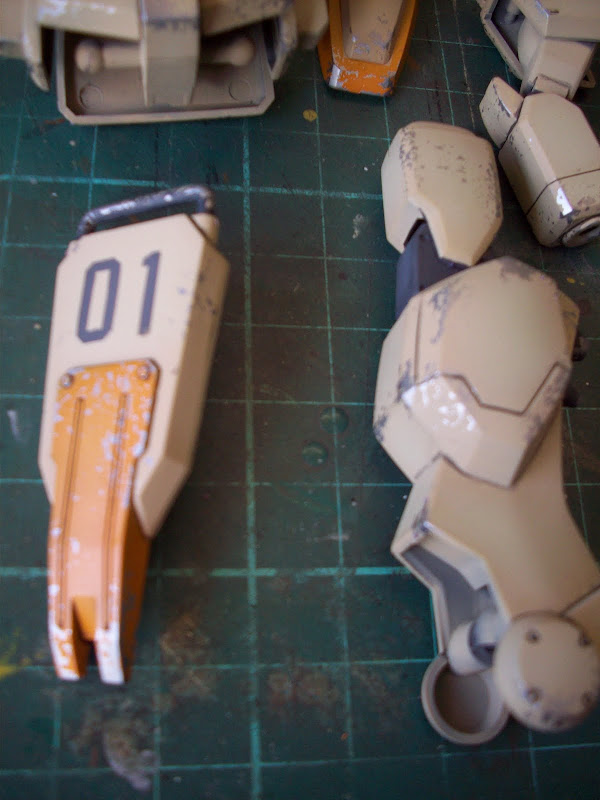
Overall I'm quite please with the results obtained so far. The silver chipping is very reminiscent of that found on a beaten up aircraft, quite appropriate I think. Stay tuned for more progress.
Cheers,
Jase.
t was interesting upon opening the box, as he told me this one was already built. I examined the kit and decided to see what I could do with it as far as a paint job was concerned.
I have never build and painted a gundam kit before (although I must admit I have thrown a few together for my 2 boys) so I was keen to see what a good paint job would do for the kit.
It also helped that I was quite partial to the orange and cream colour scheme on this unit.
First up I filled all of the seams with super glue and sanded them flush to a good finish. I then disassembled the kit as much as possilbe for painting.
The concept I had for this kit is I wanted to have paint chipping as though the unit had seen some action. I wanted in essence to paint the gundam like I would an armor subject but have the chipping as would be applicable to an aircraft.
The first step in the paint process is of course primer, I used floquil grimy black laquer for this. This also allowed me to check the work I had done on the seams. The dark grey would also be good for the internal parts that might end up being visible.
Next up was the visor on the head, I wanted to have a nice shiny reflective surface. Alclad polished aluminum was the choice here, this was applied over a coat of Gloss black enamel ans looked great. I also applied the alclad to the thrusters on the back as well.
The visor was then given a good goat of Tamiya Clear Green by brush. A great looking visor resulted.
The next step involves choosing a nice base metal colour for the Gundam. I built a Star Wars Trade Federation Hover Tank last year and did a chipped and battle damaged finish in the same method that I would do say a WWII tank. Comments were made at my club that in the future surely the metals used would not rust... which is a fair comment I thought.
Bearing this in mind I looked through my acrylic metalic colours and decided upon Tamiya Titanium Silver as the base metal colour. I masked up the parts which were to remain grey then I airbrushed titanium silver on the entire outer surfaces of the robot.
The thrusters on the back then received a brush coat of Tamiya clear orange to the insides. The next technique used was to enable me to replicate paint chips due to heavy wear and combat damage. To do this I used Humbrol maskol applied to the model using a small square of packaging foam rubber. I concentrated on external corners and areas of likely damage and wear.
More masking ensued and the orange was sprayed on those areas. I used Tamiya gloss orange for the base colour that was evenly sprayed on then the orange was lightened using deck tan and highlights were sprayed into the center of each panel.
When this was all dry I masked the orange and unmasked the other areas. For the tan colour I chose Gunze Sangyo sail colour as the base colour. Highlights of this colour were made by adding deck tan and spraying the center of each panel.
Then all could be un-masked and the Humbrol maskol could be picked off to reveal the titanium silver beneath.
I neglected to mention that the for numerals on the shield as I had no decals to use, I had to paint them on using the kit supplied stickers as masks. I cut out the numerals from the stickers and used them as masks, the results of which can be seen below.
Overall I'm quite please with the results obtained so far. The silver chipping is very reminiscent of that found on a beaten up aircraft, quite appropriate I think. Stay tuned for more progress.
Cheers,
Jase.
") .
.