• Modelers Alliance has updated the forum software on our website. We have migrated all post, content and user accounts but we could not migrate the passwords.
    This requires that you manually reset your password.
    Please click here, http://modelersalliance.org/forums/login to go to logon page and use the "Forgot your Password" option.

PART 1 INTRO (Build 1) U9 - WW1 UBOAT [DAS WERK - 72001 1/72] UPDATE 20th Nov 2022

Das Werk Uboat.jpg


This new release will be build 1 from my list, as it stands at this time. This is the new release kit from Das Werk and the first time a WW1 UBoat has been done in this scale. The first edition release also has a nice surprise (only available with this edition), an additional softcover book being included with the history of the sub and information on the model creation.
I have also purchased a few extras -

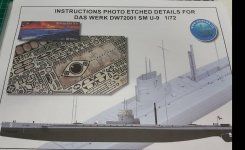
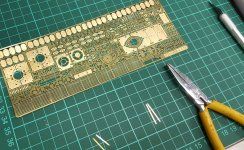
  1. RC SUBS PE set
  2. DAS WERK Saddle Tank painting stencils
  3. WW1 U-Boat Badge (repro)
  4. Custom wooden base with gloss black perspex top sheet (currently covered with a protective cover layer).
boxweb.jpg

I have rearranged my workspace again over the last week, moving my computer hardware and artworks into a new office area in the next room.

deskweb.jpg

This now enables me to utilise my long bench space that I built 4 years back specifically for large builds.......
 
Last edited:
Very interesting subject. I'm not a ship/boat guy but certainly appreciate the effort and skill needed to build one of these kits. Looking good!👌🏻
 
Some more progress......
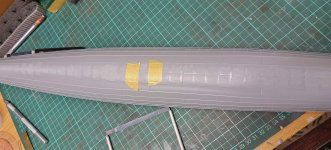
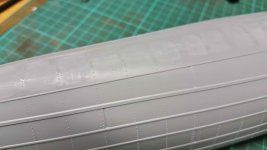
sanded the seam line along the bottom of the hull. As I have no references for the bottom but presume that since German submarines are created in round hull sections that are bolted together, the seam line should probably not be there. This then led to a tedious sanding job of masking off the raised bolts and sanding in between. I have done a reasonable job but not nearly perfect by any means.
I am not sure how to sand it any better without removing the bolt detail in sanding and then having to replace the bolt detail.
Let me know what you think ?
- be happy with the results or
- do you have a clever way of finishing without destroying the bolts?
20210812_193050web.jpg

20210812_193118web.jpg20210812_193059web.jpg
 
Thanks Mike , MP and Paul for your help/ suggestions.
At this point the main issue is the horizontal seam between the bolt heads. The two large ridges are meant to be there and the majority of the seam is OK and actually looks worse and more pronounced in the photos due the the light. Scraping may work on the last small piece of seam in each segment and the horizontal seam between the bolt heads I will have a go with Paul's idea.
I might go with some liquid putty in a light layer to finish. Anyway thanks and see the photo for a little more explanation.
20210812_193118markup.jpg
 
Thanks MP , Mustang and Bob. :vgood:
Some progress on the deck and hull -
The deck is being prepared for the PE sheets and in the instructions the first section for the PE needs to have the first square filled in. Still in progress......... I have taped-off the area around, added a first coat of Tamiya Putty, then an additional layer of modelling paste. I still need to sand.
20210827_184826_001.jpg IMG_20210827_005110_551.jpg
I have also started replacing the smoke chimneys for the exhausts as I had to cut-off the molded parts to replace with PE and damaged the thinner stack, so I have replaced it with brass tube - still in progress.
20210827_004438.jpg

IMG_20210827_005110_567.jpg
You can also see some simple ribbing I have added to the inside. Nothing flash, just some simple plastic strip. I little bit wider than it should be but whatever, I didn't have the exact size and didn't want to get bogged down - I just want to have fun with this first uboat build and keep moving forward.
James Knaus asked me about the front thickness and how to do this so this part is for James. :dude:
The hull - it was advised to reduce the front thickness from 3 mm to 1 mm - make it more 'pointy' - and looking at the photos the kit is actually quite thick at the front. It also has an oversized ring, which I have removed to replace with the PE version.
Still in progress - I have built -up the point with trip plastic in 3 layers, getting wider each time the closer I got to the hull. Still needs more work.
20210827_184617.jpg
 
Last edited:
Back
Top