
Hi there all
Been quite some time since having any impetus to do anything constructive.
I am tinkering with a new diorama scene which I hope to follow through to its' conclusion, as I am notorious for 90% finished stuff...
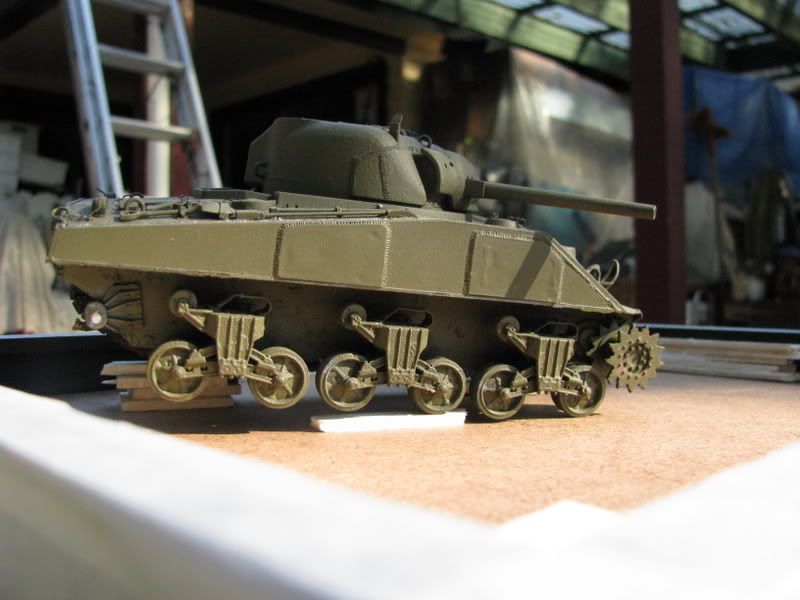
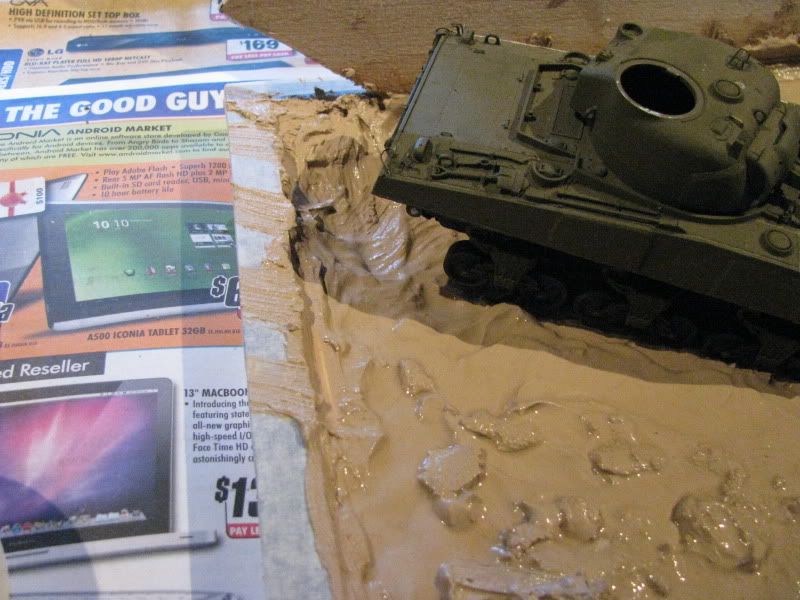
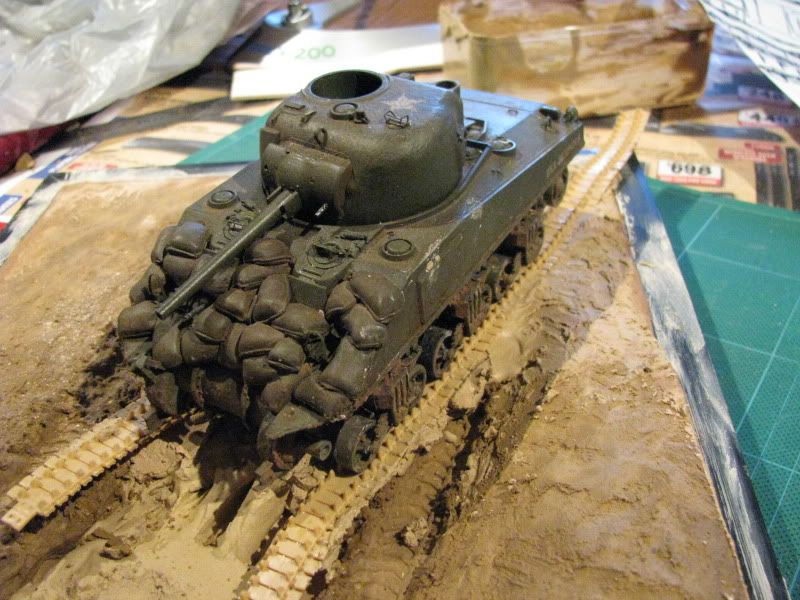
It is a scene displaying a M4 medium tank negotiating a sodden paddock/field, following the rest of its' platoon who have churned up the field.
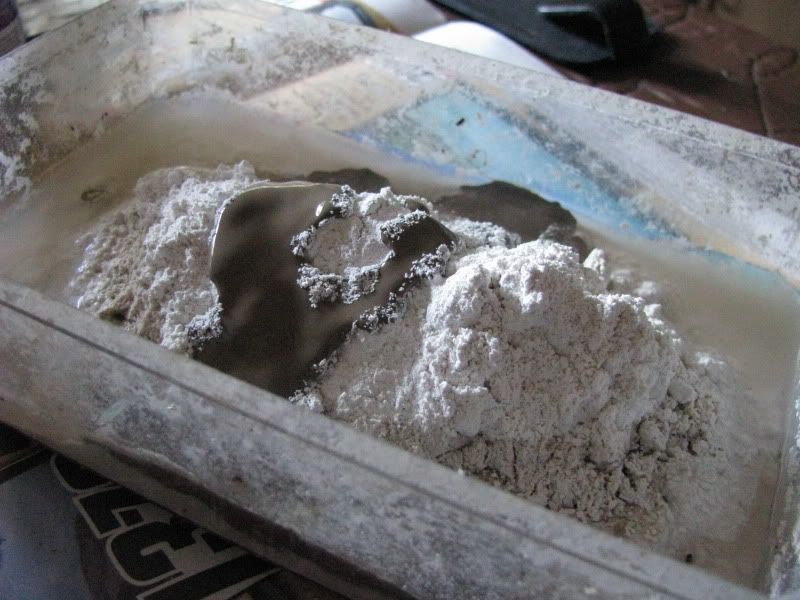
The first few photos are a quick overview of base construction. My aim is to get it done, so I am skimping on certain aspects and doing it 'on the cheap'.
A $5 frame from a $2 shop (?)
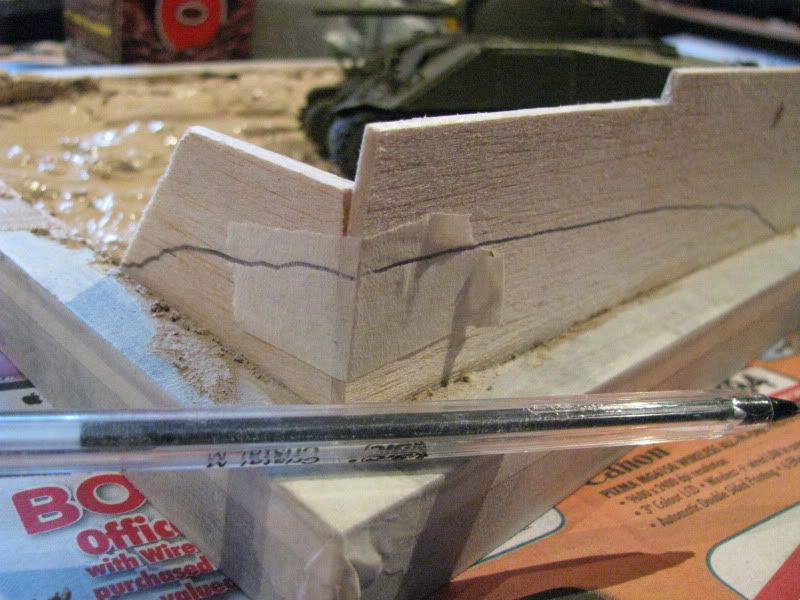
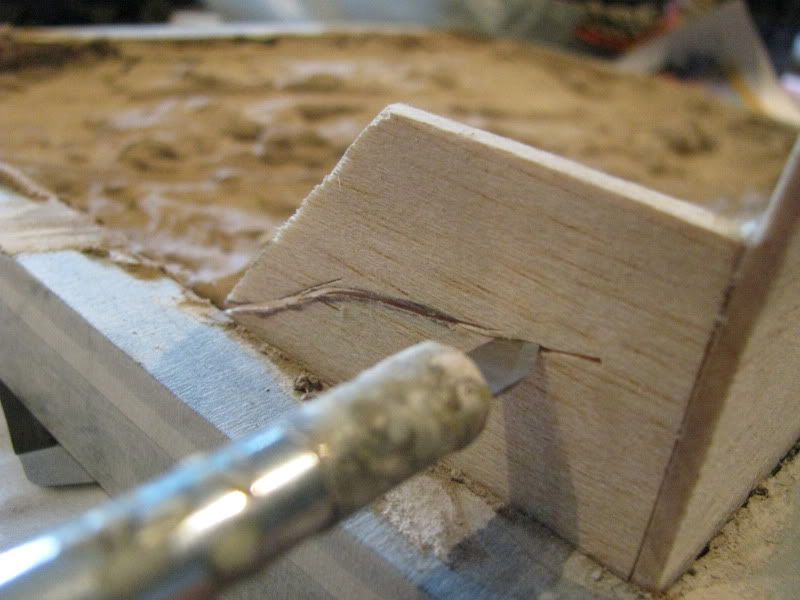
This one is actually different from most picture frames I have used in that I had to insert some balsa wood 'packers' to fill out the space between the backing board and the top edge of the frame. (there was a secondary frame insert which I removed to give me the depth required for the scene itself.)
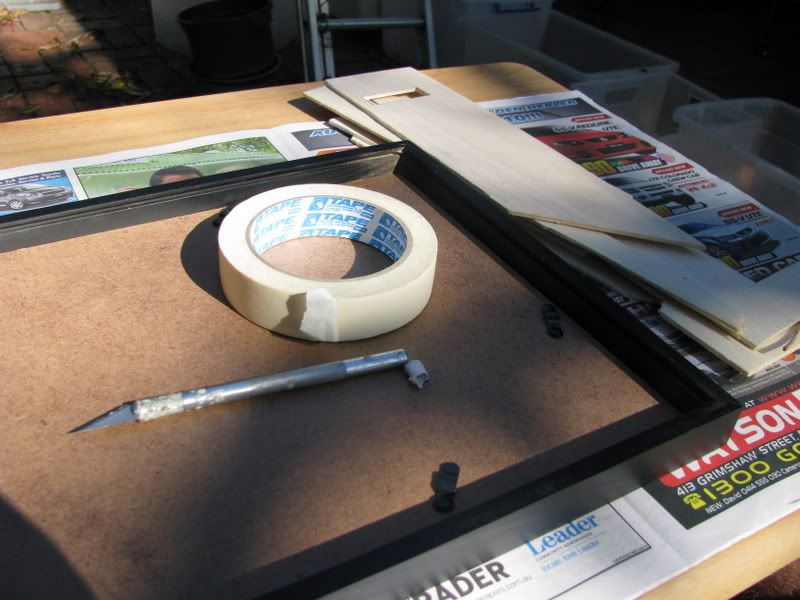
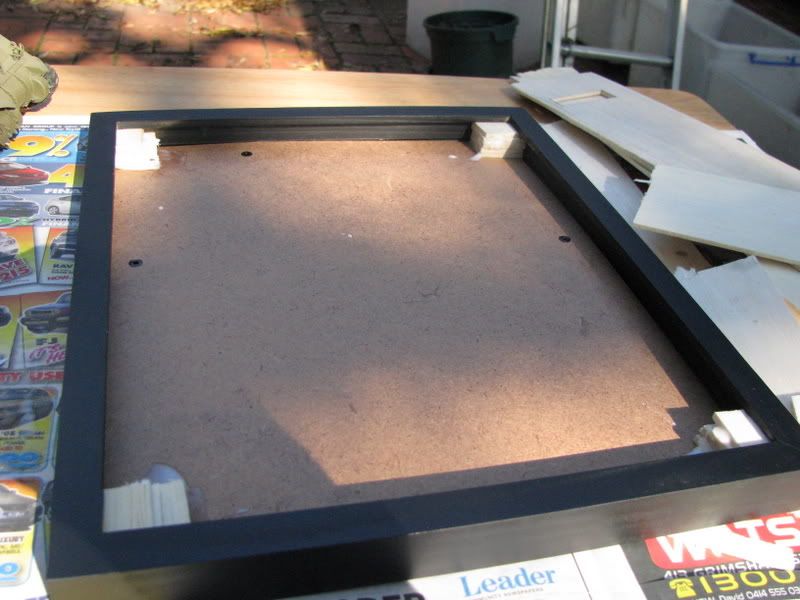
The frame was masked off and the packers were glued with PVA and also a bead was run around the backing board.
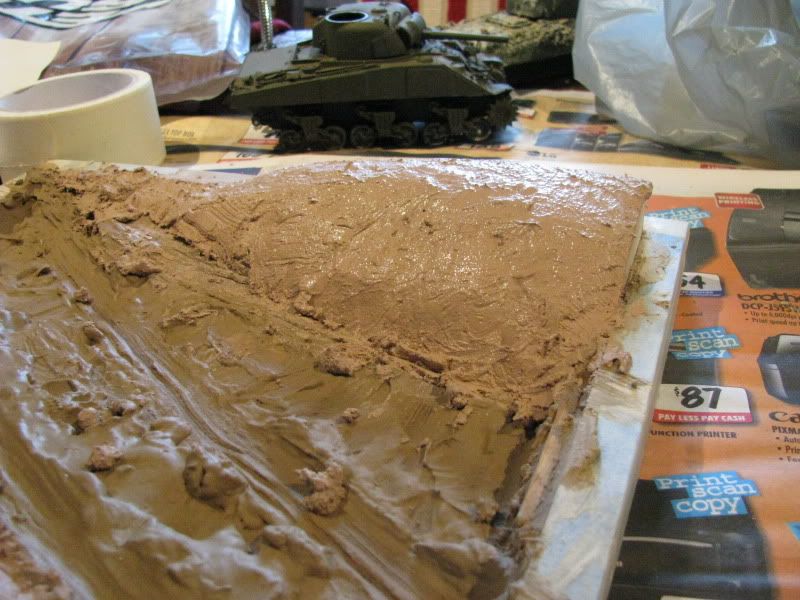
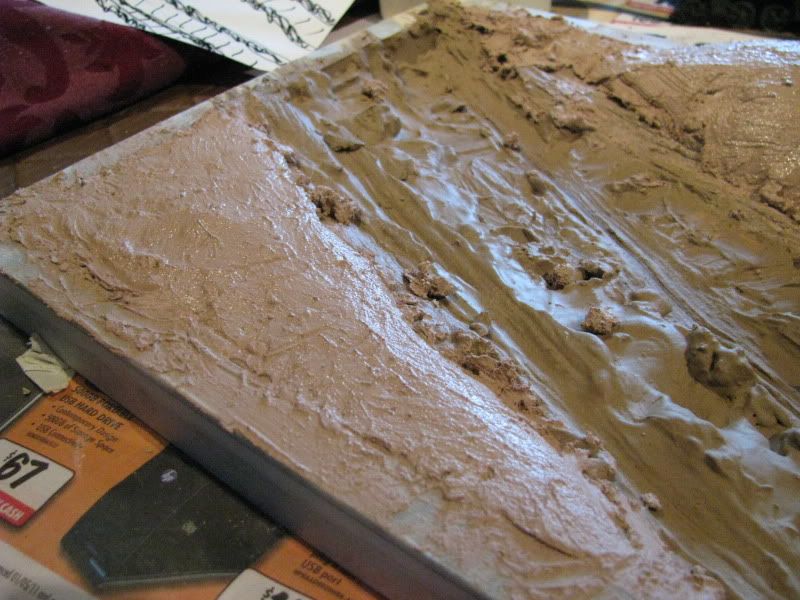
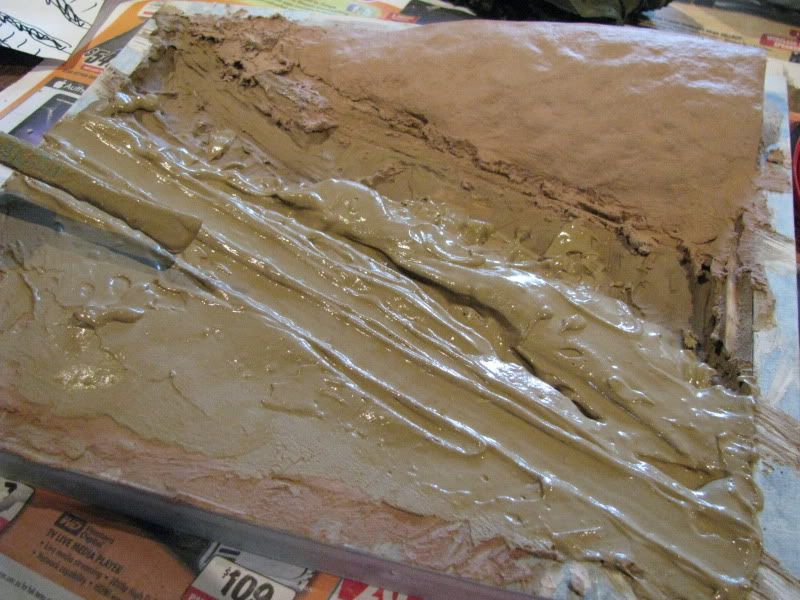
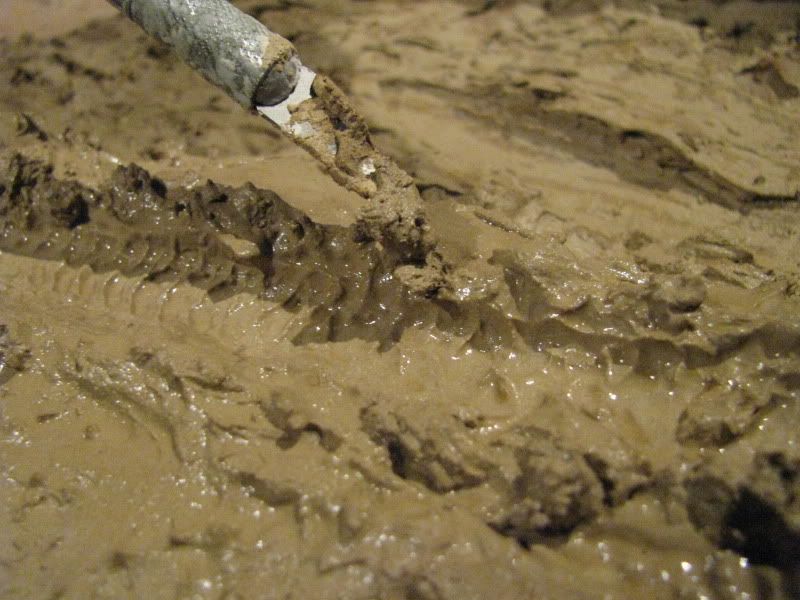
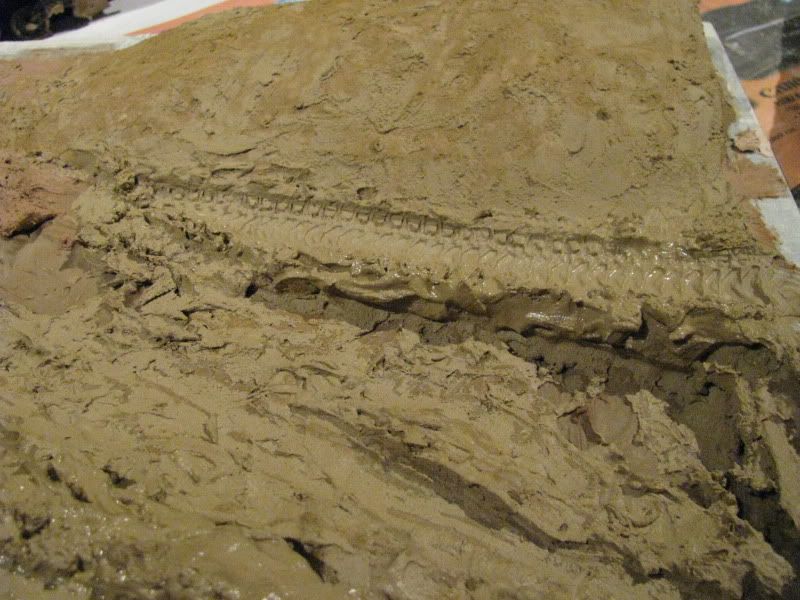
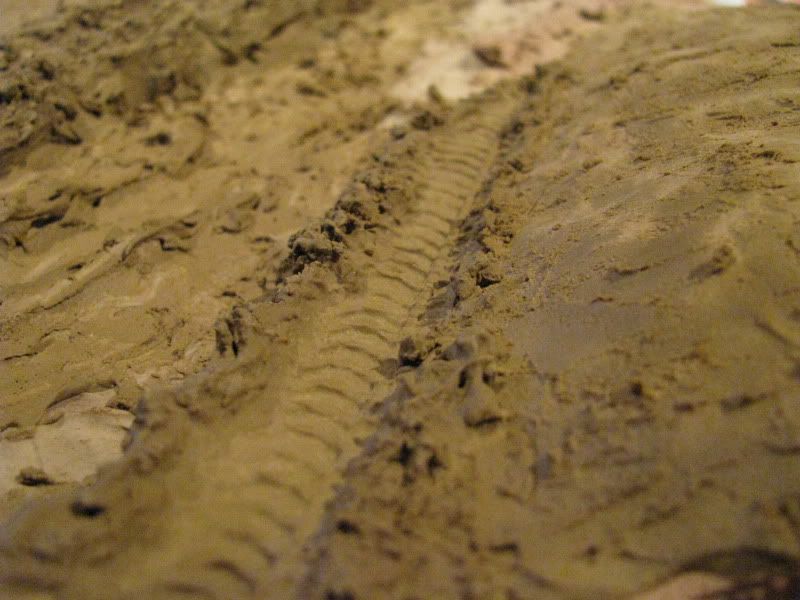
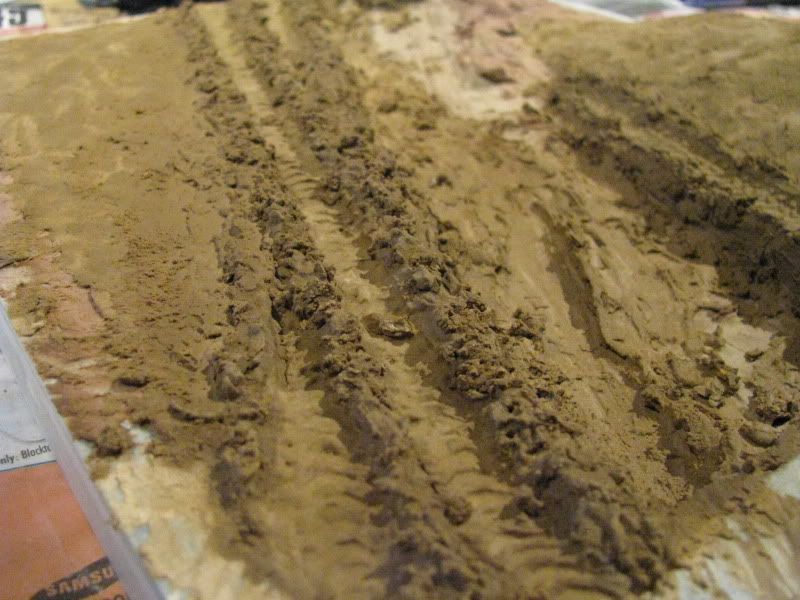
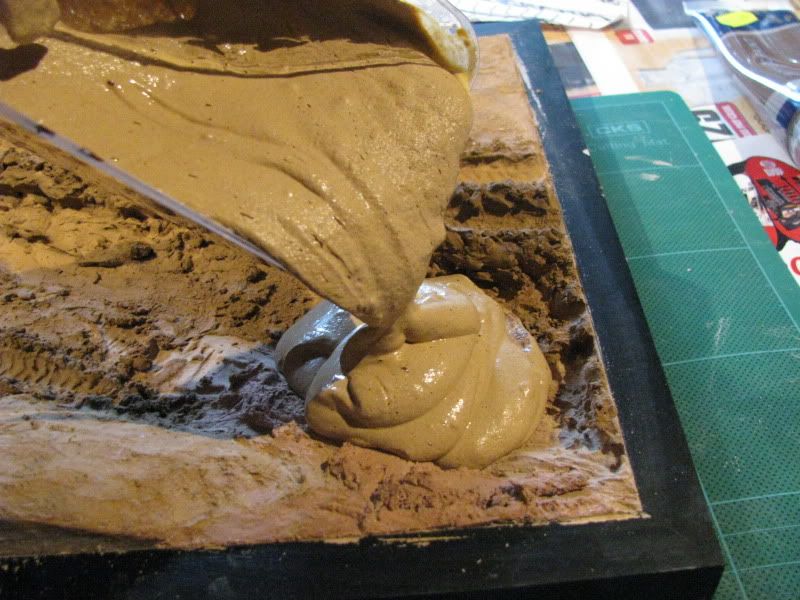
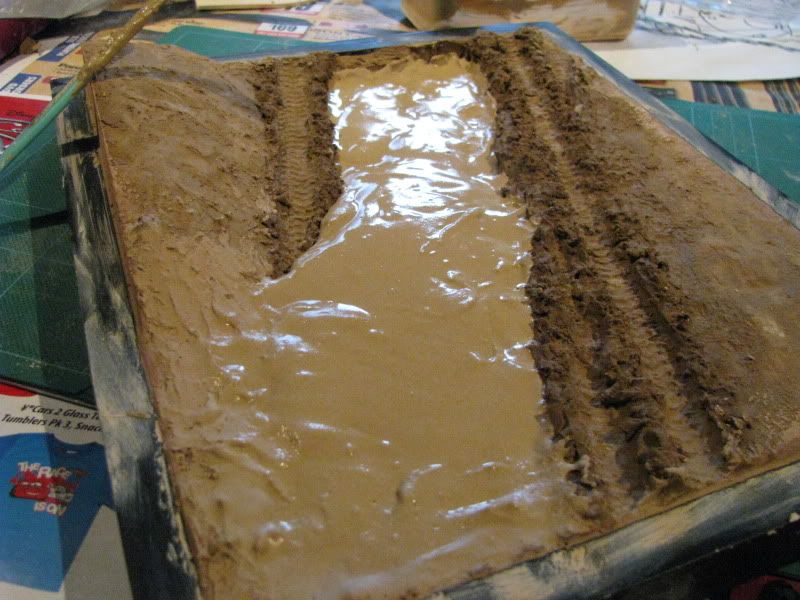
I used the frames' paper insert to rough out the scene I had in mind. Placing a spare M4 in place, I ended up switching its' direction and sketched where I wanted the churned furrows to be running. My aim is to showcase the furrows in as realistic a way as possible, and having parallel and criss-crossing tank track effects in a small area would be a challenge, but will pay off if done realistically.
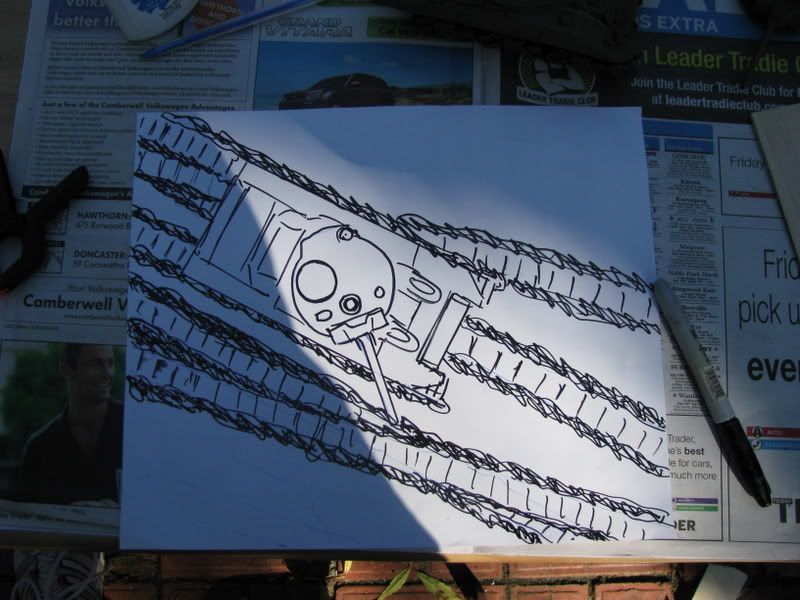
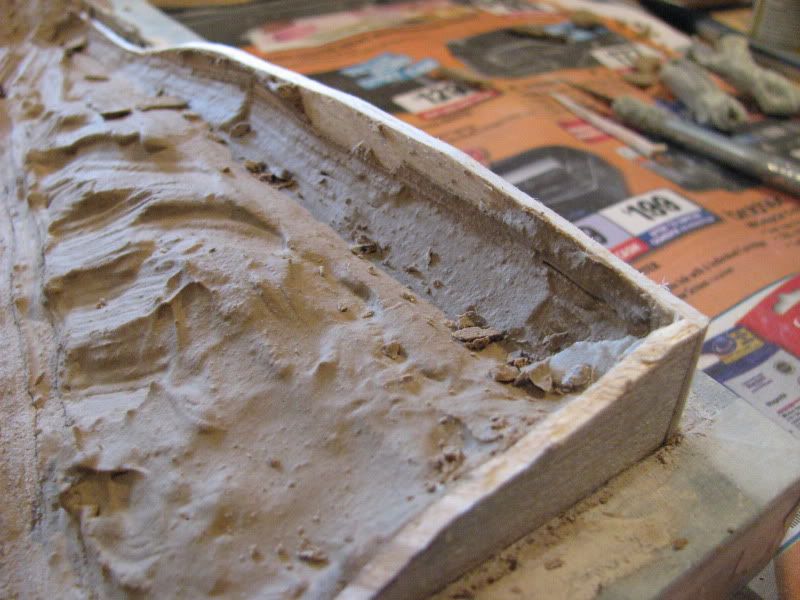
Half the battle of an attractive compact scene is the flow of the action as well as juxtaposing some elements, and as there are no structures present, I have used the depth of the frame itself to give me some angle for the tank as it dips down into the sodden section of the field, from off more solid ground.
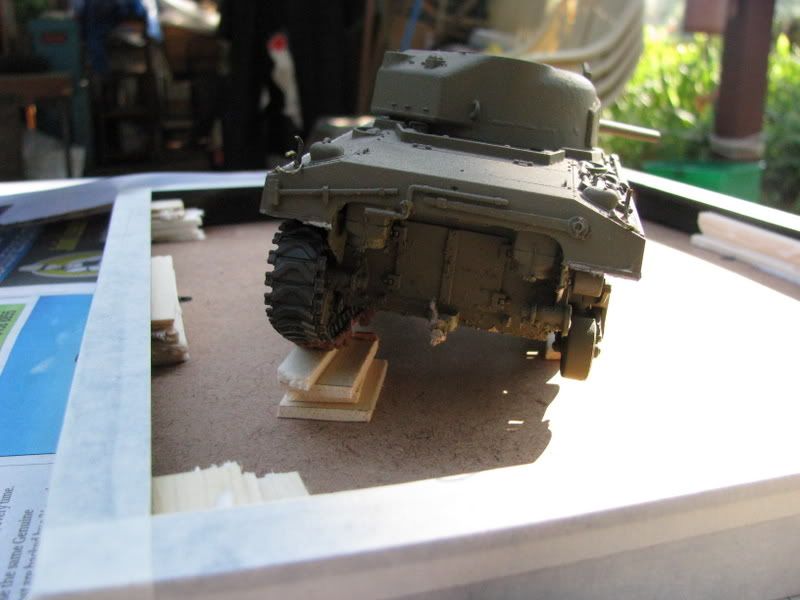
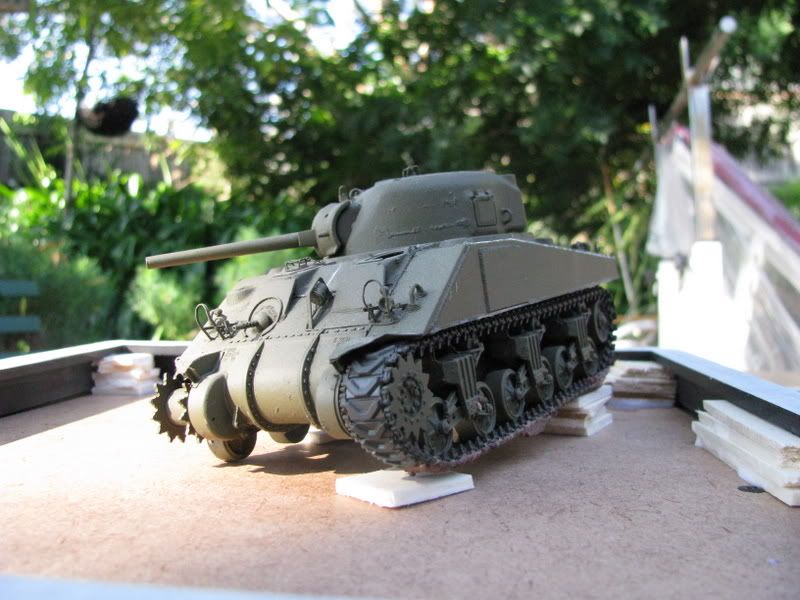
I plan to have some higher ground to the left and forward of the tank, with possibly a damaged post and wire fence which was driven over by the lead tank which will give a background to the tank itself.
Well that's all for now. Work has been flat out and I'm trying to squeeze some progress in here and there...
Brad
Been quite some time since having any impetus to do anything constructive.
I am tinkering with a new diorama scene which I hope to follow through to its' conclusion, as I am notorious for 90% finished stuff...
It is a scene displaying a M4 medium tank negotiating a sodden paddock/field, following the rest of its' platoon who have churned up the field.
The first few photos are a quick overview of base construction. My aim is to get it done, so I am skimping on certain aspects and doing it 'on the cheap'.
A $5 frame from a $2 shop (?)
This one is actually different from most picture frames I have used in that I had to insert some balsa wood 'packers' to fill out the space between the backing board and the top edge of the frame. (there was a secondary frame insert which I removed to give me the depth required for the scene itself.)
The frame was masked off and the packers were glued with PVA and also a bead was run around the backing board.
I used the frames' paper insert to rough out the scene I had in mind. Placing a spare M4 in place, I ended up switching its' direction and sketched where I wanted the churned furrows to be running. My aim is to showcase the furrows in as realistic a way as possible, and having parallel and criss-crossing tank track effects in a small area would be a challenge, but will pay off if done realistically.
Half the battle of an attractive compact scene is the flow of the action as well as juxtaposing some elements, and as there are no structures present, I have used the depth of the frame itself to give me some angle for the tank as it dips down into the sodden section of the field, from off more solid ground.
I plan to have some higher ground to the left and forward of the tank, with possibly a damaged post and wire fence which was driven over by the lead tank which will give a background to the tank itself.
Well that's all for now. Work has been flat out and I'm trying to squeeze some progress in here and there...
Brad

")


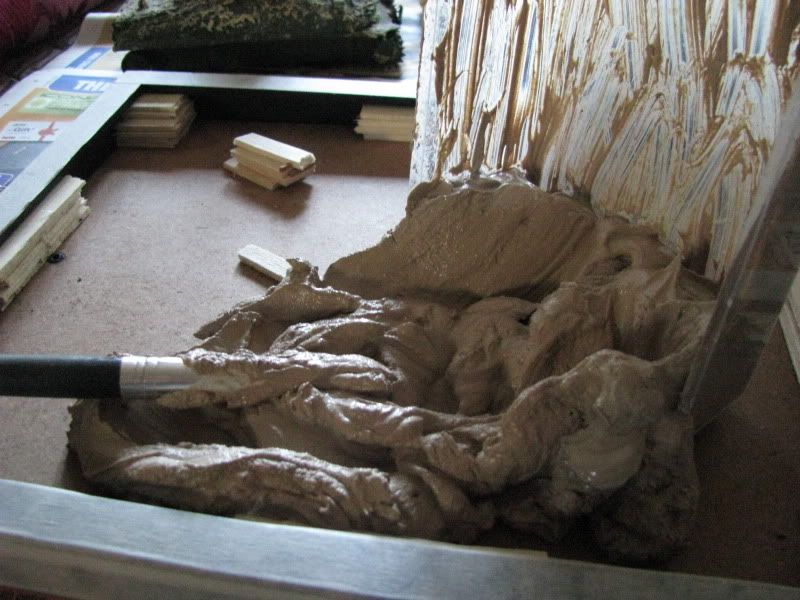
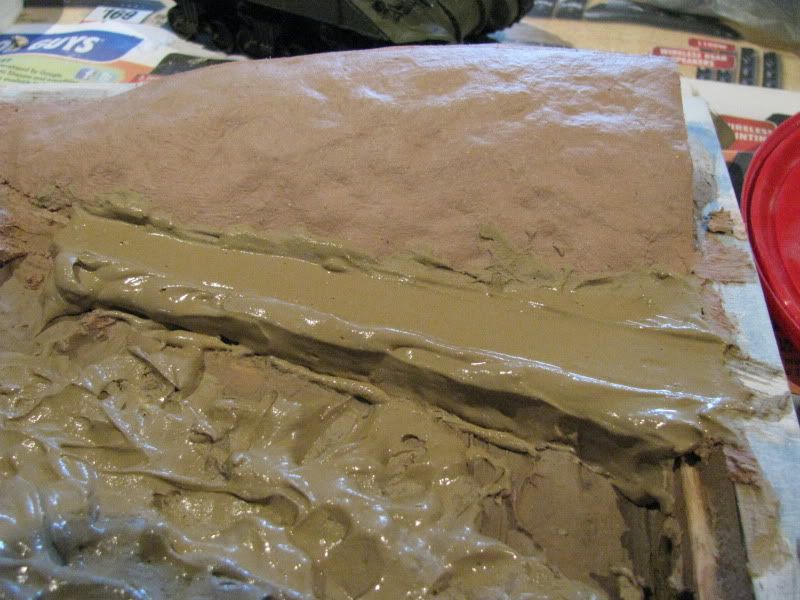

 just kidding :laugh: Looks a good rendition of mud, mate