Adam Baker
Active member
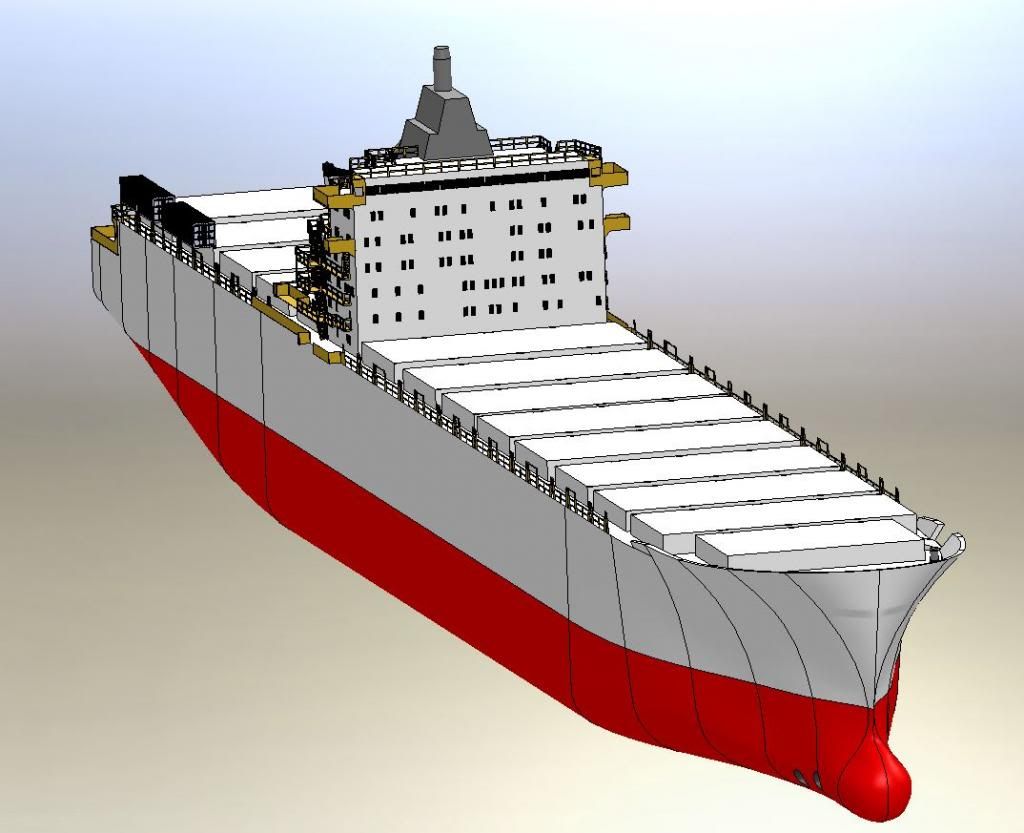
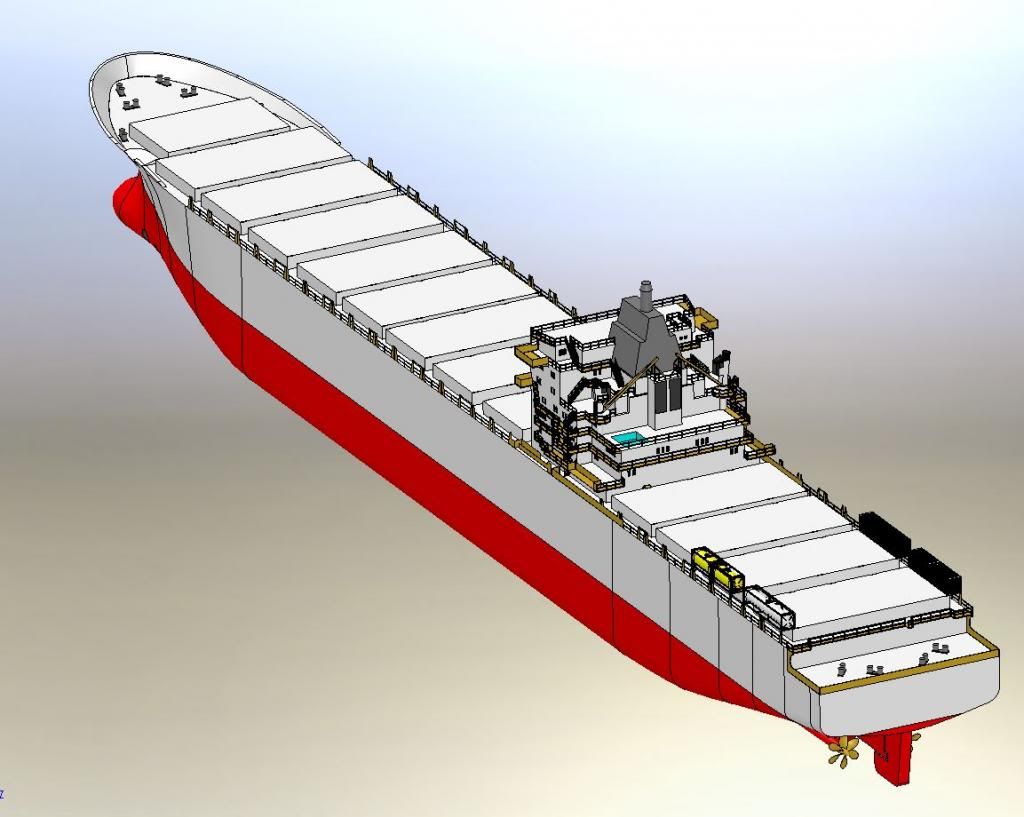
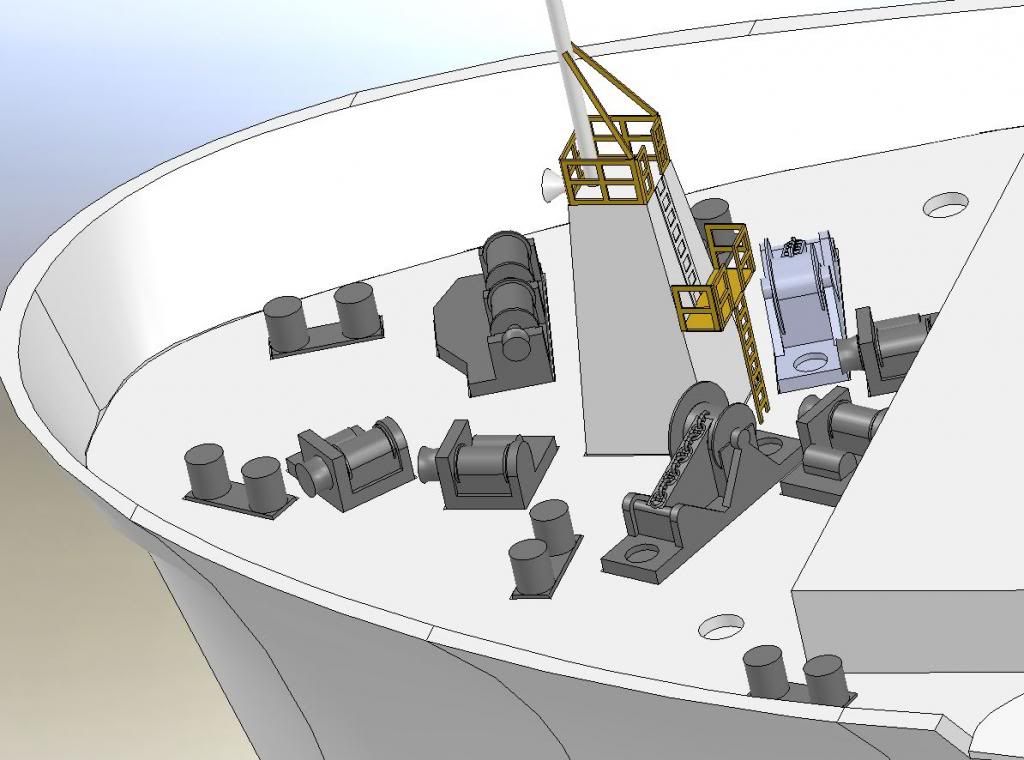
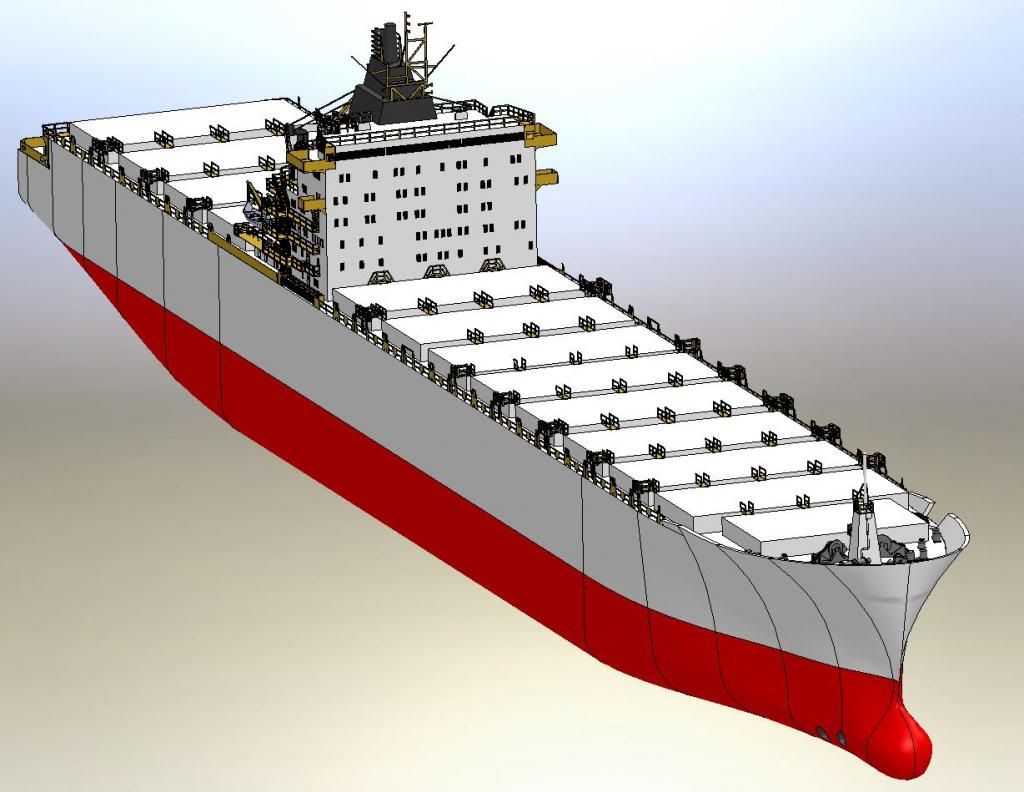
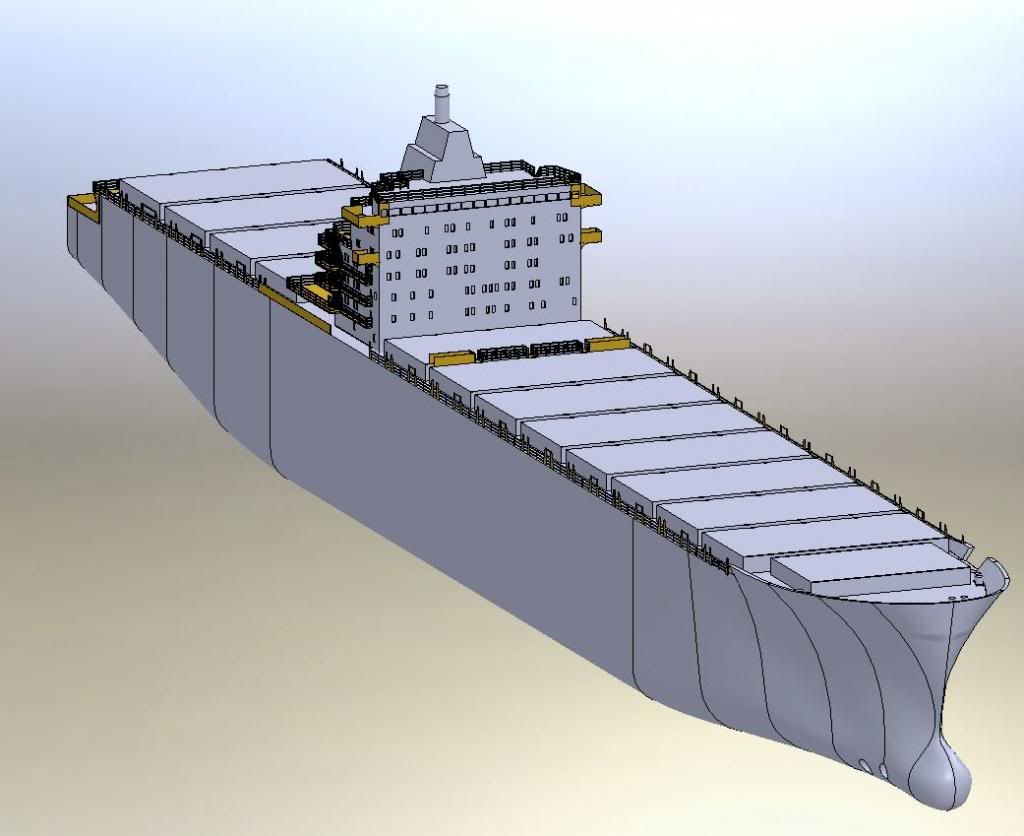
Here's my current freelance 3D modeling project. The subject is the vessel Table Bay, a container ship that was built in 1977. It ran between the UK & Australia, before being scrapped in 2002.
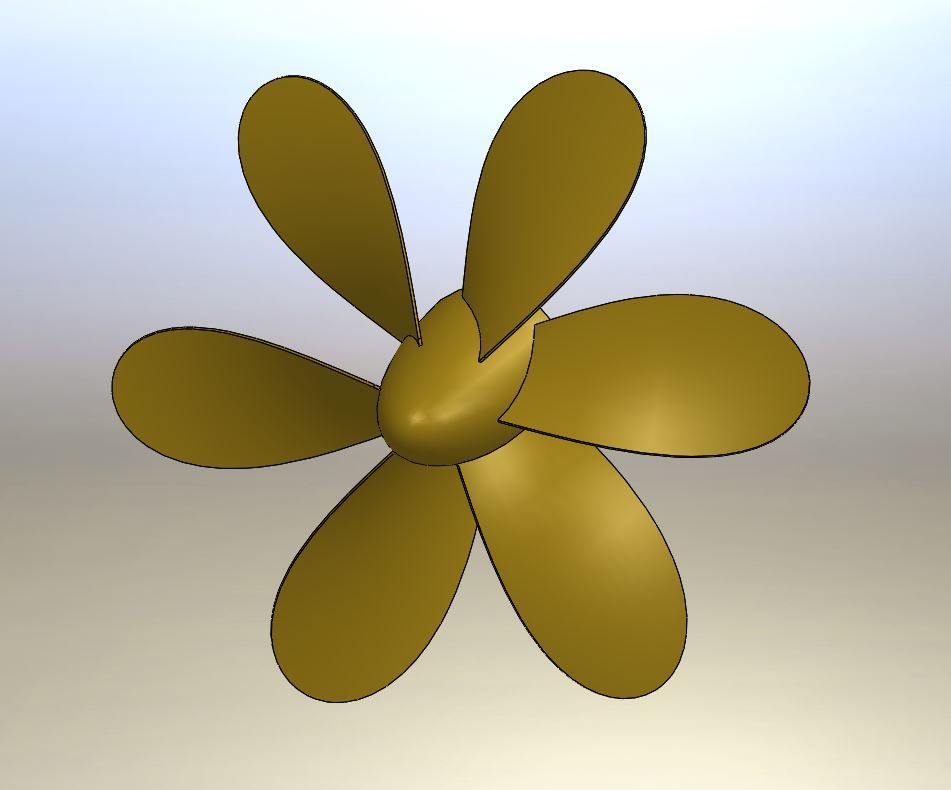
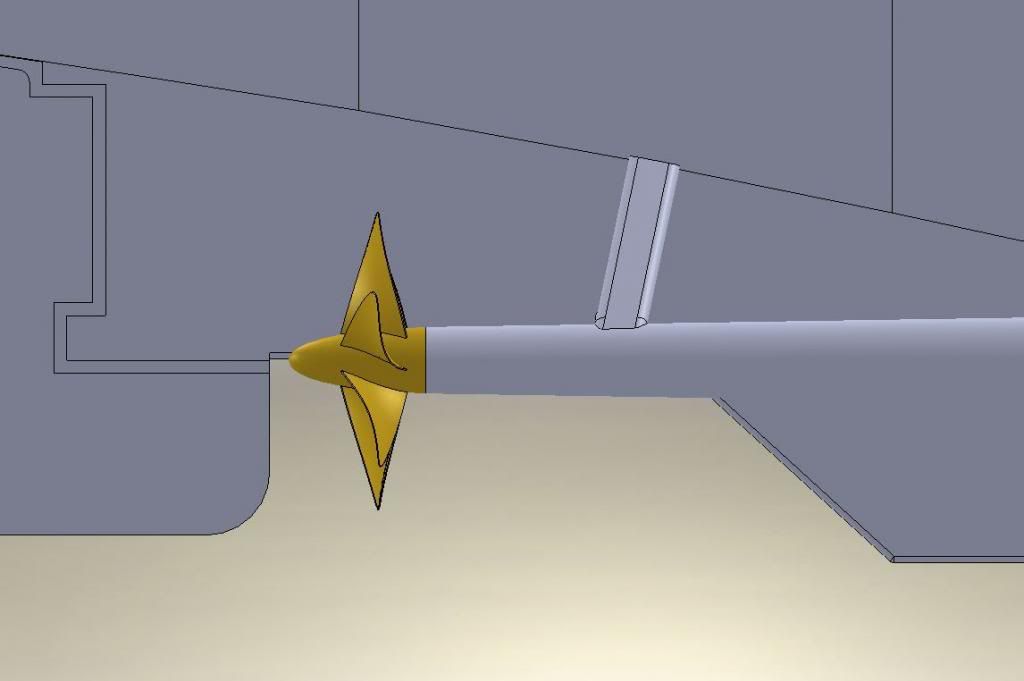
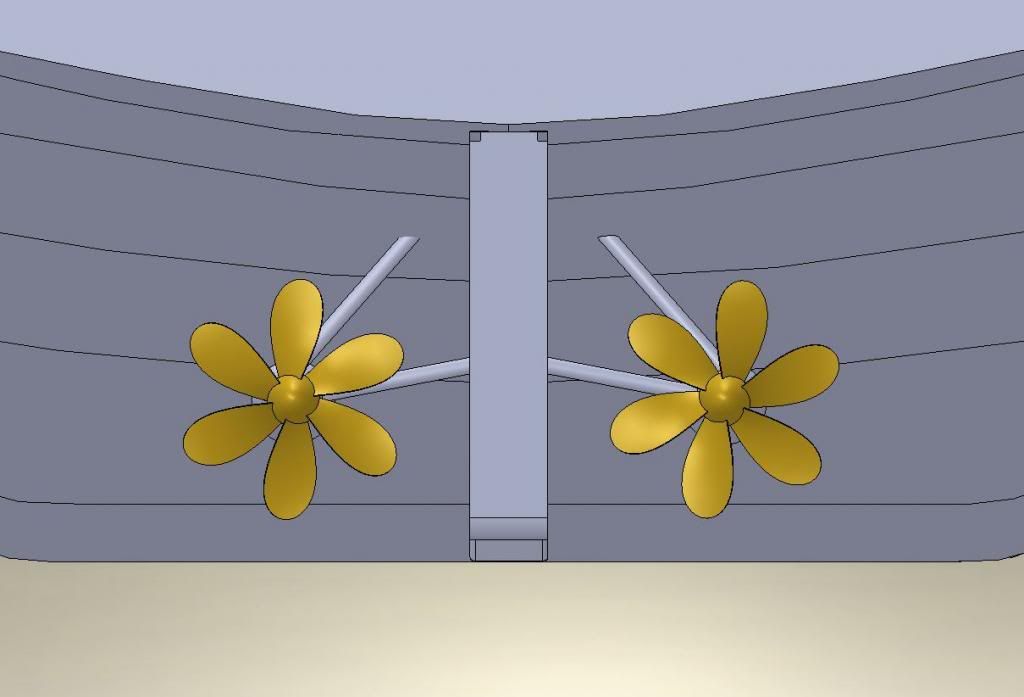
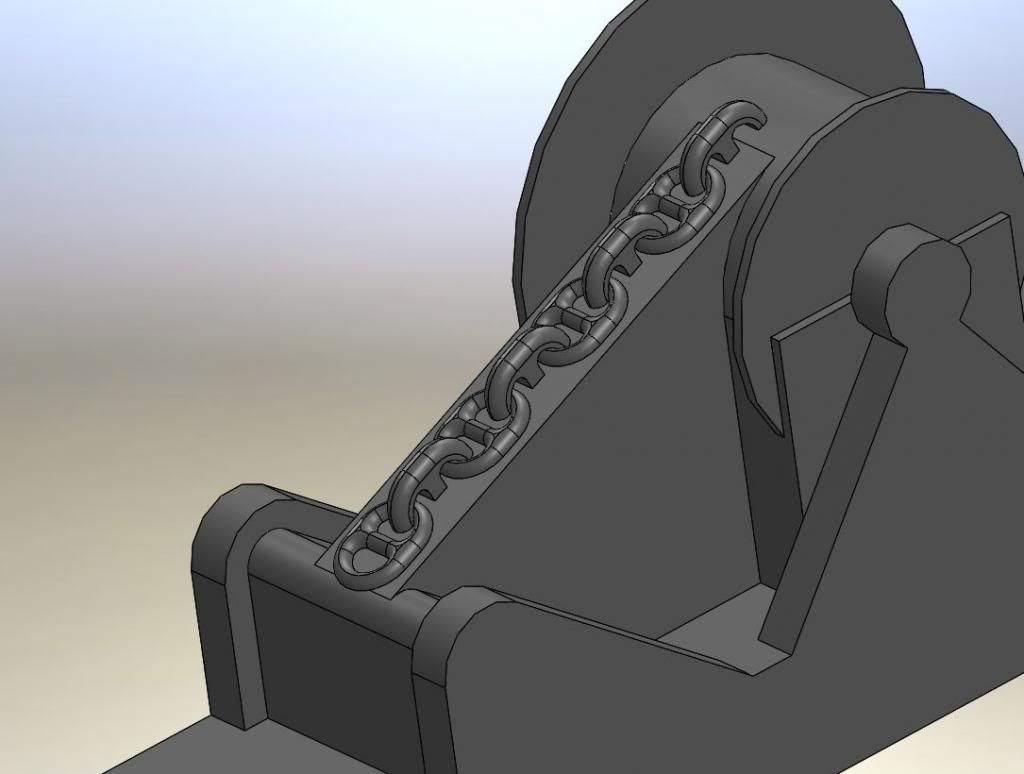
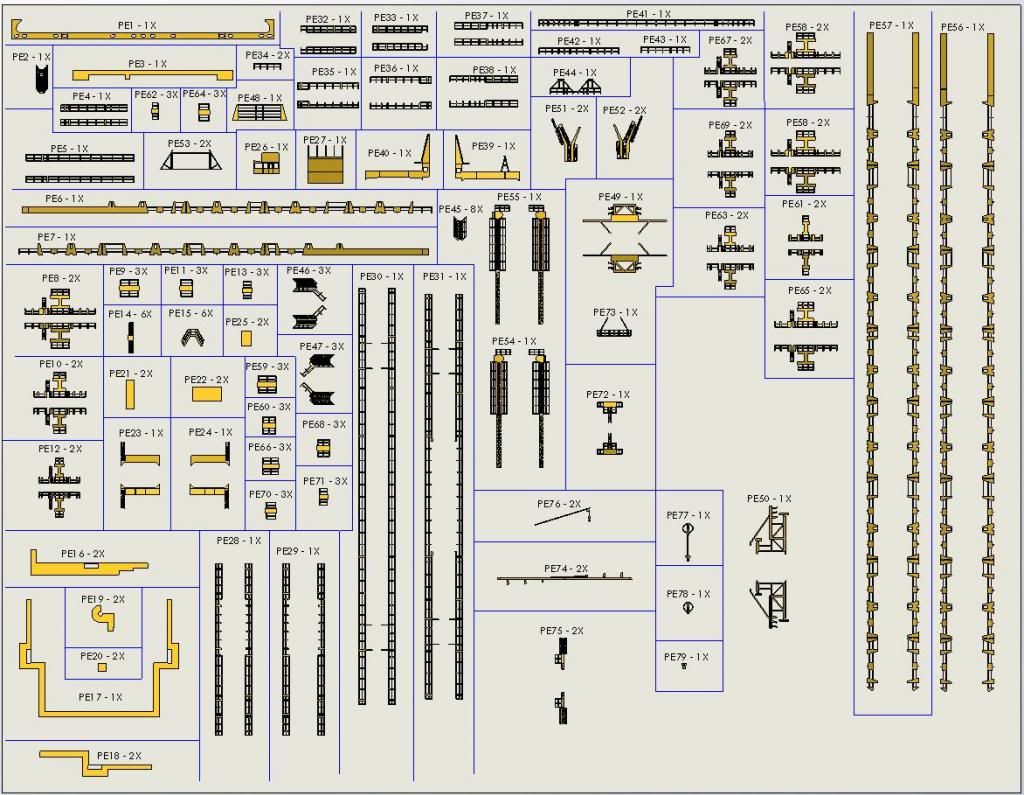
Kit will be 1/700 scale w/ resin & photoetch parts. Kit will be separated into 2 hull sections (broken at waterline), bridge, exhaust funnel, and 2 propeller shafts. There were also be container stacks and loose containers so that the builder can choose the container stack configuration.
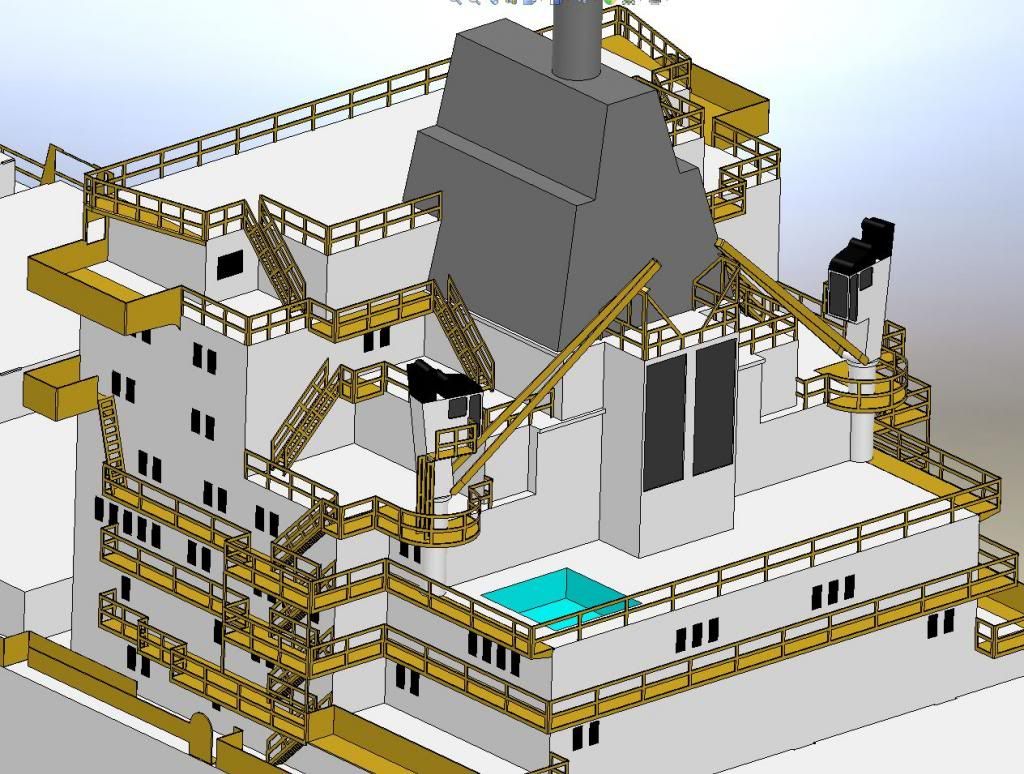
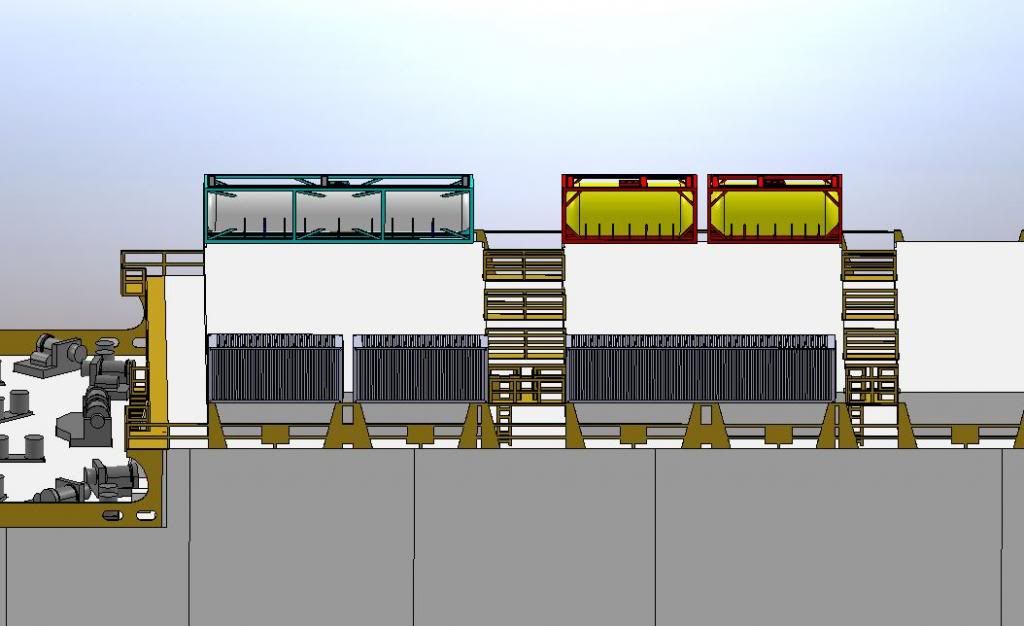
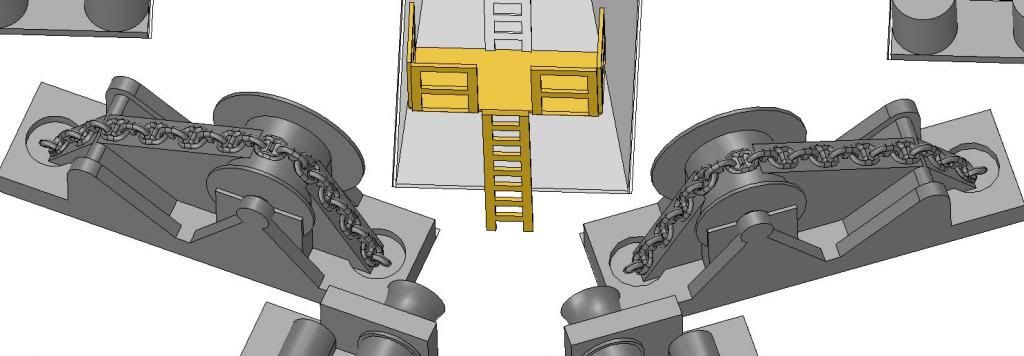
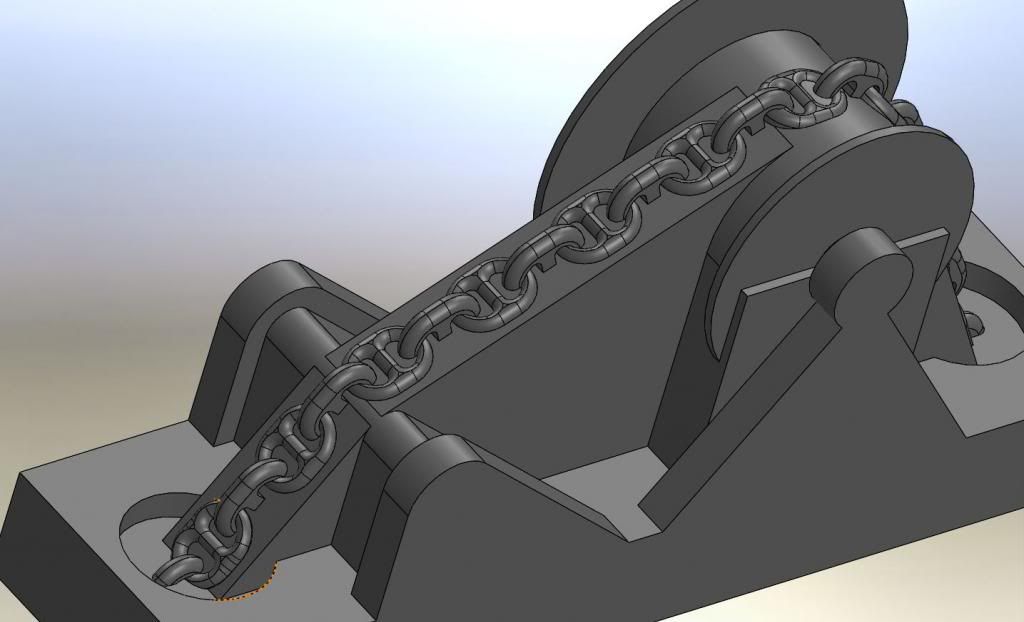
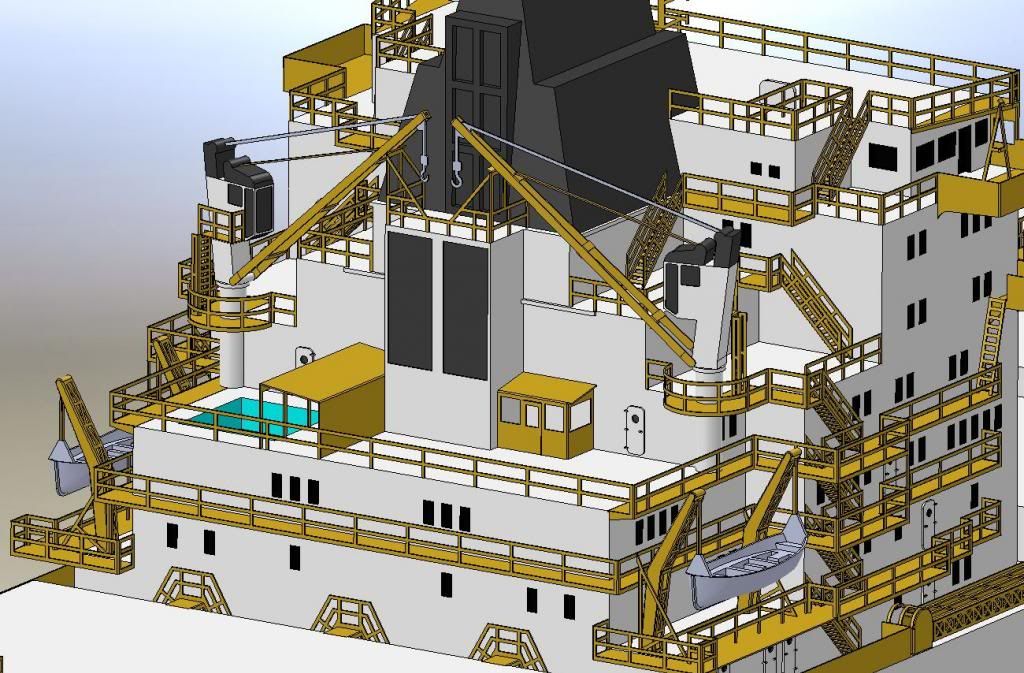
Overall view. All the yellow components will be photoetch. Everything else will be resin.
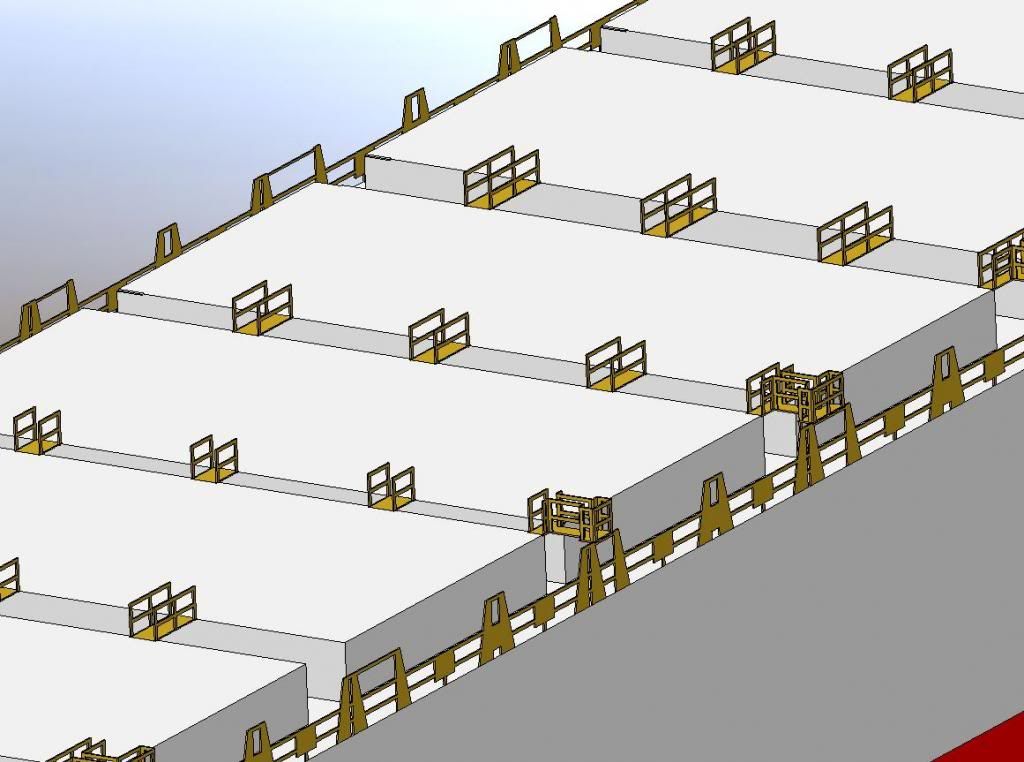
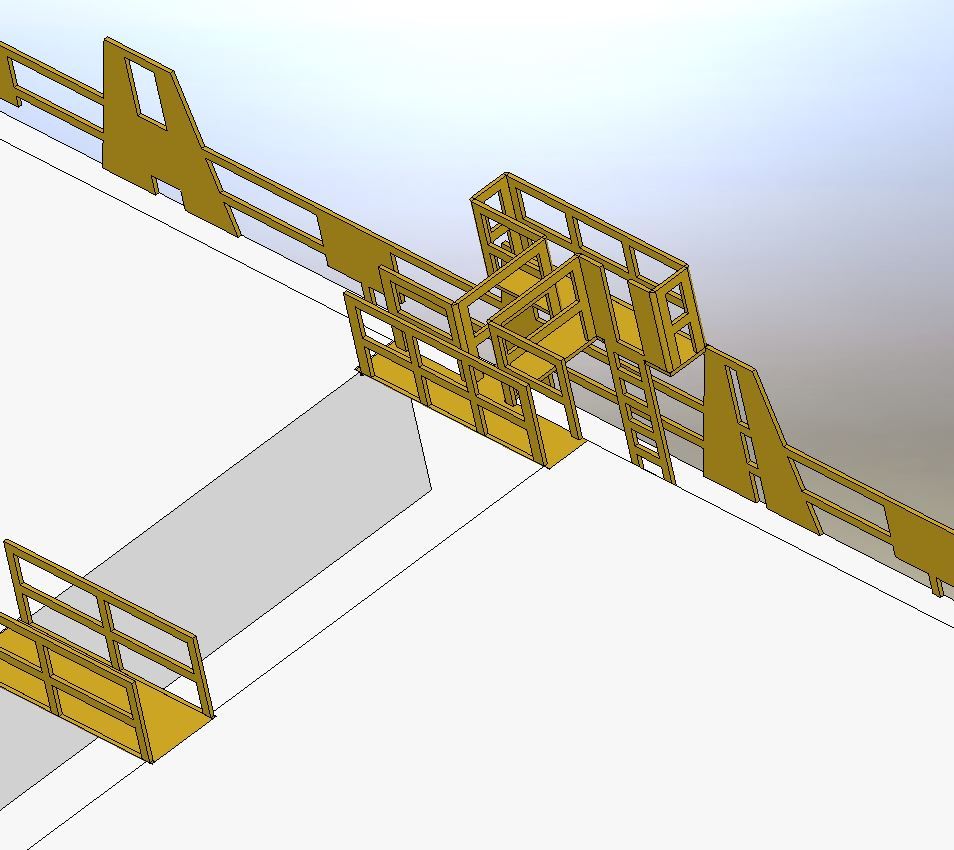
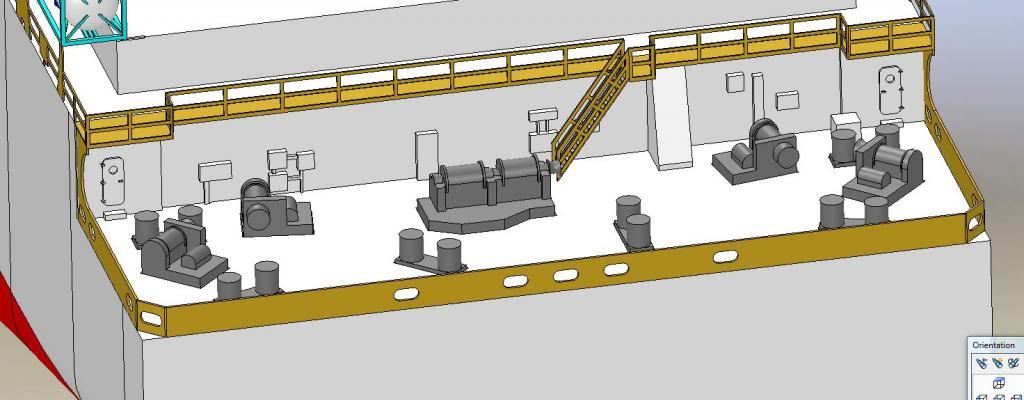
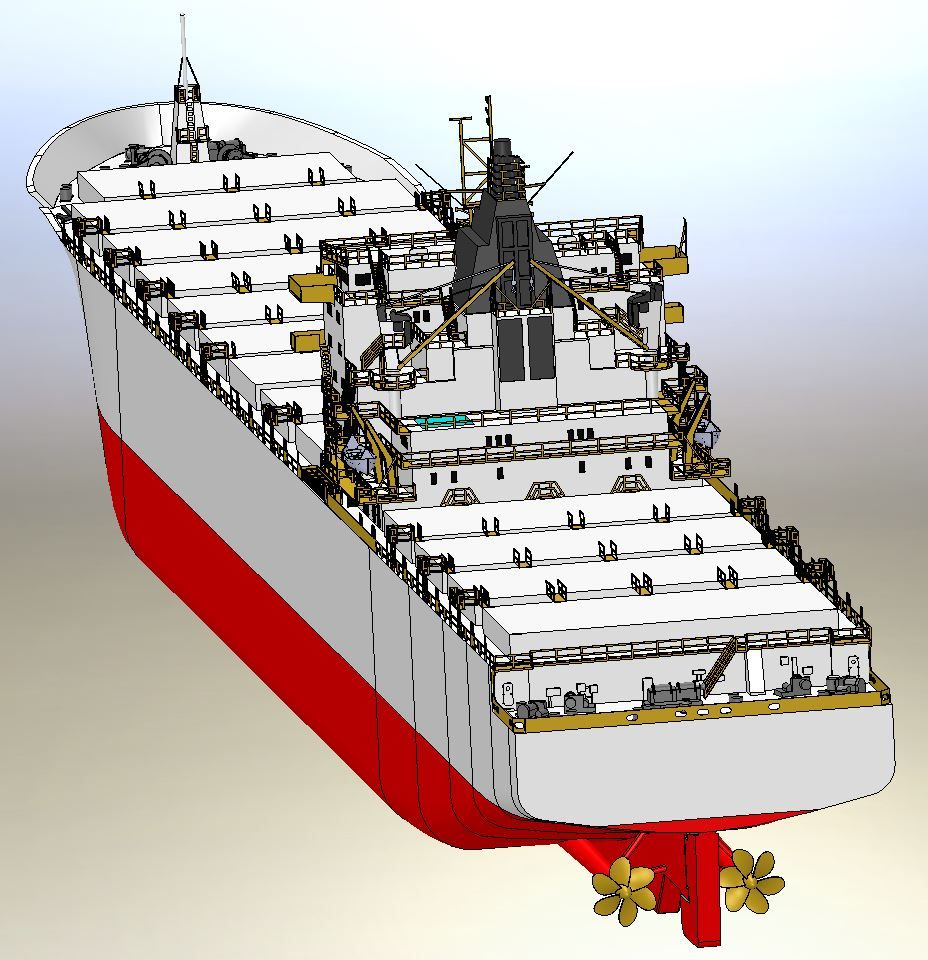
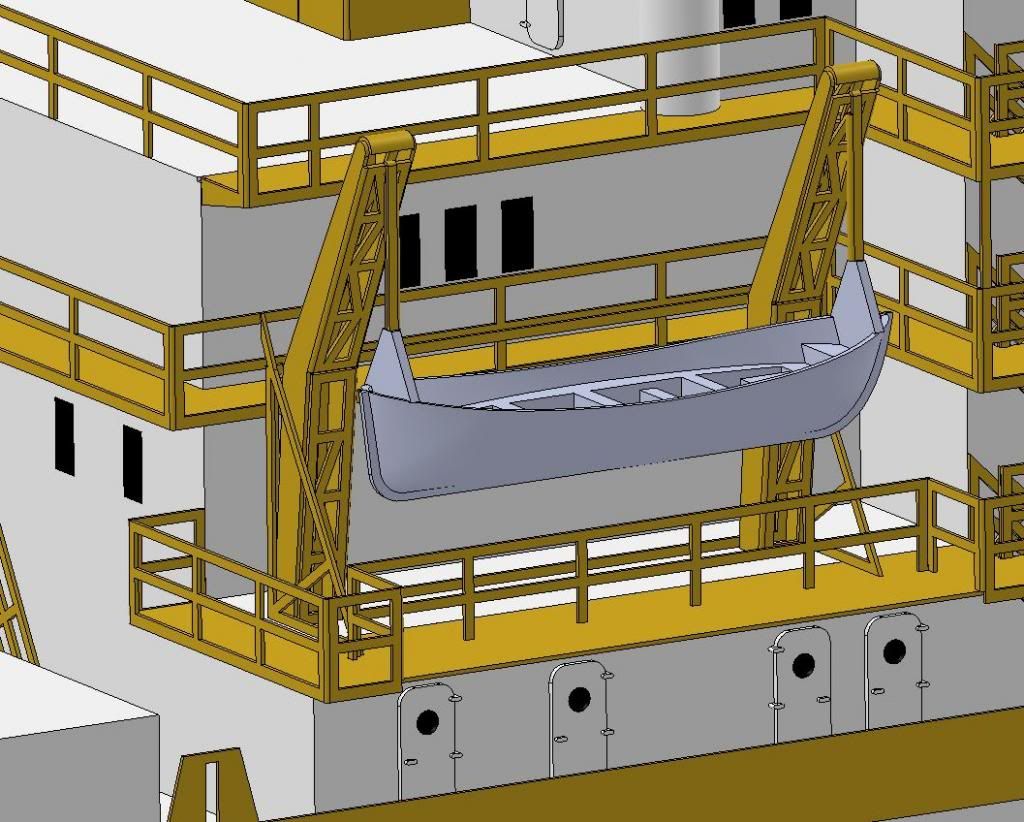
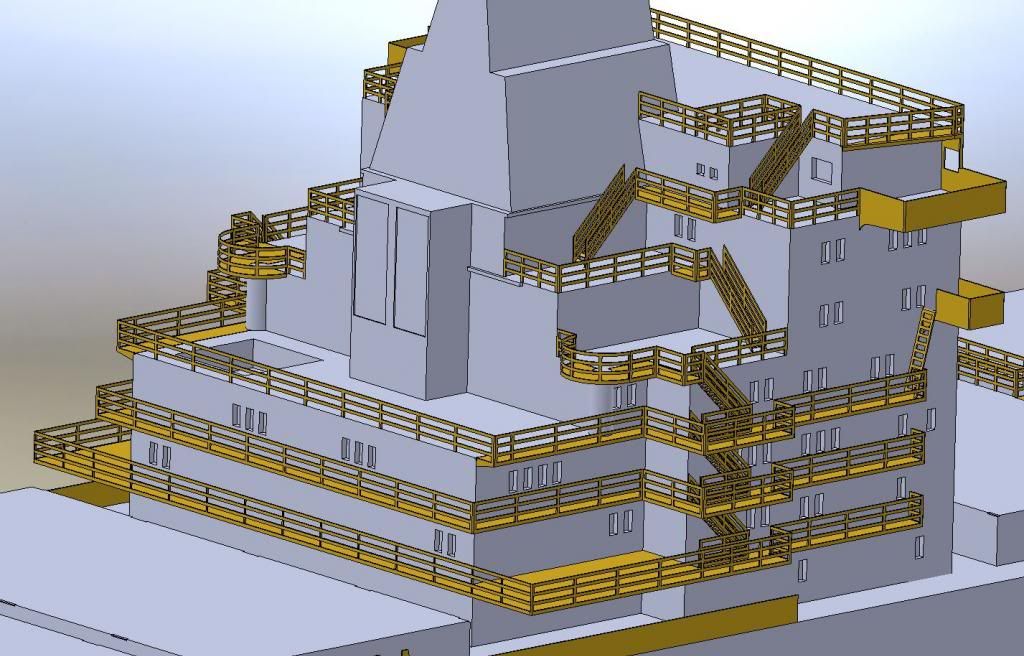
Starboard side rear view of the bridge.
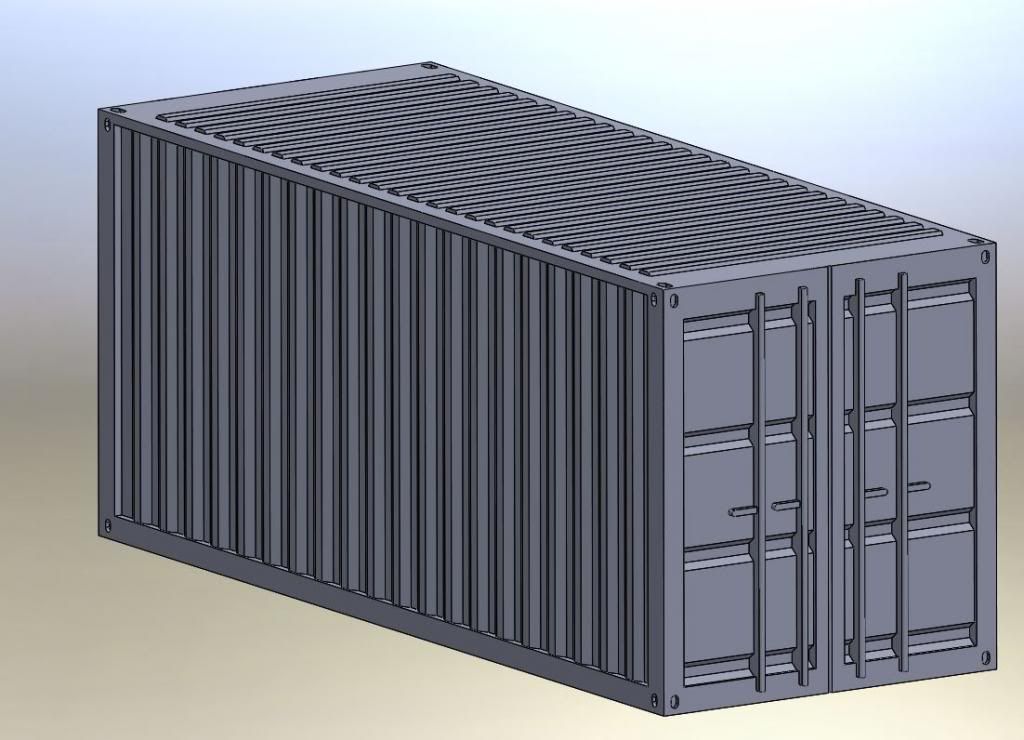
And I have 4 containers created. Loose containers will most likely be 3D printed instead of resin cast, to allow for finer detail, especially in the case of the 2 liquid containers. As modeled it would be impossible to successfully resin cast them.
20' container
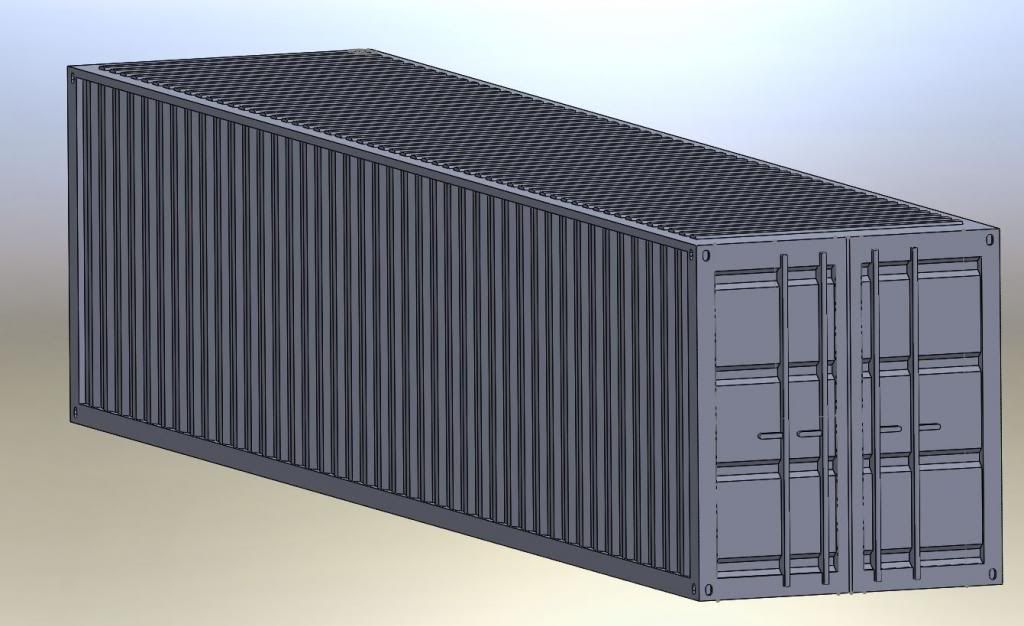
40' container
20' liquid container
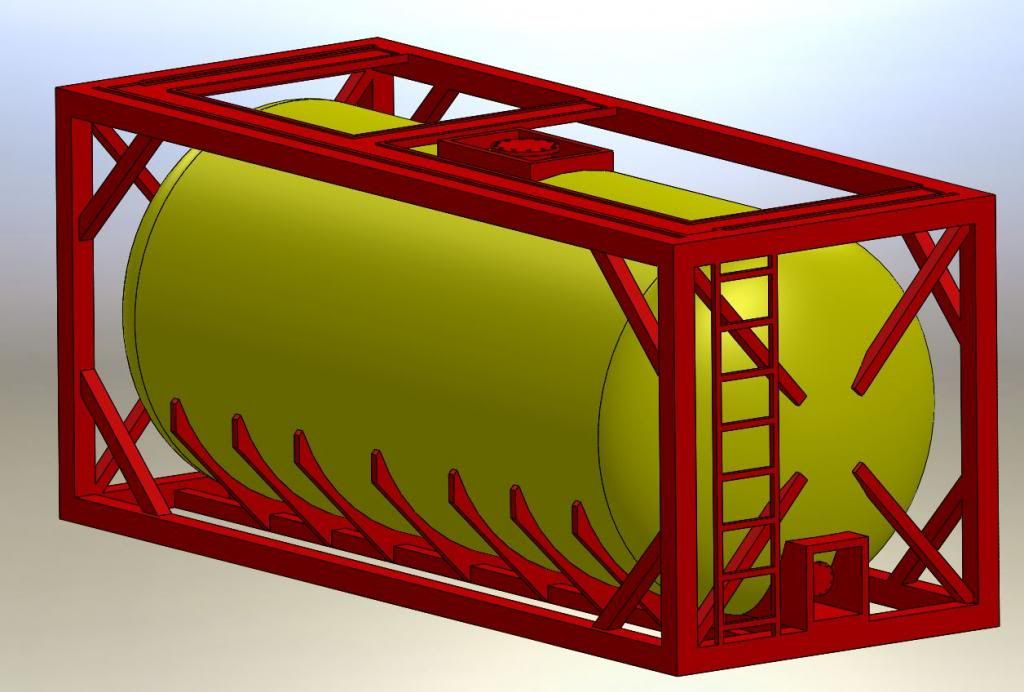
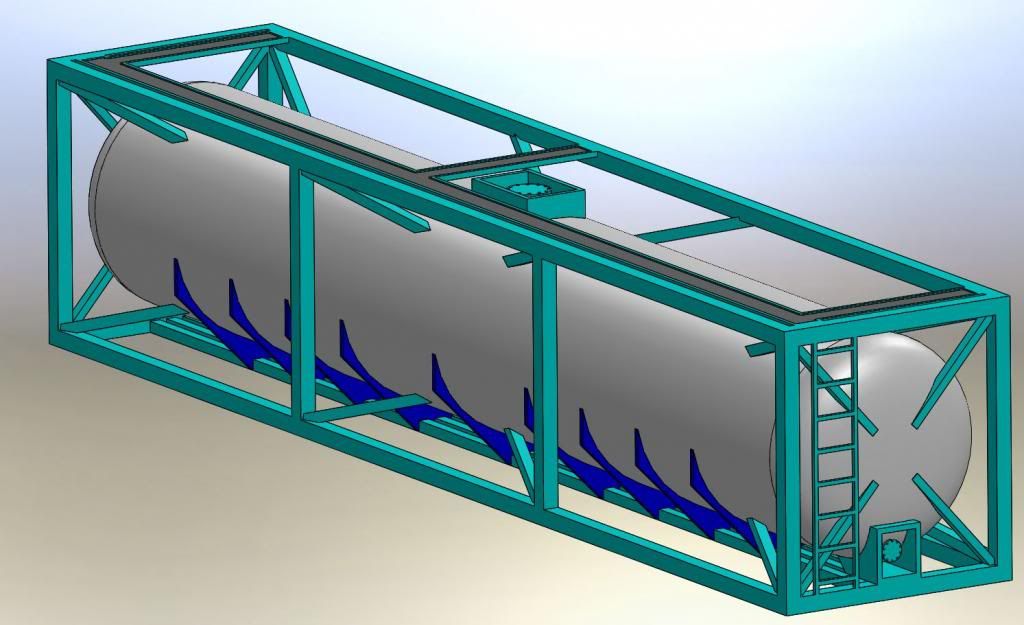
40' liquid container
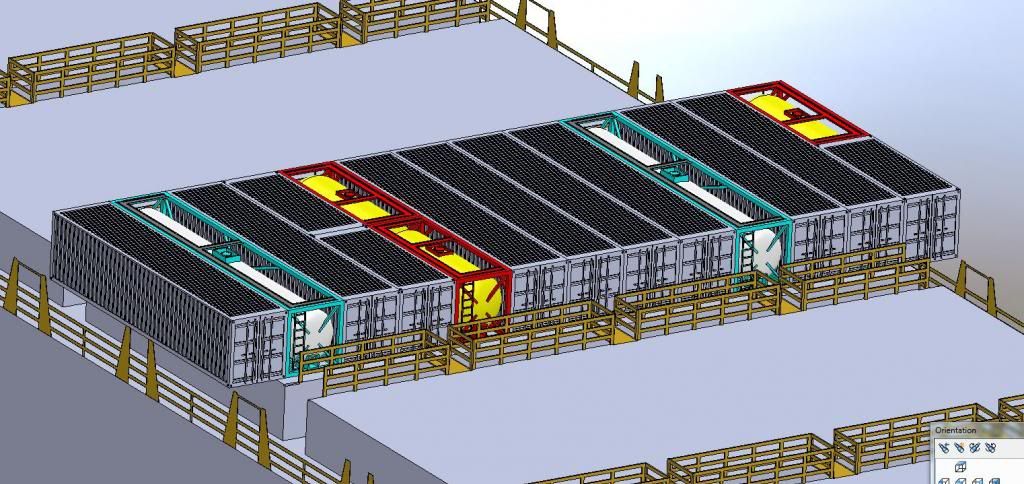
And just an example of how they'd look on the ship. When placing the containers, I realized I have some stuff I need to tweak, so dont mind the photoetch on the side of the ship.
Kit will be 1/700 scale w/ resin & photoetch parts. Kit will be separated into 2 hull sections (broken at waterline), bridge, exhaust funnel, and 2 propeller shafts. There were also be container stacks and loose containers so that the builder can choose the container stack configuration.
Overall view. All the yellow components will be photoetch. Everything else will be resin.
Starboard side rear view of the bridge.
And I have 4 containers created. Loose containers will most likely be 3D printed instead of resin cast, to allow for finer detail, especially in the case of the 2 liquid containers. As modeled it would be impossible to successfully resin cast them.
20' container
40' container
20' liquid container
40' liquid container
And just an example of how they'd look on the ship. When placing the containers, I realized I have some stuff I need to tweak, so dont mind the photoetch on the side of the ship.