In the summer of 1983, I had just received a lot of notoriety for "The Winds of War" diorama the previous year. At the time, I was hearing feed back from my friends that there were those who said I couldn't possibly compete with the best armor builders in America. I just wasn't good enough. Judging from the vehicles in the Winds of War, they were right. However, in that year I had learned a lot! I was like a sponge, soaking up every detail and technique out there. At the time the three best were from the midwest, where I was from. I won't mention their names as it no longer matters, but they were the armor model gods of that time.
I decided I would really take my time and make a couple of armor pieces that could compete with them. My first choice was a Daimler Dingo scout car. At the time it was a relatively new release. We went to Europe that spring and I was able to extensively photograph both vehicles, so I had my research plus a couple of books on each I picked up at the book stalls in London.
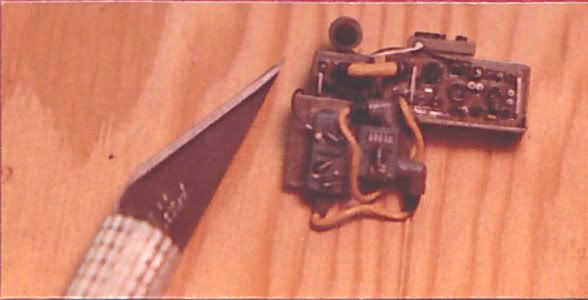
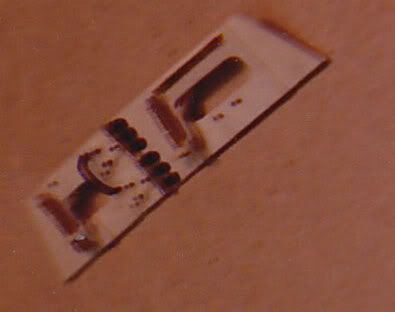
The Dingo I photographed had a really complex radio that in 1/35th scale would be tiny. Try to remember that at that time there was no photoetch of any kind for either armor or aircraft. All the brass, aluminum, etc. was from sheets and tubes. I began with the radio. Please forgive the photography, I had a cheap SLR with no macro at the time.
It took over a hundred scratched parts to create this. I kept count of everything as back then, everybody made a sort of reference scrapbook that was laid next to the model in competition. The judges used them to tell how much was actually done in highly updated and upgraded models. I had plenty of pictures of this radio so I built it from them, all the time carefully test fitting it to the Dingo so to be sure it would fit when complete.
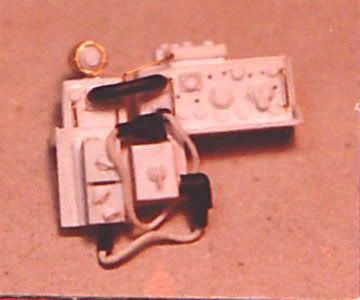
The painted and weathered radio. This will illustrate the size.
------------------------------------
For the suspension, I used copper wire, brass tubing, sheet plastic and so on. It actually worked and I also wade the steering work as well.
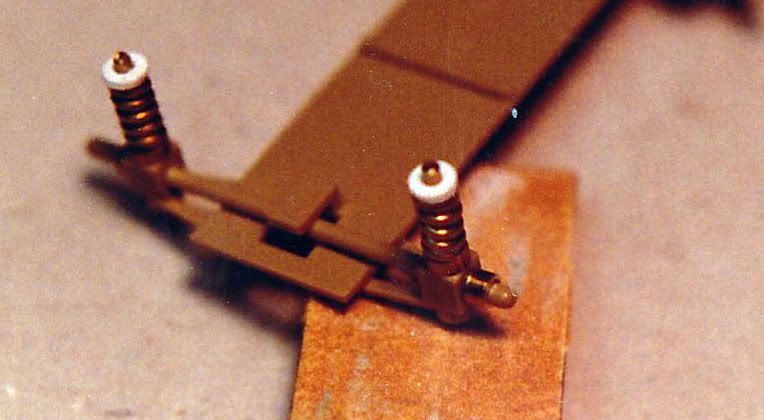
Terrible depth of field, but you can see some of the wiring.
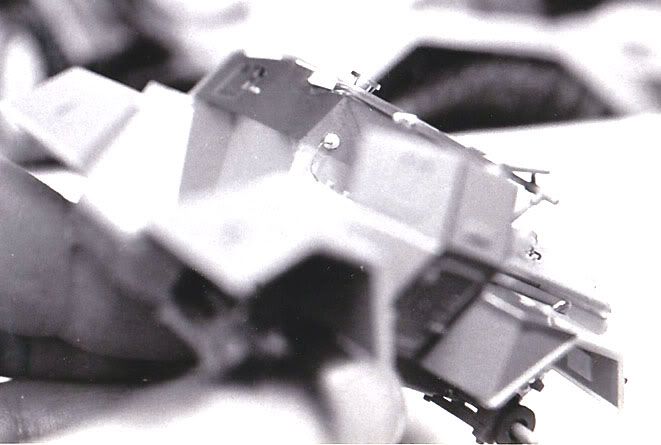
Out of focus, but you can see the inside of the front plate of the drivers cabin.
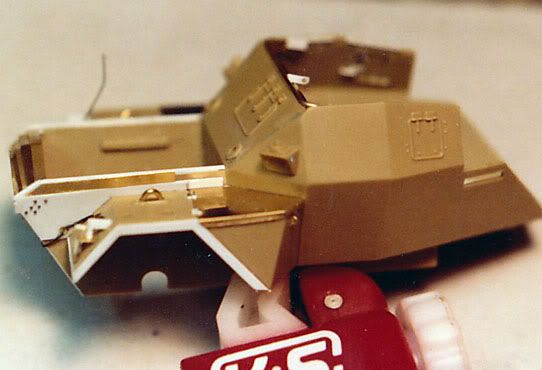
There was a lot of rebuilding various things on the vehicle. BTW, That brass cutter from K&S was old then. I just replaced it a month ago with a new one.
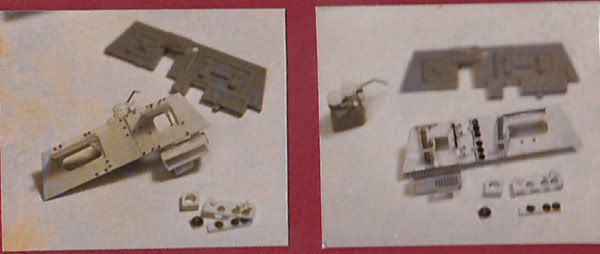
On the left is the exterior of that front plate, on the right the interior. The problem with this model is much of the detail is overlooked as it is so tiny. The darker pieces above each pic are the kit part.
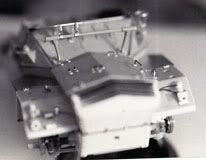
The entire front end on the Tamiya kit was wrong and was replaced with plastic, stretched sprue rivets and bolts and brass sheet. This was my first attempt at soldering brass parts.
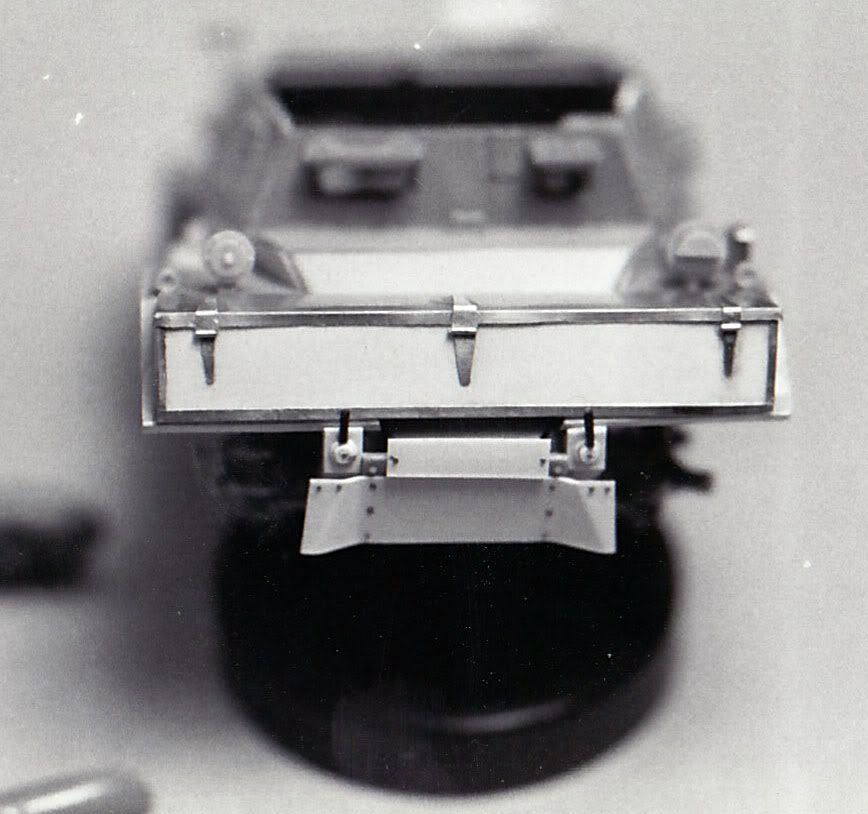
The entire rear end was also replaced using the same materials. The louvers were mad from sheet brass. Sorry, the small pic was all I had.
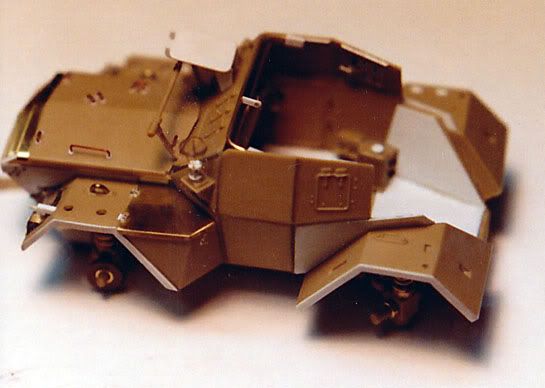
Note the radio antennae guard just behind the cab and to the right. I remember I spent hours making that thing. I finally used various sizes of brass tubing cut into small slivers and plastic card punched our discs, all attached with tiny brass wire.
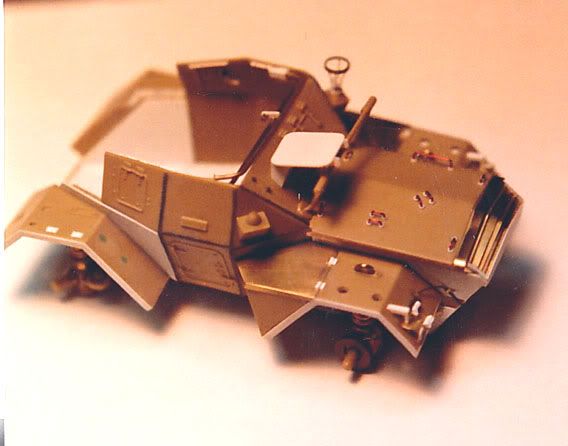
View from the other side. You can actually see the antennae guard better from this angle.
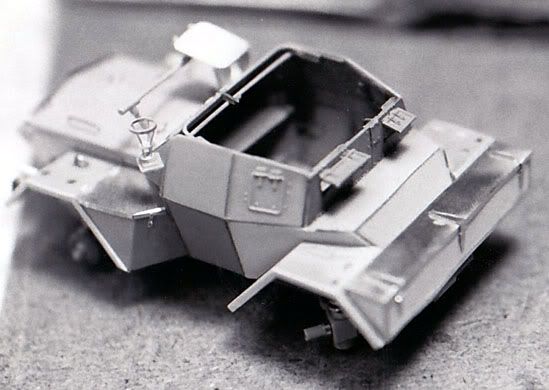
Here it is prior to painting, weathering and final detailing. Note the working steering. I painted it in "Mickey Mouse Ear" camoflage. Note the stretched sprue weld seams even way back then.
The end of the story was that I ended up beating all three of those guys and I think they have disliked me ever since! It won a gold medal at the Model Engineering Exhibition that, then, was held annually in Wembley and was, and maybe still is, the largest model show in the world. After I stopped competing, I put this and the next one, a Canadian
C-60L CMP mobile workshop, in the same diorama.
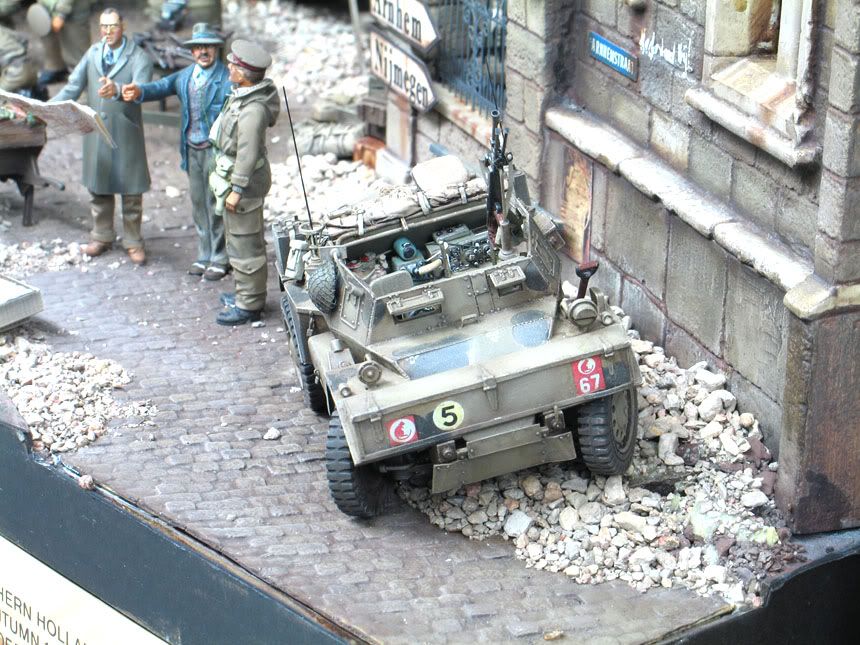
As bad as the pics are, I hope you like it!
Bob
I decided I would really take my time and make a couple of armor pieces that could compete with them. My first choice was a Daimler Dingo scout car. At the time it was a relatively new release. We went to Europe that spring and I was able to extensively photograph both vehicles, so I had my research plus a couple of books on each I picked up at the book stalls in London.
The Dingo I photographed had a really complex radio that in 1/35th scale would be tiny. Try to remember that at that time there was no photoetch of any kind for either armor or aircraft. All the brass, aluminum, etc. was from sheets and tubes. I began with the radio. Please forgive the photography, I had a cheap SLR with no macro at the time.
It took over a hundred scratched parts to create this. I kept count of everything as back then, everybody made a sort of reference scrapbook that was laid next to the model in competition. The judges used them to tell how much was actually done in highly updated and upgraded models. I had plenty of pictures of this radio so I built it from them, all the time carefully test fitting it to the Dingo so to be sure it would fit when complete.

The painted and weathered radio. This will illustrate the size.
------------------------------------

For the suspension, I used copper wire, brass tubing, sheet plastic and so on. It actually worked and I also wade the steering work as well.

Terrible depth of field, but you can see some of the wiring.

Out of focus, but you can see the inside of the front plate of the drivers cabin.

There was a lot of rebuilding various things on the vehicle. BTW, That brass cutter from K&S was old then. I just replaced it a month ago with a new one.

On the left is the exterior of that front plate, on the right the interior. The problem with this model is much of the detail is overlooked as it is so tiny. The darker pieces above each pic are the kit part.

The entire front end on the Tamiya kit was wrong and was replaced with plastic, stretched sprue rivets and bolts and brass sheet. This was my first attempt at soldering brass parts.

The entire rear end was also replaced using the same materials. The louvers were mad from sheet brass. Sorry, the small pic was all I had.

Note the radio antennae guard just behind the cab and to the right. I remember I spent hours making that thing. I finally used various sizes of brass tubing cut into small slivers and plastic card punched our discs, all attached with tiny brass wire.

View from the other side. You can actually see the antennae guard better from this angle.

Here it is prior to painting, weathering and final detailing. Note the working steering. I painted it in "Mickey Mouse Ear" camoflage. Note the stretched sprue weld seams even way back then.

The end of the story was that I ended up beating all three of those guys and I think they have disliked me ever since! It won a gold medal at the Model Engineering Exhibition that, then, was held annually in Wembley and was, and maybe still is, the largest model show in the world. After I stopped competing, I put this and the next one, a Canadian
C-60L CMP mobile workshop, in the same diorama.

As bad as the pics are, I hope you like it!
Bob
