I have decided to build Takrom's 1/35 scale Skoda Turtle armored car. I have never built a Takrom kit as of yet so I figured this was as good a time as any to try one out.


This is a very nice kit! Well detailed and goes together quite well so far. The under body is well detailed for as much as will be seen. There is no interior, but I am fine with that, out of the box the kit will build a nice model of the vehicle which is good enough for me. I am trying to get to the point of building a kit for what it is, and not worrying about if it has all the bells and whistles and detailed areas that no one will ever see and has a gazillion parts. So for me this kit is quite refreshing :dude But that is just me.
I started this Friday night after I got home from work, and the photos take us up to last night, so over the course of about 24 hours I have a lot of the major assemblies done. Some putty was used on the various suspension and drive train assemblies, but nothing major.

The chassis, have to putty a couple of spots on the frame rails yet, but otherwise done. The kit gives you the option of posing the wheels turned; I glued them in position. I am not sure if it had 4 wheel steering, or 2 wheel steer from which ever end it was being driven from, so straight ahead it is")

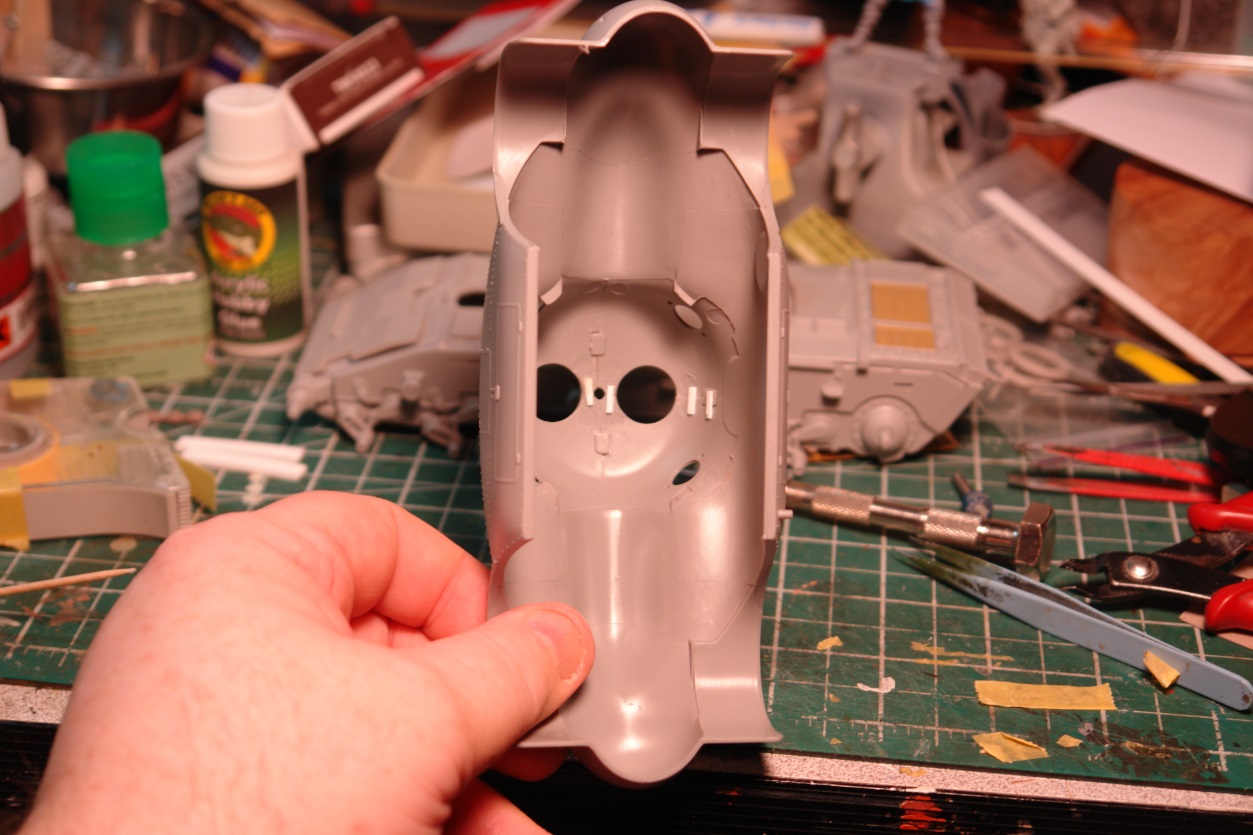
The body shell, this is very well molded, with just a couple faint parting lines along the sides which look to clean up very easily, it is hard to a perspective from the photo, but this was quite a large vehicle!

The completed cupola set on the body. This is made up of 4 sections and I was very surprised by how well it fit together, Tamyia Extra Thin cement works really well on the kit plastic so I was able to hold the sections in alignment, apply a drop of glue and in a couple minutes had really nice joins between the sections. The seams are still going to need a bit of clean up but nothing major at all, very pleased with how this section went together.
And that is where we are, I should get the rest of the kit together today and then deal with any seam clean-up over the next couple of days. I still have to order the paint for this so by the time that arrives I should have everything set to start the painting process.
Really lovin' this kit so far
Ernie


This is a very nice kit! Well detailed and goes together quite well so far. The under body is well detailed for as much as will be seen. There is no interior, but I am fine with that, out of the box the kit will build a nice model of the vehicle which is good enough for me. I am trying to get to the point of building a kit for what it is, and not worrying about if it has all the bells and whistles and detailed areas that no one will ever see and has a gazillion parts. So for me this kit is quite refreshing :dude But that is just me.
I started this Friday night after I got home from work, and the photos take us up to last night, so over the course of about 24 hours I have a lot of the major assemblies done. Some putty was used on the various suspension and drive train assemblies, but nothing major.

The chassis, have to putty a couple of spots on the frame rails yet, but otherwise done. The kit gives you the option of posing the wheels turned; I glued them in position. I am not sure if it had 4 wheel steering, or 2 wheel steer from which ever end it was being driven from, so straight ahead it is

The body shell, this is very well molded, with just a couple faint parting lines along the sides which look to clean up very easily, it is hard to a perspective from the photo, but this was quite a large vehicle!

The completed cupola set on the body. This is made up of 4 sections and I was very surprised by how well it fit together, Tamyia Extra Thin cement works really well on the kit plastic so I was able to hold the sections in alignment, apply a drop of glue and in a couple minutes had really nice joins between the sections. The seams are still going to need a bit of clean up but nothing major at all, very pleased with how this section went together.
And that is where we are, I should get the rest of the kit together today and then deal with any seam clean-up over the next couple of days. I still have to order the paint for this so by the time that arrives I should have everything set to start the painting process.
Really lovin' this kit so far
Ernie