• Modelers Alliance has updated the forum software on our website. We have migrated all post, content and user accounts but we could not migrate the passwords.
    This requires that you manually reset your password.
    Please click here, http://modelersalliance.org/forums/login to go to logon page and use the "Forgot your Password" option.

My scratch built tank

Thanks guys!
Terry, you should try it sometime it is really relaxing!

Now a little update.
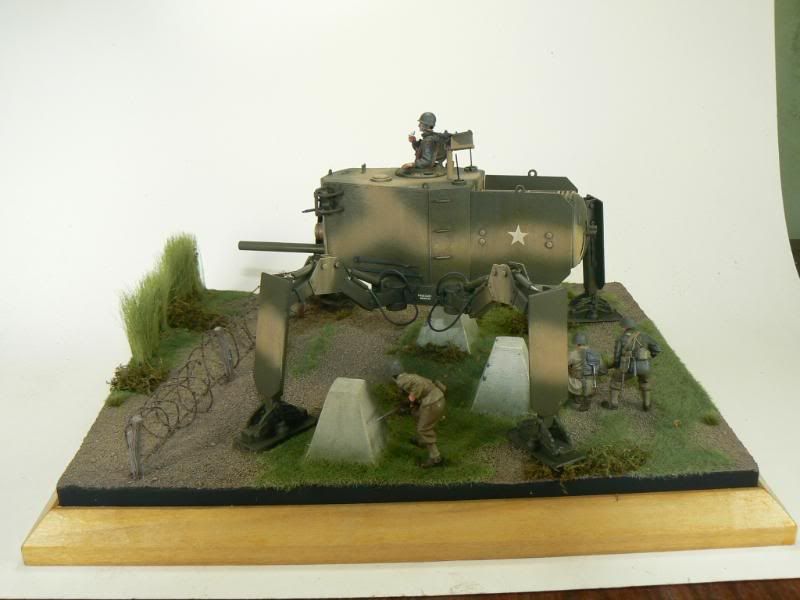
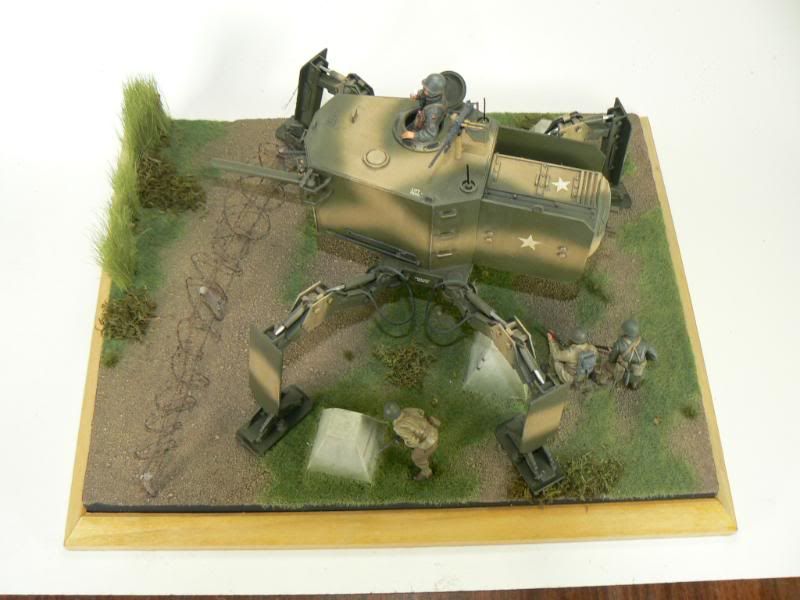
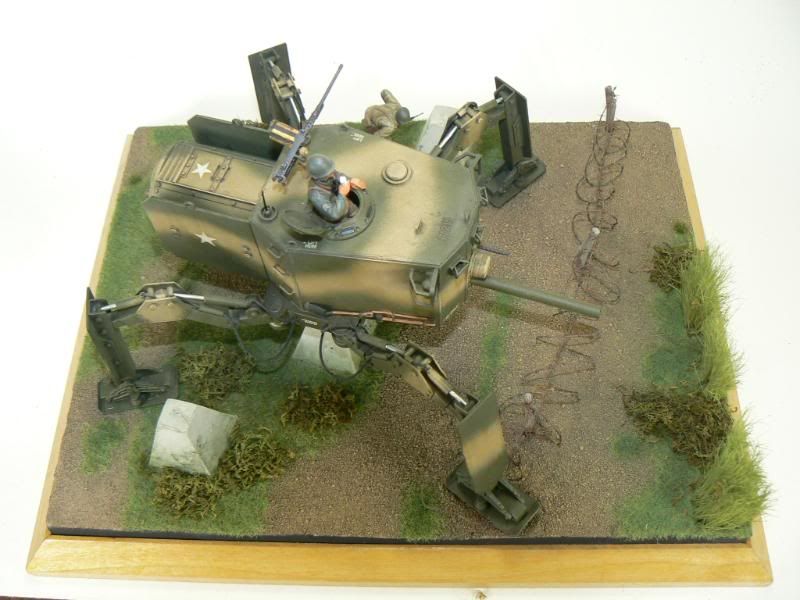
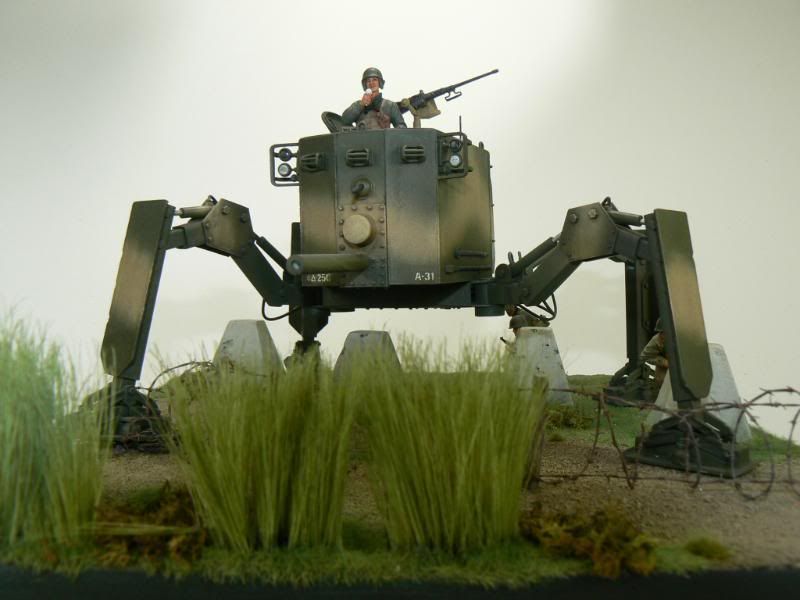
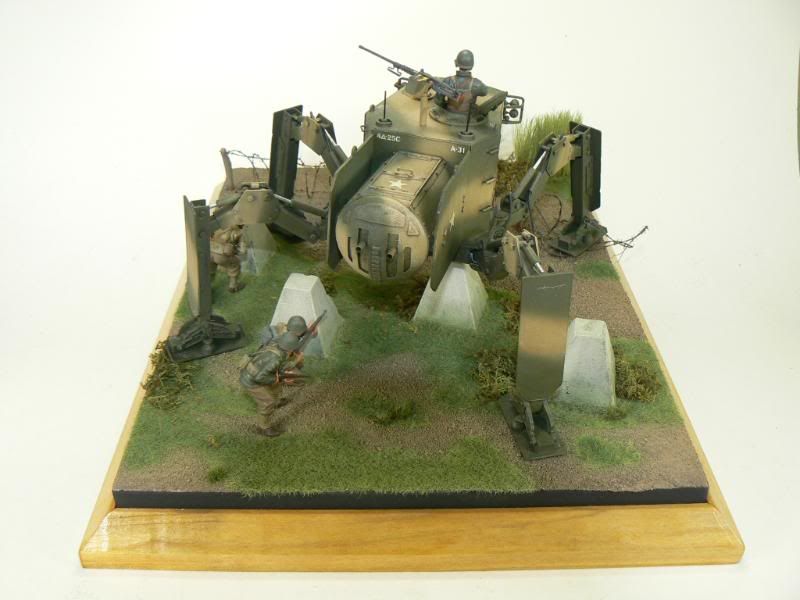
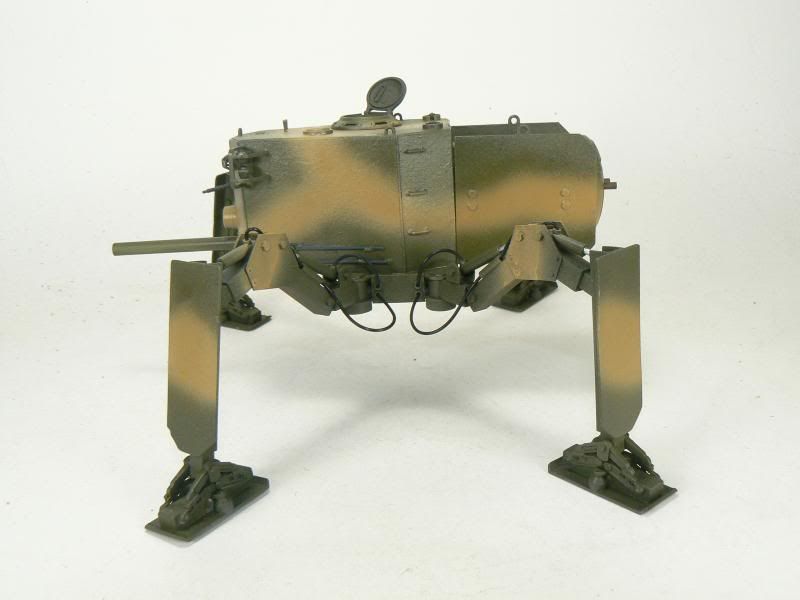
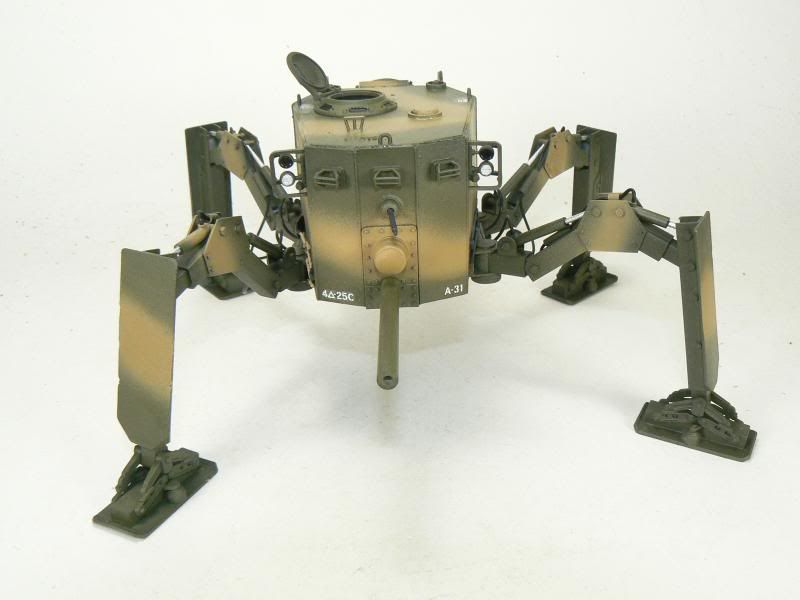
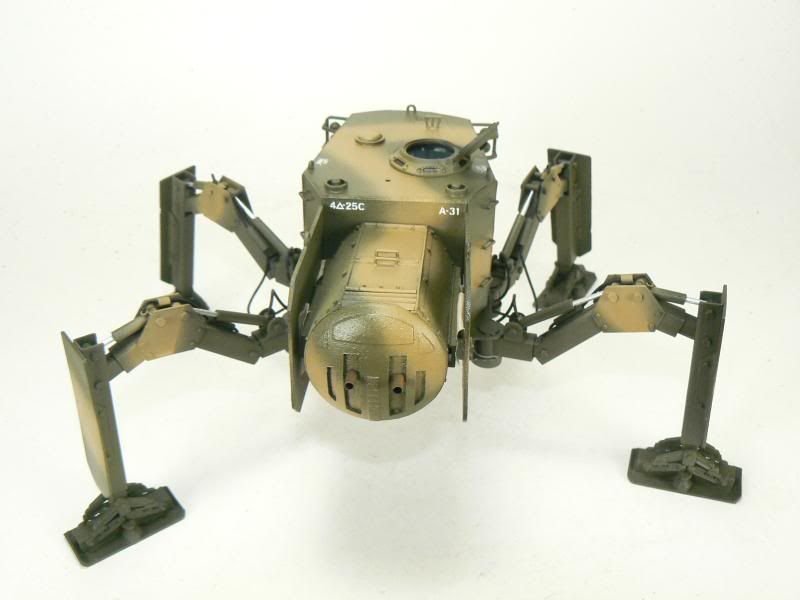
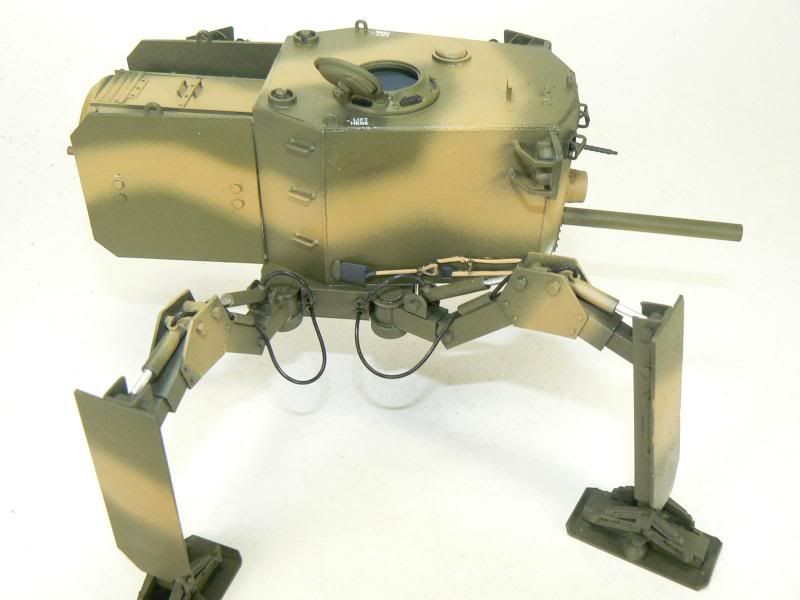
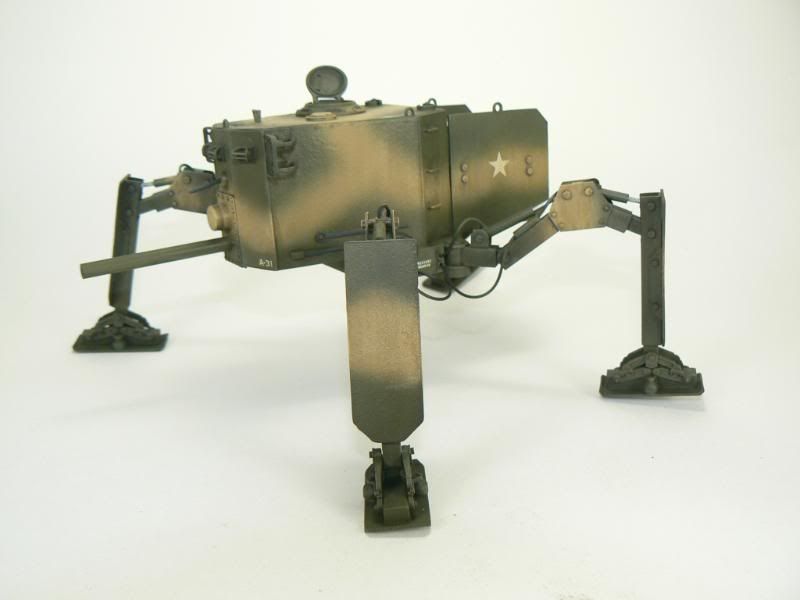
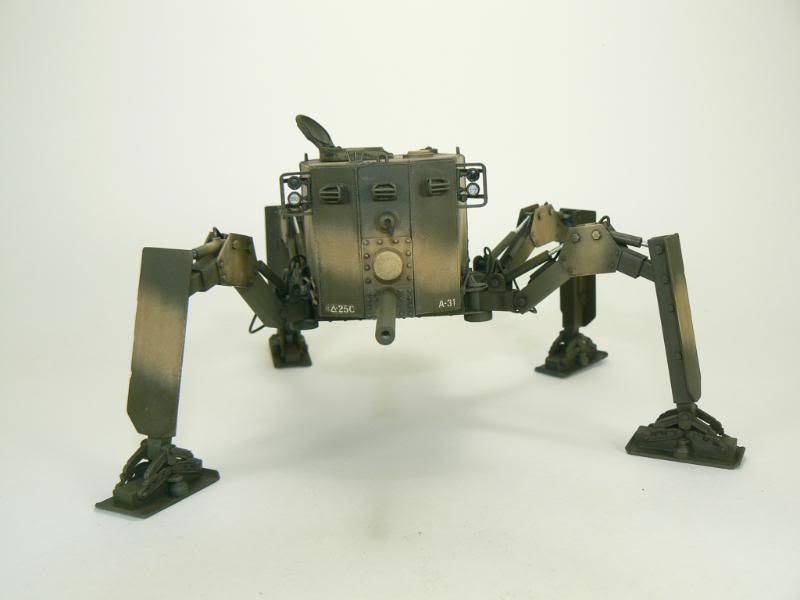
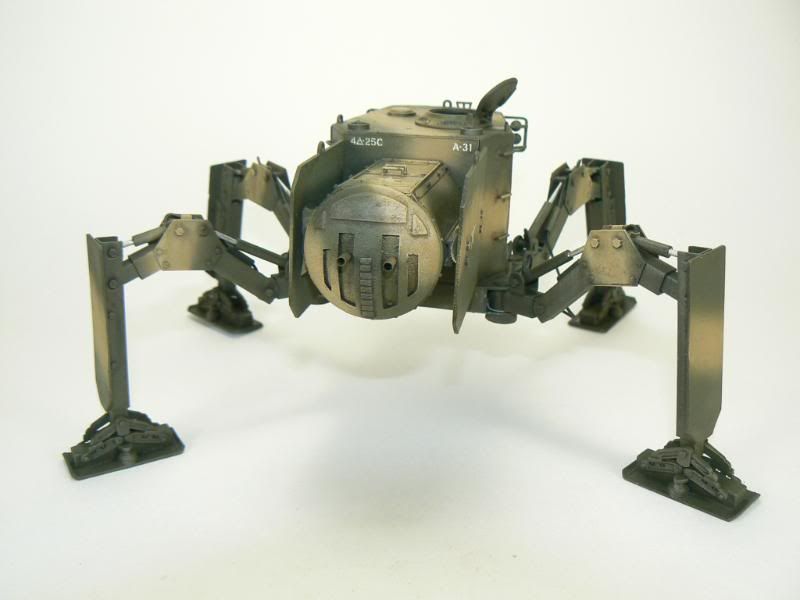
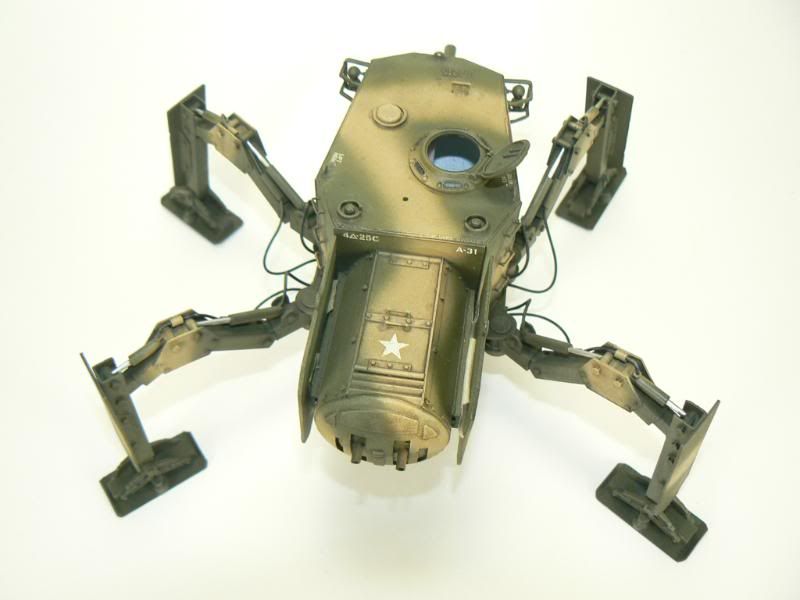
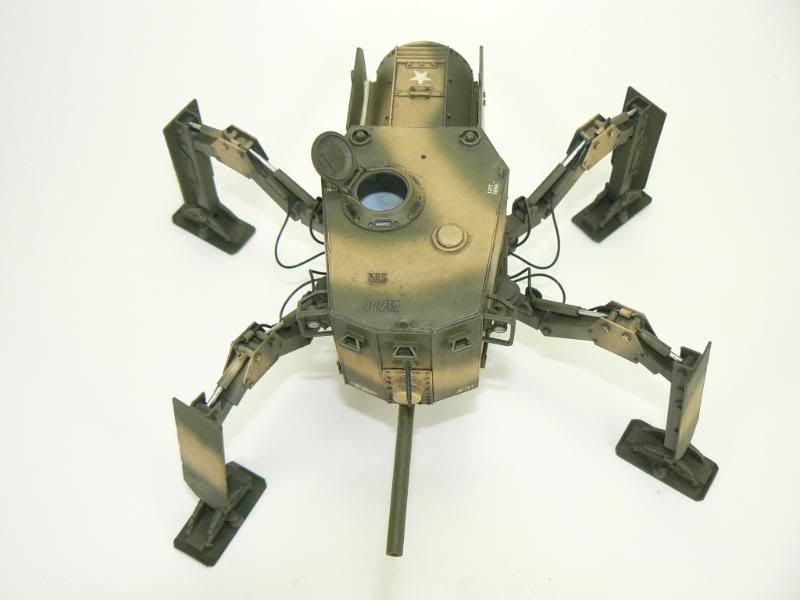
I applied some camo to the middle of the legs as they looked to bare without it!
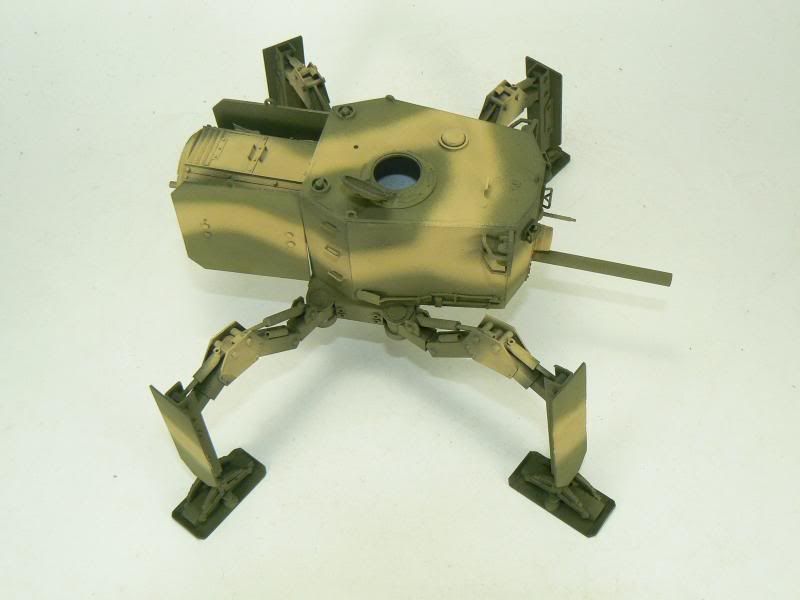
P1020310.jpg


Thanks for viewing.
Ruben
 
Looks really good Rubin!!! Mine is already underway. My crawler has a turret which is almost finished.

Terry B)
 
G Cooper wrote:
MrT wrote:
Looks really good Rubin!!! Mine is already underway. My crawler has a turret which is almost finished.

Terry B)

We must see piccys :cheer: .

Gary B)

Ok Gary I will start a new thread with a image.

Terry B)
 
Thanks for the comments guys.

Well I finally had some time to work on it again so I applied the decals, painted the hydraulics, the tools (base color), the hull machine gun, periscopes and applied a little rust to the exhausts. I also put in place the hydraulic hoses.

Here are the results.
P1020369.jpg


P1020370.jpg


P1020371.jpg


Here you can see the hoses better.
P1020372.jpg


Next, the mate varnish, washes, the chipping and the rest of the weathering. :D

See you soon.
Ruben
 
Ruben,
Nice look.
Looks pretty sweet, I've been drawing up some plans
for the Engineers that will be combating your little
walkers... I hope to join in soon.
Shawn
 
Hi Ruben,

Good progress. Now that you added the decals it made me think wouldn't it be cool to add some decal to represent stenciled data next to the hydraulic lines? Maybe like they do on some equipment showing working pressure etc? Just a thought.

dave
 
Hi Ruben, this magnificent tank looks so easy to build, really neat work and a great idea.
Keep up the good job.

Regards
Tibor
 
WOW! That is absolutely amazing! I am half a second away from buying a room full of styrene and building a million scratch built mech/tanks. That looks amazing, very good job.


Ok, I'm doing it.

Josh
 
Thanks for the compliments guys, I'm glad you are enjoying it as much as I do.

Dave that idea of the markings for the hydraulics is a good one, I'll roam through my stash of decals for something useful.

And for those of you that feel the urge to do something like this; go ahead. Maybe we'll end up with an unofficial group build of our own. B)

Ruben
 
Hello again guys.

After some time spent doing almost nothing I returned to his build to finish it for good so here is an advance.

I applied the stars and the lettering for the hoses, gave it some washes, filters and dry brushing to gave ti the "used" look. The filters and wash were done with oils and the dry brushing was done with Vallejo paints. I also applied a lighter shade of the sand color to create a better contrast. I still need to work a little more on the "feet" but I think it's going in the right direction.

Here are the pictures.
P1020487.jpg


P1020488.jpg


P1020489.jpg


P1020490.jpg


P1020491.jpg


Although per regulation the stars should be in the sides of the fighting compartment previous experience show the troops that doing so was an invitation to suicide so they painted them in the engine shields. After all it's better to lose the engine than your life.

Now I'm going to work in the figures and the machine gun for the roof.
See you soon.
Ruben
 
Ruben,
Looks great, swing it on by for a visit to my engineers bunker and they
will test out those engine shields for you... You might even loose a leg
or two on that creepy crawler, but it will be a good test for it. :lol: :laugh: :eek:hmy: :evil:
Shawn
 
Well Shawn, before my tank pays a visit to your bunker my sappers will go and decorate it. Maybe a garland of explosives around it will light it up pretty good. After all your engineers forgot to include a machine gun. :evil:
 
Ruben Lopez wrote:
Well Shawn, before my tank pays a visit to your bunker my sappers will go and decorate it. Maybe a garland of explosives around it will light it up pretty good. After all your engineers forgot to include a machine gun. :evil:

Oh Ye of little faith. :blush:
What you don't see are the remote controlled (pop-up) guns that are
motion sensitive. ;) :evil: :S
Stroll on over and enjoy the surprise. :eek:hmy: :blink
As I said before, I have a bunch of items to support them drawn up,
I just haven't had time to make all the dio's...
:evil: :evil: :evil: :evil:
Shawn
 
Overall this is stunning.
the detail that I like the most is the engine shields that speaks of a great deal of thought.
Keep em coming.
 
Hello everyone. After some time gathering dust in the shelf I decided to finish this one. And by the way, Thanks Modelguru.

I didn’t take photos of every step so I’ll give you the run down here. I painted some figures to go with it so the scale can be better appreciated. The commander is from Dragon and the infantry is from Tamiya. The figures were painted with Vallejo acrylics. I also painted the .50 cal machine gun for the roof and added two antennas made from wire since the original ones got broken. I also added more vegetation to the base because it looked too flat.

And here it is, my last finished model of 2010;
P1020707.jpg


P1020708.jpg


P1020709.jpg


P1020712.jpg


P1020713.jpg


P1020714.jpg


Comment and suggestions are welcome.
Ruben
 
Back
Top