Duke Maddog
Well-known member
Wow! You're right,
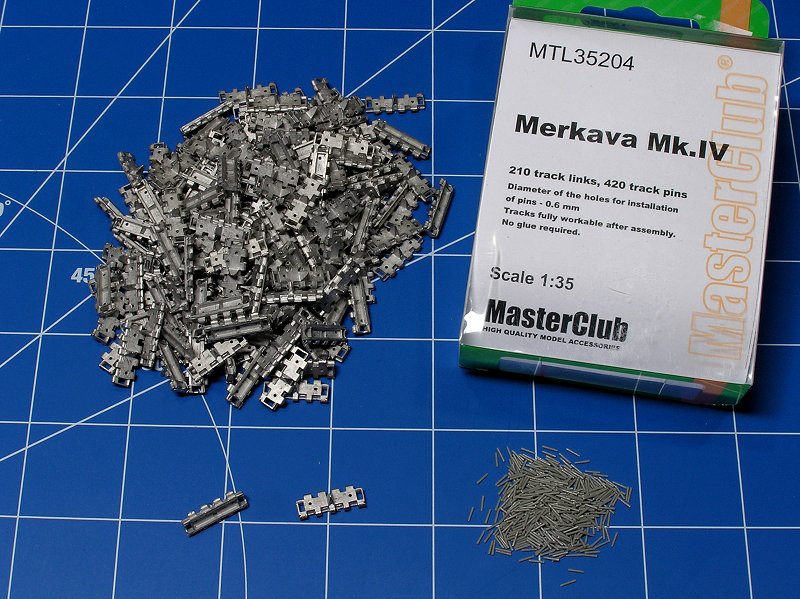
Tracks, enough to make someone build an airplane
Or stay with building only 1/72 scale armor! LOL! :woohoo: :woohoo: :tomato

Modelers Alliance has updated the forum software on our website. We have migrated all post, content and user accounts but we could not migrate the passwords.
This requires that you manually reset your password.
Please click here, http://modelersalliance.org/forums/login to go to logon page and use the "Forgot your Password" option.
Wow! You're right,
Tracks, enough to make someone build an airplane
Or stay with building only 1/72 scale armor! LOL! :woohoo: :woohoo: :tomato
Or stay with building only 1/72 scale armor! LOL! :woohoo: :woohoo: :tomato
With Takom's new release of the HET and D9 combo, l'm thinking about it :hmmm
 Though not totally sure about the resin trak pins
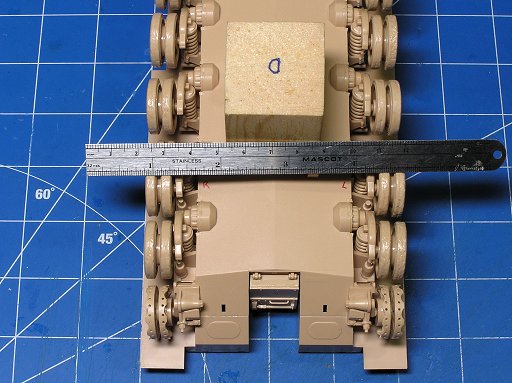
 Is it my imagination or are the road wheels on the left side NOT offset from those on the right side?

They require a bit of finesse but are actually quite good. One suggestion that might make it easier, or at least I found it easier. I chucked a drill bit and twisted it through the 2 tracks to be joined. Pulled it out a bit and started feeding in the pin. One side done pull the bit out and pin it. Despite taking a little longer it ended up faster in the long run. Also if the pin seems stuck, start flexing the link a bit. As for the steel wire, that works. I just found the rods so much easier and am thinking of using them from now on.@ Peter, the tracks are metal but the pins they provide in the kit are resin.
@ James, I got steel wire that I can use if a break to many of the resin pins.")
 .
.Hey Bruce thanks for checking but I got some wire that will work...if I can the resin pins out.
Hey Bob I tried using a small drill bit but for some reason i was damaging the pin hole beyond usability so I stopped before I totally lost my kool. BTW we still on for tomorrow?


