JamesOLeary
Master at Arms
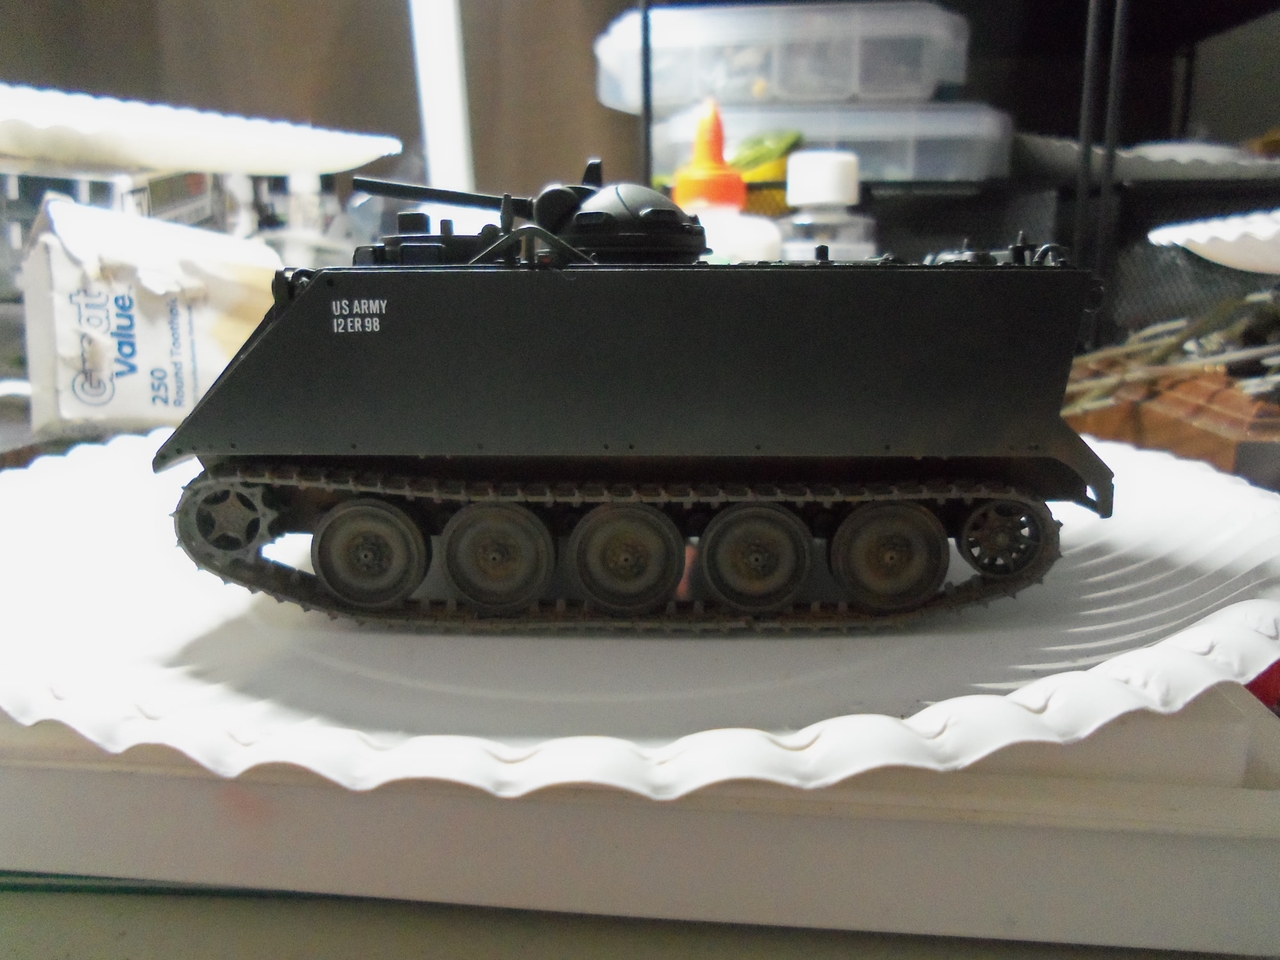
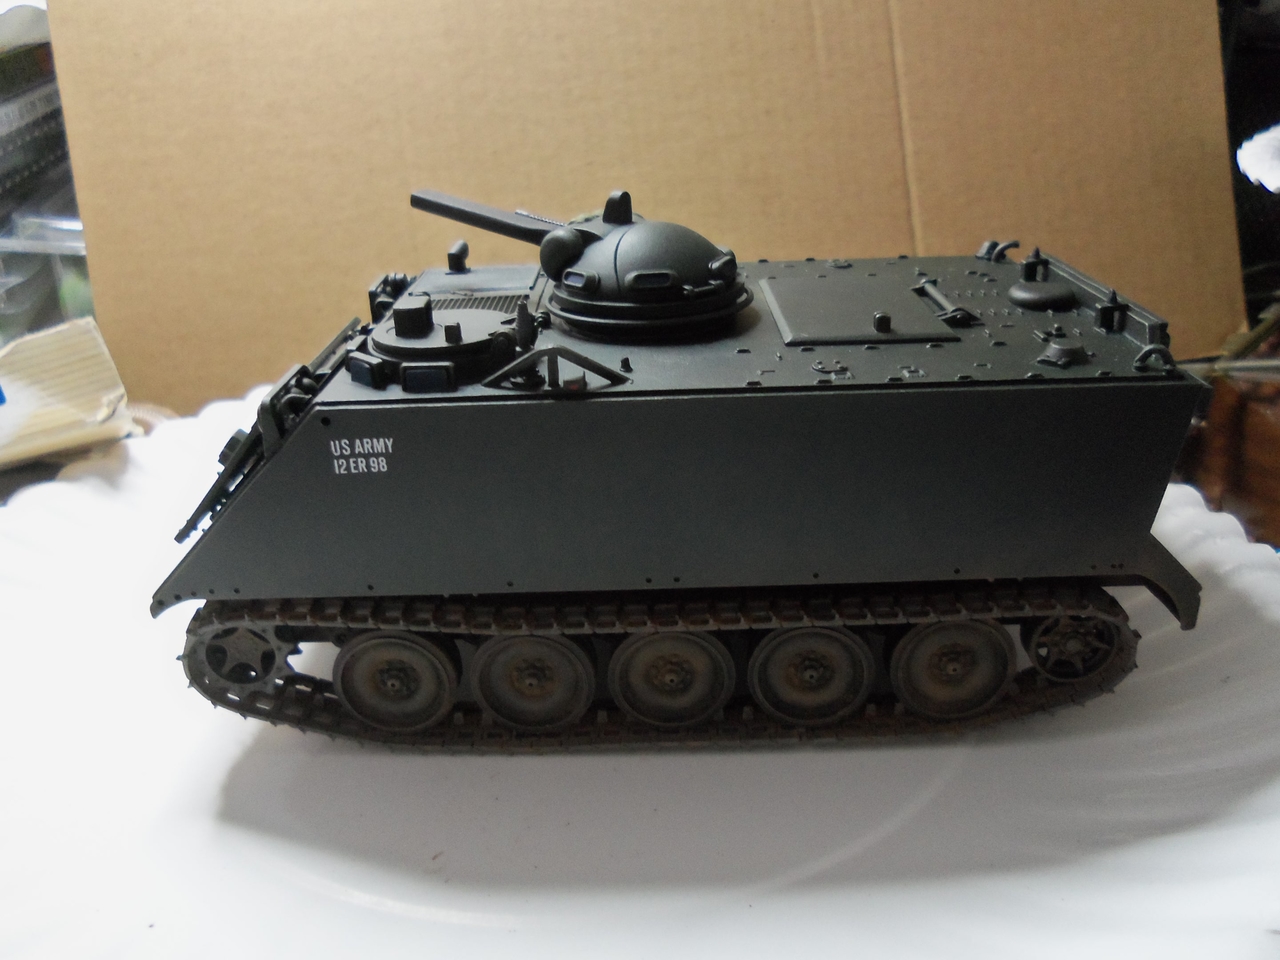
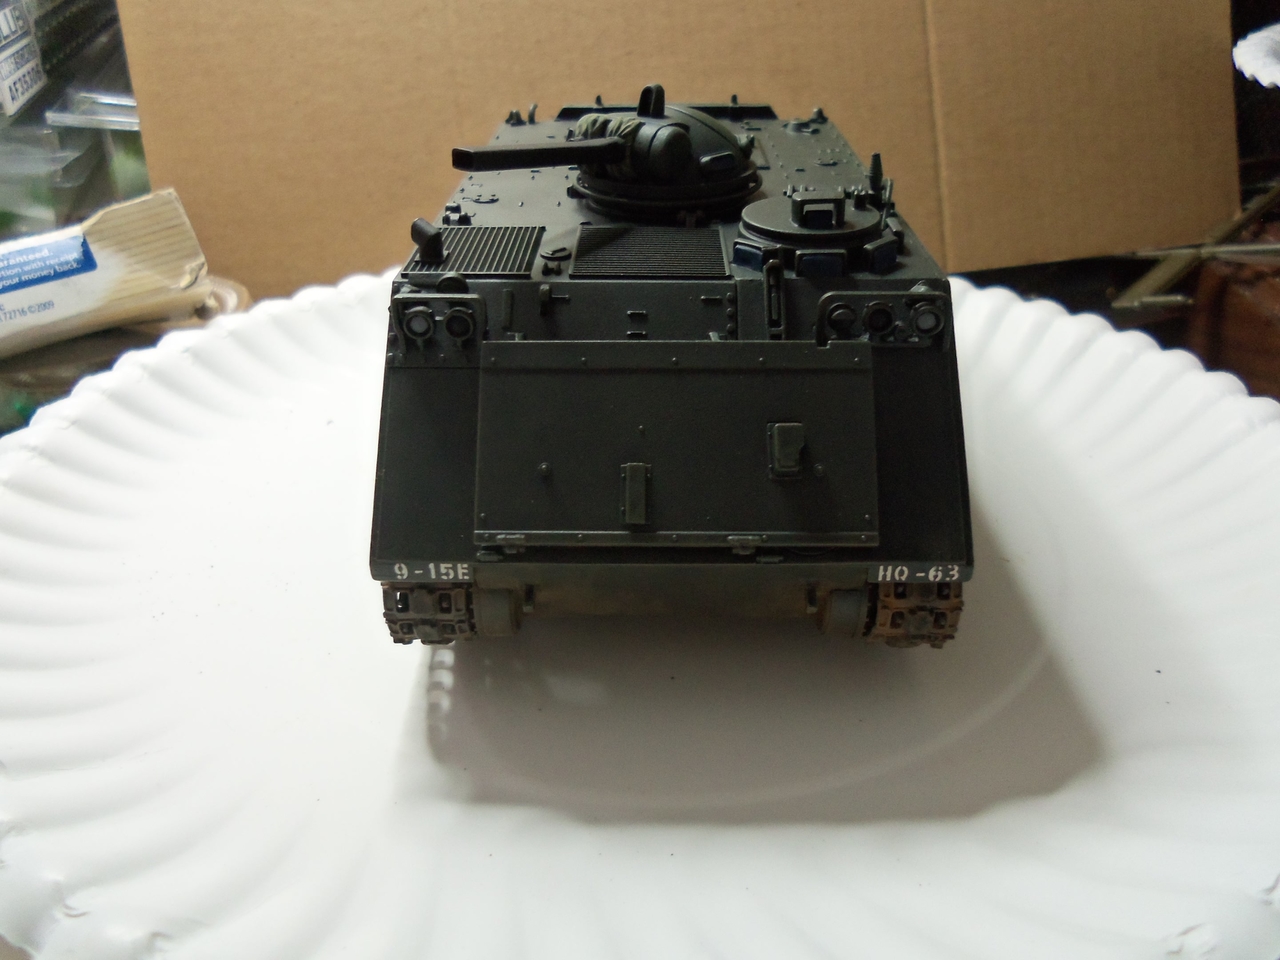
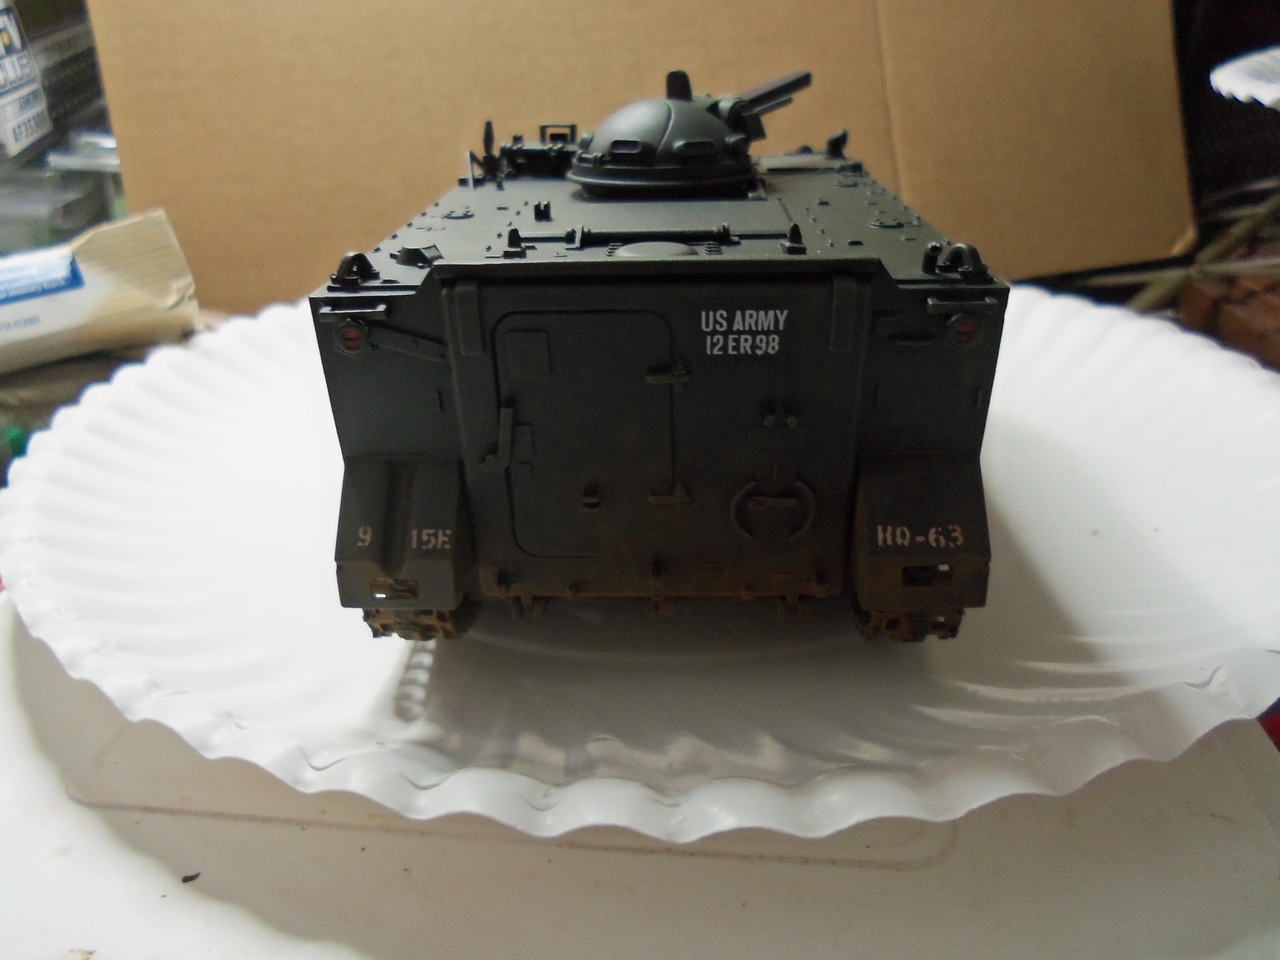
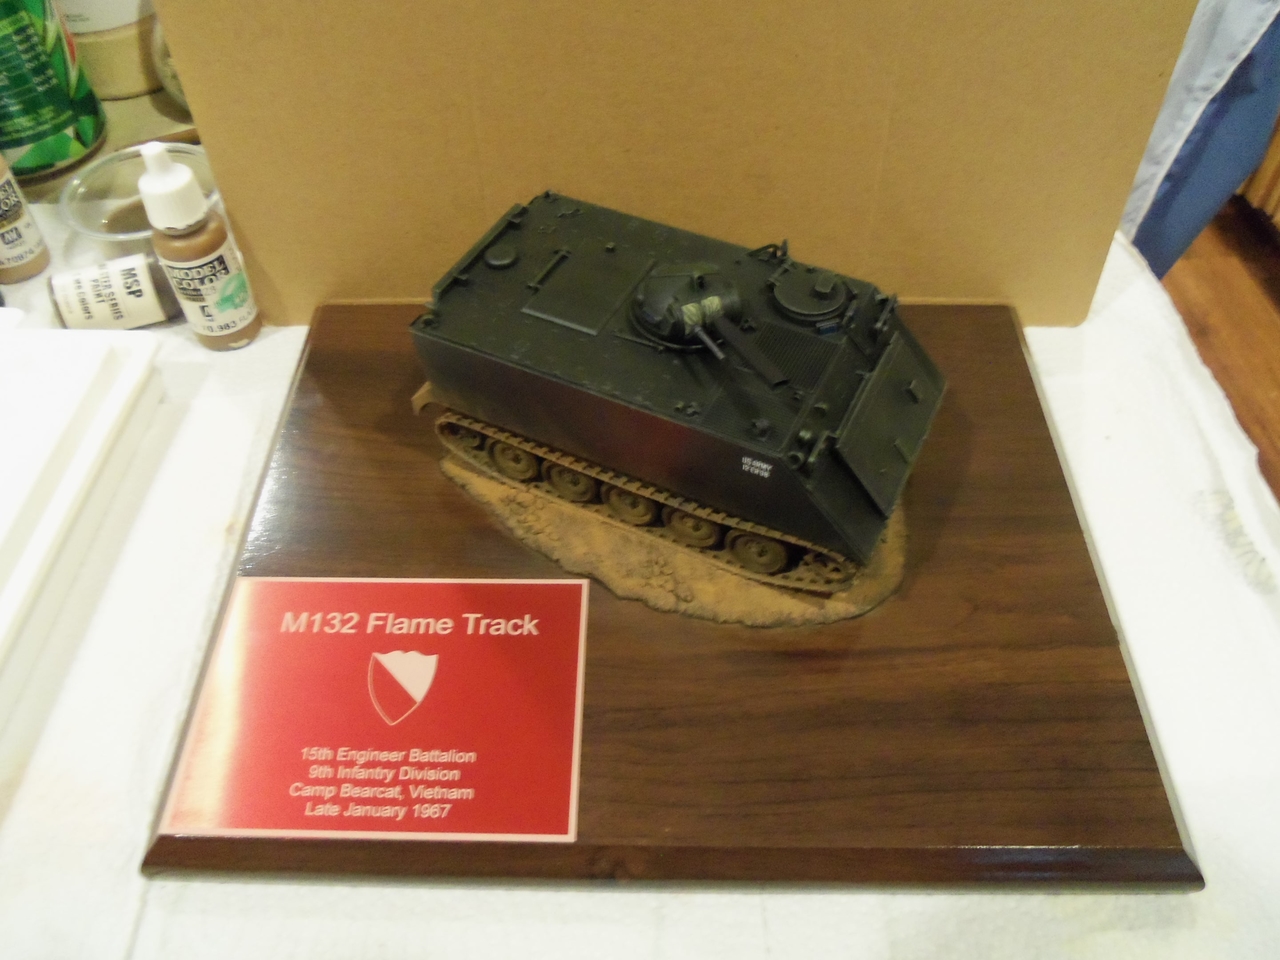
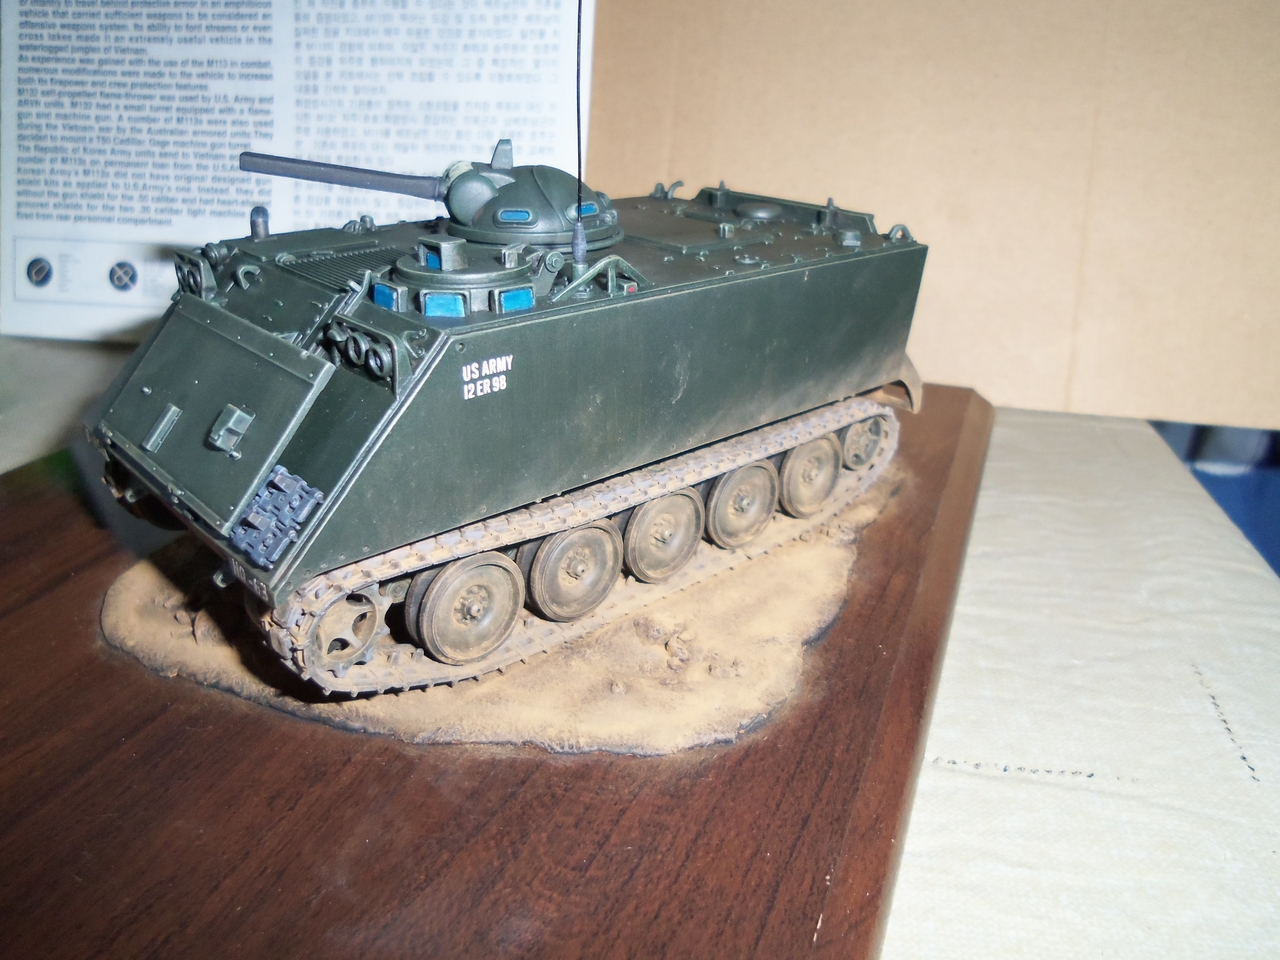
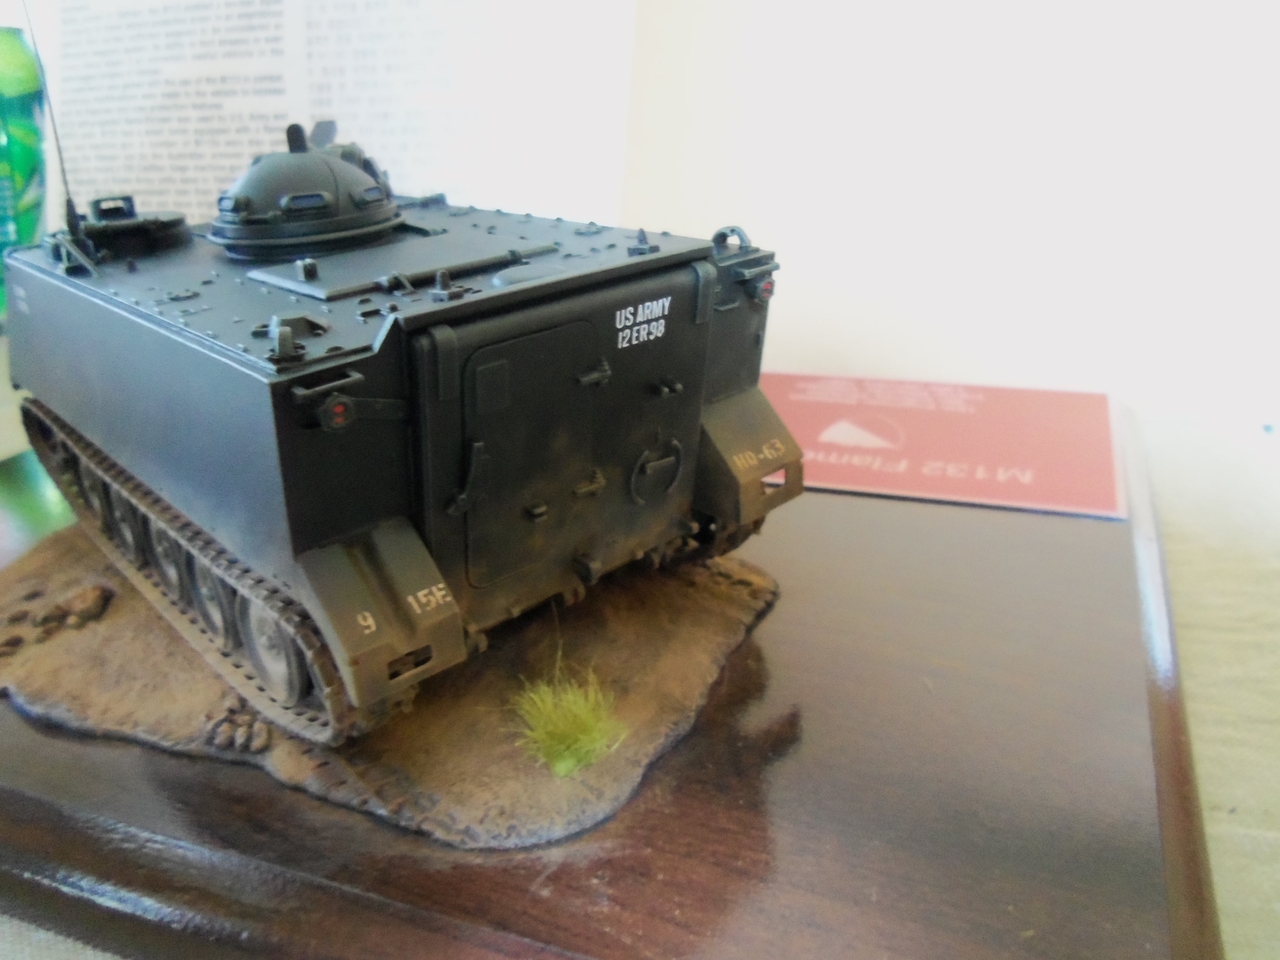
M132 Flame Track
Thanks Dave and Duke.
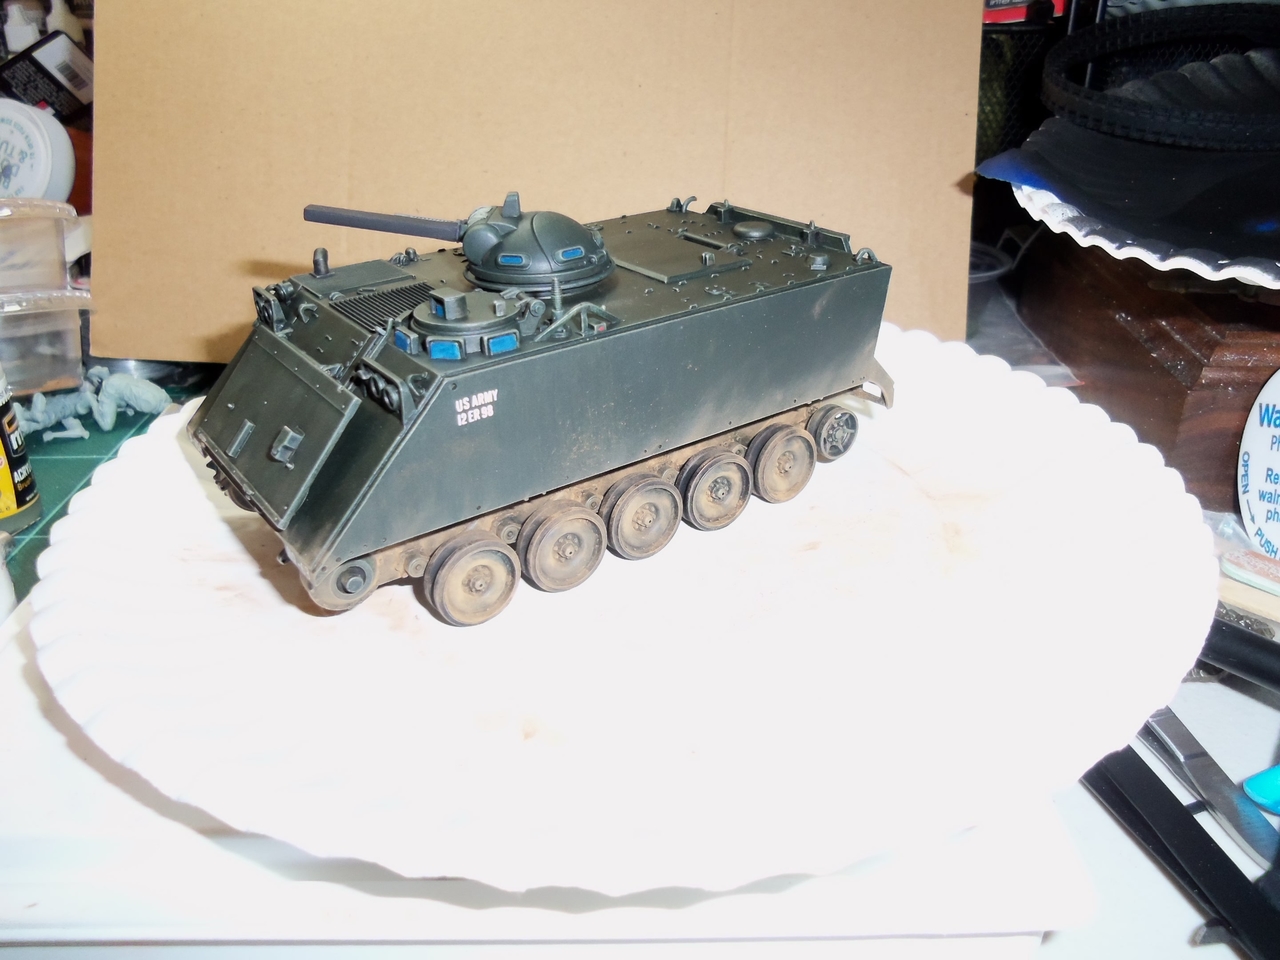
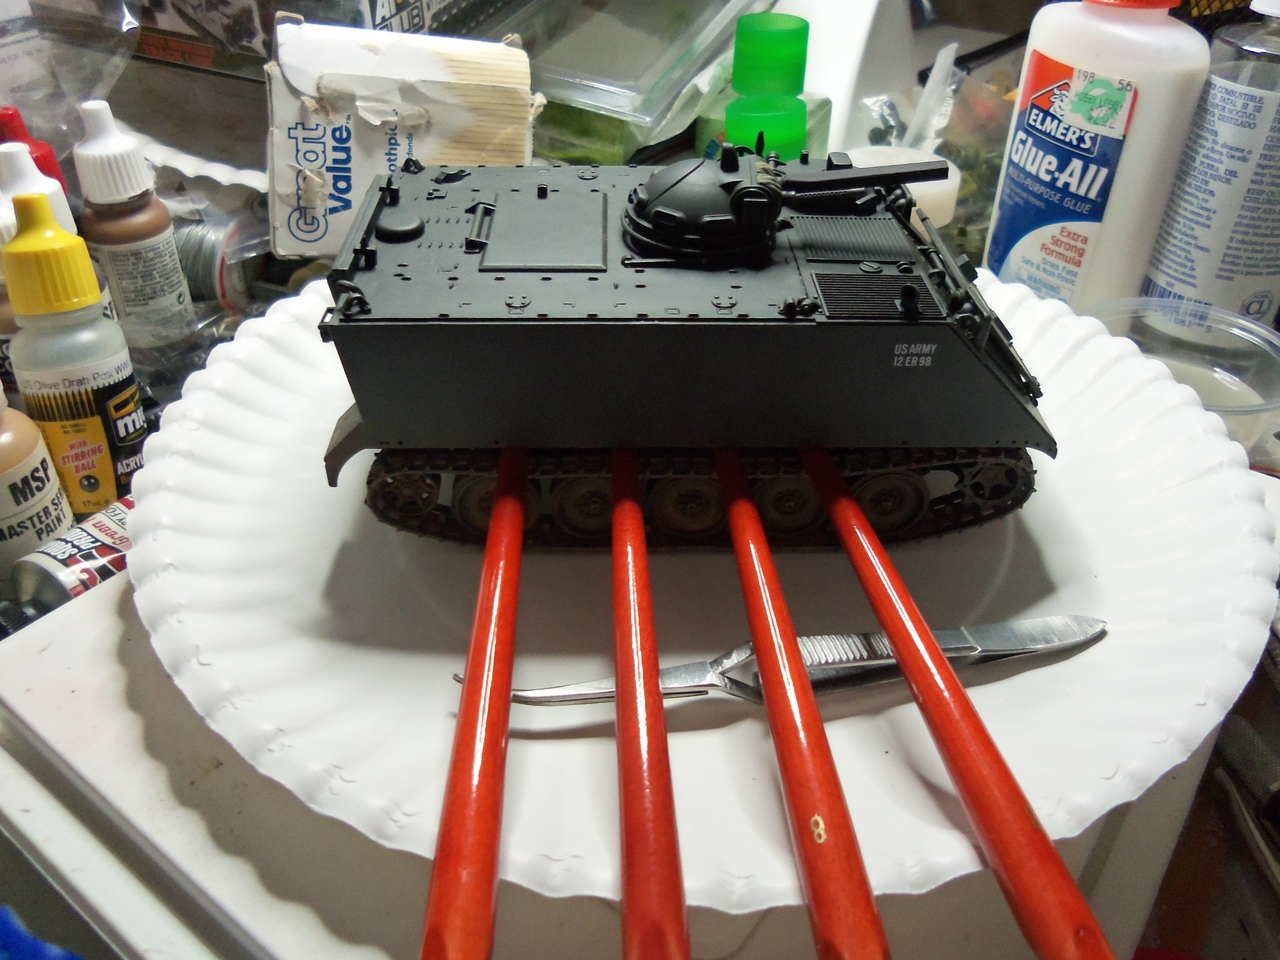
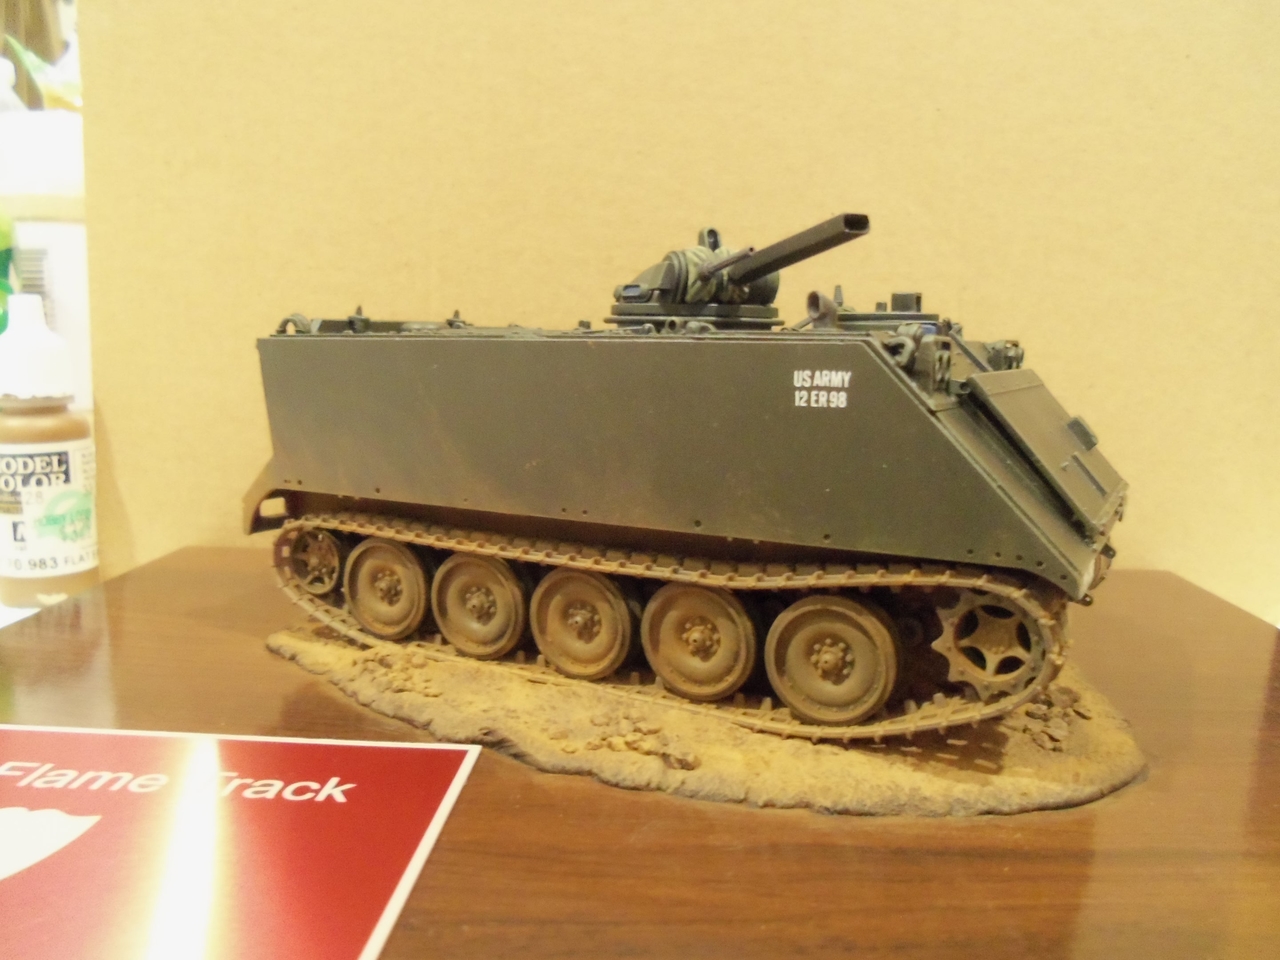
Duke, I don't think the dry brushing part makes the streaking effect as much as me using a lighter shade of olive drab, in this case Vallejo US Olive Drab, as a base coat. Then I apply the Reaper Black Green to the model using a flat brush making sure my brush strokes go from up to down which makes the streaking effect. The dry brushing just makes it pop out a bit more. To lessen the amount of streaking just apply another coat of black green for a newer vehicle.
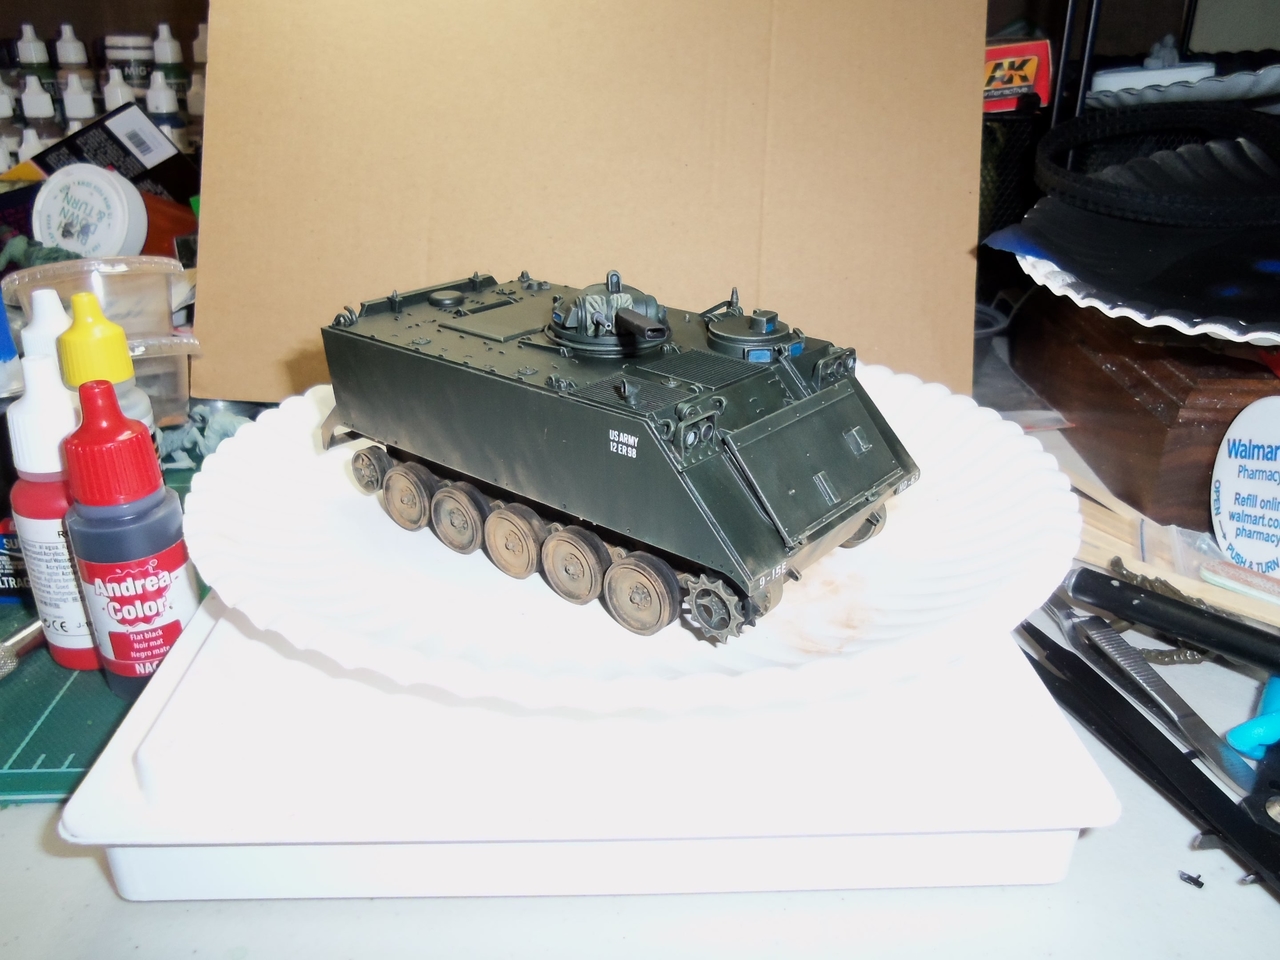
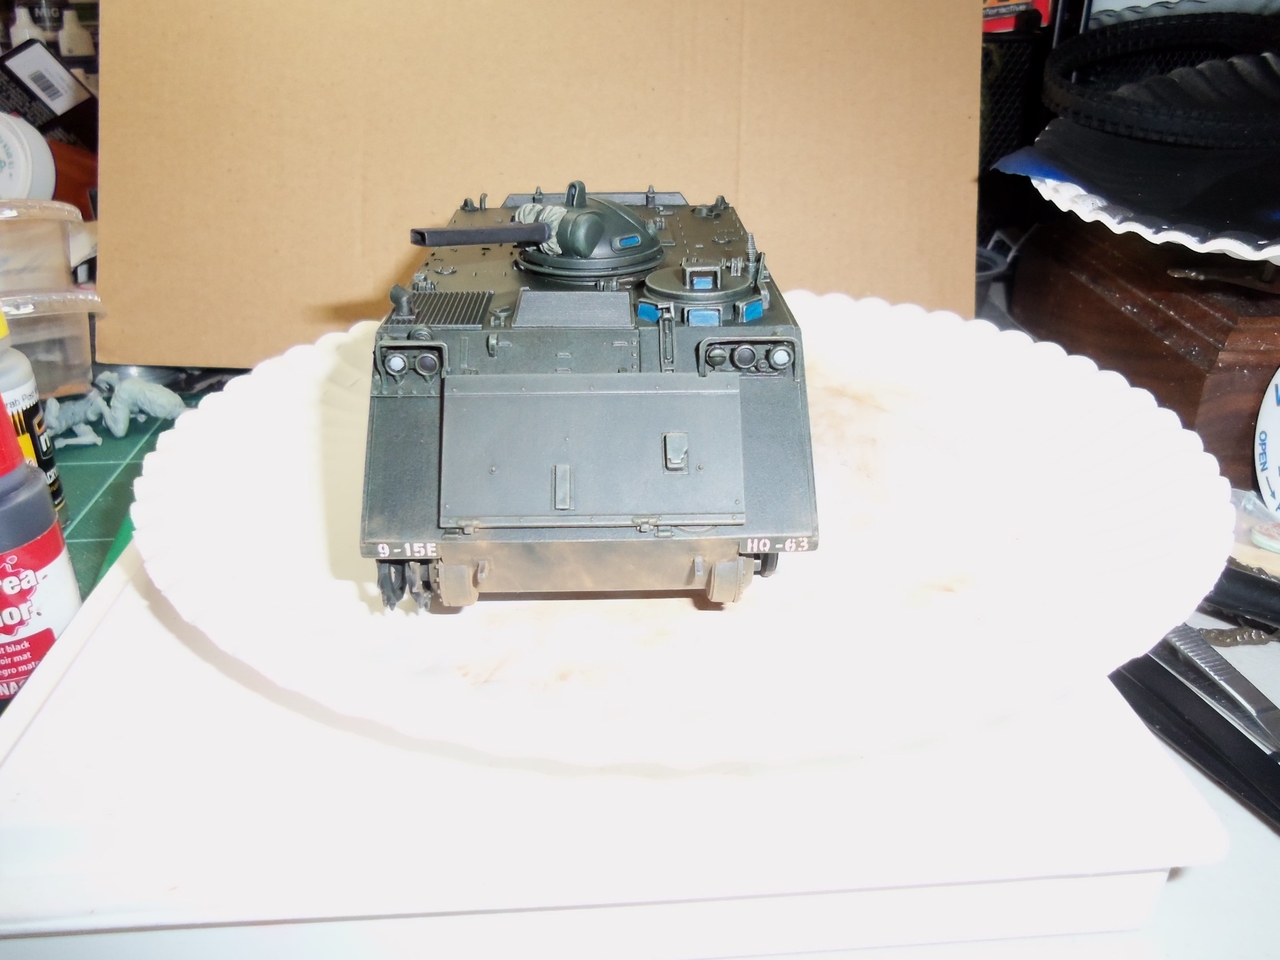
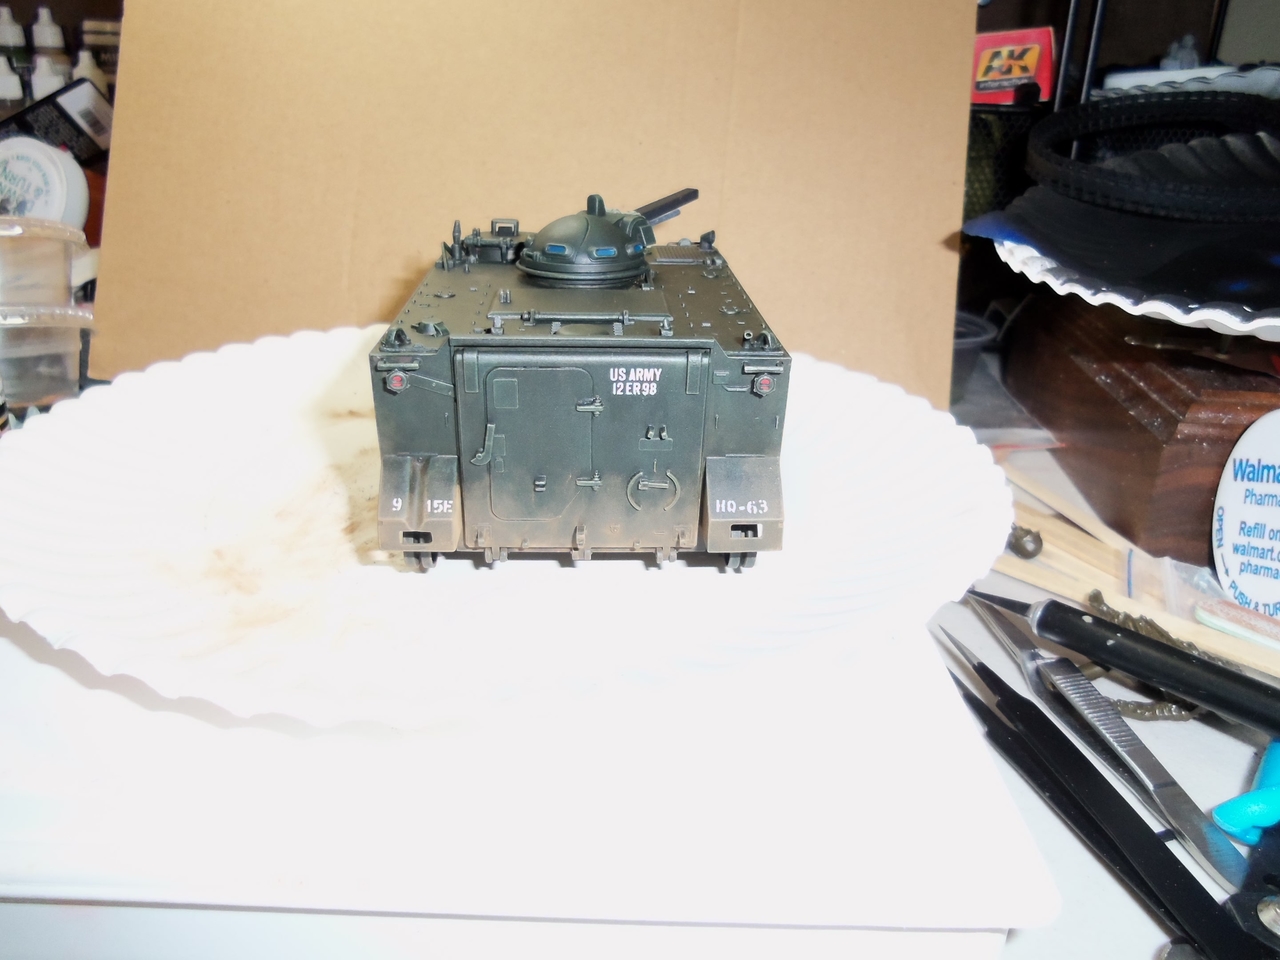
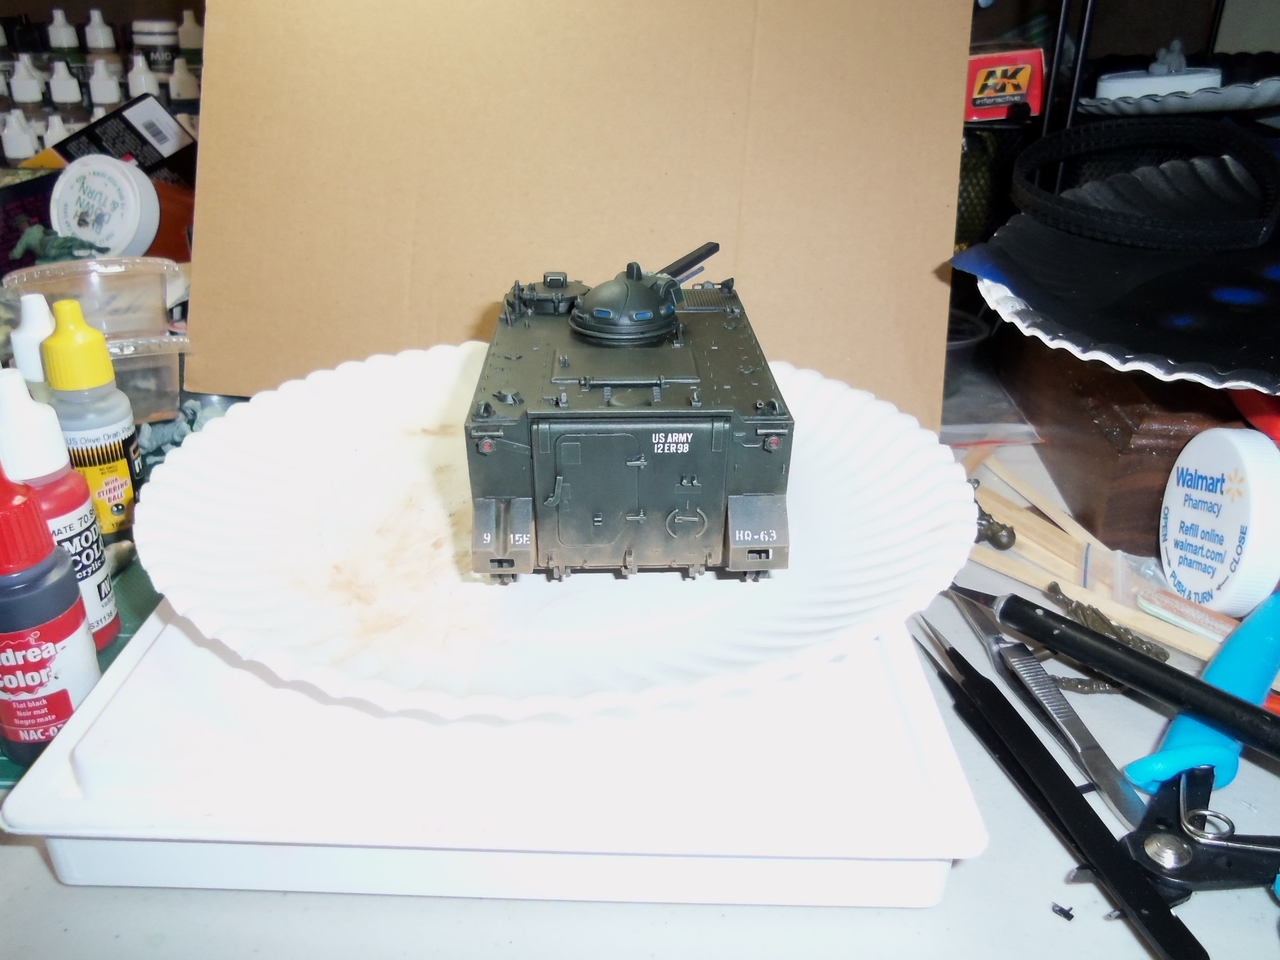
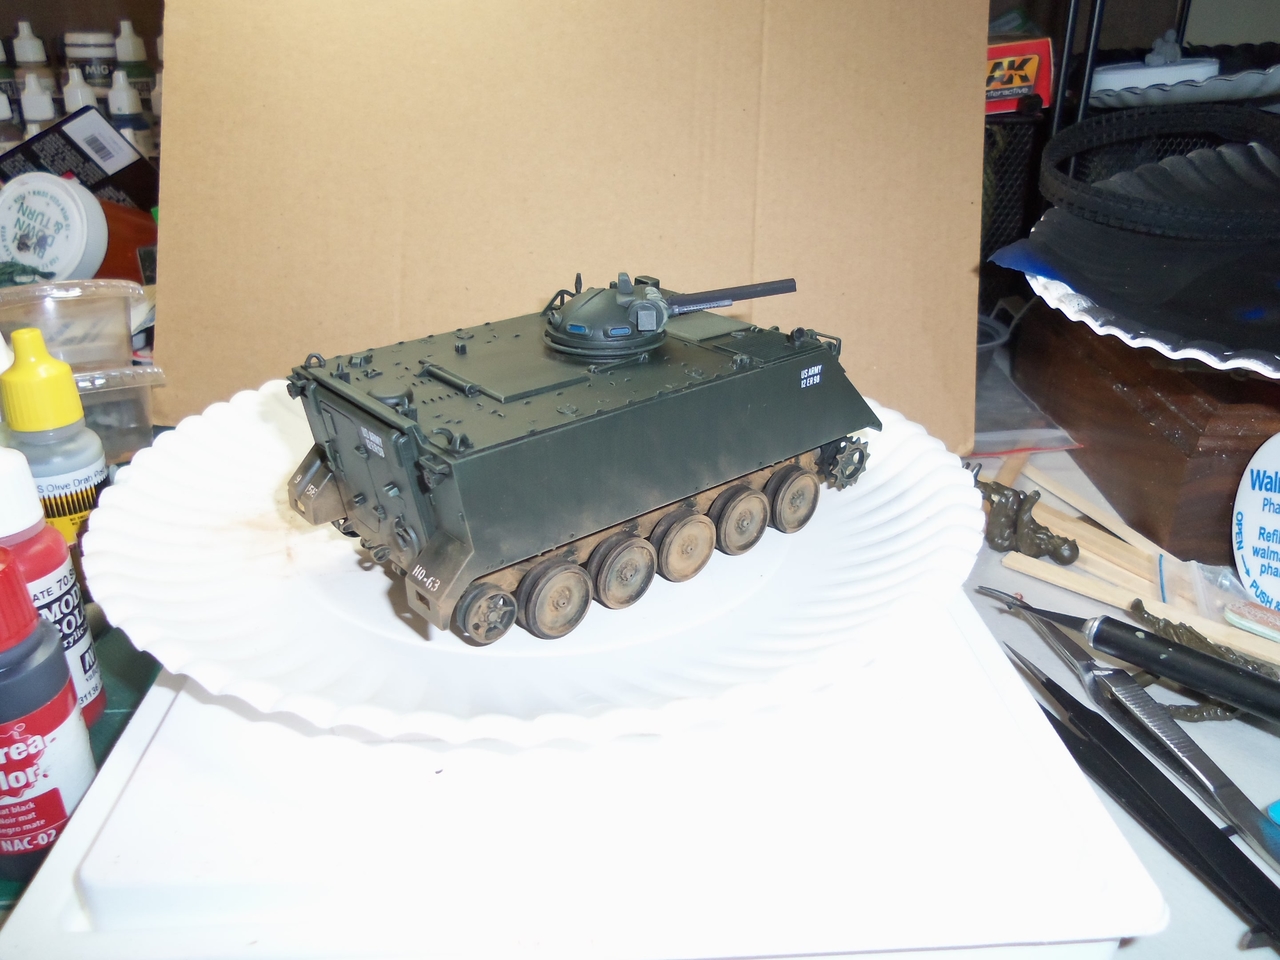
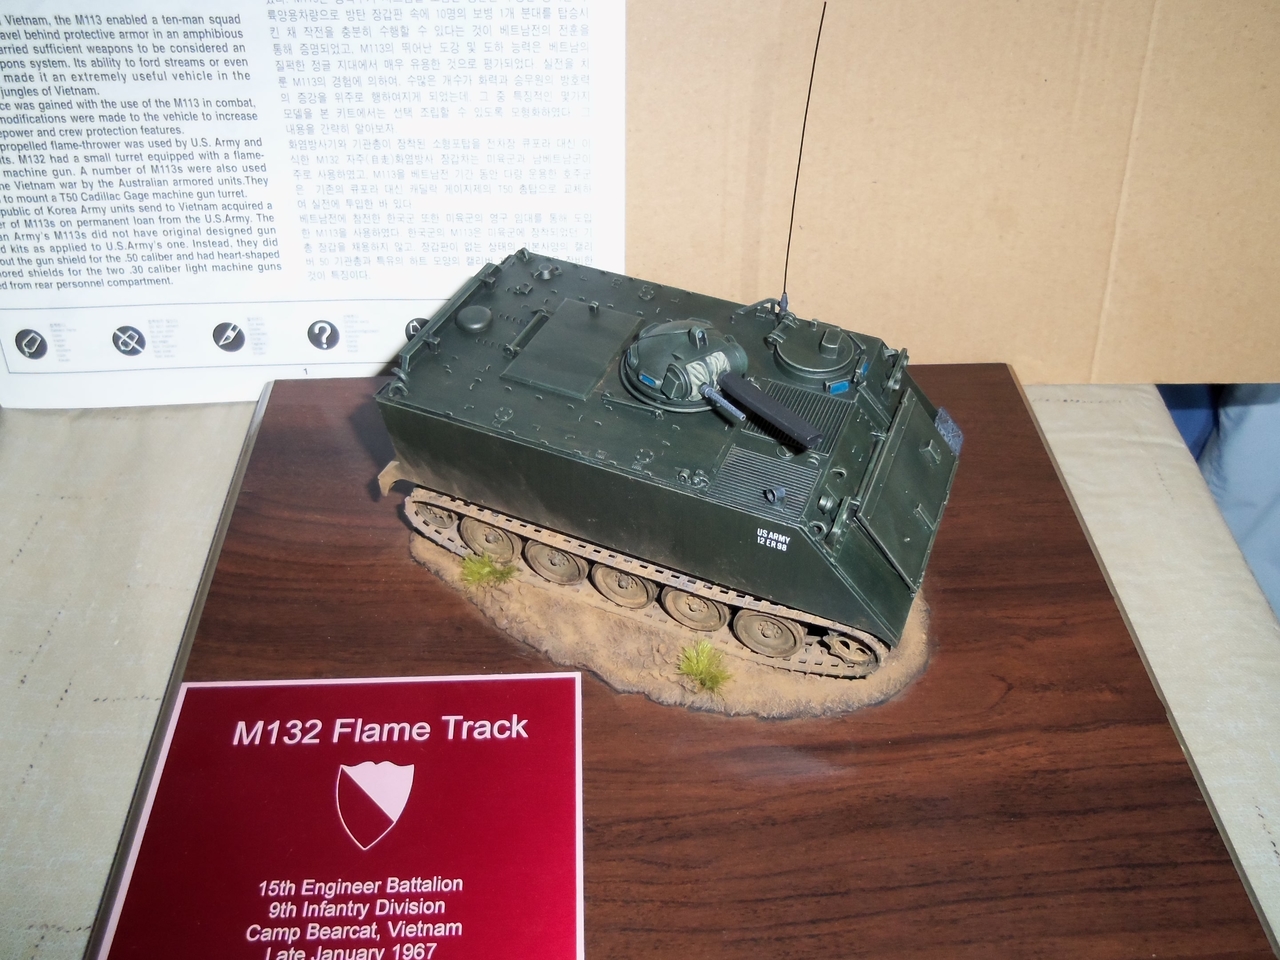
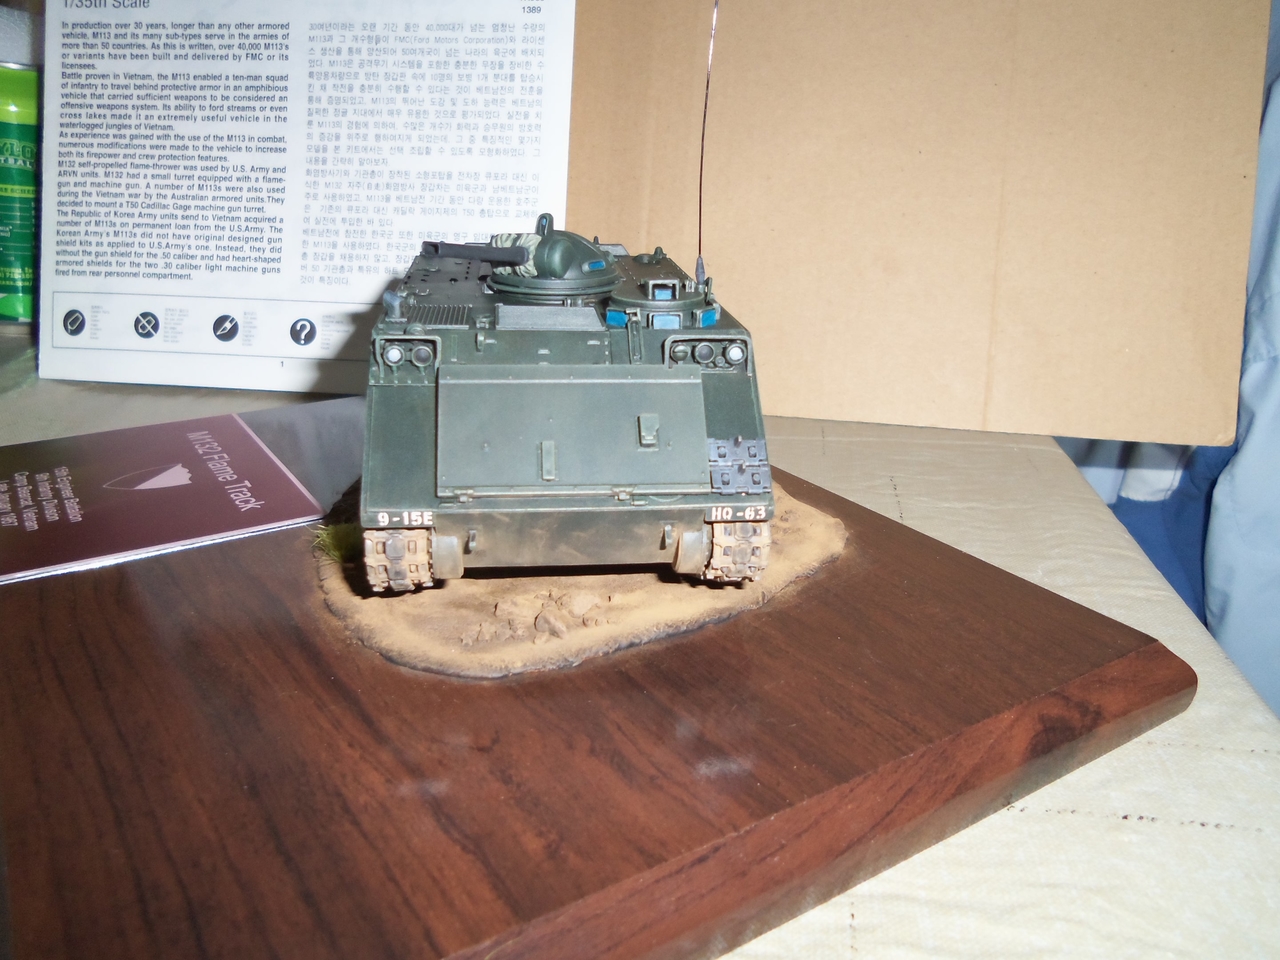
Here are a few photos of the track with the periscopes painted (still need to use some gloss varnish to them), the weapons painted (need to touch up the .30 a bit), the canvas weapon mantlet covers painted, and the head lights painted.
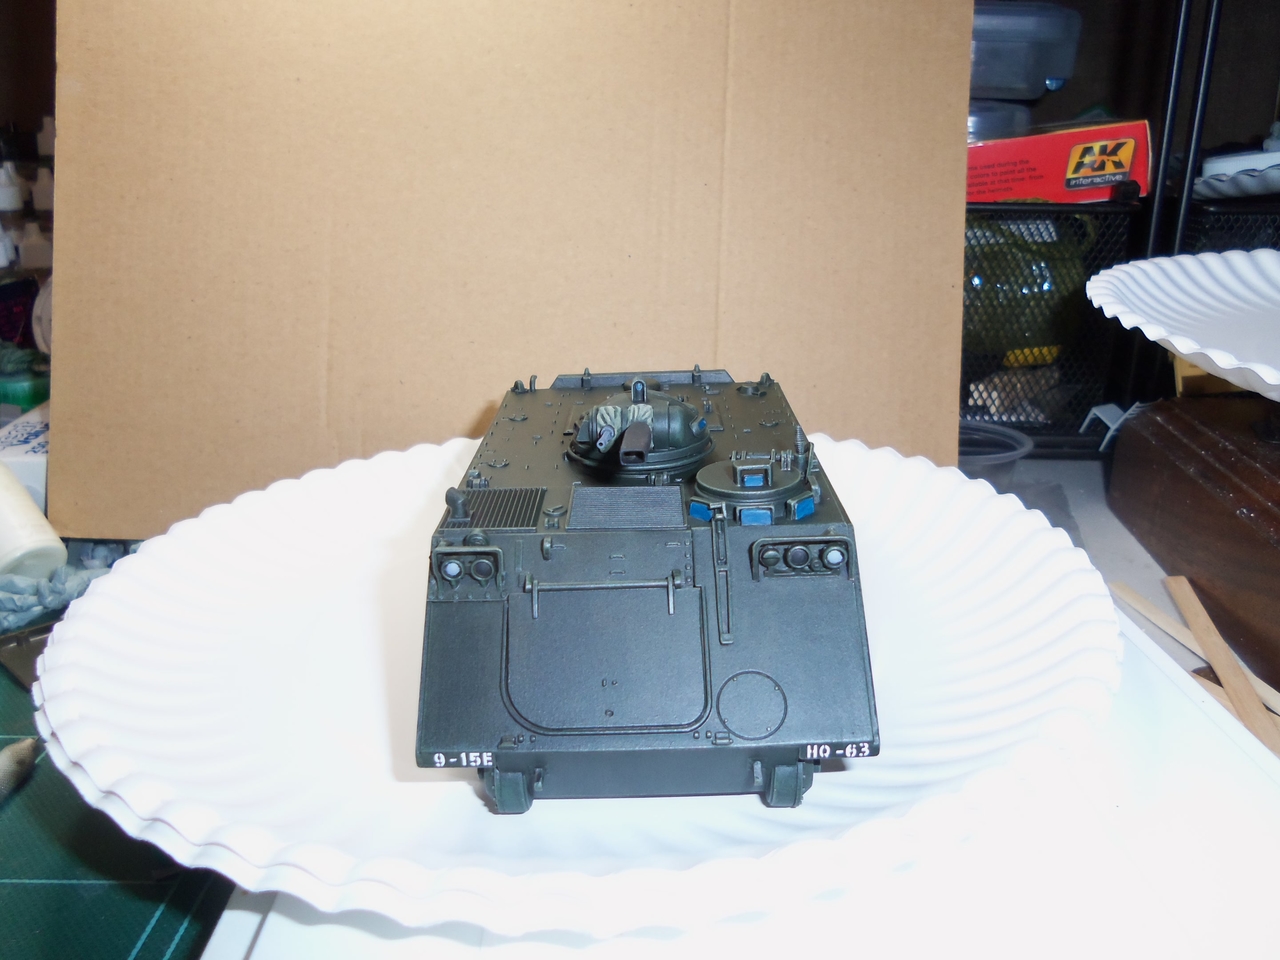
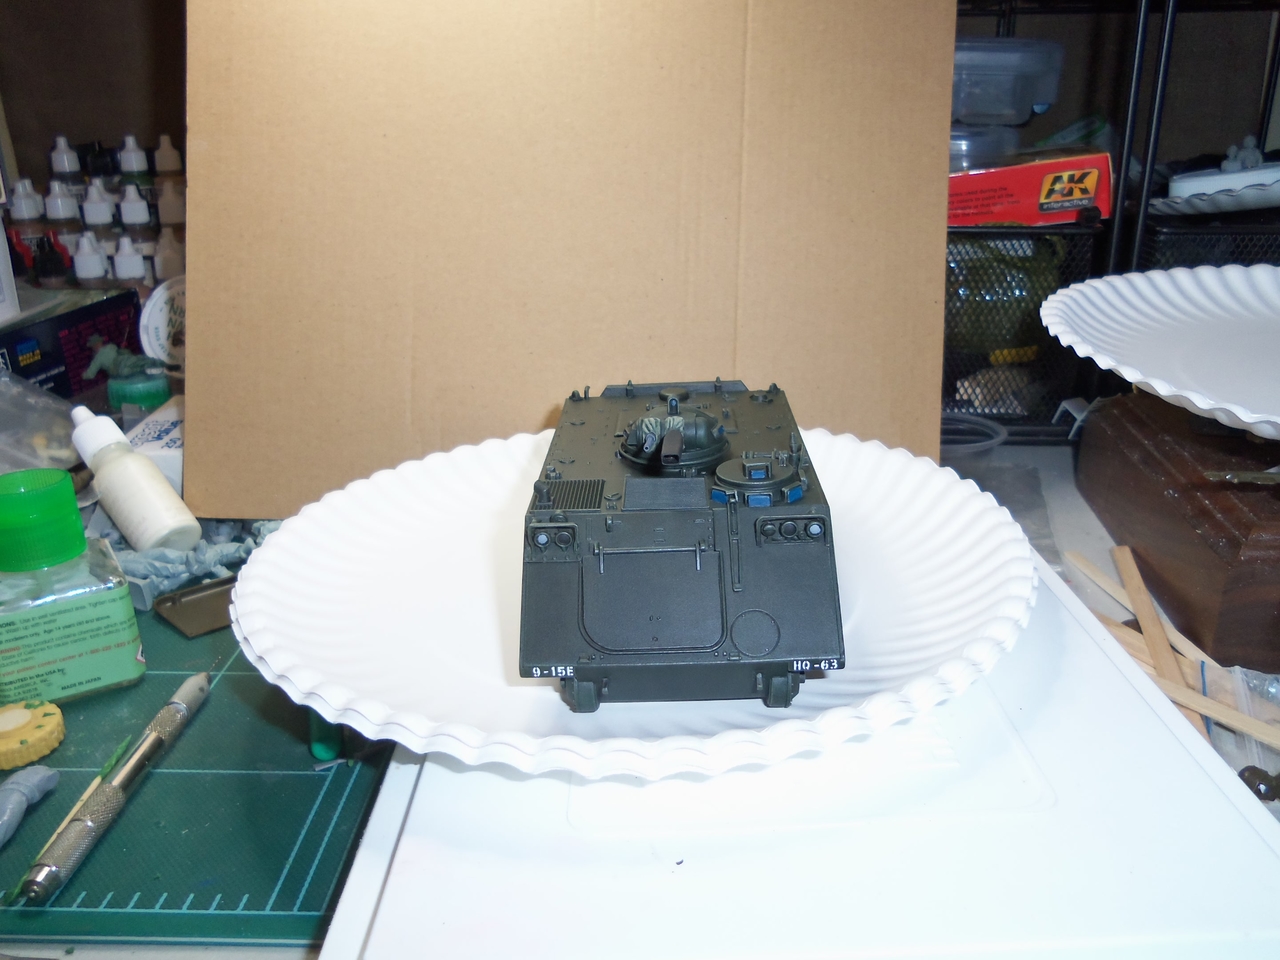
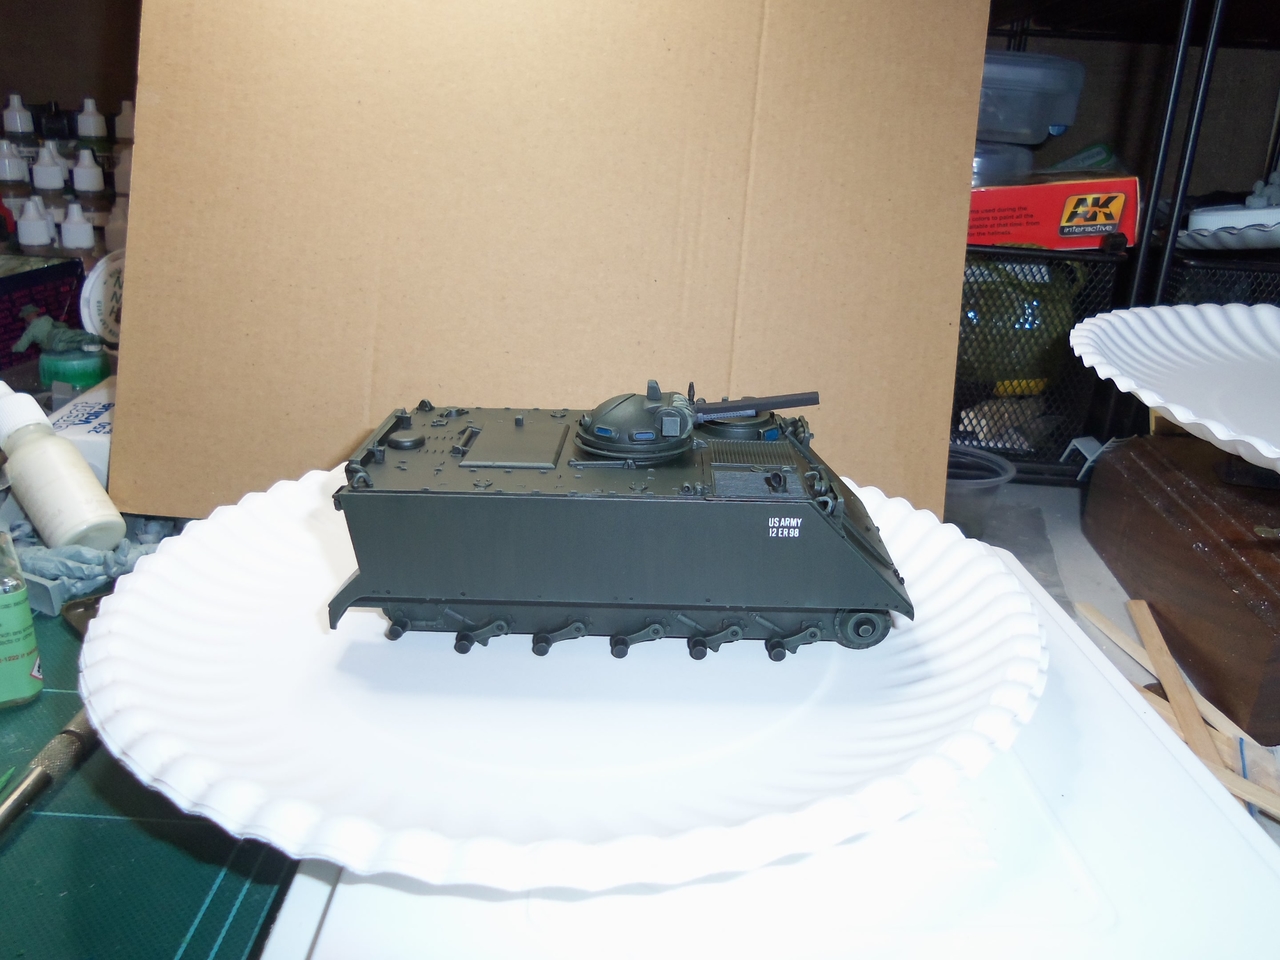
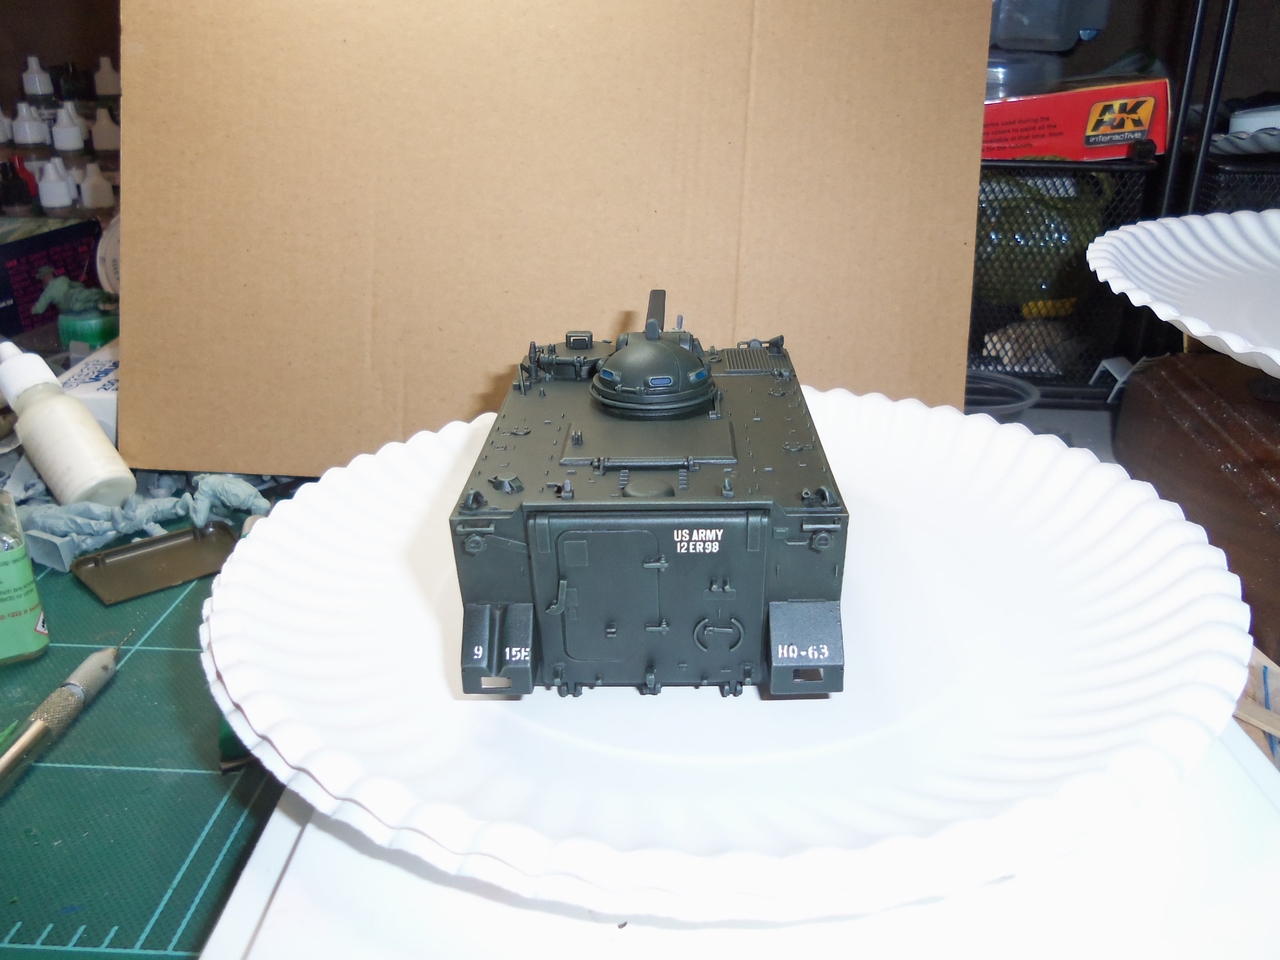
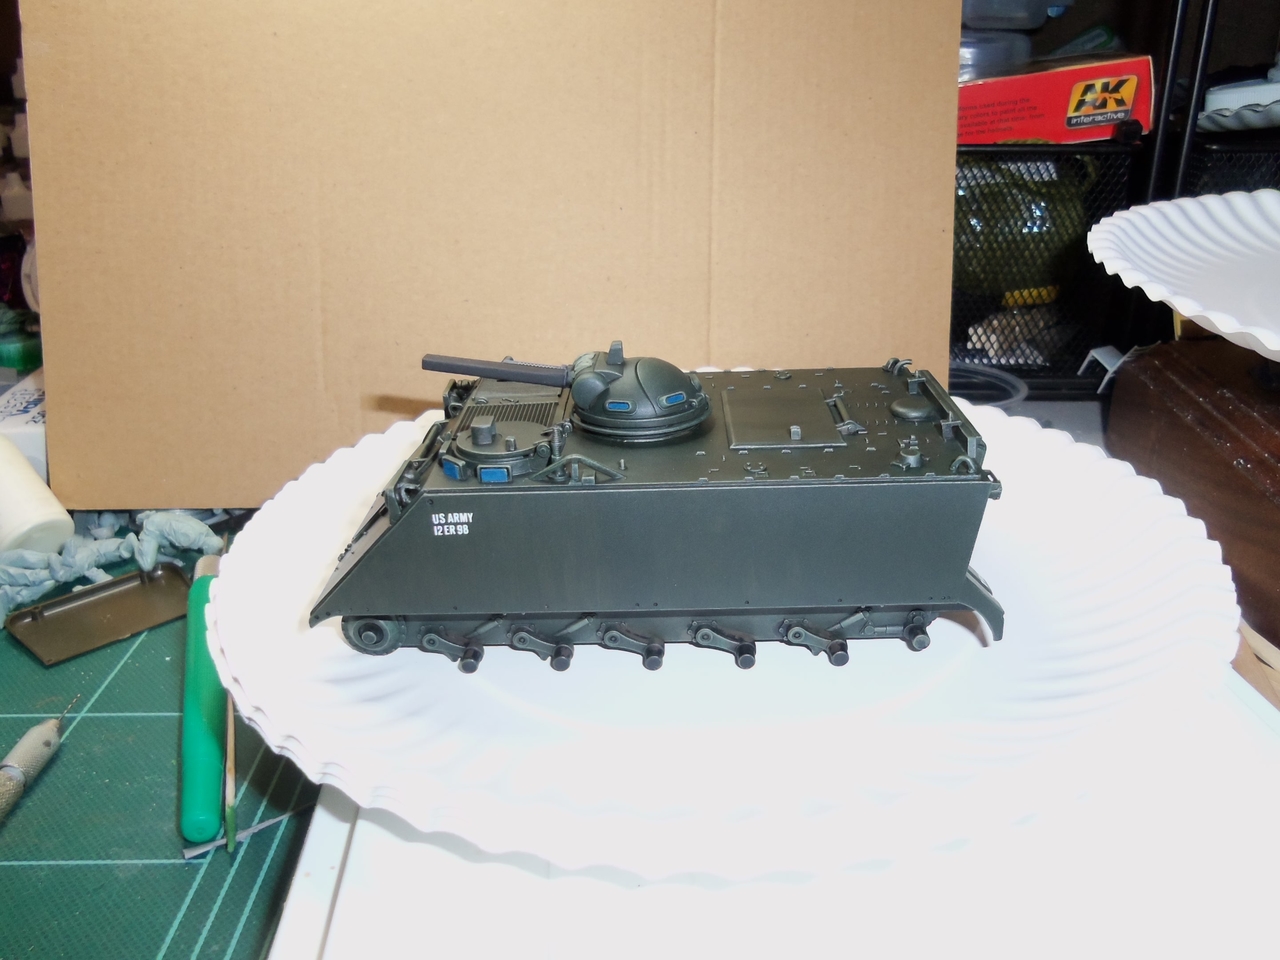
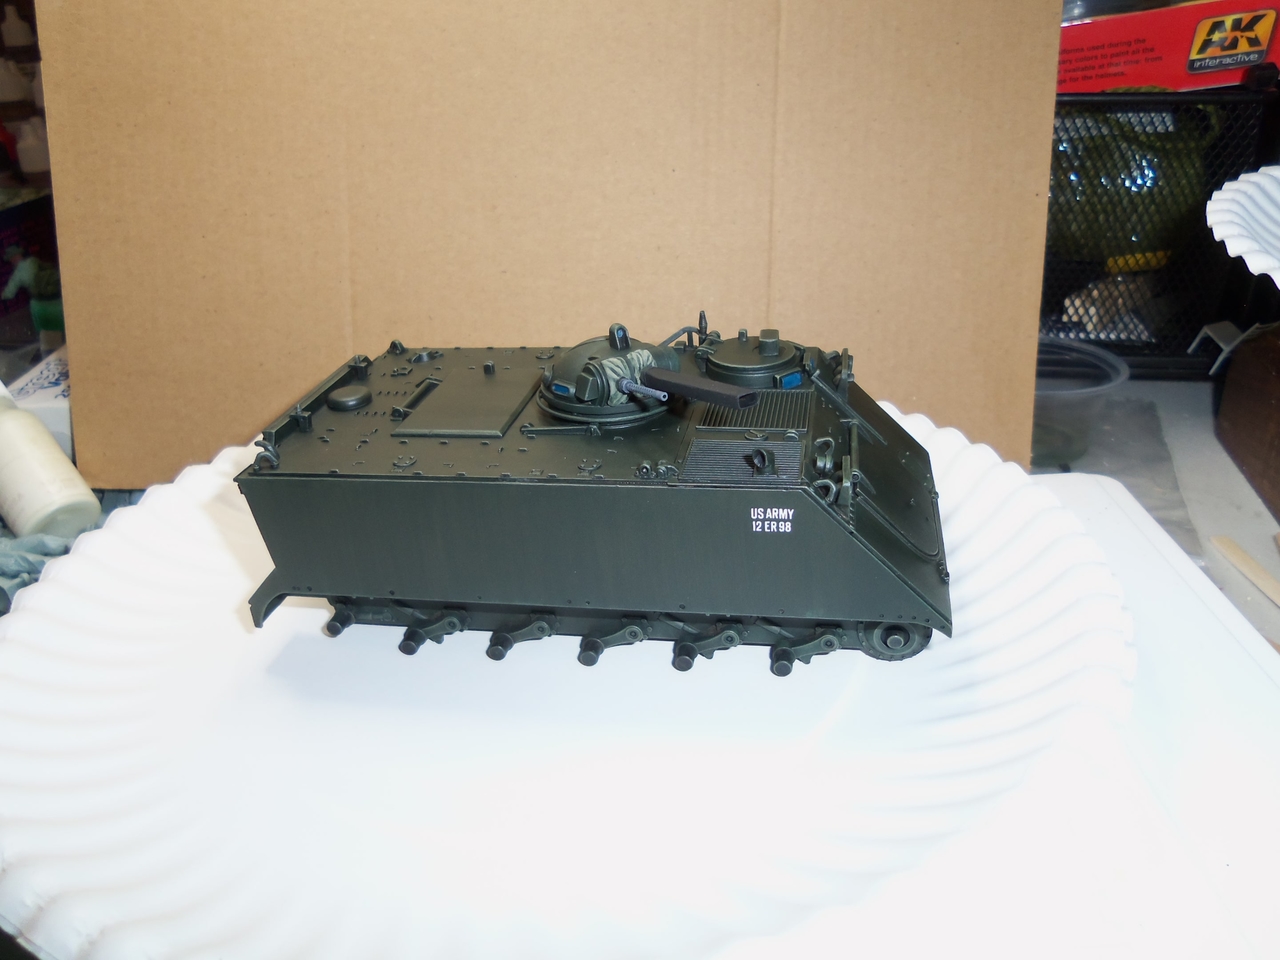
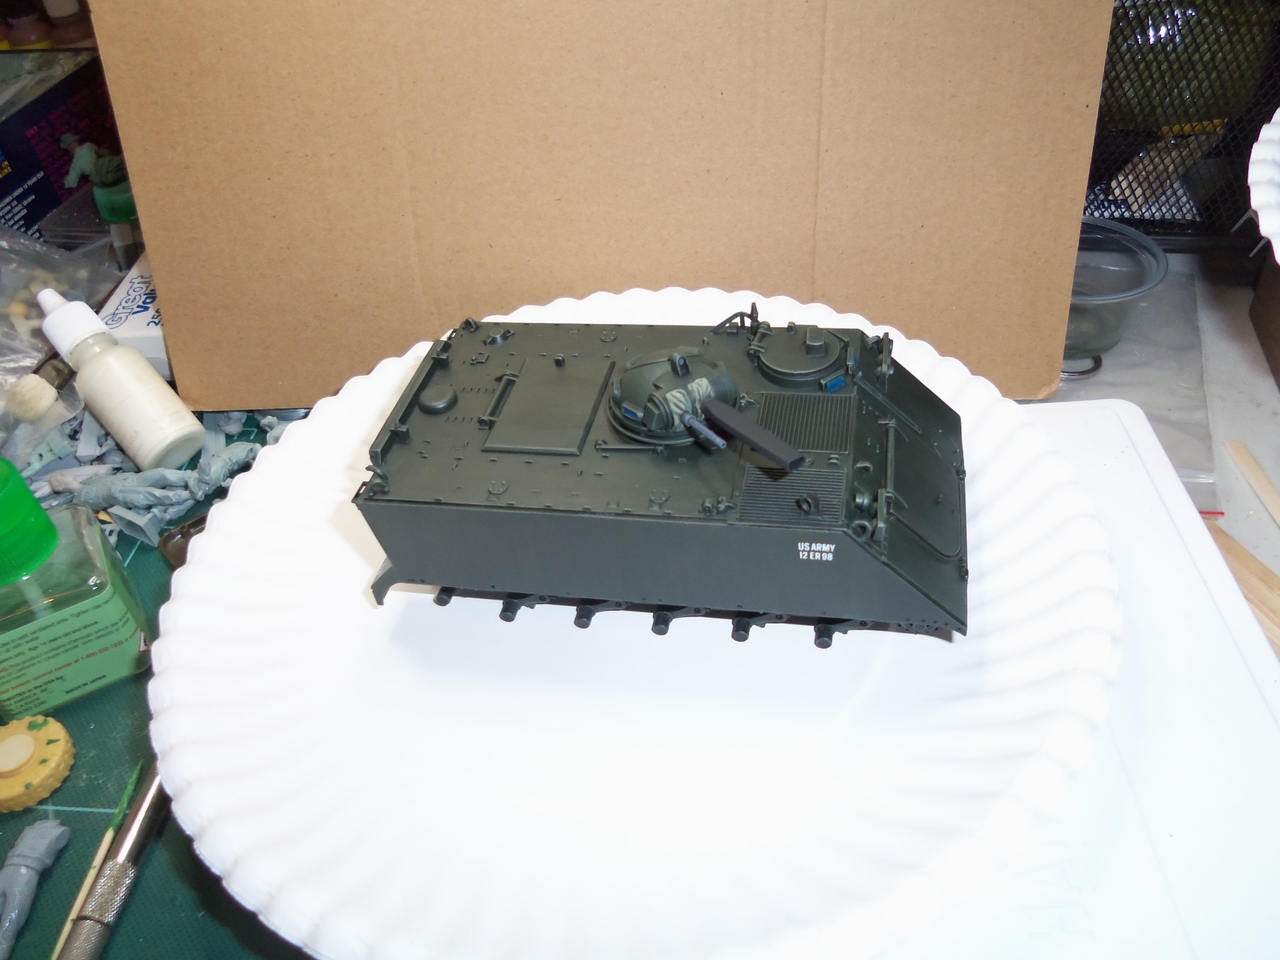
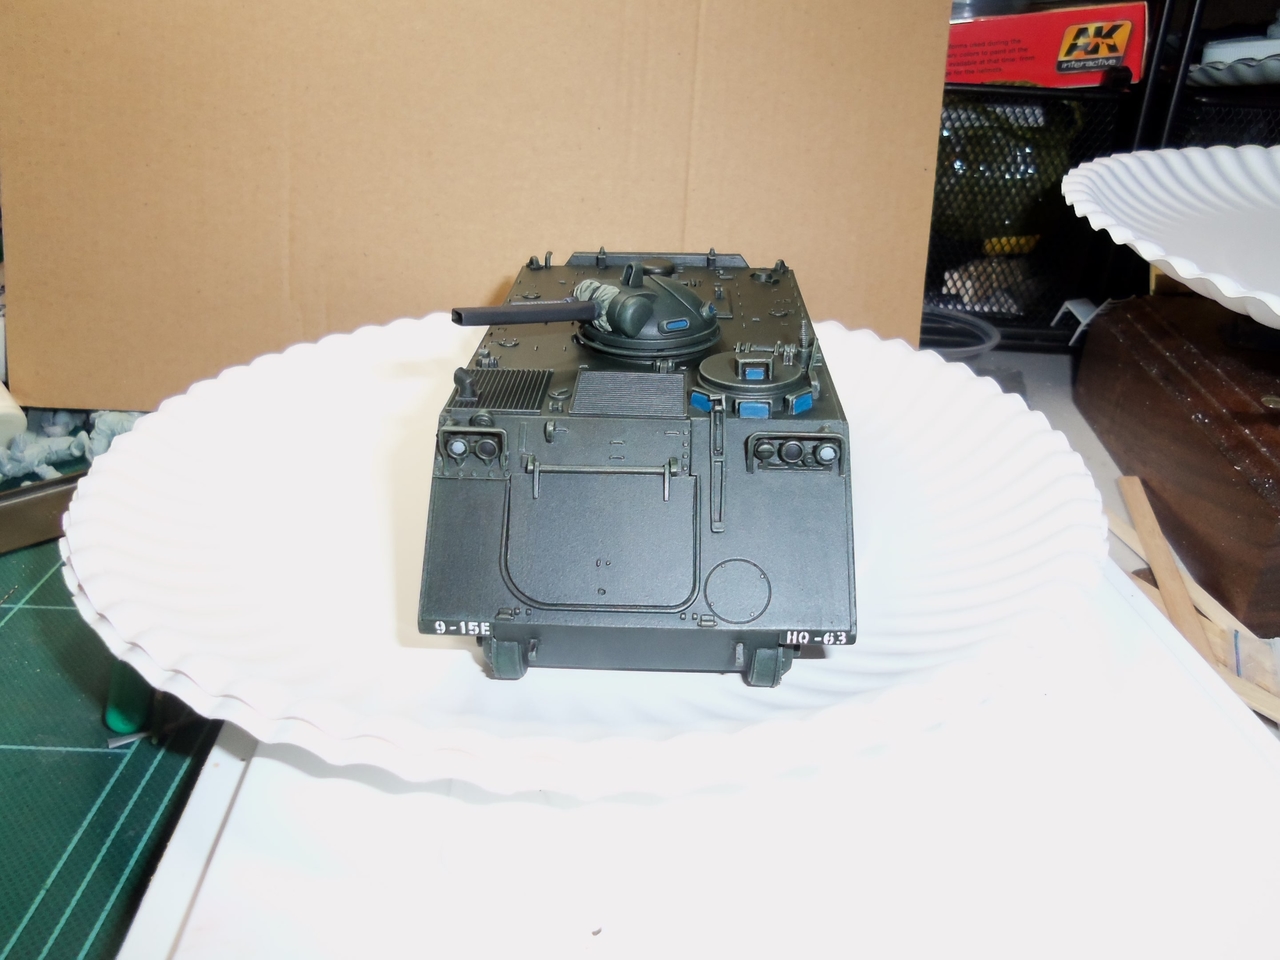
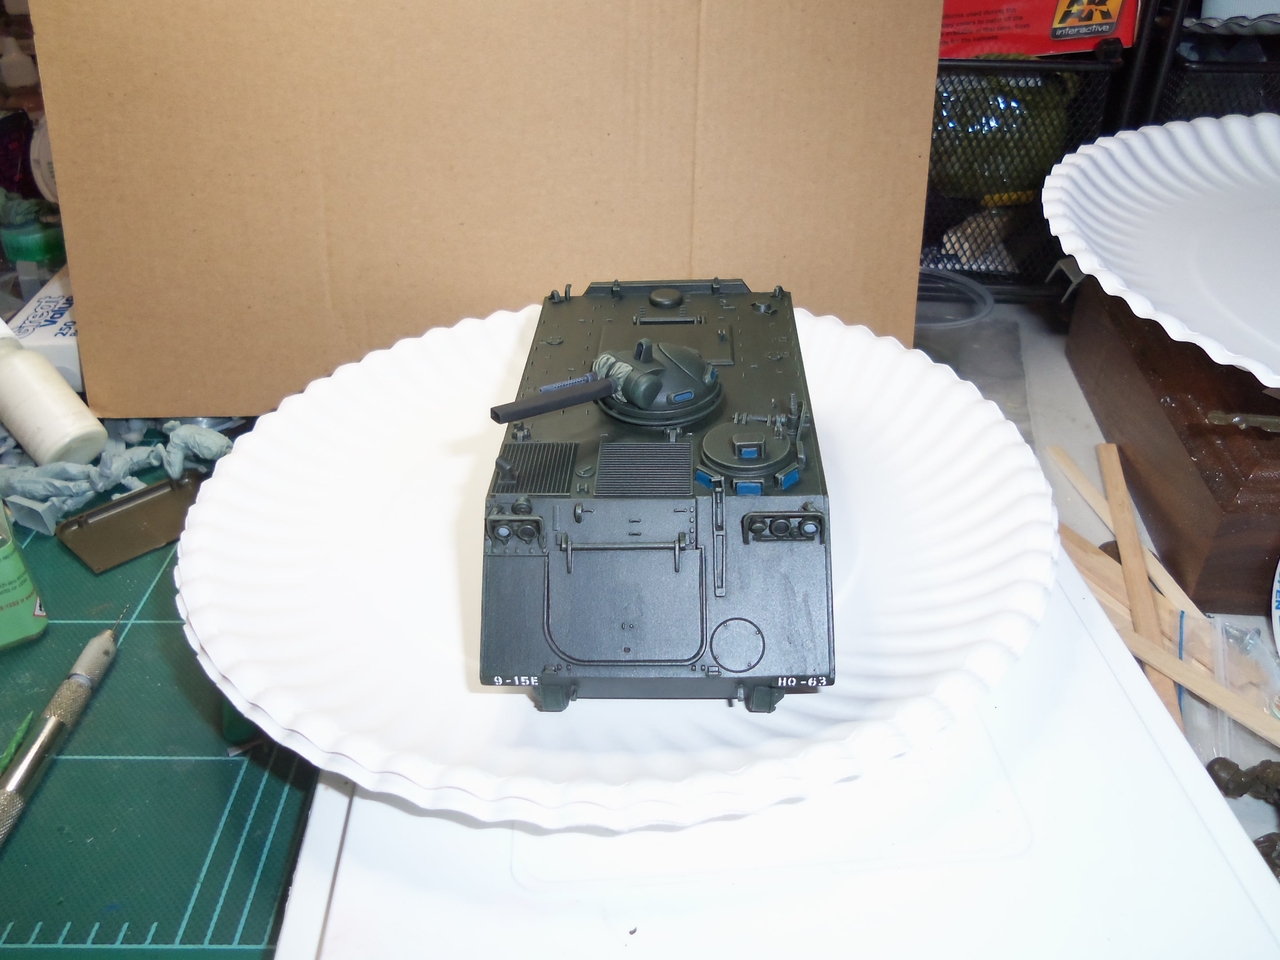
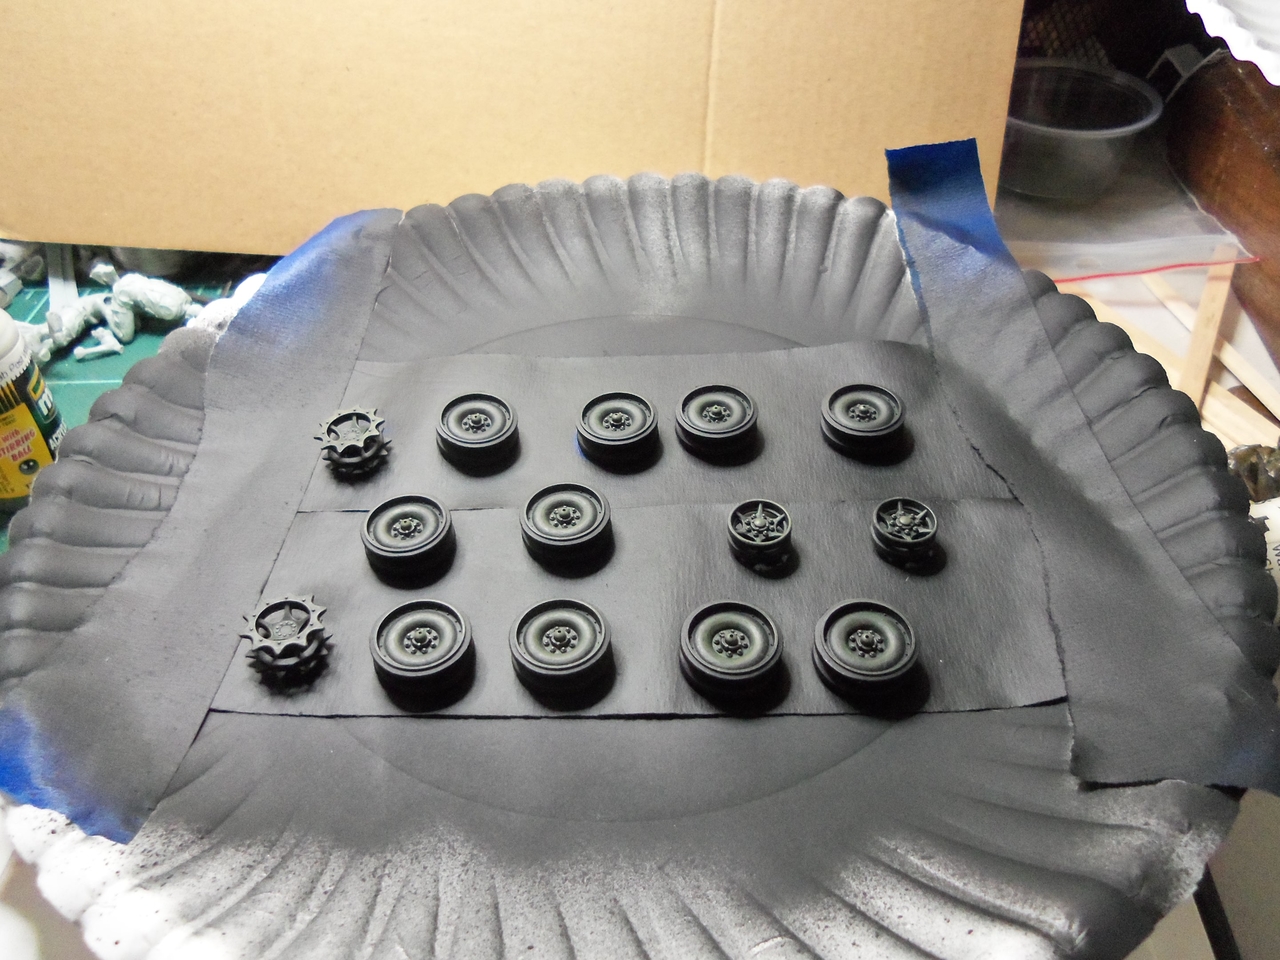
Over the next couple of days I will finish painting the road wheels, put the trim vane on, and get the tracks ready. Somewhere in these I will do some minor weathering since this model depicts this vehicle when it was first issued the unit at Camp Bearcat.
Cheers,
James
Thanks Dave and Duke.
Duke, I don't think the dry brushing part makes the streaking effect as much as me using a lighter shade of olive drab, in this case Vallejo US Olive Drab, as a base coat. Then I apply the Reaper Black Green to the model using a flat brush making sure my brush strokes go from up to down which makes the streaking effect. The dry brushing just makes it pop out a bit more. To lessen the amount of streaking just apply another coat of black green for a newer vehicle.
Here are a few photos of the track with the periscopes painted (still need to use some gloss varnish to them), the weapons painted (need to touch up the .30 a bit), the canvas weapon mantlet covers painted, and the head lights painted.
Over the next couple of days I will finish painting the road wheels, put the trim vane on, and get the tracks ready. Somewhere in these I will do some minor weathering since this model depicts this vehicle when it was first issued the unit at Camp Bearcat.
Cheers,
James


")