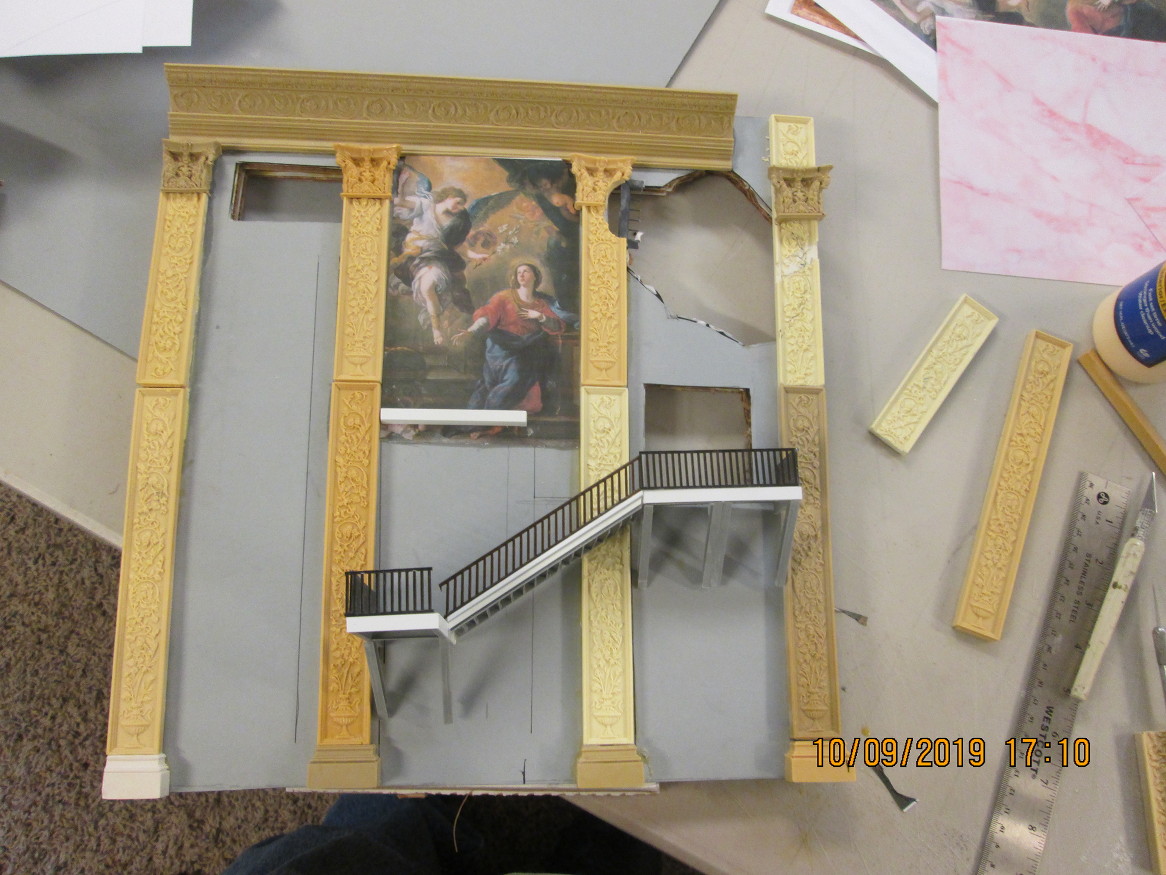
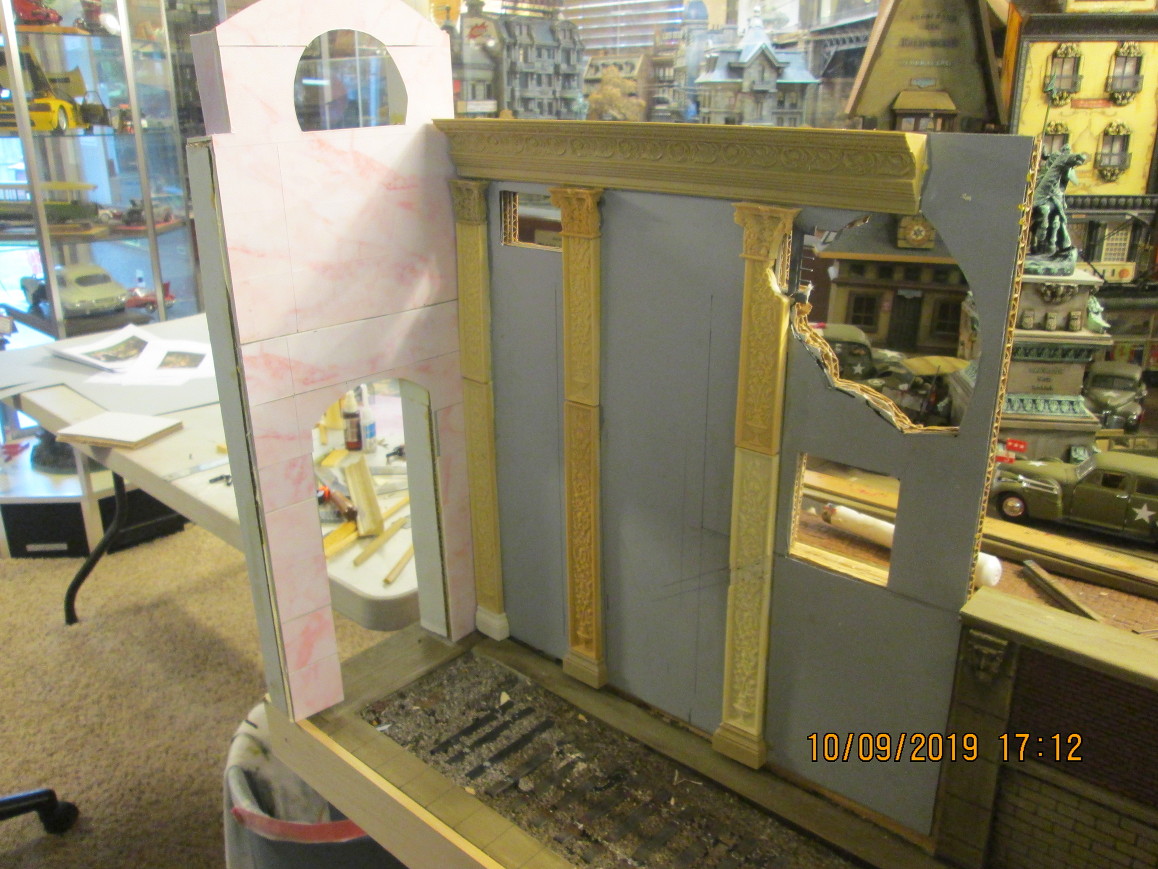
Logistics, Base & Buildings Updated Oct. 9, 2019
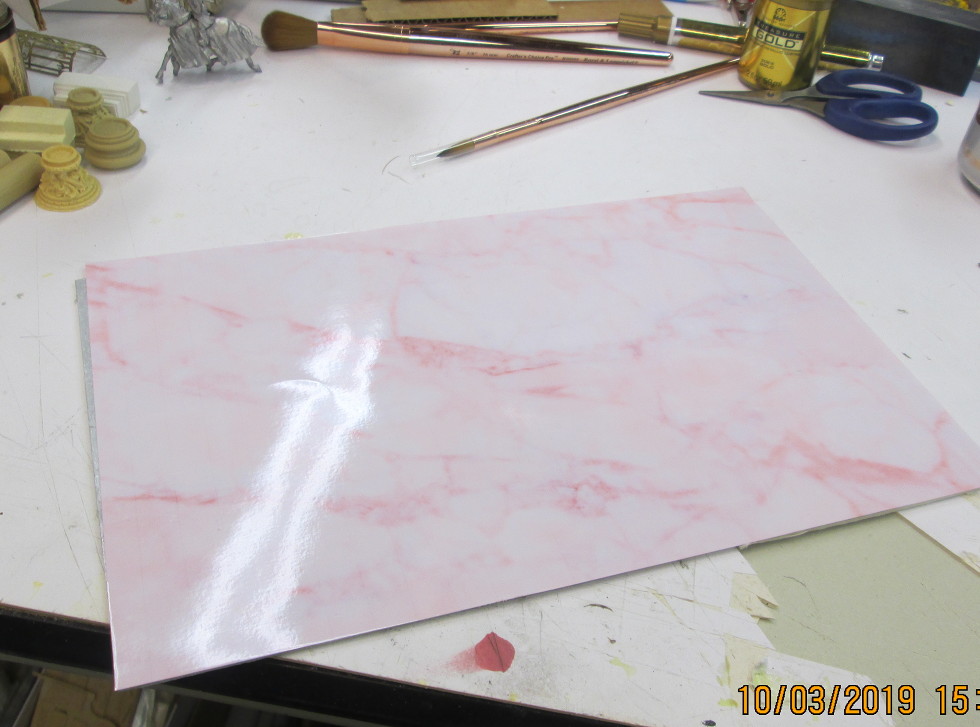
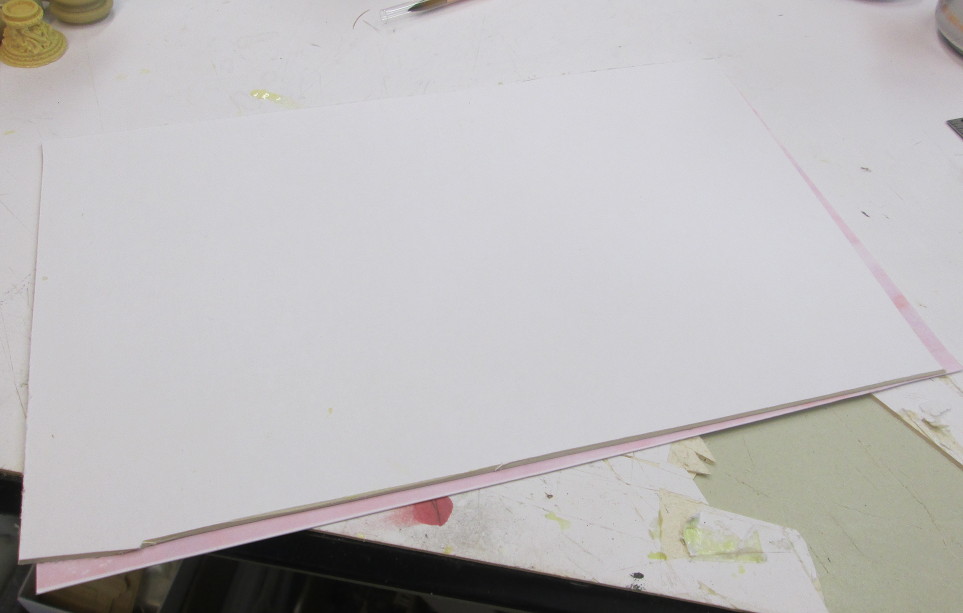
I just finished doing some of the marbleizing. I took photos step by step. I remember on a couple of other dioramas I used marble and several viewers asked about how. So, here's an update with a bit of tutorial included.
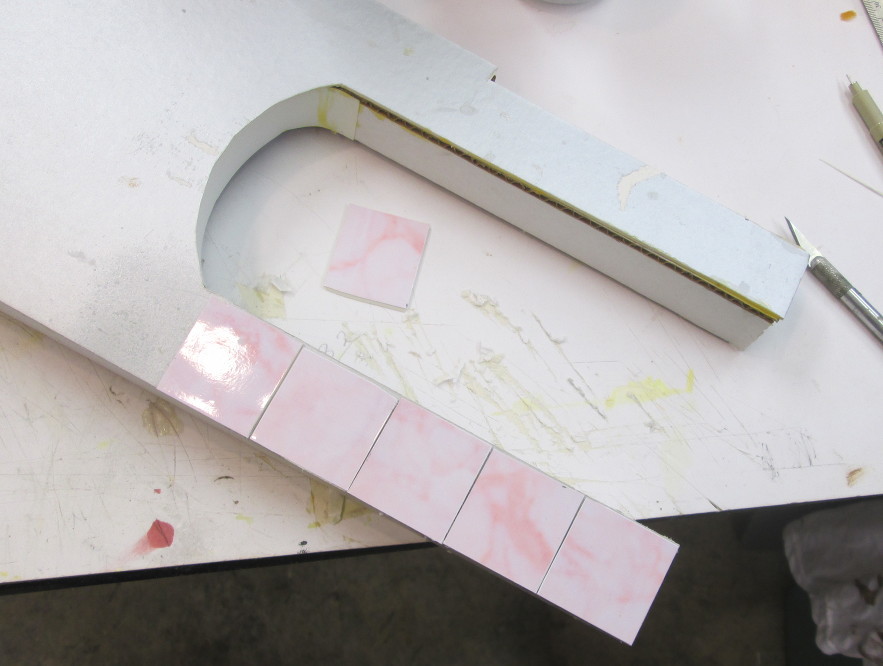
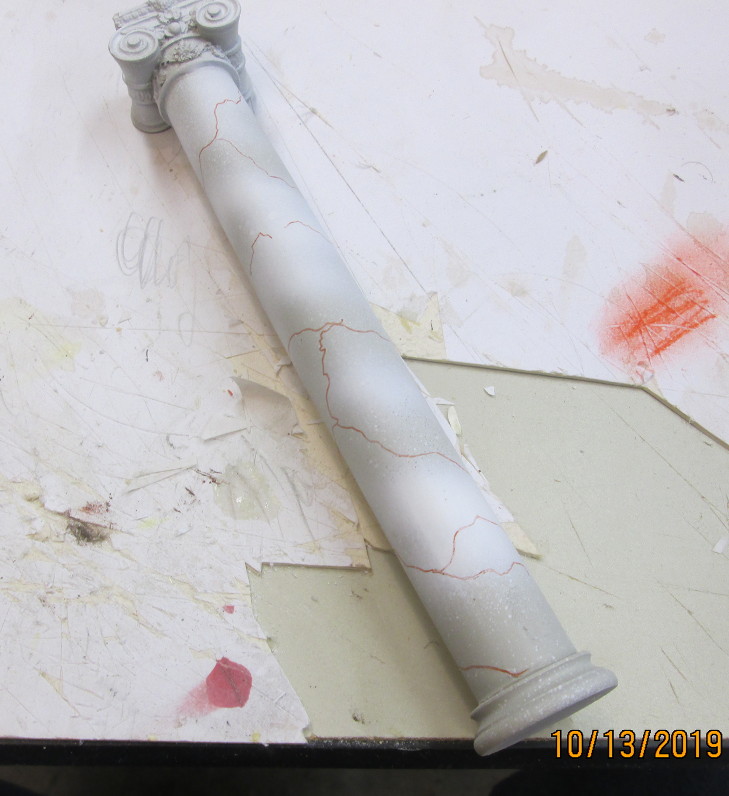
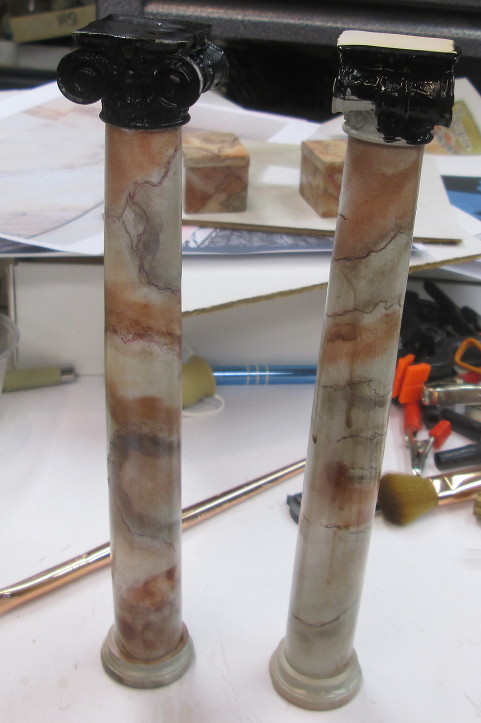
I'll start with the two columns. These are the two that will be on either side of the interior wall of the front of the Hauptnahnhof. Here is is with the light pink marble tiles on the facade.
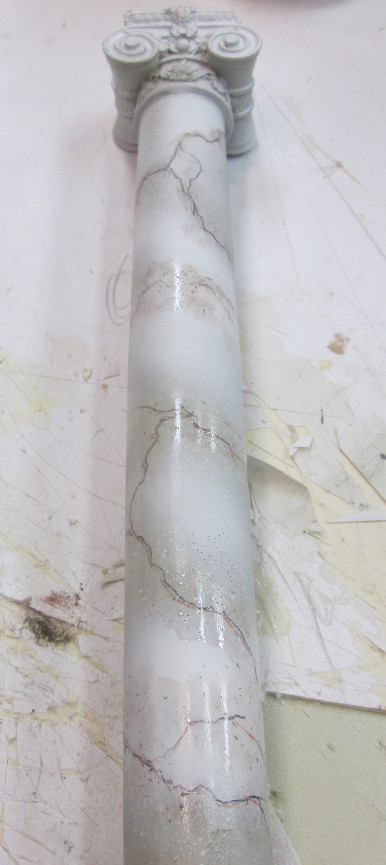
I wanted a different marble for the trim pieces with more colors yet will still go with the pink background. So, I start with the column with a medium brown .01 pen and make some veins.
Then using a black 01 pen, I make adjacent lines to the brown veins. I don't make them the same but in a similar path.
As mentioned in a previous thread, I started by painting the columns with Camouflage gray, then a cloud pattern of matt white. Then, after the brown and black veins complete, I use artist's rectified Turpentine. Note: I use that product in every aspect of thinning paint, cleaner everything you would use a thinner for. I just prefer it to all other forms of solvents and thinners. I'm thinking other thinners will work, but I can'
t say for certain as I have never tried them. Rectified turpentine is a very aggressive solvent!
I wet a brush in the A.R.T. and then go over the veins until they begin to bleed out a bit. Then set aside to dry.
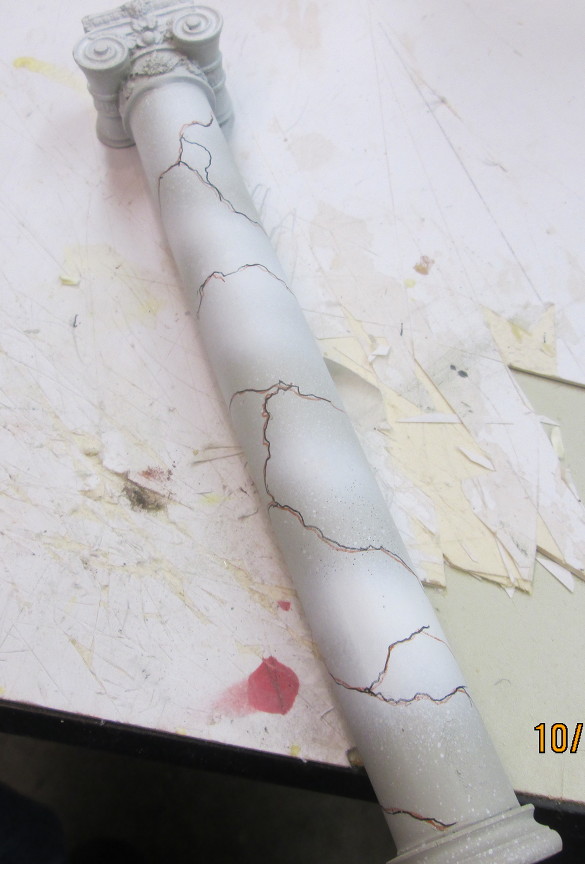
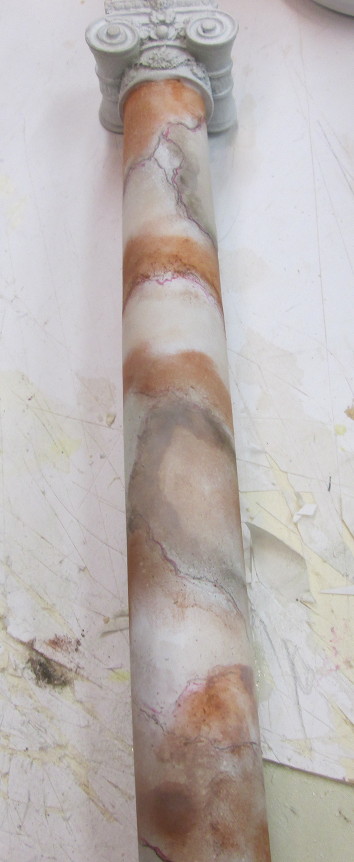
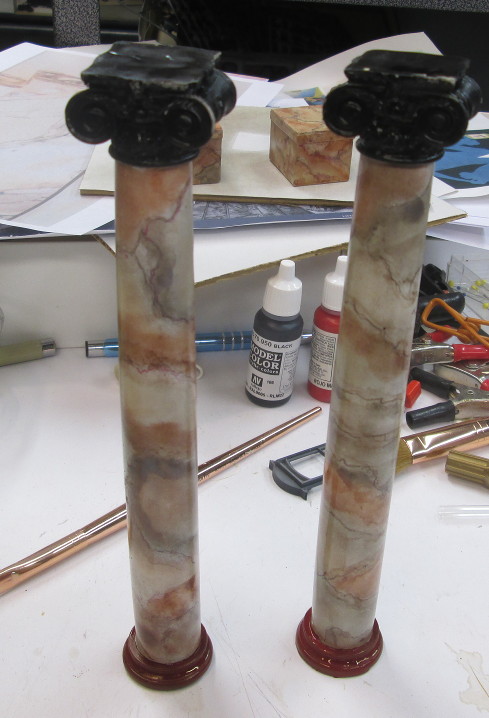
Then I use my piece of plywood with sandpaper taped sand side up and rub the pastels to create the powder I will use to apply the colors. In this case. I used black, brown, raw umber, burnt Sienna and light red. I make five piles of powder, then, using a soft brush, pick up the powder and more or less "paint" the pastels where I want them. After applying, I hold the column over a waste basket and blow off the excess powder.
When i get the colors where I want them, I remove the excess powder and spray with a high gloss clear enamel. Gently so as not to disturb the colors. A light coat first to set the pastels, then after that dries a heavier coat to get the gloss I am after.
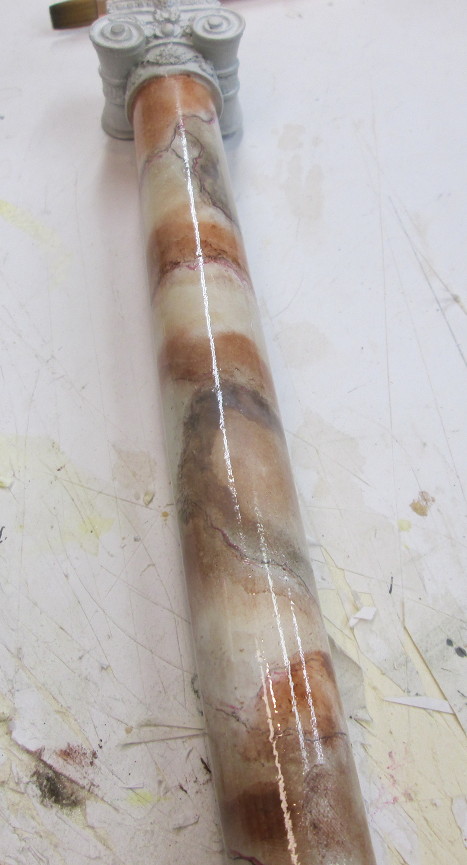
Here is an angle shot so you can see the gloss.
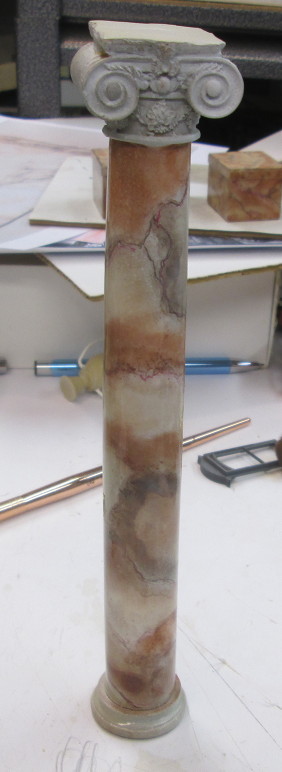
Then I mix some red and black acrylic paint to get a brownish maroon for the base.
Then I paint the capital with flat black. This will be painted with the 18 Kt. gold paint after it dries.
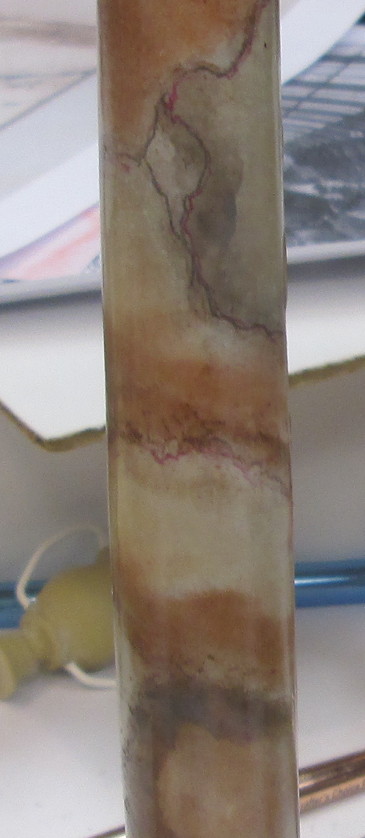
Here is a close up of the clear gloss coated pastels on a column.
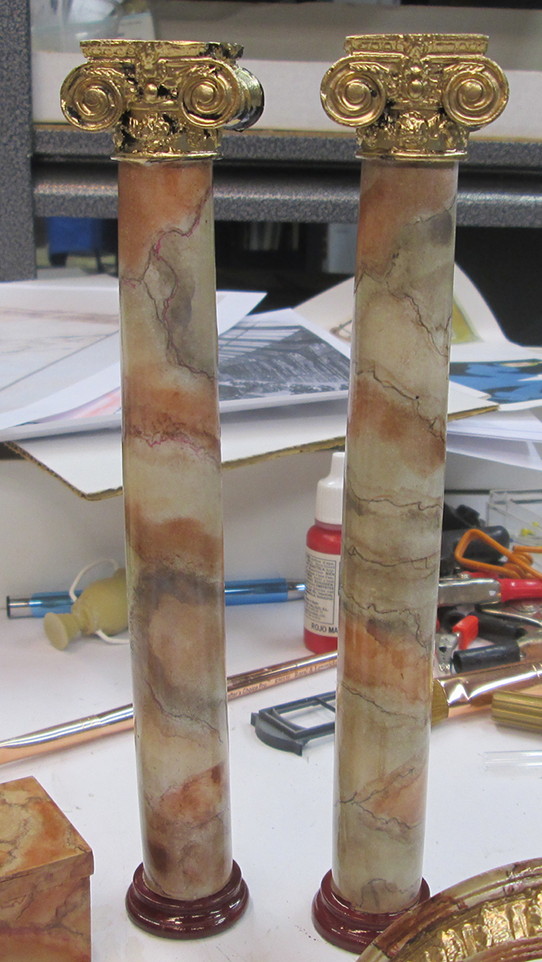
And here are the completed marble columns/
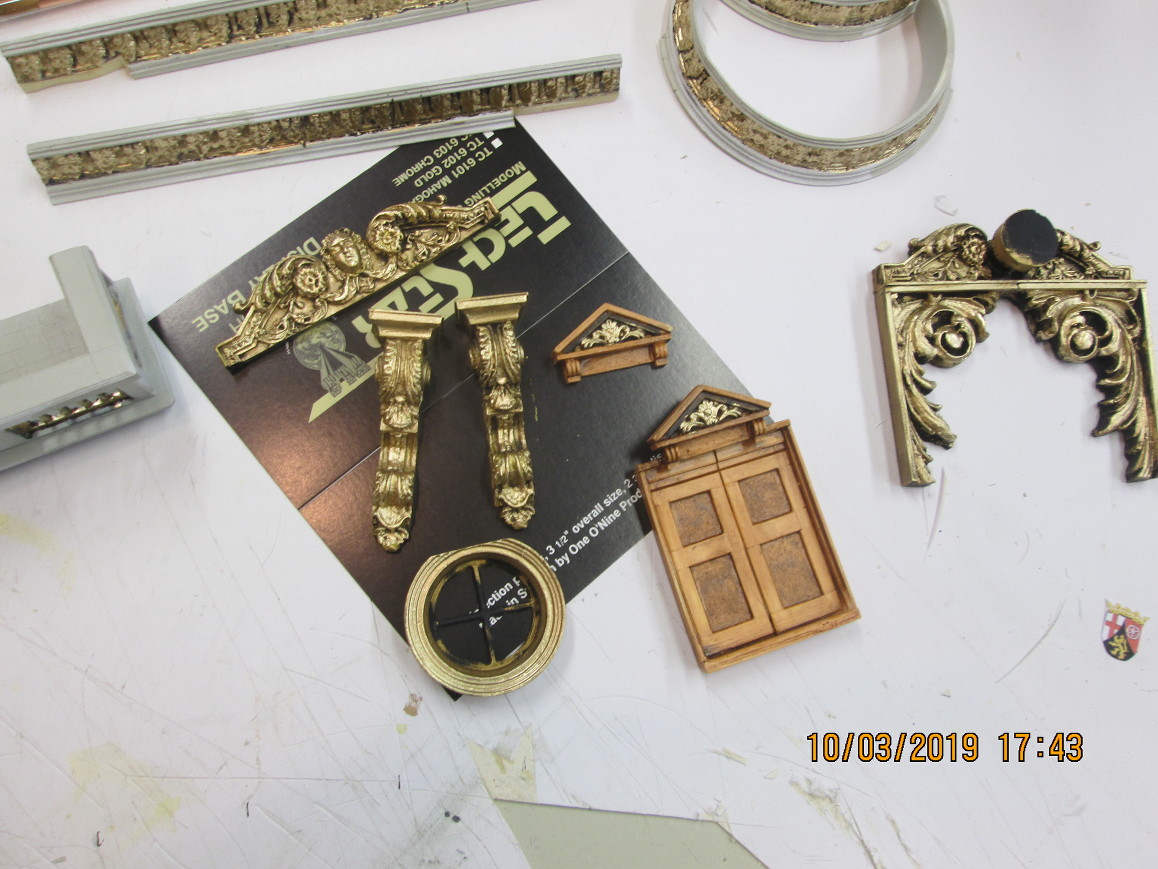
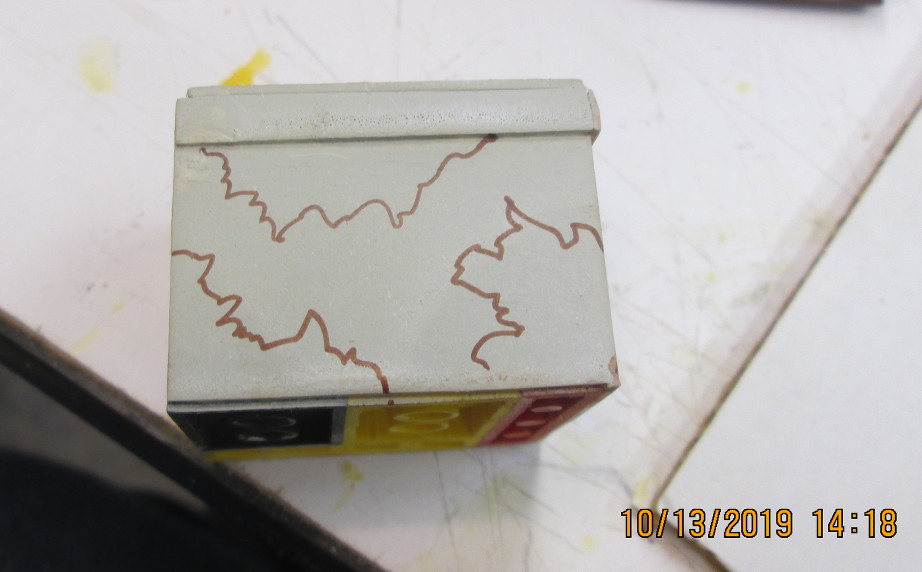
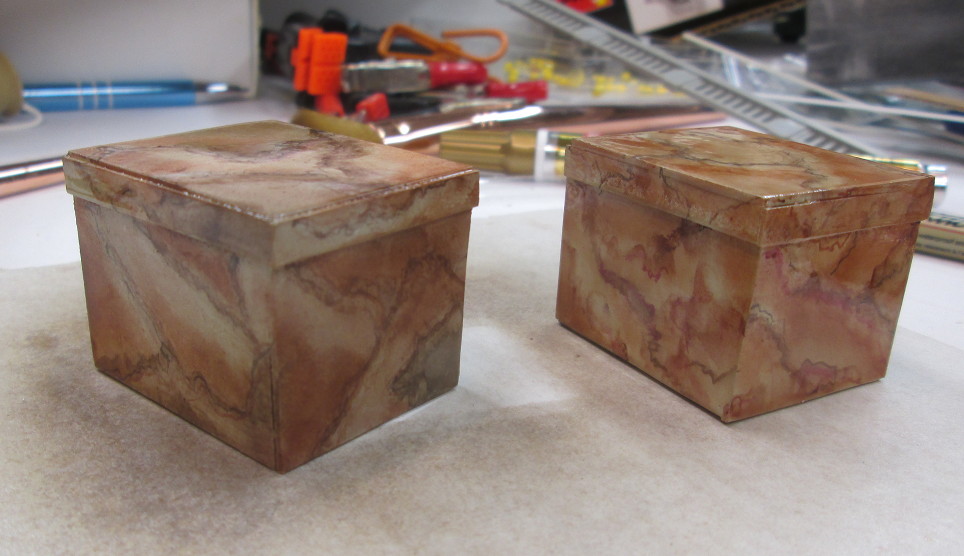
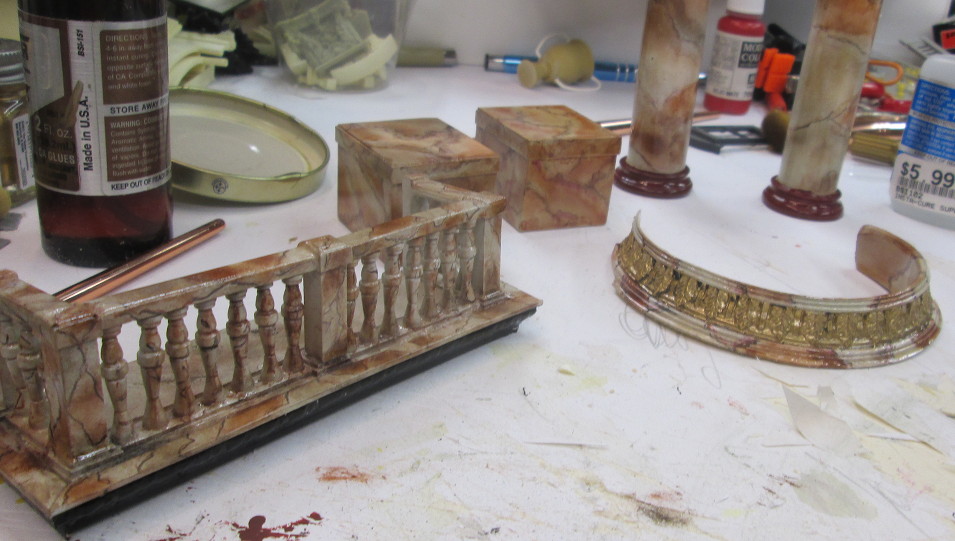
Now for the base blocks the columns will set on. I made these out of Lego pieces as when glued together and veneered with sheet plastic, they will make a sturdy base for the resin columns.
Again, the camouflage base coat with the matt white cloud pattern. Then the brown pen. In the past, I have used both pens, (Available in art stores), and double and triple ought brushes. Either will work, the pens are faster.
On these I started the turpentine before the black pen, it really doesn't make a difference.
Then I added the black veins and some more blurring.
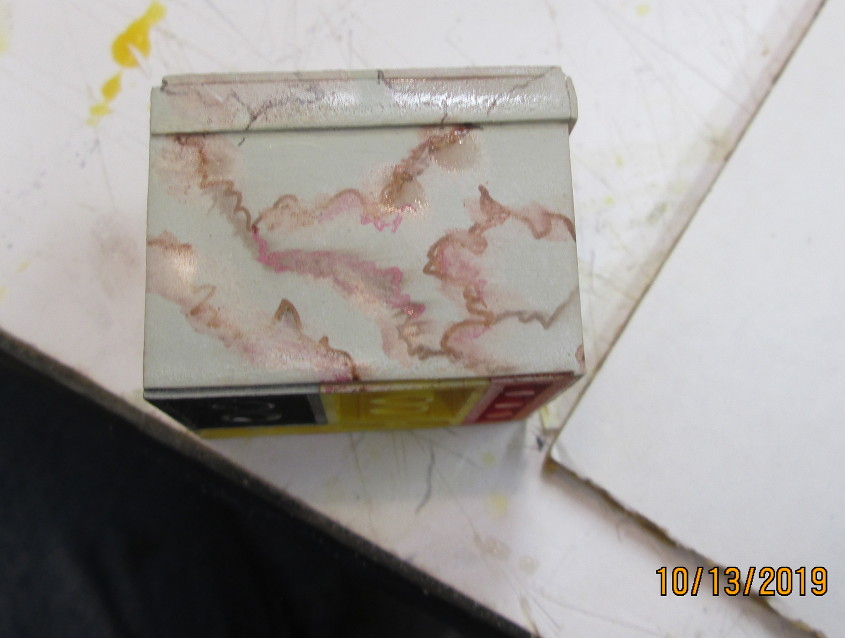
Now comes the pastels. I use exactly the same colors as on the columns.
A little more brown, burnt sienna and blurring.
Then, after I get the pastels where I want them, I blow off any excess and set aside.
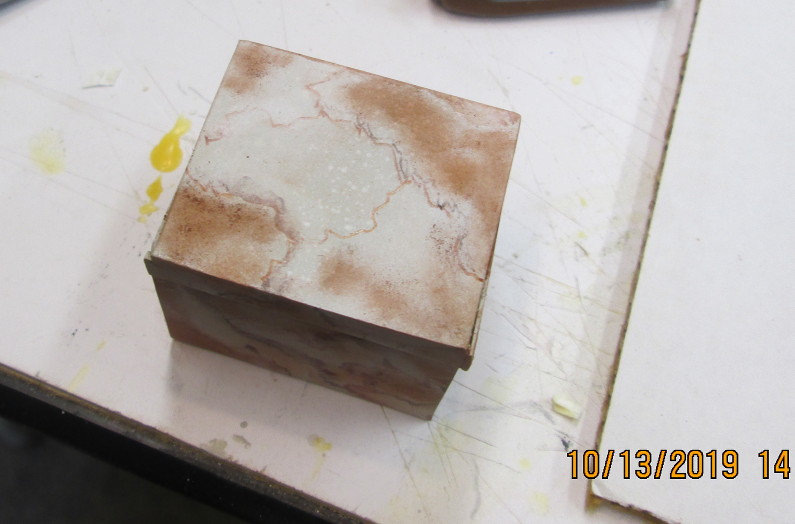
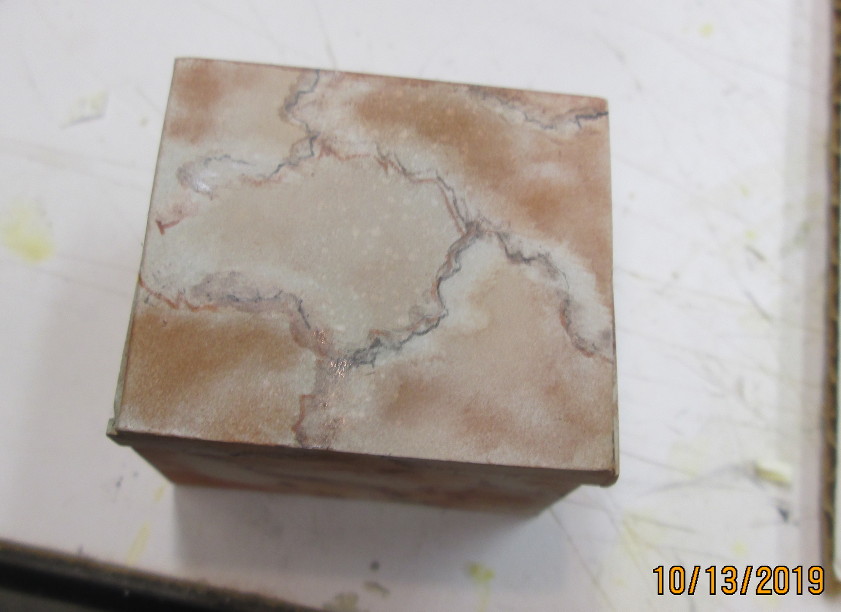
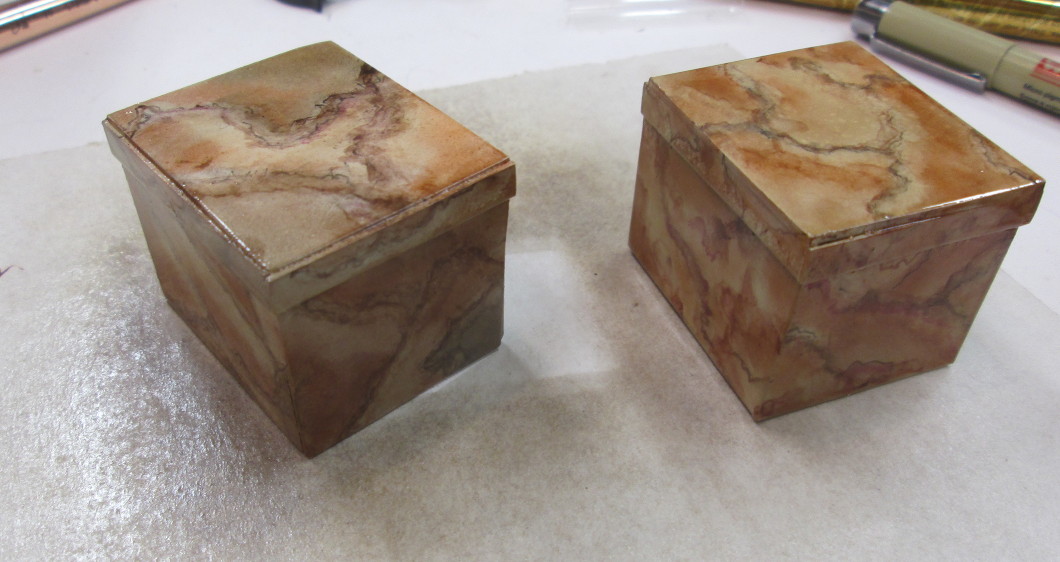
After both are complete, I give them the clear gloss treatment.
From another angle to better display the gloss.
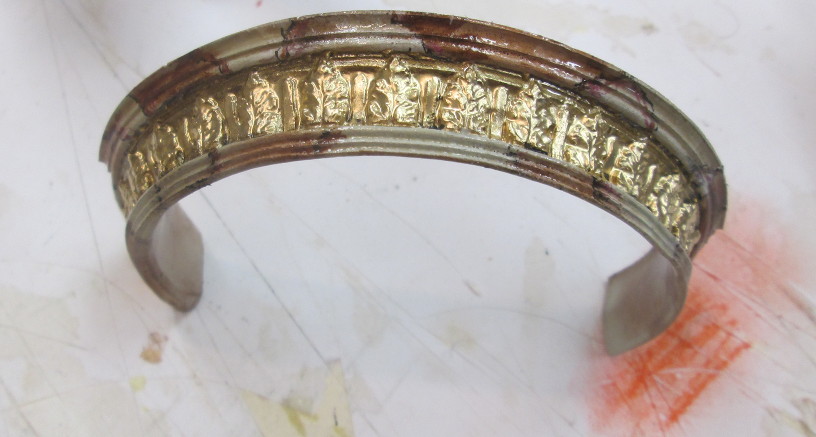
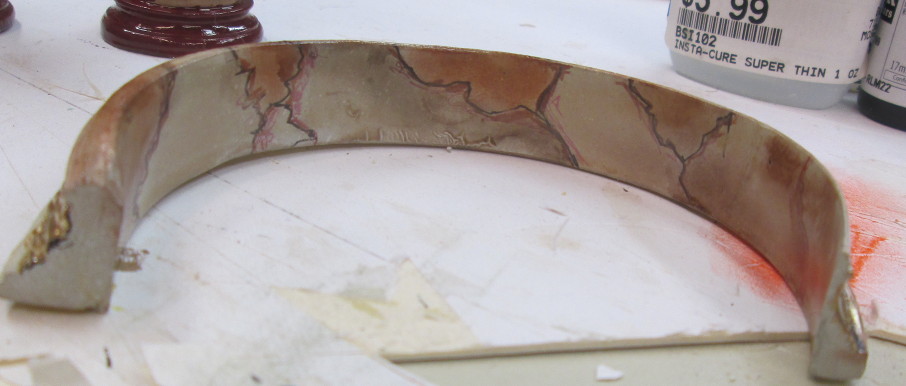
Then I move on to one of the arches and use the same method.
Here is another angle.
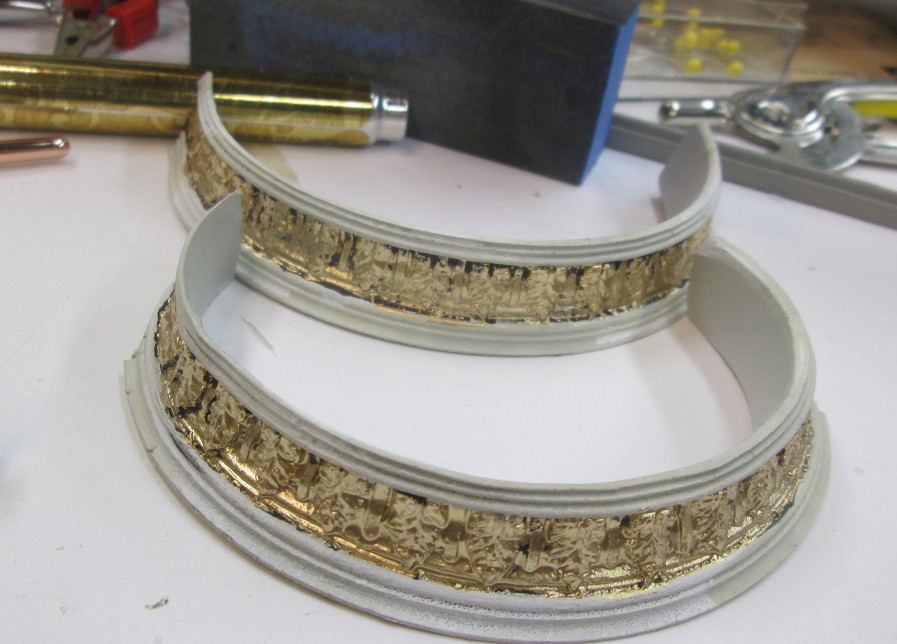
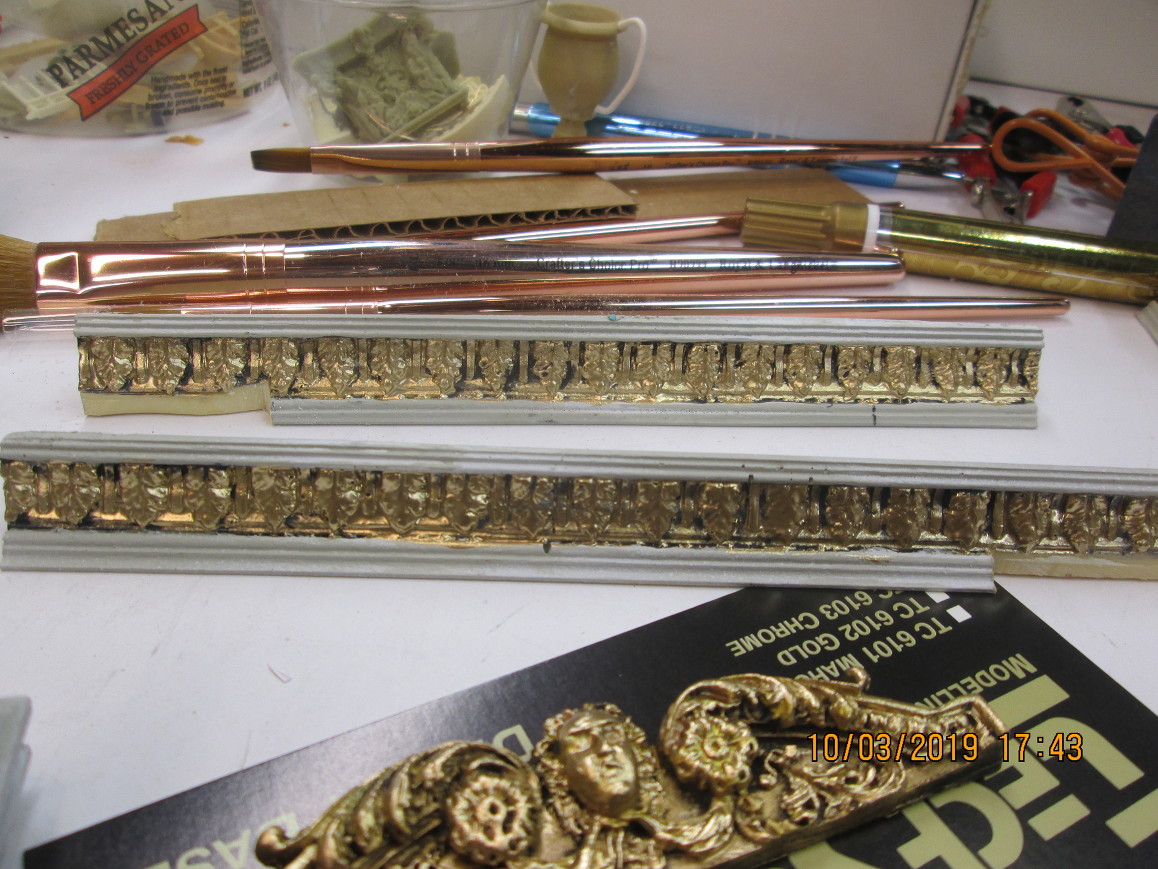
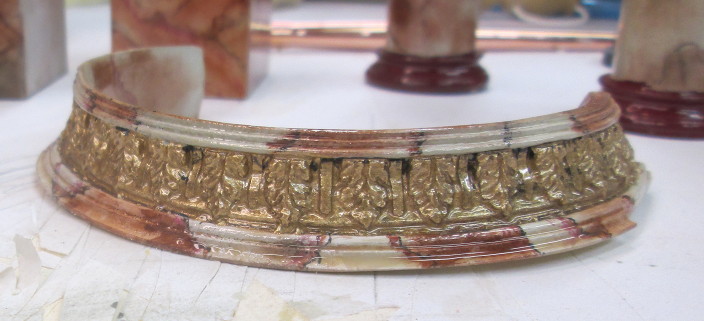
Then, as the inside of both arches will be visible, they get the marble treatment as well.
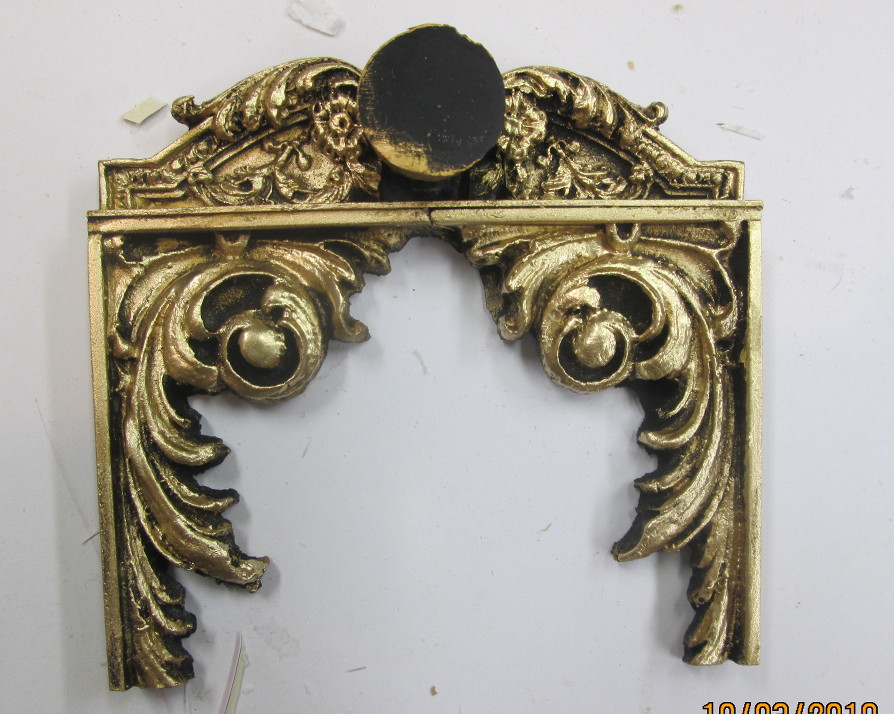
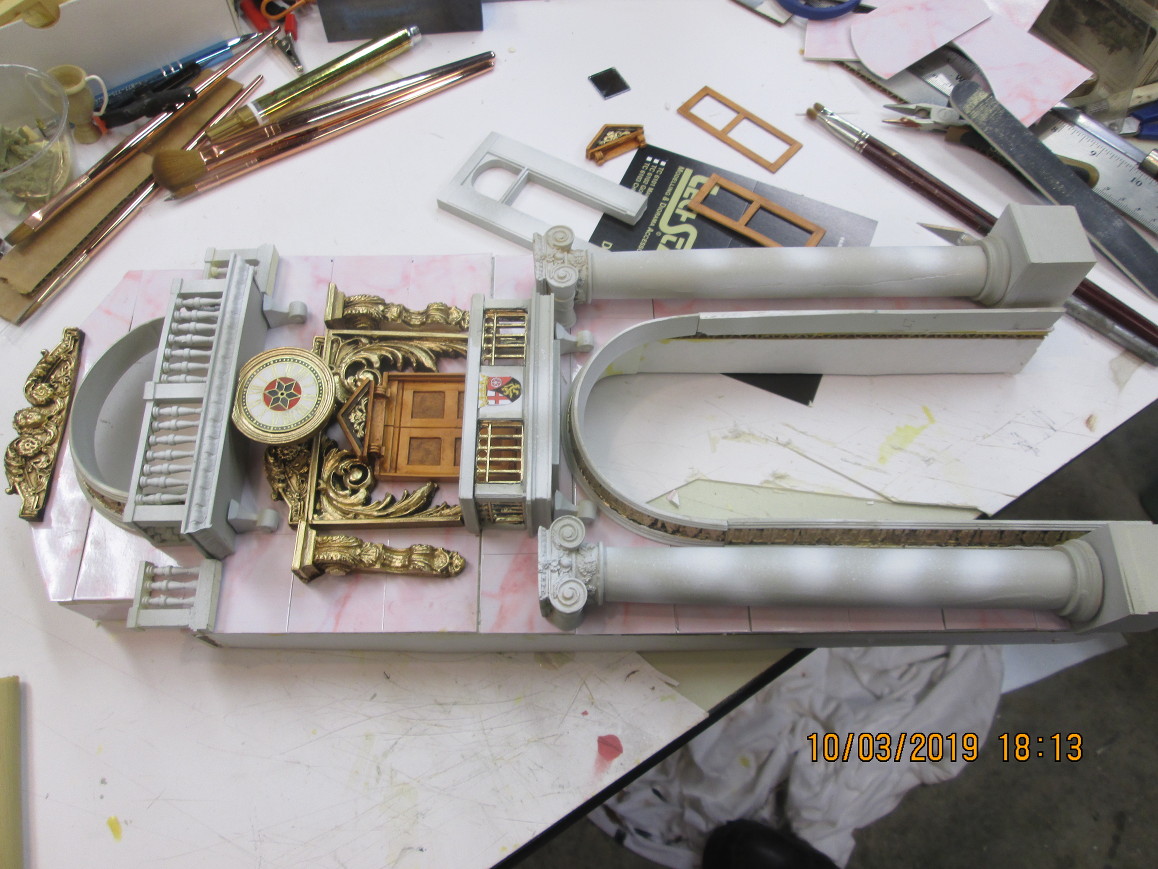
Then, one of the balconies gets the treatment!
And, finally it gets the gold gilt as well.
Thanks for looking in! This one is moving right along!


 This is ABSOLUTELY OUTSTANDING! Sierra Hotel Bob! I hope you appreciate how much your techniques inspire others!
  :v :salute