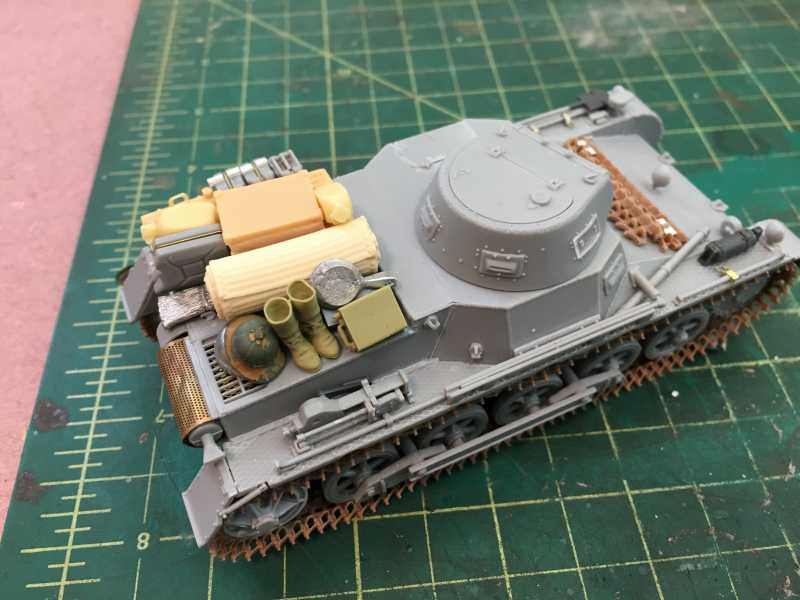
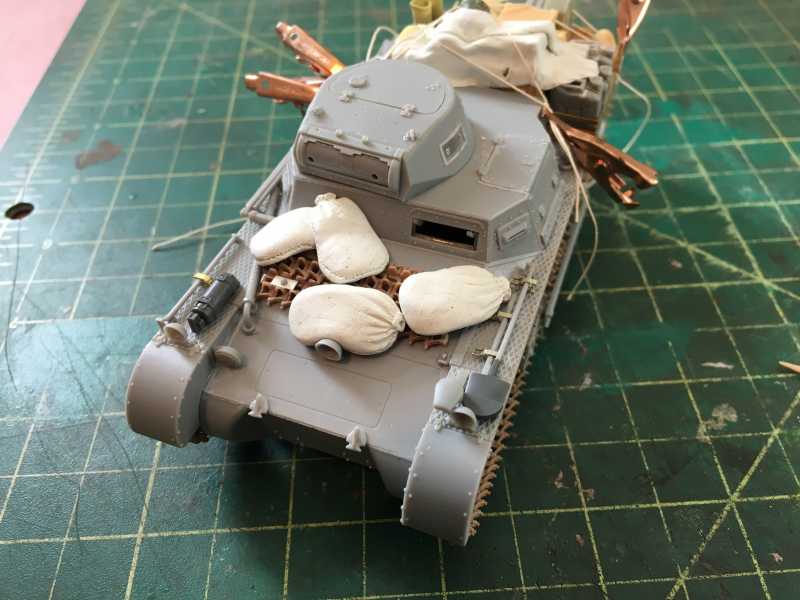
DML Panzer 1 ausf. B ( DAK with Doc)
Looks like they are packed for an desert excursion
Looks like they are packed for an desert excursion

Modelers Alliance has updated the forum software on our website. We have migrated all post, content and user accounts but we could not migrate the passwords.
This requires that you manually reset your password.
Please click here, http://modelersalliance.org/forums/login to go to logon page and use the "Forgot your Password" option.
Looks like they are packed for an desert excursion
Hey John ,
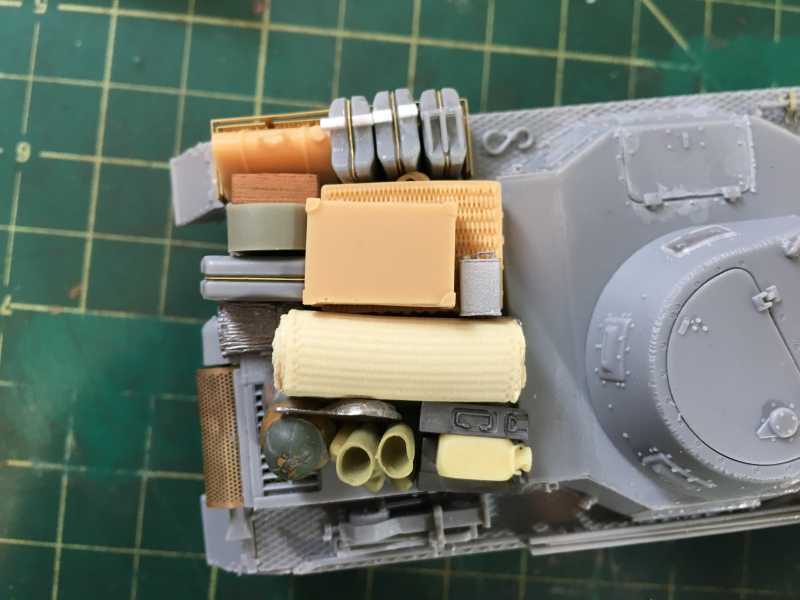
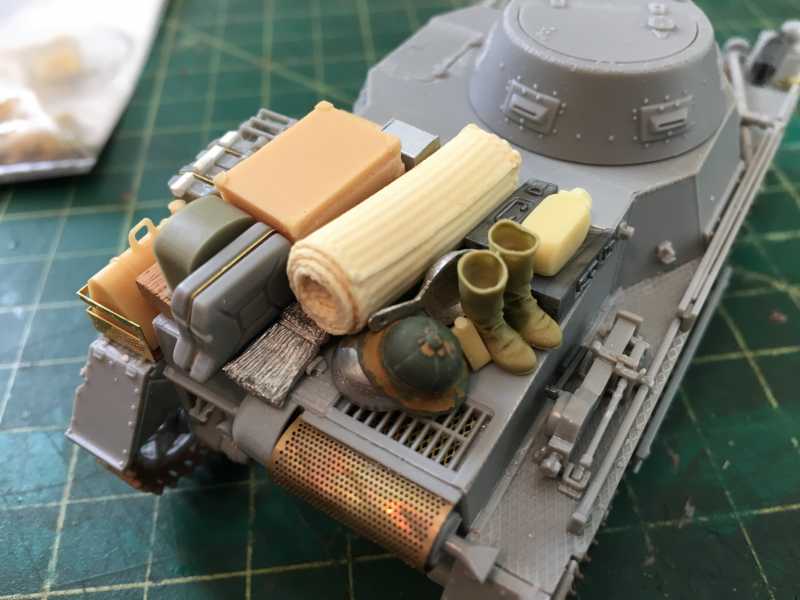
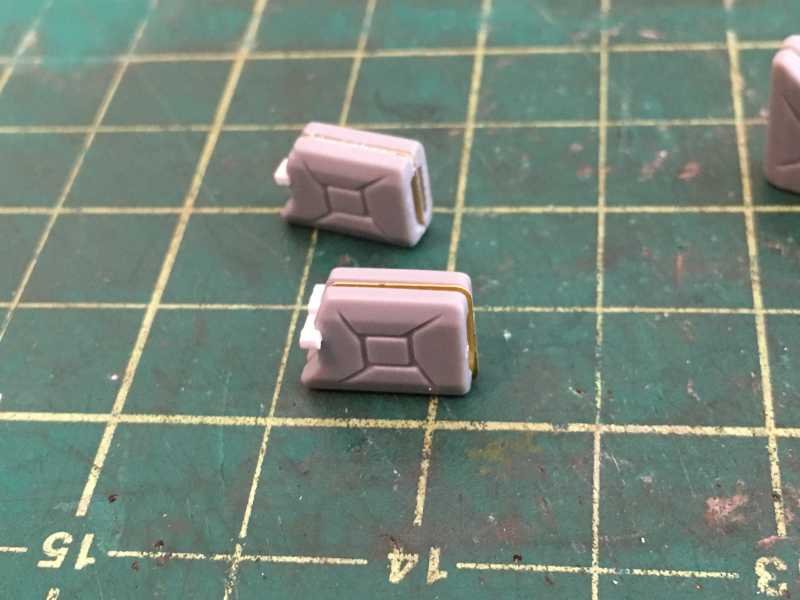
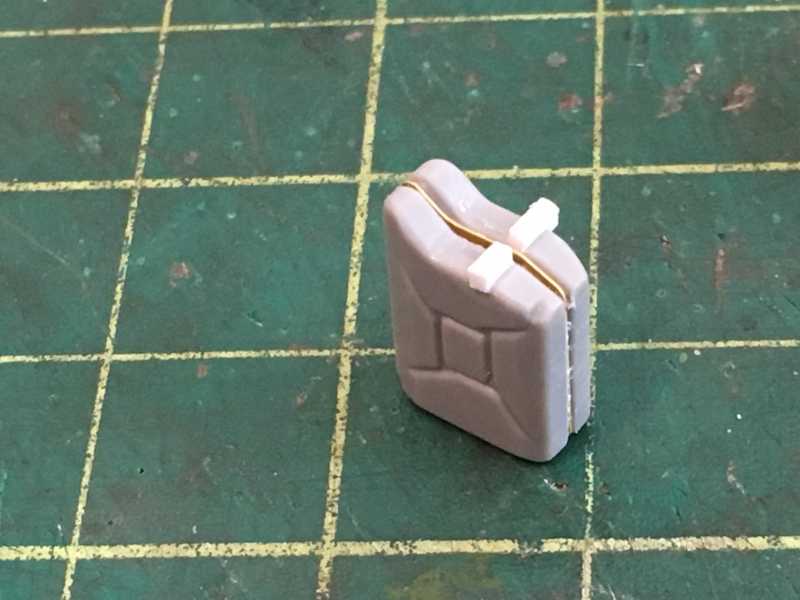
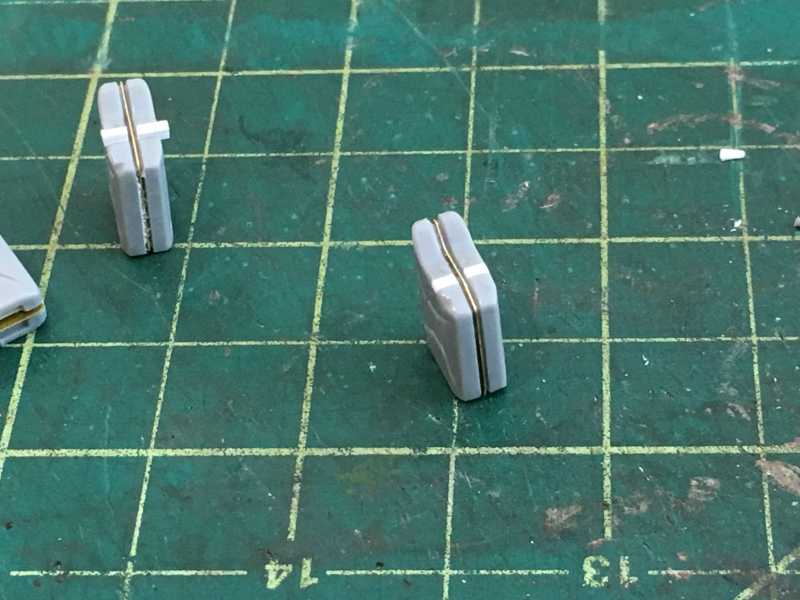
The Stowage looks cool, what’s wrong with the
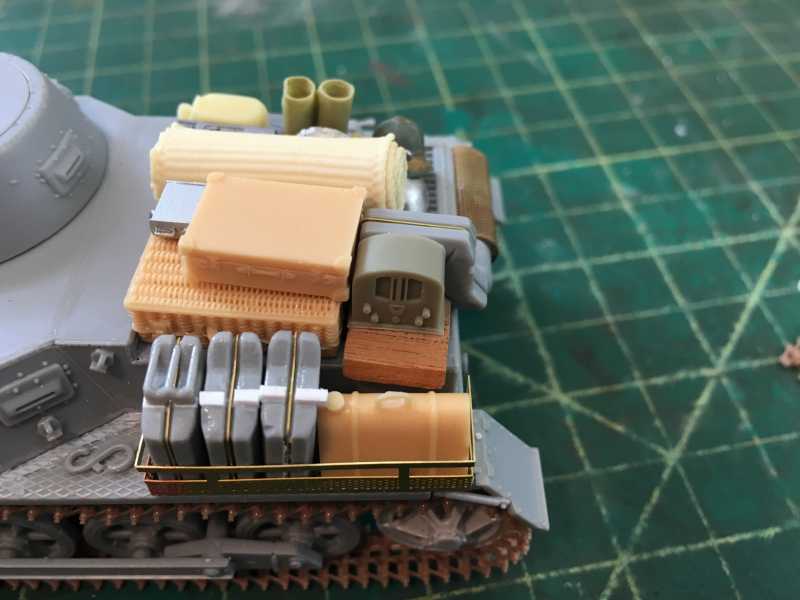
Jerry cans? Some neat stuff there , what stood out to me was no Tarps?Who makes that wicker neat looking stuff. And what about a couple ammo cans since the only weapons are the mg;s lots of 7.92 needed. But you get the thumbs up from me ( I like lt ).
Brian
Just playing with layouts. I generally go through a few iterations before I am happy. I will add a tarp before I finalize and maybe an air recognition flag.

 I like the radio, broom, boots and pans.
Oh John the radio is very cool , but with all that sand wouldn’t they have rolled a tarp around it? Making it actually impossible to see?Just my thought , Sorry you know me I overthink everything.
Brian