
Install the app
How to install the app on iOS
Follow along with the video below to see how to install our site as a web app on your home screen.
Note: This feature may not be available in some browsers.
-
Modelers Alliance has updated the forum software on our website. We have migrated all post, content and user accounts but we could not migrate the passwords.
This requires that you manually reset your password.
Please click here, http://modelersalliance.org/forums/login to go to logon page and use the "Forgot your Password" option.
You are using an out of date browser. It may not display this or other websites correctly.
You should upgrade or use an alternative browser.
You should upgrade or use an alternative browser.
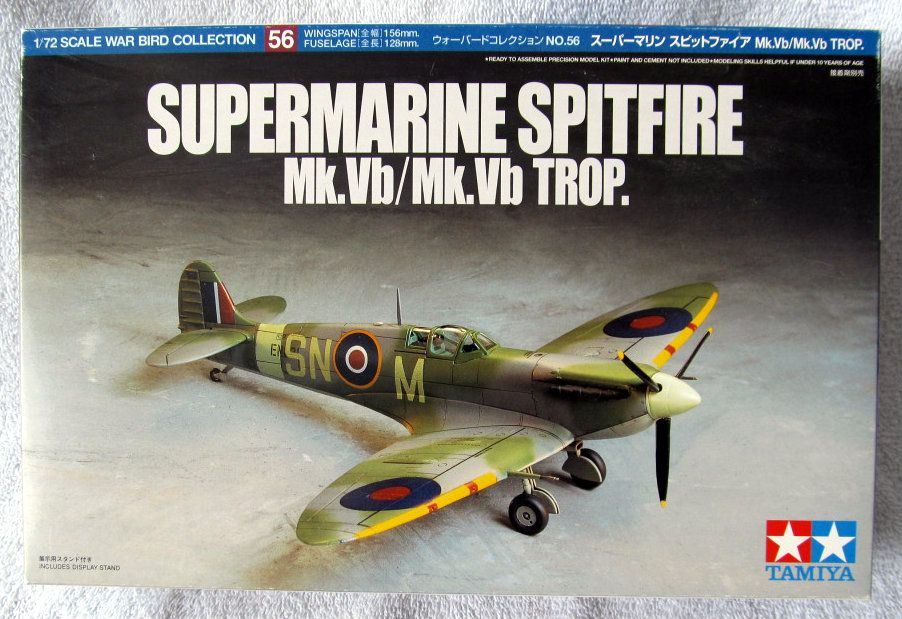
CTA Entry - Ben, 1/72 Tamiya Spitfire
- Thread starter Ben
- Start date
")
Nice Ben, welcome aboard.
Thank-you for the support, guy's!
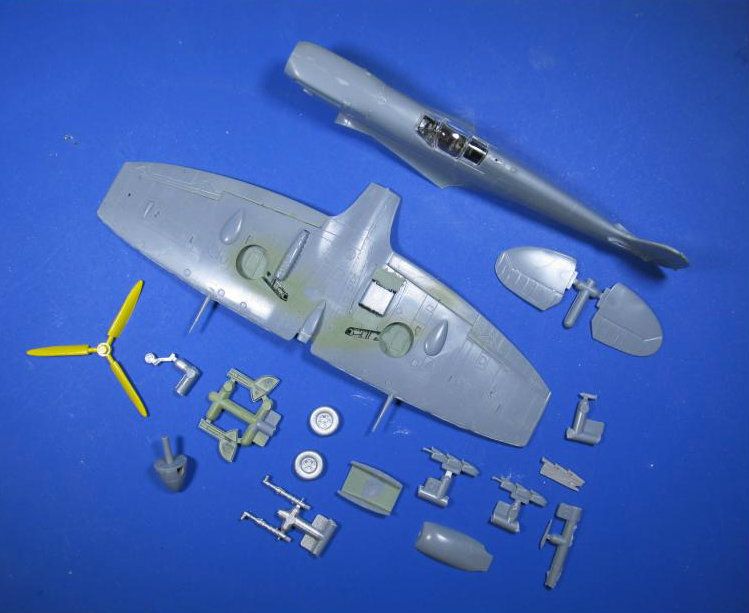
Just thought I'd like to post my progress thus far.
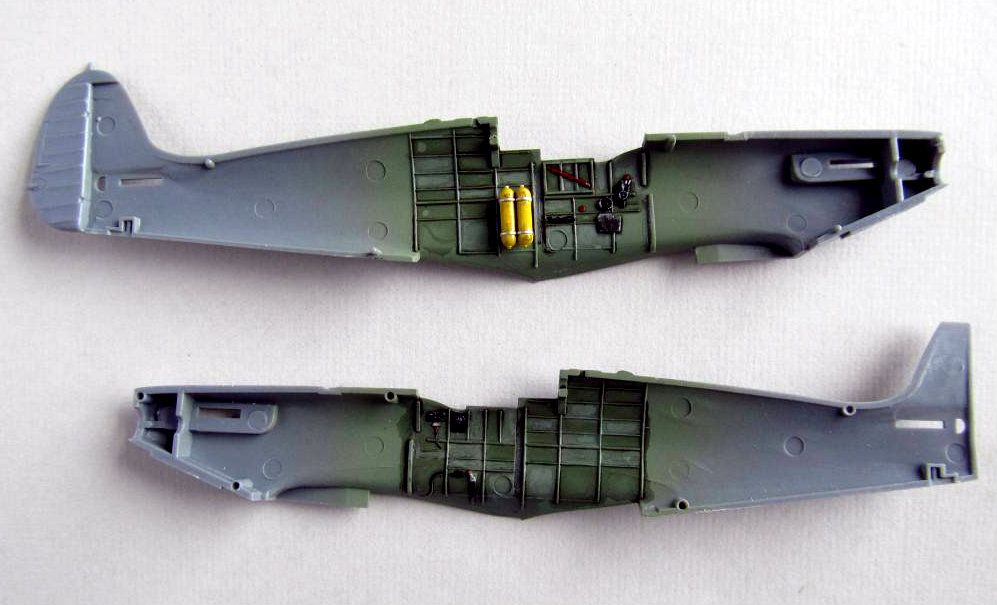
Here is a demonstration showing what 'not' to try. I started out spraying the interior Tamiya XF-71, which is closer to US Cockpit Green than that of the RAF. This was followed with brushing PollyScale RAF GreyGreen onto some panels. This was my folly. I should have brushed it all in the Pollyscale Green. The wash adhered to the Tamiya paint and ran on the pollyscale. We learn through trial and error, so, I'm very happy for the experiment.
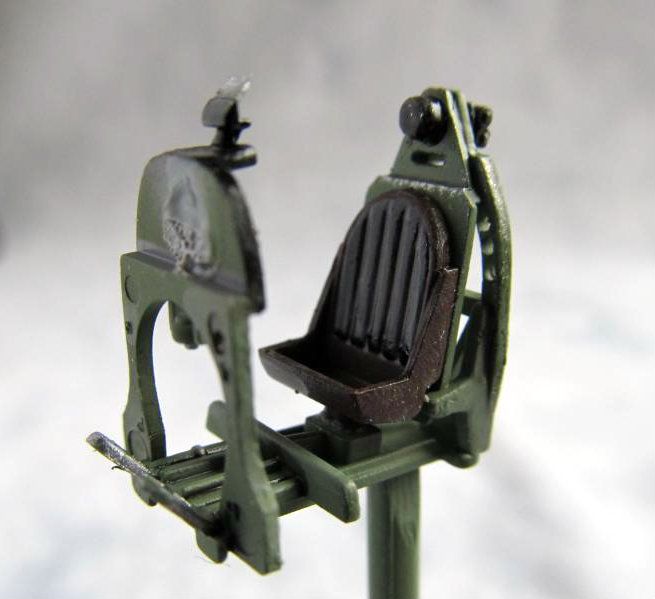
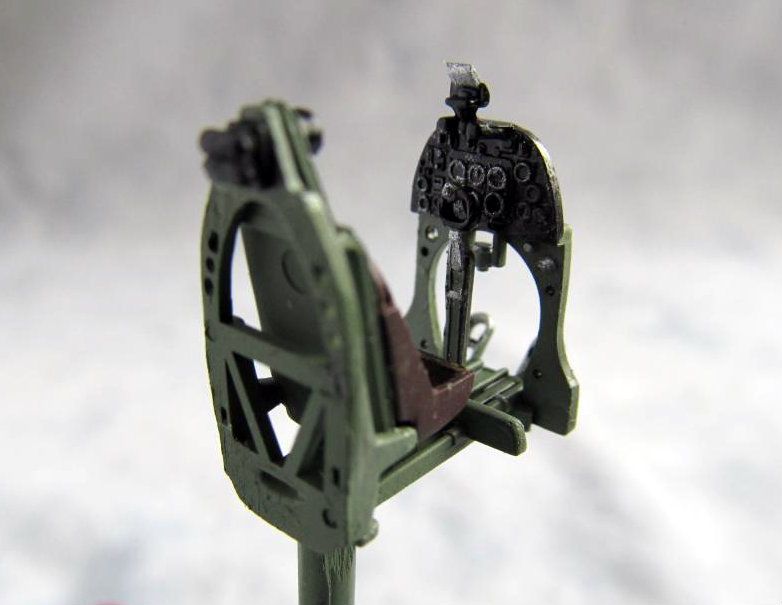
Here is the cockpit tub module. The wooden seat is Tamiya Hull Red.
With only a pair of efforts in the last year, 1/72 is not my usual modelling experience. I find the size more difficult than 1/48 or even 1/144. Its just big enough that you have to show some detail, but, small enough where its hard to work.
Having fun with it all the same.
Just thought I'd like to post my progress thus far.
Here is a demonstration showing what 'not' to try. I started out spraying the interior Tamiya XF-71, which is closer to US Cockpit Green than that of the RAF. This was followed with brushing PollyScale RAF GreyGreen onto some panels. This was my folly. I should have brushed it all in the Pollyscale Green. The wash adhered to the Tamiya paint and ran on the pollyscale. We learn through trial and error, so, I'm very happy for the experiment.
Here is the cockpit tub module. The wooden seat is Tamiya Hull Red.
With only a pair of efforts in the last year, 1/72 is not my usual modelling experience. I find the size more difficult than 1/48 or even 1/144. Its just big enough that you have to show some detail, but, small enough where its hard to work.
Having fun with it all the same.

Not bad, I've done worse for sure! Why not go back over those spots with a thin coat of XF-71?
Why not go back over those spots with a thin coat of XF-71?
Thanks MP. Thats exactly what I'm up to.
paddy
Well-known member
Hi Ben
As a rule of thumb i tend to go lighter the smaller the scale, call it scaling the colours as well
I use tamiya interior green and lighten it about 25% with white then give it a darker wash, usually a yellow/brown to highlight the detail.

Incidentally the seats are compressed paper, a sort of paper mashe.

Keep up the good work
As a rule of thumb i tend to go lighter the smaller the scale, call it scaling the colours as well
I use tamiya interior green and lighten it about 25% with white then give it a darker wash, usually a yellow/brown to highlight the detail.
Incidentally the seats are compressed paper, a sort of paper mashe.
Keep up the good work
KiwiGunner
Member
Looks pretty good from here Ben 
I find 1/72 the most challenging scale to work in - due to my big fingers and tired eyes
Paddy - That's an awesome tip with the lighter shades for smaller scales - I guess it helps to highlight the details as well.
I find 1/72 the most challenging scale to work in - due to my big fingers and tired eyes
Paddy - That's an awesome tip with the lighter shades for smaller scales - I guess it helps to highlight the details as well.
Hi Paddy! I should have talked to you before I began my work. You have indeed left a valuable interior shading tip. Thankyou.
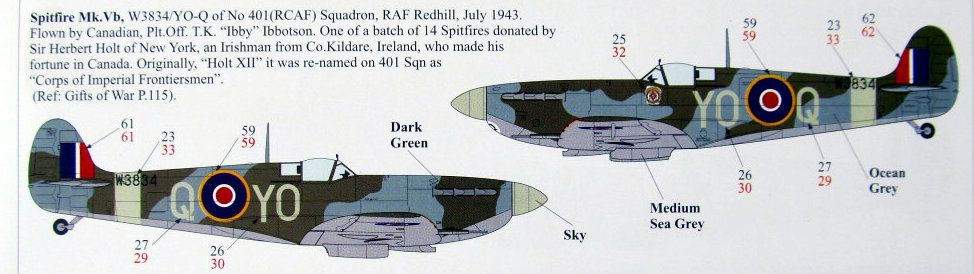
KiwiGunner. Yea, I know 1/72 is hard to work. I'm not sure I really care for this scale, but I will finish it. 1/72 seems to be more appropriate for the larger types of aircraft, like the Lancaster.
KiwiGunner. Yea, I know 1/72 is hard to work. I'm not sure I really care for this scale, but I will finish it. 1/72 seems to be more appropriate for the larger types of aircraft, like the Lancaster.
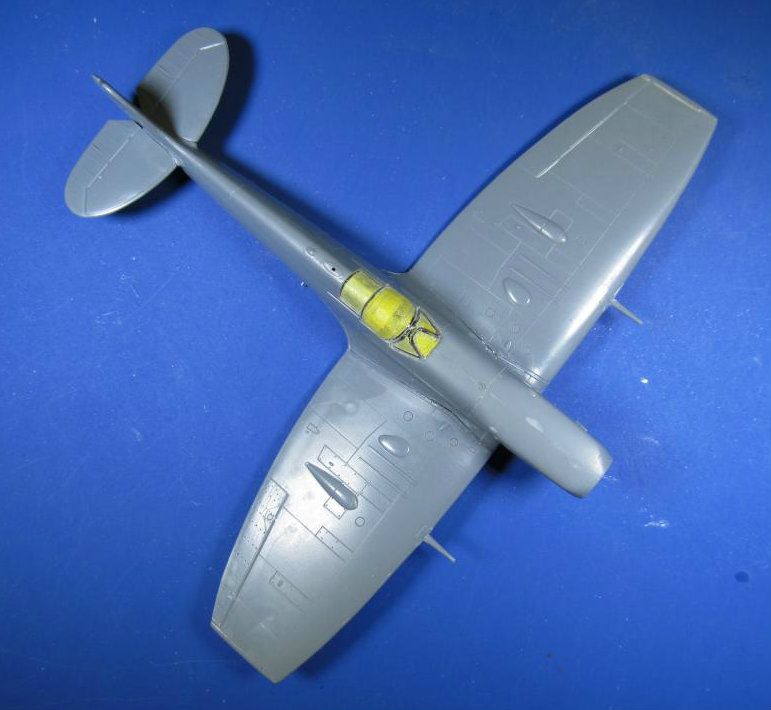
Just wanted to show you how its going.
A little bit of paint, a little bit of glue. Now I have to mask the canopy with tape before I install the wings. It's easier that way. Still a lot of glueing, filling, and painting to go.
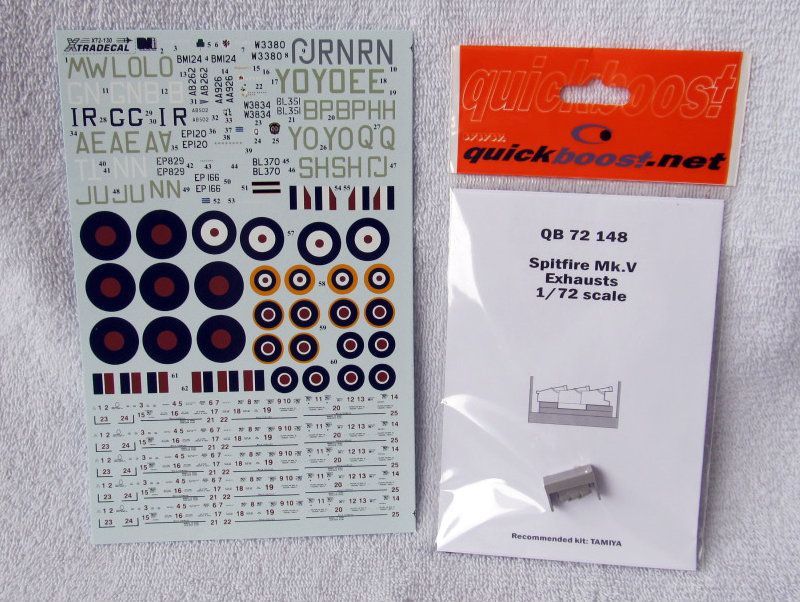
Perhaps you'll notice that one of the QuickBoost resin exhaust stacks is missing. It accidentally got swept down the sink when I was washing parts. I took off the sink trap for a look, but, it was long gone.
The sink is just one more danger the average modeller must learn to respect.
A little bit of paint, a little bit of glue. Now I have to mask the canopy with tape before I install the wings. It's easier that way. Still a lot of glueing, filling, and painting to go.
Perhaps you'll notice that one of the QuickBoost resin exhaust stacks is missing. It accidentally got swept down the sink when I was washing parts. I took off the sink trap for a look, but, it was long gone.
The sink is just one more danger the average modeller must learn to respect.
Well, I was wondering how long it was going to take me to bust off those wing cannon barrels. I give thanks to Albion Metals for their various miniature brass tubing which will save the day.
I managed to get the Tamiya masking tape applied to the canopy, plus some mask robbed from an Airfix kit.
As you can see, I have a little bit of a mess going on at the wing roots. Will have to work that over some.
And I had to jam in a little bit of .010 sheet into the wing/fuse join.
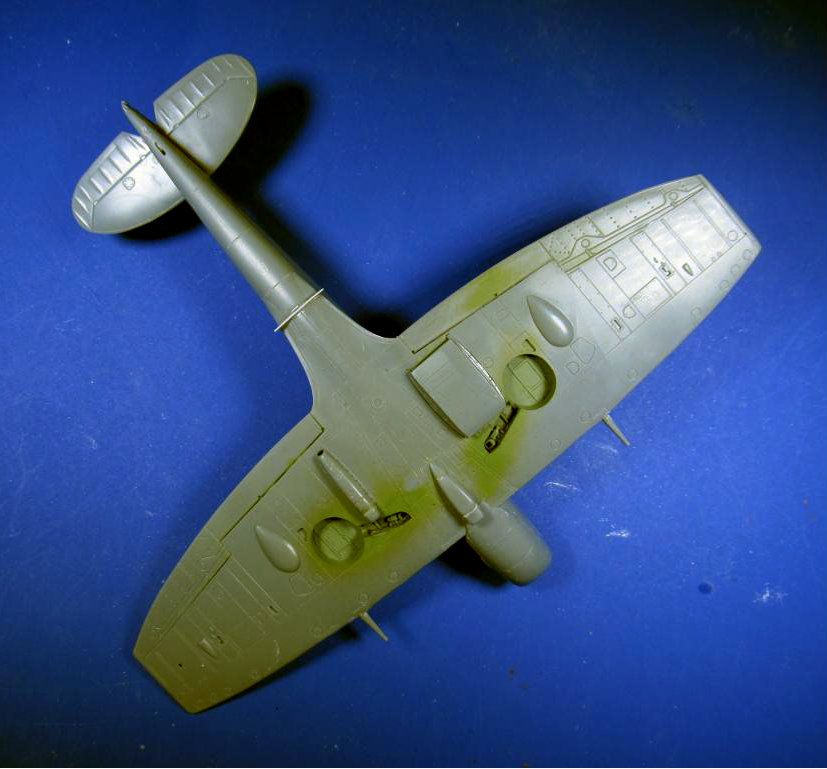
After some minor filling, sanding, and scribing; I believe she'll be ready for prime. :v
I managed to get the Tamiya masking tape applied to the canopy, plus some mask robbed from an Airfix kit.
As you can see, I have a little bit of a mess going on at the wing roots. Will have to work that over some.
And I had to jam in a little bit of .010 sheet into the wing/fuse join.
After some minor filling, sanding, and scribing; I believe she'll be ready for prime. :v
Hate it when wing root don't work...
Similar threads
- Replies
- 12
- Views
- 1K