jugjunkie
Active member
This is the very old Tamiya kit of the T-62A

Did a lot of fixing up as follows but before I get into the build, this is what I was aiming for

A) Added DefModel gunboot and corrected front section of turret using JP Model resin turret as a master


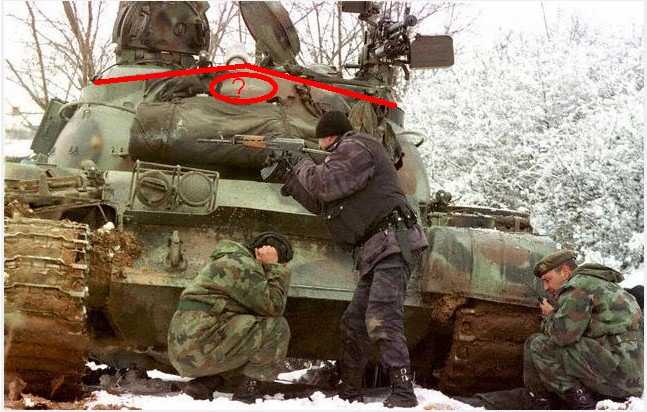
B) Added 2mm to the height of the turret

C) Added some main headlight wiring

D) Thinned out the front fenders and gave them some character

E) Thinned out the rear rubber mud guards and added some detail

F) Removed 2mm off the back plate the tank, as well as 3mm off the back hull section. The tank should sit slightly nose down.


G) Gave everything my own mixture enamel primer.


H) Gave the turret some mold texture and primered


I) Added the external fuel cells and scratched some plumbing and gloss coated. Then I sprayed on water based low hold, hair spray. I also added some spring loaded front fender arms, drilled out the comander's vision slot and added the search light gun following fixture.


J) Next I put on all the colour and did my scratching and chipping


K) Next some artists oils rust and decals


L) Painted up and weathered the wheels and did a bit of damage to the rubber

and as of now I have attached the wheels and did some more artists oils weathering, streaking and some various washes, matted everything down and that's where it's at.


Did a lot of fixing up as follows but before I get into the build, this is what I was aiming for

A) Added DefModel gunboot and corrected front section of turret using JP Model resin turret as a master


B) Added 2mm to the height of the turret

C) Added some main headlight wiring

D) Thinned out the front fenders and gave them some character

E) Thinned out the rear rubber mud guards and added some detail

F) Removed 2mm off the back plate the tank, as well as 3mm off the back hull section. The tank should sit slightly nose down.


G) Gave everything my own mixture enamel primer.


H) Gave the turret some mold texture and primered


I) Added the external fuel cells and scratched some plumbing and gloss coated. Then I sprayed on water based low hold, hair spray. I also added some spring loaded front fender arms, drilled out the comander's vision slot and added the search light gun following fixture.


J) Next I put on all the colour and did my scratching and chipping


K) Next some artists oils rust and decals


L) Painted up and weathered the wheels and did a bit of damage to the rubber

and as of now I have attached the wheels and did some more artists oils weathering, streaking and some various washes, matted everything down and that's where it's at.


")