• Modelers Alliance has updated the forum software on our website. We have migrated all post, content and user accounts but we could not migrate the passwords.
    This requires that you manually reset your password.
    Please click here, http://modelersalliance.org/forums/login to go to logon page and use the "Forgot your Password" option.

Airfix 1/72 Folland Gnat T.1

Here's pre-build picture of the Airfix Gnat T.1 I'll be doing for this build.
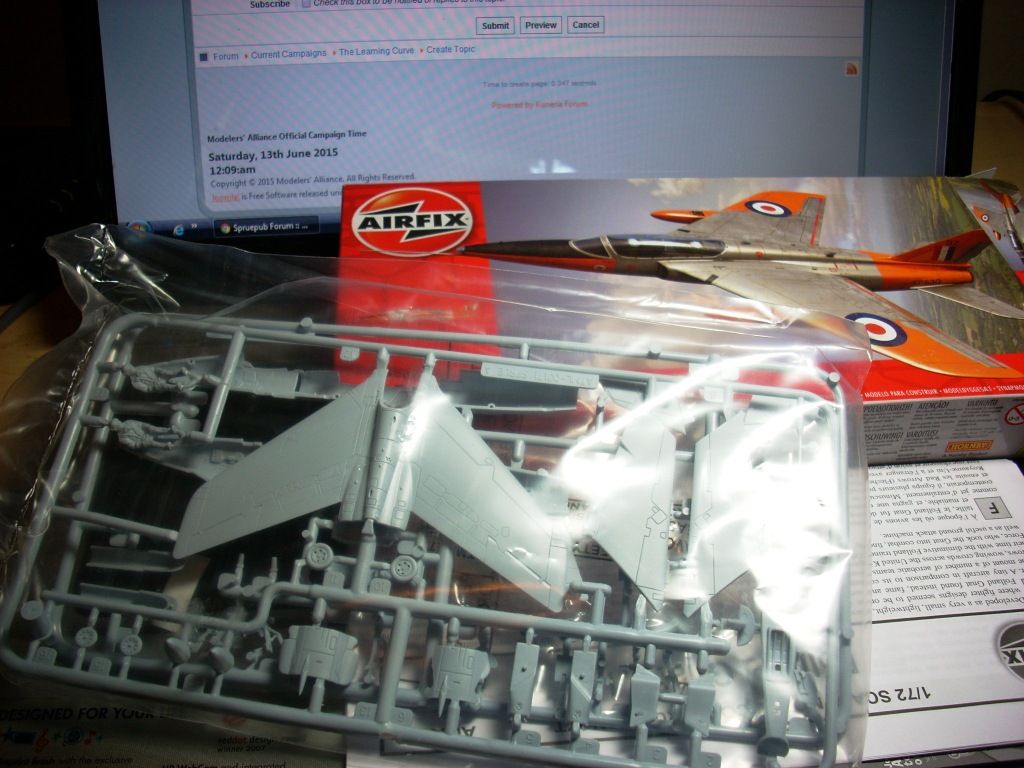
DSCN3126_zpsv3hkm3dd.jpg
 
The instructions don't mention it, but you may want to add a bit of weight in the nose. Builds I've seen on-line have been split on this, but better safe than sorry.

Cheers,
Rich
 
I've started on this the other day. I built the cockpit, attached the main wheel wells, and intakes, and did some minor sanding to (hopefully improve fit. THEN, I discovered Pavla (?) does a cockpit for this kit. The cockpit is more expensive than the kit, so I'm trying to decide if 'I run what I brung' or buy the resin.

Anybody reading this follow MotoGP?
 
I'm not sure that you would see alot of extra cockpit detail (beyond the seats) thru the one piece canopy supplied in the kit as it does distort abit due to its thickness. Pavla also makes a vac form canopy (also one piece) but you only get one in the package so it will take some care in trimming and fitting it.

Cheers,
Rich
 
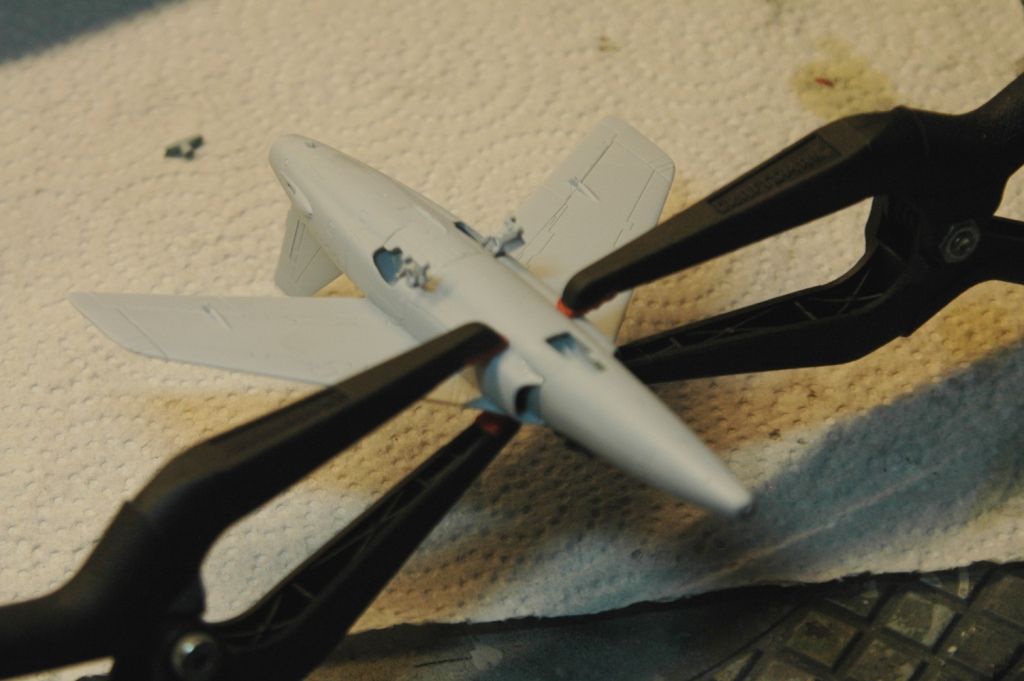
Now that I'm done with my Bf110 for the Things We Love campaign, I started working on the Gnat again. By and large this kit goes together without any drama. Fit is a bit suspect in a couple of areas, specifically the intakes and where the wings sit on top of the intakes.

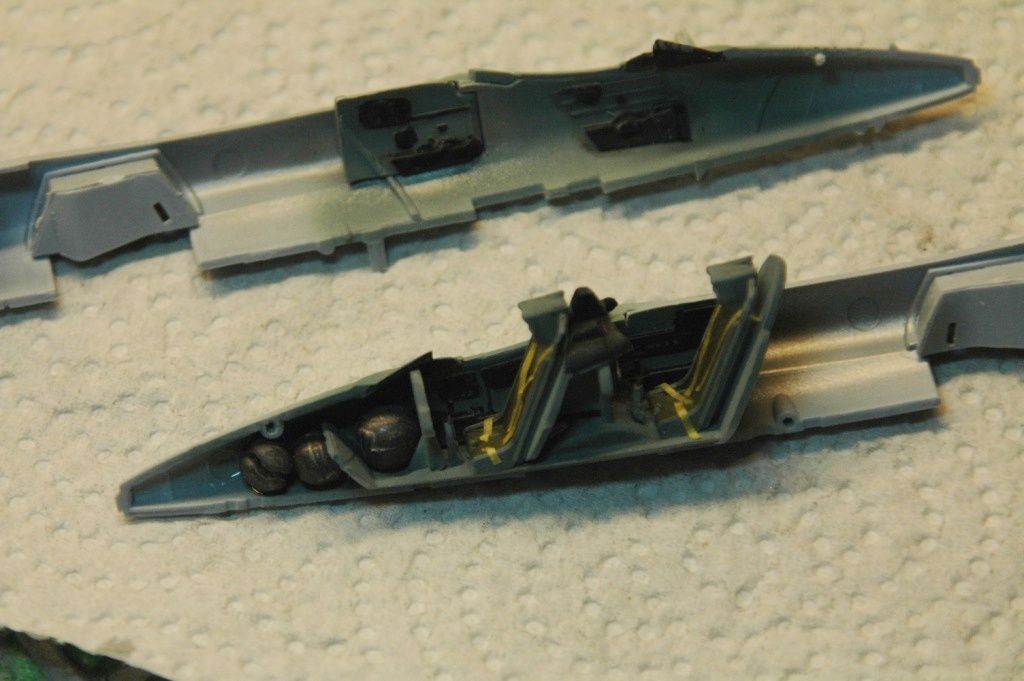
I opted to put a little weight in the nose just in case and opted not to go bonkers with a resin interior (thanks RichB). As most of the cockpit detail won't be visible I kept detailing and weathering to a bare minimum; I used Tamiya tape to represent seat belts.

Gnat_0001_zpstejrqnve.jpg


Gnat_0002_zpsmvgqkshg.jpg
 
Getting that underside together is a real 'trial' - Used a lot of filler when I built mine last year, but you seem to have 'lucked-out' with yours... :hmmm or you're simply better at building than I am, which is more likely.

Ian.
 
Hey Ian, The picture's just blurry. I had to bend that bottom piece into shape, apply some gap filling CA and sand it smooth with a diesel powered belt sander.
 
Yeah y'see my belt-sander was down when I built/wrestled mine, so I broke-out the Black & Dekker and the coarse-grain sanding pads... Went through four of them aswell...


Ian.
 
Back
Top