• Modelers Alliance has updated the forum software on our website. We have migrated all post, content and user accounts but we could not migrate the passwords.
    This requires that you manually reset your password.
    Please click here, http://modelersalliance.org/forums/login to go to logon page and use the "Forgot your Password" option.

1/32 Spitfire MkIXc Tamiya

Paulw

Well-known member
I have been trying to knock this one out for a little bit now but a cracked canopy prevented me from doing so. I finally sourced a new one and got it all straightened out and I am able to pick up where I left off a few months back.

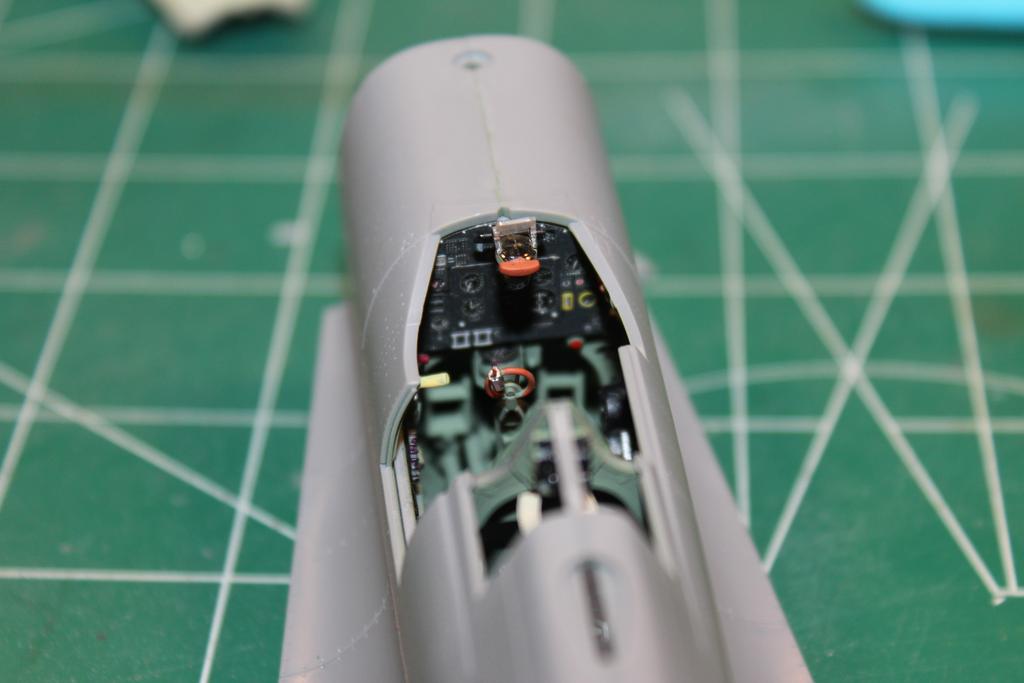
I need to have a better way to shoot pics of the pit so that things may be displayed but until that happens we will just have to do with what is available.


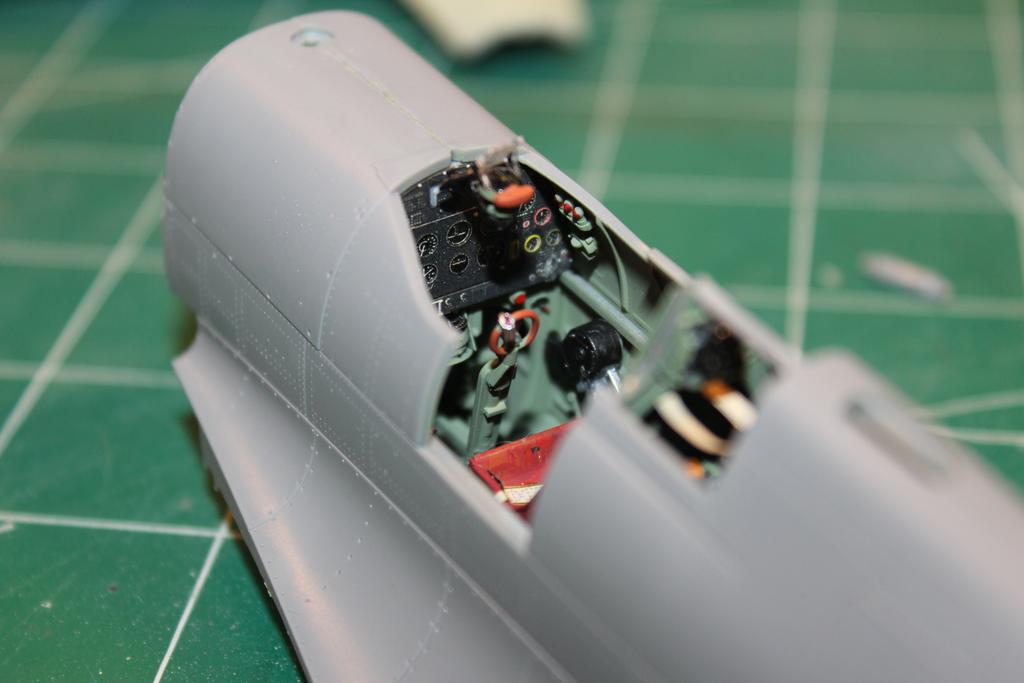
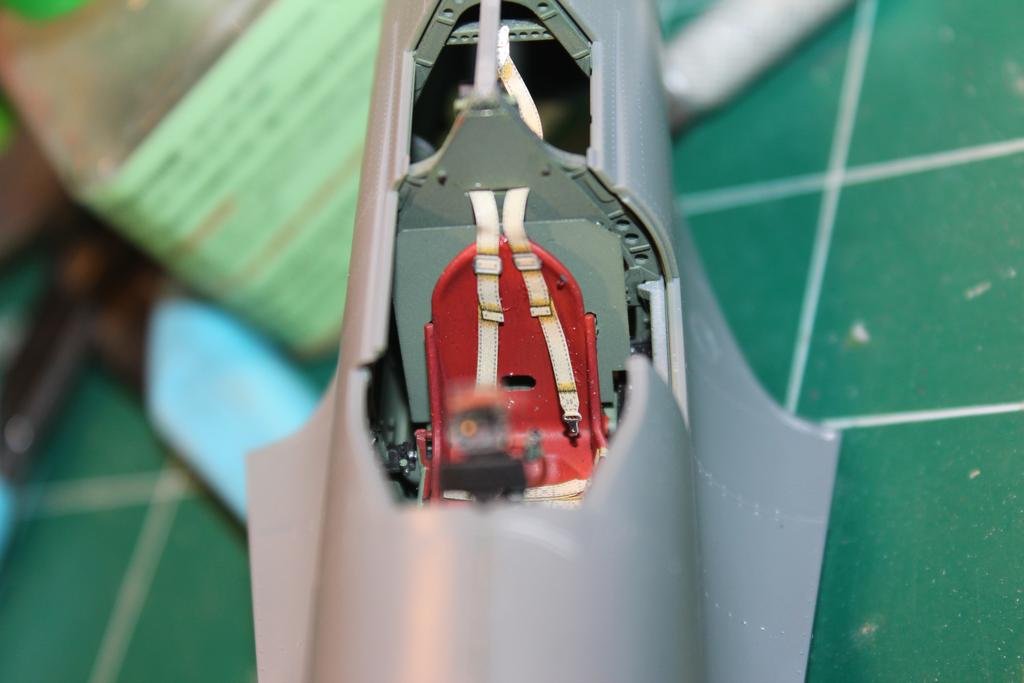
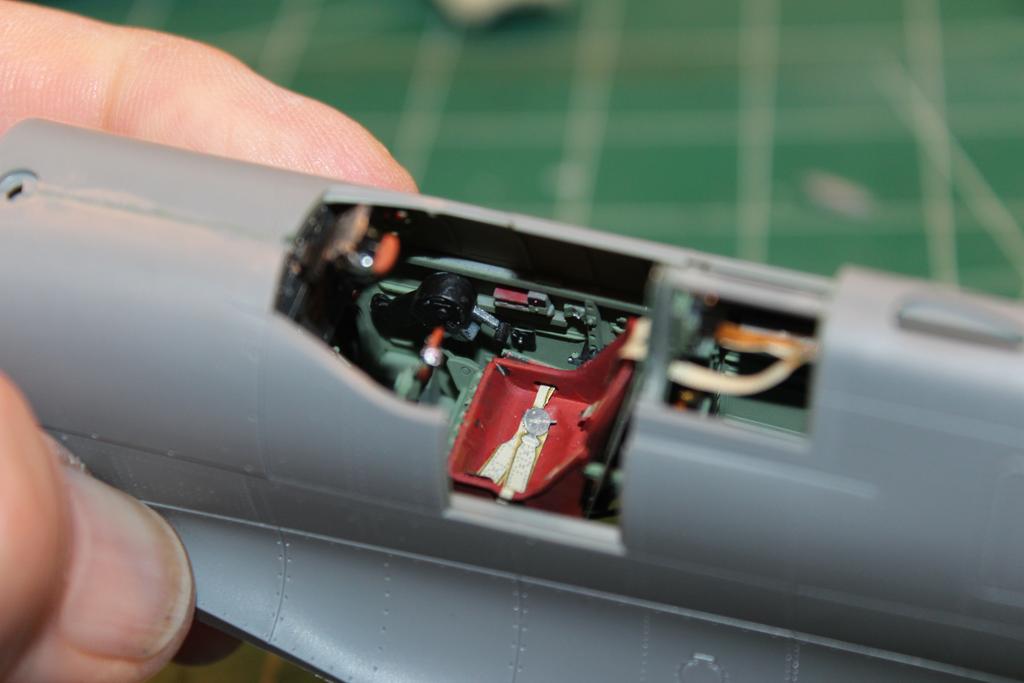
I know the belts are not a Sutton harness but the only thing that I had that was close was one of the many Typhoon belts that I had squirreled away

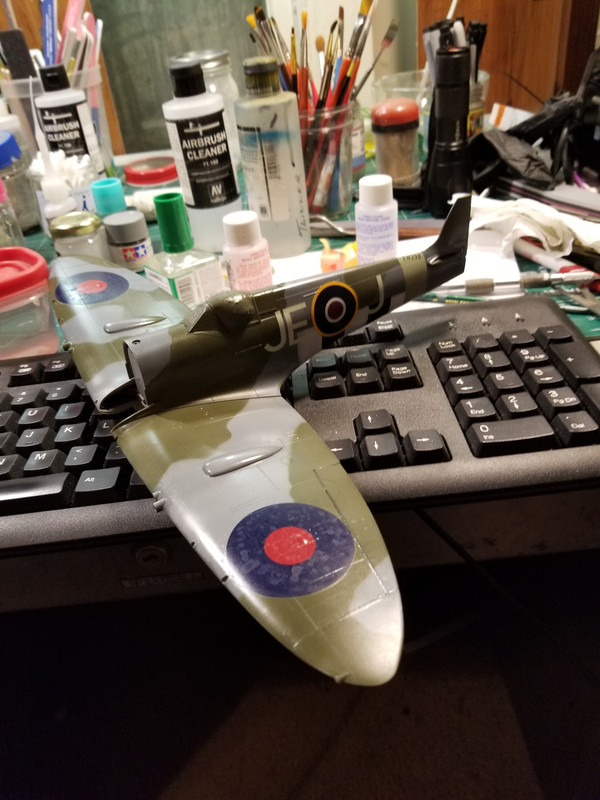
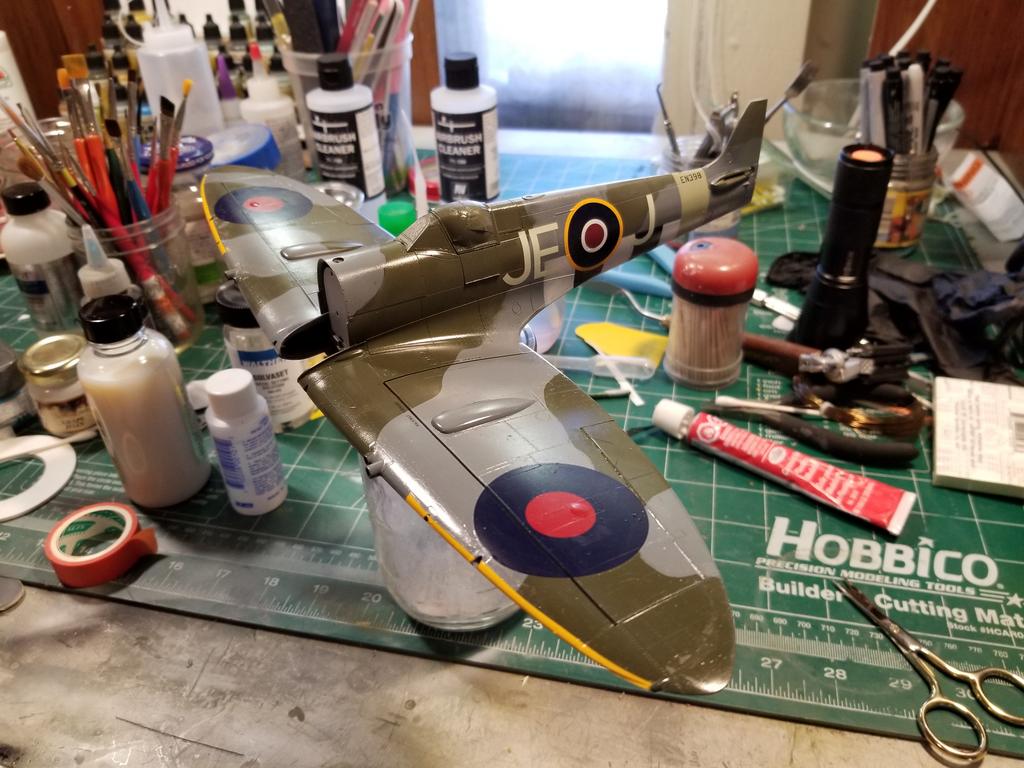
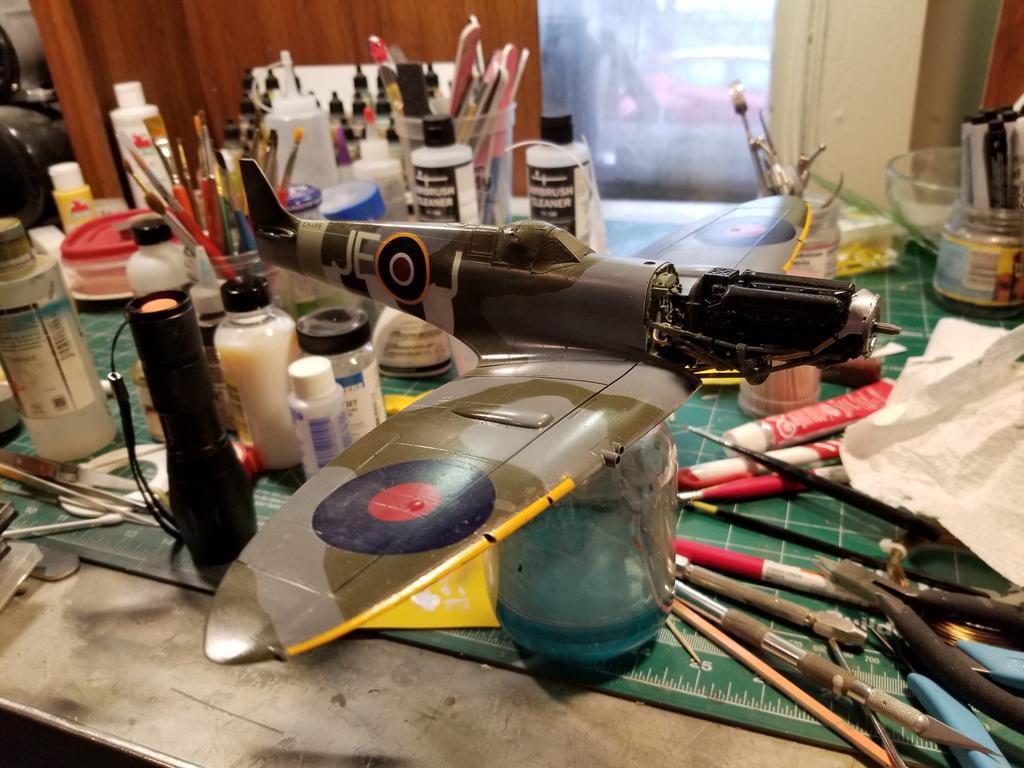
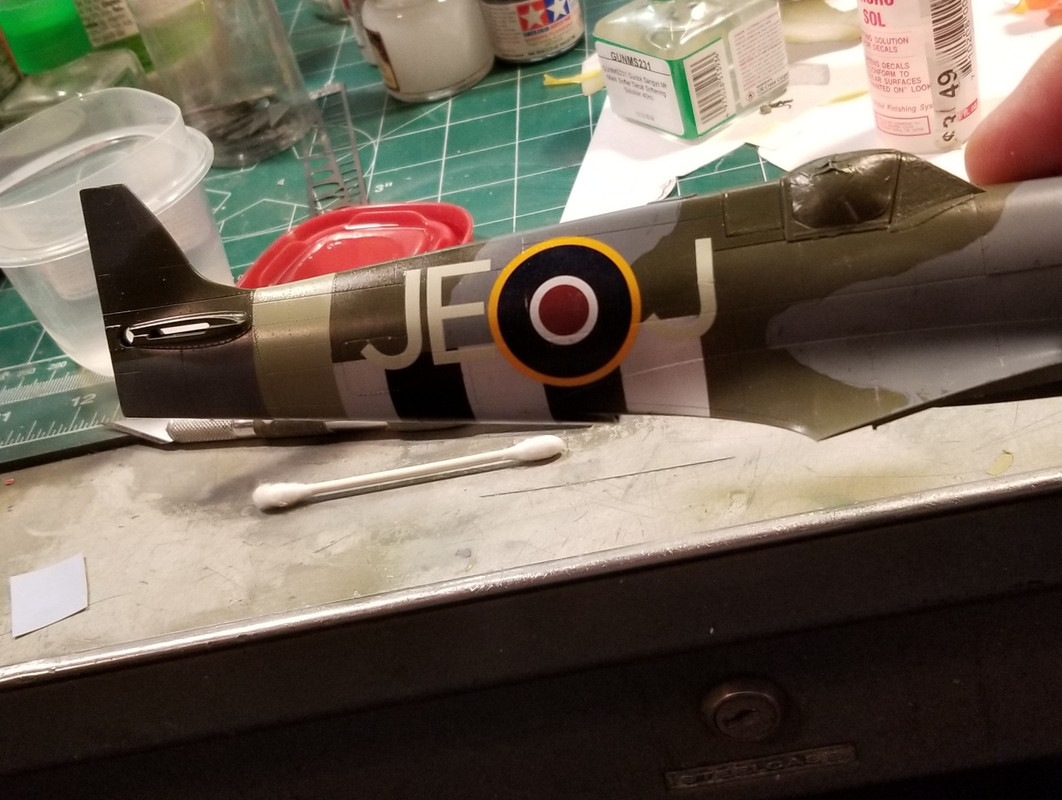
These kits are really nice and I really like the way they go together If you had the right covers and gun locations you could do just about any Spitfire wing that suits your fancy. Here I just went with the kits C wing and got a coat of Tamiya RAF sky shot on the underside.


Tomorrow I will start on the invasion stripes and possibly run the camo on the top.

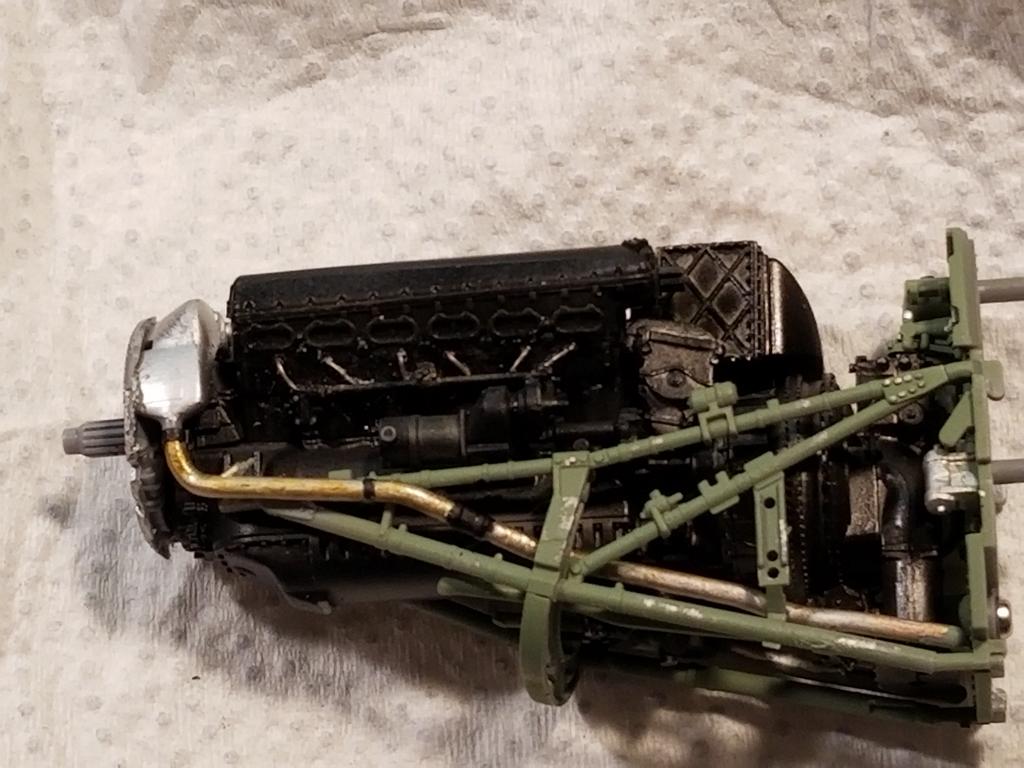
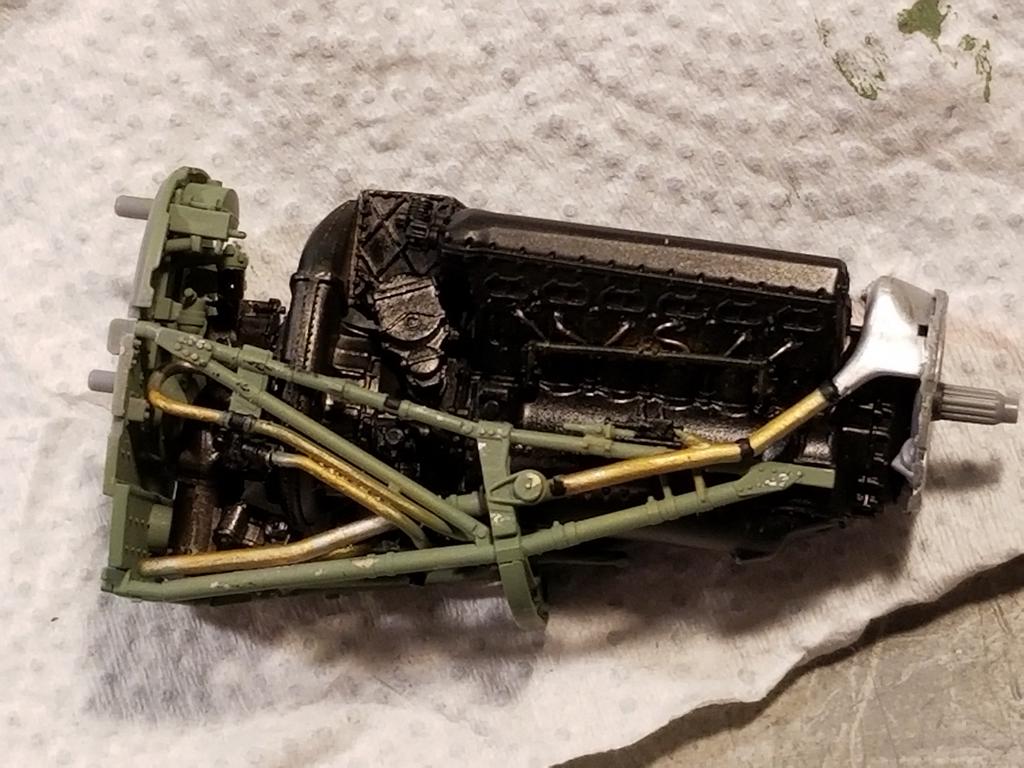
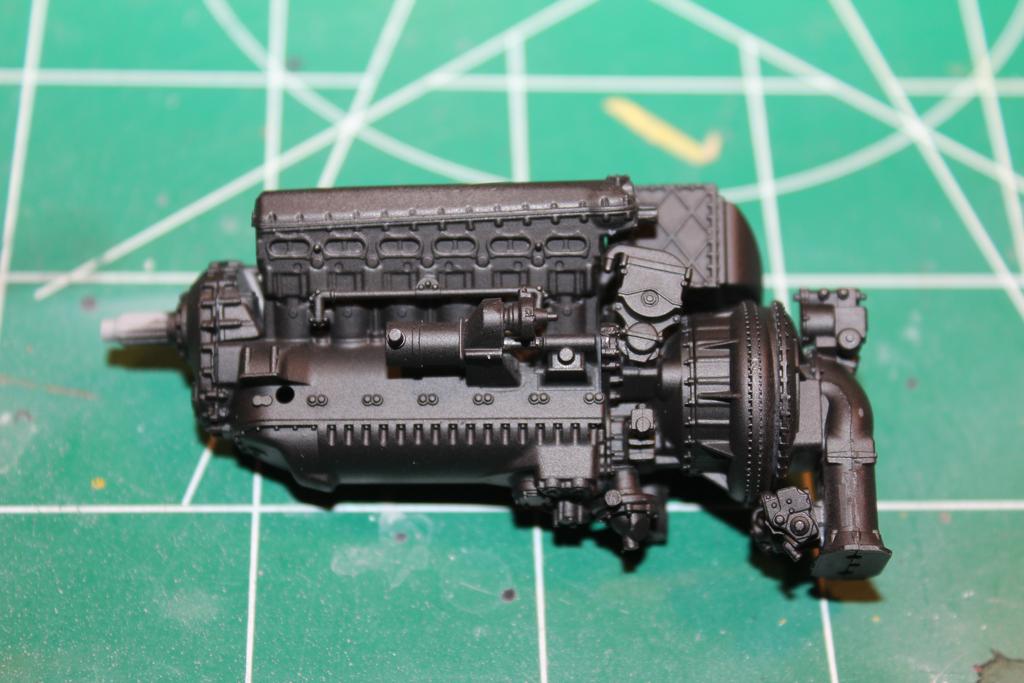
One of the other things that I had a chance to accomplish is the engine. I am still pondering if I am going to display this or not. If I do there will be a ton of details tha5t will have to be done.


Well, thanks for looking in.

Paul
 
I have been busy these past few day on this kit. It k9ind of feels good. Tim had me get the correct colors and I went and bought a whole bunch of Tamiya and Mr Hobby Aqueous paints. Busy with the camo I used some Windsor and Newton masking fluid to mask the areas that ws not ocean gray or XF-66. Using some light pencil marks I traced out the patterns that I got of of John Eaton's web site. I find it is easier for me to paint and decal the wings first then the fuselage.


[/ur

Once I had the clear coat done I started the decals. I used Microsol on the fuselage decals and roundels with good results. However when I did the wing roundels I used Mr. Mark softer which gave me the following results.

[url=https://postimg.cc/Z9yF8hXp]


I tried using water and a weaker solution of the decal softener with water but the spots still remain.


I Have read the history of this aircraft and it did not fly during the Normandy invasion but Kno0w that Johnny E Johnson did and this is supposed to replicate his aircraft at that time. This is supposed to be a club project also to commemorate the 75th anniversary of that invasion how ever inaccurate this aircraft's livery is.I have built this kit several times before with pretty much disastrous results and as of now I see that this one will at least look like a better job.
 
Onto the soapbox.

The Spitfire did not have a Bakelite seat. The technology of the day did not allow an item as big as a seat to be made from Bakelite. A company named Aeroplastics Ltd in Glasgow manufactured the seat from Synthetic Resin Bonded Paper and it was known as the "plastic seat". There is no standard red-brown colour for the material as it depended on how the resin and paper reacted during lay-up.

When introduced in 1940 it was never intended as a replacement for but as an alternative to the metal seat. Metal seats continued to be used (though not nearly in the same numbers) thru the Spitfire Mk.24 and Seafire Mk.17. As airframes were retired after the war, the plastic seats were removed to be re-used in Provosts, Vampires, Meteors and Hornets.

Off the box.


Build is looking good. (y)

Cheers,
Rich
 
Just a little update. I had nothing but problems with the camo and wings. Paint, decals and some other difficulties but I chose the first set of wings that I managed to screw up and sort of got them where I wanted it. Instead of Mr. Mark Softer I used Solvaset this time with much better results. While I was waiting for it to dry I manag4ed to knock it off the desk and caught it before it hit the floor and in doing so I managed to put a big ole thumb print in the right roundel. I coated it with solvaset to kind og remove the thumb print but it sill shows as a dull spot. Hopefully I can flat coat it into disappearance.

the other problem that I had was with the yellow warning decals that go on the leading edge. They would just not behave so Ill probably have to do some yellow paint touch up. Next is the engine and landing gear and I am taking a break from dealing for a bit.


You are really making some great progress on that plane Paul! Keep up the great work!

I_LIKE_IT.jpg
 
Looking good from here (y) I have never had any luck getting leading edge or fuselage band decals to work and these days just mask and paint.
 
I spent the last three days getting the engine ready to be added to the fuse. I was banging my head trying to find something that would work for ignition wires. Digging through my stash of junk I came across a spool of .3 mm solder. It worked the treat and after a few coats of Tamiya smoke the brilliance of the wire was toned down some. I will add some more weathering later and shoot a coat of satin clear and that should do it.


I hope that after adding the magnets that hold on the engine panels Ill have a better fit than I did with the other Sp0itfire kits that I have done. At 80.00 to 120.00 dollars a kit practice is quite expensive so I try to keep mistakes down to a minimum. I have one more kit that I am planning to make a FR. XI or maybe I mean IX. I'll figure it pout later.
 
Back
Top