Duke Maddog
Well-known member
Hello everyone. I've been given this opportunity to show my work in one thread so here it is. I'll add the previous works in progress that I posted in the "What's on the Workbench?" thread here first as a primer to let you all know where I left off.
On the EH101 Merlin, I completed the painting of the interior. Now all I have to do is add the interior decals and glass in the windows and I can close this bird up:
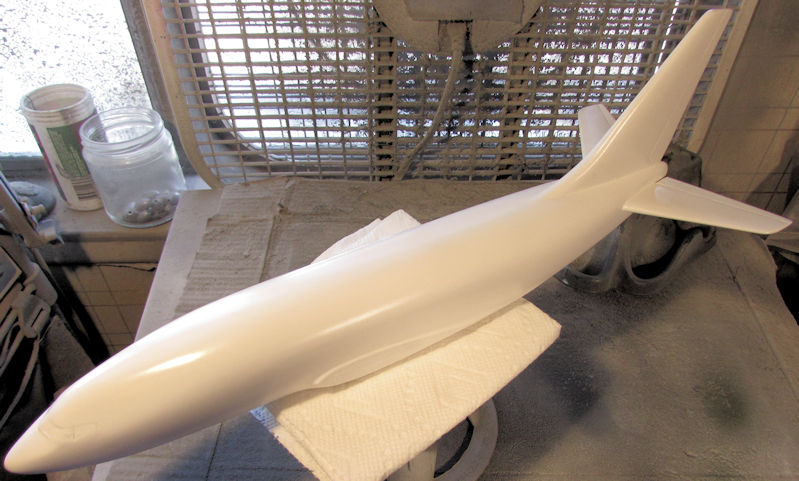
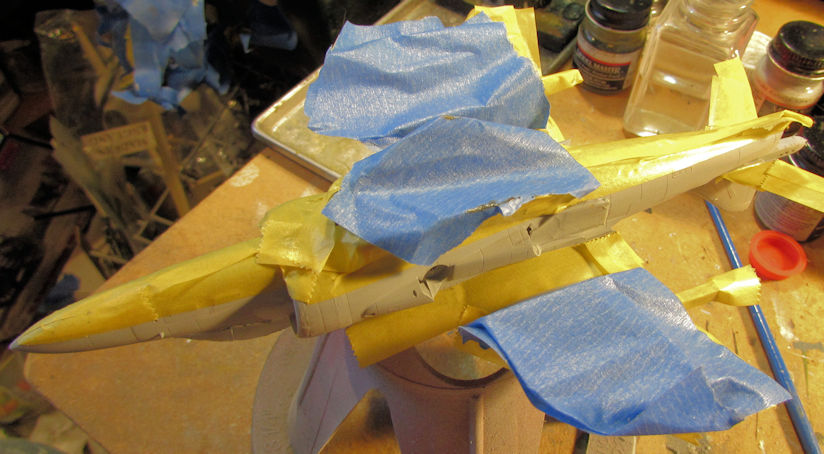
Next I worked on my Australian HAP Tigre. I masked the canopies for painting:
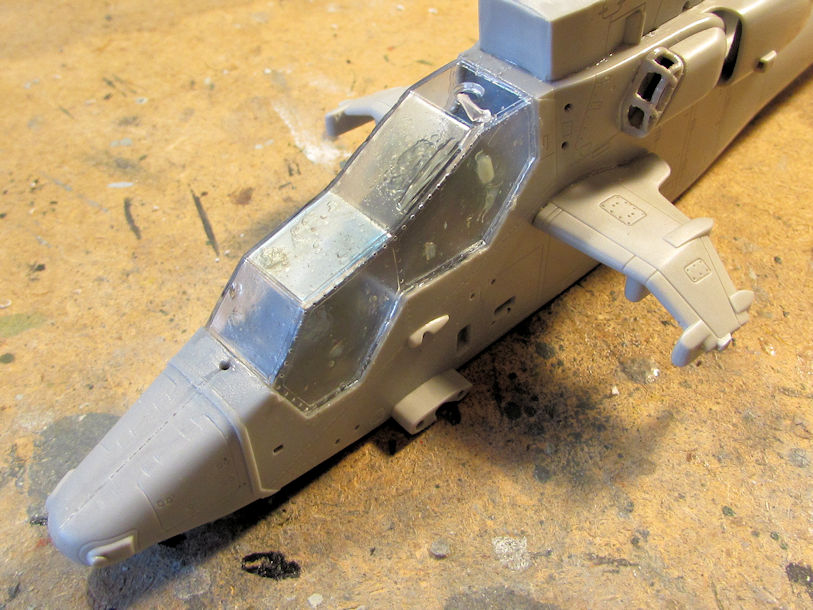
That's when I noticed the gap in the top of the nose. So, I decided this was a good time to try that new Squadron putty:
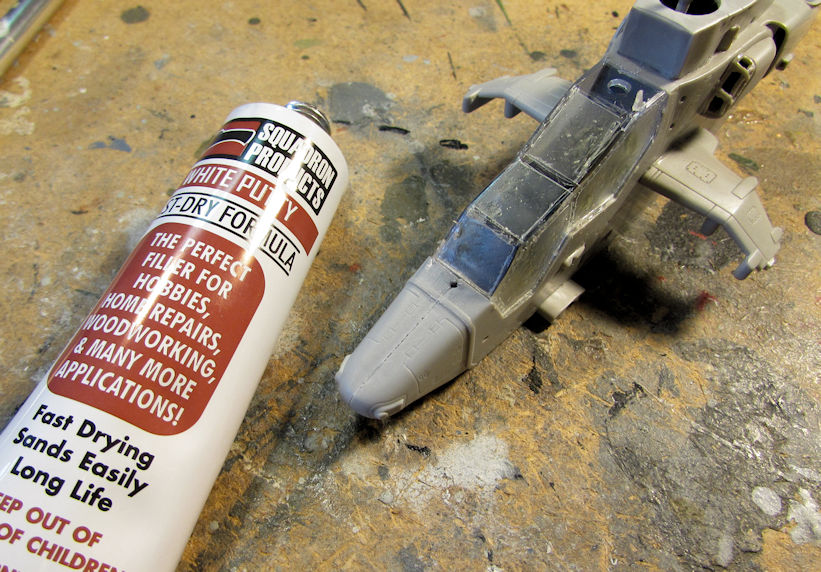
I slathered some on, trying to keep it over the gap as much as possible. I was surprised that it came out looking almost clear:
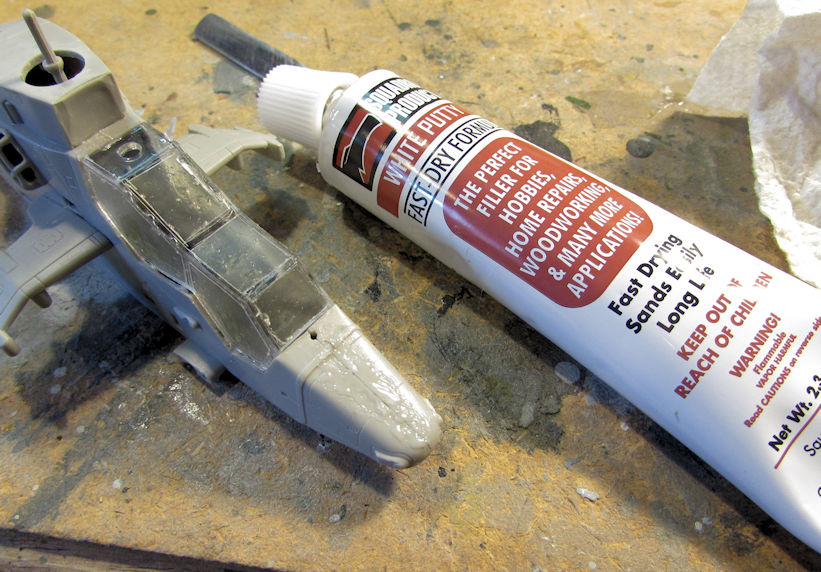
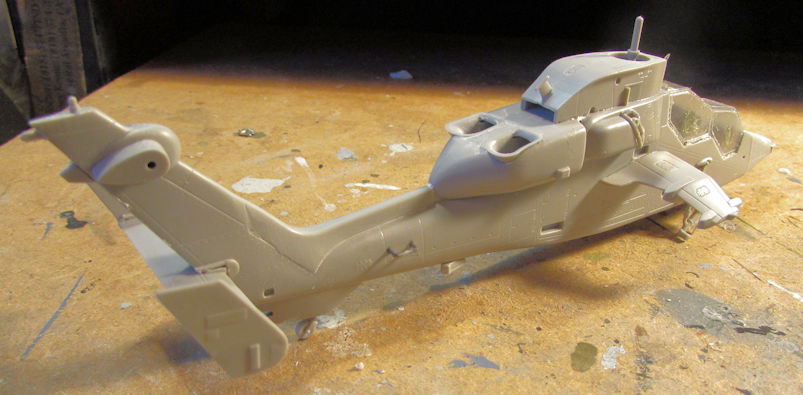
Later on, when I went back to sand it after it was dry, I saw that it had caused some slight pitting in the top of the nose. I was able to sand it all away, but this was unexpected. After reading the tube, it does contain Toluene which does melt plastic a bit. So, this will take some getting used to for me. It also dries clear so that; even though it appears that I still have a gap, there is none there. I forgot to take a pic of the nose after all this. I did move on and add most of the final detail bits to this so it is almost ready for paint:

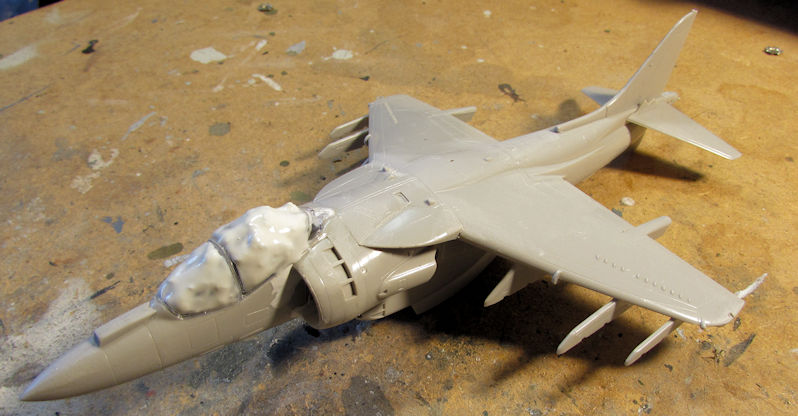
Moving on, I spent more time on the A-10, trying to bring this over the finish line. I didn't quite make it but I came close. Here's the progress I made on that so far.
First off, I shot a dullcoat over this model:
After that dried, I removed the masking from the canopy:
There were a few areas I needed to touch up, which I did later on.
After getting the canopy removed, it was time to install the landing gear and gear doors:
There was a lot of touch up needed here too since I forgot to paint the exterior of the doors. Oh well, I got them after I installed them here.
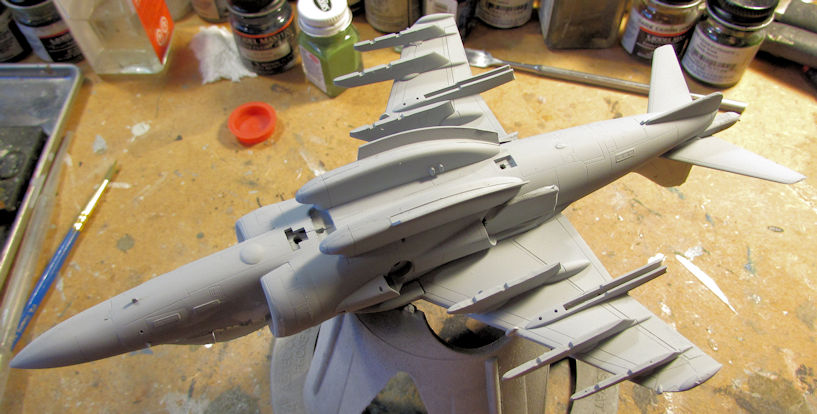
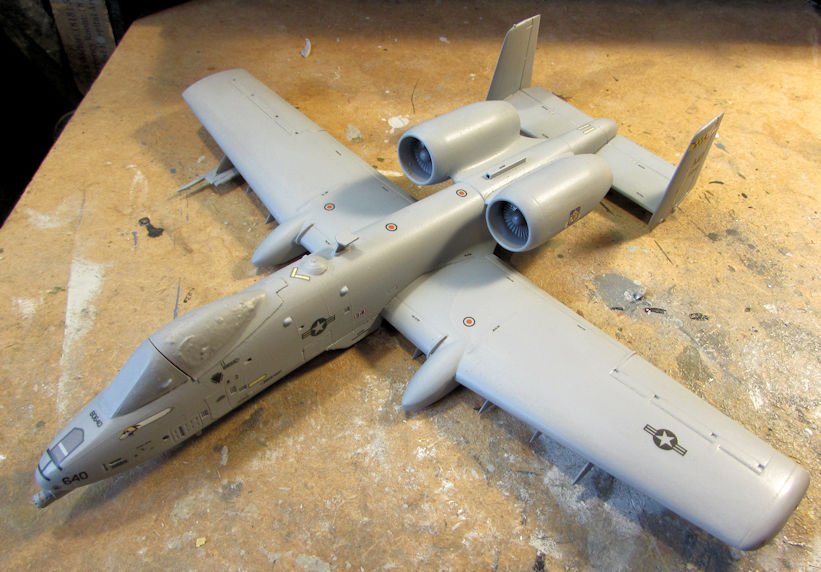
Once they were sufficiently dry, I added all the ordinance that I could fit in place. I still have one pylon I need to figure out what to mount on but otherwise this bird is loaded for bear:
You can see I also added the wheels to this. Now all I have to do is some more touch-ups on the weapons themselves.
This is by no means the final pic, but it gives you an idea of how this bird will look. I still have a lot of touch-ups to do before I can call it finished:
Moving on, I got a lot of small progress on a number of my armor and vehicles, as well as started one new one.
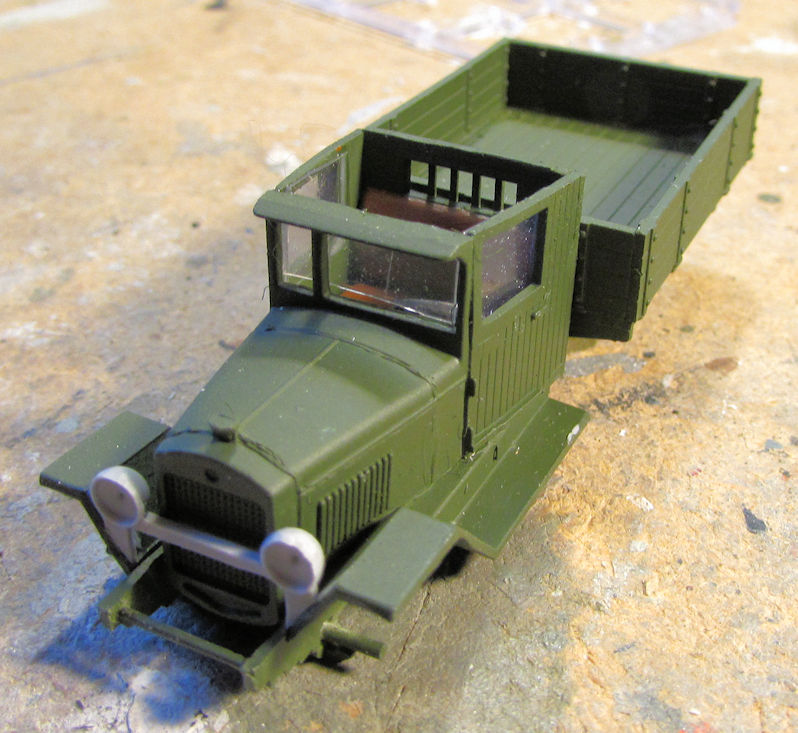
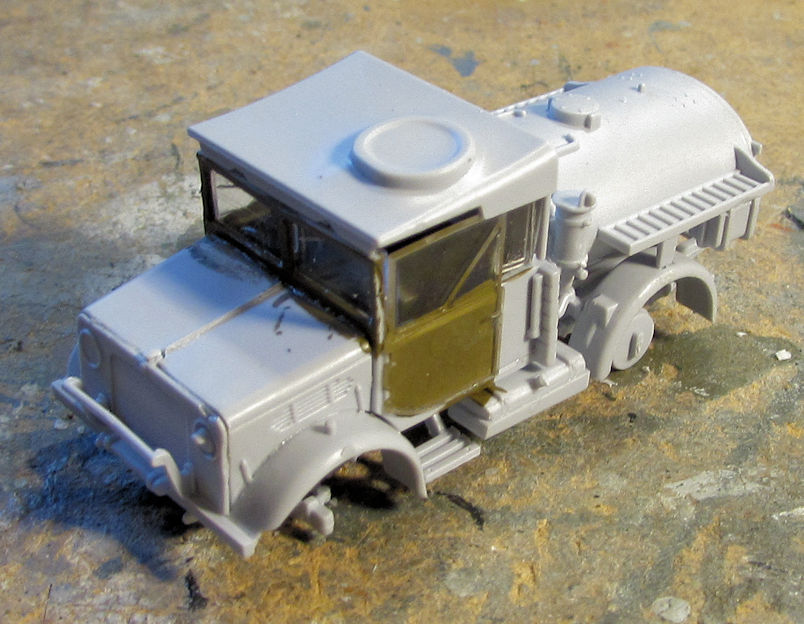
First off, I shot a basecoat of dark green on my Russian Zil 5 truck:
After that dried, I painted the seats inside a leather color:
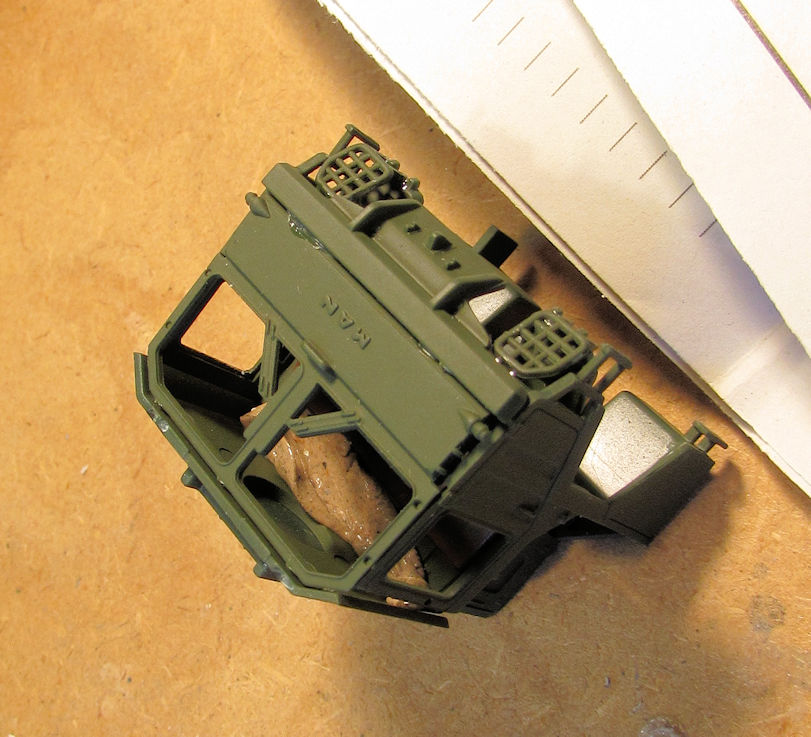
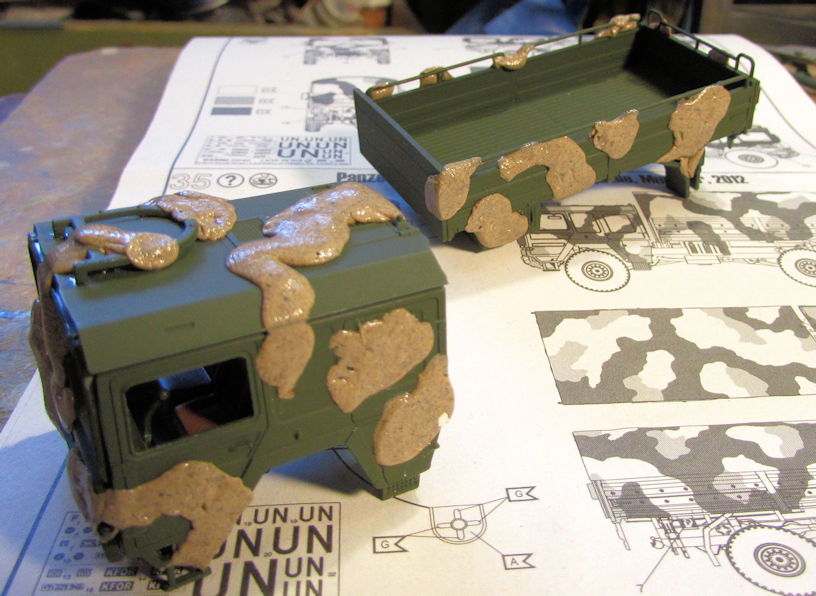
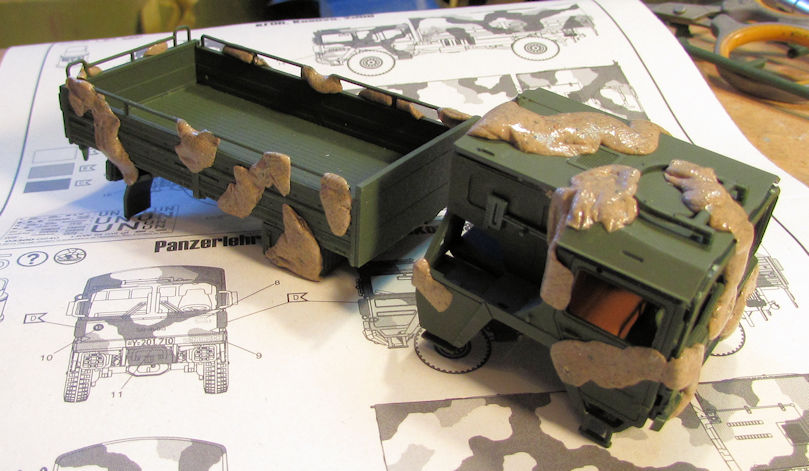
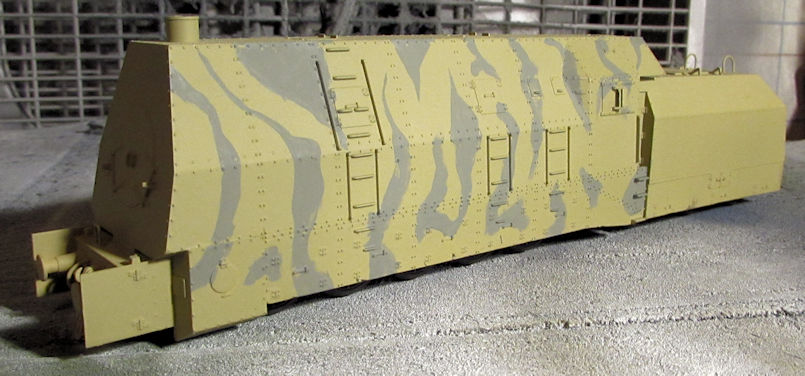
Meanwhile, since I had the dark green out, I also basecoated the MAN 5-ton truck with this color:
I also dry-fit everything to see how it looks so far, as well as tried to plan how I'll paint the other two camo pattern colors:

Later, I also painted the seats inside a leather color:
I still need to fix that gear shift lever....
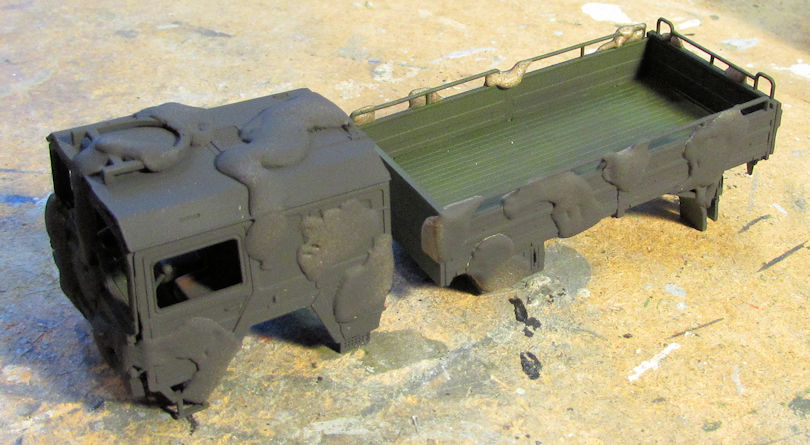
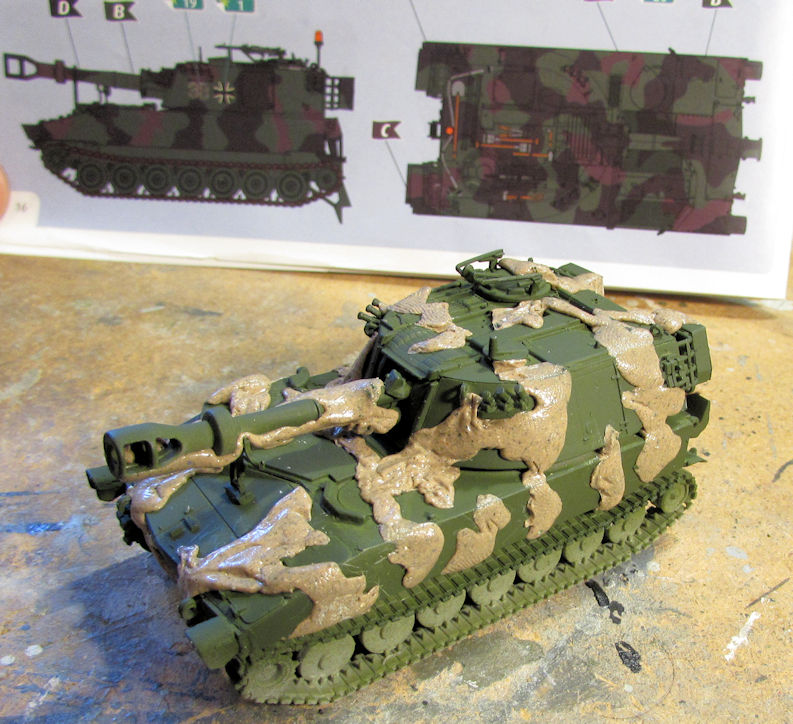
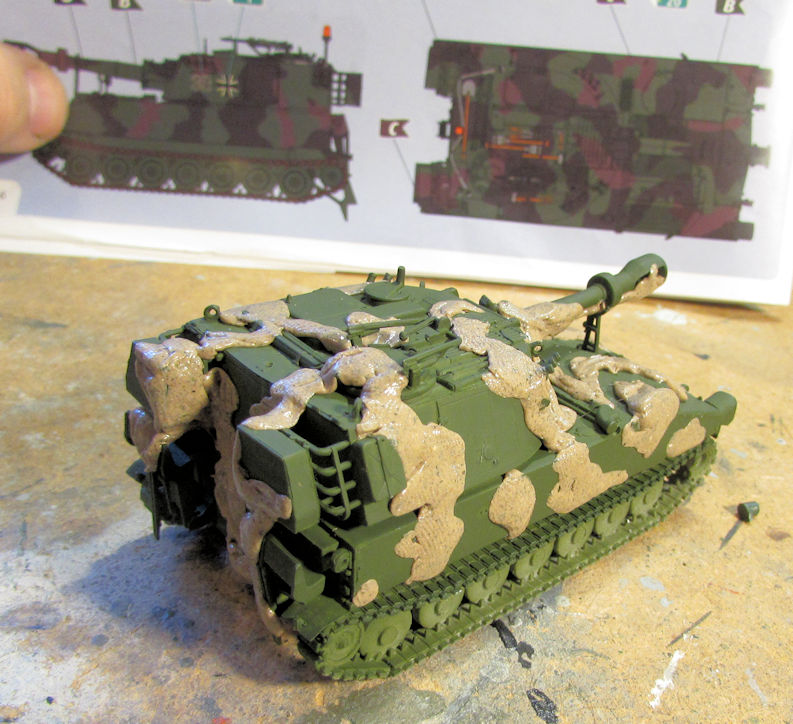
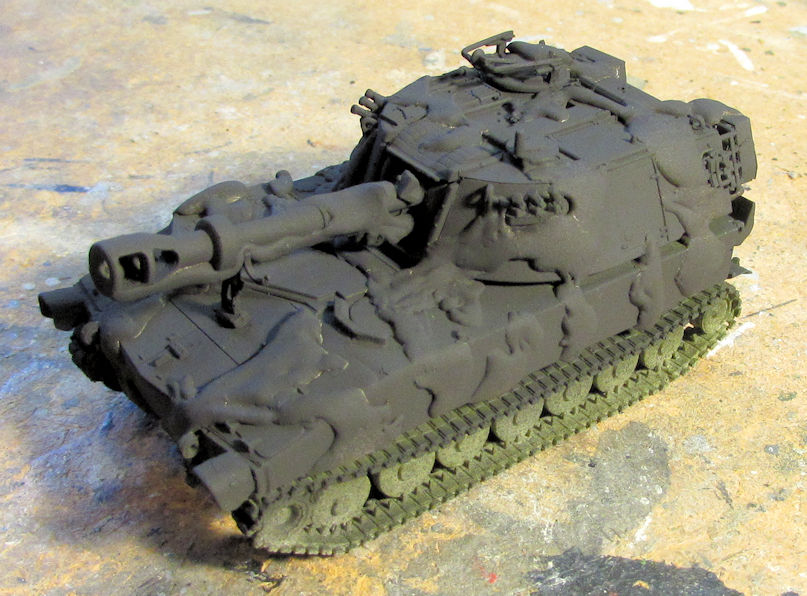
And still, since I had that dark green out; I shot the German M-109:
I'm not sure why that second pic turned out so yellow, but the color is the same as the previous two models. I also shot the hubs for the outer wheels:
Now I can mask this one and start the second two colors for the camouflage pattern.
After all that, it was time to change colors. I pulled out an Olive Drab ANA color and shot the Churchill bridgelayer:
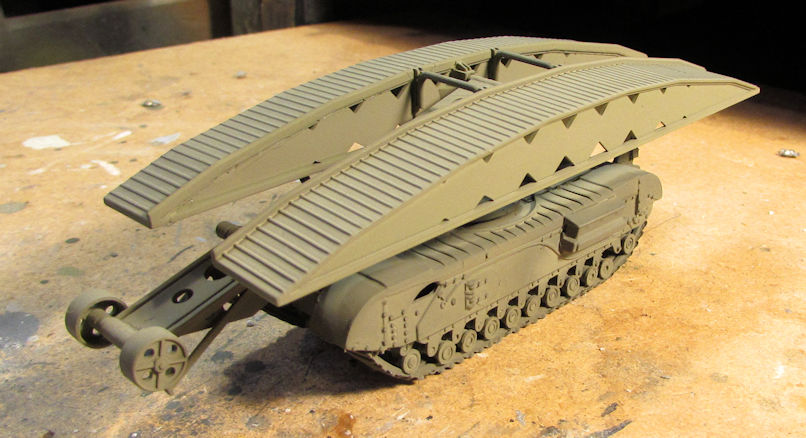
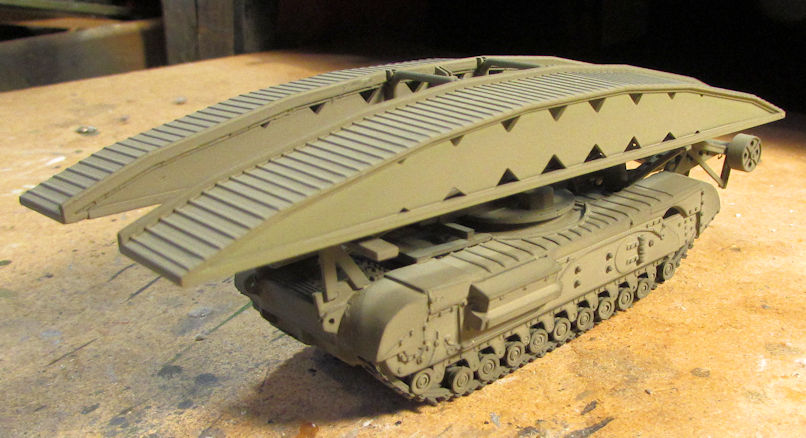
I gave up on trying to make that operational again; the engineering is just a bit beyond me, especially in my fatigued state. I'm just gonna finish that as is. Next up, some color modulation, glosscoat and decals...
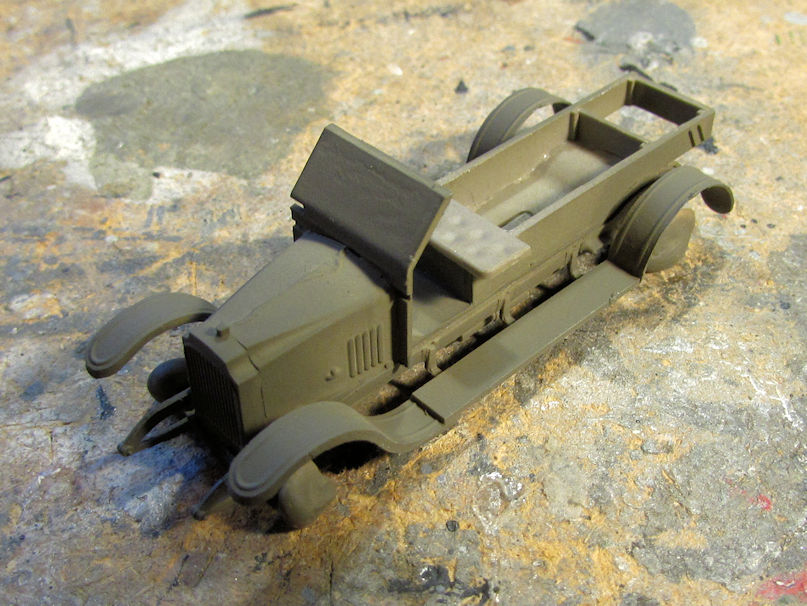
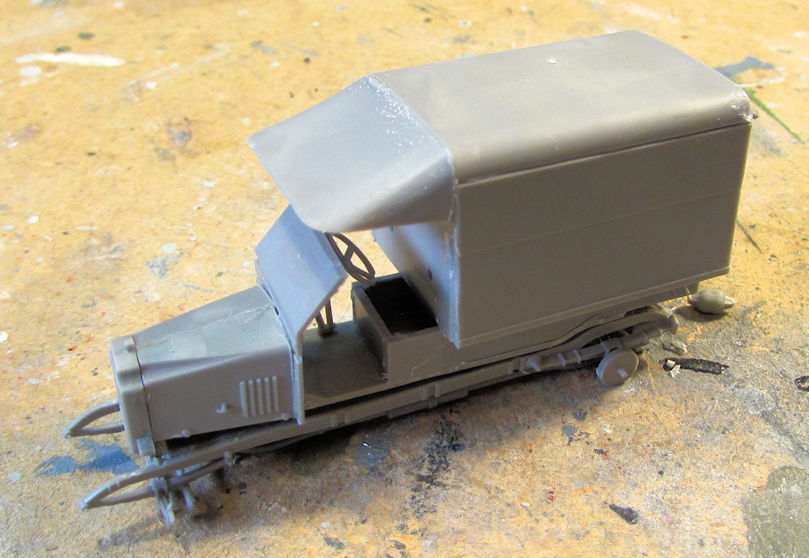
Finally, I started the little Roden Vauxhall ambulance that had been calling my name. First up was the delicate suspension:
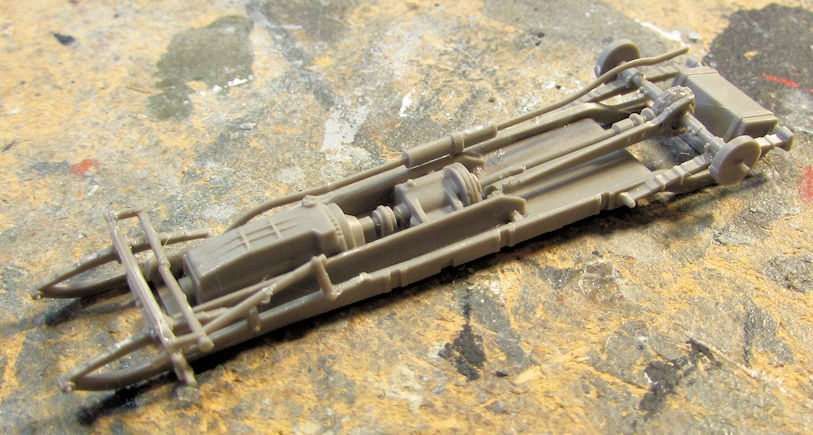
I broke about three of those parts trying to put them in place. That's actually pretty good since on the Vauxhall staff car (which has the same suspension) I broke seven pieces... I'm getting better!
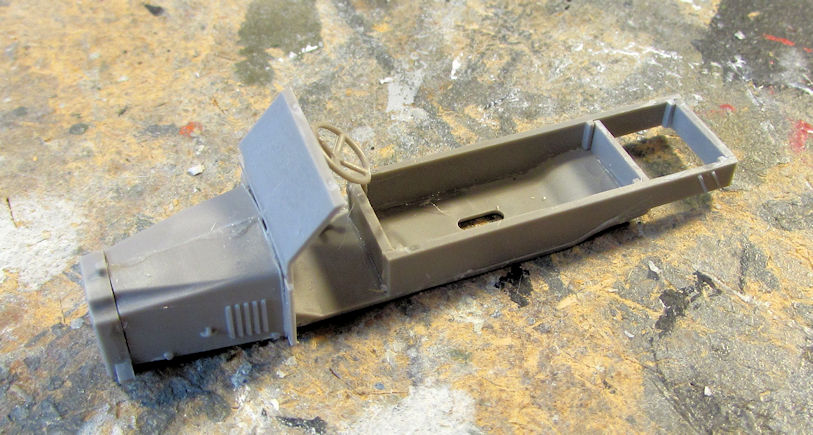
Next was the main body of the car. This was fairly straightforward, but I was a bit put off by the 'blast shield' they had in front of the driver. I guess he's supposed to peer over it as he drives:
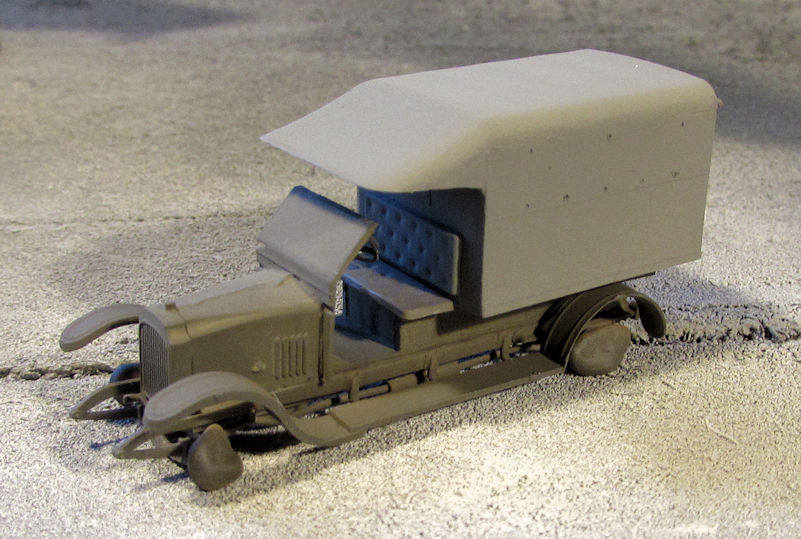
Next I built the upper box area where the stretchers are carried:

I want to paint the interior and the stretchers first before I close that up. Come to think of it; I wonder why I want to do that. Nothing will be seen once this is closed up. Hmmm.....
Anyway, here is this tiny model all dry fit together so far:
Later, since I had the Olive Drab ANA out, I shot the lower part of this car with it too:
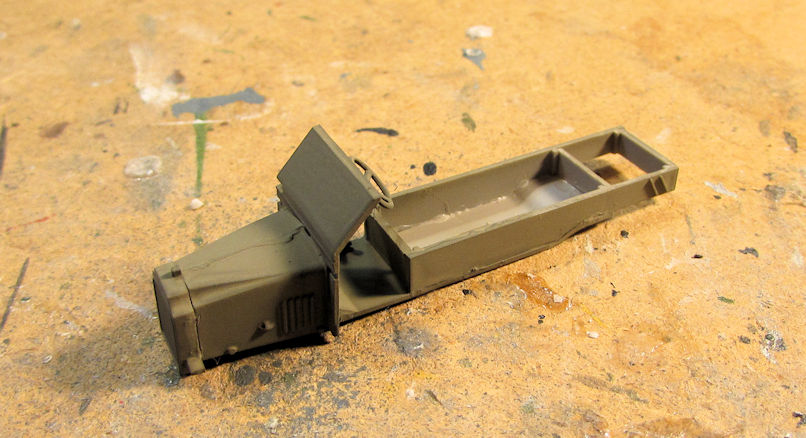
I should have waited here too until I had the fenders on and such. They need the same color. Doh!
Oh well, there is my latest progress so far, as of a few days ago. Now here's an update showing the most recent work I got done during Hobby Day on Friday and Saturday.
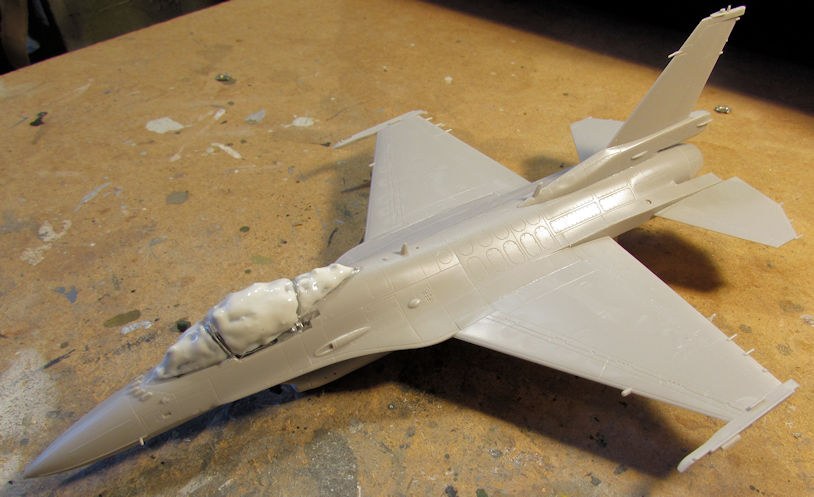
Once again I'll start with some aircraft. I started one aircraft and continued a second one in hopes of getting them to the paint stage so I can paint them along with about seven others on the paint staging area. Since I wanted to build something simple, I pulled out my Italeri F-16 Fighting Falcon which will be made into a single-seat Italian Falcon. Naturally, I started with the (very!) basic cockpit:
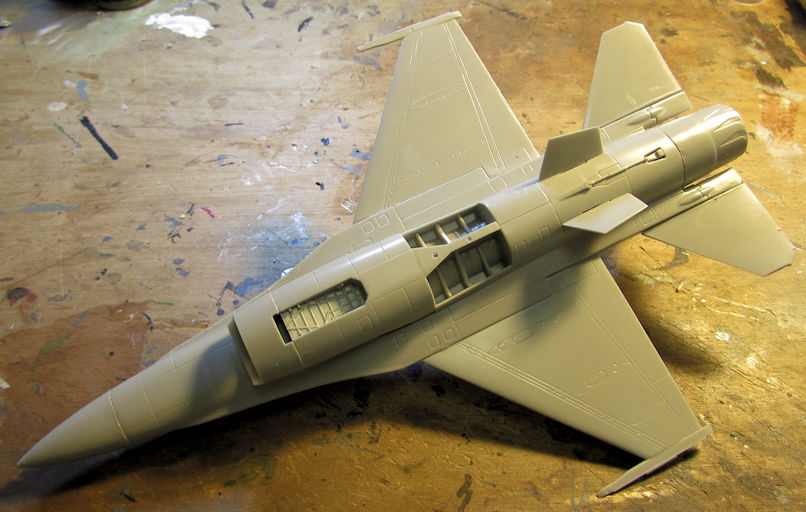
Later I added all the parts to the underside; air intake, main gear bay parts etc.:
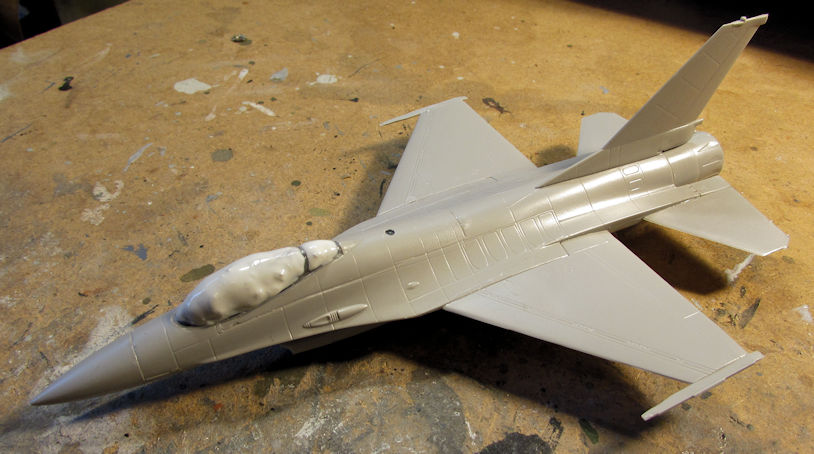
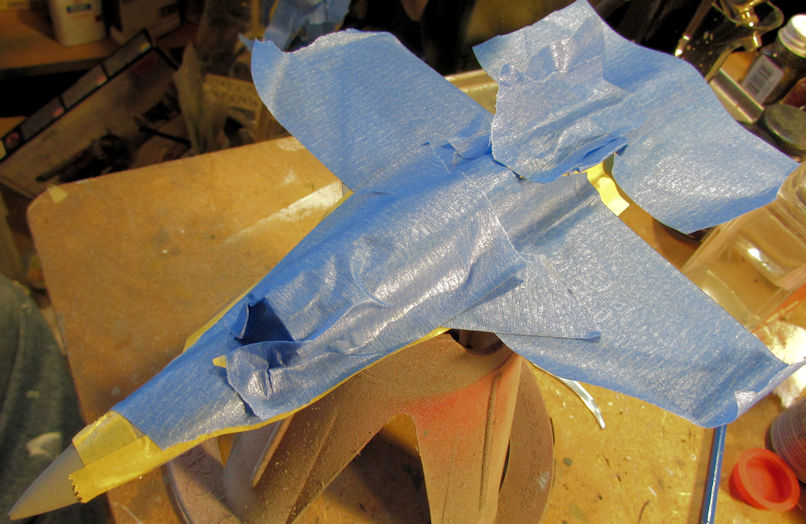
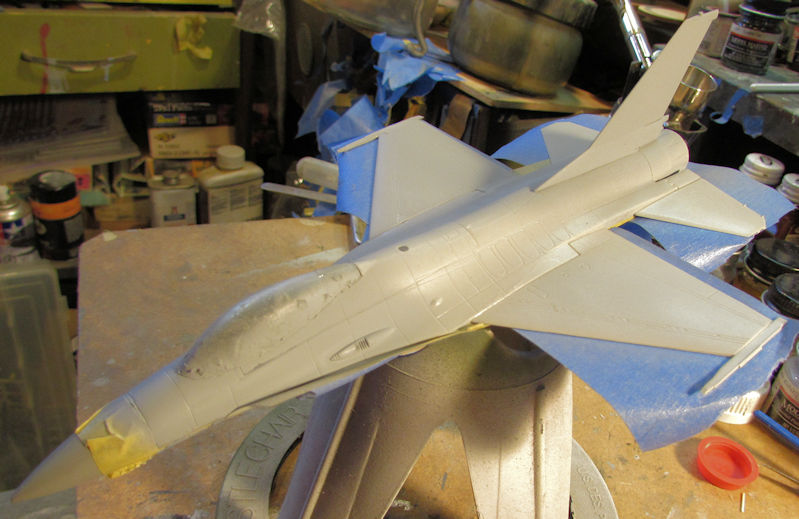
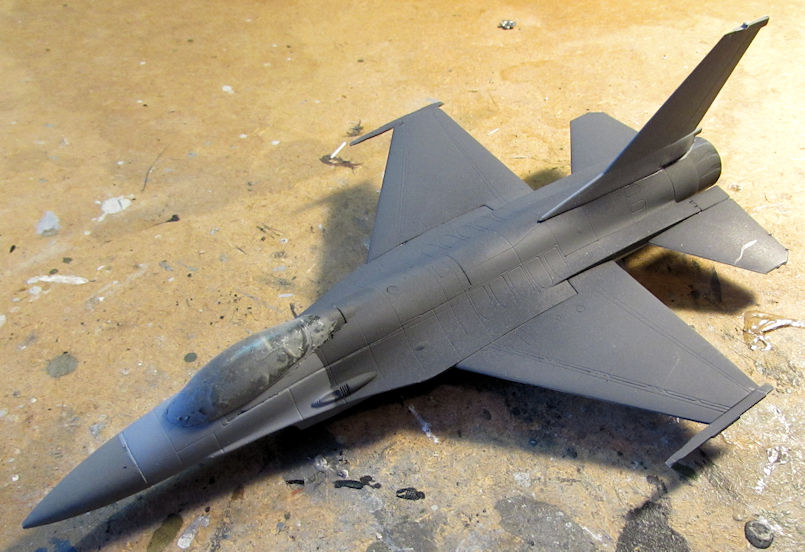
I had also gone through and cemented all the halves of the ordinance and underwing stores to complete them and have them ready to hang under the wings when the time comes. Later, I added weight in the front of this plane as per the instructions and closed it all up. Adding the tail parts, wings and canopy has brought this to the paint stage as planned:
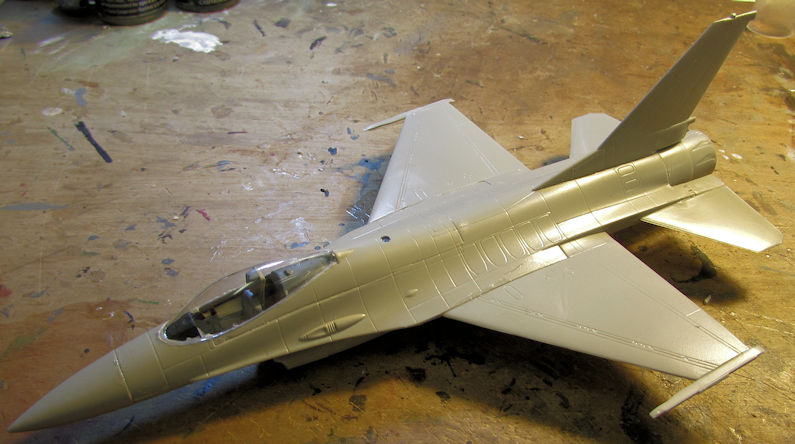
There is a bit of sanding and filling I do need to do; as well as masking the canopy, but this is already right where I was hoping to get it. I'm going to have a lot of time to spray this and many other models over the next couple weeks as I follow Doc's orders. I'm just hoping I can get them all done.
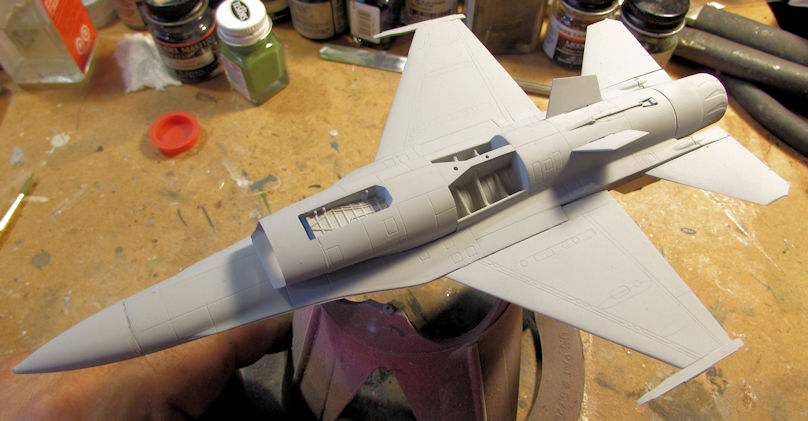
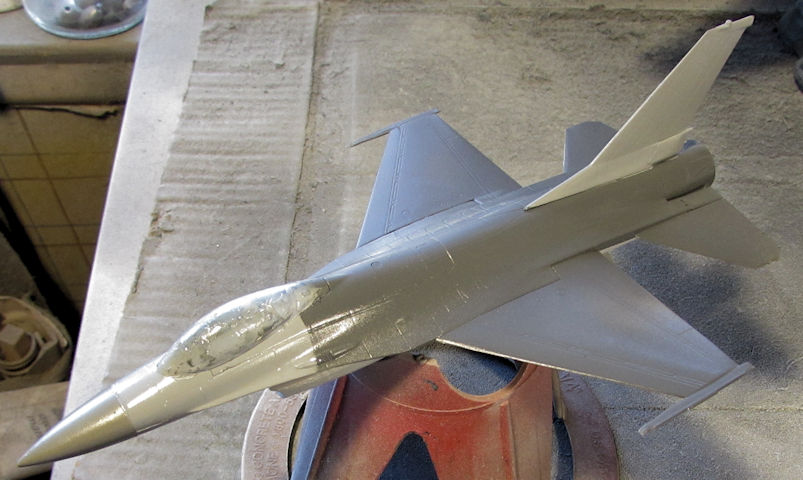
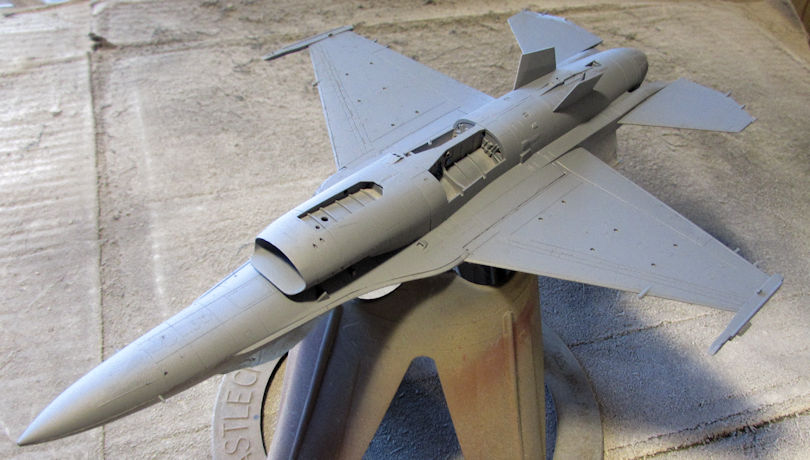
Moving on, I pulled out the Japanese F-2A fighter that I'd assembled the cockpit for some time back. This time, I cemented the air intake into place, assembled the rear portion of the fuselage and added the vertical tail piece:
Later I added the cockpit and painted it. With some additional weight for this as well, it was ready to close up:
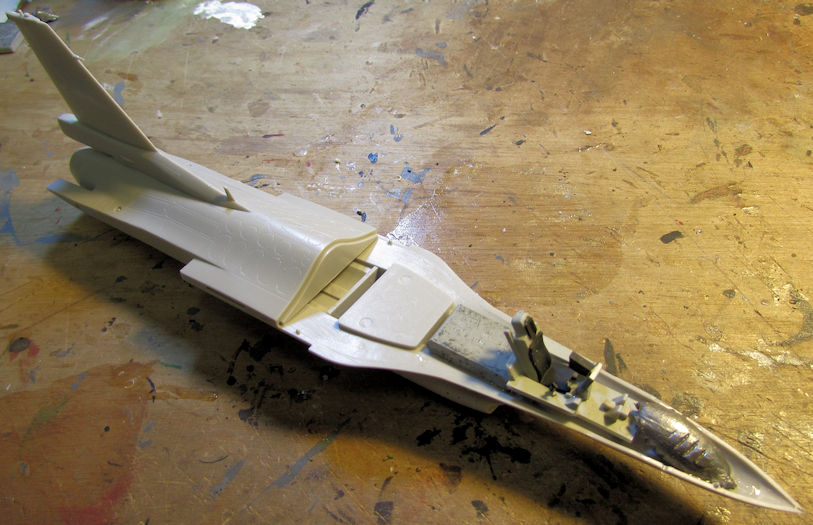
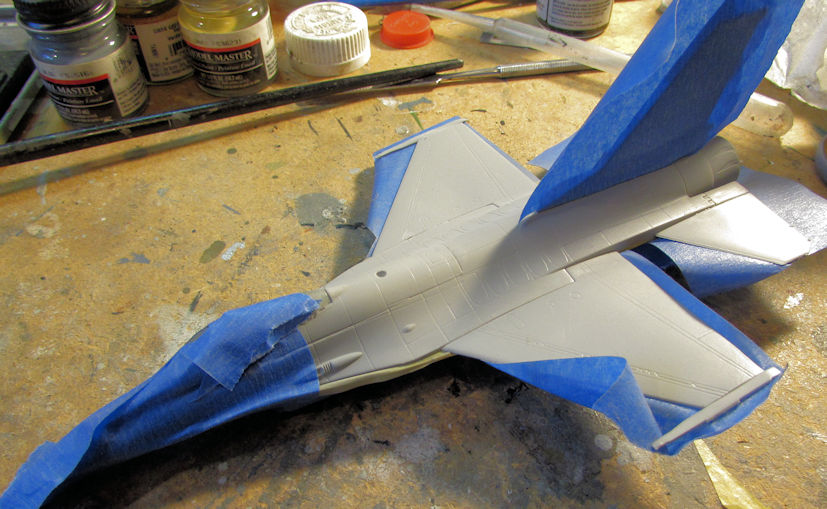
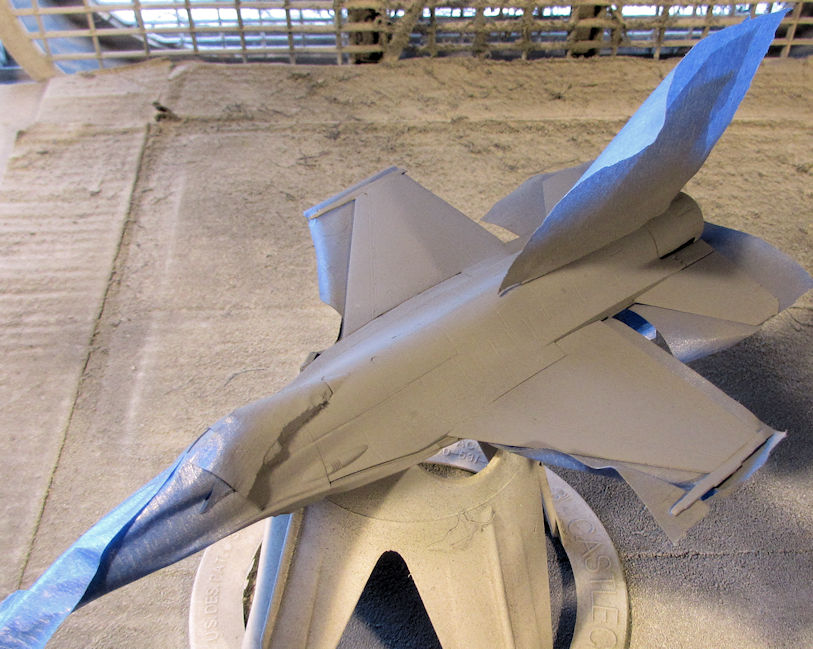
After that was done, I added the canopy to this as well, closing it up for paint. All that is left again is a bit of sanding, filling and masking the canopy:
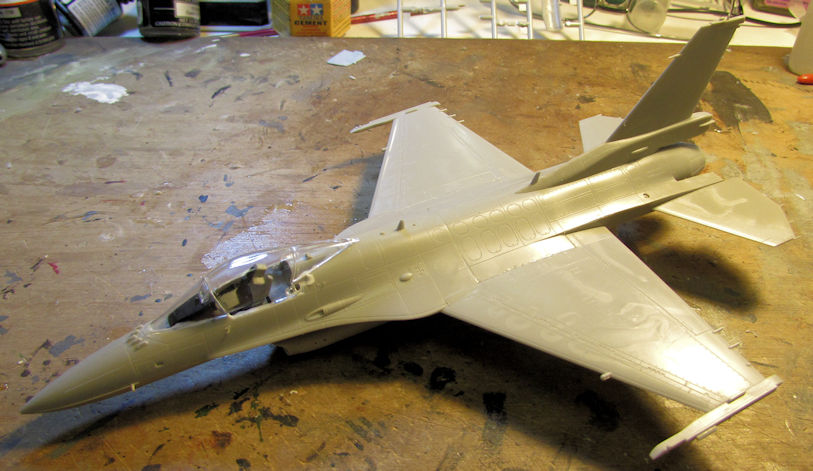
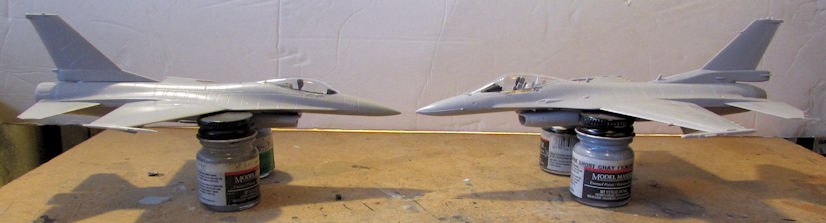
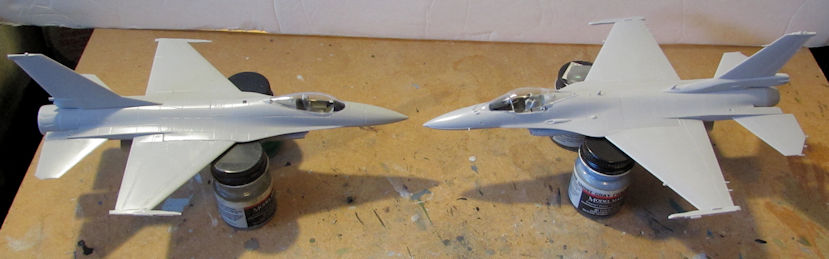
You may think that is the Italian F-16, but look closer: the main difference is in the canopy for the most part. These are two different aircraft.
I was also hoping to get further along on my EH-101 Merlin but I ran out of time.
Moving on to my armor, I started out by adding the fenders and running boards to the side of my ambulance. Then I closed the rear portion of the ambulance bed and added the driver's seat cushions to the front of the ambulance. Here it is all dry-fit together. I'm gonna paint some more before I glue this all together:
Next up, I decided to take a shot at the Modelcollect BMP-3, particularly the photo-etch bar armor.
This photo-etch is extremely difficult to assemble, especially the turret armor which is what I started with. These three pieces were finally glued together properly after 15 minutes of attempting to cement a fourth P/E piece to it to make a 'box'. I had to give that up since I couldn't get one side piece to glue in place without knocking the other one off:
Yes, that is a set of clamping tweezers holding that three-piece assembly. This is what I got done after a total of 34 minutes working on this bar armor for the turret:
When I start this again, I think I'll invite my friend Jack (Daniels) to 'assist'.
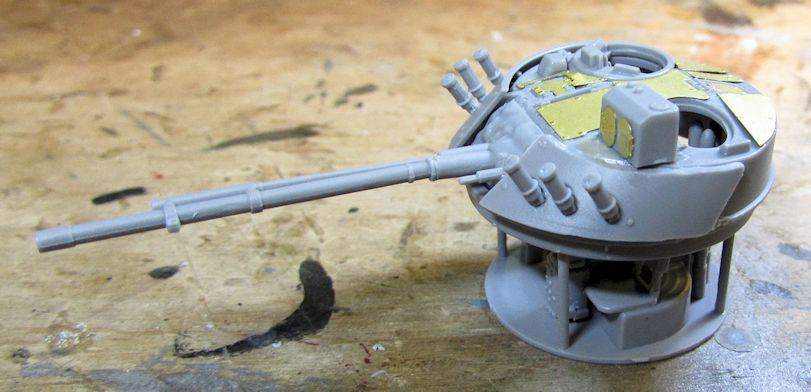
After that, I'd had enough and so I set all that aside to set up fully. That's when I pulled out the rest of this model to add the easier P/E parts to it. I started with the turret, adding all the panels and doors:
Since this turret has an interior, I assembled all that to get it ready for interior paint:

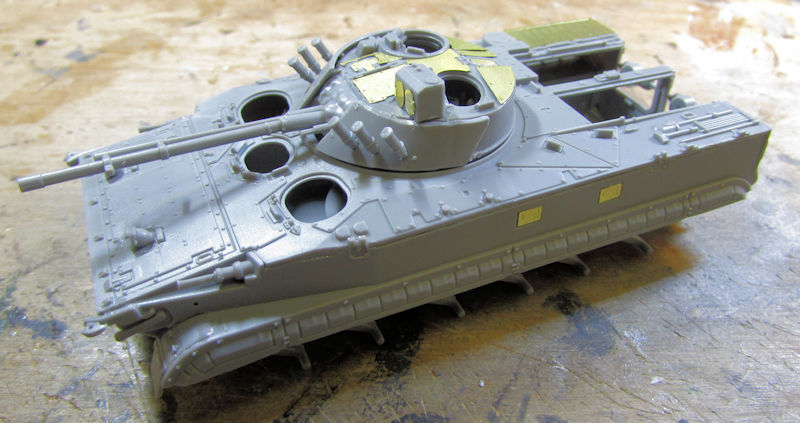
Looks pretty good. Next I dry-fit this to see how it sits and how it will look:
Time to find out how these vehicles look inside.....
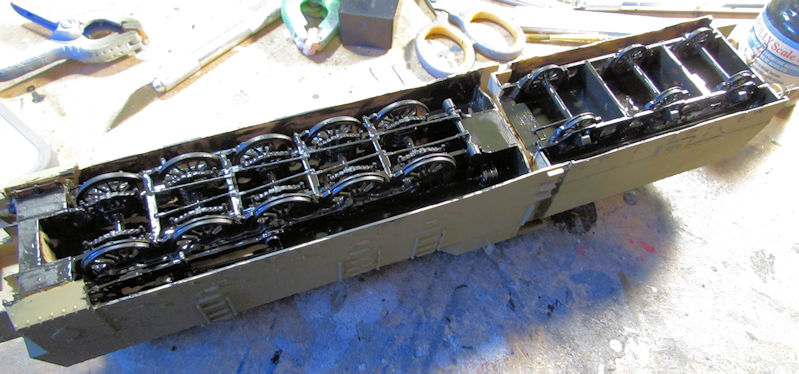
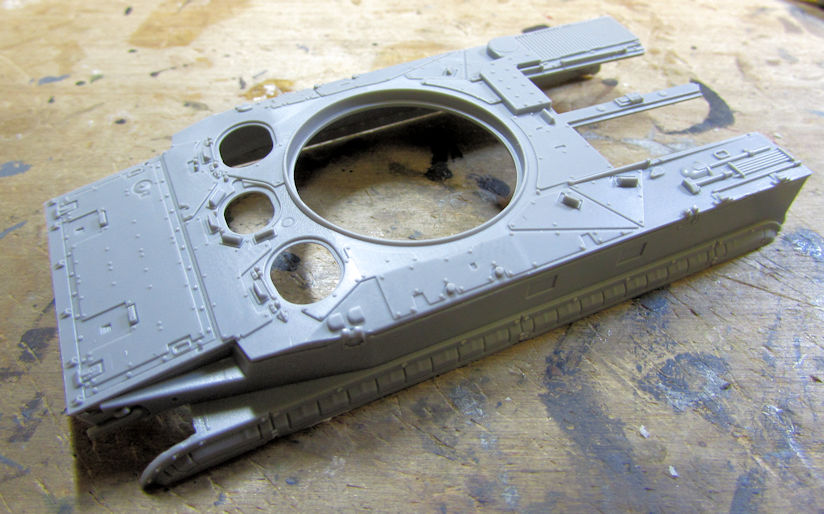
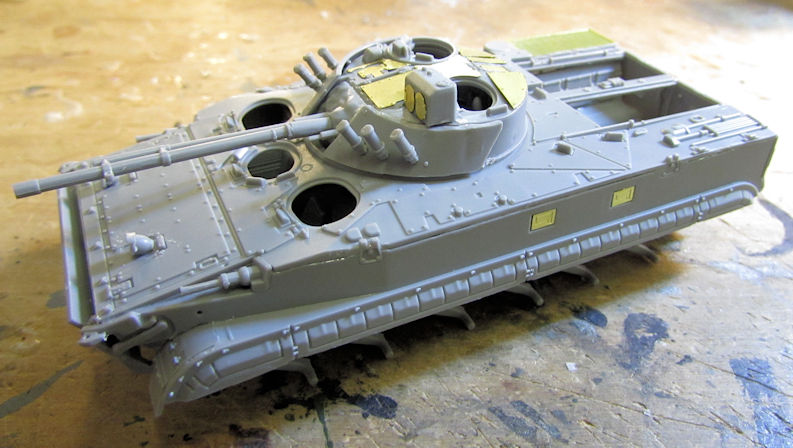
Moving on from there, I finished assembling the upper hull, adding the sides and front fenders to this:
Then I dry-fit this to the lower hull to make sure it dries in the proper position so this top glues right. I also added more photo-etch to the upper hull, For fun, I also popped in the turret to see how it looks:
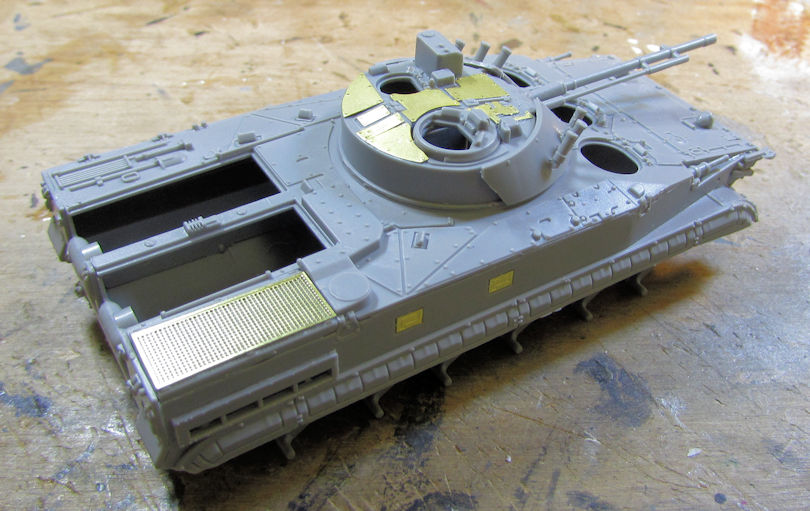
You'll note I'm leaving the hatches open; I plan on posing them open to show off whatever interior can be seen when this is done. Yes, this lower section has a full interior as well. I popped off the top when it had set enough and started building the interior:

It doesn't look like much, but with some additional paint and possibly some decals for the instrument panels (if I can find something small enough and suitable enough) this should start looking better. Still, not much of the interior can be seen when the whole thing is together as you can see here:
Well, that is about all I have for now. This week coming up might allow me to do a lot of spraying so hopefully I can get a lot done by next weekend. Stay tuned for more. Meanwhile, thanks for looking in, comments are always welcome!
On the EH101 Merlin, I completed the painting of the interior. Now all I have to do is add the interior decals and glass in the windows and I can close this bird up:
Next I worked on my Australian HAP Tigre. I masked the canopies for painting:
That's when I noticed the gap in the top of the nose. So, I decided this was a good time to try that new Squadron putty:
I slathered some on, trying to keep it over the gap as much as possible. I was surprised that it came out looking almost clear:
Later on, when I went back to sand it after it was dry, I saw that it had caused some slight pitting in the top of the nose. I was able to sand it all away, but this was unexpected. After reading the tube, it does contain Toluene which does melt plastic a bit. So, this will take some getting used to for me. It also dries clear so that; even though it appears that I still have a gap, there is none there. I forgot to take a pic of the nose after all this. I did move on and add most of the final detail bits to this so it is almost ready for paint:
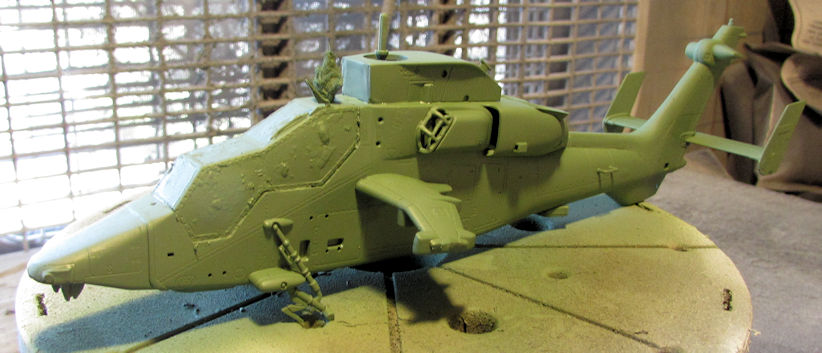
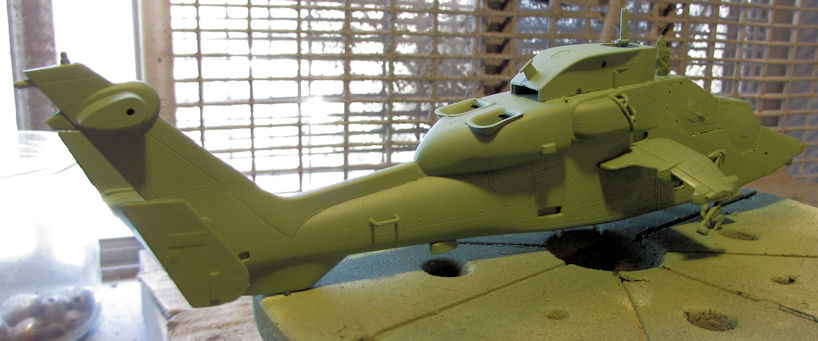
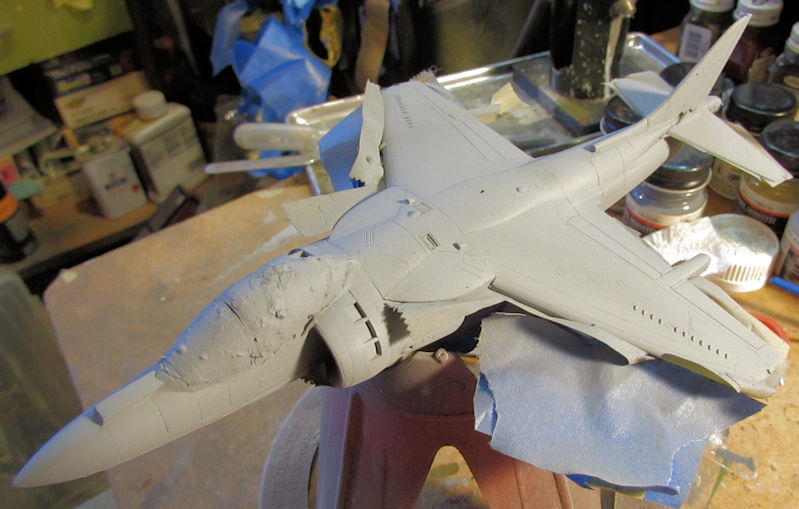
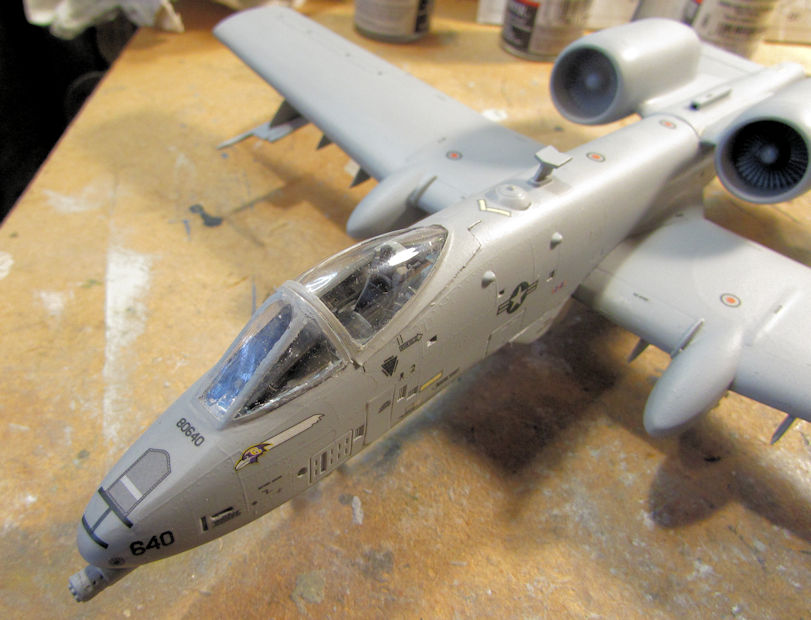
Moving on, I spent more time on the A-10, trying to bring this over the finish line. I didn't quite make it but I came close. Here's the progress I made on that so far.
First off, I shot a dullcoat over this model:
After that dried, I removed the masking from the canopy:
There were a few areas I needed to touch up, which I did later on.
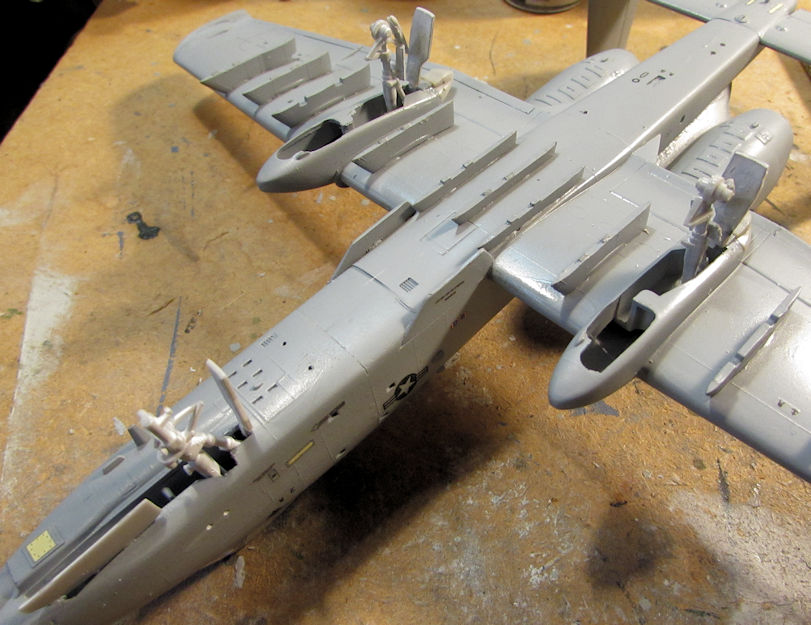
After getting the canopy removed, it was time to install the landing gear and gear doors:
There was a lot of touch up needed here too since I forgot to paint the exterior of the doors. Oh well, I got them after I installed them here.
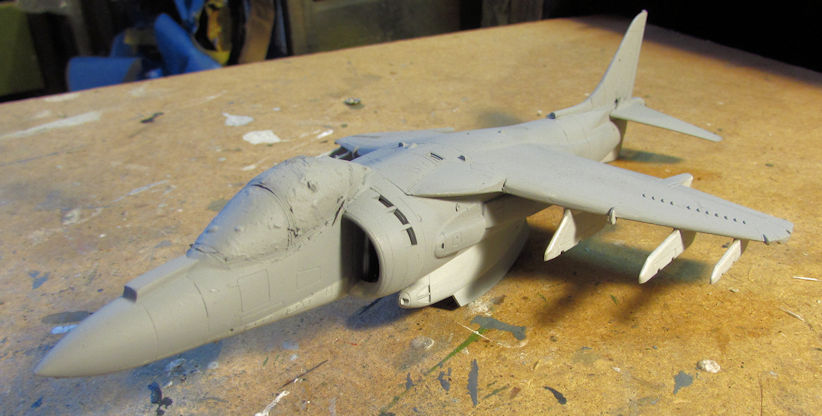
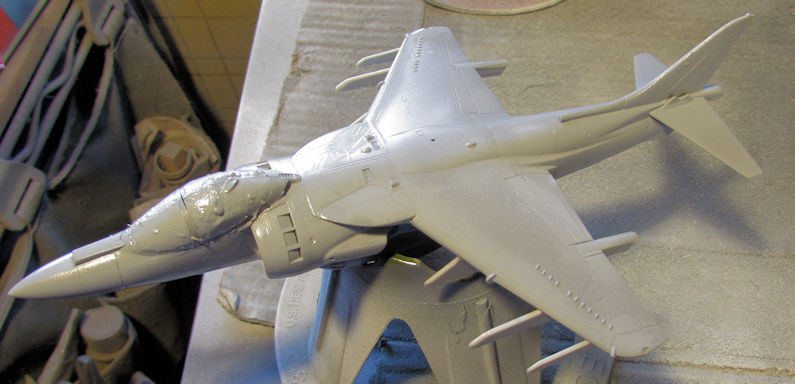
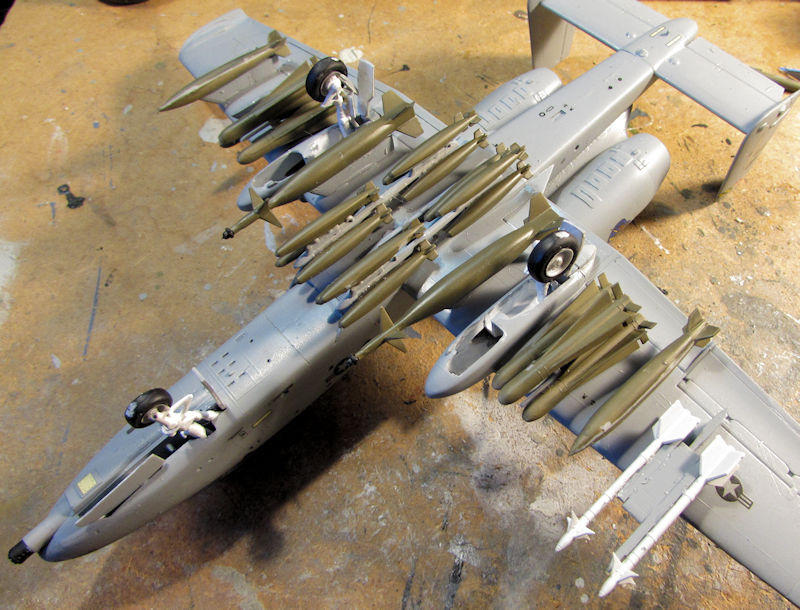
Once they were sufficiently dry, I added all the ordinance that I could fit in place. I still have one pylon I need to figure out what to mount on but otherwise this bird is loaded for bear:
You can see I also added the wheels to this. Now all I have to do is some more touch-ups on the weapons themselves.
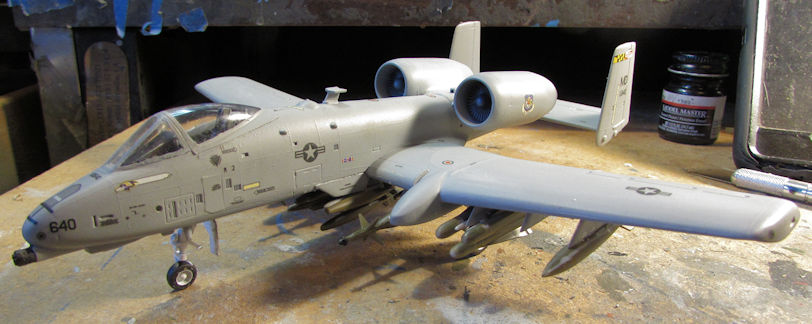
This is by no means the final pic, but it gives you an idea of how this bird will look. I still have a lot of touch-ups to do before I can call it finished:
Moving on, I got a lot of small progress on a number of my armor and vehicles, as well as started one new one.
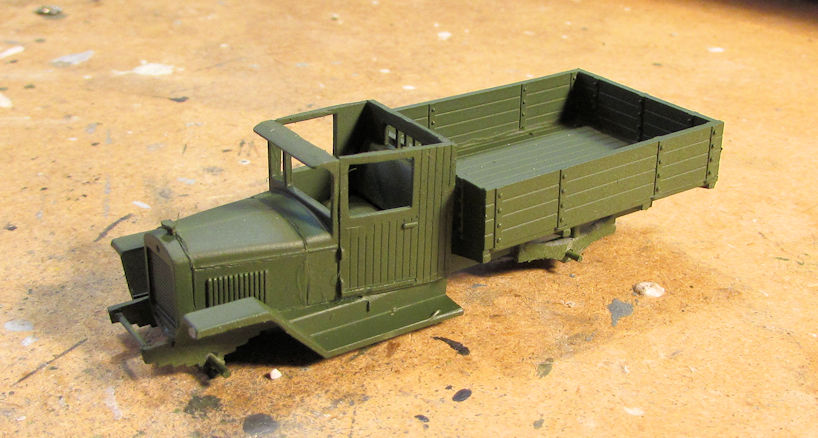
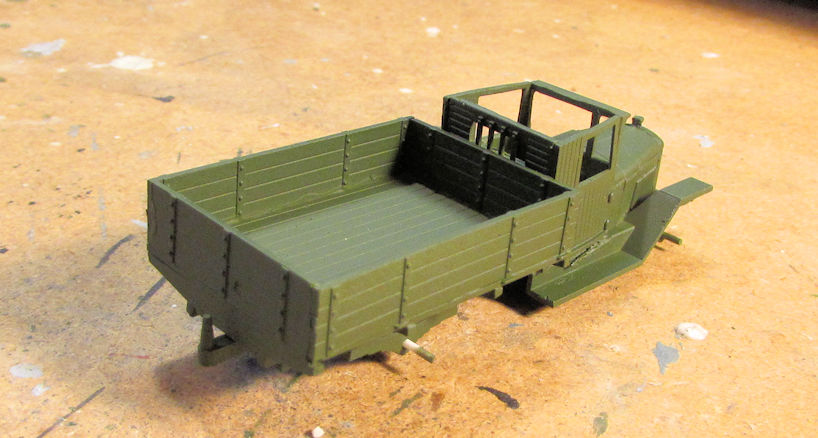
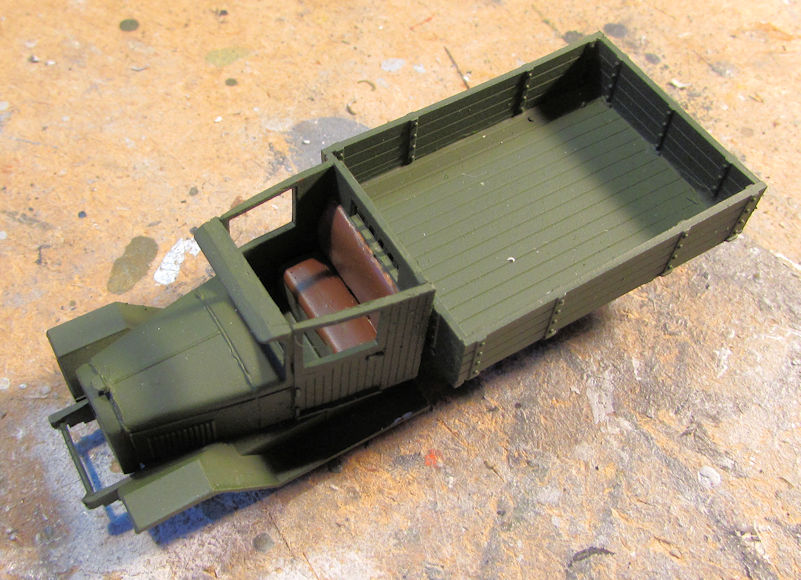
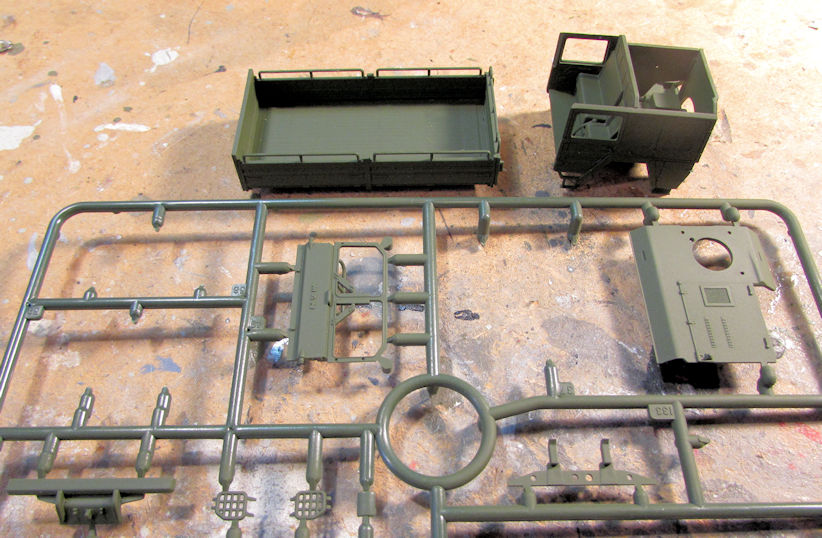
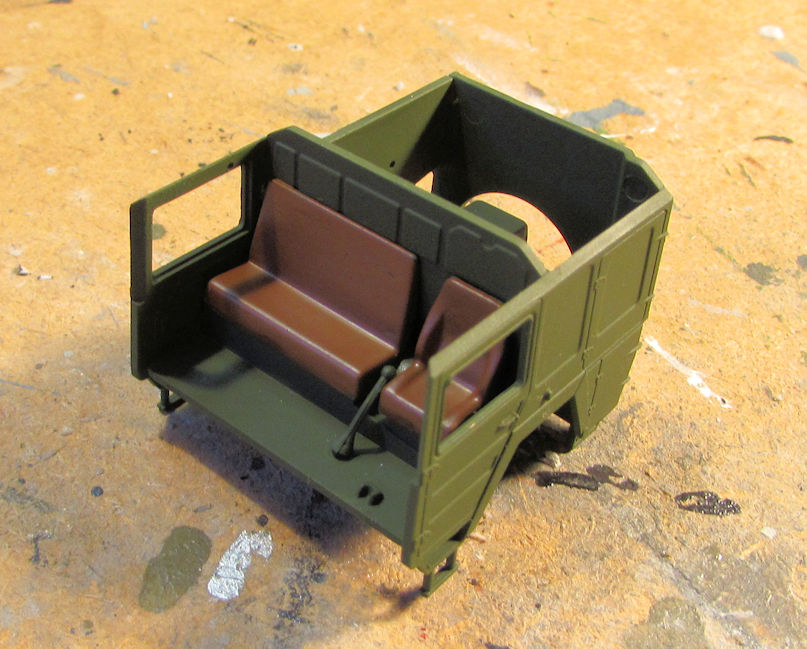
First off, I shot a basecoat of dark green on my Russian Zil 5 truck:
After that dried, I painted the seats inside a leather color:
Meanwhile, since I had the dark green out, I also basecoated the MAN 5-ton truck with this color:
I also dry-fit everything to see how it looks so far, as well as tried to plan how I'll paint the other two camo pattern colors:
Later, I also painted the seats inside a leather color:
I still need to fix that gear shift lever....
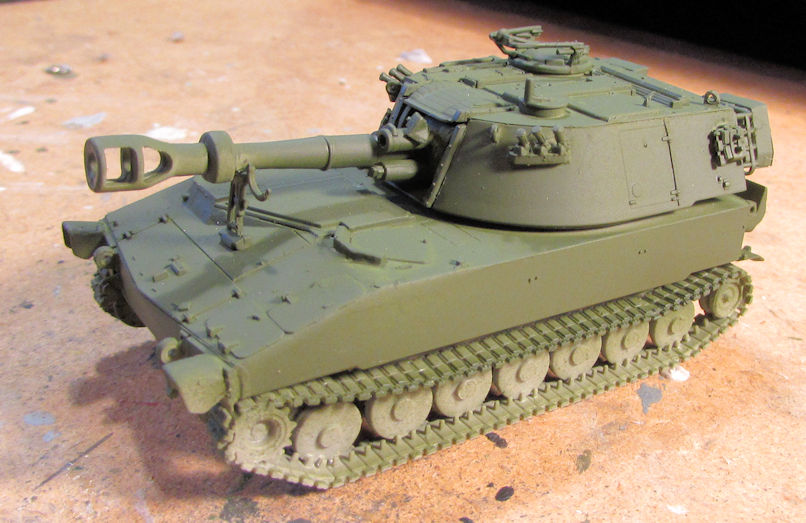
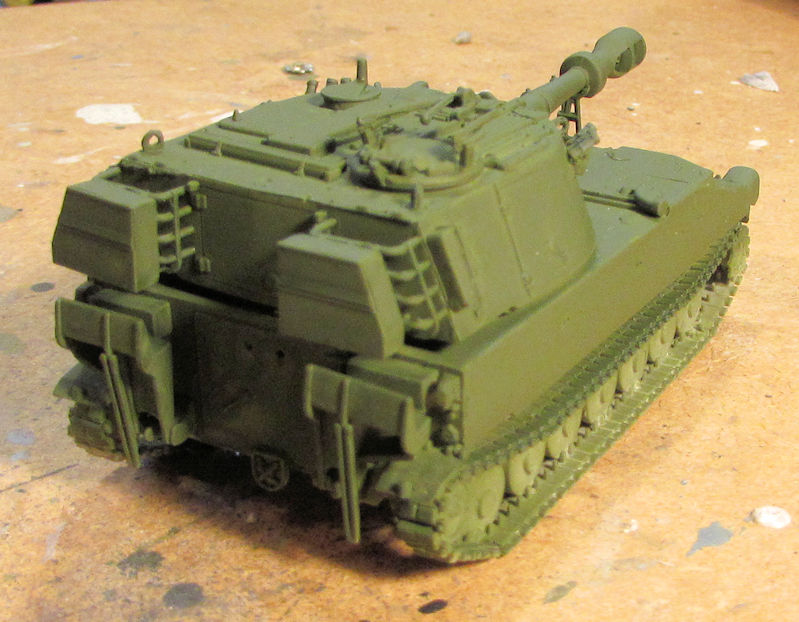
And still, since I had that dark green out; I shot the German M-109:
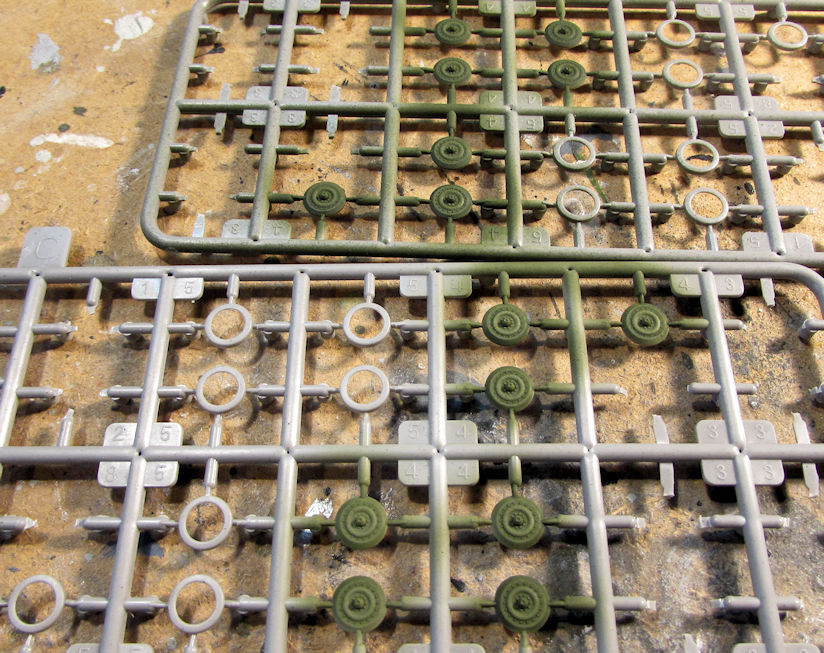
I'm not sure why that second pic turned out so yellow, but the color is the same as the previous two models. I also shot the hubs for the outer wheels:
Now I can mask this one and start the second two colors for the camouflage pattern.
After all that, it was time to change colors. I pulled out an Olive Drab ANA color and shot the Churchill bridgelayer:
I gave up on trying to make that operational again; the engineering is just a bit beyond me, especially in my fatigued state. I'm just gonna finish that as is. Next up, some color modulation, glosscoat and decals...
Finally, I started the little Roden Vauxhall ambulance that had been calling my name. First up was the delicate suspension:
I broke about three of those parts trying to put them in place. That's actually pretty good since on the Vauxhall staff car (which has the same suspension) I broke seven pieces... I'm getting better!
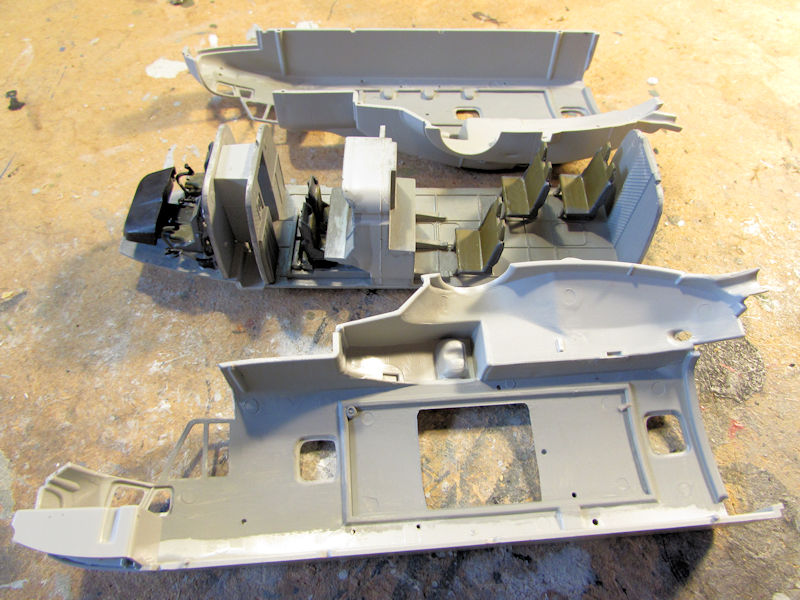
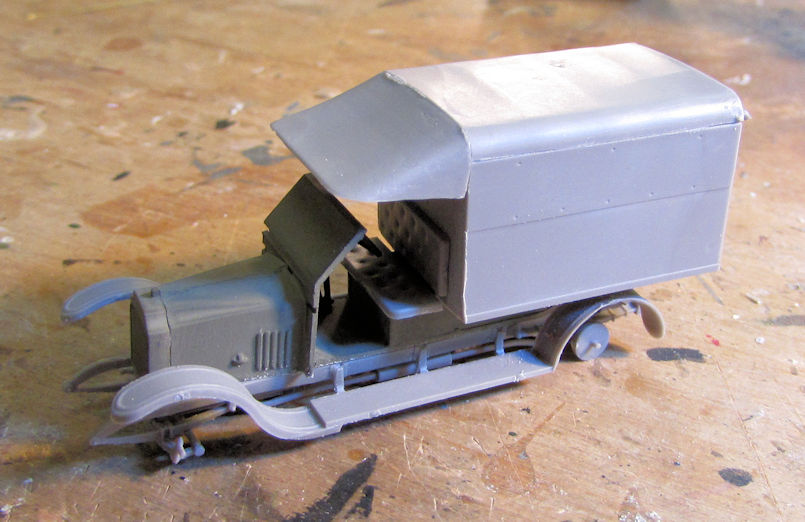
Next was the main body of the car. This was fairly straightforward, but I was a bit put off by the 'blast shield' they had in front of the driver. I guess he's supposed to peer over it as he drives:
Next I built the upper box area where the stretchers are carried:
I want to paint the interior and the stretchers first before I close that up. Come to think of it; I wonder why I want to do that. Nothing will be seen once this is closed up. Hmmm.....
Anyway, here is this tiny model all dry fit together so far:
Later, since I had the Olive Drab ANA out, I shot the lower part of this car with it too:
I should have waited here too until I had the fenders on and such. They need the same color. Doh!
Oh well, there is my latest progress so far, as of a few days ago. Now here's an update showing the most recent work I got done during Hobby Day on Friday and Saturday.
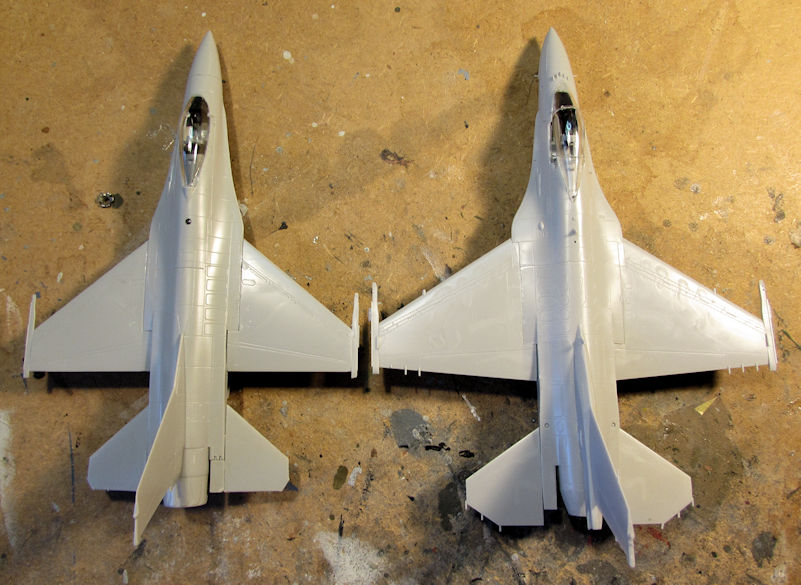
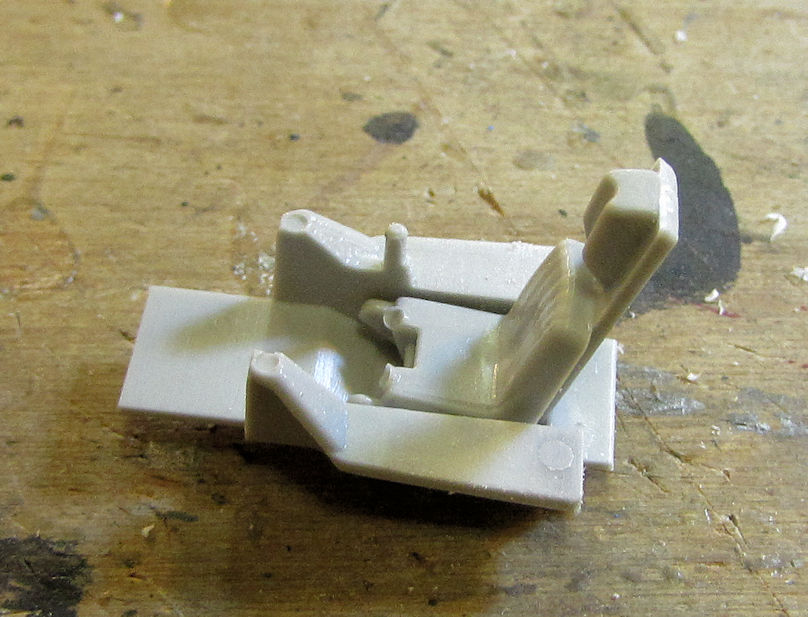
Once again I'll start with some aircraft. I started one aircraft and continued a second one in hopes of getting them to the paint stage so I can paint them along with about seven others on the paint staging area. Since I wanted to build something simple, I pulled out my Italeri F-16 Fighting Falcon which will be made into a single-seat Italian Falcon. Naturally, I started with the (very!) basic cockpit:
Later I added all the parts to the underside; air intake, main gear bay parts etc.:
I had also gone through and cemented all the halves of the ordinance and underwing stores to complete them and have them ready to hang under the wings when the time comes. Later, I added weight in the front of this plane as per the instructions and closed it all up. Adding the tail parts, wings and canopy has brought this to the paint stage as planned:
There is a bit of sanding and filling I do need to do; as well as masking the canopy, but this is already right where I was hoping to get it. I'm going to have a lot of time to spray this and many other models over the next couple weeks as I follow Doc's orders. I'm just hoping I can get them all done.
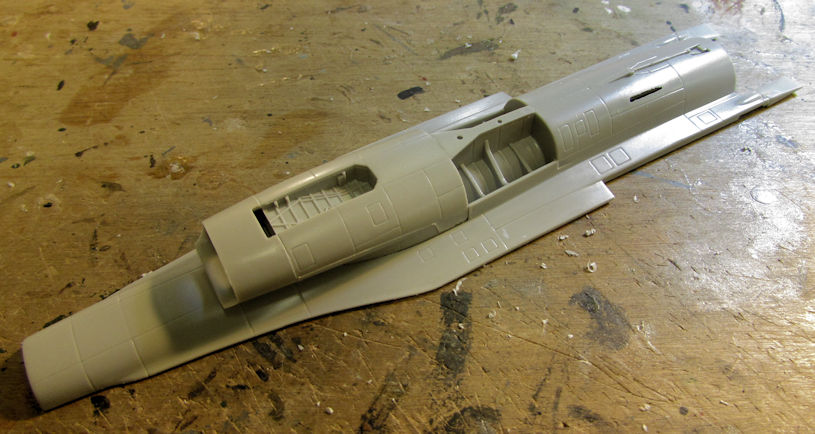
Moving on, I pulled out the Japanese F-2A fighter that I'd assembled the cockpit for some time back. This time, I cemented the air intake into place, assembled the rear portion of the fuselage and added the vertical tail piece:
Later I added the cockpit and painted it. With some additional weight for this as well, it was ready to close up:
After that was done, I added the canopy to this as well, closing it up for paint. All that is left again is a bit of sanding, filling and masking the canopy:
You may think that is the Italian F-16, but look closer: the main difference is in the canopy for the most part. These are two different aircraft.
I was also hoping to get further along on my EH-101 Merlin but I ran out of time.
Moving on to my armor, I started out by adding the fenders and running boards to the side of my ambulance. Then I closed the rear portion of the ambulance bed and added the driver's seat cushions to the front of the ambulance. Here it is all dry-fit together. I'm gonna paint some more before I glue this all together:
Next up, I decided to take a shot at the Modelcollect BMP-3, particularly the photo-etch bar armor.
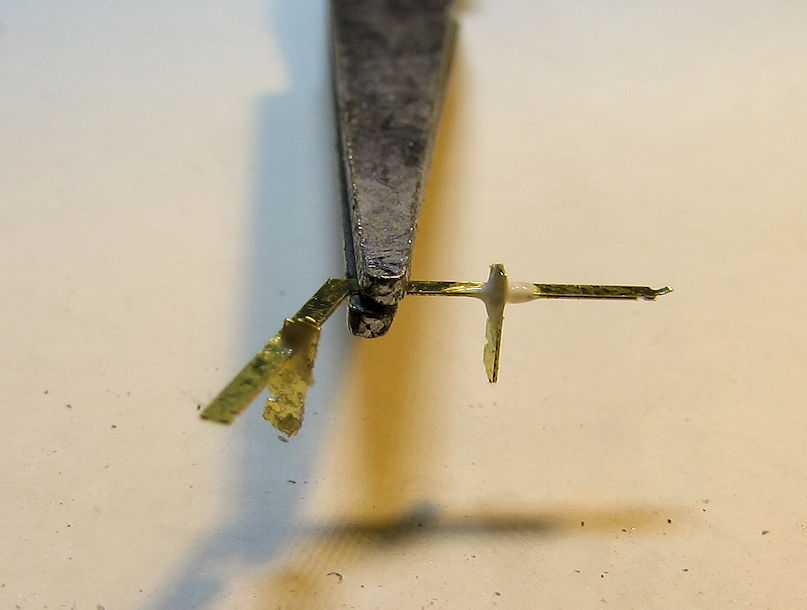
This photo-etch is extremely difficult to assemble, especially the turret armor which is what I started with. These three pieces were finally glued together properly after 15 minutes of attempting to cement a fourth P/E piece to it to make a 'box'. I had to give that up since I couldn't get one side piece to glue in place without knocking the other one off:
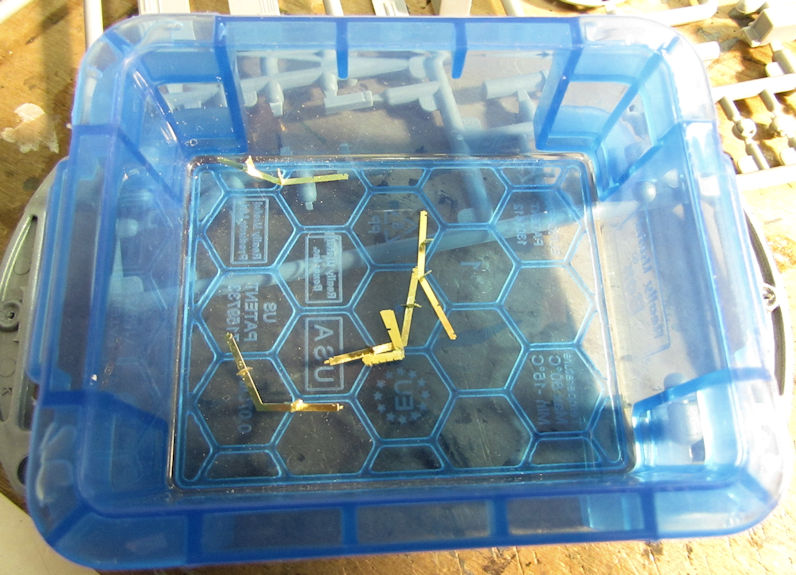
Yes, that is a set of clamping tweezers holding that three-piece assembly. This is what I got done after a total of 34 minutes working on this bar armor for the turret:
When I start this again, I think I'll invite my friend Jack (Daniels) to 'assist'.
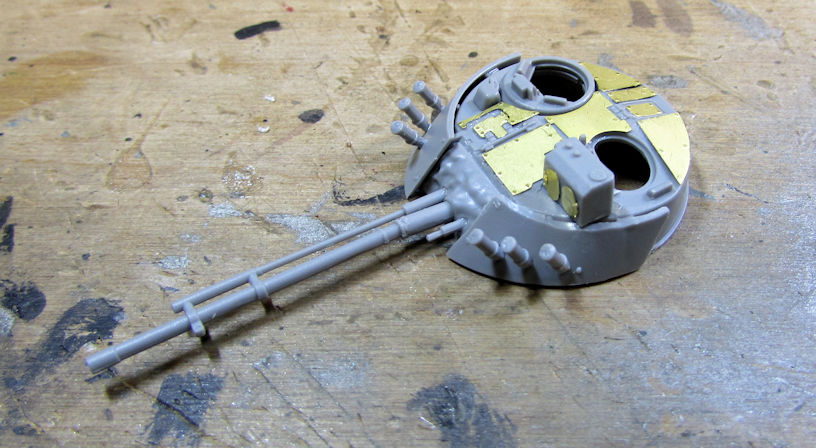
After that, I'd had enough and so I set all that aside to set up fully. That's when I pulled out the rest of this model to add the easier P/E parts to it. I started with the turret, adding all the panels and doors:
Since this turret has an interior, I assembled all that to get it ready for interior paint:
Looks pretty good. Next I dry-fit this to see how it sits and how it will look:
Time to find out how these vehicles look inside.....
Moving on from there, I finished assembling the upper hull, adding the sides and front fenders to this:
Then I dry-fit this to the lower hull to make sure it dries in the proper position so this top glues right. I also added more photo-etch to the upper hull, For fun, I also popped in the turret to see how it looks:
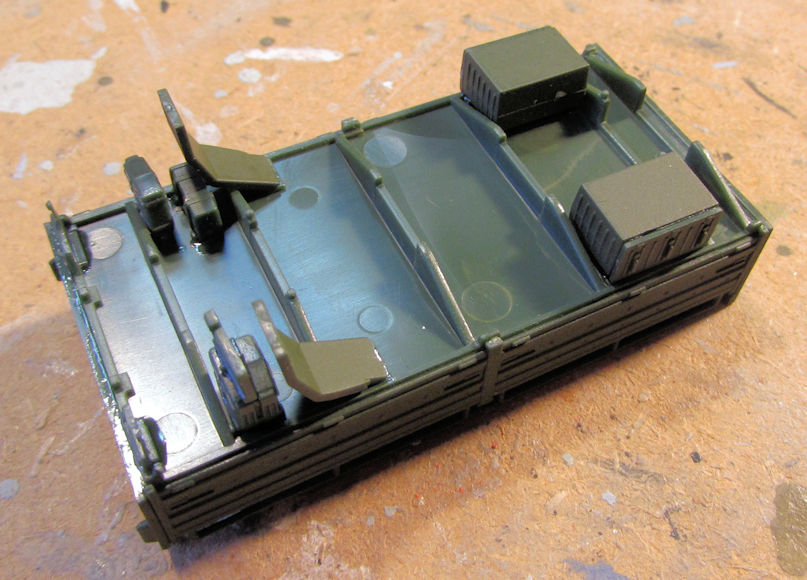
You'll note I'm leaving the hatches open; I plan on posing them open to show off whatever interior can be seen when this is done. Yes, this lower section has a full interior as well. I popped off the top when it had set enough and started building the interior:
It doesn't look like much, but with some additional paint and possibly some decals for the instrument panels (if I can find something small enough and suitable enough) this should start looking better. Still, not much of the interior can be seen when the whole thing is together as you can see here:
Well, that is about all I have for now. This week coming up might allow me to do a lot of spraying so hopefully I can get a lot done by next weekend. Stay tuned for more. Meanwhile, thanks for looking in, comments are always welcome!


 :captain
")